One of the most common questions I get is about sublimation on dark colors and cotton. Is it possible? What products work best? There are actually a ton of products on the market that claim to solve this issue and allow you to do sublimation on these surfaces. However, I wanted to put several of them to the test and see if they actually work. So, let’s see if you can sublimate successfully on a black shirt that is made from cotton. Which product will come out on top? Keep reading to find out!
NOTE: I actually tested some methods for sublimation on cotton before but these tests take that post one step further with more products as well as wash tests so you can see how the product holds up.
Can’t watch the video or missed some of the information? You can follow along with everything below as well.
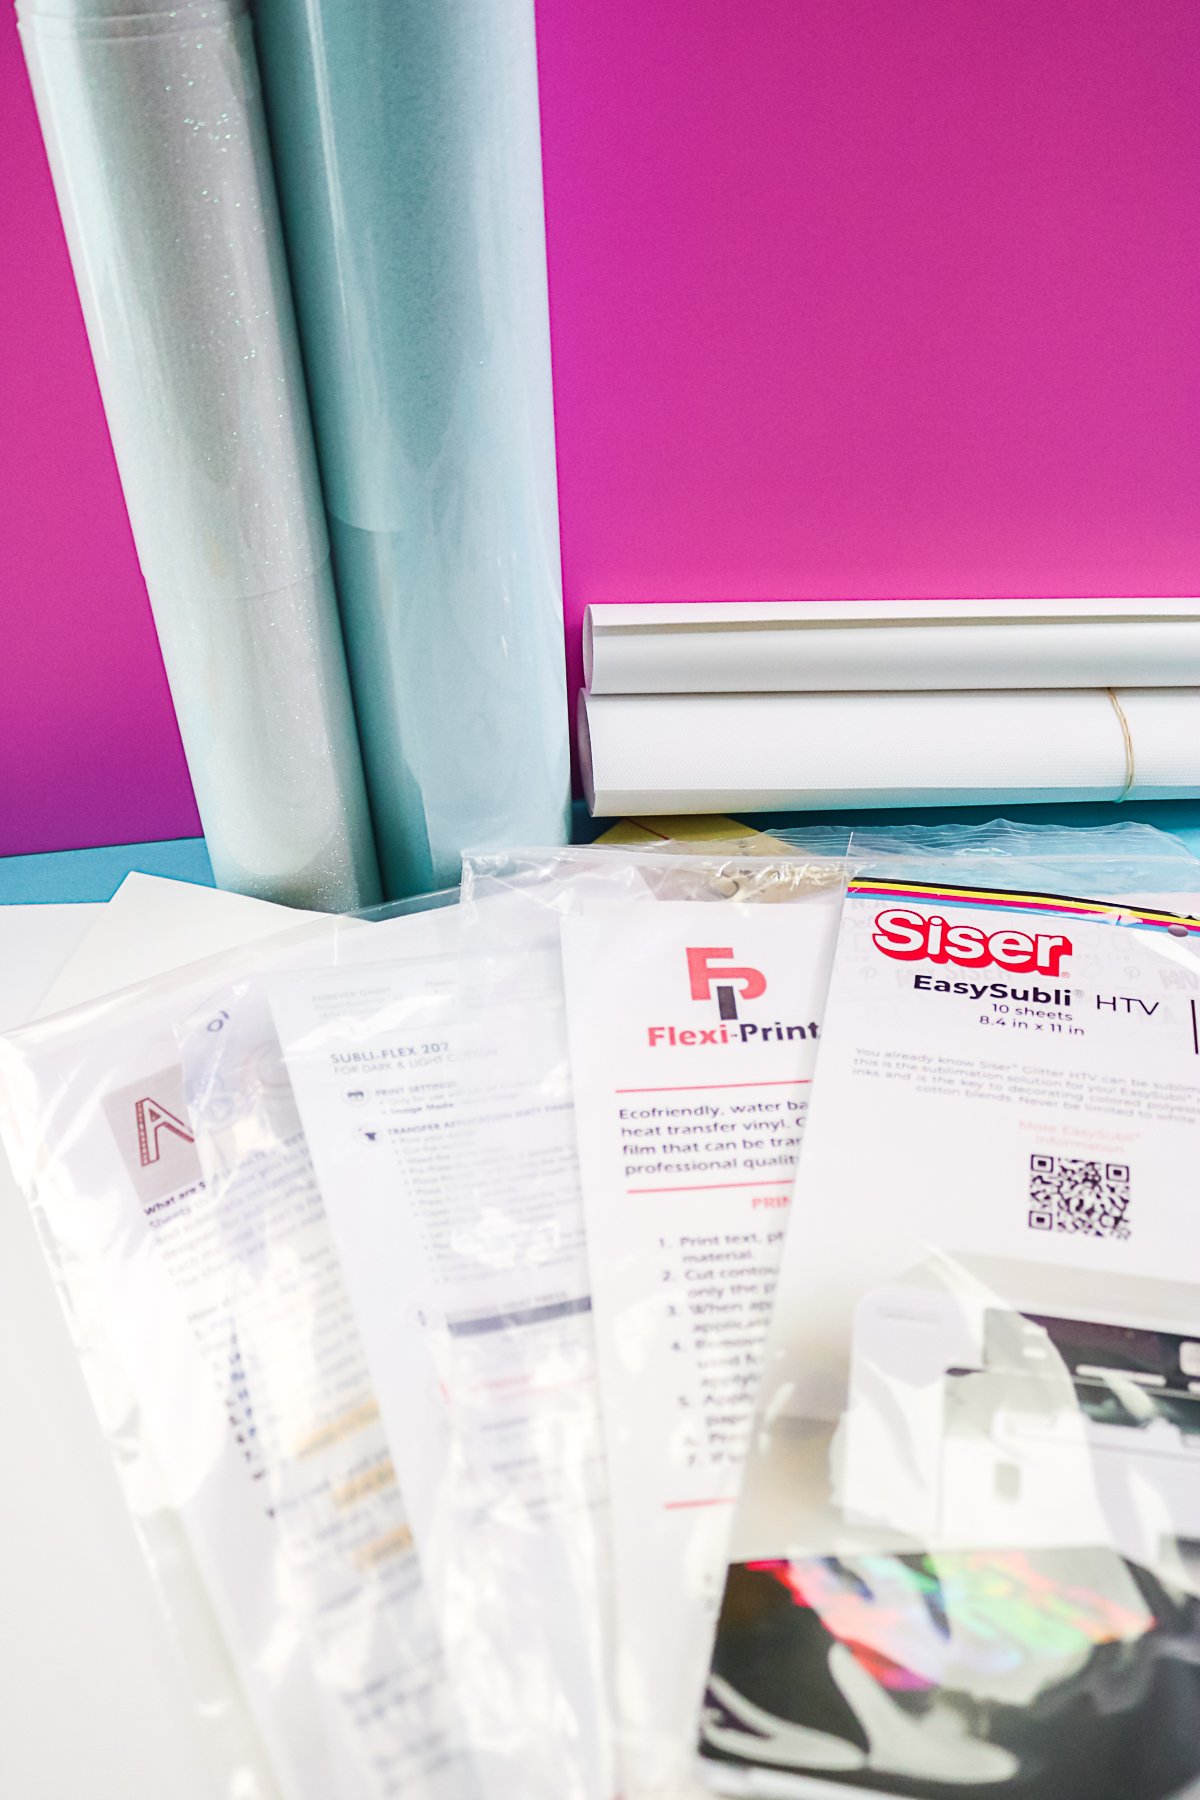
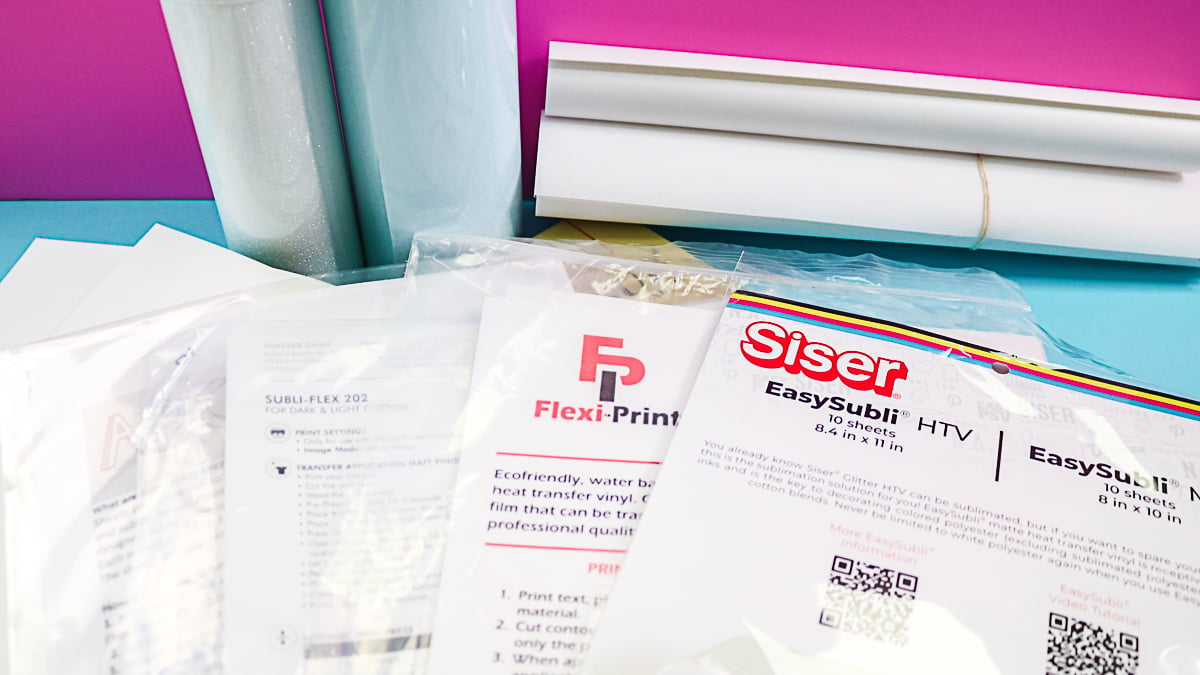
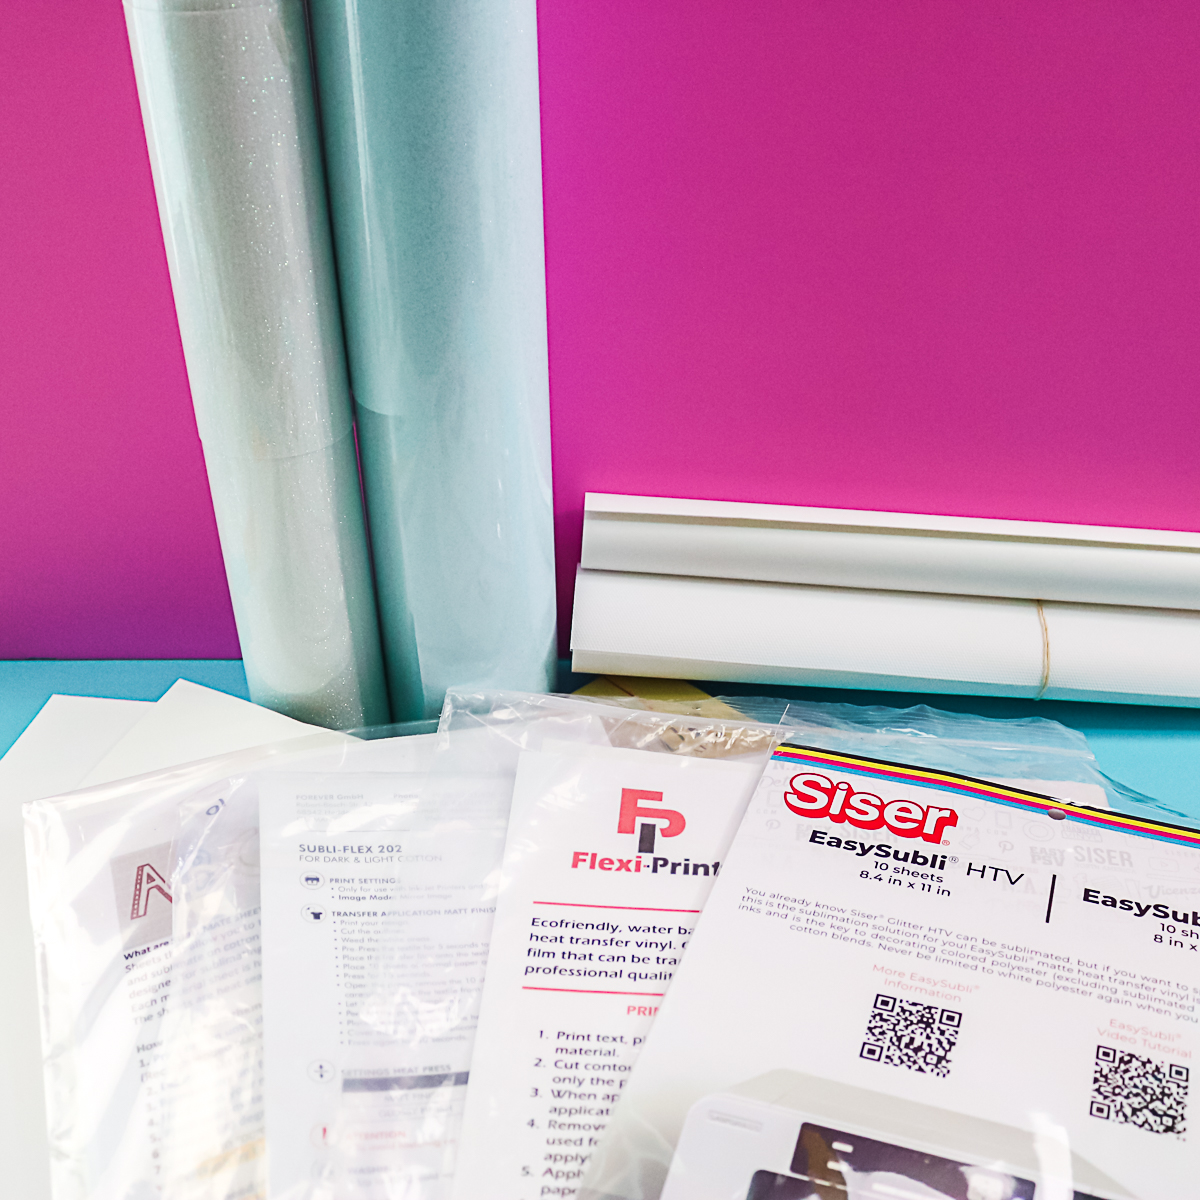
Supplies used:
- Siser glitter HTV
- BFlex glitter HTV
- Print flock (currently unavailable)
- Subli flock
- Siser EasySubli
- Sublimate
- Subli Flex
- Flexi Print
- Epson EcoTank Printer – I have the ET-4700 and here it is on Amazon and from Target
- Hiipoo Sublimation Ink
- A-Sub Sublimation Paper
- Protective Paper
- Heat Resistant Tape
- Lint Roller
- Heat press
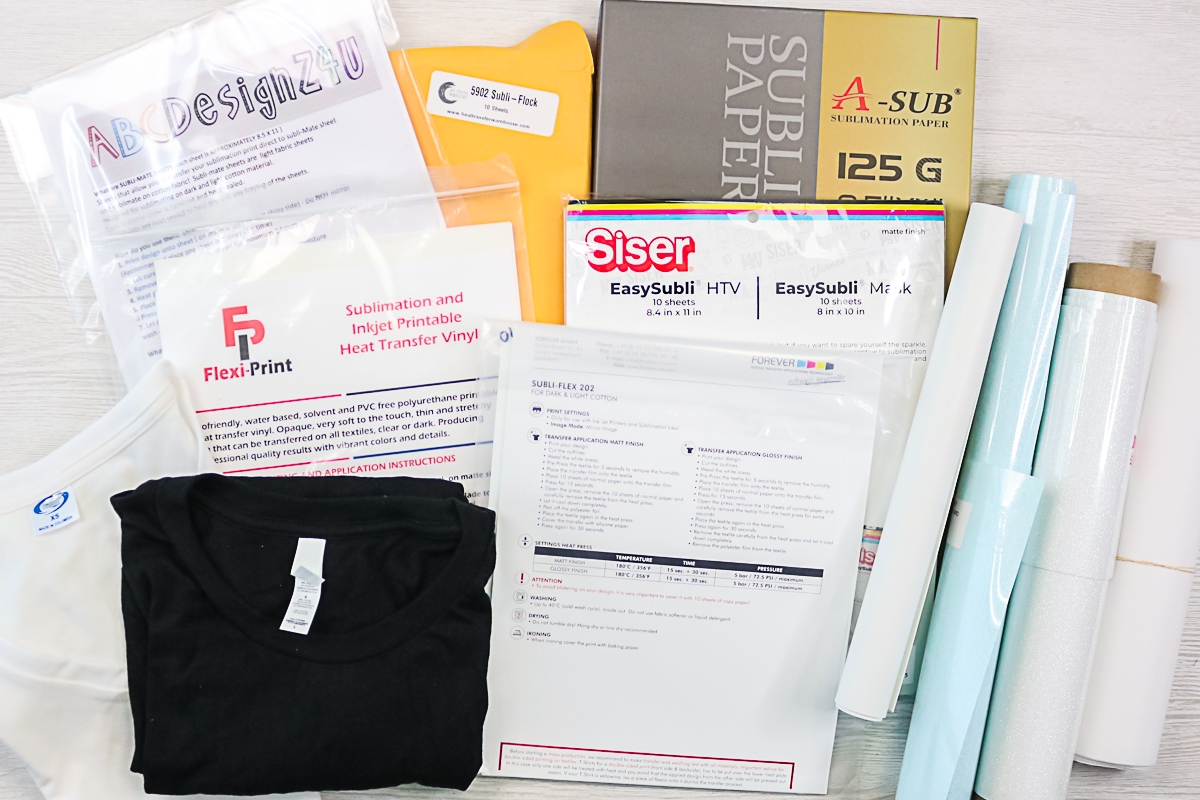
Shirts for Experiments
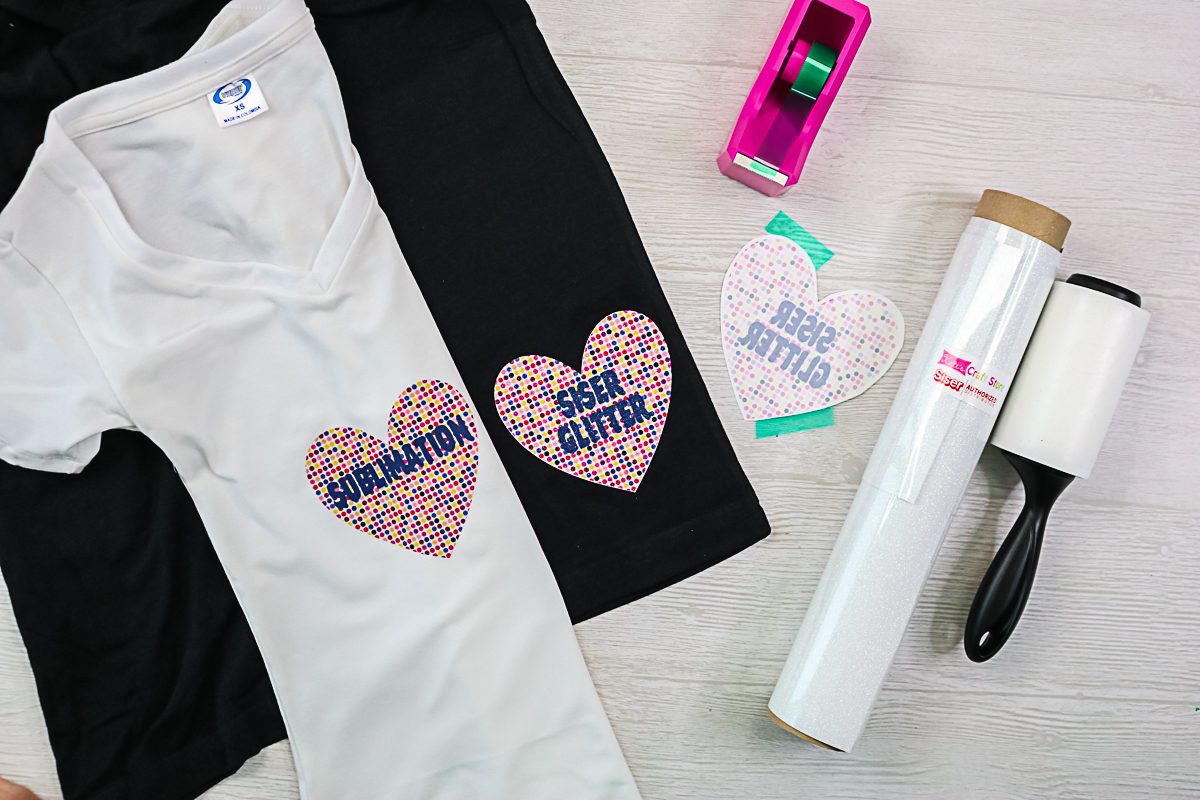
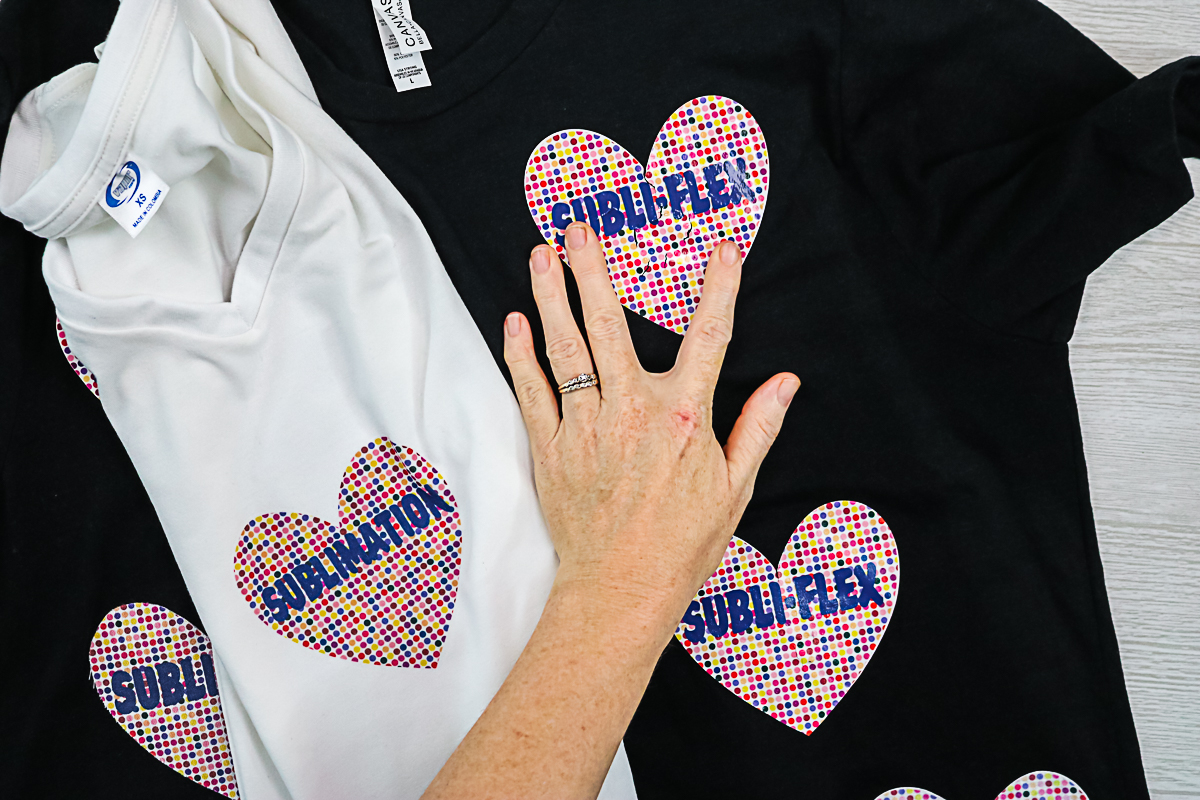
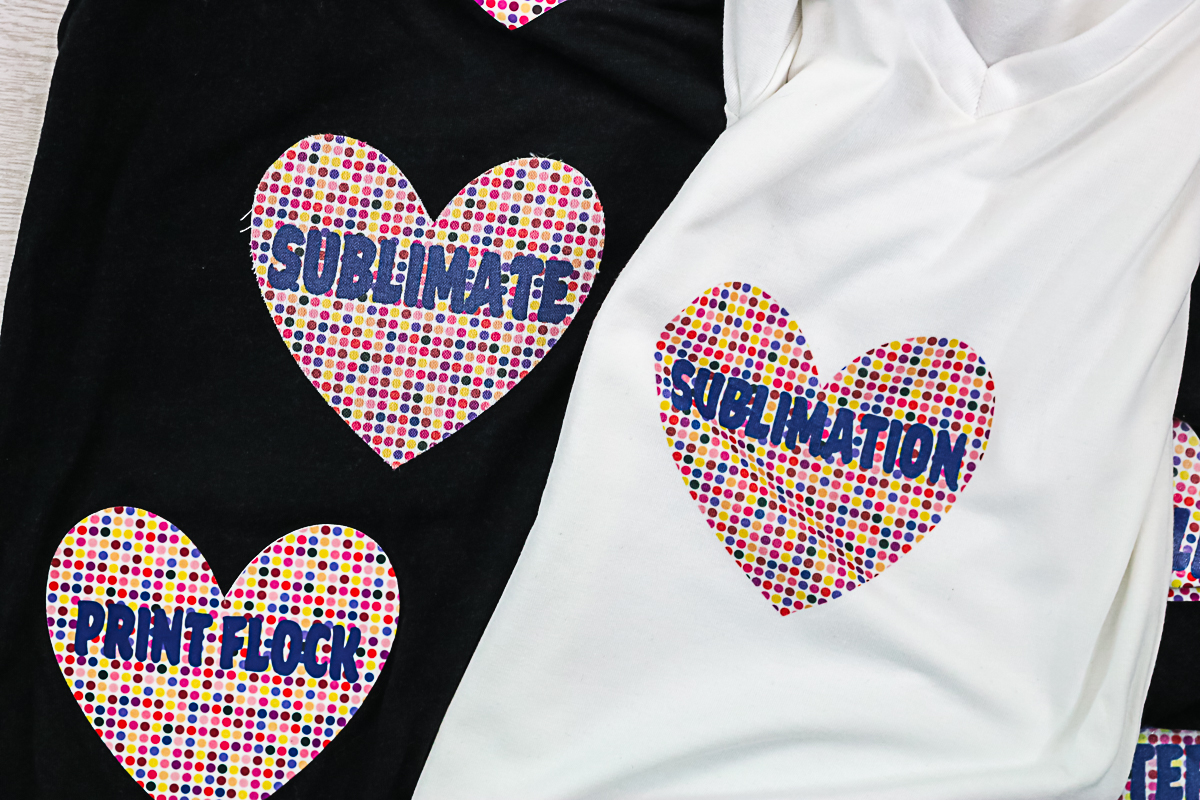
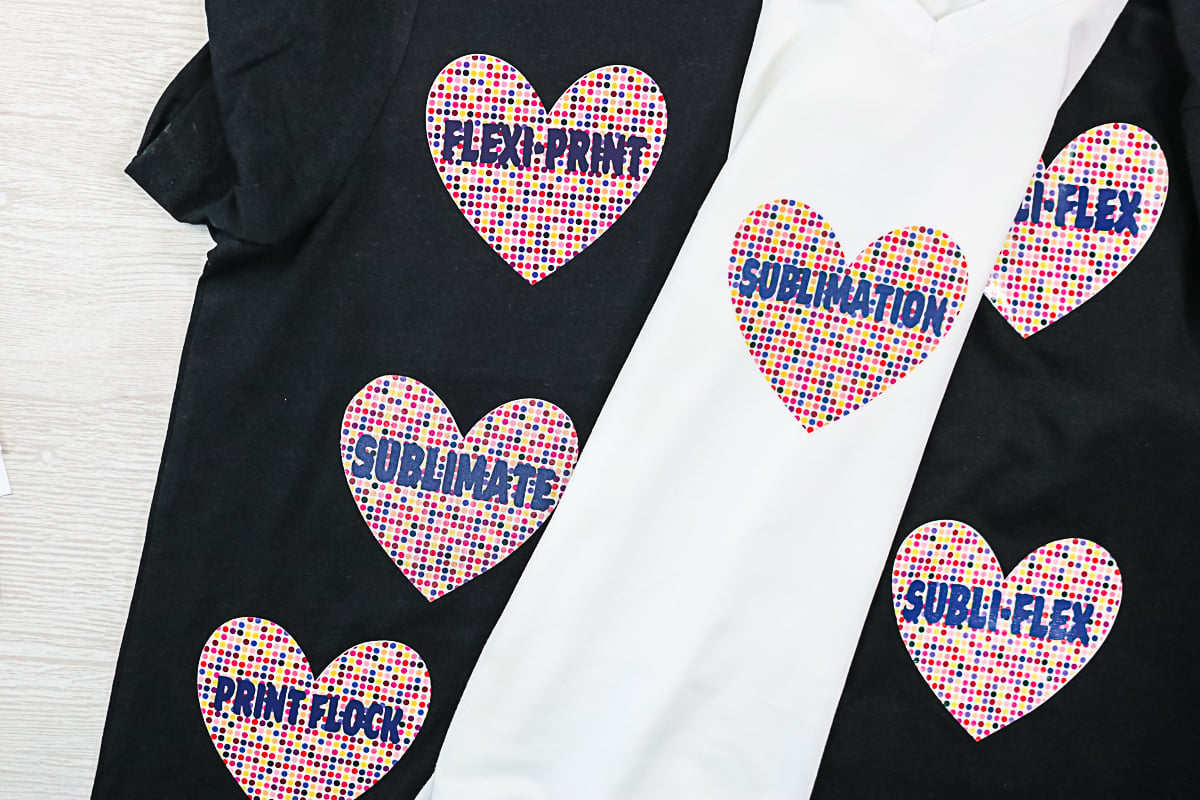
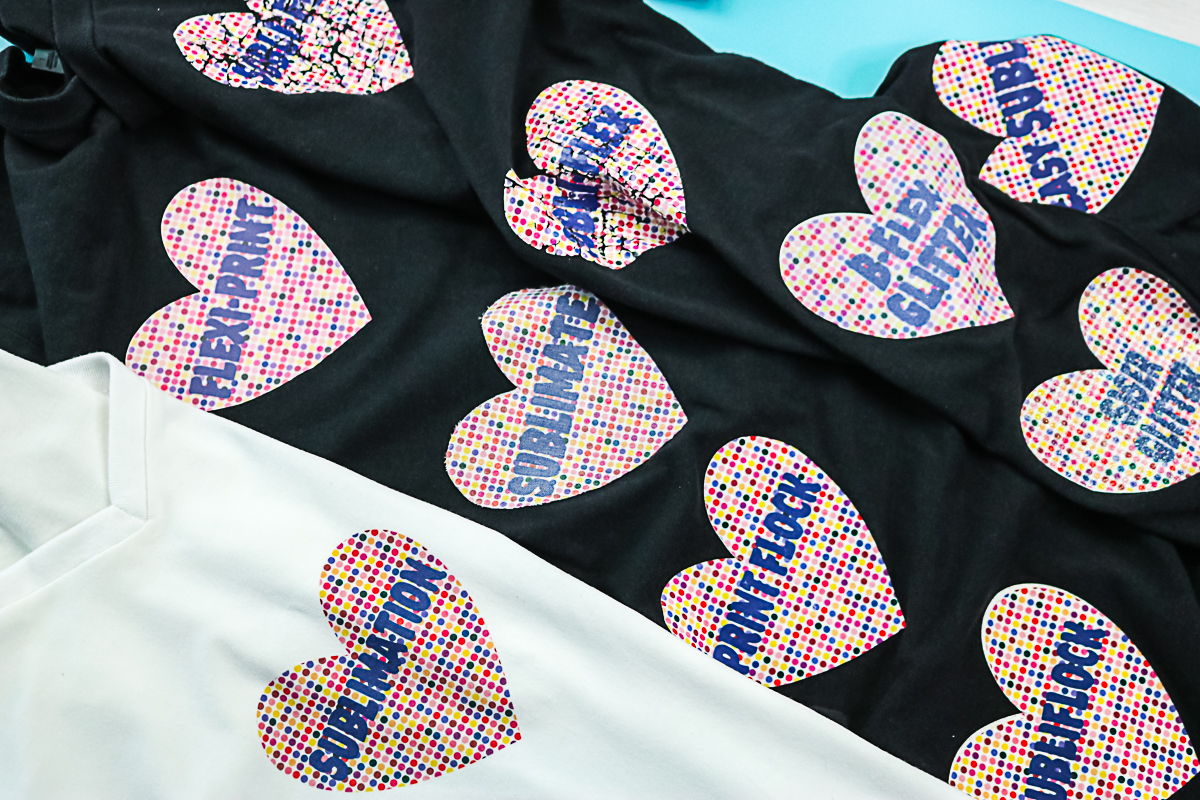
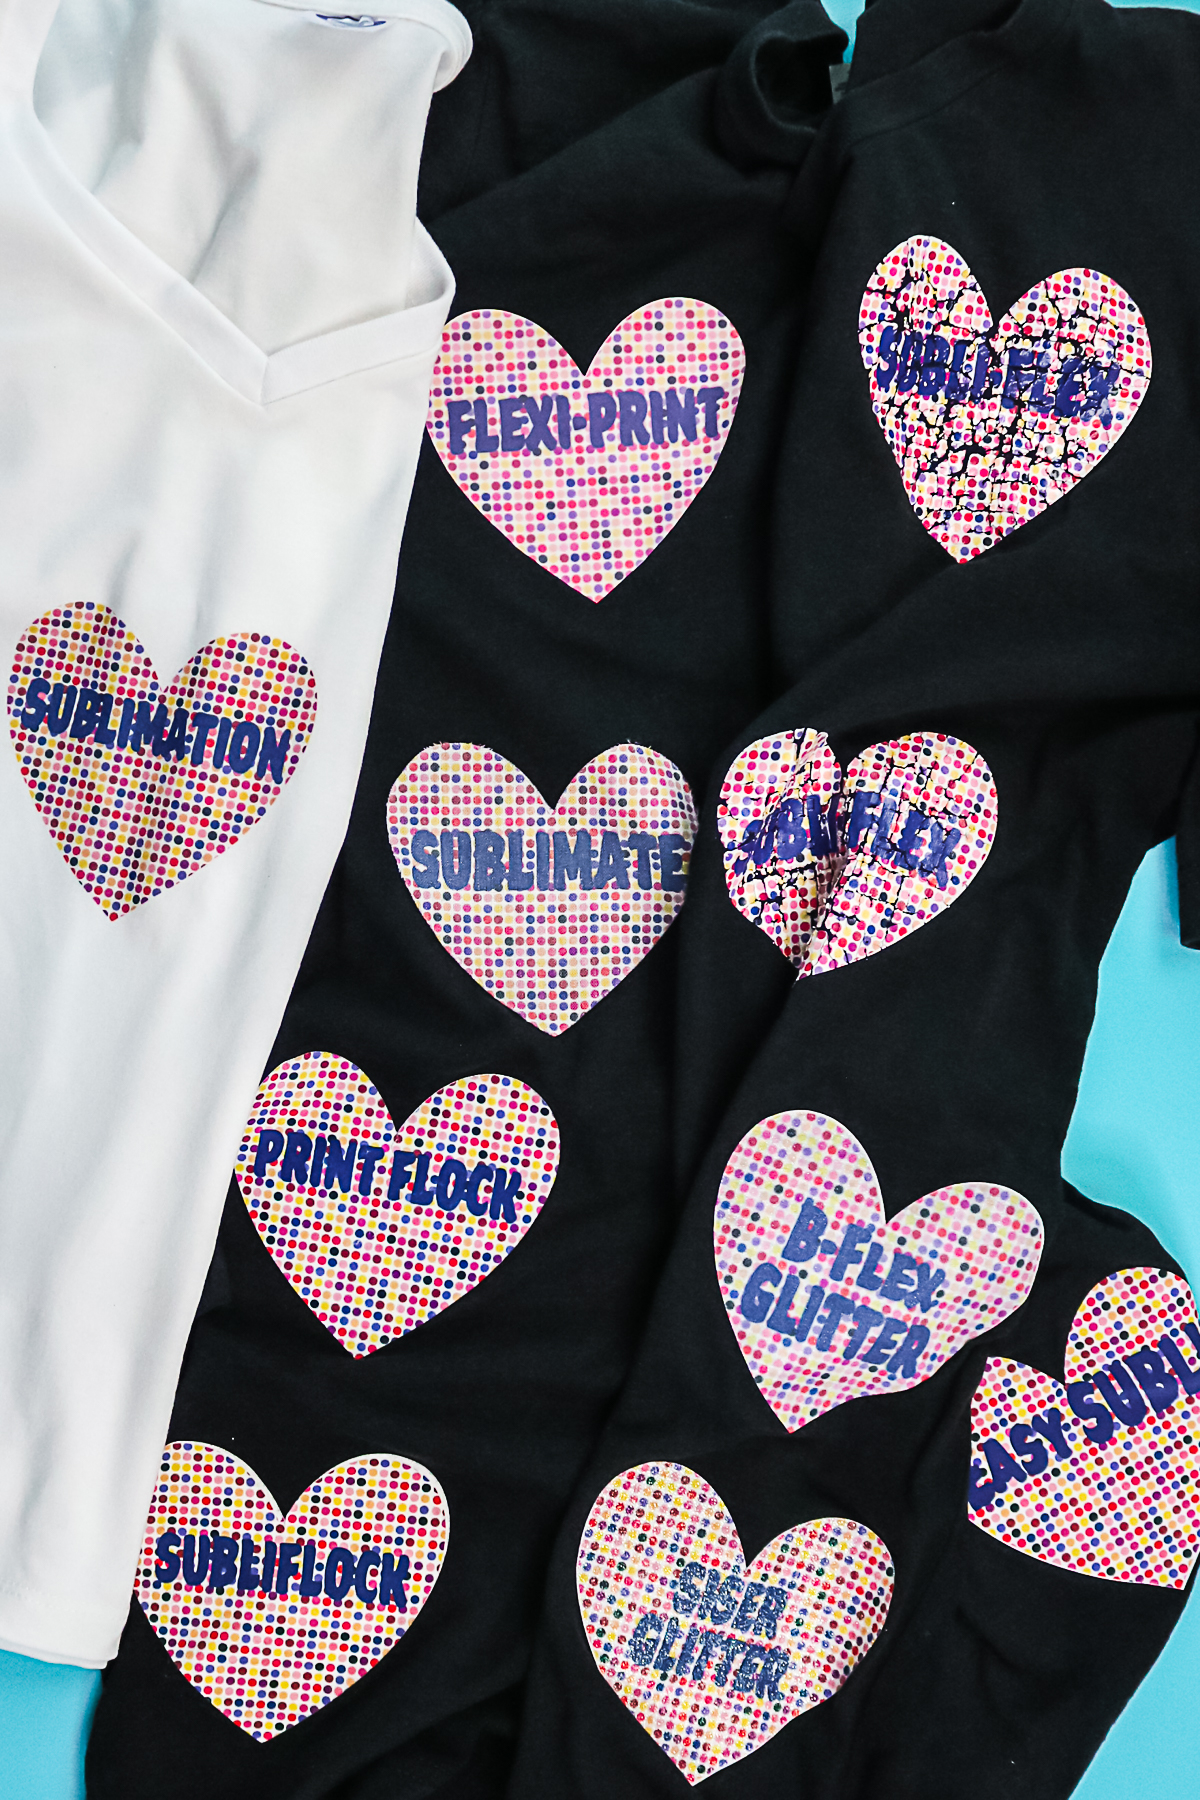
I am using two shirts. One is a black shirt that is 90% cotton and 10% polyester. The other is a white polyester shirt. I will be doing a sublimation heart onto the polyester shirt and NOT washing it at all. This will give an idea of how the heart I am using should look and give us something to compare to after washing the black shirt. I am using the same heart design with all of my samples.
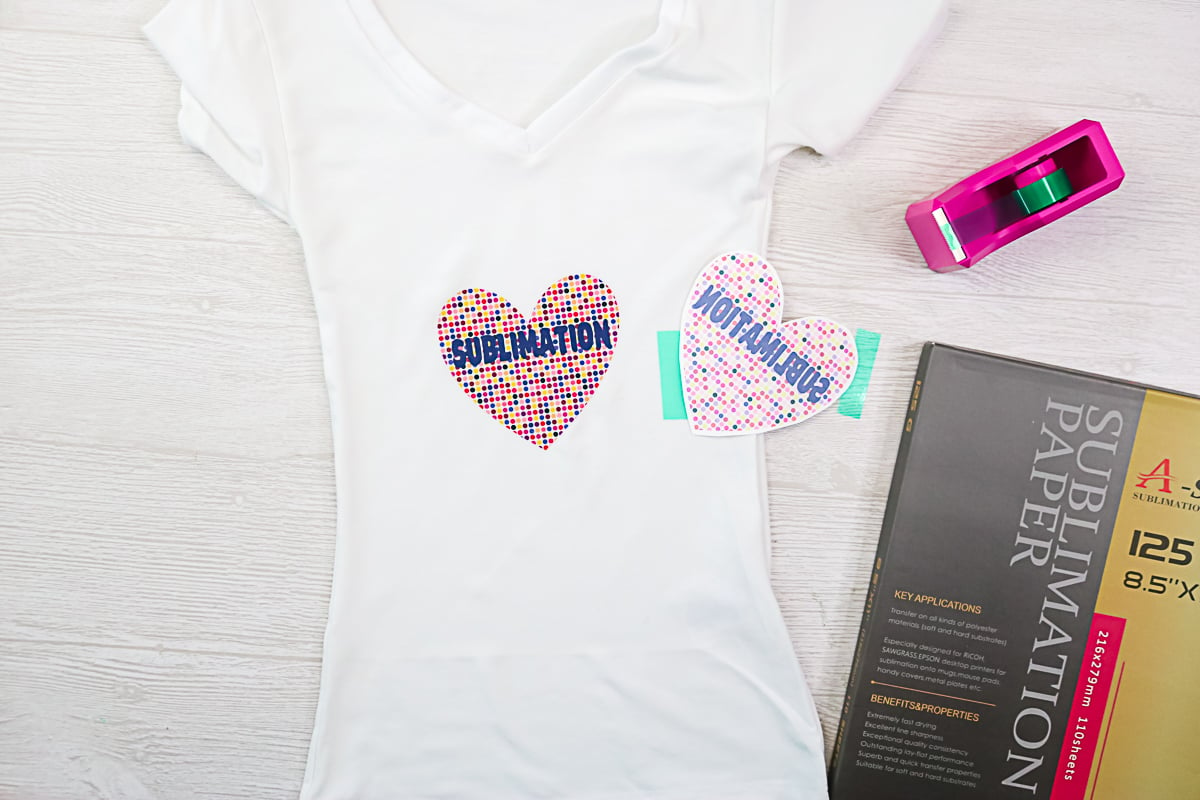
NOTE: After all of my products were applied to the shirt, I waited 48 hours before starting to wash. I used a normal washing cycle and hung to dry each time. I did wash inside out on each cycle.
Siser Glitter HTV
How to Apply
You will need to cut a heart from the glitter HTV and then print a sublimation heart of the same size that is mirrored. First, prepress your shirt for a few seconds to remove moisture. Then press the glitter HTV heart at 320F for about 8 seconds into the location on your shirt. Then remove the carrier sheet after pressing. You just want the HTV to be stuck to your shirt. We are going to press it a second time.
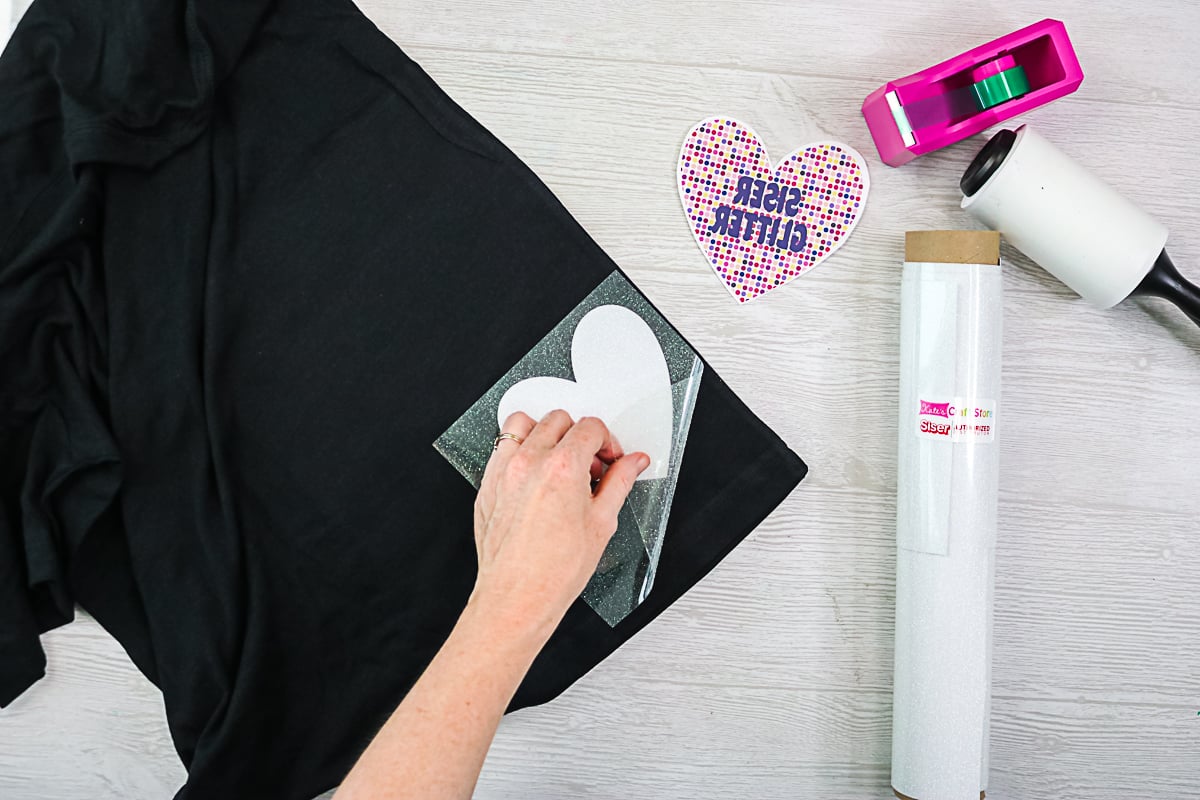
Lint roll over the HTV then locate your sublimation heart on top. This is the most difficult part of these methods. You can oversize your heart, especially with a black shirt as you will not see the excess around the outside edge. Use heat tape to hold the sublimation print into place then press at 400F for 50 seconds. Always remember to use protective paper over the top to protect your press.
Does it work?
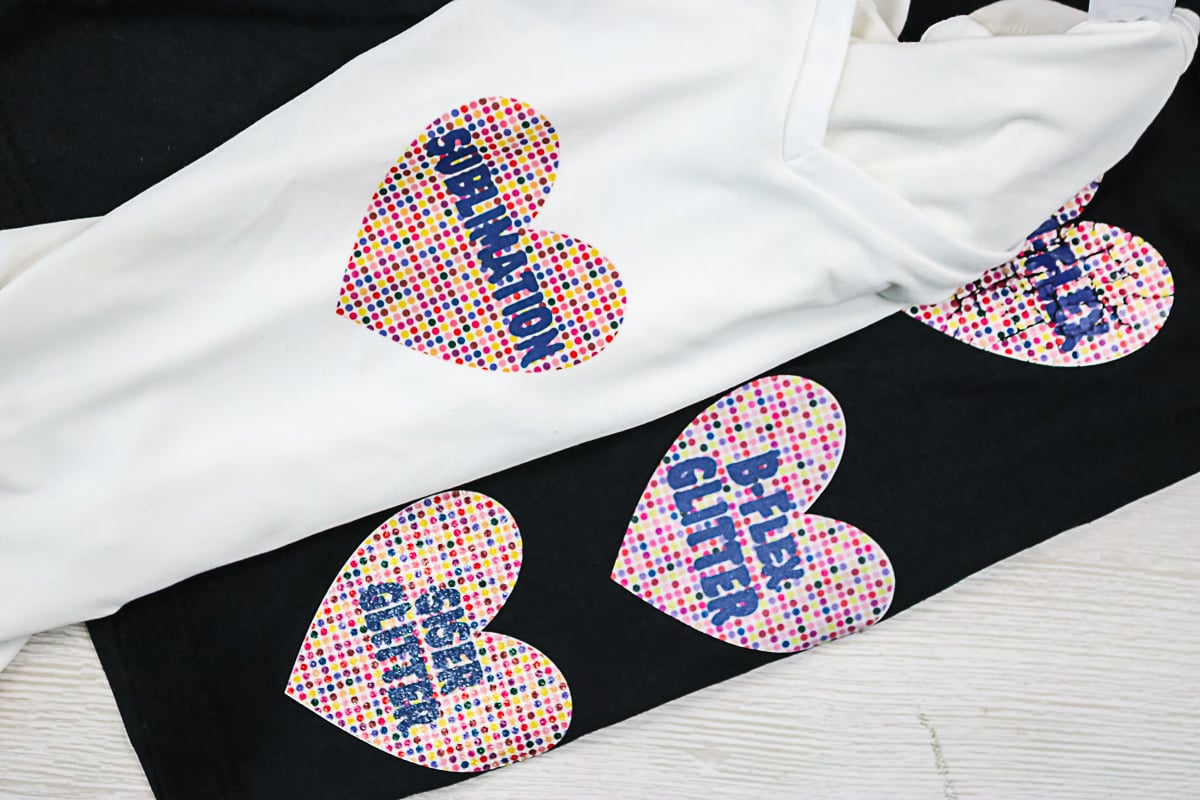
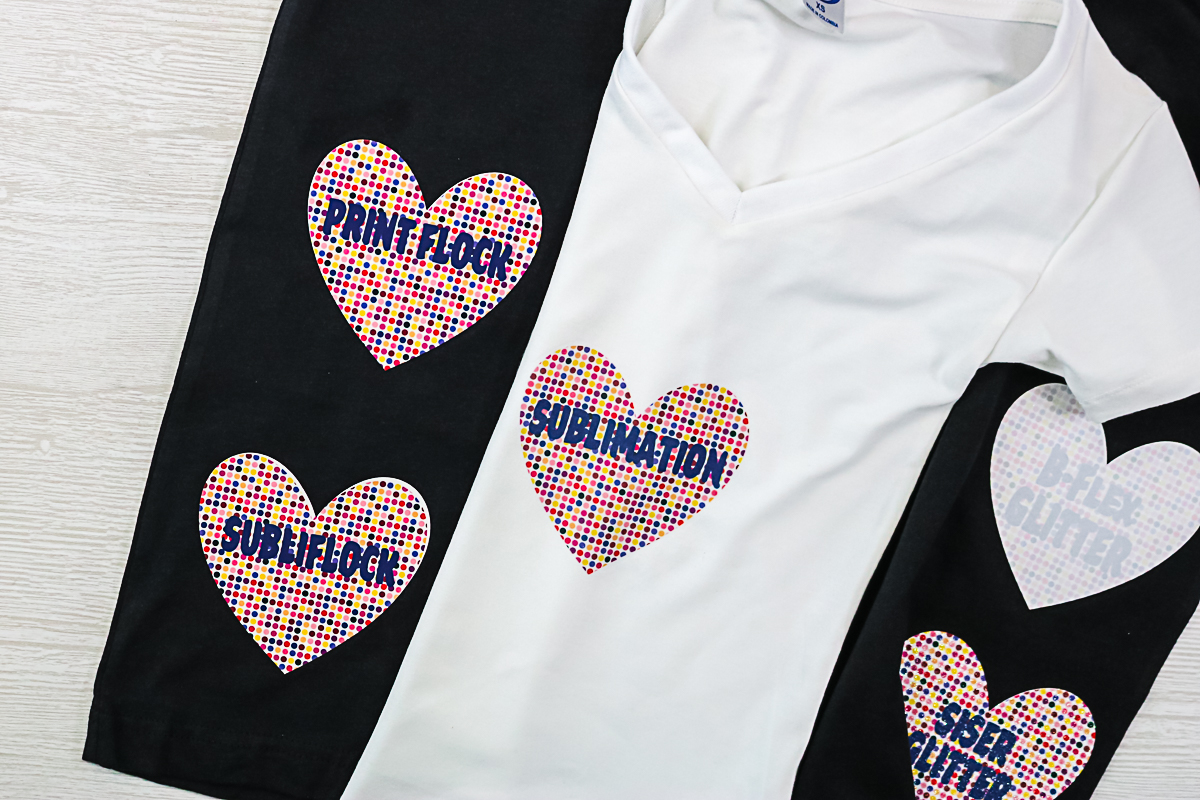
After about 19 or 20 cycles, there was a very small crack starting to form on this one. Otherwise the color looked amazing. I would definitely recommend this one if you want a glitter look to your sublimation design.
BFlex Glitter HTV
How to Apply
Follow basically the same procedure as the Siser HTV above. Put the glitter HTV on your shirt first. I pressed mine at 305F for 8 seconds. Then remove the carrier sheet and line up your sublimation print. You will want to press your sublimation design at 400F for 50 seconds. Always remember to use protective paper over the top to protect your press. When I did that, the Bflex came out REALLY muted in comparison to the Siser above. It almost felt like it had a film or coating over the top.
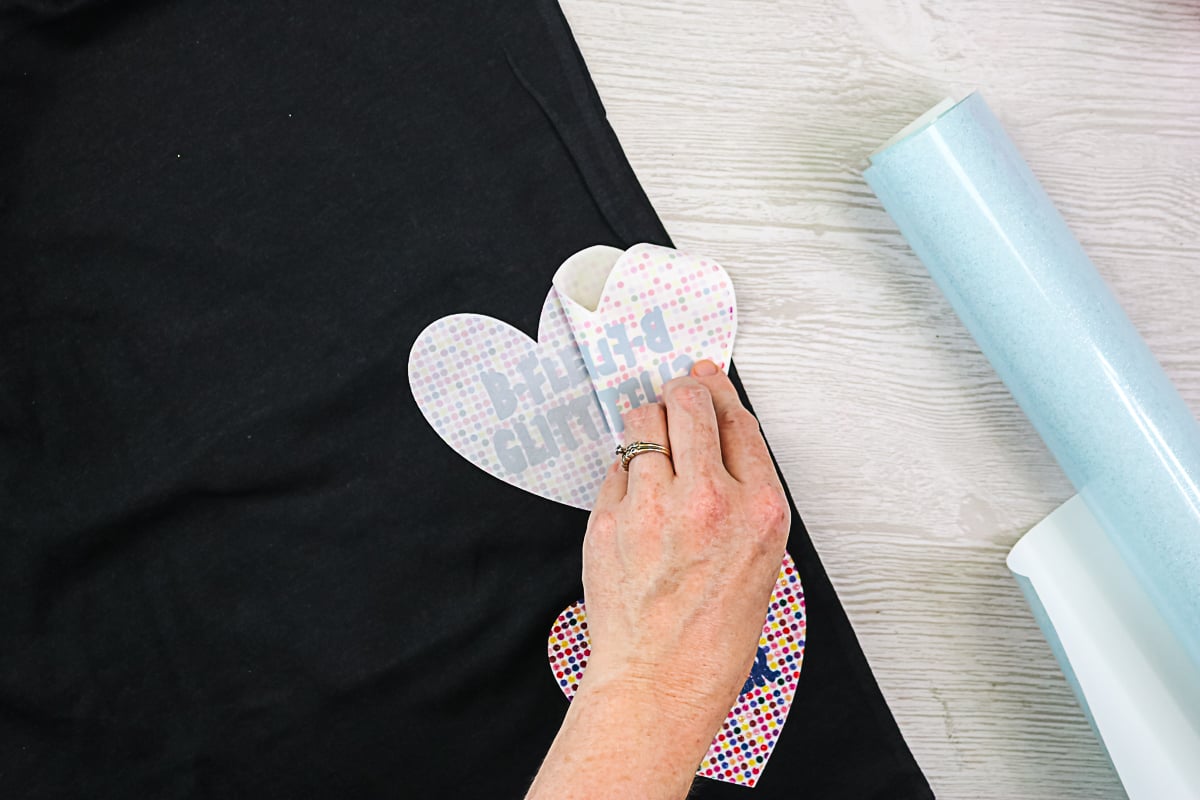
After one laundry cycle, this material actually got brighter. So, I do think it was some sort of user error that left a film on the HTV. However, this one is still not as bright or vibrant as the Siser product above.
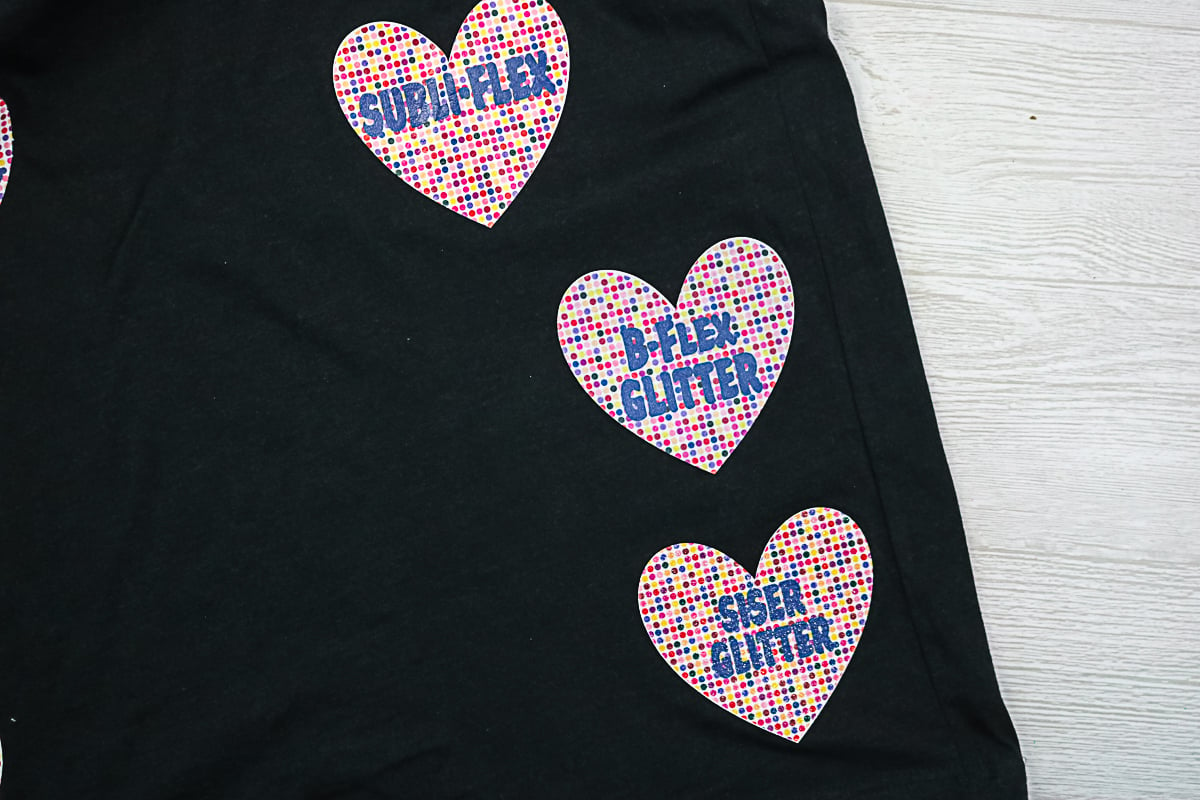
Does it work?
This product was never as bright as the Siser above. I wouldn’t really recommend it for sublimation on dark colors and cotton. If you want a glitter look, buy the Siser product.
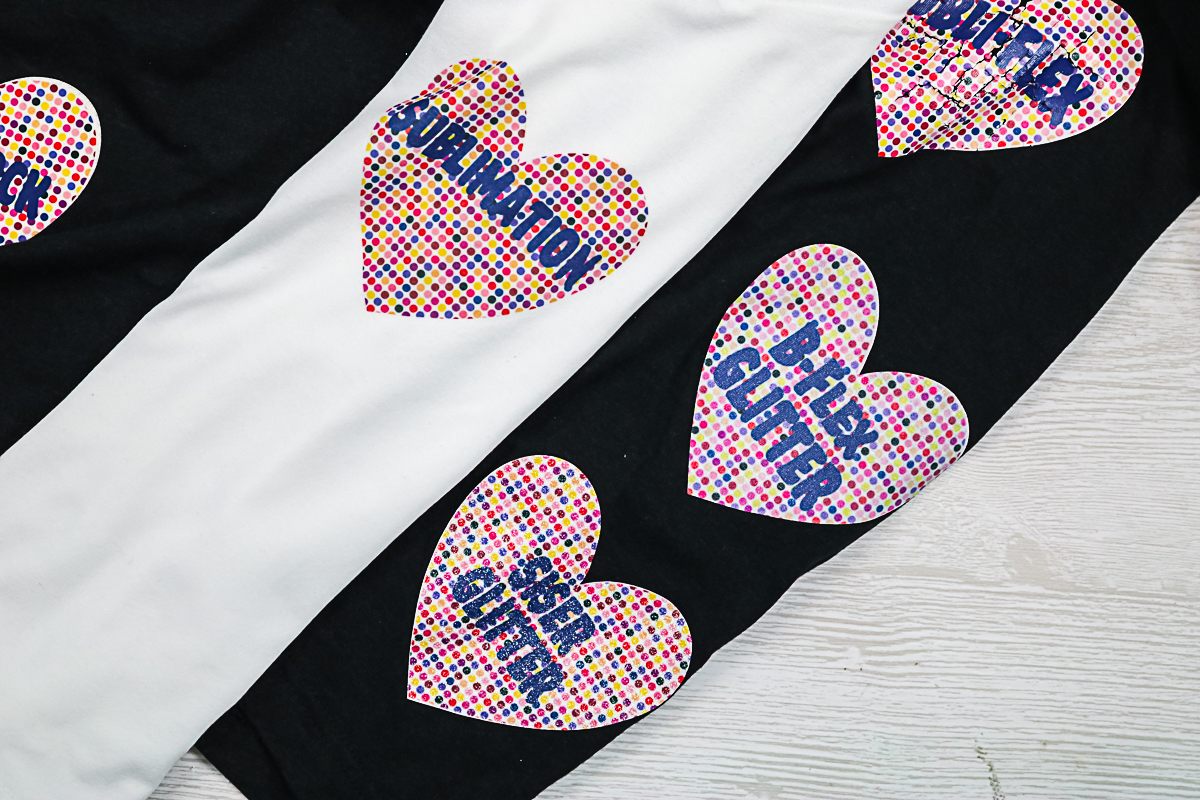
Subli Flock
How to Apply
Flocked HTV works in a similar way to glitter HTV. You can sublimate right on top. Flocked HTV has a fuzzy feeling and stands up off of your shirt after pressed. This particular product is supposed to run right through your sublimation printer. However, I could not get it to work with my Epson EcoTank printer. Other sublimation printers may be able to handle the thickness.
For my tests, I used a similar method as I did for the glitter HTV above. The only thing is that you will need to remove the Subli Flock from the carrier and place on your shirt as it is face up on the carrier sheet. If you have an intricate design you can use transfer tape that is meant for HTV for this part of the process. Then locate the design on your shirt and press at 320F for 8 seconds. Remember to cover up the HTV with a protective sheet when pressing.
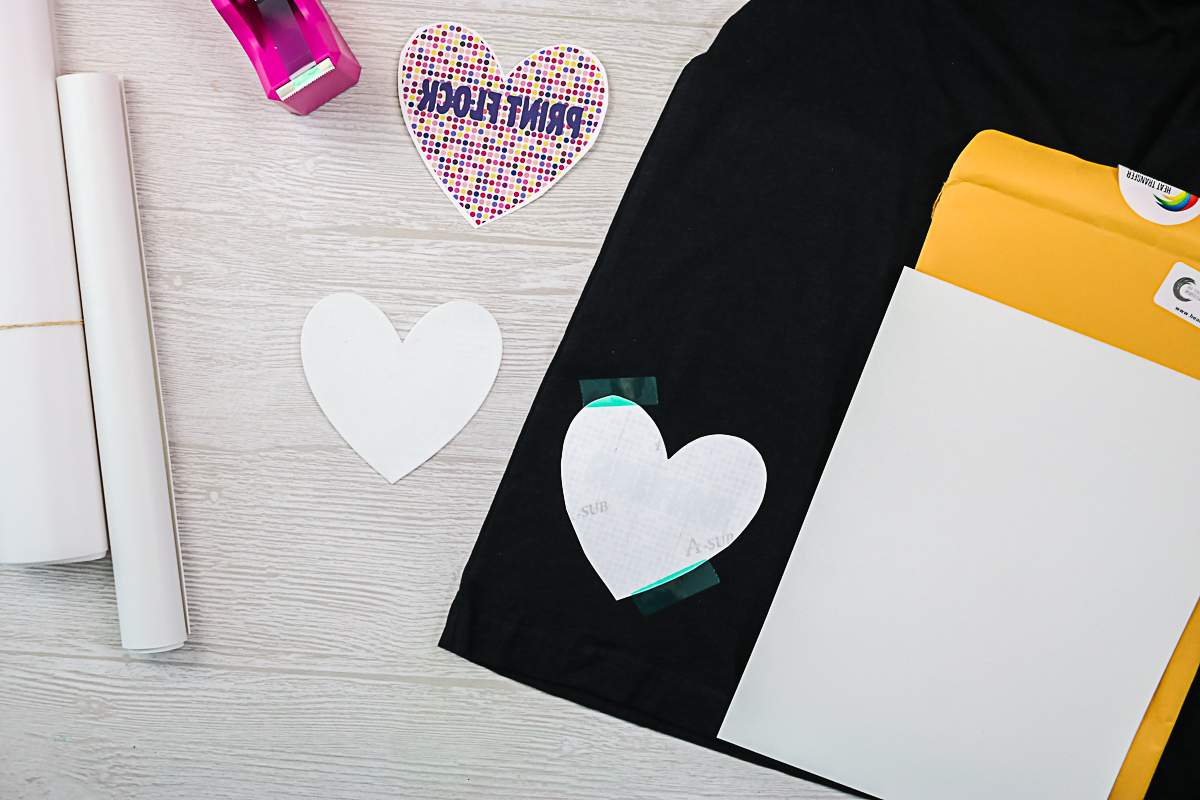
Lint roll your heart and then line up your sublimation design over the top and press again to transfer the sublimation. I did 400F for 50 seconds. Always remember to use protective paper over the top to protect your press.
Does it work?
After about 10 laundry cycles, a small crack started to happen on this product. After 20 laundry cycles, the crack was more pronounced, and there appeared to be black lines come up around the outside and in the center of my design.
Print Flock
How to Apply
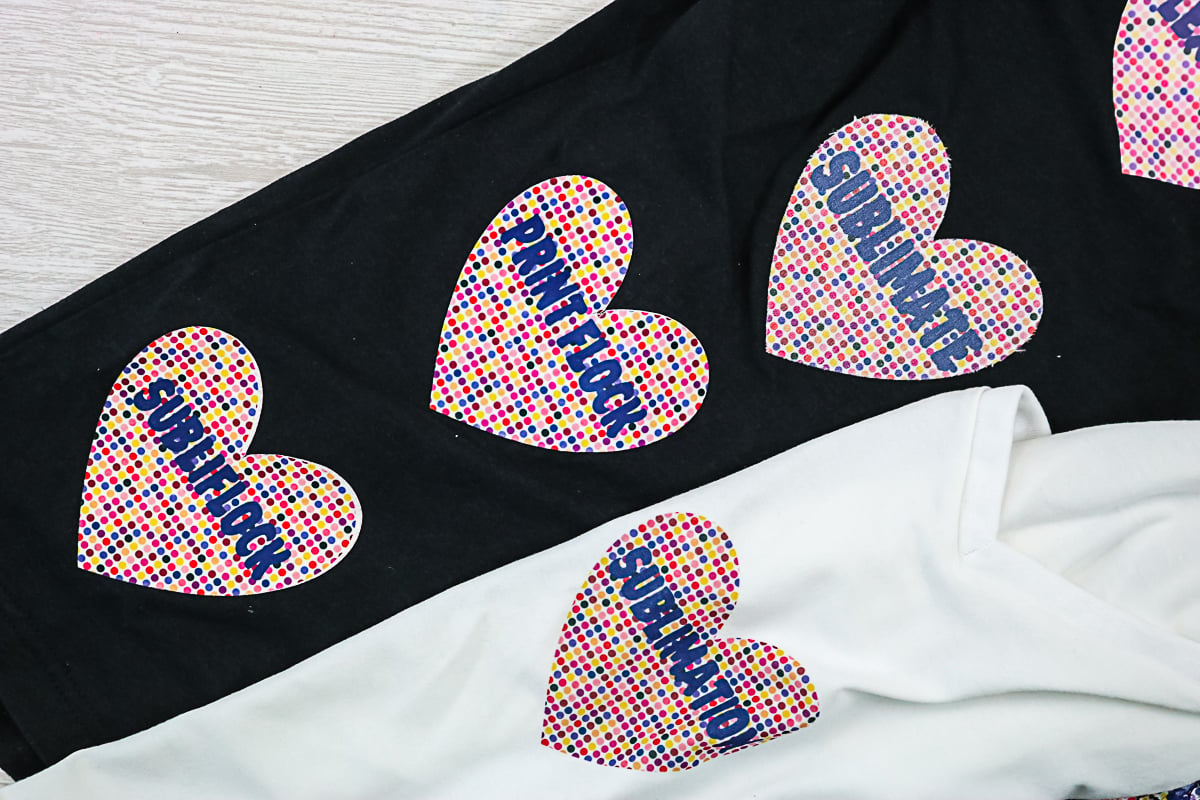
I ended up doing this product the same way as Subli Flock as it also would not run through my Epson EcoTank printer. This product is very similar so you will need to remove the flocked HTV from the carrier and place it on your shirt. Again if you have an intricate design, be sure to use a transfer tape made to withstand heat. I pressed the HTV at 295F for 6 seconds. Be sure to put protective paper or a Teflon sheet over the top when pressing.
Remove the carrier sheet and line up your sublimation design then press at 400F for 50 seconds. You will need to use protective paper over the top to protect your press.
Does it work?
This product started to tear a little bit after just one wash. However, the tear didn’t grow very much. It did hold its color really well over the 22 laundry cycles. I think I would go with this one over the SubliFlock but you can’t go wrong with either one.
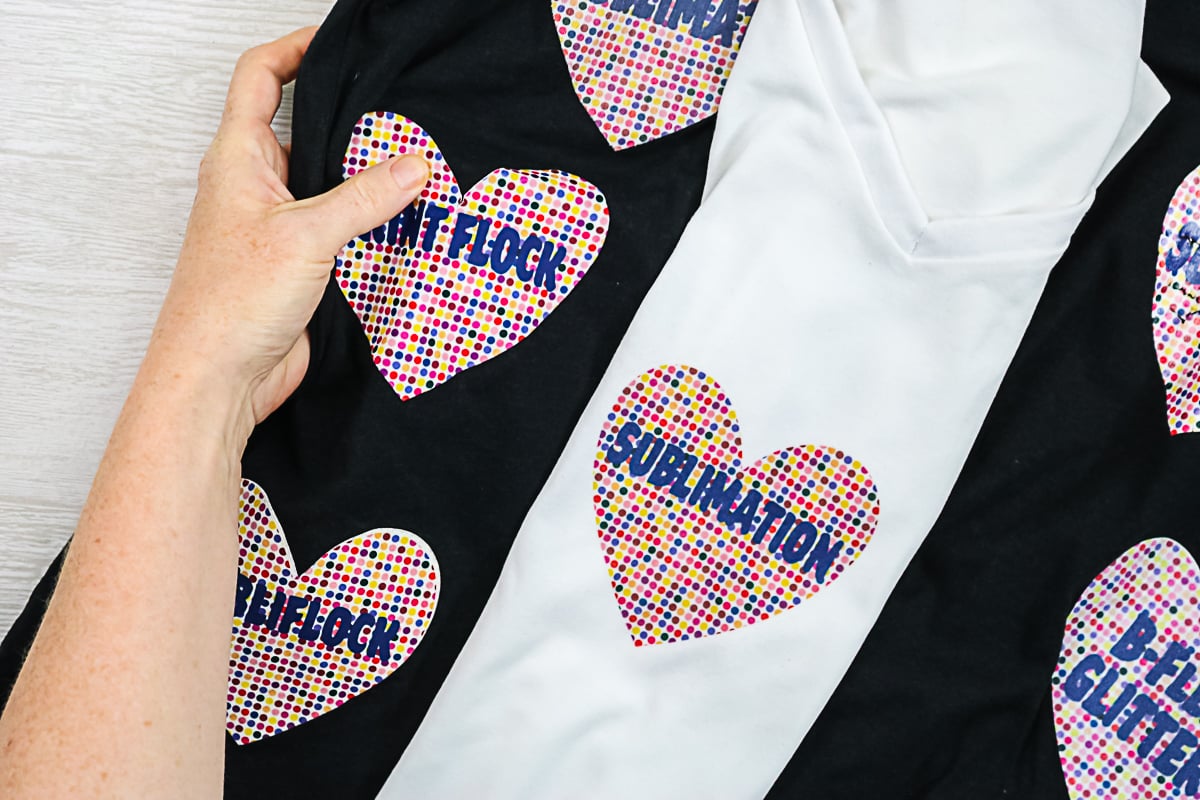
Subli Flex
How to Apply
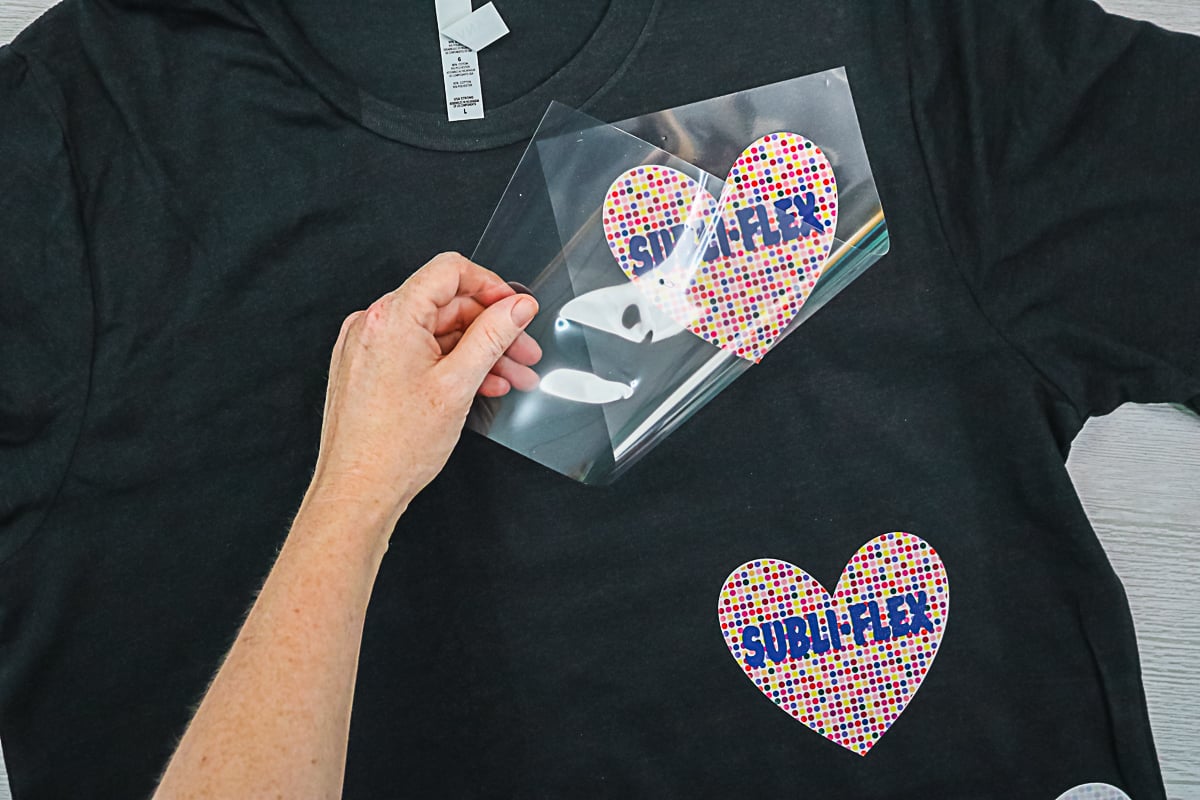
There are actually two ways to apply this product. You can do a matte finish and a gloss finish. I am going to try both. For this product, you print then cut around it. I used my Cricut machine for this and cut on the iron-on setting. Then just weed away the excess around the outside.
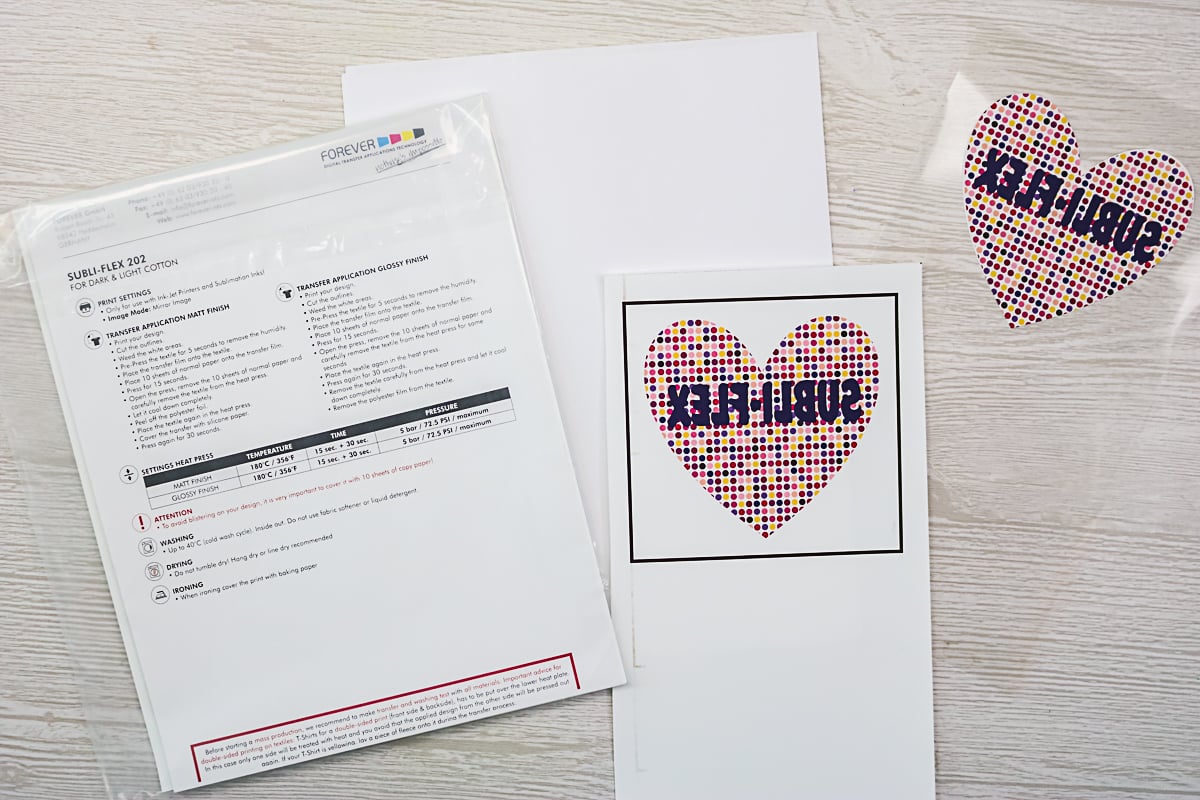
For matte application, prepress your shirt for a few seconds to remove moisture. Place the design on your shirt and put 10 sheets of regular copy paper over the top. Then you can press at 356F for 15 seconds. This product does require heavy pressure so you will need a heat press for this one. Once you press that first time, let it cool completely and peel back the top carrier sheet.
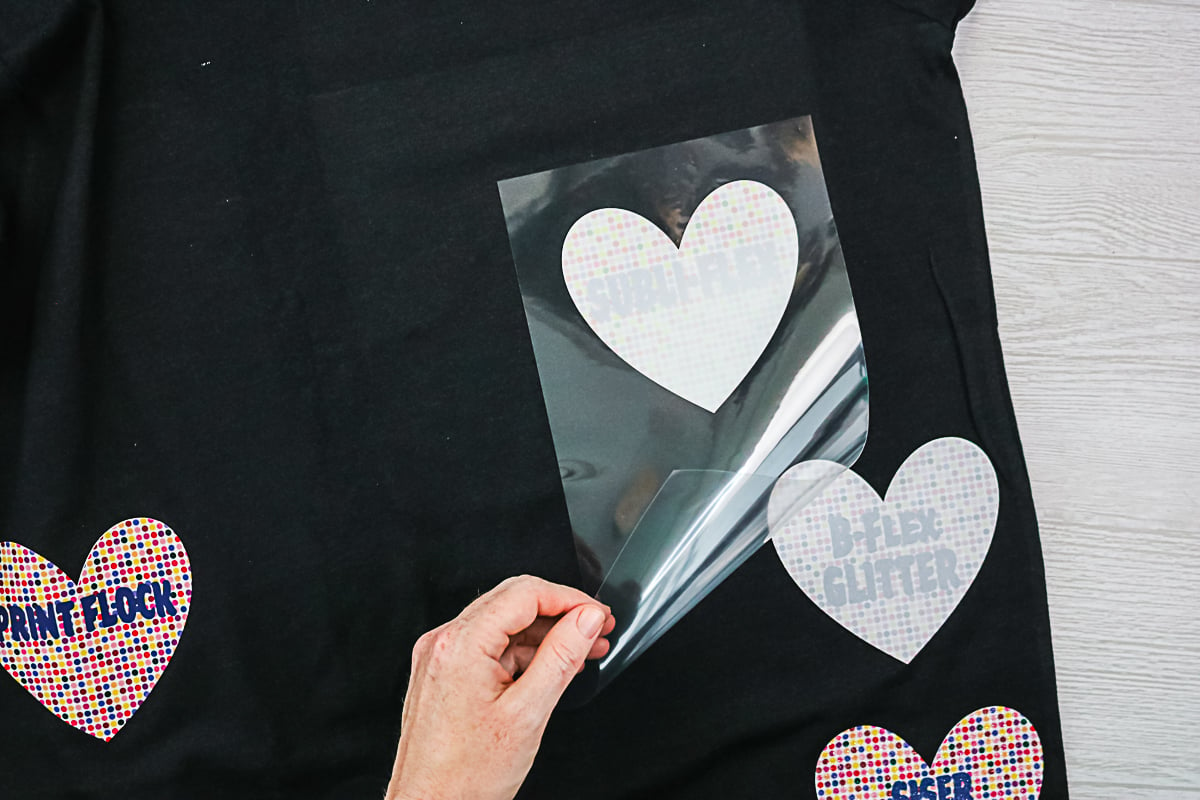
Cover the material with silicone paper and press once again. This time press at 356F for 30 seconds with heavy pressure. Then remove the paper and you will be left with your design on your shirt.
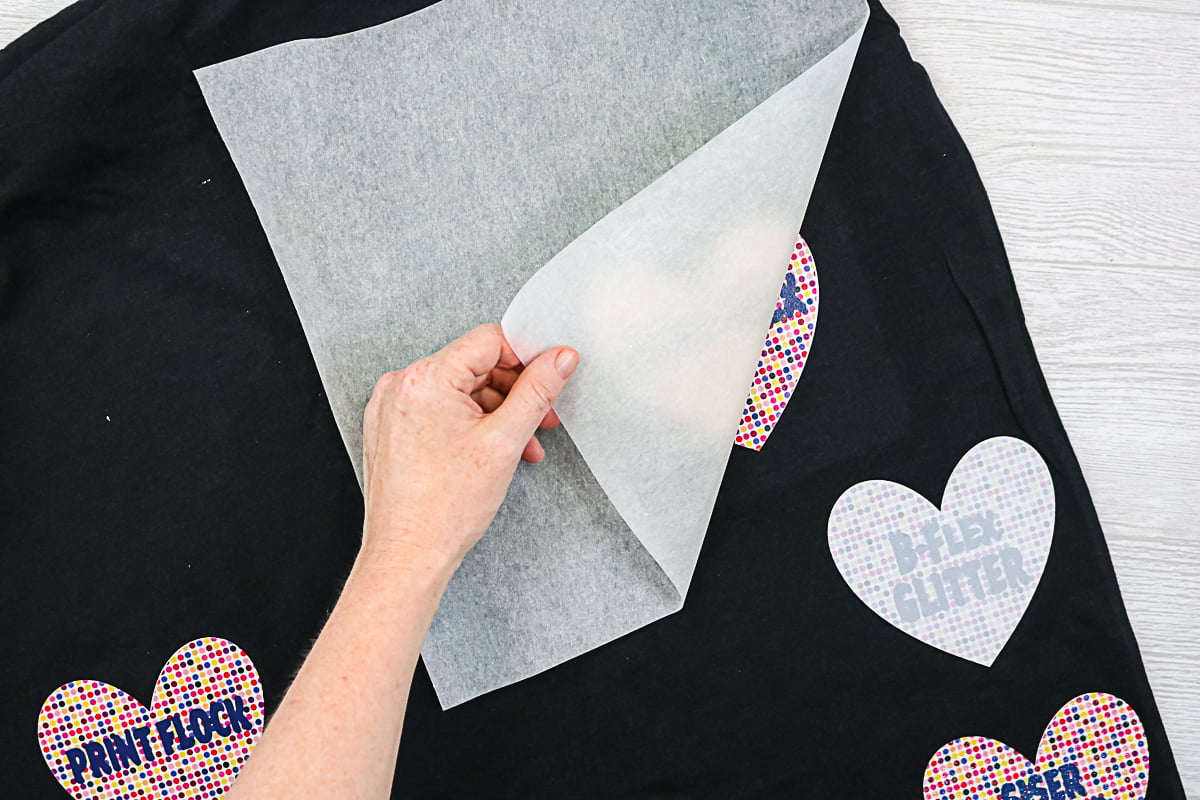
For a glossy finish, prepress your shirt for a few seconds to remove moisture. Place the design on your shirt and put 10 sheets of regular copy paper over the top. Then you can press at 356F for 15 seconds. This product does require heavy pressure so you will need a heat press for this one. Once complete, remove from the press for just a few seconds then put it right back in with the carrier sheet still on top and press for 30 more seconds. Then allow to cool and peel back the carrier sheet.
Does it work?
This product started to crack after just one laundry cycle. After just 3 cycles, it had completely failed. I would not recommend this product at all for you projects. I did not have any luck at all with using it for sublimation on dark colors and cotton.
Sublimate
How to Apply
This product is a fabric that has been stiffened and an adhesive added to the back. You can print directly onto this material with your sublimation printer. Then you will need to cut out your design. I used the bonded fabric setting on my Cricut machine and just let it go one pass. NOTE: You do not mirror your design and you will need to let the ink cure for 2 hours before pressing.
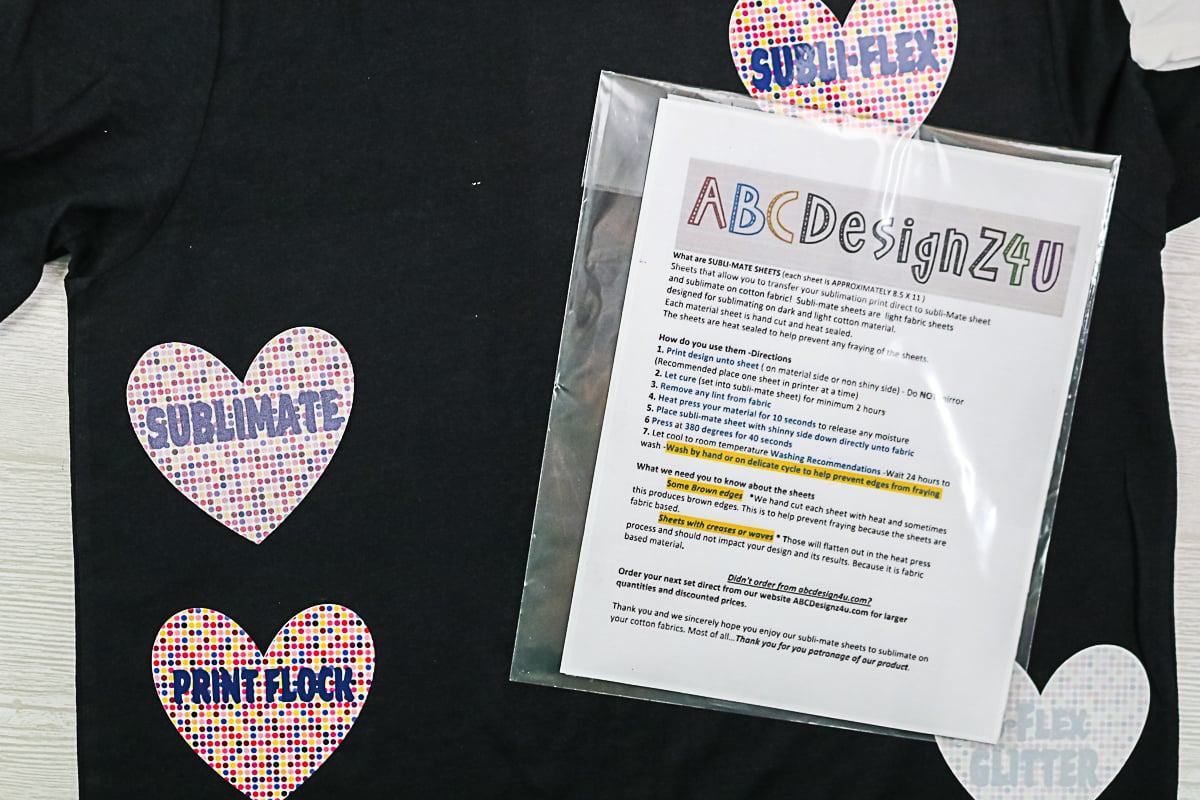
Then lint roll the shirt and prepress for 10 seconds. Add the design in place on your shirt and press at 380F for 40 seconds. I did cover mine with protective paper to protect my press from the ink.
Does it work?
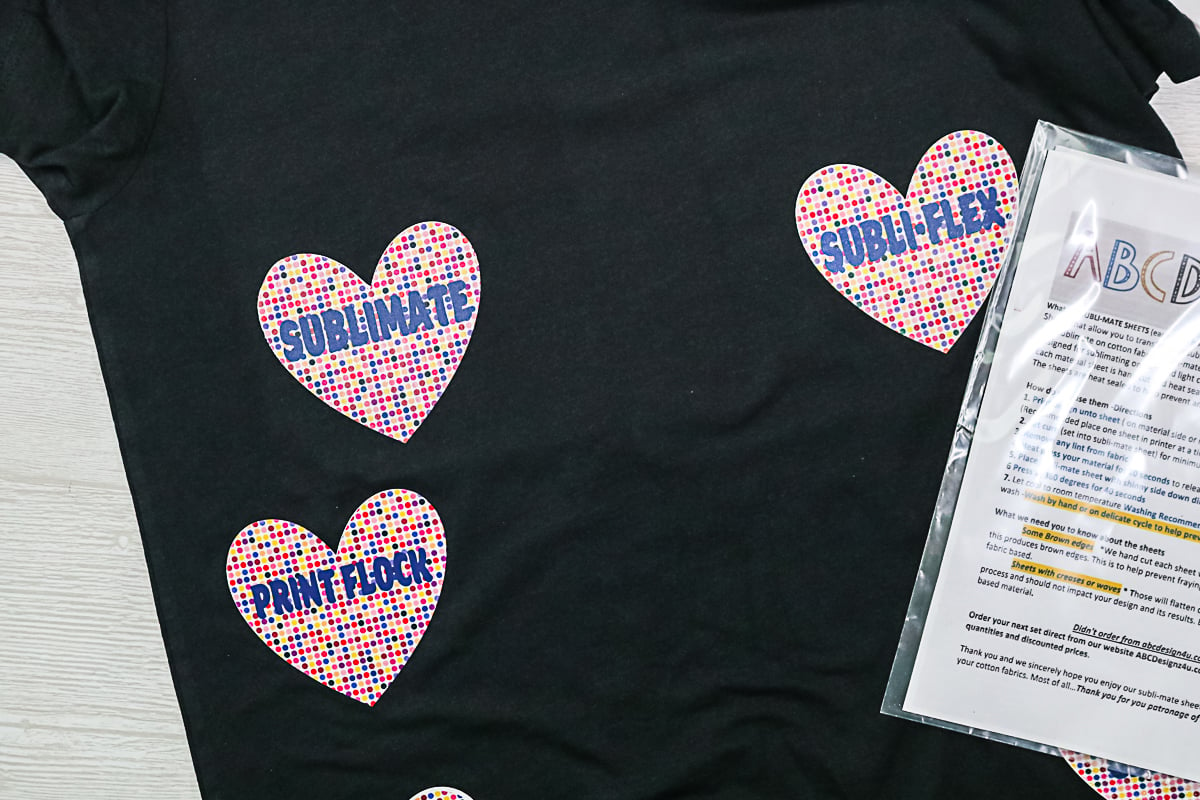
I did feel that you can’t get a true white with this as the black fabric shows through a bit. It does say that you need to use a delicate cycle for washing. I did not do that as I had several different experiments on one shirt. It did start fraying after just one wash cycle. However, the fraying didn’t really spread out at all. I think this product would be perfect for something like sublimated rustic hat patches.
Flexi Print
How to Apply
The product and special transfer tape are included in the package. You do NOT mirror when printing on this one and a Cricut machine will be beneficial when working with this product. Print your design on the matte side, wait at least 30 minutes, and use the iron-on setting to cut around it. Then weed away all of the excess. You can then either lift the design from the backing paper with your hands or use the transfer tape enclosed in the packaging to add the design to your shirt.
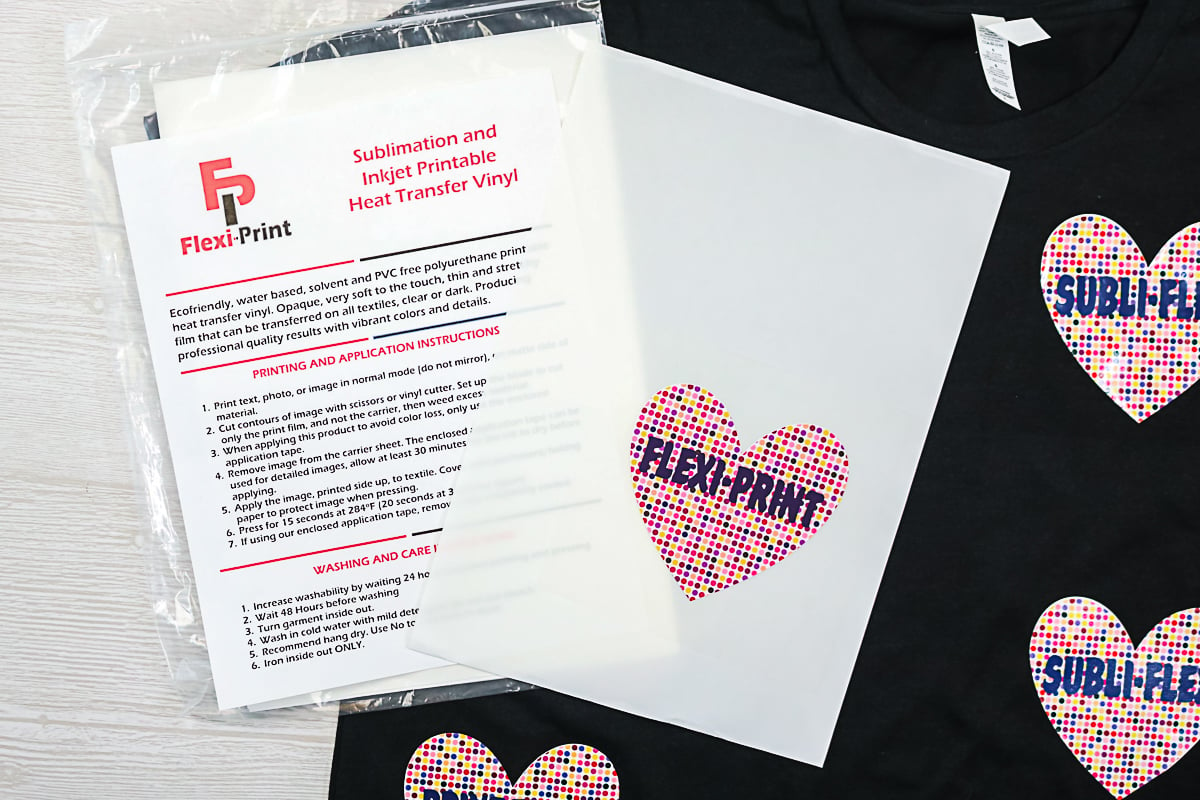
Be sure to lint roll and prepress the shirt before you add your design to the press at 284 for 15 seconds. Be sure to add protective paper over the top. Allow to cool completely if you are using the transfer tape before removing it.
Does it work?
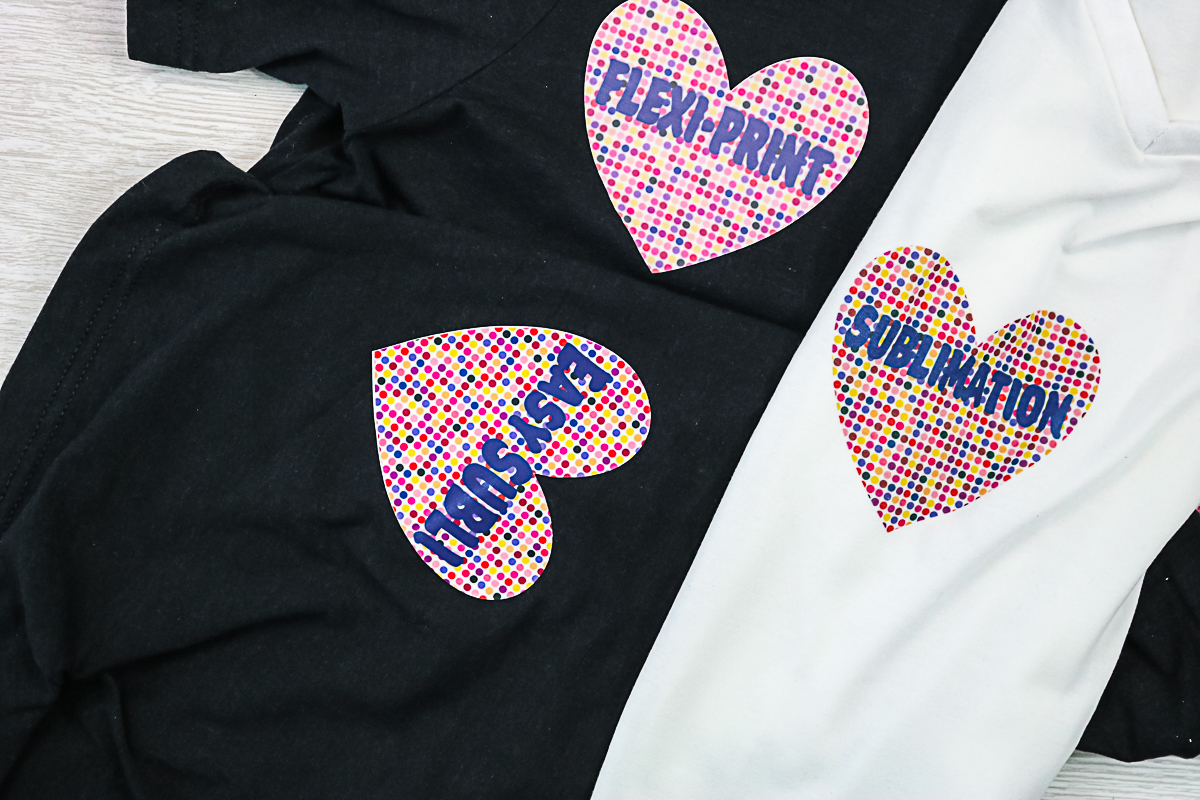
After about 20 laundry cycles, this product really started to fade. While I love the application method, I would say the EasySubli does hold the color better.
Siser EasySubli
How to Apply
This product is very similar to the FlexiPrint above. Again you get the EasySubli sheets and the transfer mask as well. This product is designed to work with a Sawgrass printer and EasySubli ink. You are supposed to be able to print right onto the product as I did with the FlexiPrint above. The issue I had was that I am using an Epson EcoTank printer with Hiipoo sublimation ink and it just would not dry on the surface. I allowed it to sit overnight and even put it under a hot heat press to get it warm. Nothing would dry the ink.
So, I had to do an alternate method of application. I ended up applying it in the same way as I did glitter or flocked HTV. I cut a heart from the EasySubli sheet and printed a mirrored sublimation print with the same size heart.
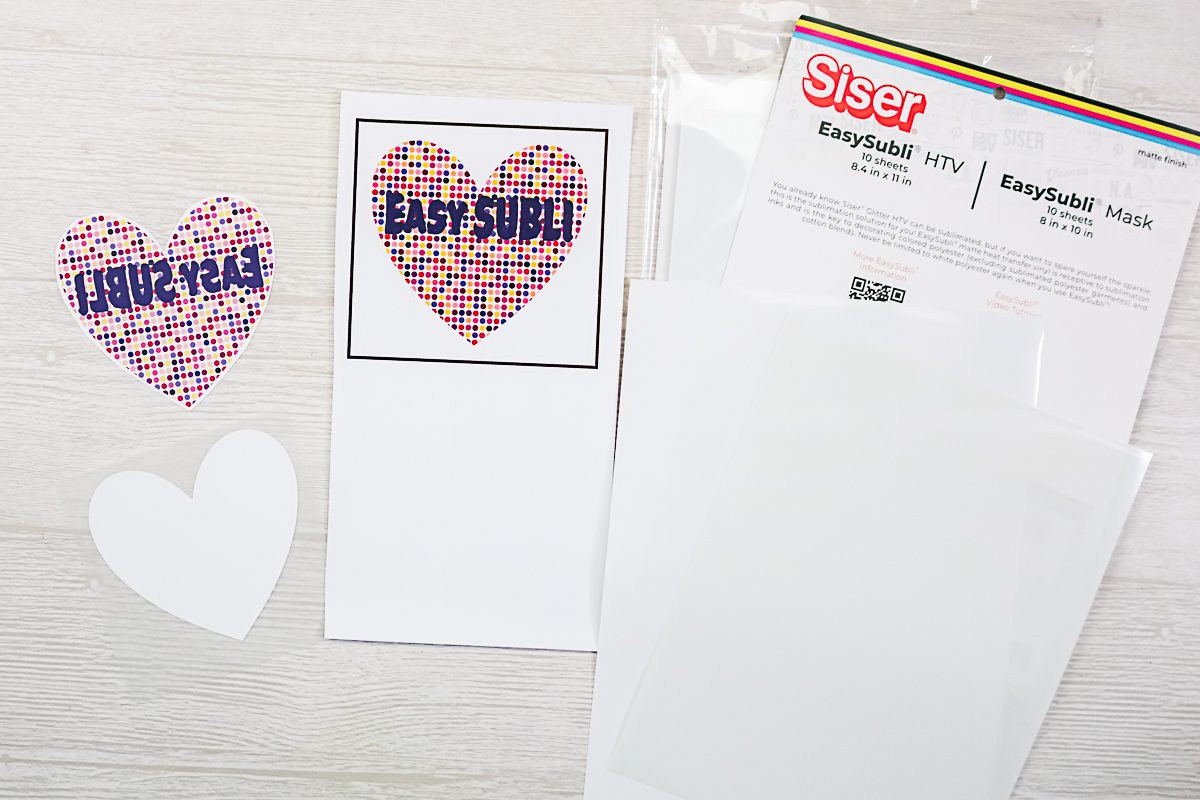
Lint roll and prepress your shirt then put the EasySubli cut out into place. Again you can use the transfer mask if you have an intricate design. Press the material for 311F for 8 seconds. Then apply the sublimation heart over the top at 400F for 40 seconds.
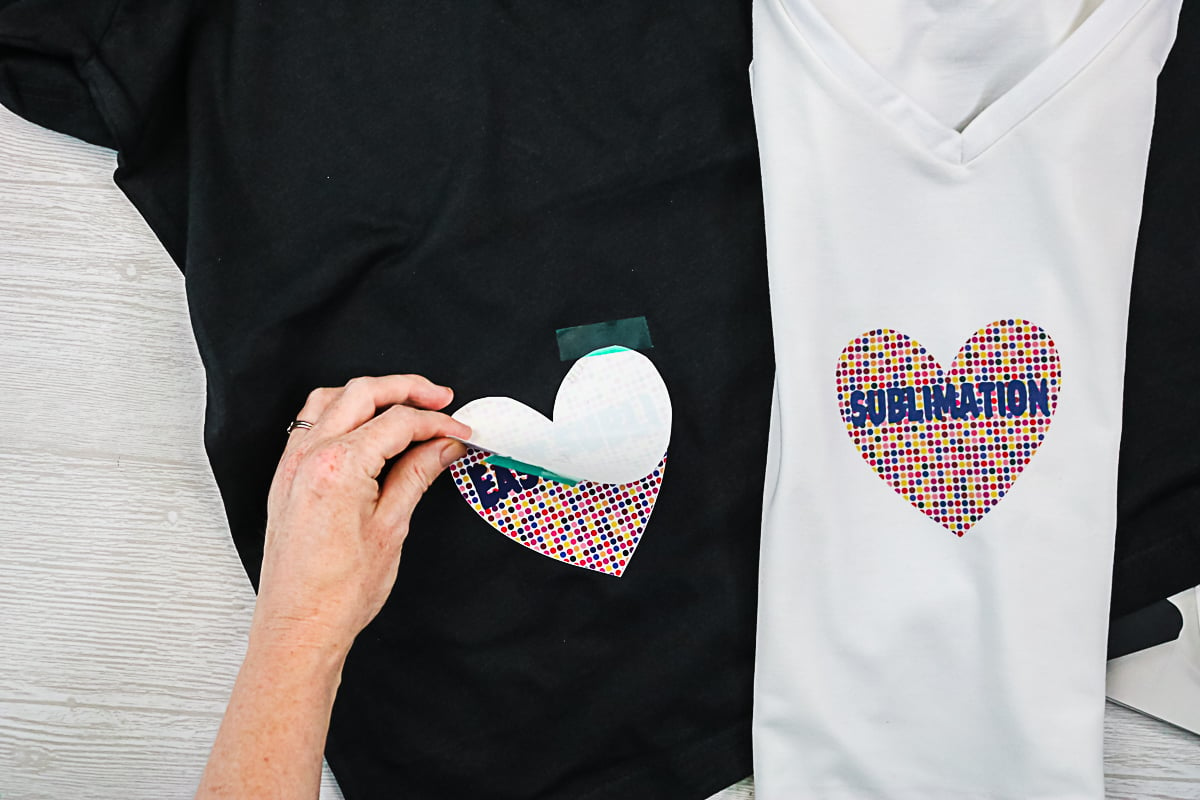
Does it work?
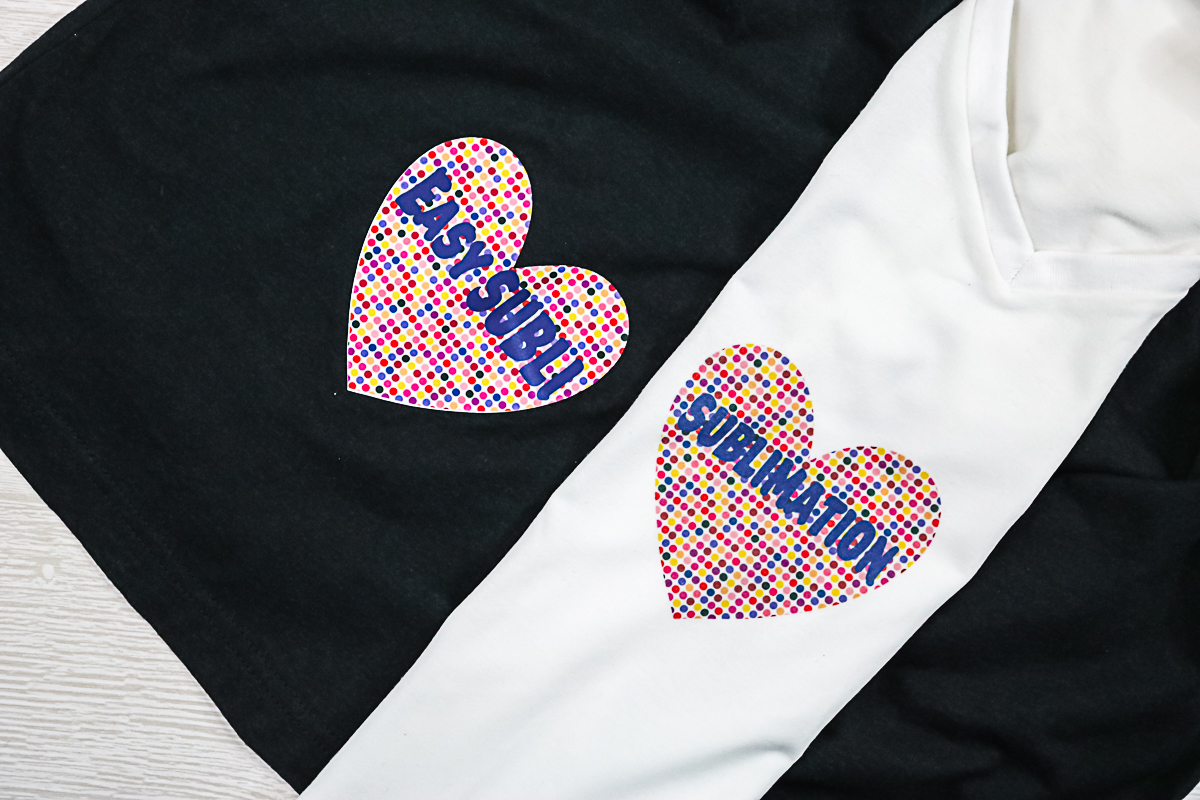
This product is definitely my clear winner! I think it would great for sublimation on dark colors and cotton. It held its color great and adhered wonderfully. The only drawback is that with my Epson printer, I could not print directly onto the material.
How do the products feel?
All of these products sit on top of the shirt. It will not be the same as sublimation which embeds into the fibers of the shirt. They feel more like an HTV. My favorite as far as feeling is probably the EasySubli. The FlexiPrint is the next closest. The flocked and glitter HTV feel just like they would if you didn’t have sublimation over the top. I didn’t like the feeling of the SubliFlex at all. The Sublimate feels like a stiff fabric on top of the shirt.
Which product should you use for sublimation on dark colors and cotton?
This totally depends on the look you are going for and the design you will be putting onto your shirt. I love the EasySubli, however, I would go with Flexiprint for a more intricate design. It will just be easier to line up and apply. If you want a glitter look, give Siser glitter HTV a try. If you want a flocked look, I think either of the flocked products above will work great for you.
I hope this helps answer your questions regarding sublimation on dark colors and cotton. Now, are you going to give one or more of these products a try?
I love doing sublimation crafts and this adds another way that I can use my sublimation printer to make something amazing.
Don’t be held back by the type of blank any longer! Use these ideas for sublimation on dark colors and cotton. You will be so glad that you did!


Angie have you ever used the sublimation spray on cotton shirts if so could u do a video thank u so much
I have used some brands and I don’t recommend any of them.