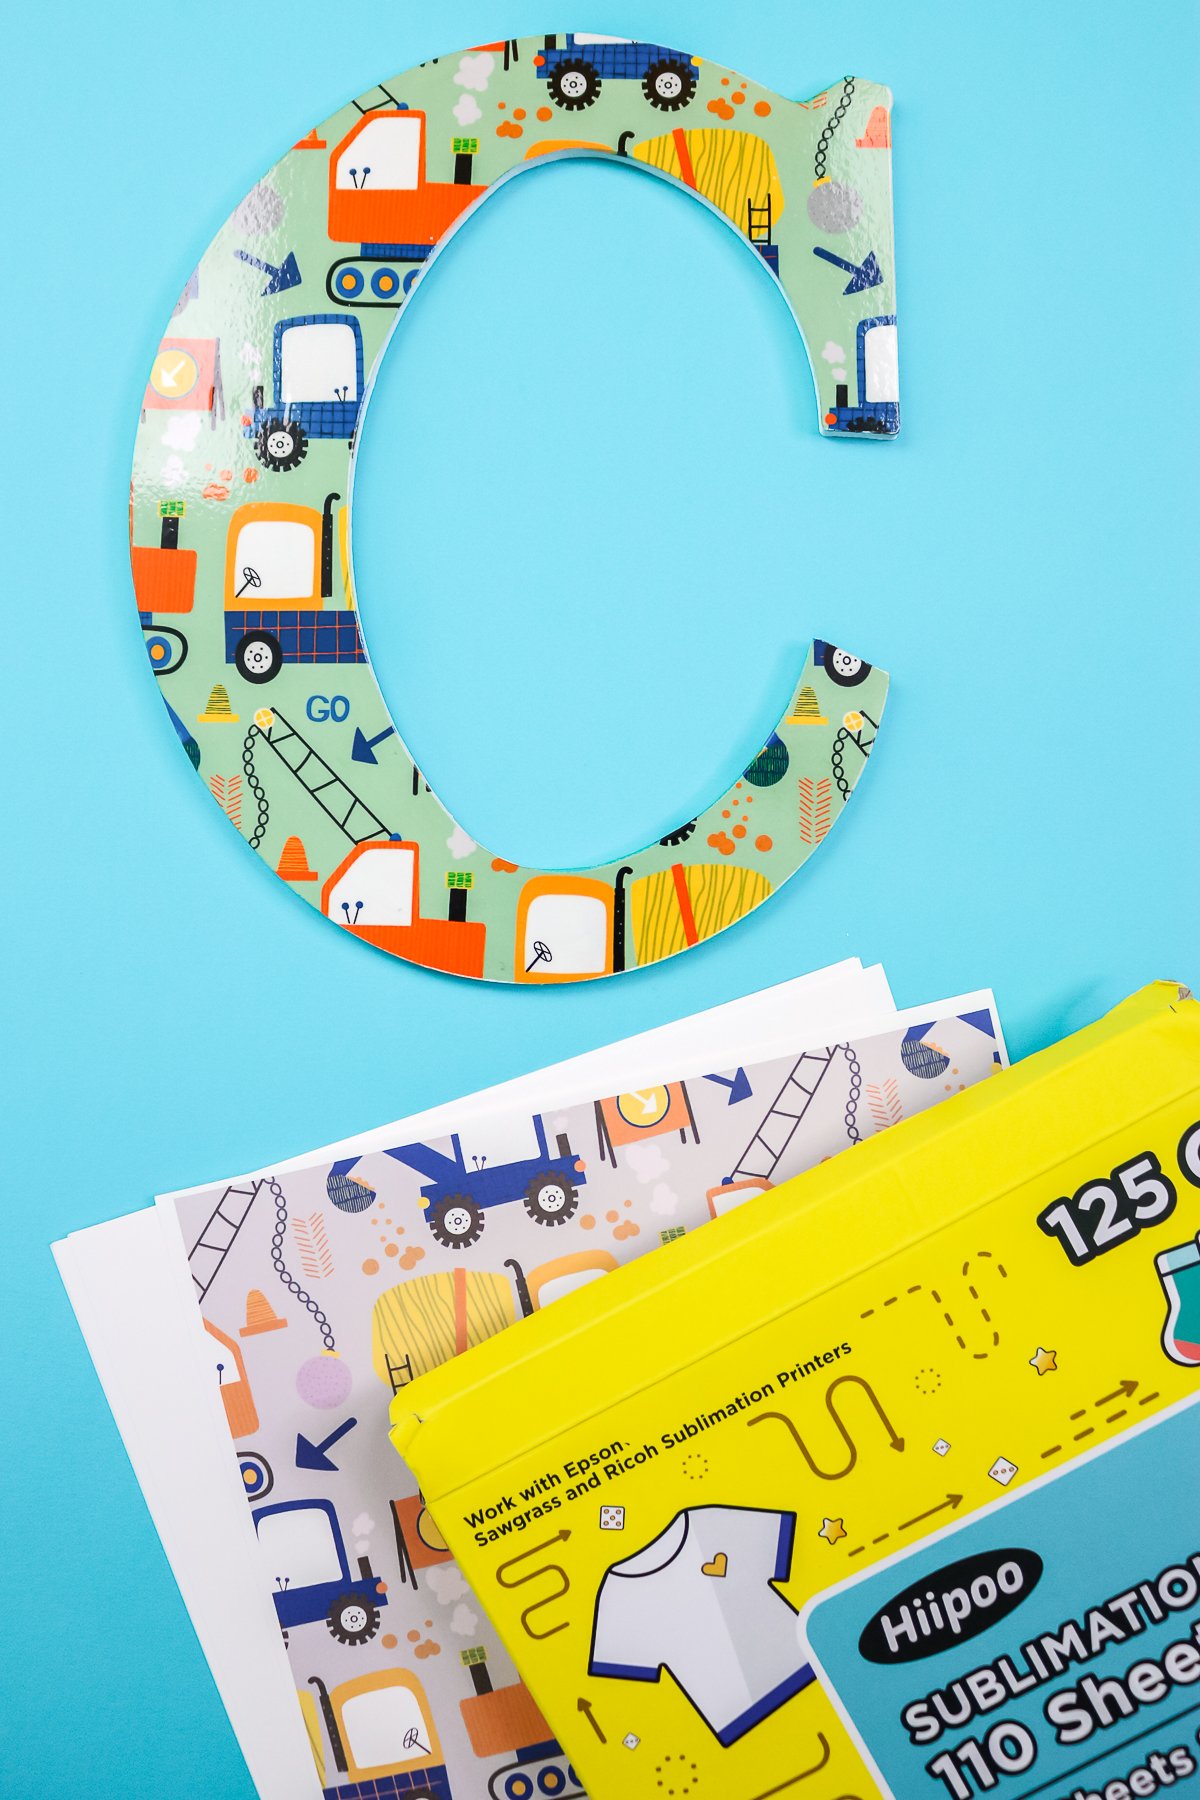
I have been wanting to try sublimation on wood for some time. I thought I would experiment with different ways to achieve this effect and see which works best. Should you use laminating sheets on wood? Will sublimation work on wood surfaces with no coating at all? What about polycrylic? Will it work for wood sublimation? I am answering all of that and more!
Sublimation on Wood
I am even experimenting with real wood, MDF, and even chipboard to see which will work best for your projects. So, be sure to watch and see which is my favorite method for adding dye sublimation to wood surfaces.
Can’t watch the video or missed some of the steps? You can also follow along below!
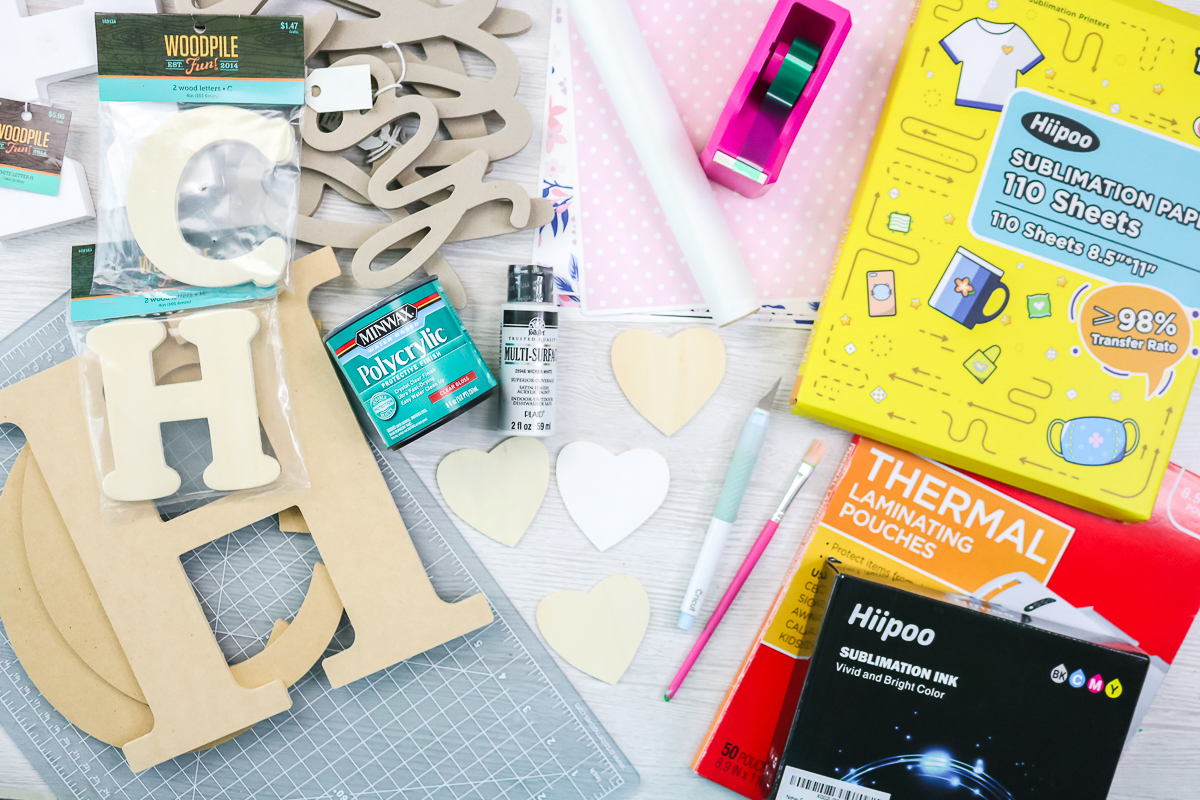
Supplies needed:
- Hiipoo Sublimation Ink
- Hiipoo Sublimation Paper
- Epson EcoTank Printer (I have the ET-4700 and here it is on Amazon. NOTE: Any EcoTank Printer should work with these same steps.)
- Laminating sheets
- Wood surfaces (wood, MDF, and chipboard surfaces shown)
- Polycrylic
- White paint
- Craft knife
- Paintbrush
- Cutting mat
- Heat resistant tape Use code CCC10 for 10% off
- Heat press
- Protective paper Use code CCC10 for 10% off
- Heat resistant gloves
- Heat resistant mat Use code CCC10 for 10% off
Sublimation Printing
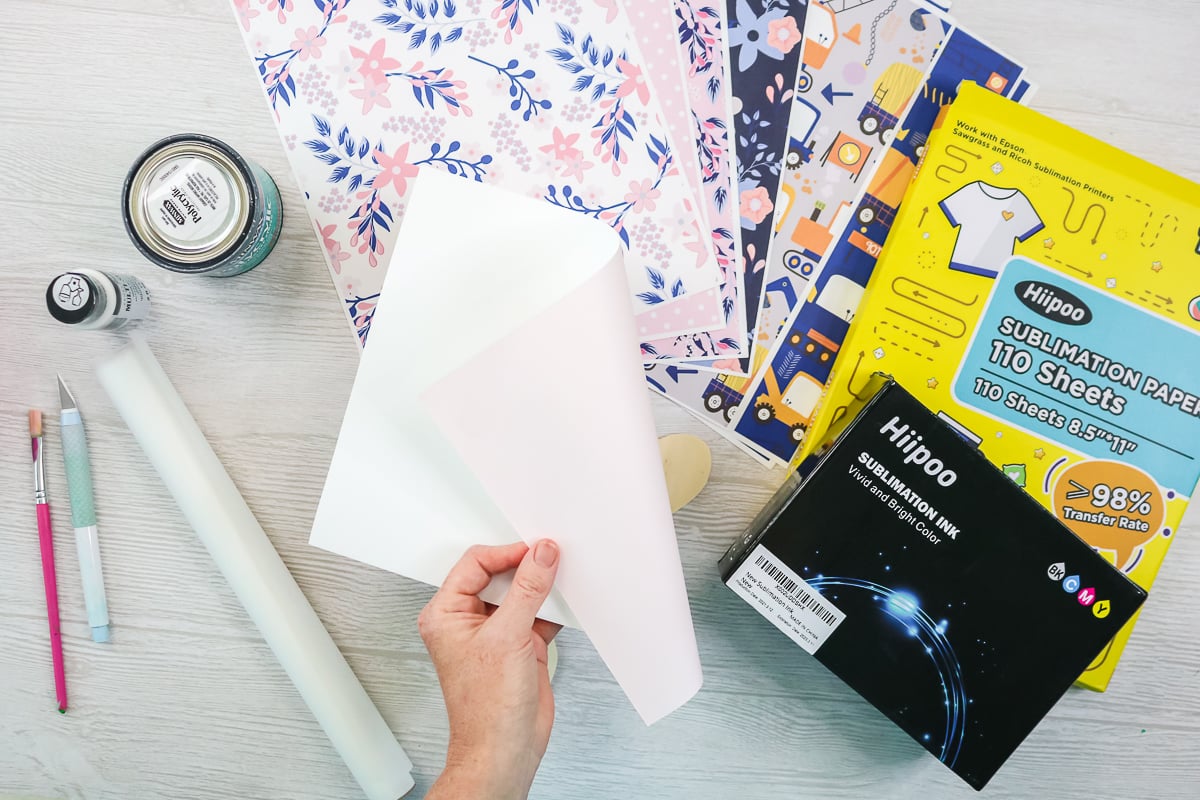
We will need to print our sublimation prints. I will use my sublimation printer to print a variety of sheets of paper. For all of these experiments, I am using Hiipoo Sublimation Paper. This paper is for Epson, Sawgrass, and Ricoh sublimation printers. I’m using my Epson EcoTank that I converted. NOTE: I like sublimation papers that have a color on the back, so you know which side to print on. This makes it super easy to know which side is the wrong side. This Hiipoo Sublimation Paper is pink on the back which makes it simple to know the difference.
Testing Methods
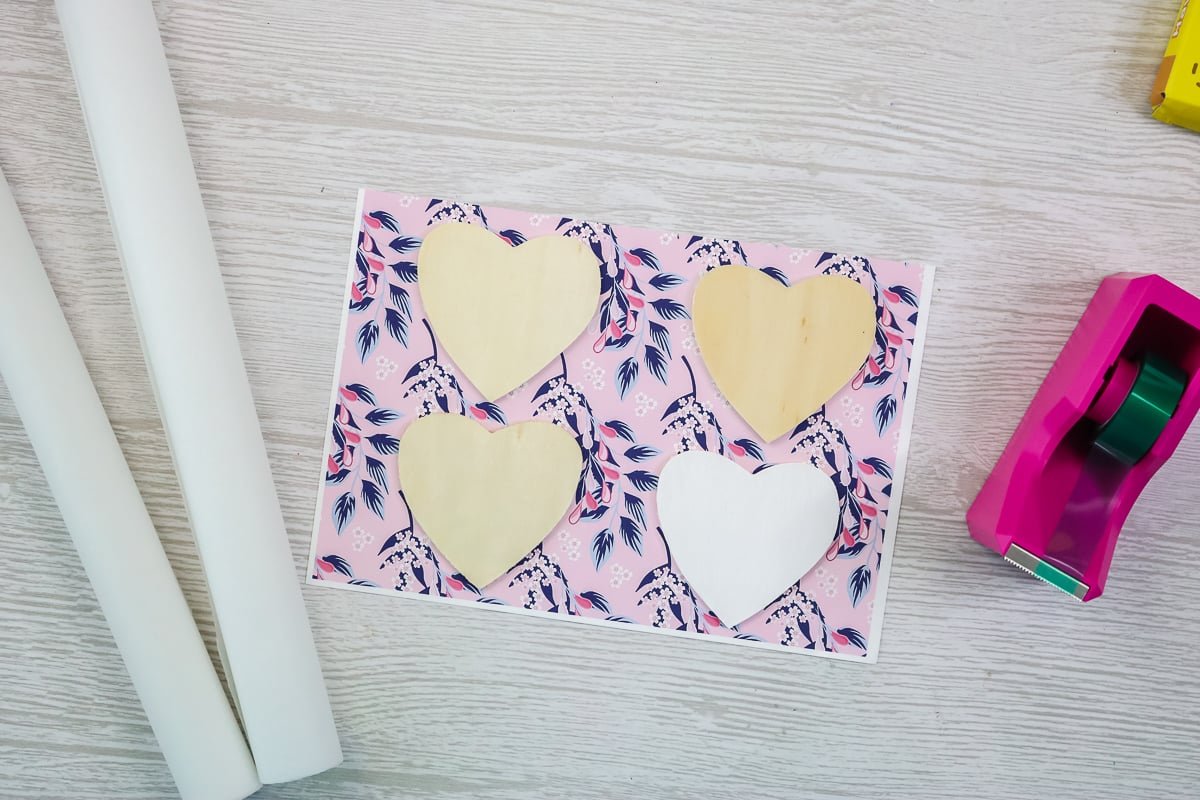
To start with, I added sublimation to some small wood hearts as a test. I did the following methods to see if they would work:
- Plain wood
- Two coats of polycrylic
- Two coats of a multi-surface paint plus two coats of polycrylic
- Laminating film
The first three are fairly self-explanatory, however, let’s take a look at adding that laminating film to wood.
Adding Laminating Film
I am using thermal laminating pouches just like you would use in a laminator. When you open these, there’s going to be a matte side and a shiny side. I’m just going to cut enough to cover my heart with the matte side against the heart.
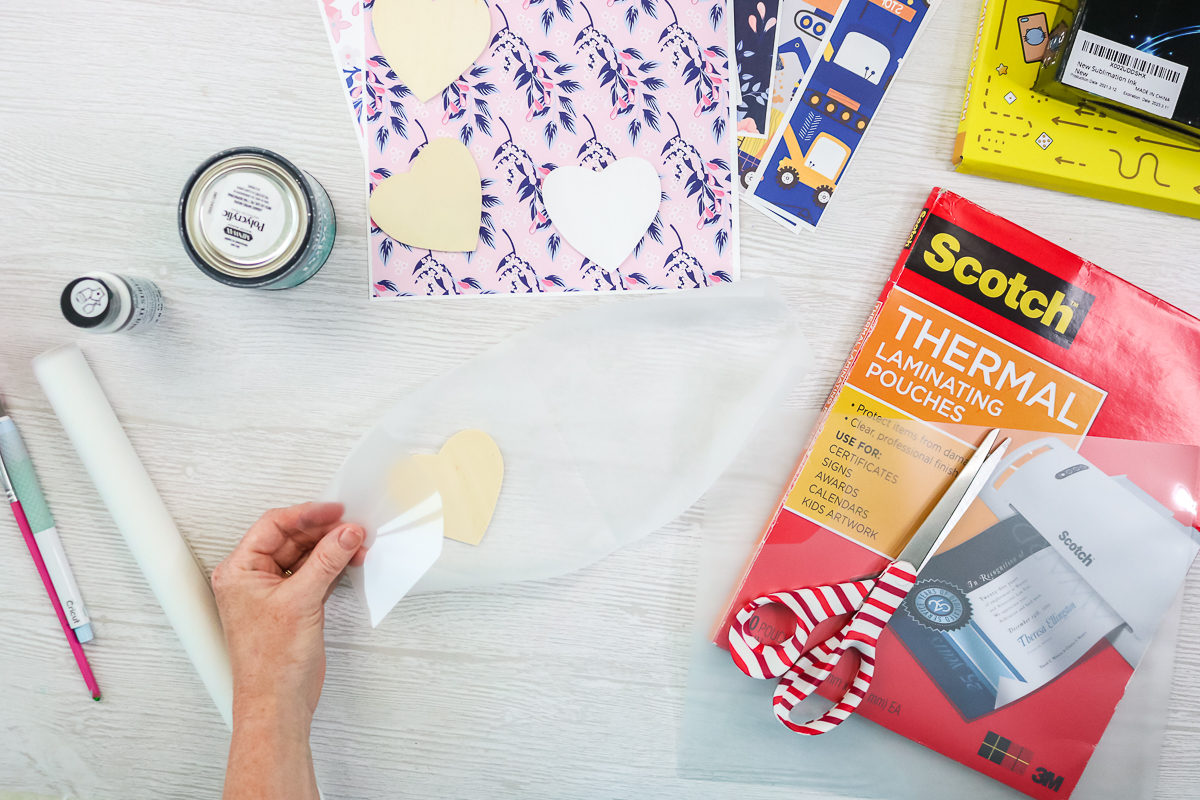
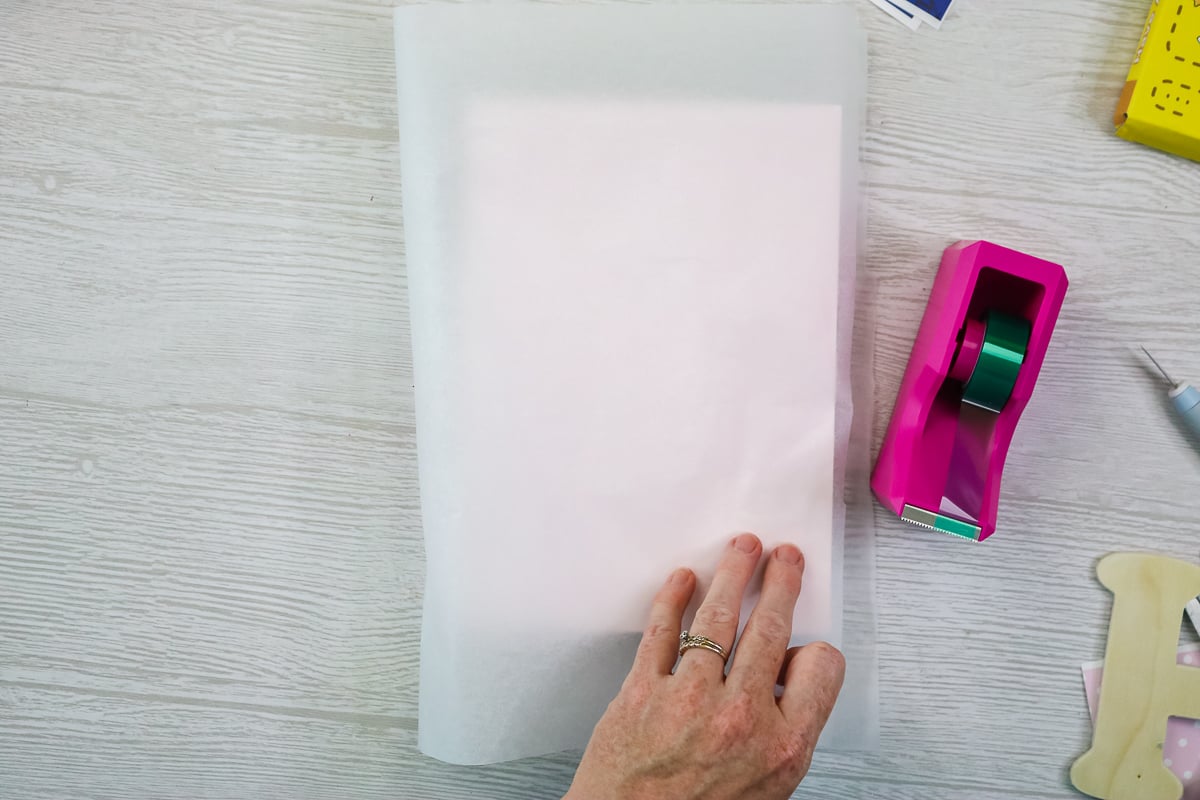
It’s going to get everywhere because we’re basically going to melt the laminating film to the heart. I’m going to cut a piece of the protective paper and sandwich it inside. So, I have paper on the top and the bottom, so as not to hurt my heat press. I’m going to press this at 375 for about 15 seconds, just to get this laminating film stuck to the wood.
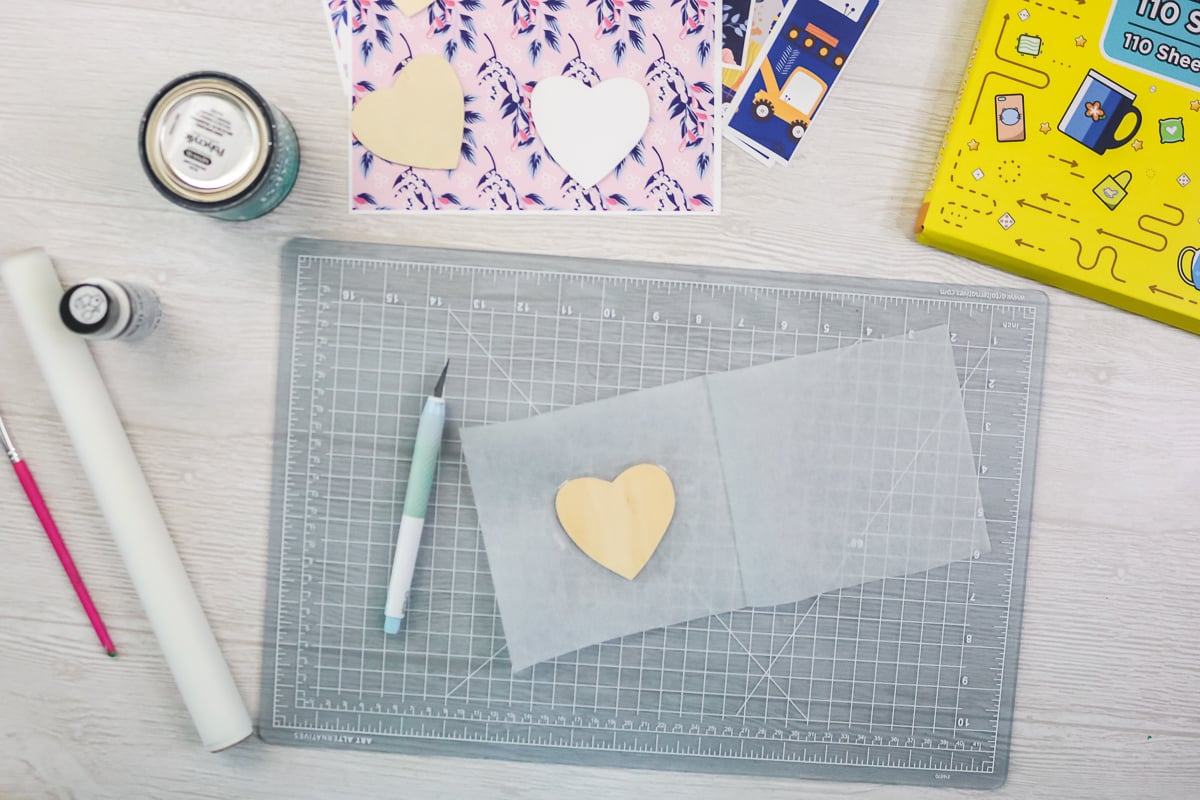
I now have the heart with the laminating sheet on top removed from the press. The laminating film is secure to the wood, but we do need to trim it. Put the laminating sheet face down on the cutting mat and then just use a craft knife to go around the outside edge. Trim away all the excess laminating film away from the design.
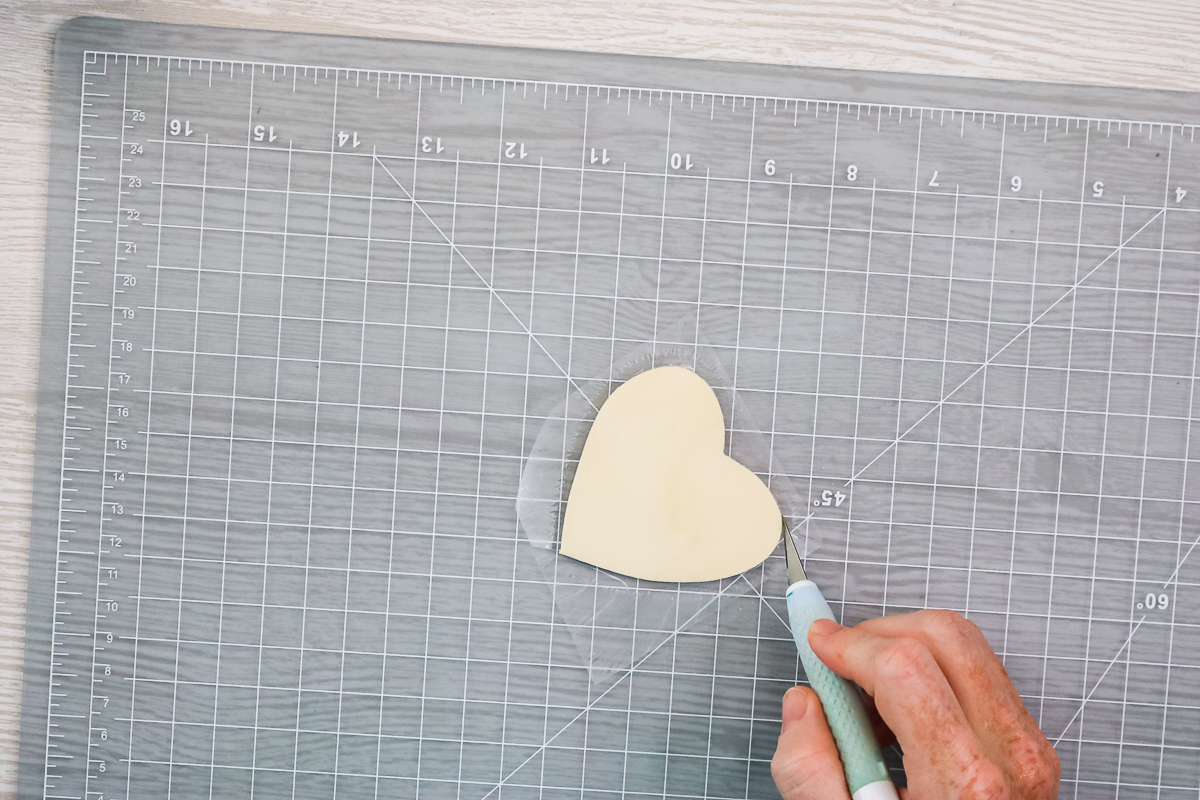
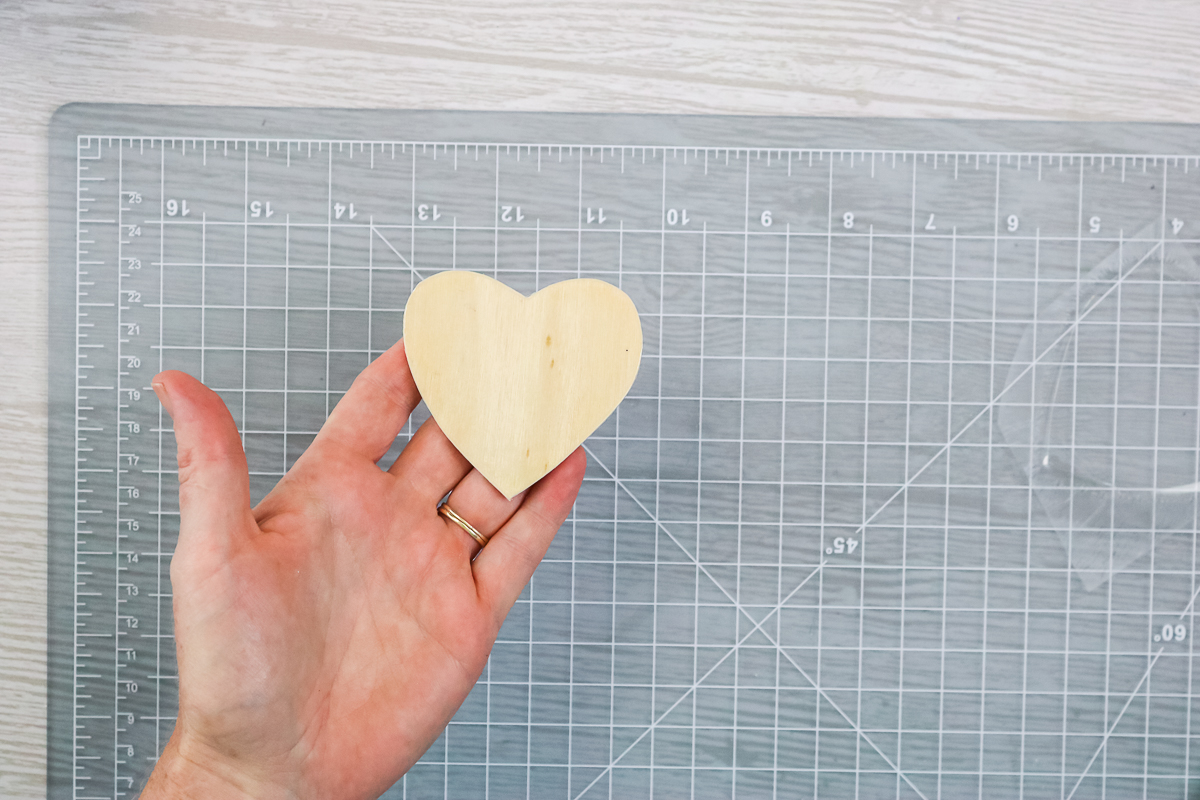
Once you’ve cut all the way around, you can discard the outside piece and just double-check for anything that may be on the outside. You can even use a little sandpaper to get any small thin pieces cut away. So, there you have your heart with your laminating film on top! Now let’s take a look at sublimating on top of this.
Sublimating on Test Pieces
Now we have all four of our hearts – plain, laminating film, two coats of polycrylic, and paint with polycrylic on the top. Turn each of the hearts over on top of the sublimation print. I did write on the back of each of these, so I won’t get them confused. To hold them in place, add a couple of pieces of heat-resistant tape.
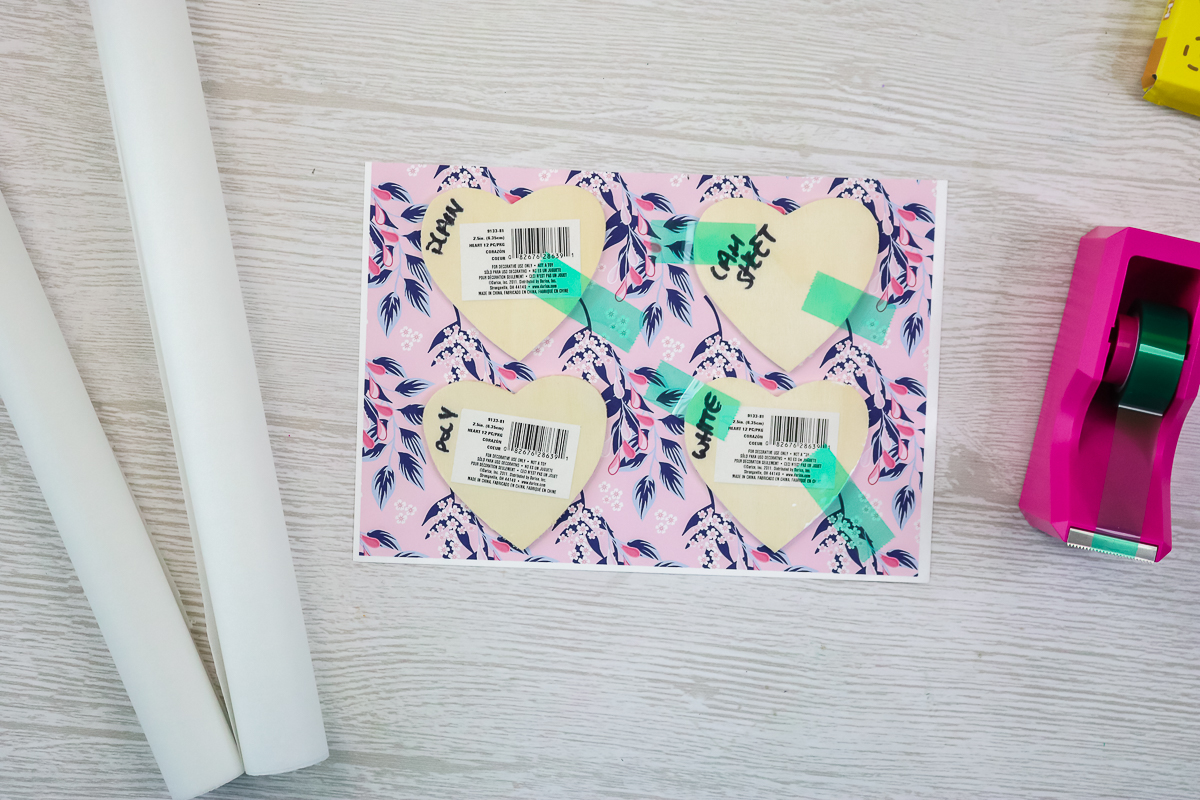
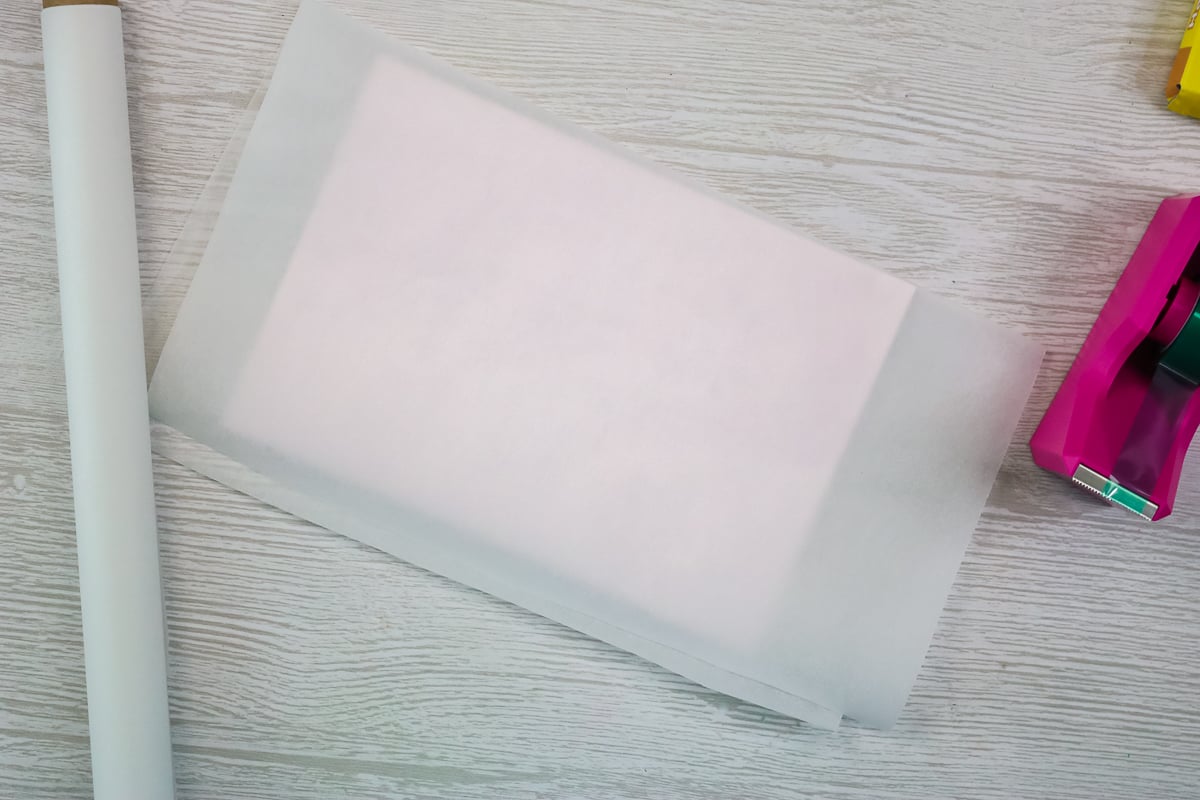
To protect everything, use some paper and make a sandwich with paper on the top and bottom. Then press at 375 for 90 seconds, medium pressure. Be sure to put the sublimation sheet UP when pressing.
Test Results
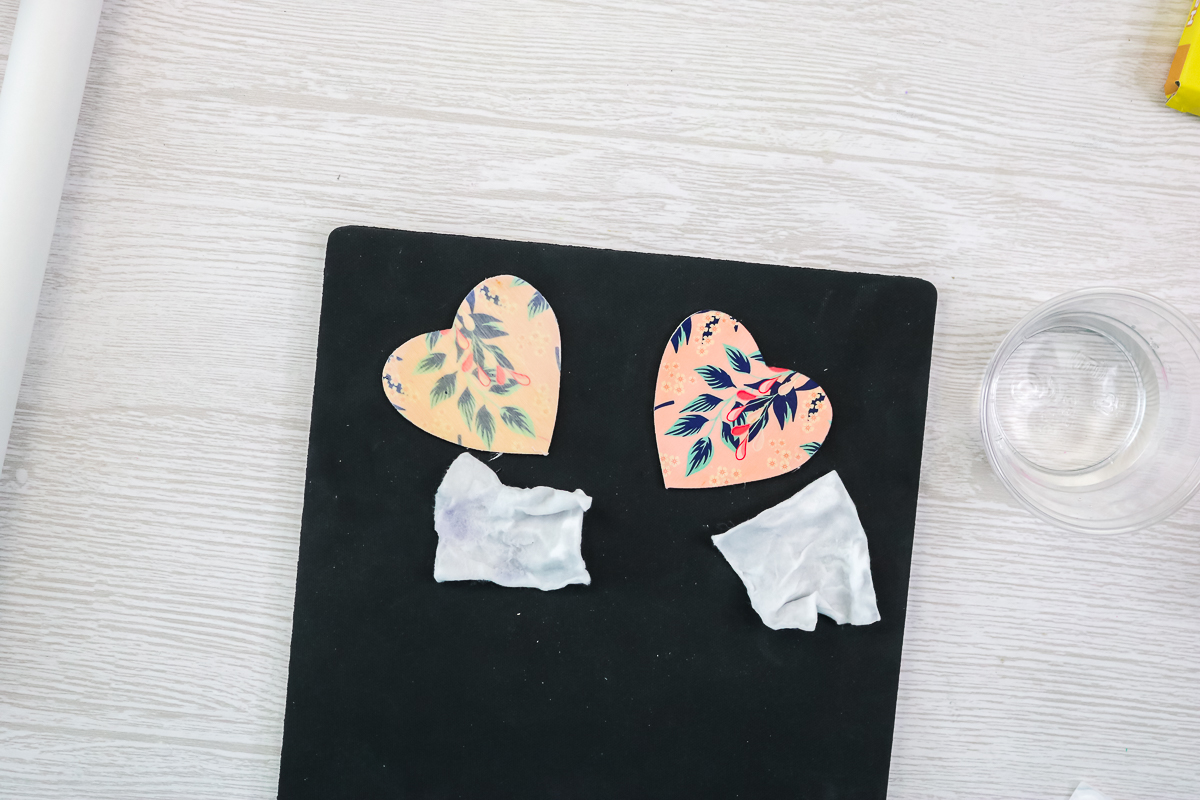
Here are my wood hearts after pressing! The plain heart did transfer some ink but not very much. The laminating sheet is much brighter and has a lot of ink in place. However, the polycrylic samples did not work well at all. The sublimation paper sort of melted and stuck to both samples.
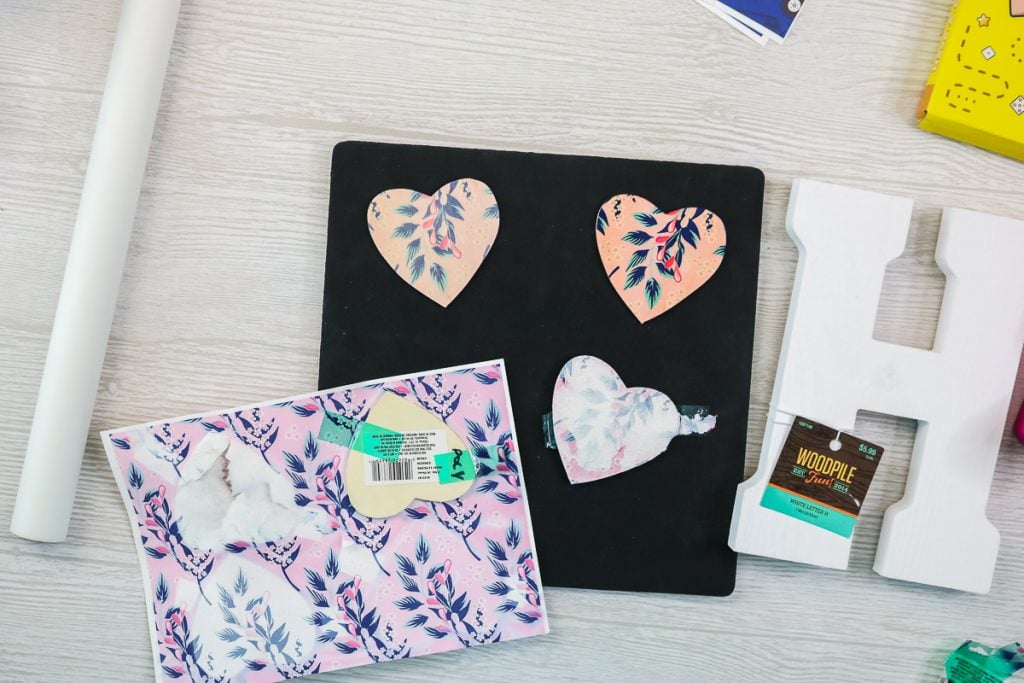
So, I will say that I am not a fan of polycrylic at all. I do love the laminating sheet, however. I definitely think the laminating sheet is the way to go when doing sublimation on wood.
Water Test
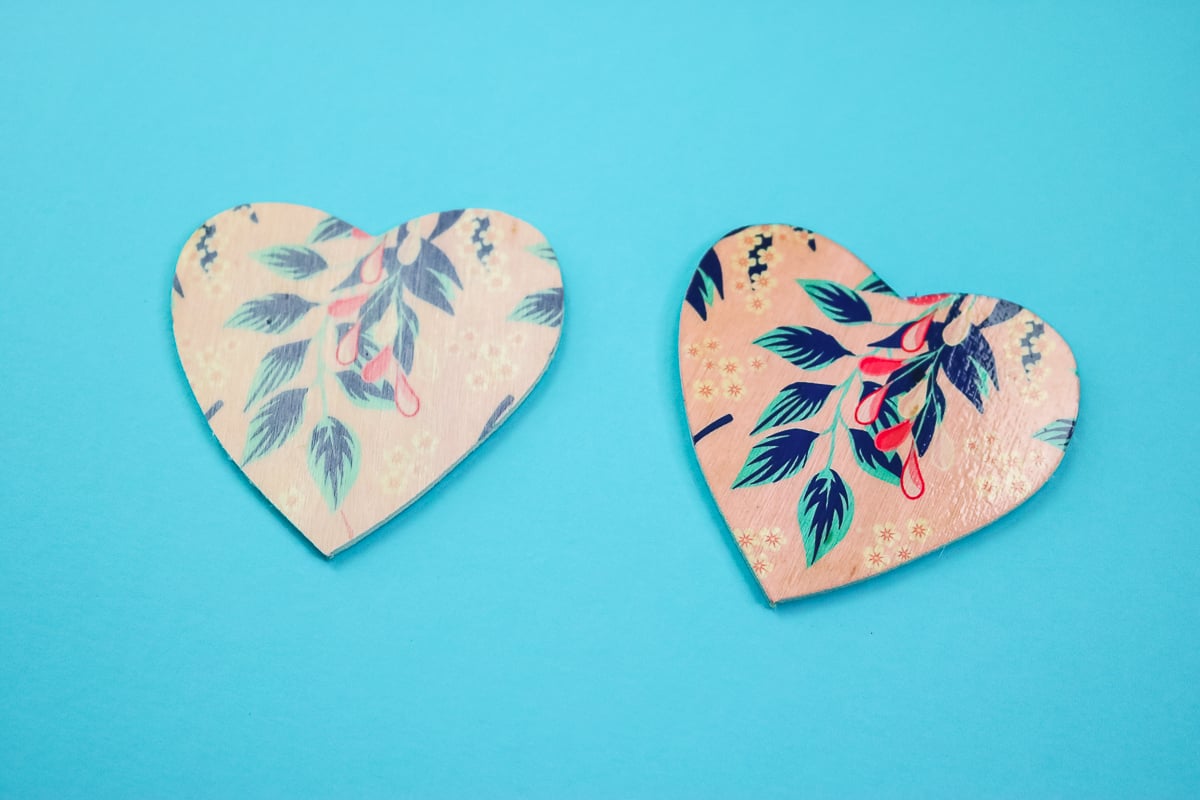
Before we finish with these two test pieces, I did want to test and see how colorfast this is. I just used a piece of white cotton and some water to rub each sample and see if any of the ink would be removed. The plain heart actually has the ink coming off. With the laminating sheet, the ink is not coming off when I rub it, so it has bonded to that laminating sheet.
Sublimation on Painted Wood vs Unpainted Wood
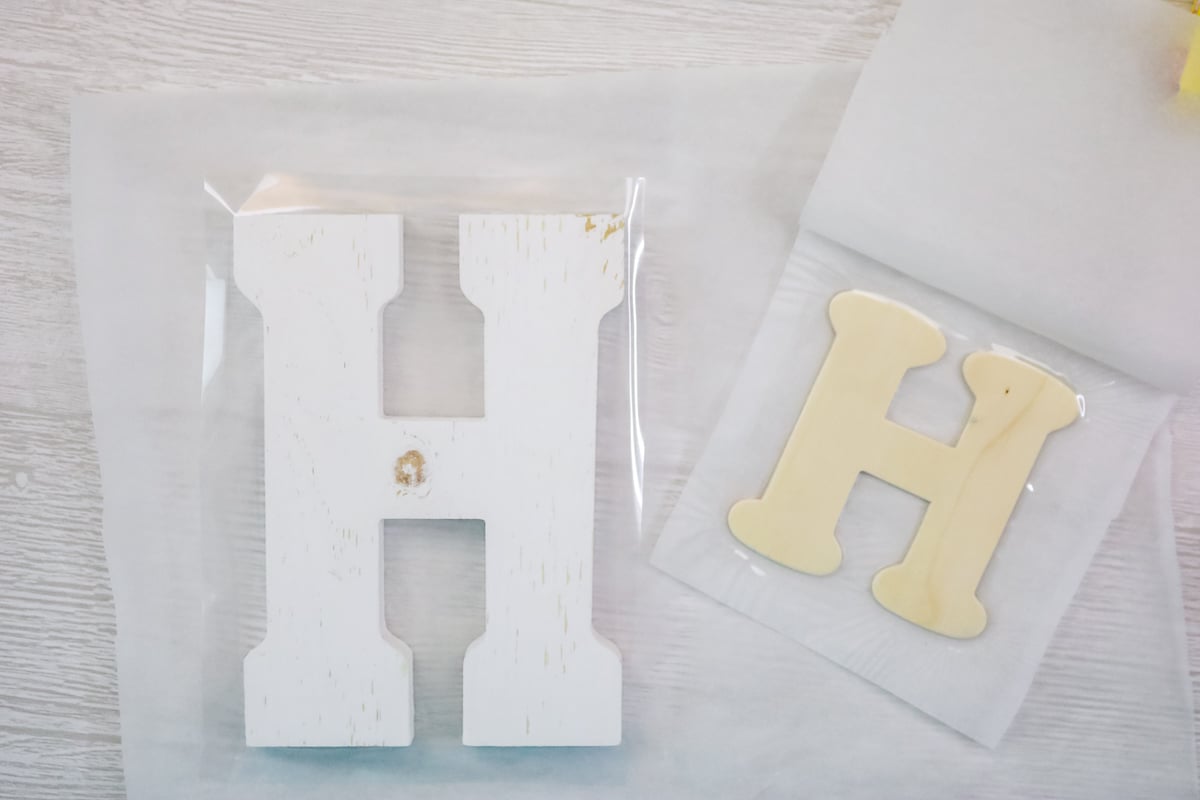
Let’s do the laminating sheet method on plain wood for a project as well as on painted wood. I pressed a laminating sheet to both of these pieces at 375 for about 15 seconds. You may be able to see some of the wood through the white at this point. Some of the sap comes to the surface when you heat a lot of real wood surfaces, so that’s where this brown is coming through. I’m still going to press this one because I think this might give a unique, rustic look to the piece.
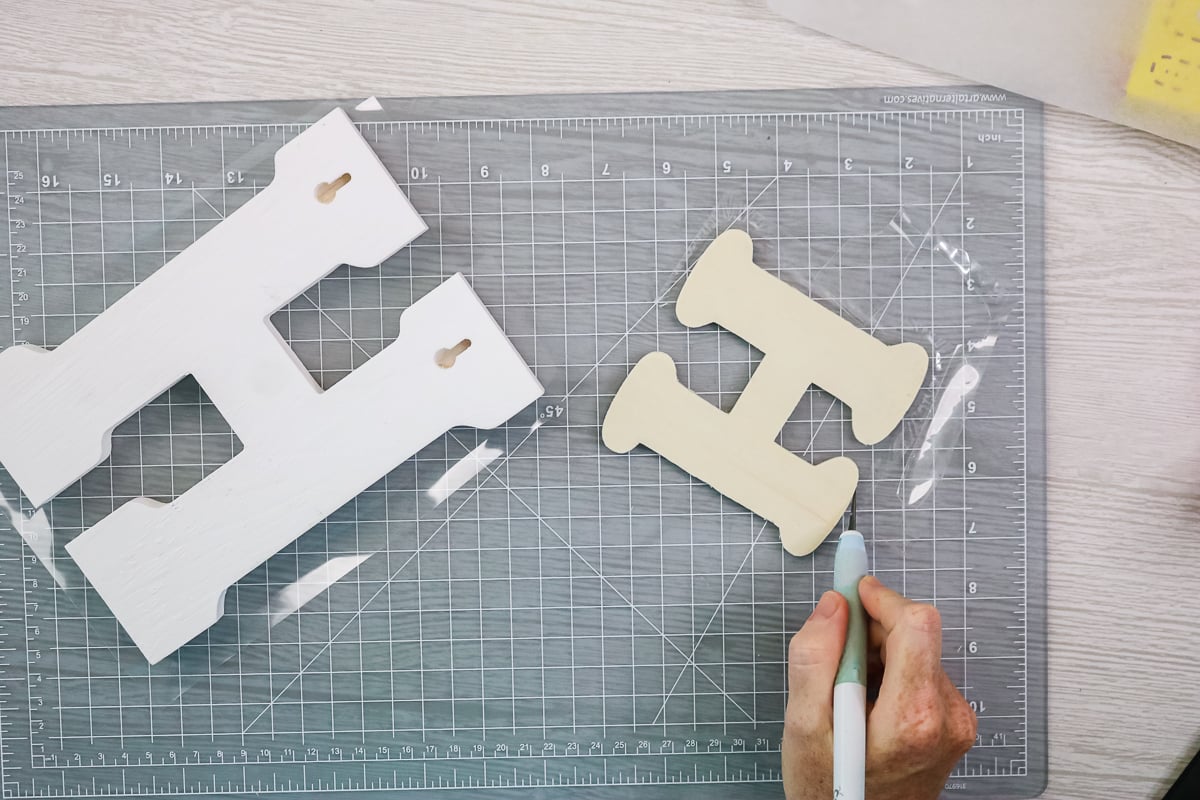
Turn these over and use a craft knife to trim around the laminating sheet. This is the same process as we used for the hearts above.
Add each of the letters to a sublimation print and tape down well.
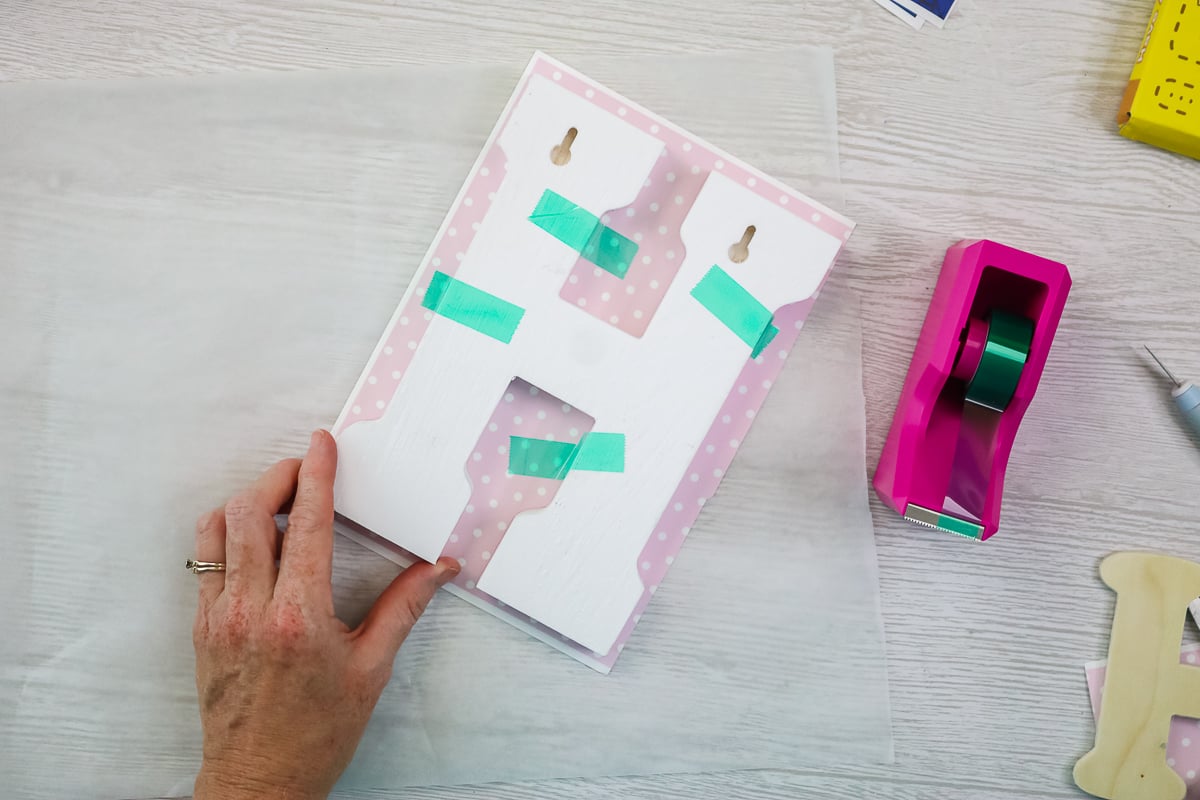
NOTE: You can use the same protective paper as you did for the laminating portion. Put the entire thing inside of protective paper and press at 375 for 90 seconds. You will repeat this for the unpainted letter as well.
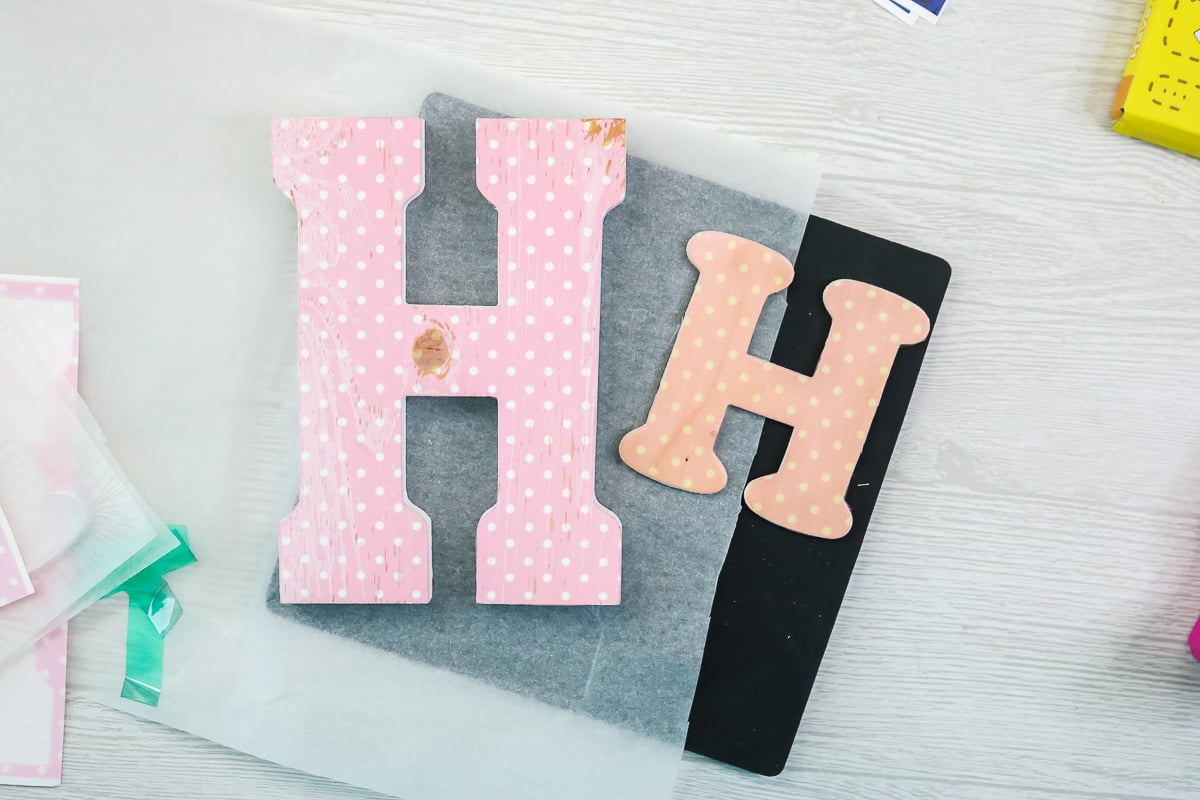
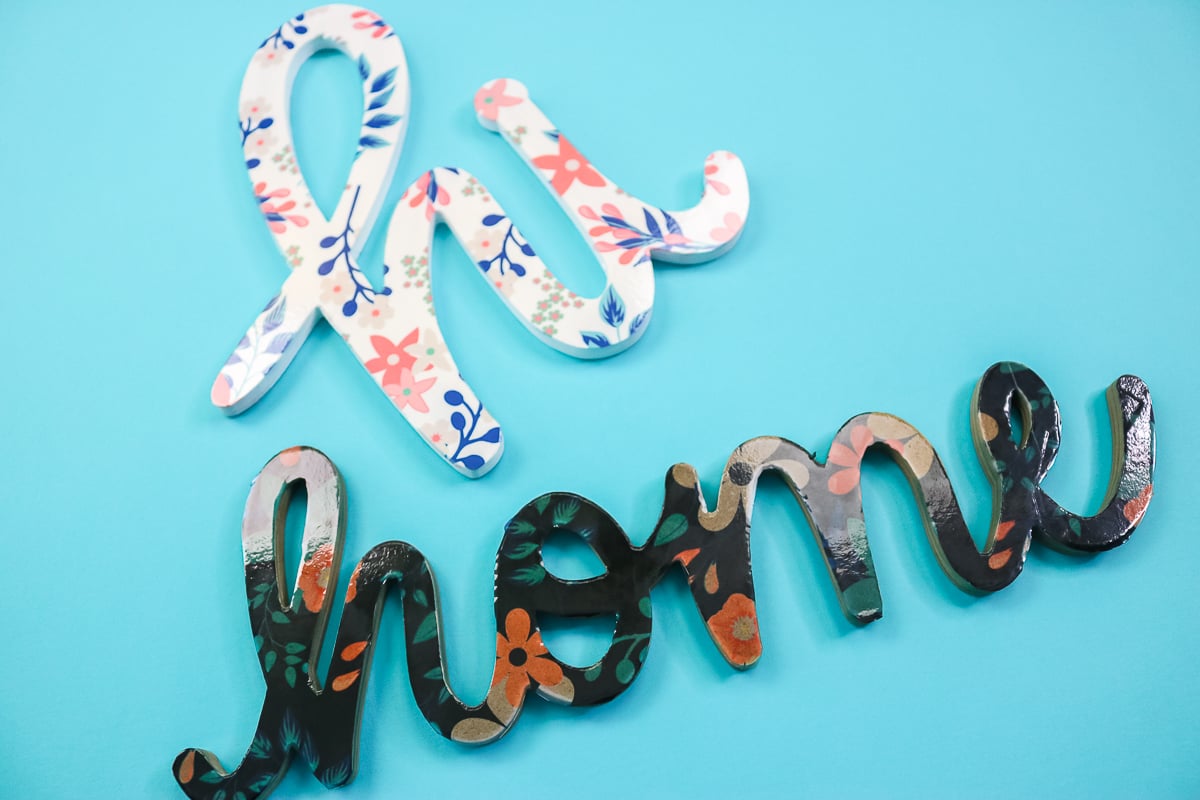
With the painted wood, once again, you can see where this brown is starting to come through as it lifts some of that sap from the surface. It does give a rustic appearance through that white wood. With the other letter, you can see that the plain wood color is coming through the surface. It’s coming through that sublimation and altering the color slightly. Whereas the white one is probably more true to the color of the sublimation print. I will say that I’m super impressed with this Hiipoo Sublimation Paper and how much it’s getting onto my wood.
Sublimation on MDF and Chipboard
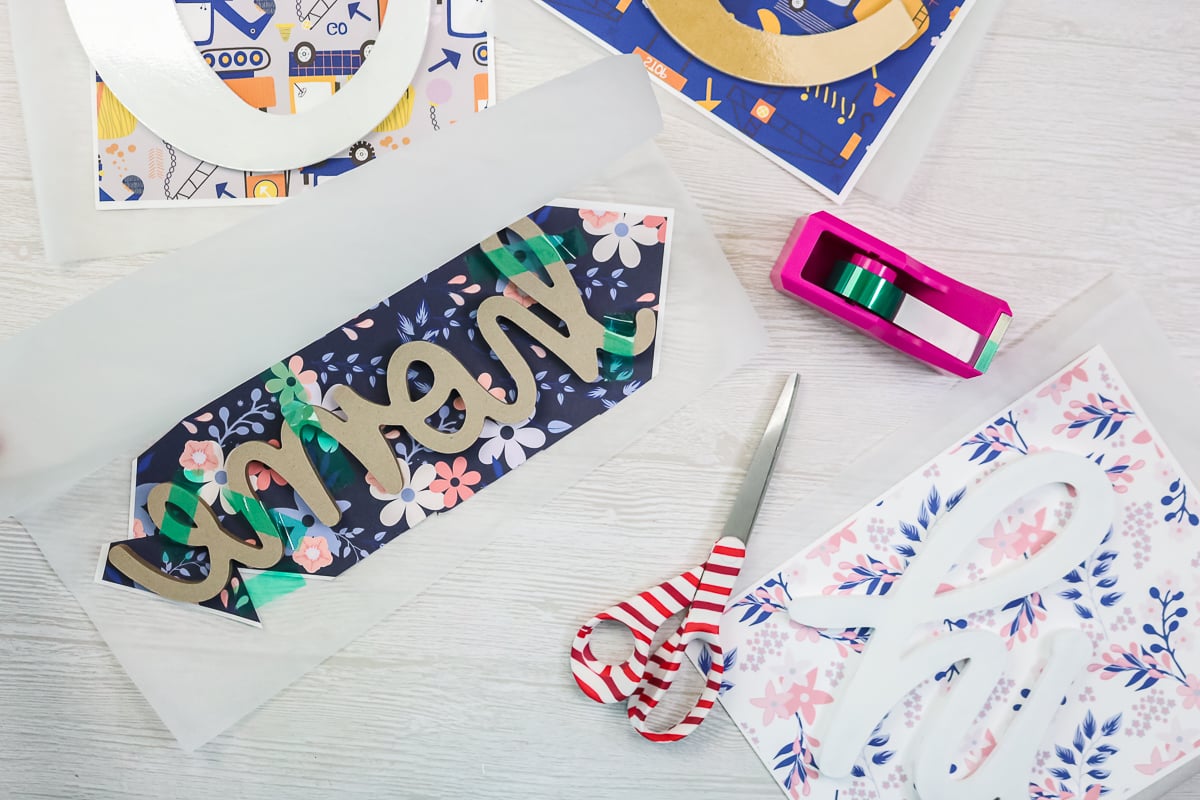
I want to test the same process with the laminating sheet on both MDF and chipboard and see what kind of looks we can get. This time I have one blank that is a little bit longer than my laminating sheet and also my sublimation print. So I’m going to experiment a little bit and join the laminating sheets, as well as the sublimation print. For now, I’m going to press on my laminating sheets and cut around the edge to get these ready for sublimation.
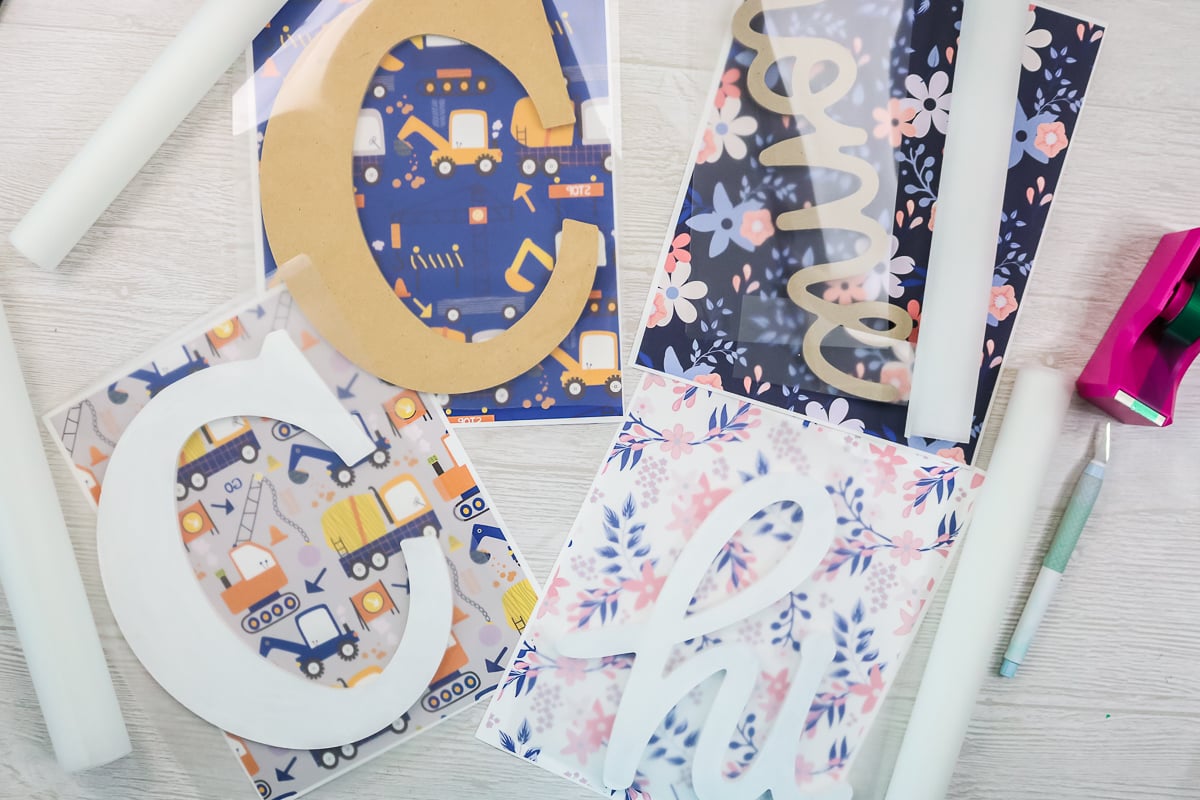
I will say that the MDF was super simple to press as well as trim. The chipboard was a little more difficult. First of all, on the painted version of the chipboard, I had a hard time not digging into the edges. On the unpainted one, some of the layers wanted to separate as I was trying to cut around. I will also say that the more intricate the design, the more difficult it is to trim and the longer it takes.
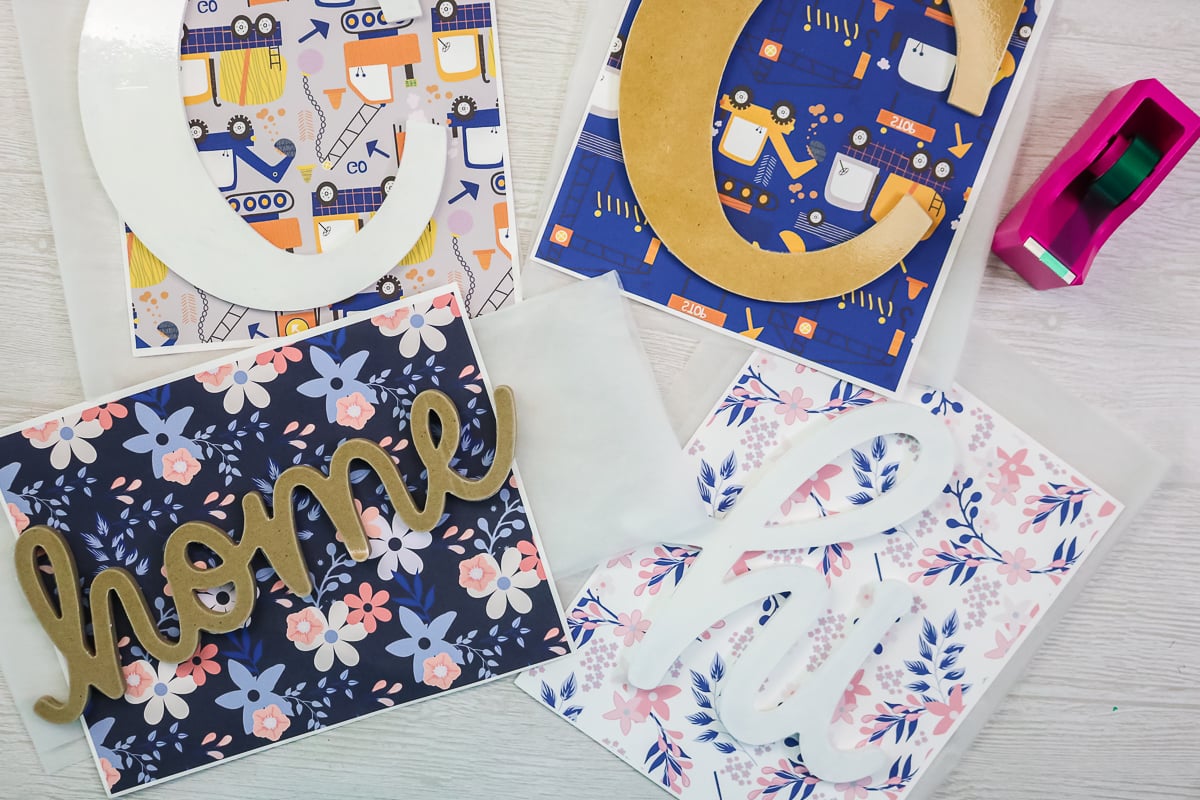
Then you can just add your sublimation print to the front of each one and tape down like the samples. On the longer version, I am splicing the sublimation print as well. Then just press again at 375 for 90 seconds.
Here’s all of our pieces after sublimation. I want you to take a look at some of the differences. You can really tell how the white paint changes the appearance of the entire project. I really love the white MDF version of this project and it is a clear winner to me. With MDF, the sap does not come to the surface like the real wood so you get a really clean-looking finished project.
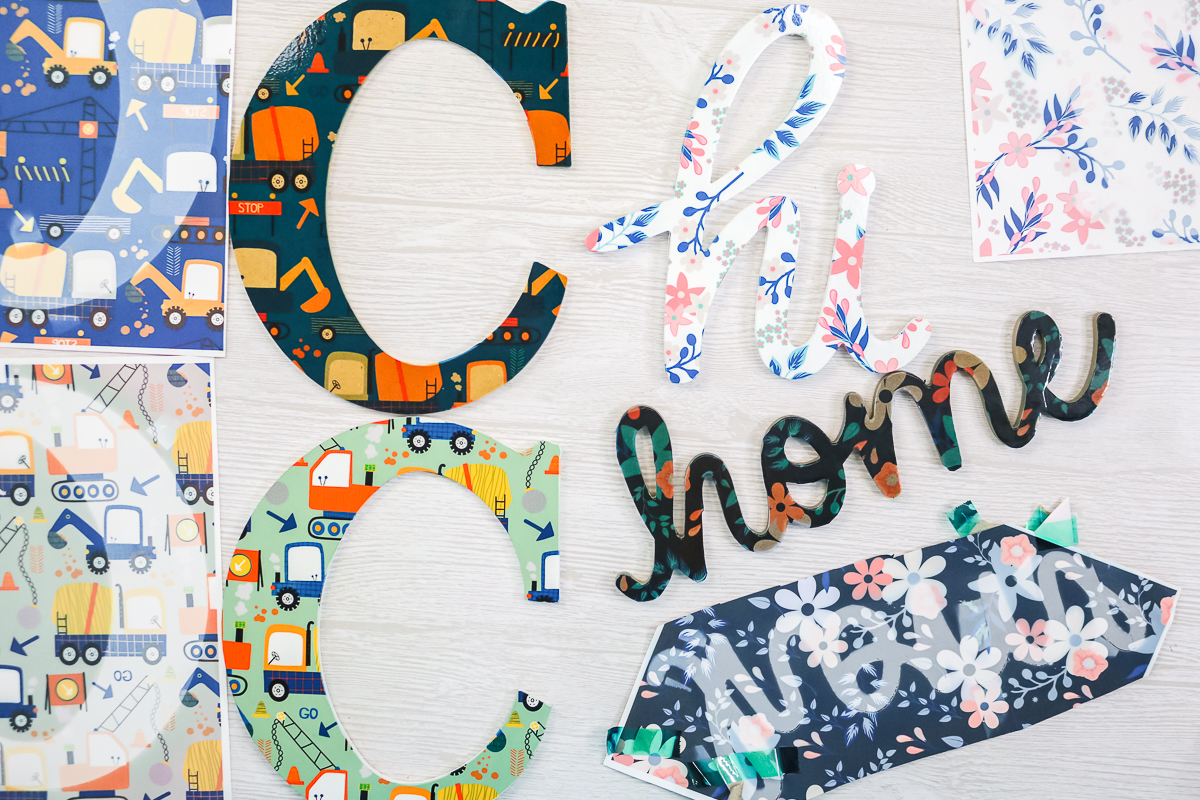
I will also say that with the piece that I spliced, you can see the line where the laminating sheet overlapped. I would say that maybe stick to the size of laminating sheet or sublimation paper you have for these. That way you won’t have those lines in your final product, but otherwise, I’m super happy with my experiments for sublimation on wood.
What is the best way to sublimate on wood?
You can see that sublimating directly on the wood isn’t the answer. For me, laminating sheets worked best. I ended up liking the painted version of the wood more than I liked the plain unpainted version. And, for me, MDF is definitely the winner.
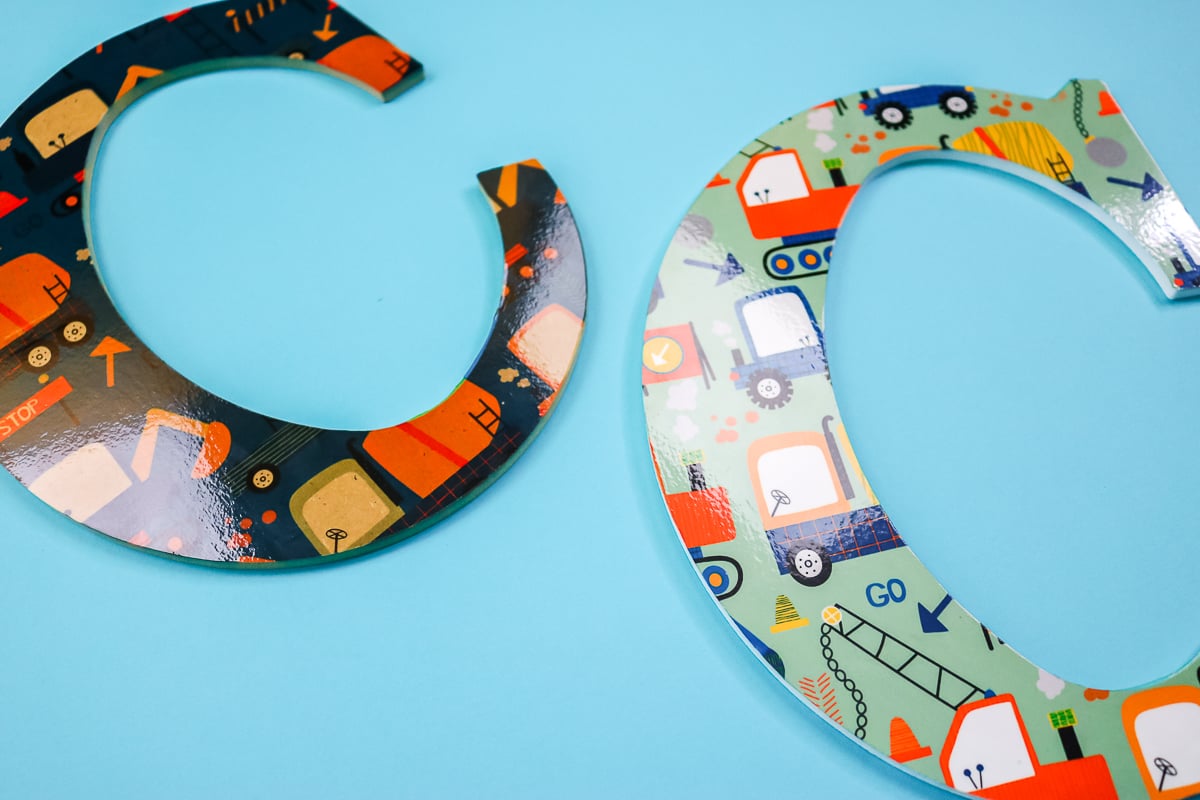
I liked the painted MDF the best and if you can stick to a simple shape you will be happier with the overall process as well. You can definitely challenge yourself to grab that complicated shape and just start trimming that laminating sheet away. However, you may want to grab a simple monogram for your first experience with sublimation on wood.
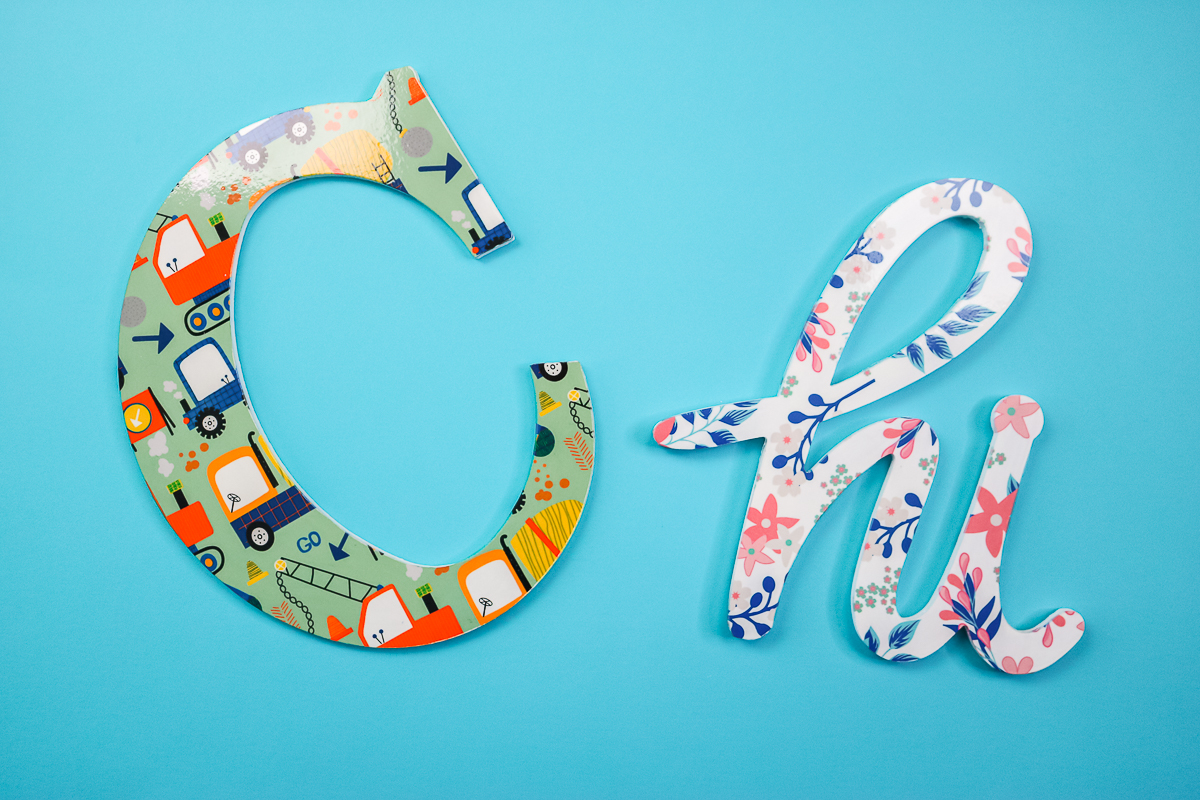
I really think you’re going to love this project, especially if you have a sublimation printer and are looking to branch out beyond shirts. Look to wood crafts because now you know how to do sublimation on wood! There are so many possibilities with this project!
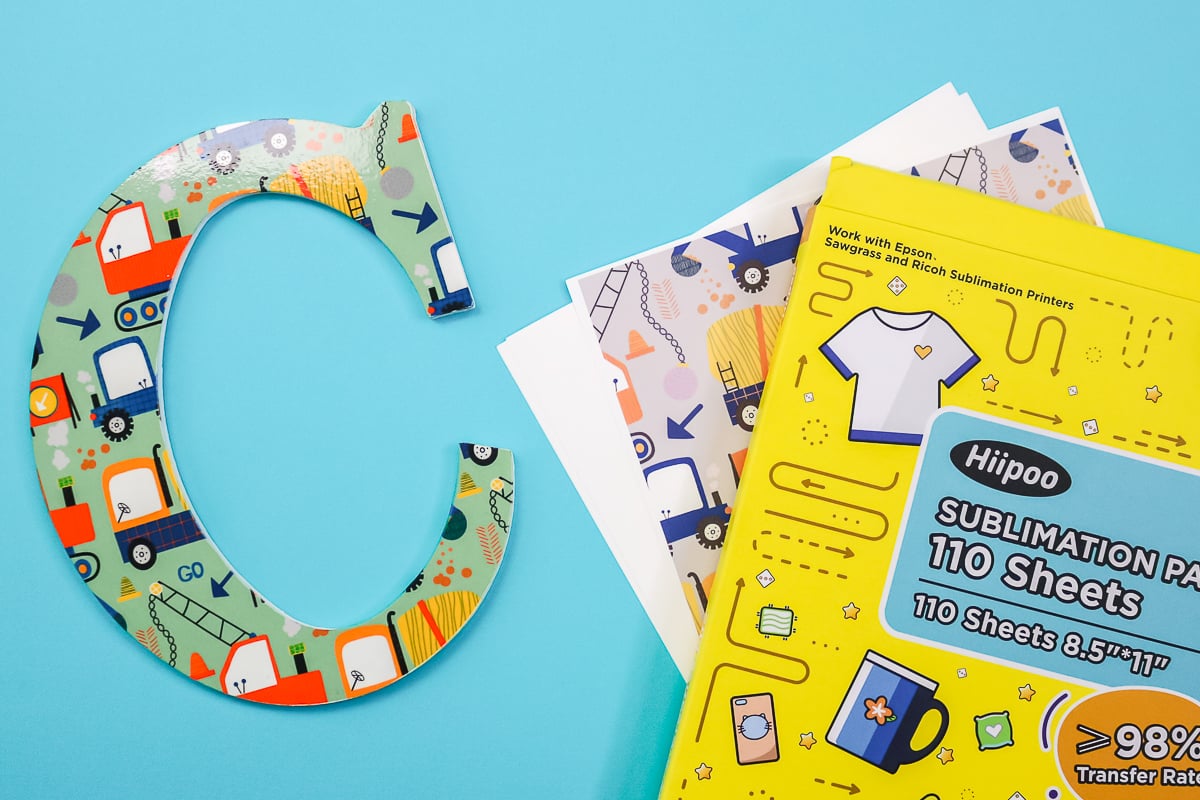
I am now headed out to think of even more MDF shapes that need a sublimation print. This process is so much easier than something like decoupage. Just grab some laminating sheets and see how easy it is for yourself. You will be so happy that you did!
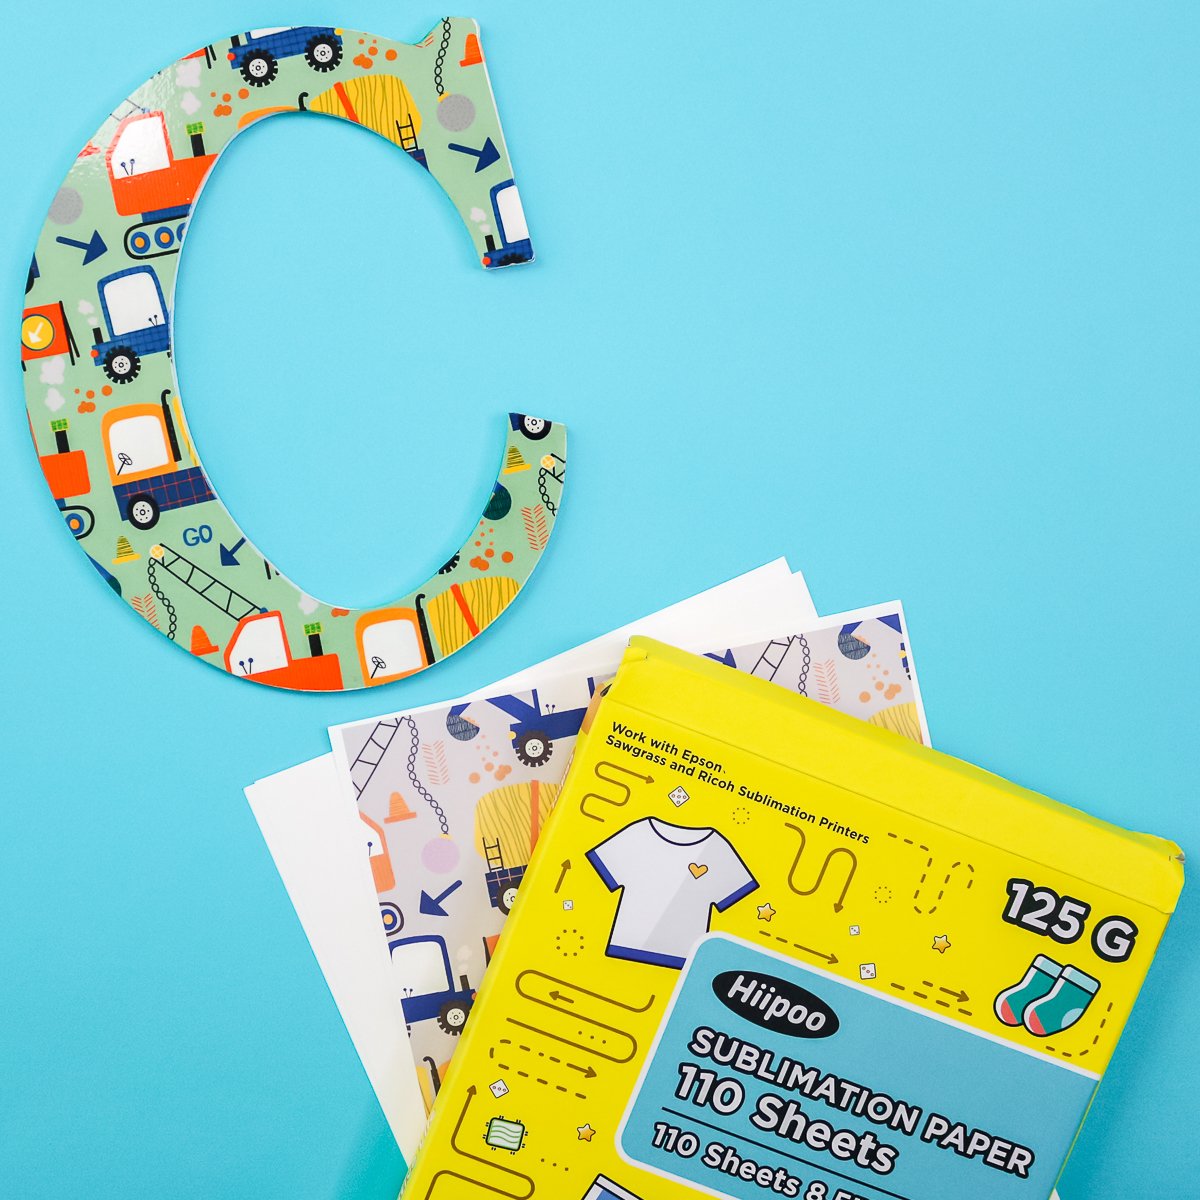
The next time you need to add a design to wood, think about using your sublimation printer. Adding sublimation on wood to your crafting arsenal will add a professional look to all of your project ideas.


Hi, Angie. Love your videos!
I have been experimenting with the same thing over the past week. Did you try rubbing off the transfer paper with a little water? I found that using a coat of white spray paint and 2 coats of either liquid or spray polycrylic on wood works very well. For some reason the paper sticks, but after it is cool, it rubs right off with a wet towel.
The mdf and chipboard has been more challenging in getting a color saturated transfer. I am going to try your method using the laminate sheet and see how that works out.
I didn’t even try to get it off. I didn’t feel like that would be something I would want to do every time?
Where do you buy MDF wooden shapes
I got these from Hobby Lobby.
Painted MDF. Do you simply purchase whatever HobbyLobby has or have you painted a surface yourself, laminated and transferred the sublimation image?
If so what was the outcome and if successful did you use a specific paint?
Either one! I have done both. Any paint should be fine but you do want to allow it to cure at least 24 hours before trying to press. The moisture in the paint is what you want to avoid.
Angie, wonderful instruction. Have tried both the Polycrylic and pouch and like you find the laminate pouch, the approach I prefer. However, “Houston we have a problem!”
Using 1/2 inch ‘whitish’ ply from our favorite Depot, cut to 3×3, and laminated at 320 for 90 seconds all things look good.
But after sublimating at 380 for 45 seconds the laminate wrinkles throughout the surface. (Royal Sovereign 3mil) Not getting great ink transfer even at 45 seconds.
I am thinking ‘shrinkage.’ But that’s just a guess. Maybe RS has its own unique problems.
The other consideration is the 3×3 area. Too much area making the shrinkage a much bigger problem than what would be experienced with narrow cuts.
What do you think?
Interesting! Maybe the material has moisture in it?
Lower your temperature to 320*. Use 2 min to laminate and 4 min the sublimate. Does not draw out sap, etc.
Have you tried the sublimation sprays and liquids designed to paint on surfaces specifically to make even cotton shirts sublimation ready? Also would a solder iron or hot knife work to cut off laminate sheet excess more easily and cleanly?
I don’t think any of the sprays. Yes a hot knife could probably work!
Would using a heat gun work for the laminating sheet part of the process?
I am not sure!
I tried using laminating sheet on white msg letters from Michael’s. I trimmed laminate before sublimating and the laminate shrunk. I then tried to trim after I sublimated and the laminate wrinkled in a few sections. Any suggestions? Thx
I always trim after pressing. Maybe adjust your heat. Sounds like maybe it was too much with the wrinkling?
You are such a great teacher Angie! I just started sublimating this week so I was thrilled to find your videos and blog post. I’m so glad you show what works AND what doesn’t.
I make door signs to welcome new residents at an assisted living place at no charge (my mom lives there) so I need to be as economical as possible. I was using paper or vinyl on wood rounds. That’s time-consuming and costly if I’m using more than one color. I decided sublimation would be more cost effective and take less time. I tried polycrilic on wood rounds and had pretty good results. The paper only stuck on one but did peel up after it cooled. I only pressed for 60 seconds though. I will try the laminate sheets next. I’m thinking the color payout is much better. Probably more expensive though. Thank you again for the great post!!
So glad you found it helpful! What a sweet thing you’re doing!
Angie, how does the sublimation last on the laminate sheet? I have made some with good results, but haven’t had my printer long enough to have long term results. I would hate to sell some of these that would fade in a few months.
I have had good results with the laminate sheets I have used!
does it have to be the thermal lamiate or will adhesive laminate work? I know you can use regular vinyl on glass for sublimation, but not sure how the adhesive laminate would work
You’d need the thermal so it can hold up to the heat required for sublimation.
how to avoid bubbles when pressing lamenting sheets?
Play around with temp, time, and pressure. You can also run over it with a scraper as soon as you remove the heat and keep running over it until it is cool.
Should you be able to peel off the laminate after adhering to the wood? Mine keep peeling and I am not sure if this is normal or if I am doing something wrong.
You should NOT be able to do that. Or it should be stuck enough where it does not come up. You may find it you pick with your fingernail it will come off though.
Can you paint or stain the wood before using the laminate pouch?
Yes you can.