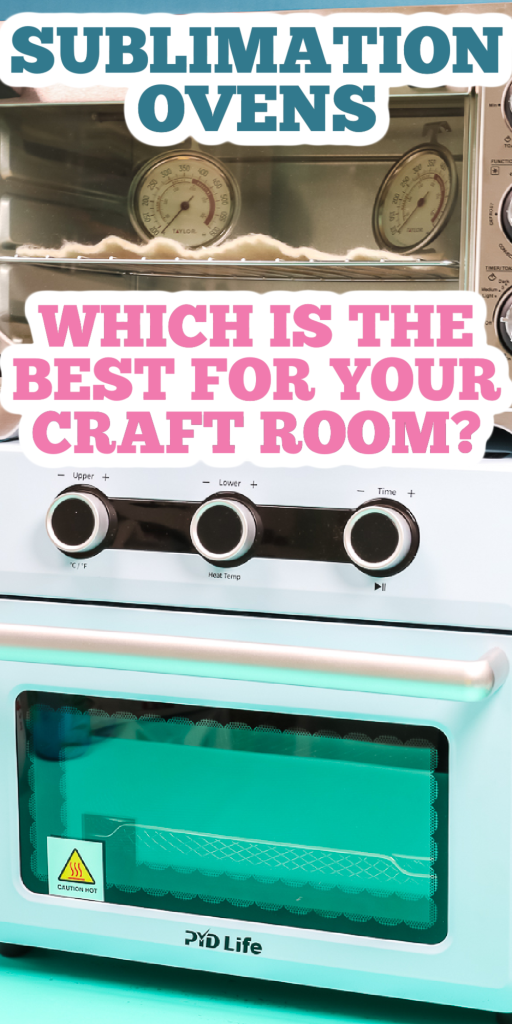
Did you know that you can use a sublimation oven in your craft room? Yep! Small ovens work great for your sublimation crafts. Are you wondering which sublimation oven is right for you? There are a lot of options out there to choose between so I’m here to help! Keep reading to learn about regular convection ovens and sublimation ovens.
Need more info on sublimation? Check out my Beginner’s Guide here.
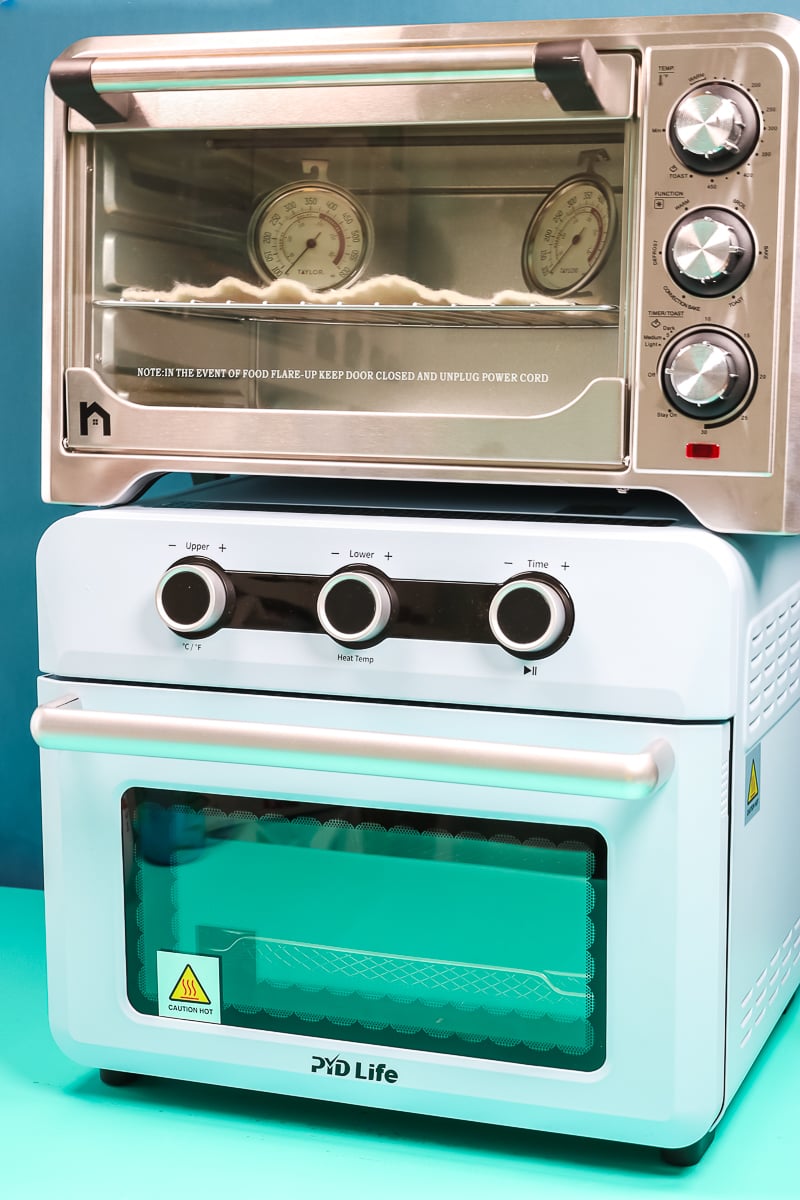
Which Sublimation Oven Do You Need?
I’m going to compare a regular convection oven that you might use in your kitchen but can be used for sublimation, to an oven that is intended specifically for sublimation. You can watch me compare and test both of these ovens. Just click play on the video below:
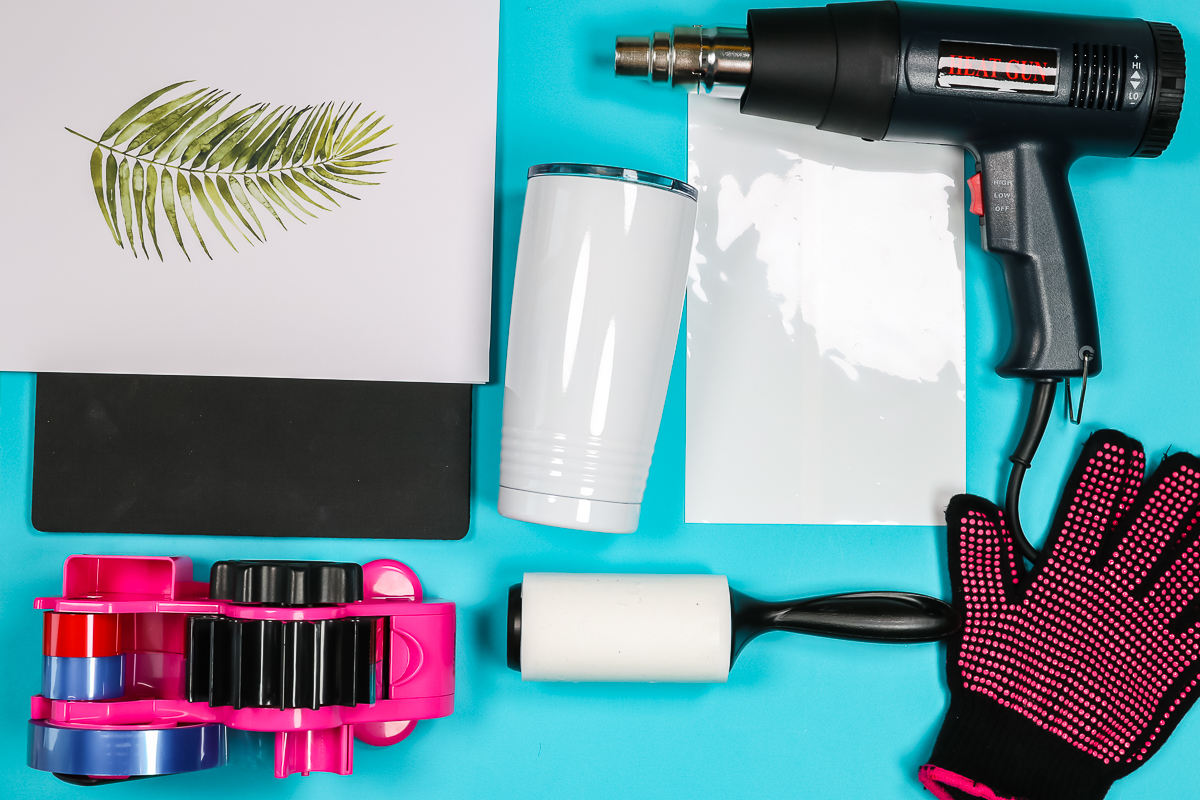
Supplies Used:
- Sublimation Printer
- Sublimation Ink
- Sublimation Paper
- Lint Roller
- Heat Resistant Tape
- Heat Resistant Gloves
- Tape Dispenser
- Heat Resistant Mat Use code CCC10 for 10% off!
- Heat Gun
- Shrink Wrap
- Nomex Pad
Ovens Used:
I purchased my convection oven years ago and I can no longer find this exact model. I’m sharing links to different ovens that are similar to mine below.
- PYD Life Sublimation Oven
- Convection Oven option 1, option 2, option 3, option 4
Blanks Used:
NOTE: These all need to be sublimation blanks. They do need to have a sublimation coating for this process to work.
Designs Used:
Sublimation Oven vs Convection Oven
We’ll make a variety of items in the regular convection oven and the PYD Life Sublimation Oven so you can see, side by side how they turn out. This will help you decide, based on what products you make most, which oven is best for you.
Sublimation Oven Safety
Before we dig into these different ovens we need to talk about sublimation safety. Sublimation is the process where what you’ve printed, or your Infusible Ink, turns to a gas before it bonds to the polyester of your surface. During that gas phase, it can let off fumes that can get into things – like the inside of your oven.
You should never use an oven that has been used for sublimation to cook any food. Even if your kitchen oven is a convection oven you should never use it for sublimation.
You will need a stand-alone oven if you’re going to use a regular convection oven for sublimation. If you’re going to buy a convection oven for sublimation, it needs to be used for crafting only. You will never cook food in it again. So mark it, label it, make sure anyone and everyone will know it’s for crafting only.
Sublimation Oven Features
What features should you look for in a convection oven or a sublimation oven?
- First, you will want your oven to go to at least 400 degrees Fahrenheit. Higher if possible. You will need those high temperatures for sublimation.
- You will also want a timer on the oven itself. If it doesn’t have a timer, you will have to time it yourself with your phone or a separate timer.
- The best feature I like to look for is a digital readout on whichever oven you use. The PYD Life sublimation oven has a digital temperature read-out, my convection oven doesn’t.
- My PYD Life oven heated up way faster than my little convection oven. So, if you are looking for a way to save time with your sublimation crafts, you might consider an oven that takes less time to come to temperature.
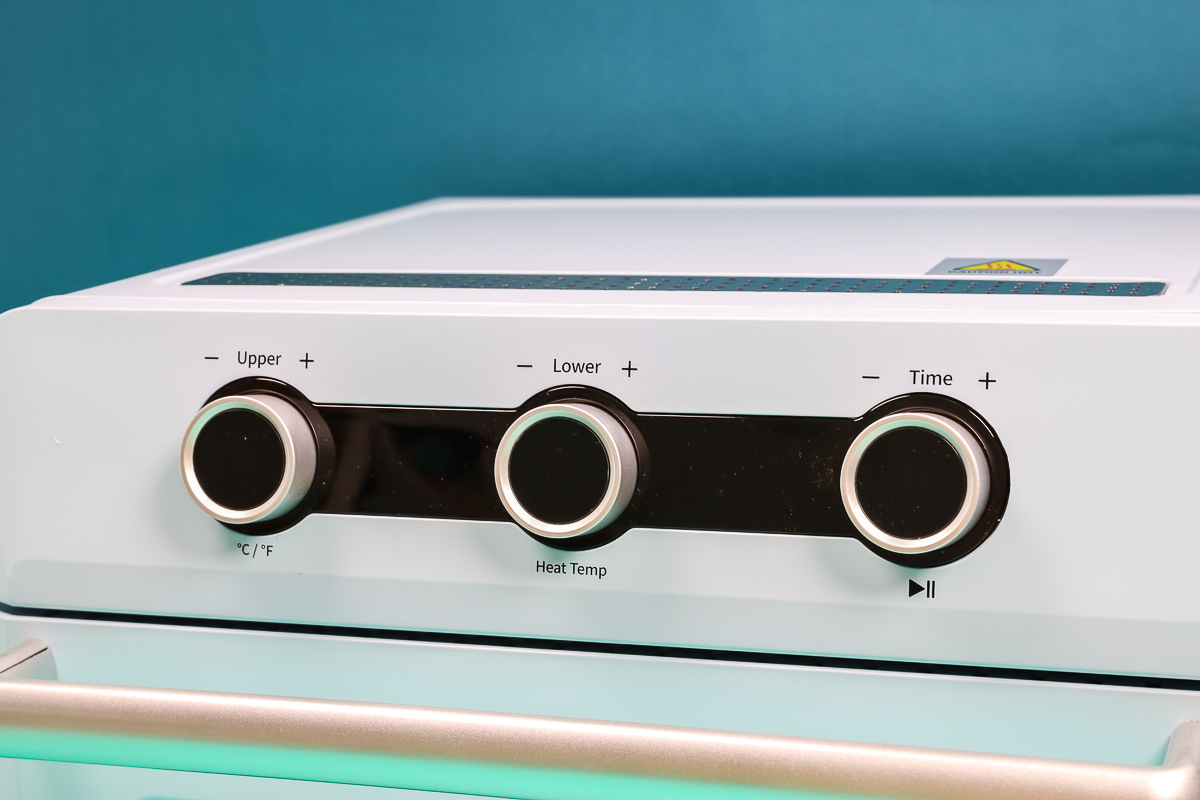
Why Do You Want a Digital Read-out?
A digital read-out for your temperature is a lifesaver because some sublimation blanks don’t have a recommended temperature that ends on a 0 or a 5. For instance, the mug I use in this comparison calls for 356 degrees Fahrenheit. With the PYD Life sublimation oven, I can set the temperature to exactly 356 degrees.
My regular convection oven has a dial with no set temperature. This means in order to find my temperature I have to turn the dial to what I think is close and then add thermometers to the inside and watch those to get it close to 356 degrees.
You can find a regular convection oven that has a digital read-out, you will just have to look at the features. Most ovens intended for sublimation already have a digital read-out on them.
Sublimation Oven Size
Another thing to look for when shopping for a sublimation oven is the size. Will it handle the size of the projects you want to make? Can you make more than one item at a time? One of the perks of owning a sublimation oven is that your projects are only limited by the size of your oven itself. If you want to make larger items, make sure your sublimation oven is larger.
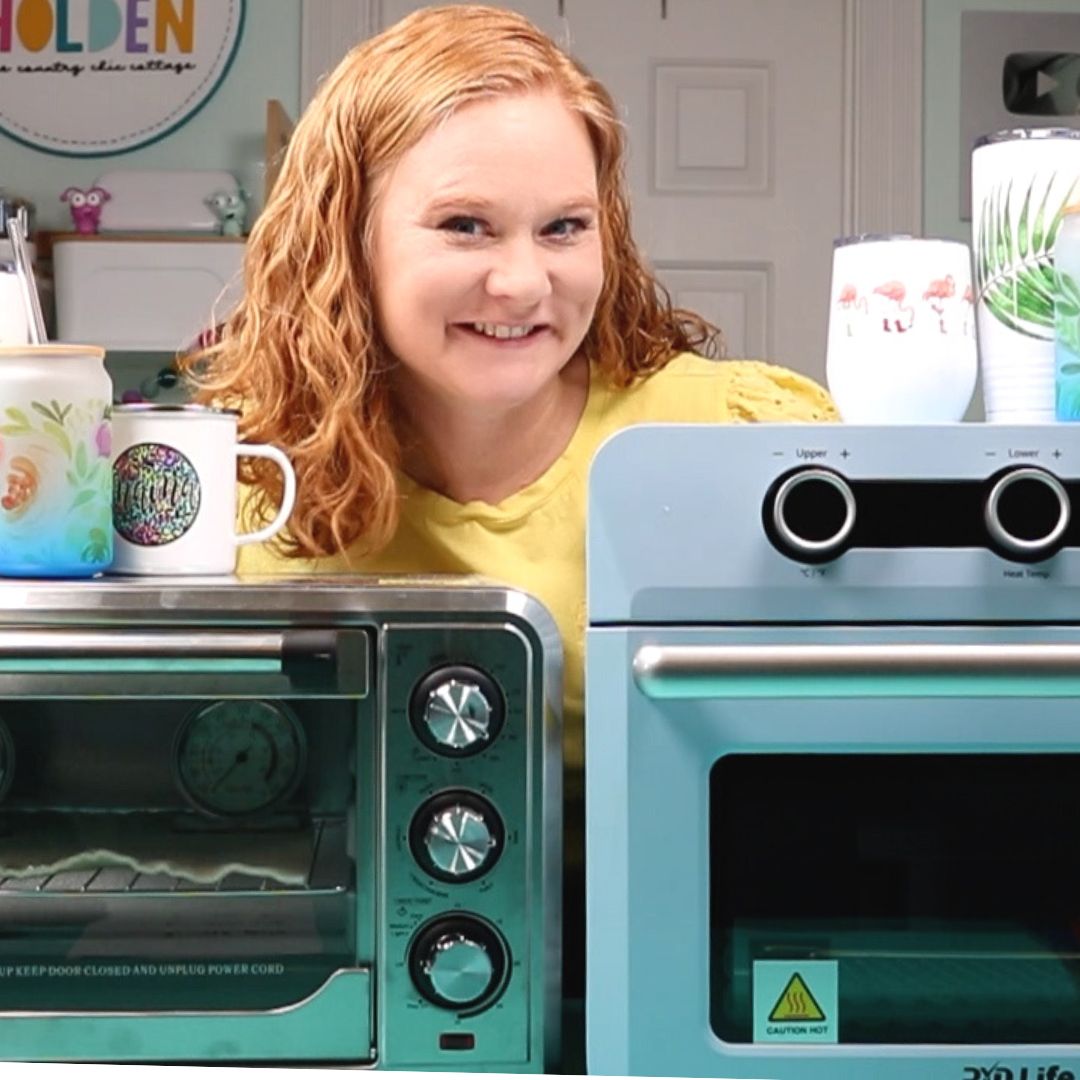
As you can see, the PYD Life sublimation oven is larger than my little convection oven. In my convection oven, I can really only fit one tumbler at a time and if I wanted to sublimate onto like a large dog bowl it would probably not fit because it has the rack in the middle of the oven.
The PYD Life sublimation oven has a mesh-type basket on the bottom and I can add multiple items to it at the same time for sublimating. This allows me to not only make larger items but also saves me time because I can sublimate multiple items at once.
Consistent Temperature
We already talked about the digital read-out and timing with a convection oven, now let’s talk about temperature. Sublimation requires a high and consistent temperature. You want to make sure that you know the temperature inside your oven and how much it’s changing during the baking time.
The time recommendation for sublimation blanks is relying on the temperature staying the same the entire time. If your oven temp drops when you open it or while it’s baking, you need to know that so you can adjust your time accordingly.
I use two thermometers inside my convection oven. By placing them at the back and on each side of the oven I can check the temperature periodically.
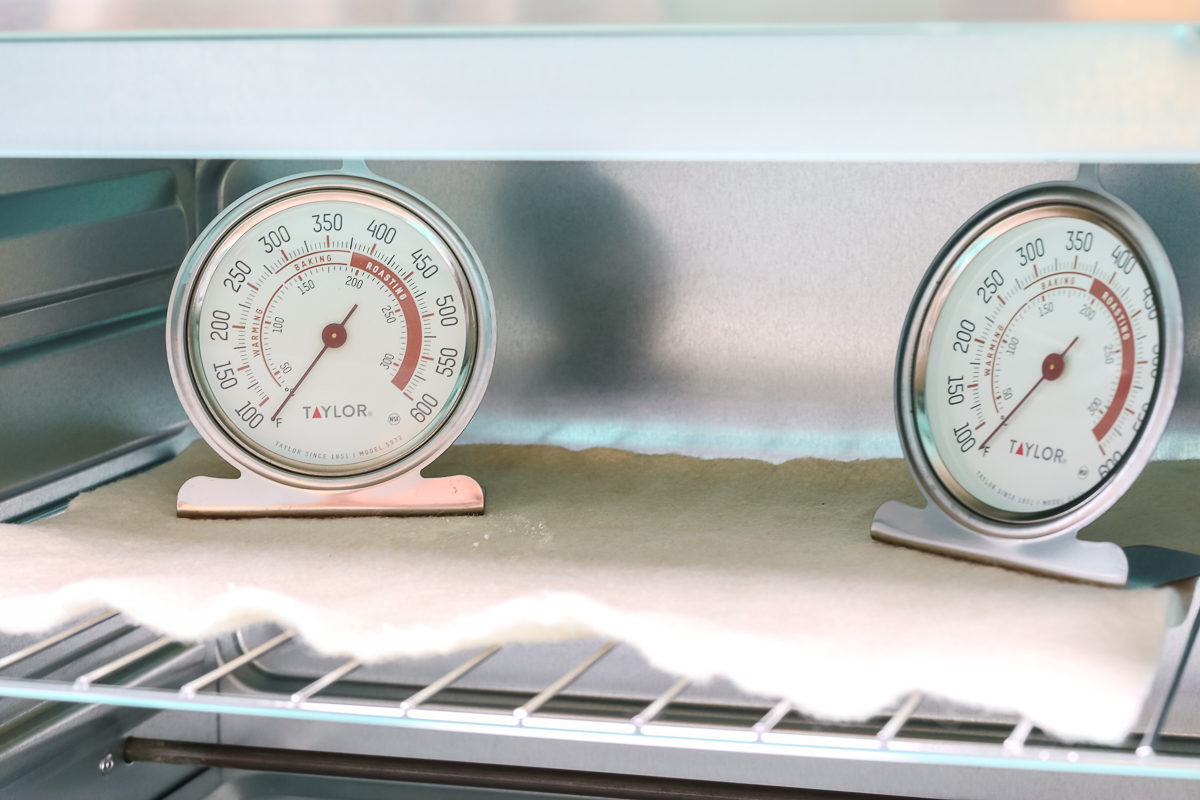
I know that when I open the door to place my sublimation blank inside the heat is going to escape and my temperature is going to drop. If you’re using a convection oven, you need to know how long it takes for the oven to get back up to temperature so you know how long you should add to the baking time.
The PYD Life Sublimation Oven, because it is intended for sublimation, factors that in. If I set my temperature to 356 degrees and set the timer for 6 minutes when I put the item inside the oven the timer doesn’t start counting down until the temperature is back up to 356 degrees. This helps make sure the sublimation transfer is going to be perfect. This is definitely a huge perk of choosing an oven made specifically for sublimation.
Cold Spots in Sublimation Ovens
Along with consistent temperature, you need to know where the hot and cold spots are inside your oven. I’ve found with cheaper convection ovens (and mine is a very cheap one) there are more hot and cold spots.
In order to combat having those hot and cold spots in my oven, I’ve found a few things that work.
- I placed a thin Nomex pad over the grate that’s on the inside. Because the grate has just a few rods, the rods get hot and the spaces between the rods can be cold. Placing the Nomex pad across them helps to even out that temperature.
- I purchased two inexpensive oven thermometers and placed them on each side at the back of the rack. This helps me know not only the temperature inside the oven but also tells me if one side is hotter or colder than the other side.
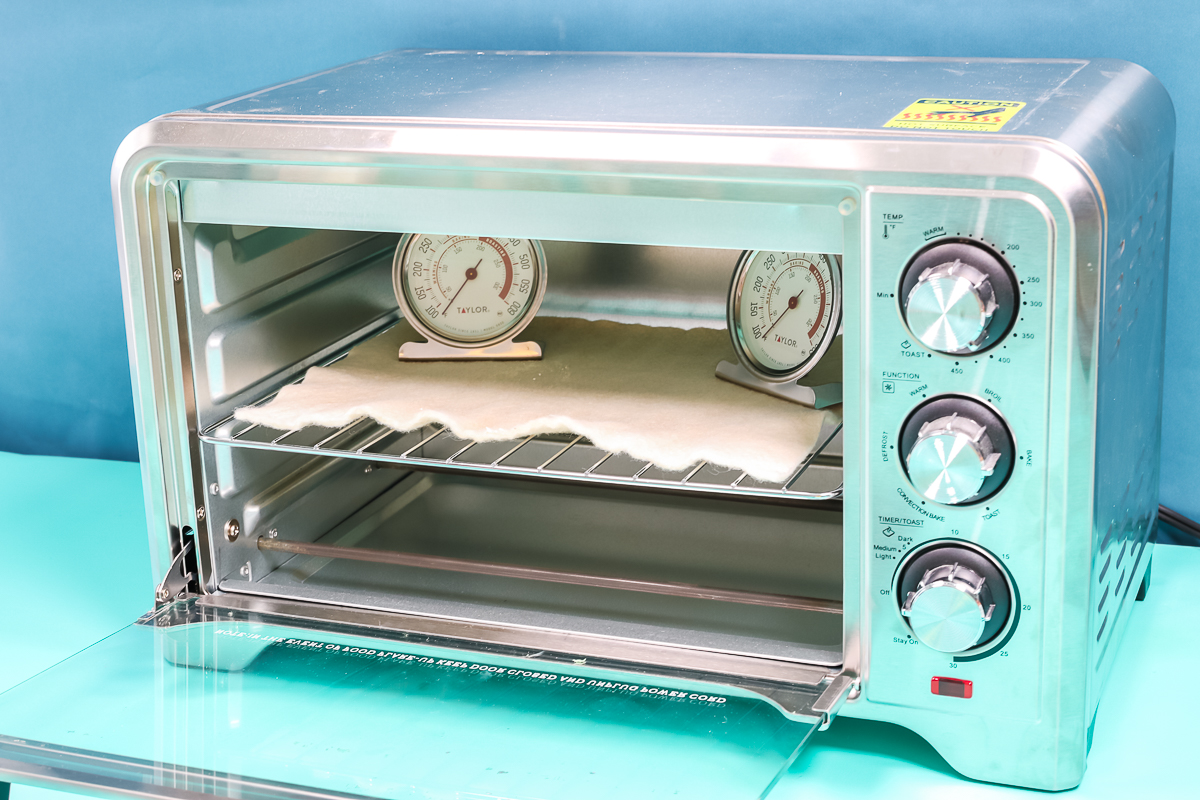
With my convection oven, I open the door halfway through the baking process and rotate and spin the blank. This also helps with those hot and cold spots by exposing all the sides to the different temps.
Inside the PYD Life Sublimation Oven, instead of a grate it actually has a mesh basket. I found that hot and cold spots were more evenly distributed so I didn’t have to purchase anything else to put inside it. Instead of having to spin and rotate the blank I just turned it a little bit.
Why Choose an Oven for Sublimation?
One of the reasons I really like using an oven for sublimation projects is that I don’t have to have multiple different machines for different items. With a tumbler press, you have to have different coils for different-sized tumblers. For the Mug Press, you need items that fit within the size of the Mug Press and are straight-walled.
With an oven, your only limit to what you can sublimate is if it fits inside the oven. I can do small keychains or shot glasses all the way up to tumblers and even dog bowls, as long as they fit inside the oven. The only thing I need is the right-sized shrink wrap.
What is Shrink Wrap?
No matter which oven you purchase you will need some additional supplies before you can sublimate. The process for preparing your blanks will be similar regardless of if you’re using a sublimation oven or a convection oven.
Shrink wrap sleeves are items that fit around the outside of the blank and sublimation print and when heat is applied they shrink tight all the way around the blank helping make sure your sublimation print is in tight contact all the way around the blank.
How to Prep Your Blank for a Sublimation Oven
To prepare your sublimation blank you will need to prep your blank. Remember that you need a sublimation blank and a sublimation print. A sublimation print is sublimation ink printed onto sublimation paper with a sublimation printer. You can see the list of the other supplies I am using at the top of this post. The preparation is similar for tumblers, mugs, and jars regardless of their size and which oven you’re using.
To begin, make sure you remove anything plastic, wood, or anything else that isn’t the sublimation blank itself. Clean your blank really well. You can use rubbing alcohol and a lint-free cloth or I am using a lint roller. Make sure there is no lint or dust left on it.
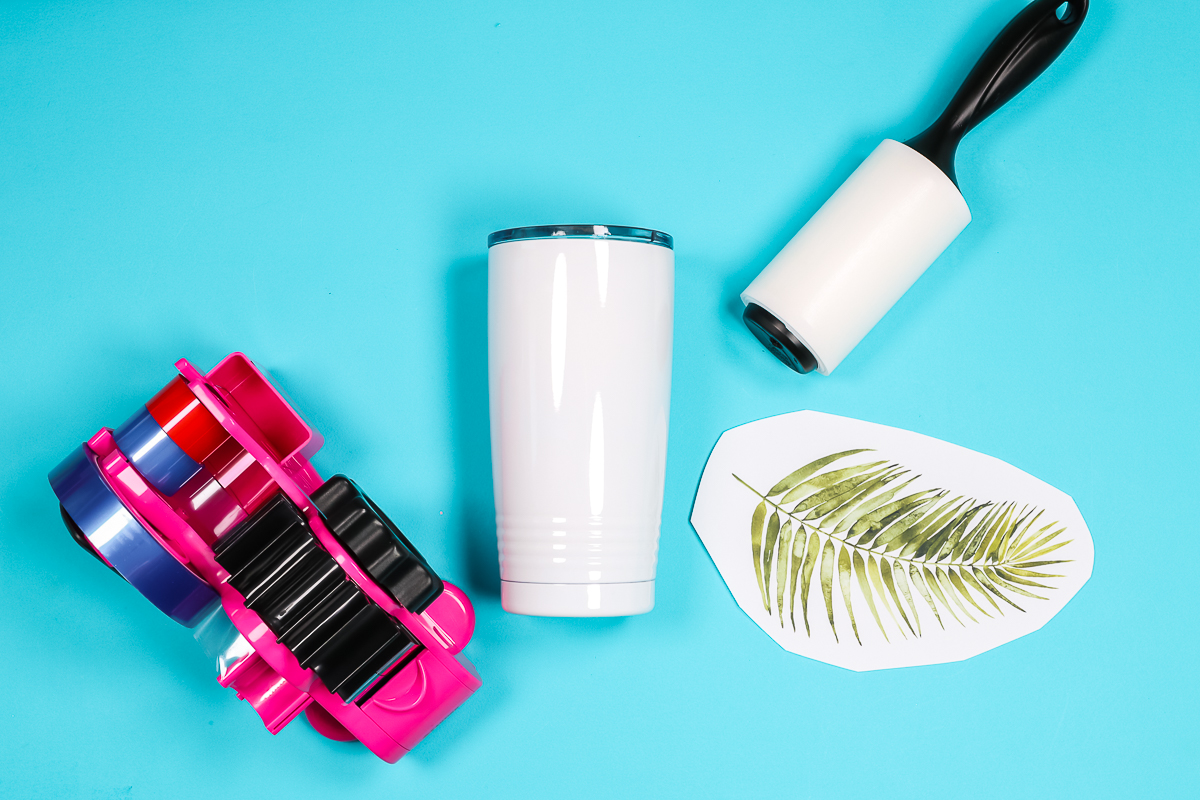
Now we’re ready to apply the sublimation print. Whether it’s a full wrap or a single image/phrase, you want to make sure it’s pulled tight. Secure your print in place with the print against the blank using heat-resistant tape. If you’re doing a full wrap on a tapered mug or tumbler, you will need to pinch the print so it can be taped tight against the whole thing.
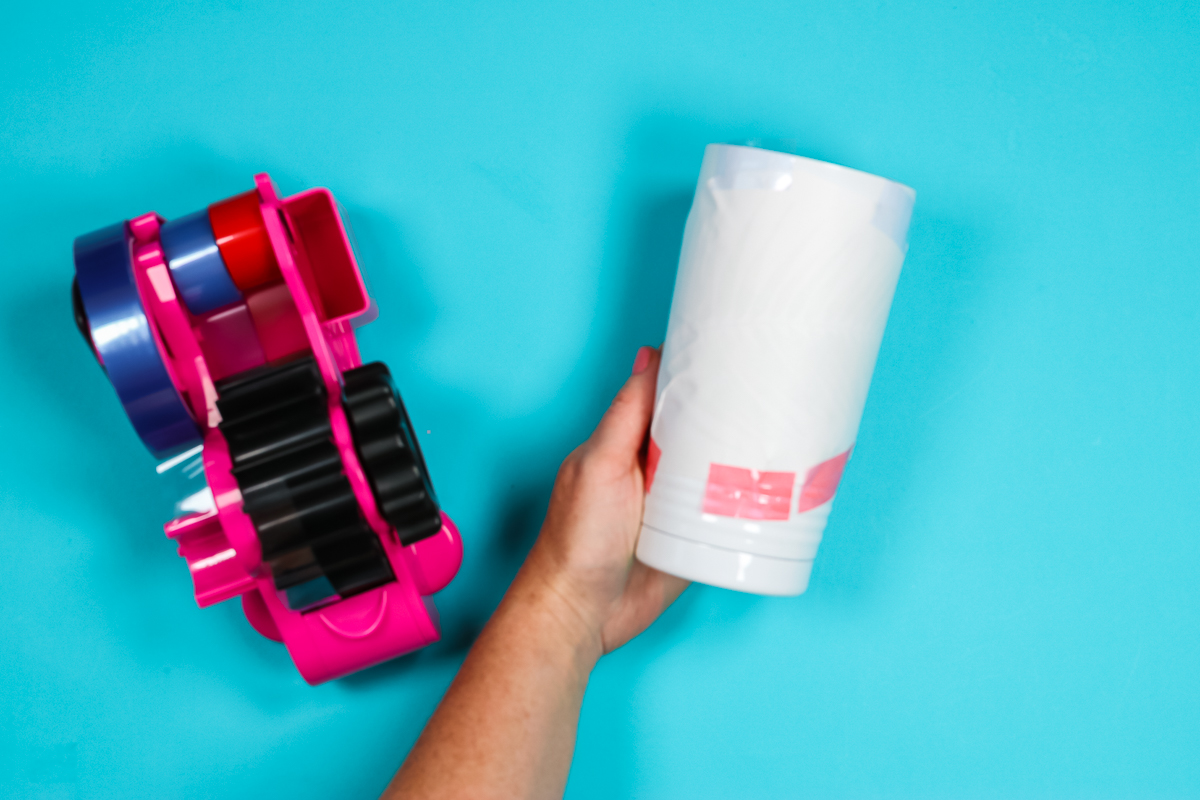
Before adding the sublimation blank to the oven, you need to apply the shrink sleeve. Put your blank inside the shrink sleeve. If your sleeve is too large, you can trim off the excess with scissors.
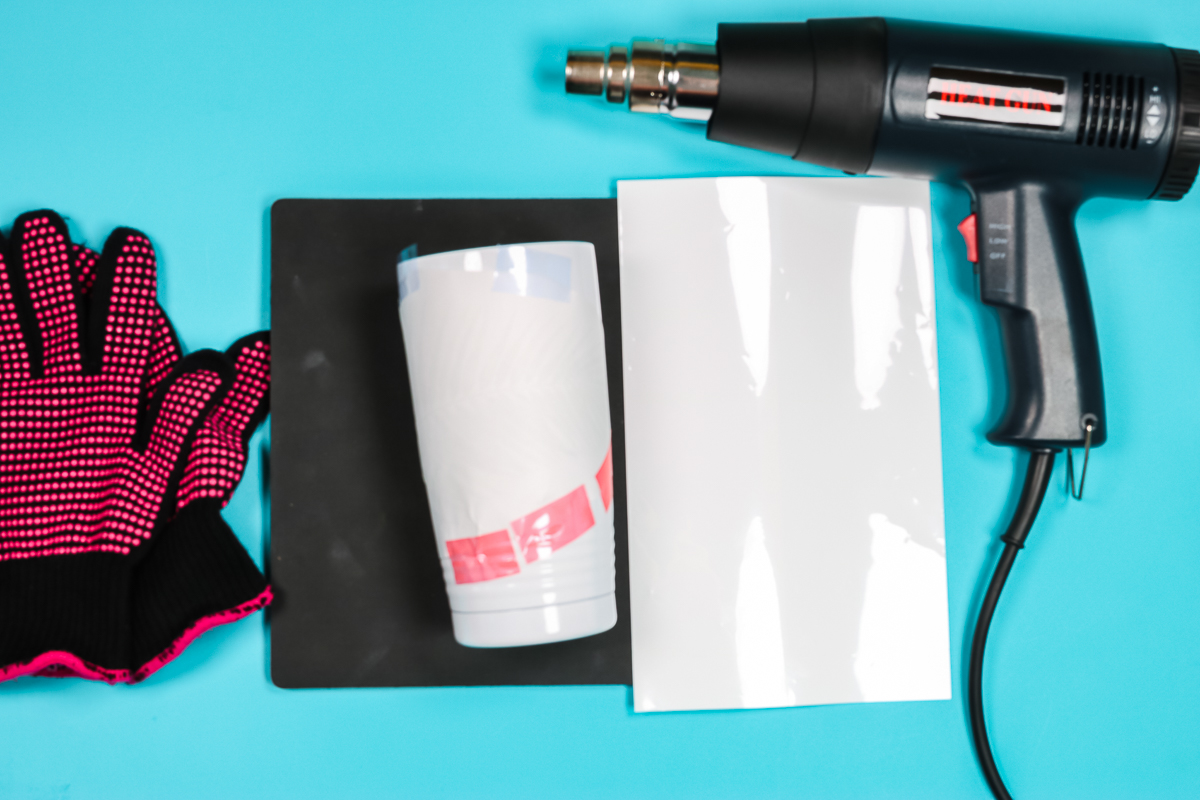
Once the blank is inside the sleeve, I like to put on my heat-resistant gloves, at least one of them, and set it on a heat-resistant mat. Using my heat gun, I shrink the sleeve to the tumbler. Your goal should be to have as few wrinkles as possible so the shrink wrap is as tight as possible all the way around. Once that is done, you’re ready for the oven.
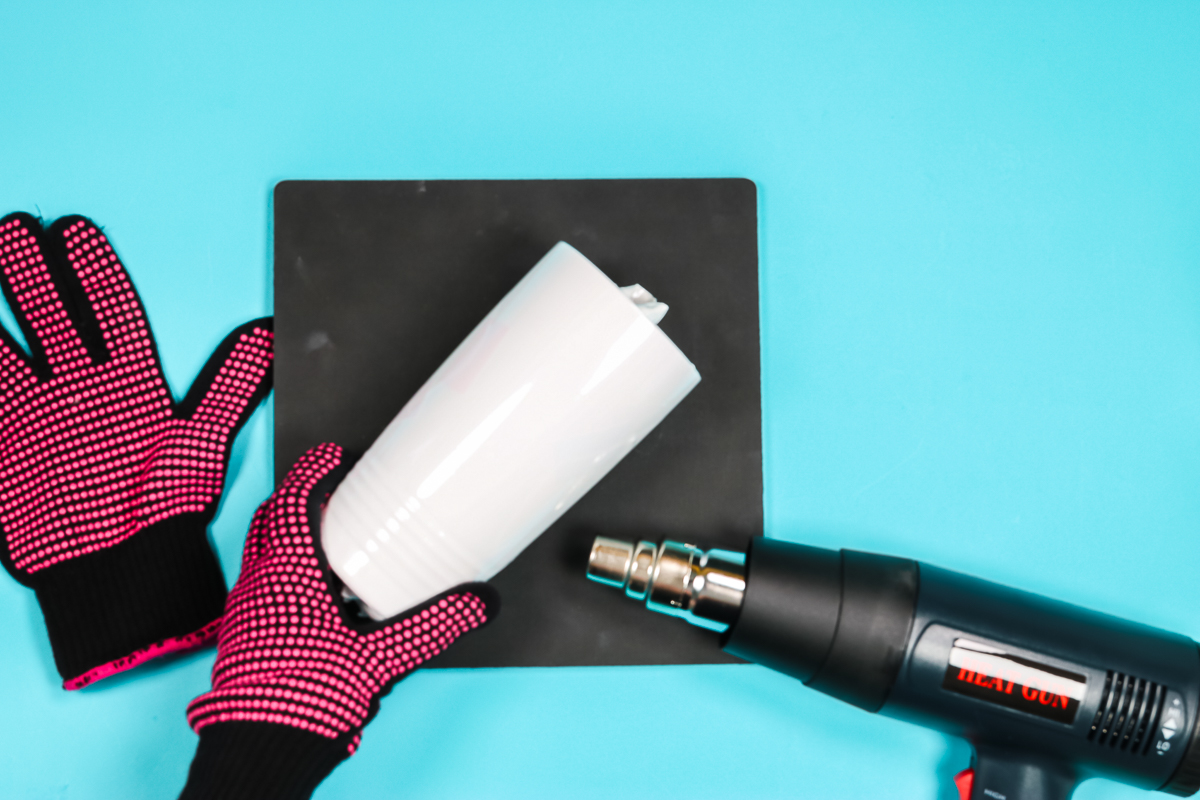
If you are going to make multiple items, you can prep them all now. Remember, if you have a larger oven you can bake multiple items at once.
How to Apply Shrink Wrap to a Mug with a Handle
I do have a special hack I use when I use shrink wrap with something that has a handle. I put a short video up on my Instagram feed showing you how I do mugs in a sublimation oven. You can view it here.
Sublimation Tumblers and Mugs in an Oven
Now that we have all our projects prepped let’s bake them and compare them side by side to see how each oven does. Preheat the ovens before beginning. I was only able to sublimate one tumbler in the convection oven at a time. In the PYD Life sublimation oven, I was able to sublimate the tumbler, mug, and wine glass all at the same time. If you bake multiple items at once, make sure they have the same time/temp requirements.
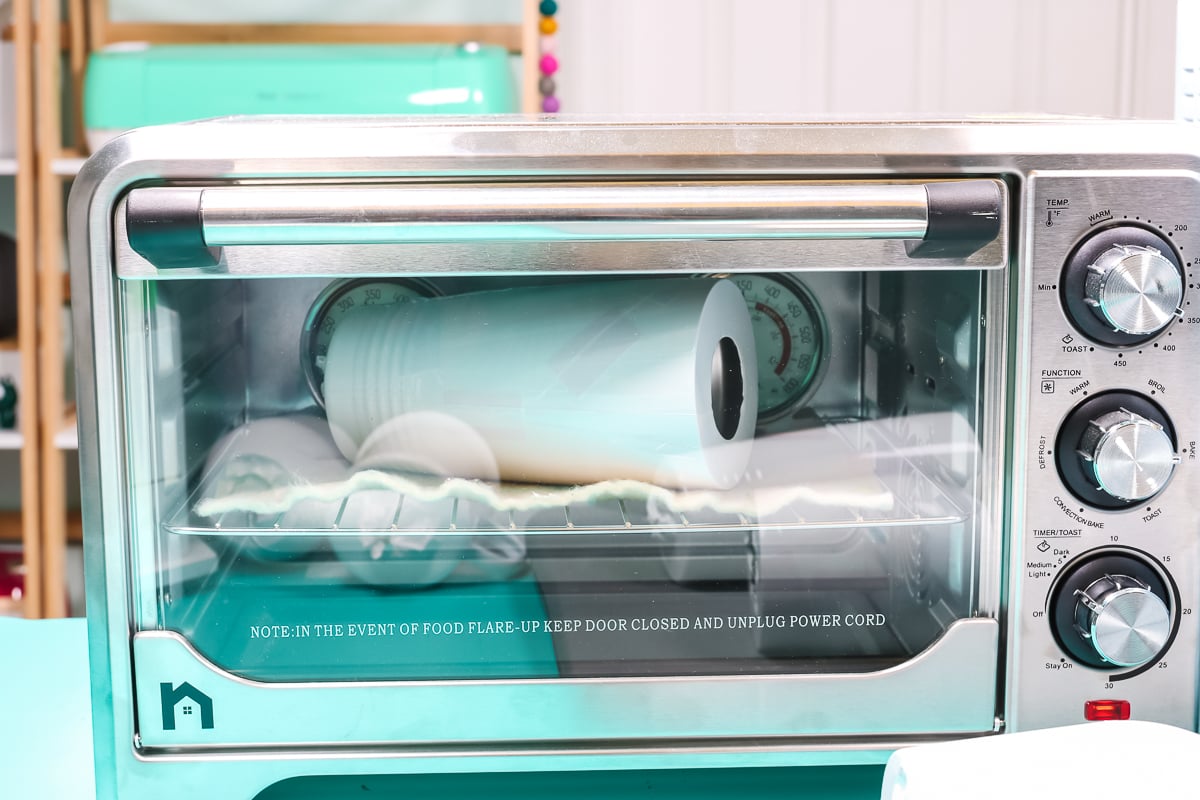
Because I always rotate my blanks in the convection oven and I did the same in the PYD Life sublimation oven. I don’t know if that step is required but I wanted to have a true side-by-side comparison.
I found the time and temperature settings for all my sublimation blanks on the listing for each blank. The tumbler, mug, and wine glass all had a temperature setting of 356 degrees F and a time of 6 minutes. The glass tumbler was also 356 degrees F but for 9 minutes.
Removing Shrink Wrap and Sublimation Print
Before removing the tumbler from the oven, I check to see if I can see the sublimation print through the shrink wrap. When the sublimation is complete, you should be able to see the print through the shrink wrap.
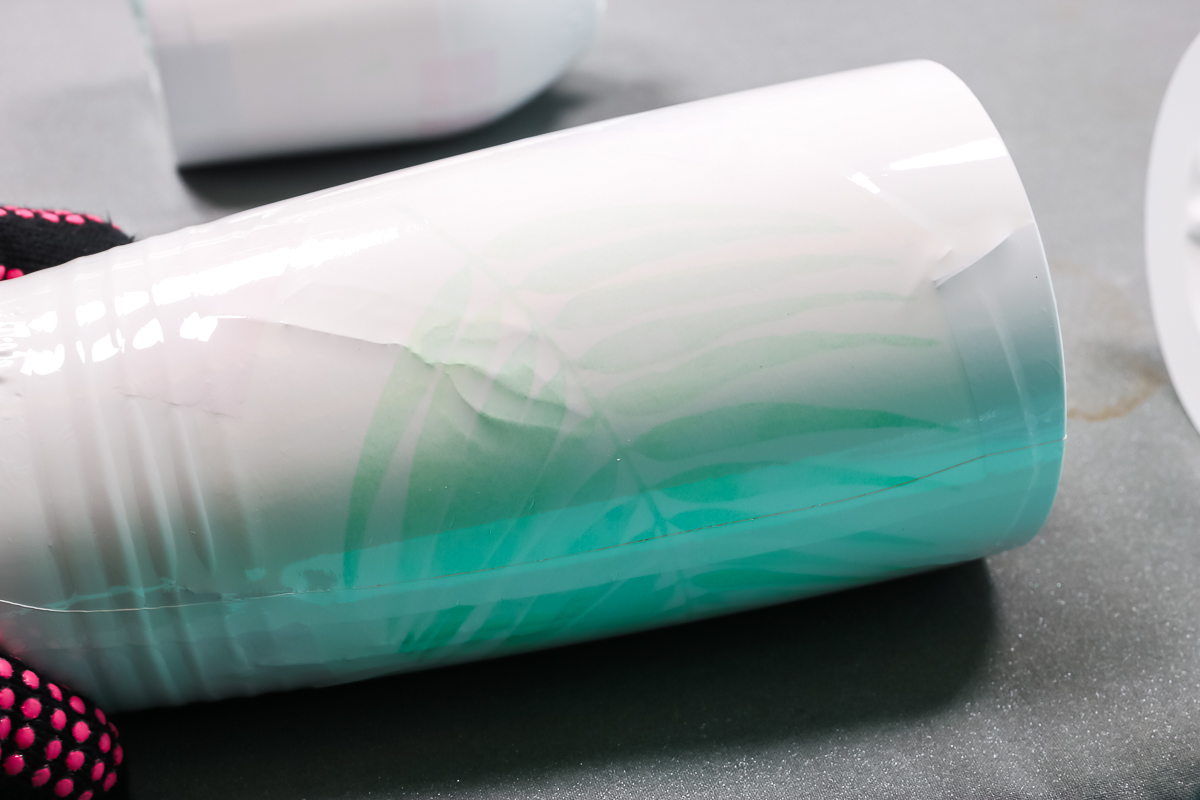
If you can’t see the print, you can add it back into the oven for a few more minutes. If it is done, use your heat-resistant glove and remove the shrink wrap. The quicker you remove the shrink wrap the easier it will be. You will be able to remove it, even if it cools, it will just take longer.
With your heat-resistant gloves, you can remove the shrink wrap and sublimation print while it’s still hot, you don’t need to wait.
Sublimation Tumblers in an Oven
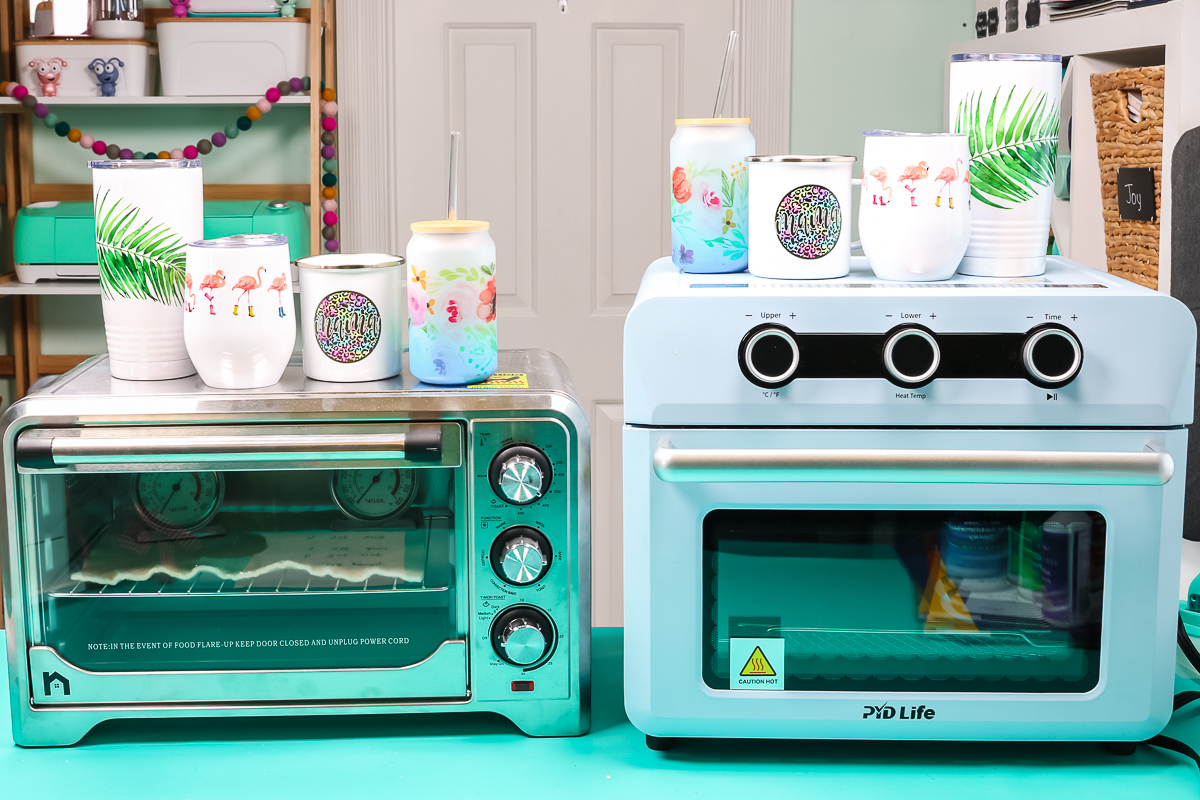
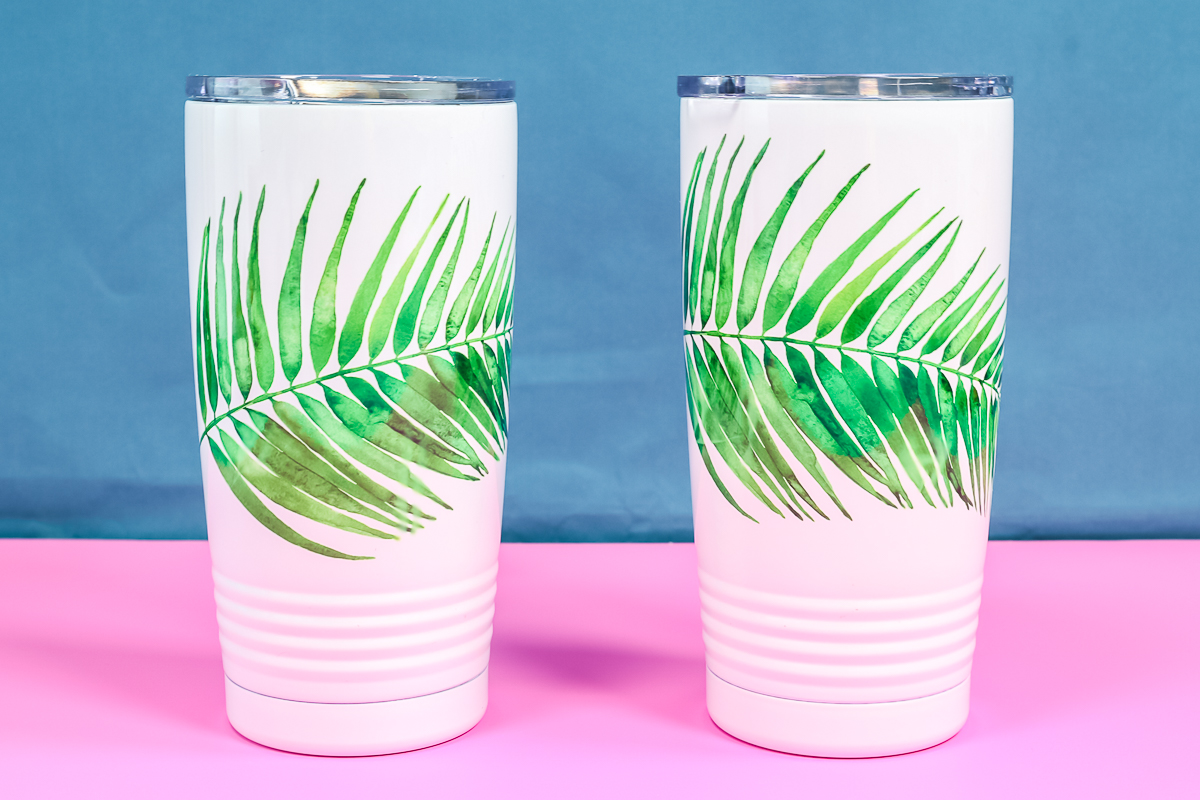
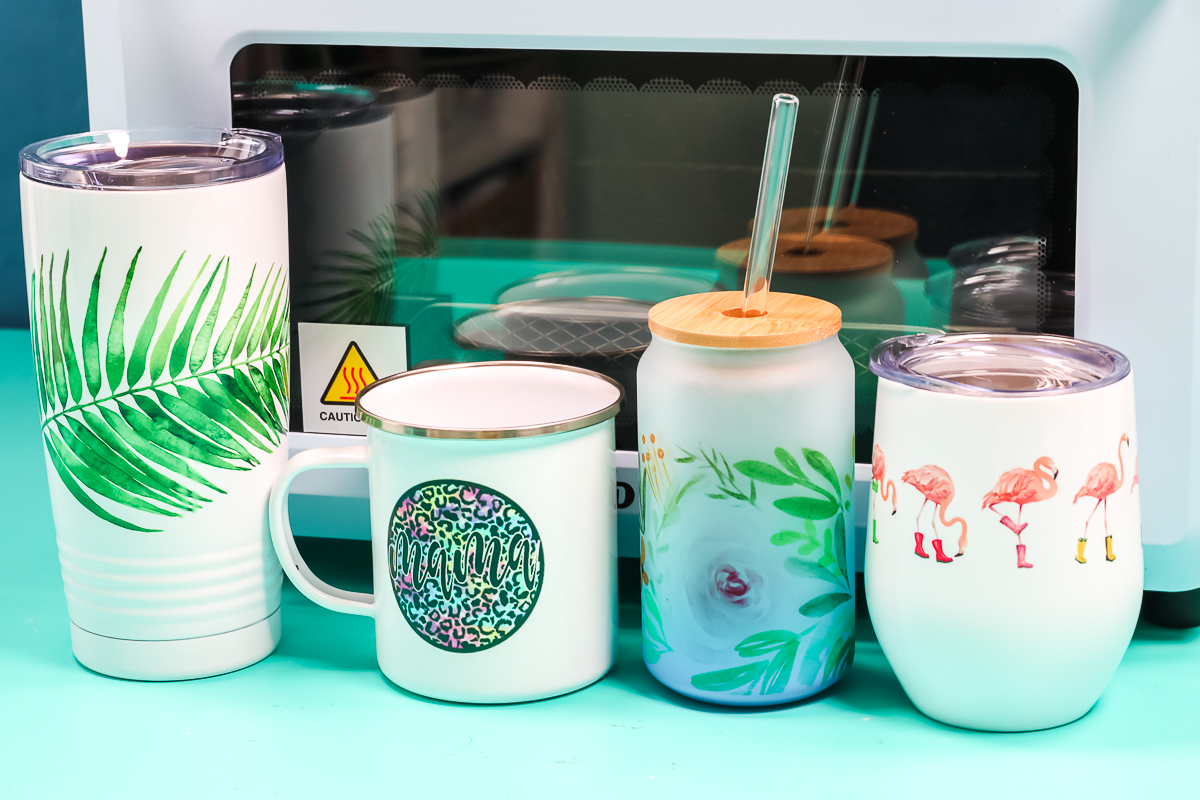
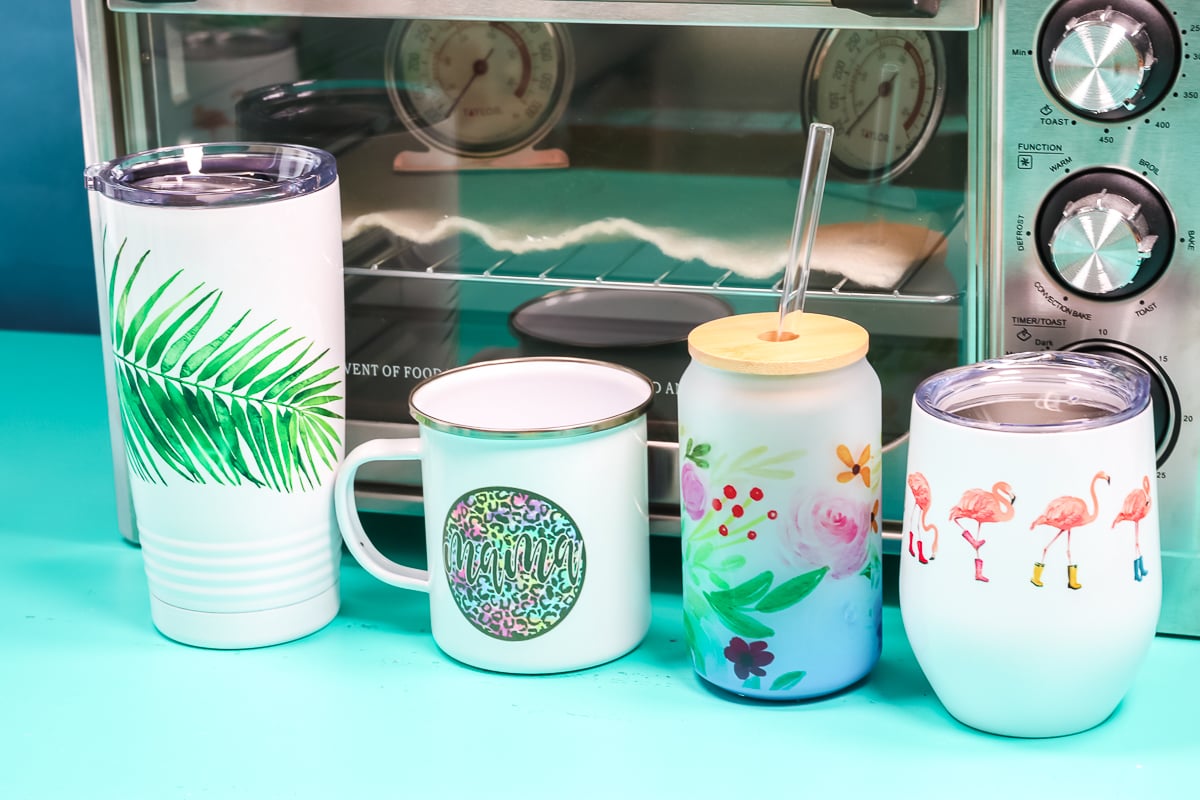
The sublimation tumblers both turned out beautiful. Both the convection oven and the PYD Life oven did the full print in the time and temp recommended. The only difference here is that I had to sublimate the tumbler in the convection oven on its own and I was able to sublimate multiple items at once in the PYD Life oven.
Sublimation Wine Glass
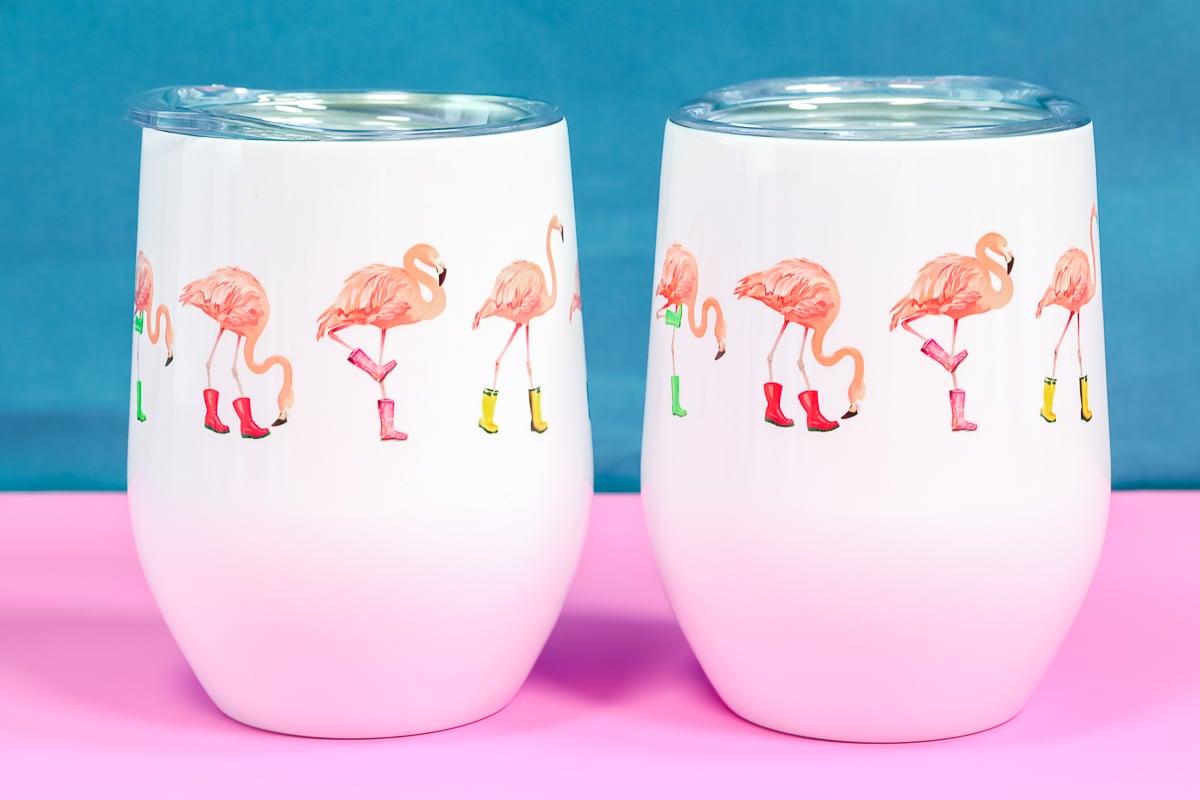
The sublimation wine glasses also both turned out beautifully. You can’t tell a difference between them at all. I will say that the PYD Life oven sublimated perfectly in the time recommended. In the convection oven, I had to do it for a bit longer. I think the difference is that the PYD Life oven doesn’t start the timer countdown until the temperature is right.
Sublimation Camp Mug
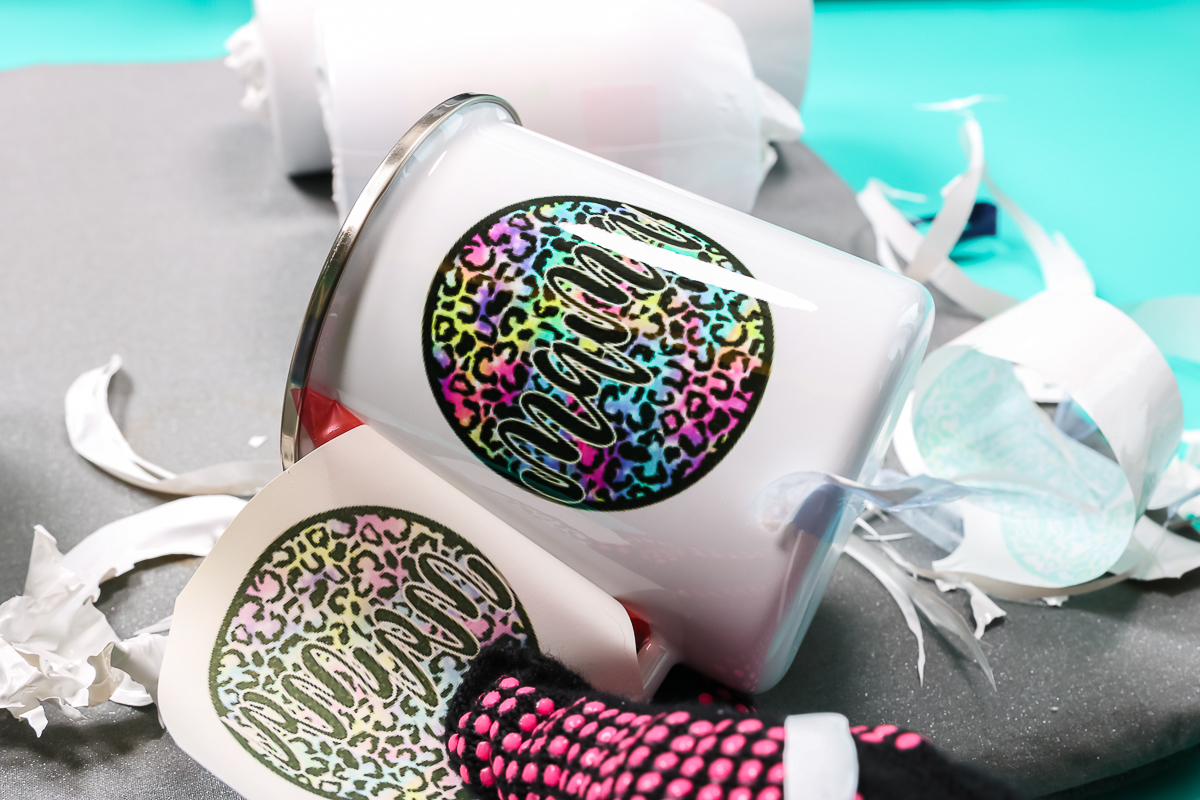
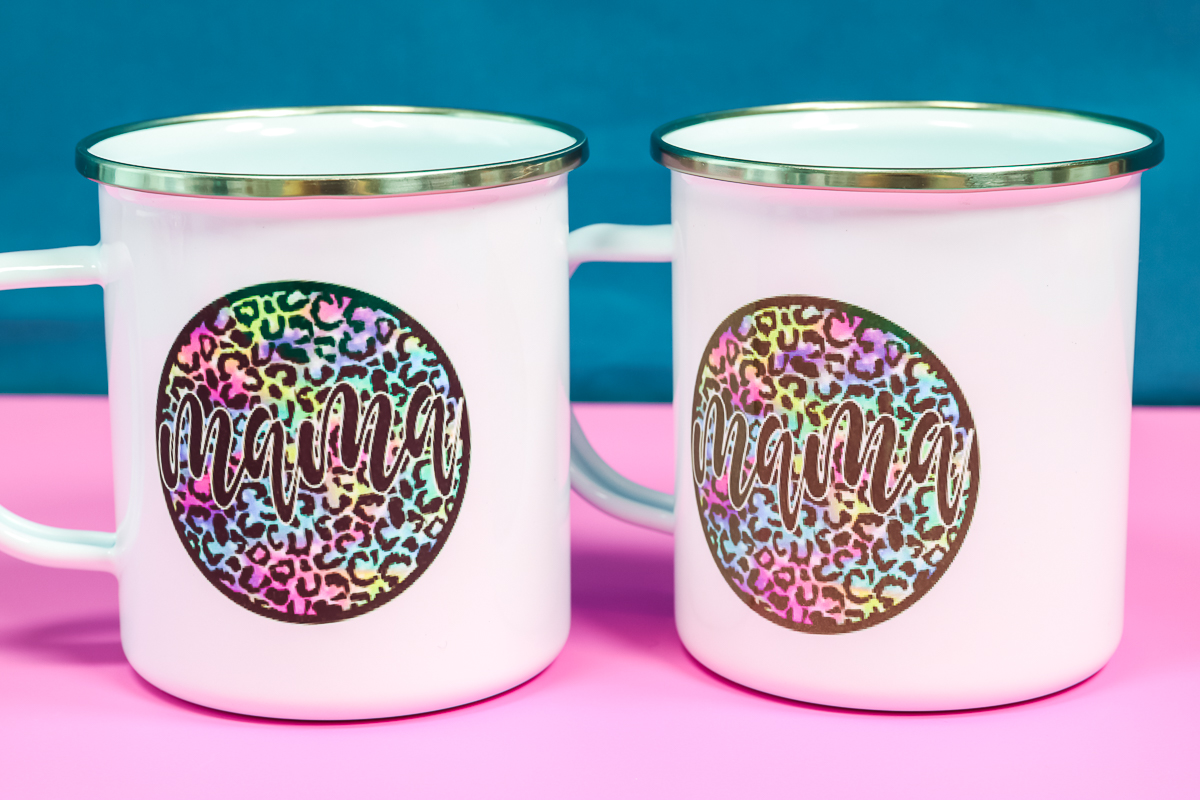
The camping mug is where you can really tell a difference between the two ovens. The mug on the left looks perfect, the black looks nice and dark and the whole print is perfect. This was done in the 6 minutes recommended. The mug on the right was done in my convection oven. I baked it longer than stated, rotated halfway through, and on one side the black looks really, really green.
Green black indicates that the product itself is undercooked. Obviously, I didn’t bake it long enough in the convection oven and it didn’t turn out correctly.
I can probably play with the time and temperature to correct it, but this is pretty typical of the blanks I do in my convection oven. Sometimes they work and sometimes I have issues with the first one or two blanks that I do before I dial in the time and temperature needed for my particular oven.
Sublimation Glass Tumbler
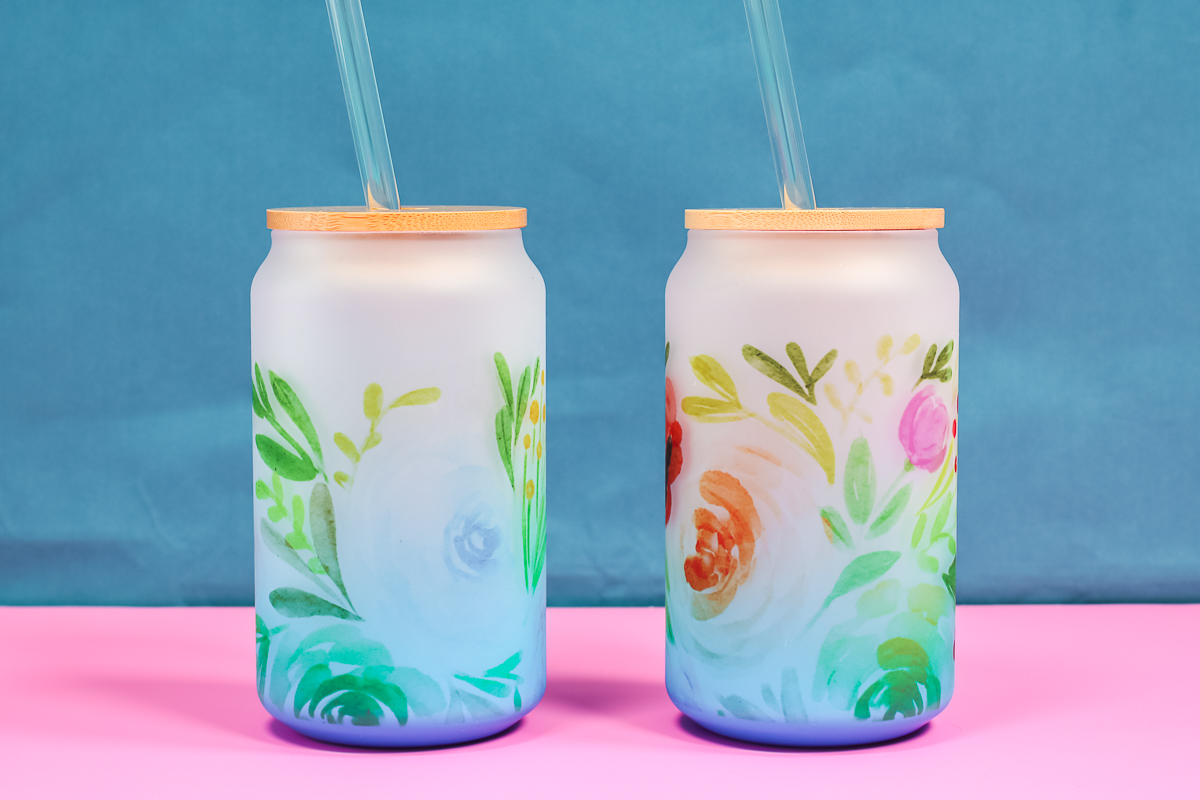
I wanted to do something that wasn’t a metal sublimation blank and these sublimation glass tumblers turned out beautifully. The glass tumblers I used have that blue color at the bottom and I think it looks so good with this watercolor floral print. You can actually see more versions of these glass tumblers in the tumbler press post here!
To sublimate on glass, you prep the tumblers the same way we did the other blanks. These sublimation glass tumblers had a temperature setting of 356 and a recommended time setting of 9 minutes. In the PYD Life sublimation oven, the print sublimated in the recommended time. In my convection oven, I baked it for a little longer, because I know it usually takes longer in that oven.
You really can’t tell a difference between the two glass tumblers, both ovens did a great job and this print is beautiful.
You can see why I won’t do glass blanks in my Cricut Mug Press here!
Closing Thoughts on Sublimation Ovens
As you can see I did notice some differences between the two ovens. With my cheaper oven, it can take more work and more time to get the sublimation print right. I also know that I need to have a couple of extra blanks when I’m trying something new because it will require some trial and error to get the settings right.
If your budget has you looking for something that isn’t a sublimation oven, make sure you’re looking at convection ovens. You want something that moves the air around your sublimation blank.
I’ve mentioned before the importance of a sublimation notebook. If you’re using a convection oven for your sublimation projects, you want to make sure you’re keeping track of what time and setting worked for each different blank. This will help prevent things like the green black on the camp mug above.
Which should you buy?
So, which one would I choose if I were shopping today? That will depend on your budget. Once you know your budget, you can compare features. Do you want the ease of being able to set the time and temperature digitally? Do you want to know the time and temperature with less trial and error? If so, the sublimation oven might be for you if it’s within your budget.
If you’re looking for something a little less expensive, you can likely find a budget-friendly convection oven. You do need to consider the cost of additional items you’ll need. I recommend two oven thermometers on the inside as well as the Nomex pad across the grate, especially if it has just a few rods. It will help control the hot and cold spots.
The other thing to consider, when you’re thinking of the cost, is the potential to lose an item or two each time you try a new blank. It took me a lot of trial and error over the years to know what is most likely to work with my specific oven. That sublimation notebook is a lifesaver! Even with years of experience I still have situations, like the camp mug above, where things don’t turn out right. Make sure you’re ready for that possibility.
I do think an oven is a really wise purchase, especially if you don’t have the budget for it or don’t want to purchase tons of presses. They make presses for mugs, tumblers, hats, and plates. If you don’t want to buy all of those, a sublimation oven is a great substitute that can do a ton of different sublimation blanks all for one purchase.


Ok….so I’m new to this…I followed instructions….my shrink wrap started to melt…did I leave it in too long…was the temp too high….the shrink actually melted to the surface underneath. Please help. I ordered your book as well. Thanks
My guess is that the shrink wrap you bought was wrong or poor quality.
what is the thing u have in your oven that is between the tumbler and the grate
That is the felt Nomex pad. It helps even out the temperature. It is listed in the supplies list of this post 🙂
my things are coming out yellow or burned looking
Try adjusting the time and temperature to be less.