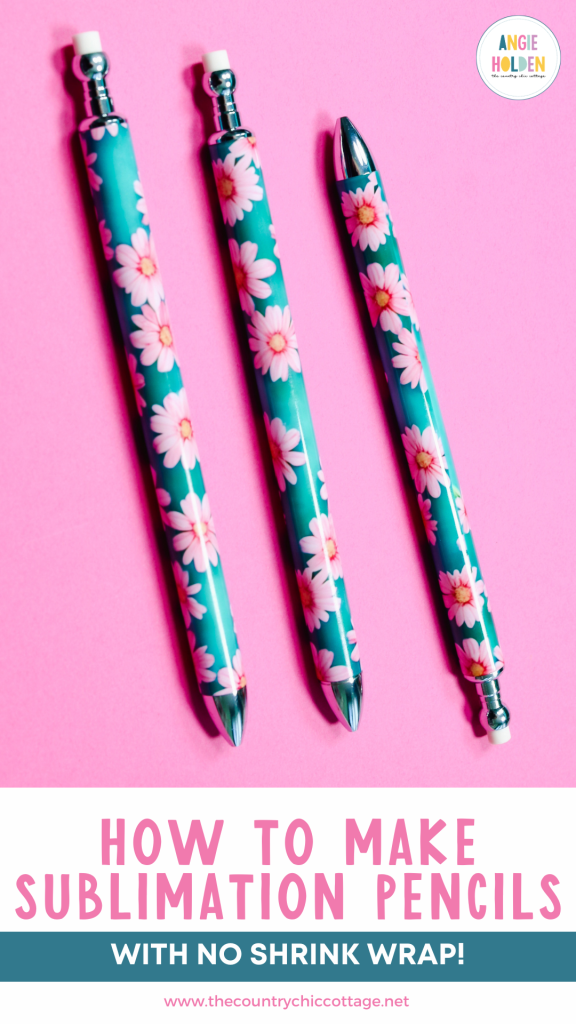
Are you ready to make custom sublimation pencils? I know you are going to love them. These are mechanical pencils and they sublimate so well. Trust me when I say you’re going to want to make them for everyone and some for yourself!
You do need a sublimation oven to make these pencils. If you’re not sure which sublimation oven is right for you, my sublimation oven comparison post will help.

I am using an oven to customize these pencils but I’m not using shrink wrap. You can watch me make these pencils and learn the method I used by pressing play on the video below.
How to Make Sublimation Pencils Without Shrink Wrap
I am so happy with how these pencils turned out. I am already excited about making them for others.
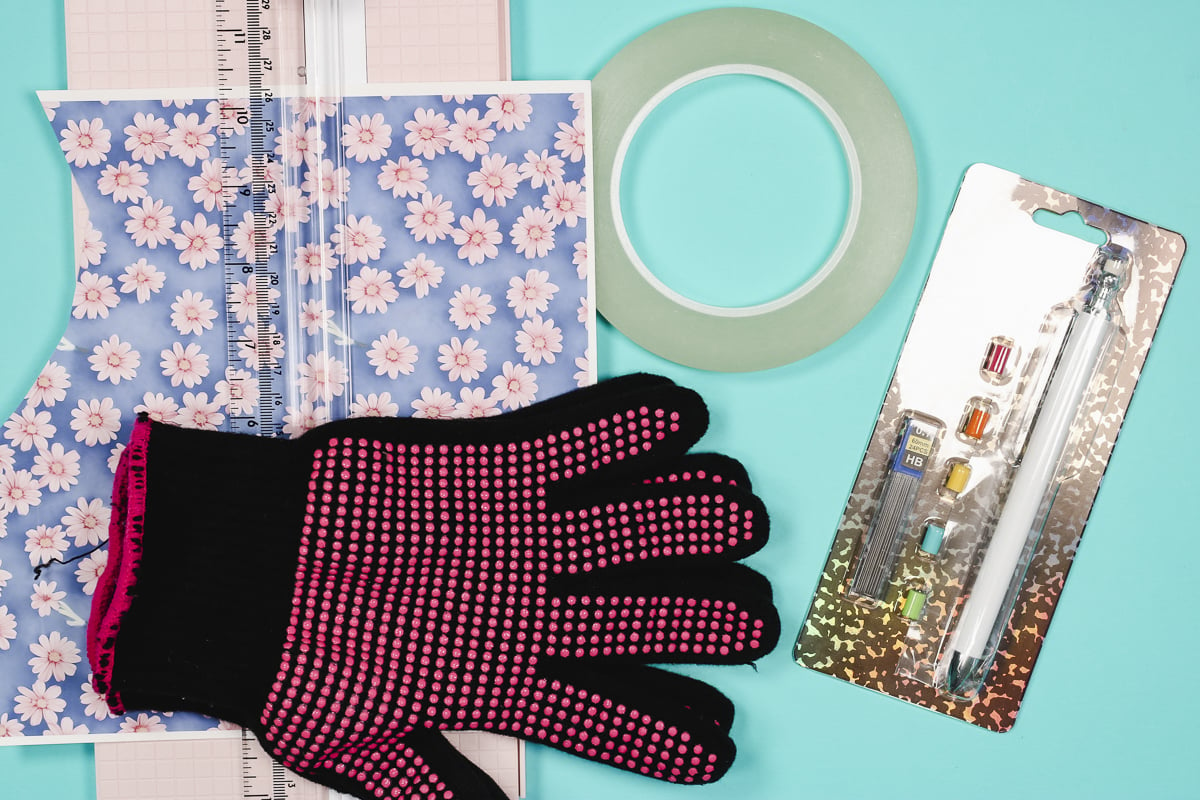
Supplies Used
- Free Floral Patterns
- Sublimation Pencils
- Replacement Barrels (optional)
- Brother Sublimation Printer
- Sublimation Paper
- Lint Roller
- Heat Resistant Tape
- Heat Resistant Gloves
- Heat Resistant Mat
- Sublimation Oven
- Paper Cutter
IMPORTANT: Everything I am using today is made for sublimation. For this project, you need a sublimation print, which is sublimation ink printed onto sublimation paper from a sublimation printer.
The pencils have a special coating so the sublimation ink transfers to it. The tape is heat resistant so it will hold up to the high temperature.
Sublimation Pencil Assembly
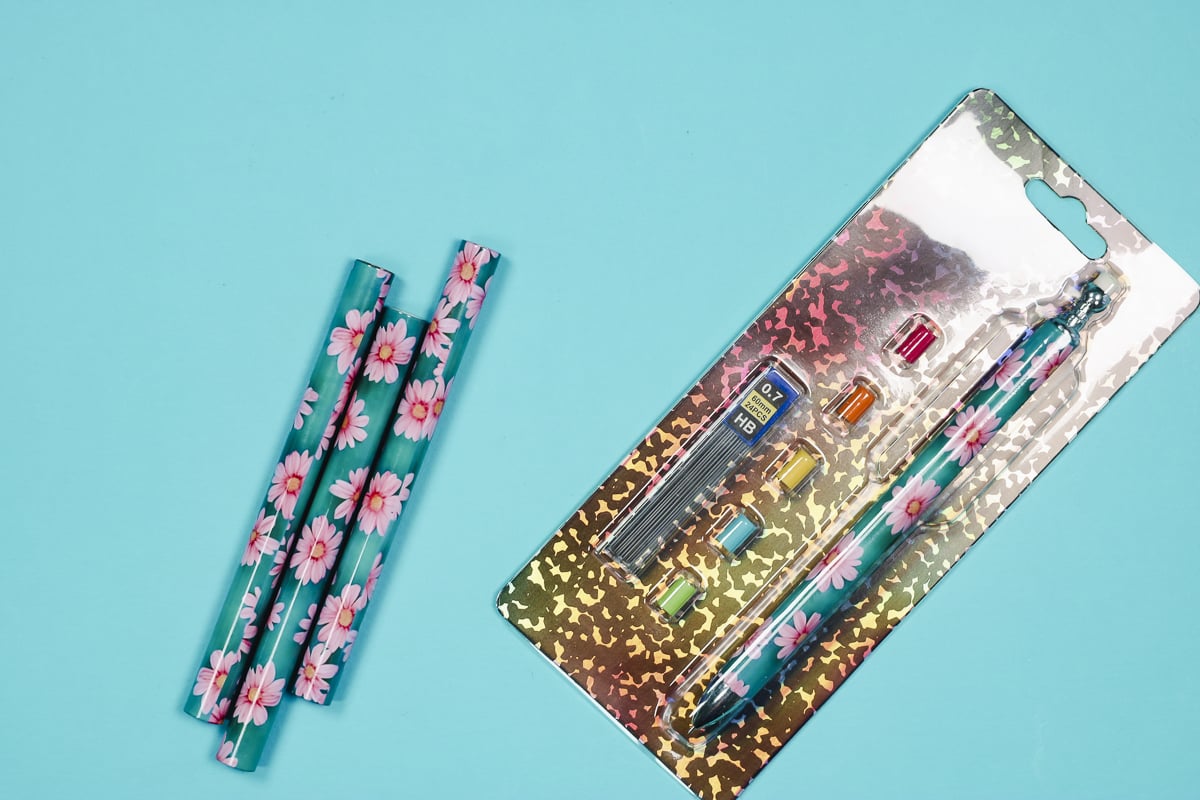
One of the things I love about these pencils is the packaging they come in. The packaging is easy to remove for sublimation and it is not sealed. So after you sublimate the barrel you can put it all back together making it perfect for gifting or selling.
The kit comes with extra lead and erasers. I love that you can match the erasers to the print you’re using.
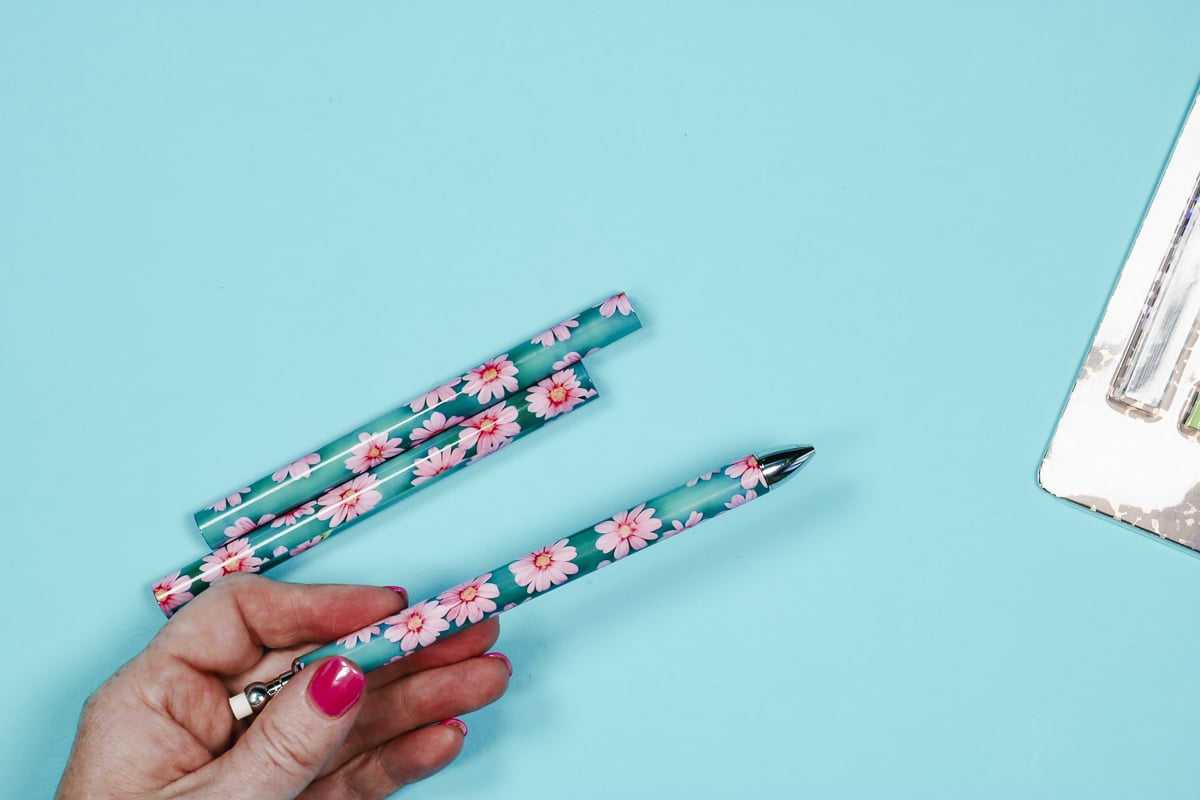
Step 1. Disassemble Sublimation Pencils
The pencils come assembled. To take them apart unscrew the bottom portion and the barrel slides right off. The rest of the pencil is one solid piece, that portion is not sublimated. I recommend replacing the tip so it doesn’t get lost while you sublimate the barrel.
You can also purchase additional barrels. This will allow you to change out the design of your new favorite pencil to match seasons or holidays.

The pencil is reassembled the same way, remove the tip, replace the sublimated barrel, and replace the tip.
Step 2. Prepare Sublimation Print
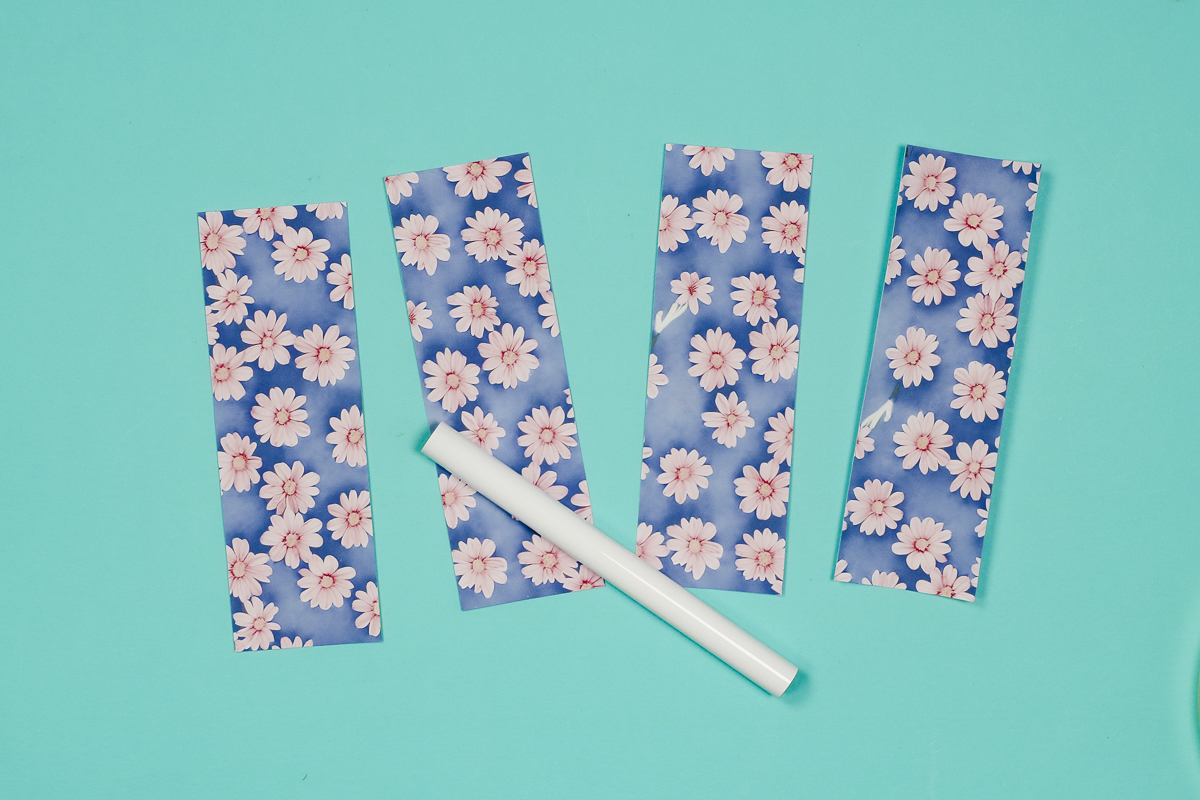
Next, we need to prepare our sublimation print. I am using some sublimation scraps I have for this project because I don’t need a full page.
We want to trim the print to fit our pencil barrel. Begin by trimming off any white from the print edges so you don’t end up with blank space on the pencil.
Measure the print against the length of the pencil. Mark the length with a pencil. I like mine to be slightly longer than the barrel itself.
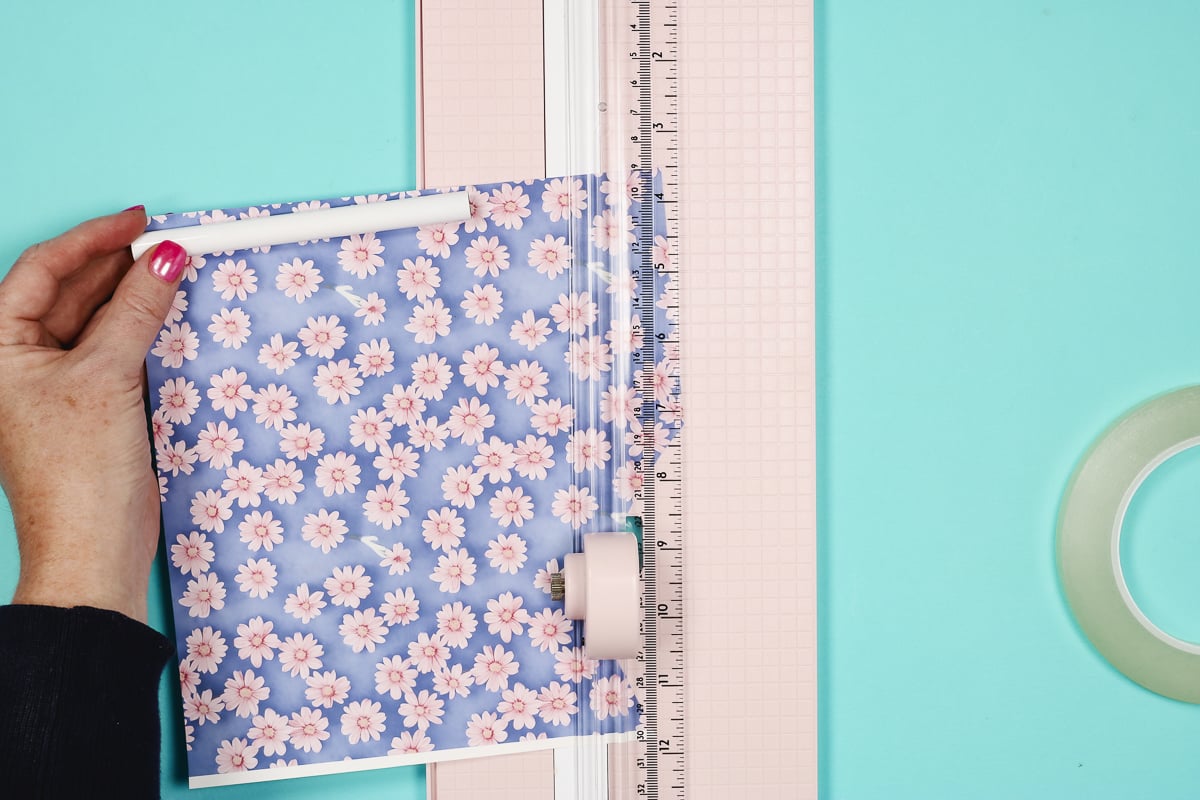
Use a paper trimmer so the edges are straight and trim the paper to the right length.
Now we can wrap the print around the barrel tightly and measure so it’s slightly overlapped and mark where to cut with a pencil. Use the trimmer to cut the print again.
Now we have a sublimation print that is just slightly longer than the barrel and slightly wider so it will overlap a little when wrapped around the barrel.
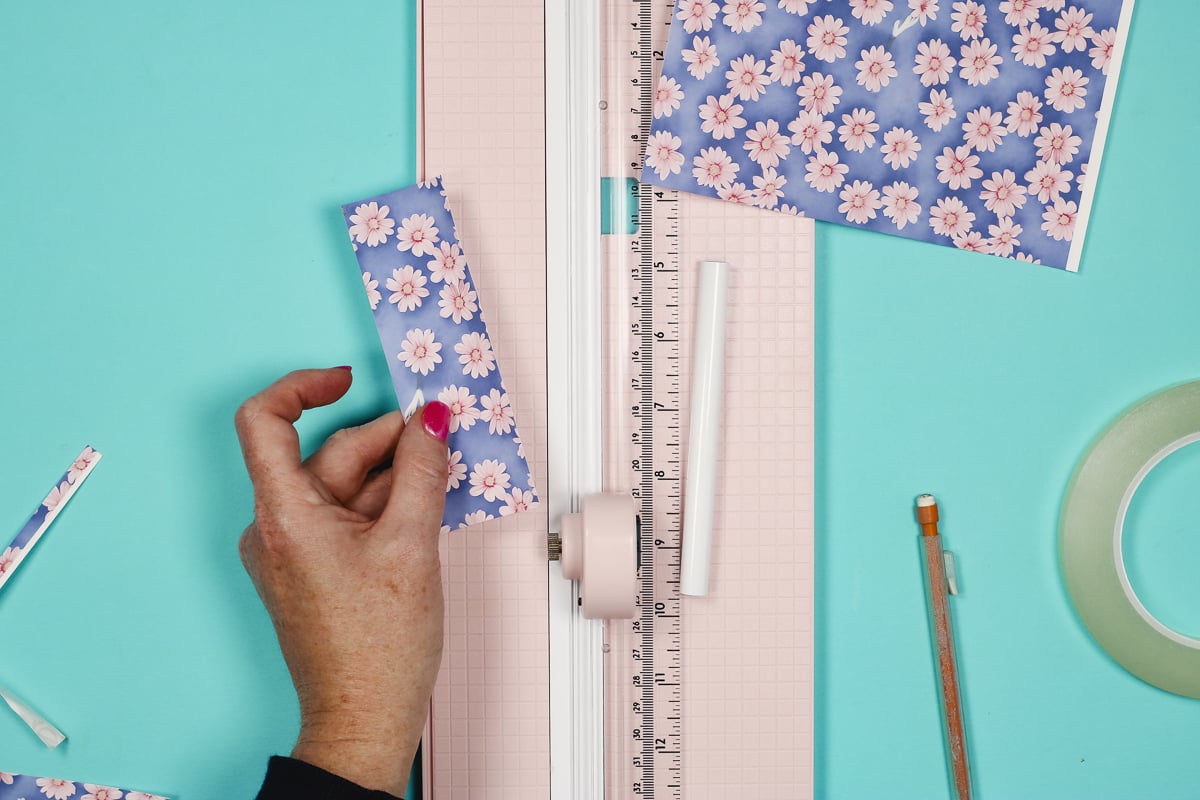
Repeat this process for as many pencils as you are going to make.
Step 3. Clean Pencil Barrel
First, clean the barrel. I use a lint roller and go over the surface to remove any dust and other debris.
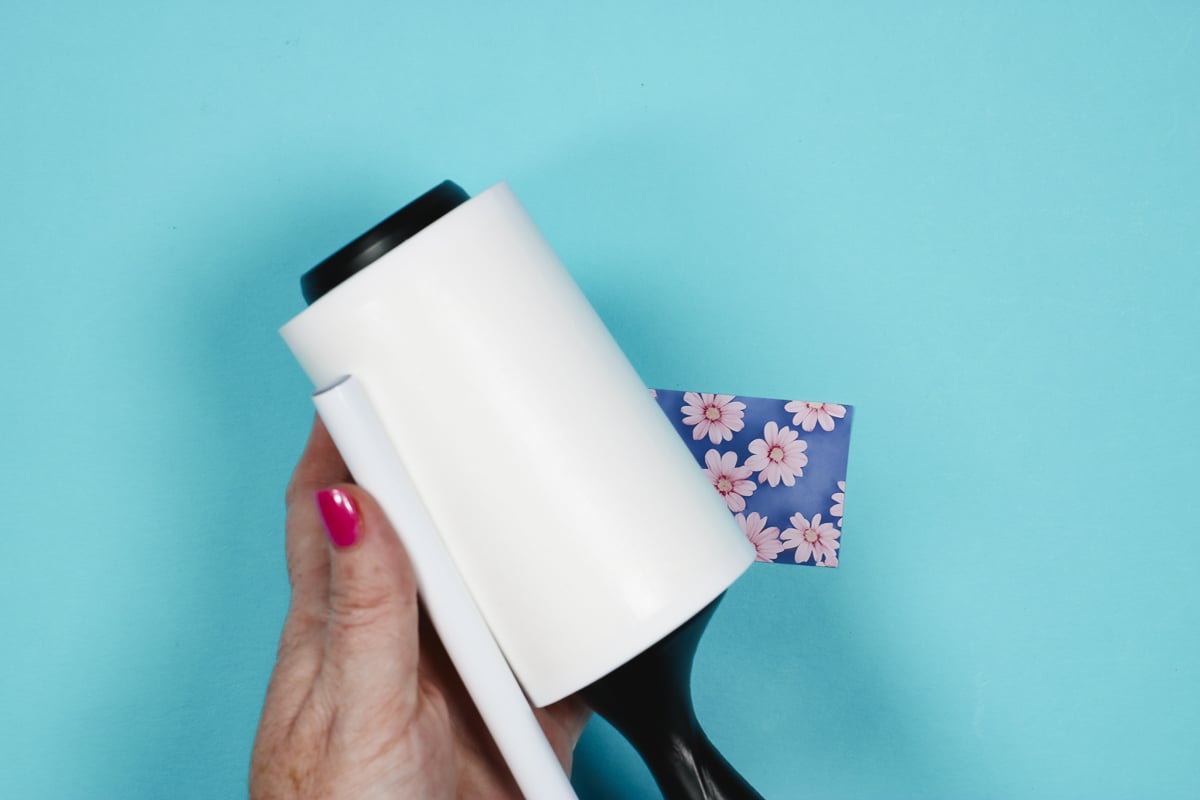
Step 4. Add Print to Pencil
On the long side of the sublimation print, add a strip of heat-resistant tape to the not-printed side of one edge. Trim off any tape overhang. This will prevent the ink from the top layer bleeding through when we wrap it.
NOTE: I am using a thinner heat-resistant tape for this project because it wraps well around the pencil.
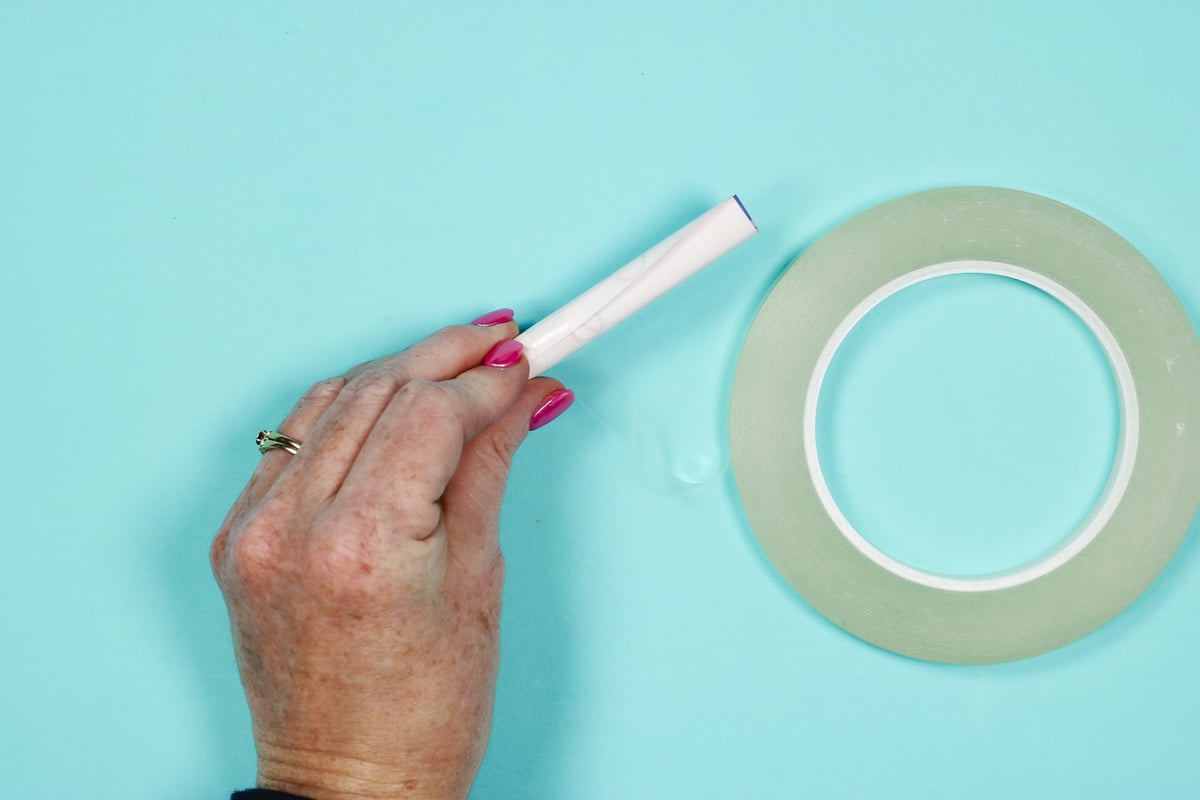
To begin make sure your tape is started. We are going to wrap the tape around the print so we’re not using a tape dispenser for this method.
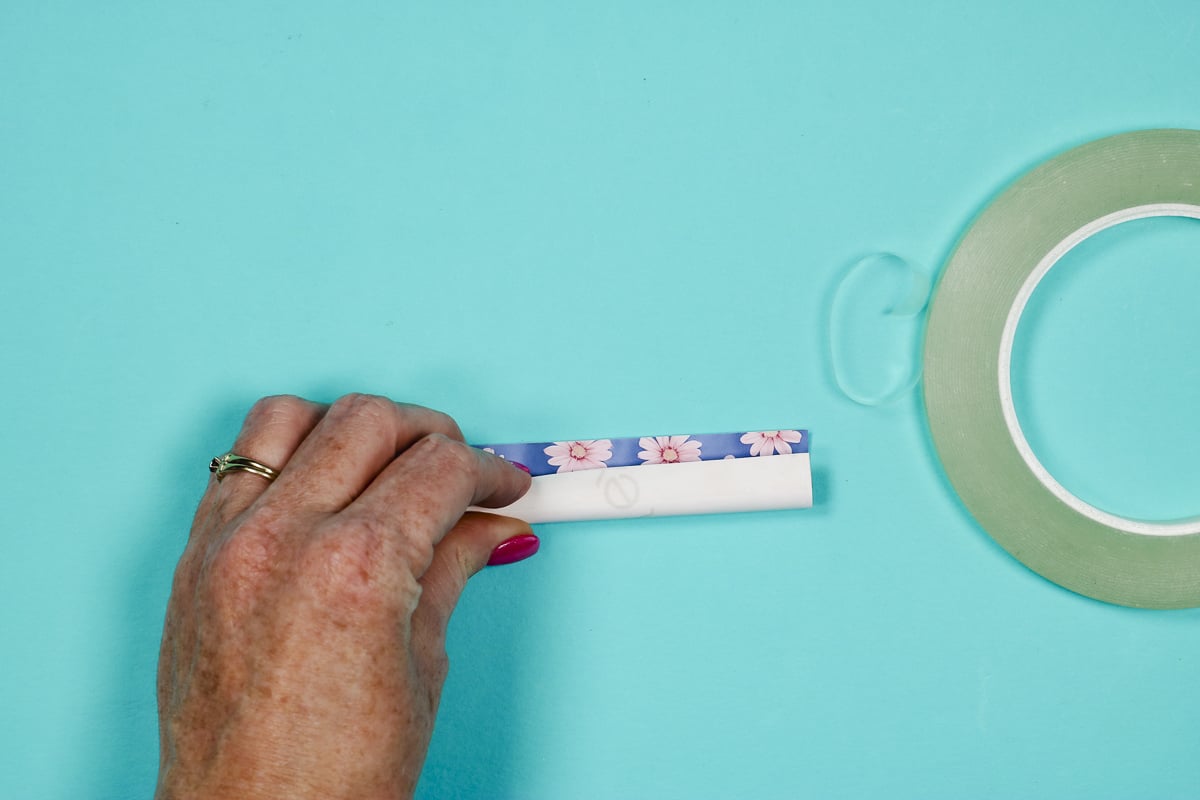
Place the taped edge print side down on the pencil barrel as straight as possible. Roll the print around the barrel as tight as possible. The top end should go right over the top of the tapped edge.
Start the tape in the middle of the pencil barrel. Pull the print as tight as you can and start wrapping the tape around the pencil and print.
Pull the tape tight and keep wrapping all the way to the end of the barrel. I like to wrap the tape a couple extra times at the end. Cut the tape and repeat the process for the other end.
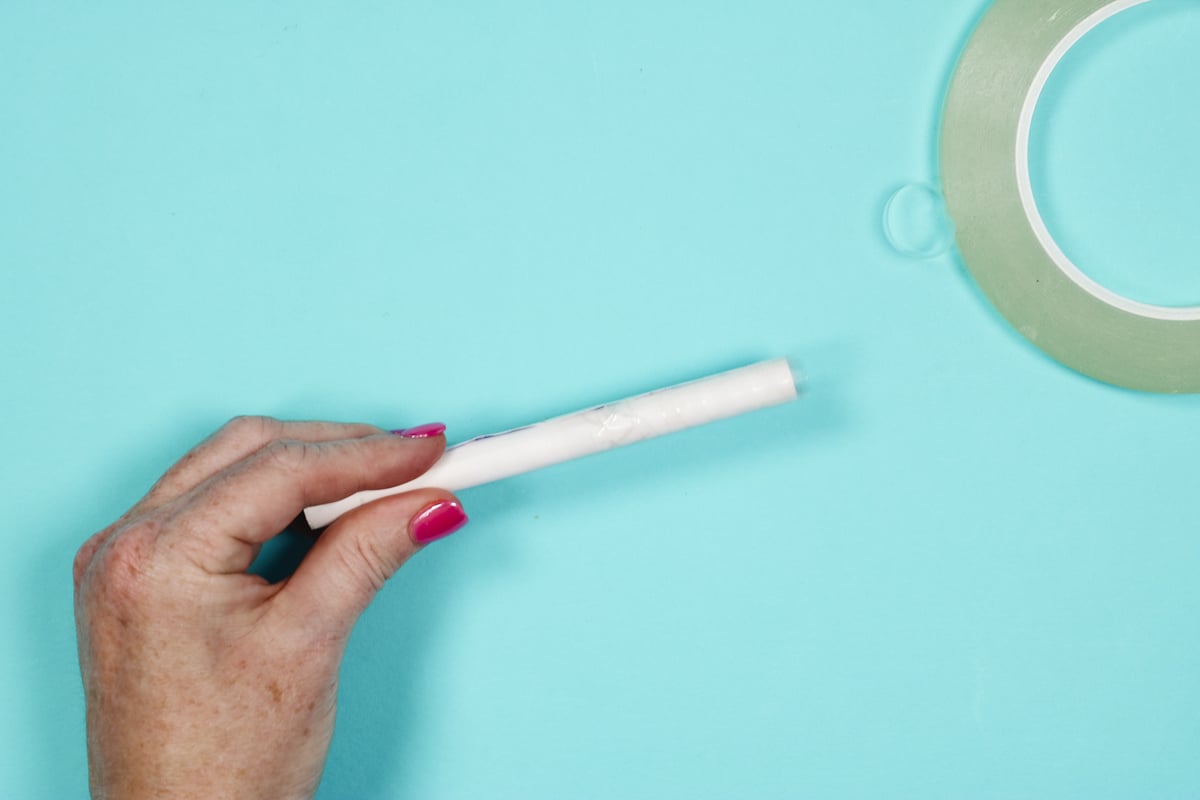
Start in the middle again and wrap the tape around the print pulling everything tight, leaving excess tape at the other end.
The tape is replacing shrink wrap so you want to make sure it is very tight. Go over the tape with your fingers and make sure it’s pressed to the sublimation print really well.
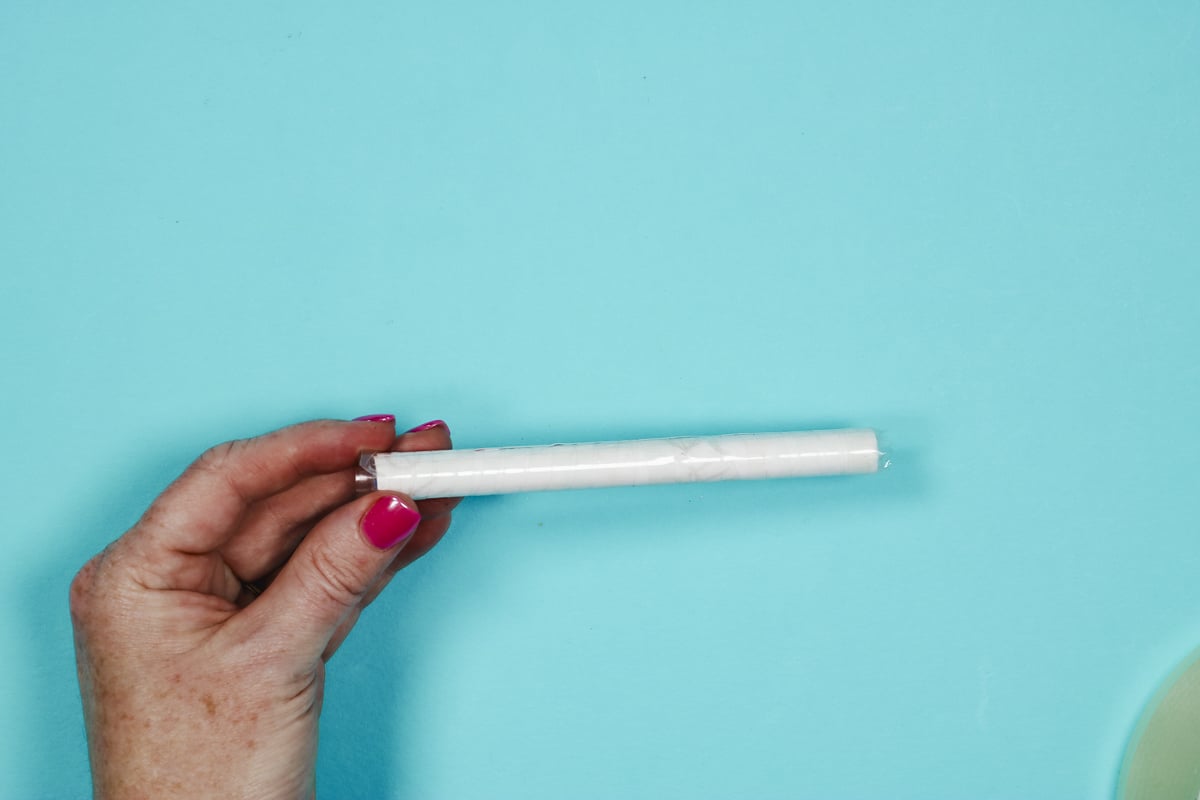
Repeat the process for as many sublimation pencils as you have.
Step 5. Sublimate Pencils in a Sublimation Oven
Preheat your sublimation oven to 375 degrees and set the timer for 4 minutes.
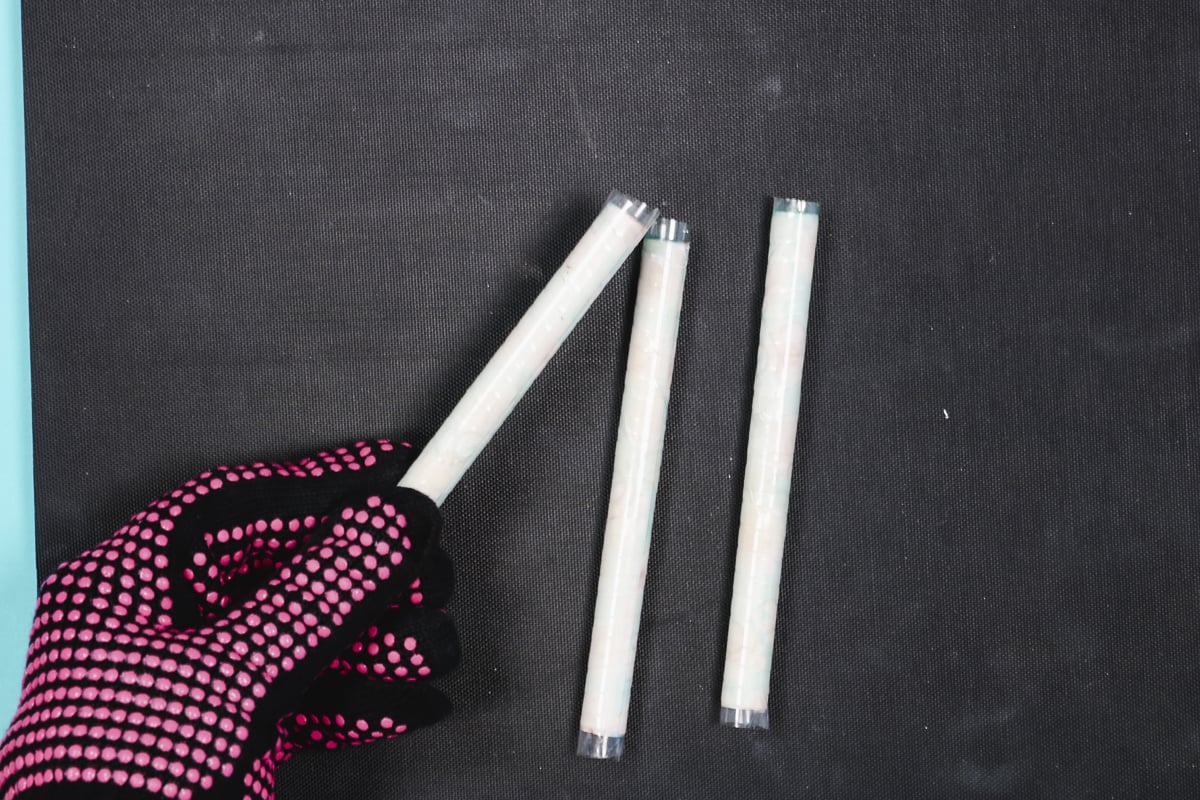
When it’s up to temperature add the pencils and close the door.
When the time is up, remove the pencils from the love and place them on a heat-resistant mat.
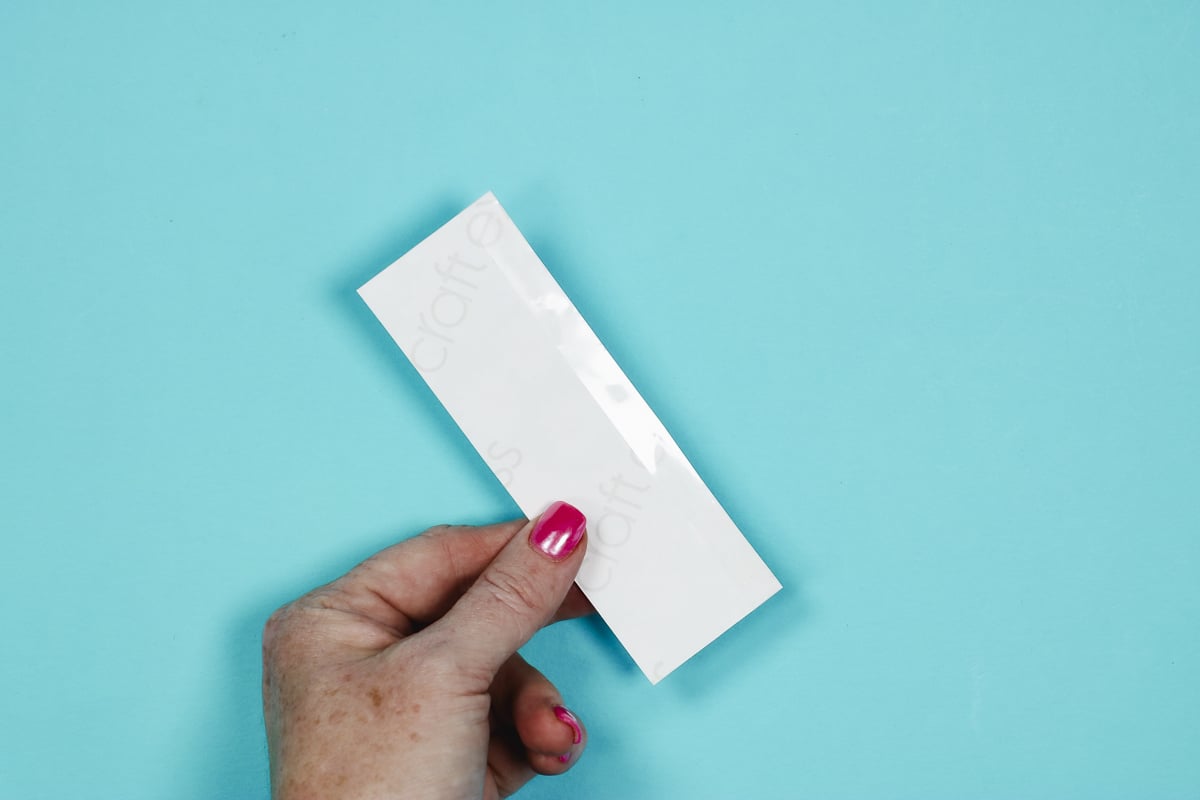
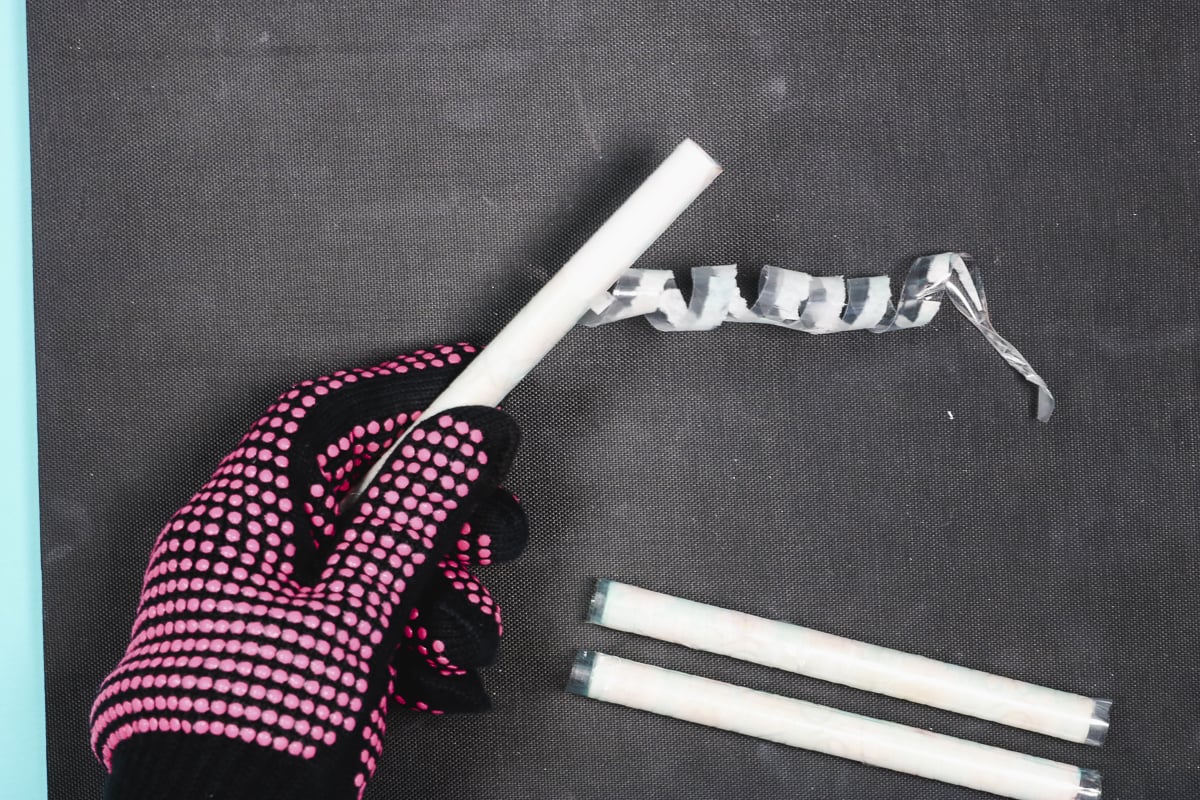
Step 6. Remove Print from Pencil
With the tape tail that we added at each end these are easy to unwrap. Grab the tape tail, start pulling and the tape will peel off and then you can just remove the print.
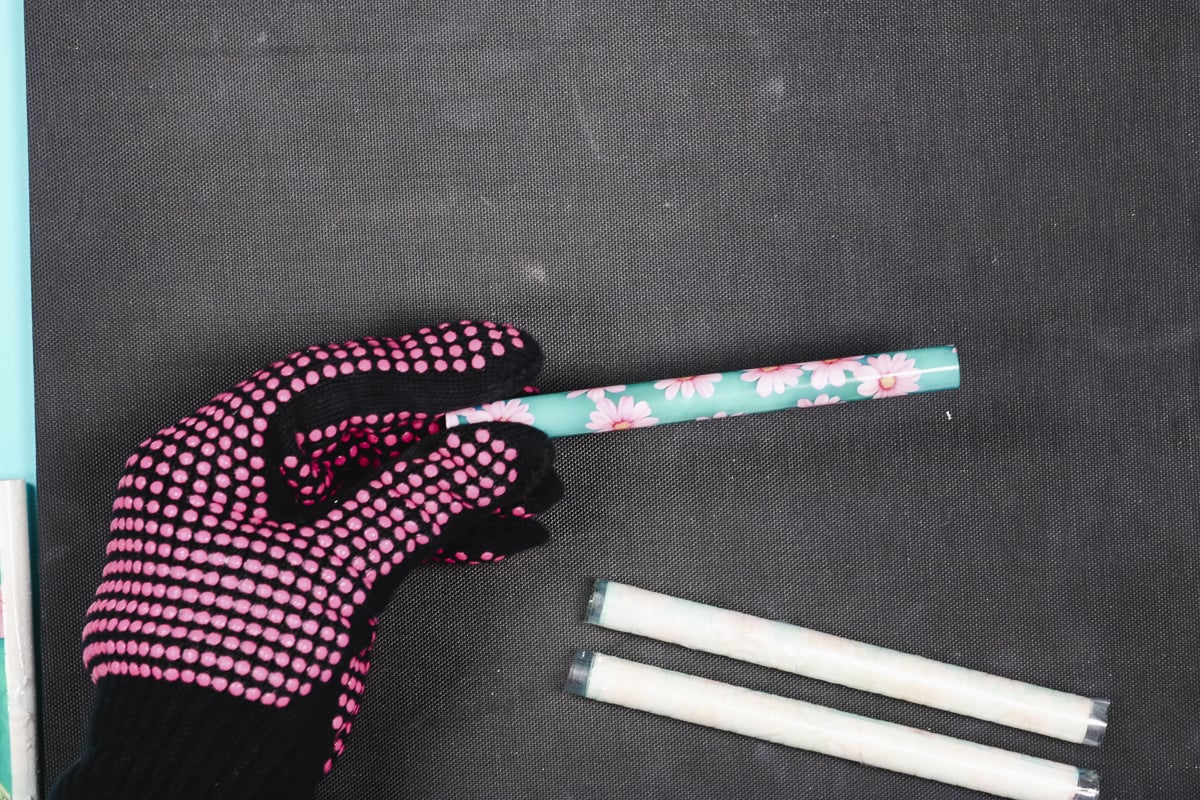
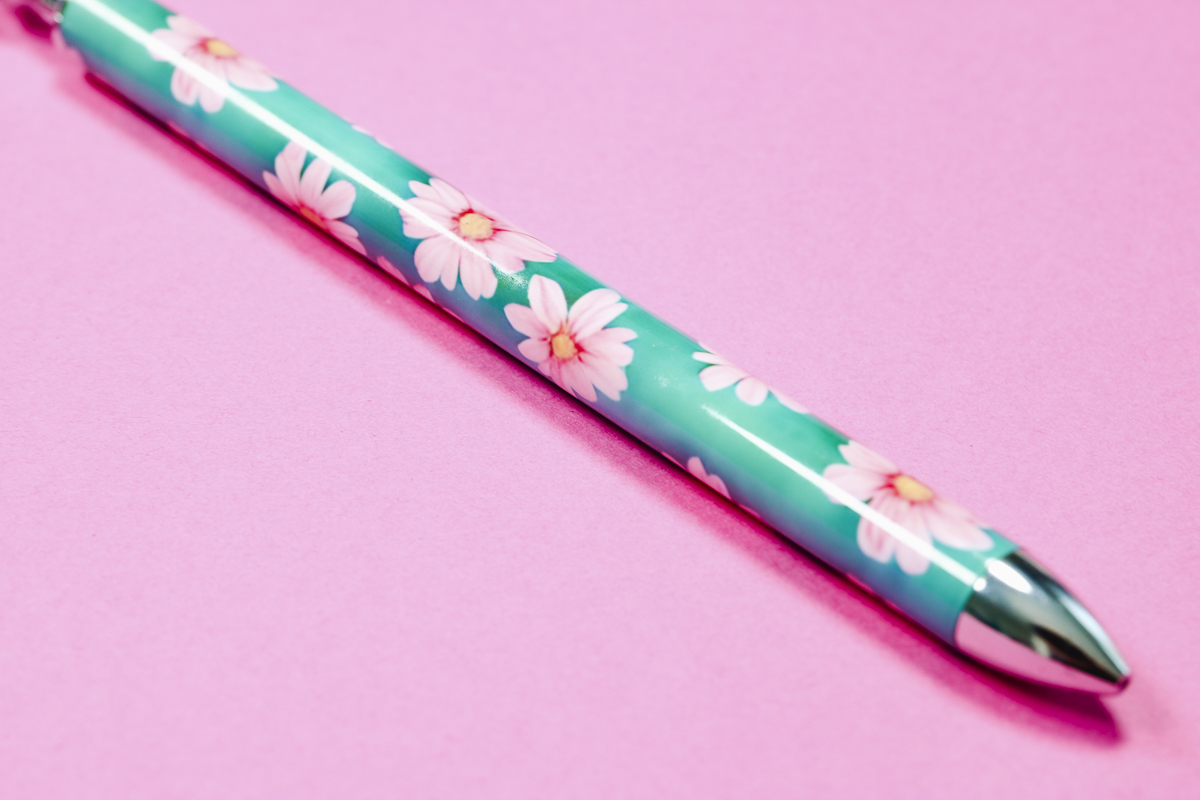
The print on these turned out beautiful. This process worked perfectly.
I did notice that there was a residue on a few of the barrels. This can happen depending on the type of paper you’re using. I wiped it off with a damp cloth and it came right off.
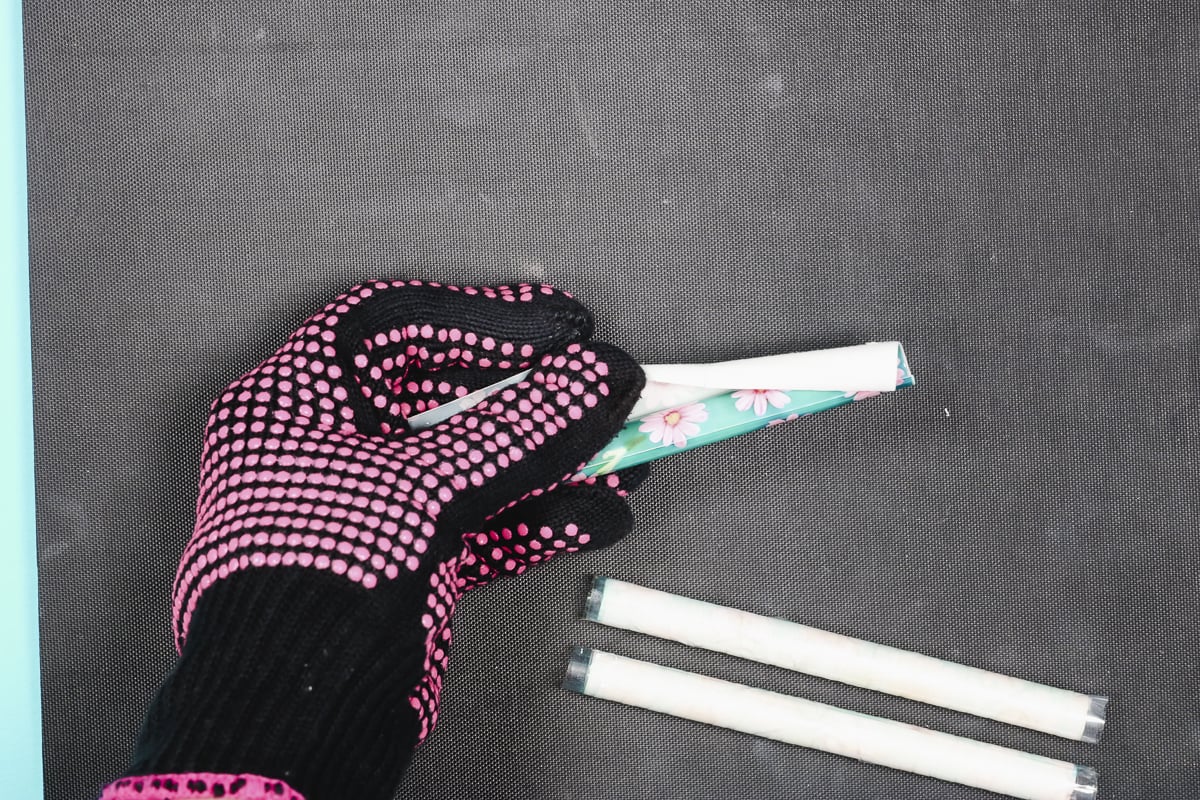
Step 7. Assemble Finished Sublimation Pencils
The assembly process is very easy. Twist off the tip of the pencil.
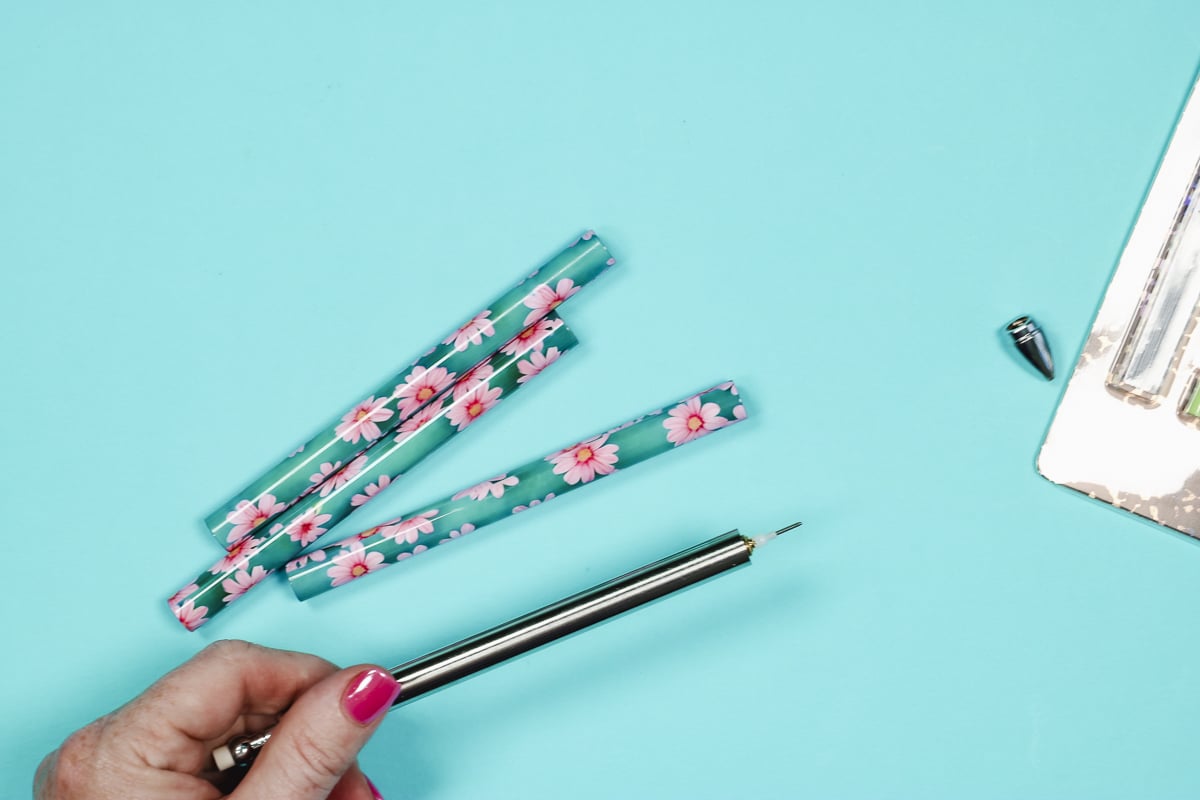
Place the sublimated barrel back on to the pencil. Screw the tip back into place.
If you want to sell or gift these sublimation pencils, simply put the pencil back into the packaging and it’s ready to give to someone else.
Frequently Asked Questions
Let’s answer a few questions I’ve seen asked multiple times.
Is this process better than a shrink sleeve?
I found it much easier. Shrink sleeves are very difficult to remove as they cool. Because these pencil barrels are so small they cool off very quickly and removing the shrink sleeve can be frustrating.
Will this process work for sublimation pens?
Yes! Sublimation pens are the reason I tried this process. Removing the shrink sleeve on the pens was very difficult because they cooled off so fast.
Do I need a sublimation oven to make sublimation pencils?
You would either need a sublimation oven or a heat press specifically made for these pencils. Since most people do not have that type of heat press, an oven is recommended.
However, when I say sublimation oven, I mean an oven you use for sublimation. It can be a countertop convection oven. Just make sure whatever you use for your sublimation oven you never put food in again.
Can I use Infusible Ink sheets or pens to do this?
You can definitely use something like Infusible Ink sheets or even pens on printer paper in place of the sublimation print I am using above. The process would be the same as what I did today.
I will say that the Infusible Ink sheets may be more difficult to wrap around such a small barrel since they are so stiff.
Should You Make Your Own Custom Pencils with Sublimation?
If you have a sublimation printer and a sublimation oven, I definitely think you should try making sublimation pencils. They’re easy to customize and they turn out gorgeous.
Will this taping process work for other items that require a shrink sleeve?
I will definitely be using this taping process for sublimation pens and pencils instead of shrink sleeves in the future. Removing the shrink sleeves was so frustrating because the metal cools too quickly.
I may try it for other smaller items but I think I will stick with the shrink sleeves for larger things like tumblers.
I hope I’ve answered any questions you have about making sublimation pencils without shrink wrap. If you have any additional questions, leave them in the comments and I’ll be happy to answer them for you.