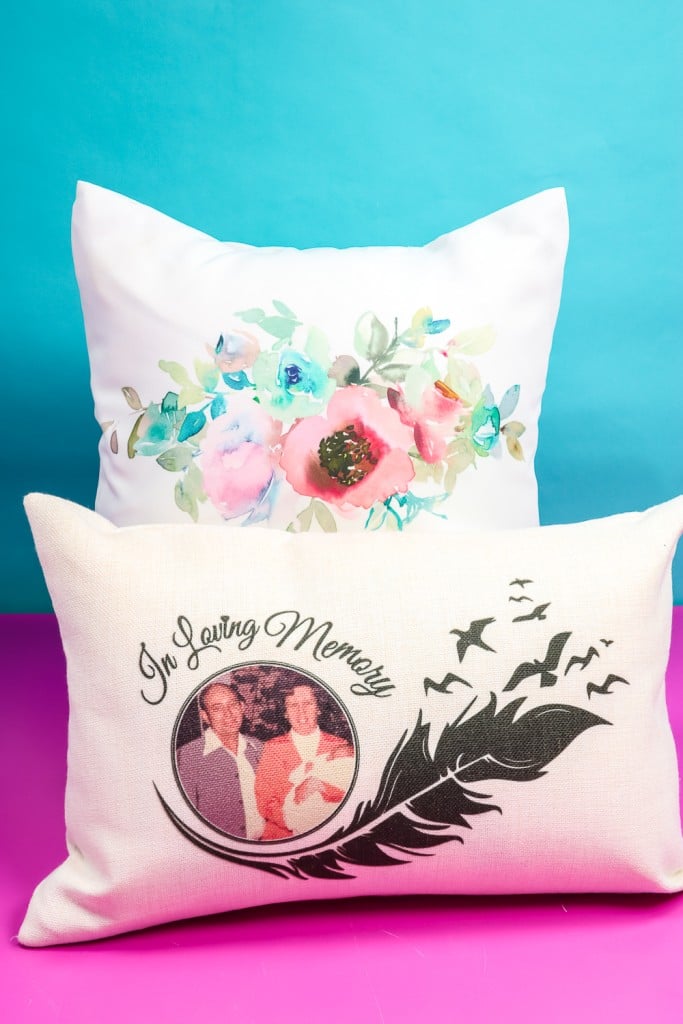
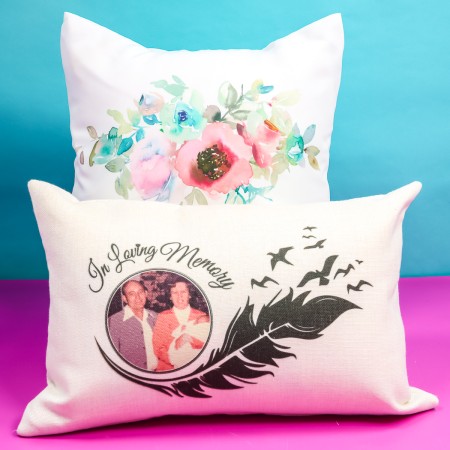
Sublimation pillow covers make amazing gifts. With this tutorial, you’ll learn how to use polyester pillow covers to create custom home decor in minutes. I personally love making personalized gifts with my sublimation printer and this is just one more way to do so. I am even making a remembrance pillow below that anyone would love!
If you’re new to sublimation, my Beginner’s Guide is here to help.
How to Make Sublimation Pillow Covers
To make custom sublimation pillow covers, you need to make sure you have all the right supplies. You’ll need a specific type of pillowcase that will work with sublimation. You can watch me make these pillow covers and see my tips and tricks in the video below!
Supplies Needed
Pillow Covers I Recommend
- Sublicraft Linen Pillow Cover
- Cotton Feel Pillow Cover
- Pillowcase for Bed Pillows
Designs Used
What Type of Pillow Cover Can You Use?
I listed the ones I like above but really, any light-colored polyester pillowcase will work. This means that any polyester pillowcase you find, even ones at the dollar store can be used to create customized pillows.
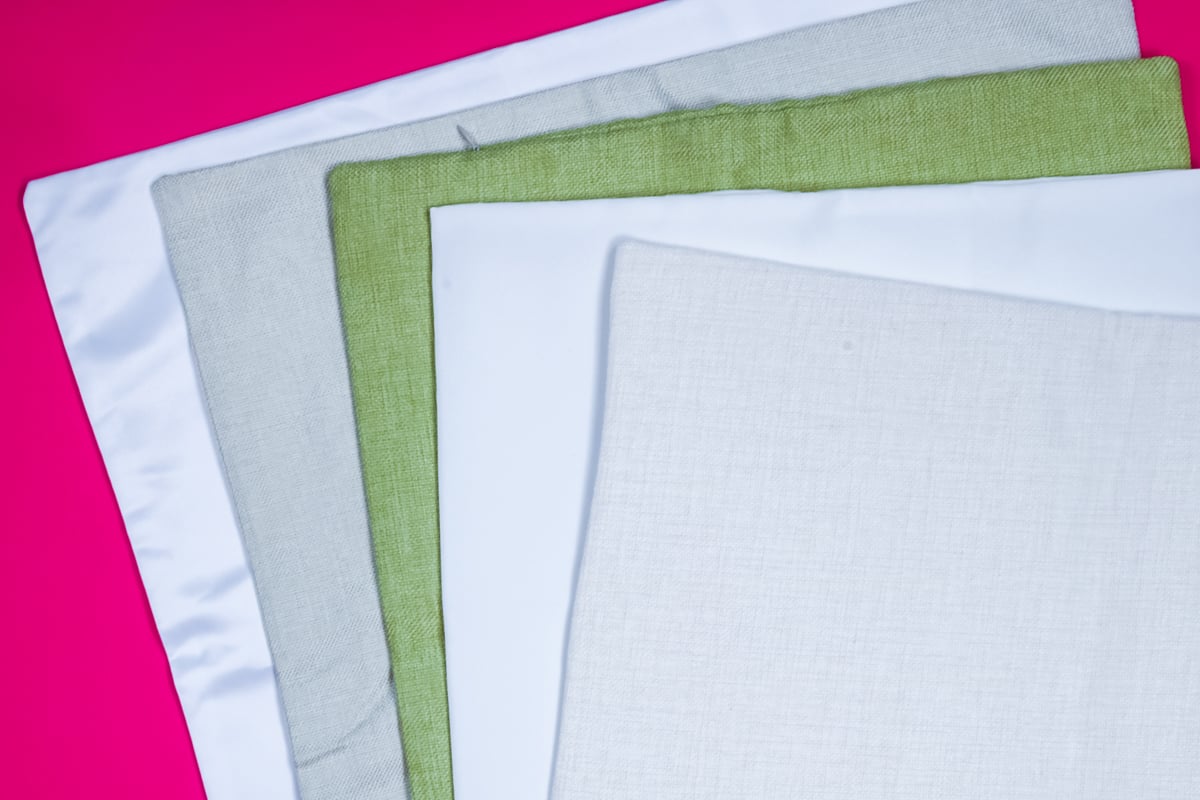
There are so many fun pillow cover options. You can find ones that have a nice linen feel and ones with a more traditional cotton feel. I’ve seen them in all sizes as well as a square, rectangle, and both Euro-pillow and standard pillowcase sizes for beds.
IMPORTANT: I recommend making sure you use a light-colored polyester pillowcase with at least 65% polyester content.
I am a big fan of the Subli-linen pillowcases from Conde. It’s thick and has a luxurious feel that makes it perfect for gift-giving. There are other linen options on Amazon, they’re less expensive than the Conde options but I do not like the feel as well.
Conde and Artesprix both have pillow covers that are polyester but feel more like cotton. They’re really nice and the sublimation looks beautiful on them. I like them better than the traditional silky-feeling polyester pillow covers.
Pillow covers may have an envelope enclosure or a zipper. The type of enclosure will come into play when you’re applying heat so take note of that. A good quality sublimation pillow cover should be able to withstand the heat that is listed in the instructions. Make sure you read them well. I like, whenever possible, to keep the zipper outside of the heat plate.
What is a Sublimation Print?
To make sublimation pillow covers, you will need a sublimation print. A sublimation print is an image printed on a sublimation printer with sublimation ink on sublimation paper.
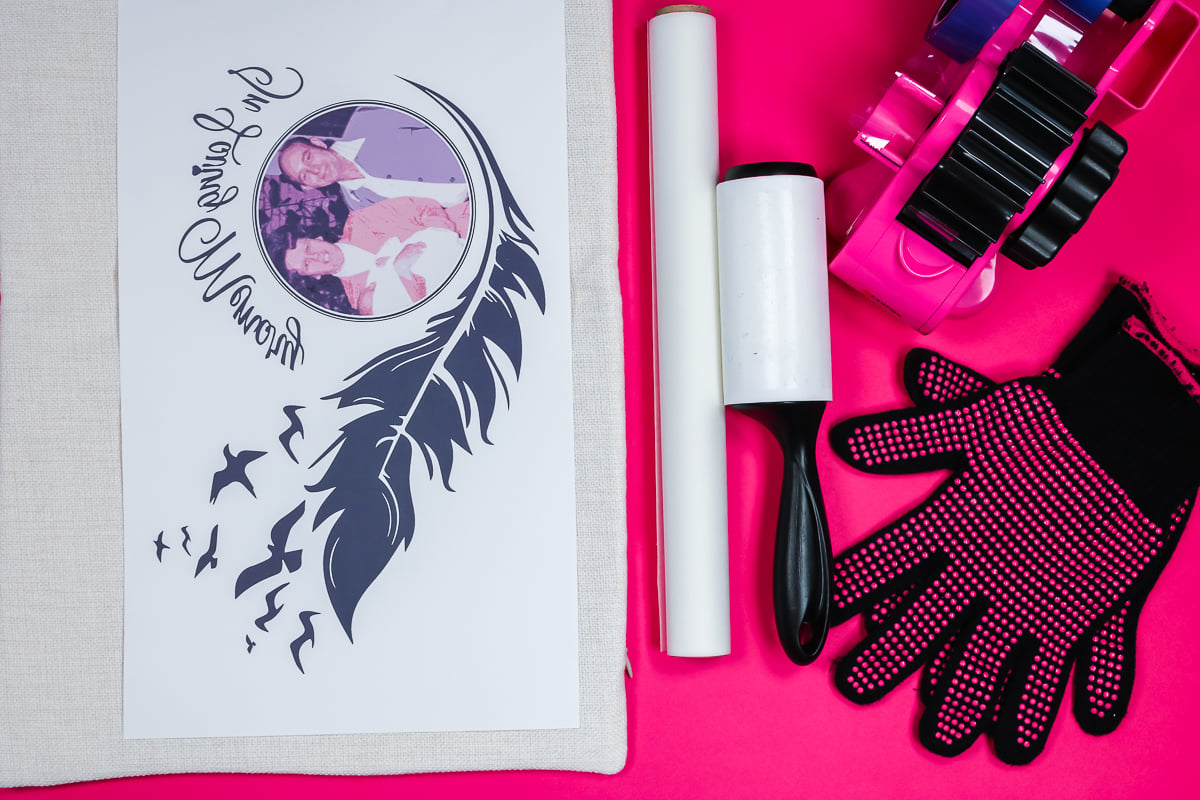
It’s important that you have each of those pieces in place for a successful finished product. Make sure you mirror your image so that when you apply the design it is oriented correctly after it’s pressed.
Preparing a Pillow Cover for Sublimation
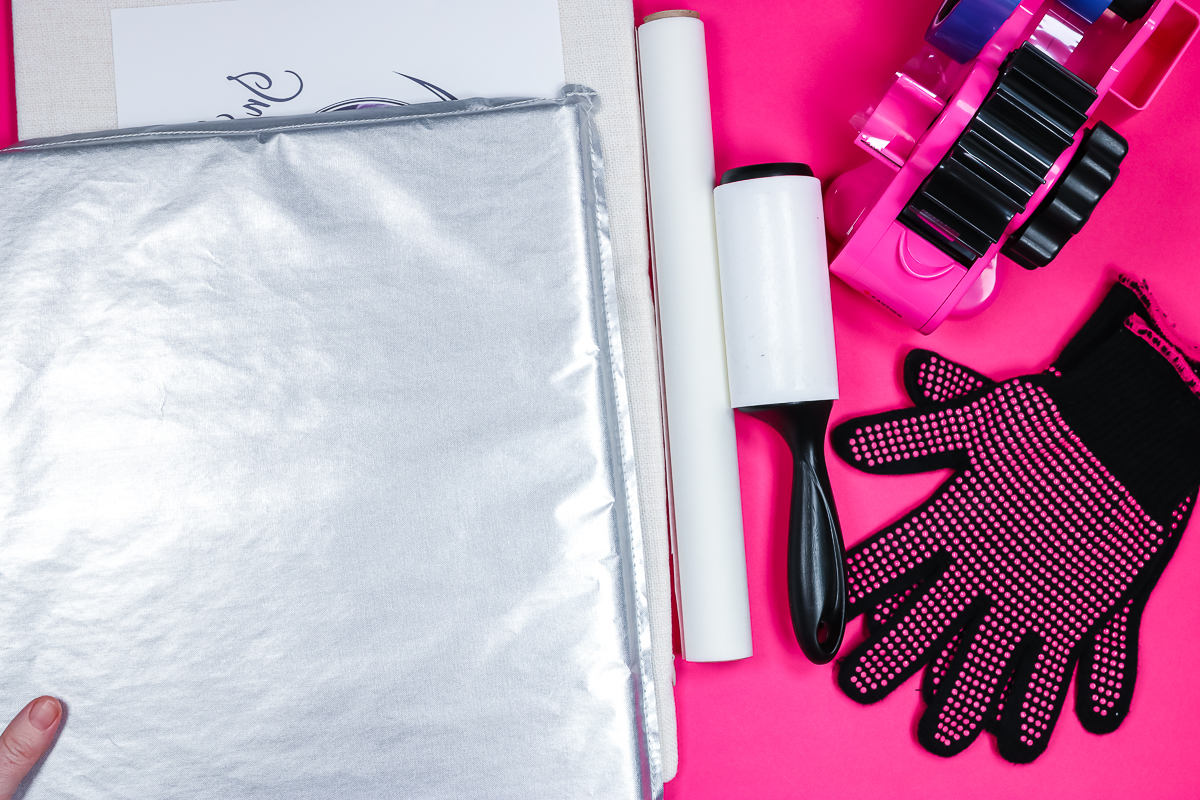
To apply a sublimation print to a polyester pillow cover, first prep the cover. To begin, you need to place some form of pressing pad inside the pillowcase. You want the area that you’re sublimating to be raised up above all the seams so the whole image receives the same amount of heat and pressure.
With the pressing pad inside the pillow cover, you need to place a protective sheet on top of the pressing pad inside the cover. This will protect your pressing pad from any sublimation.
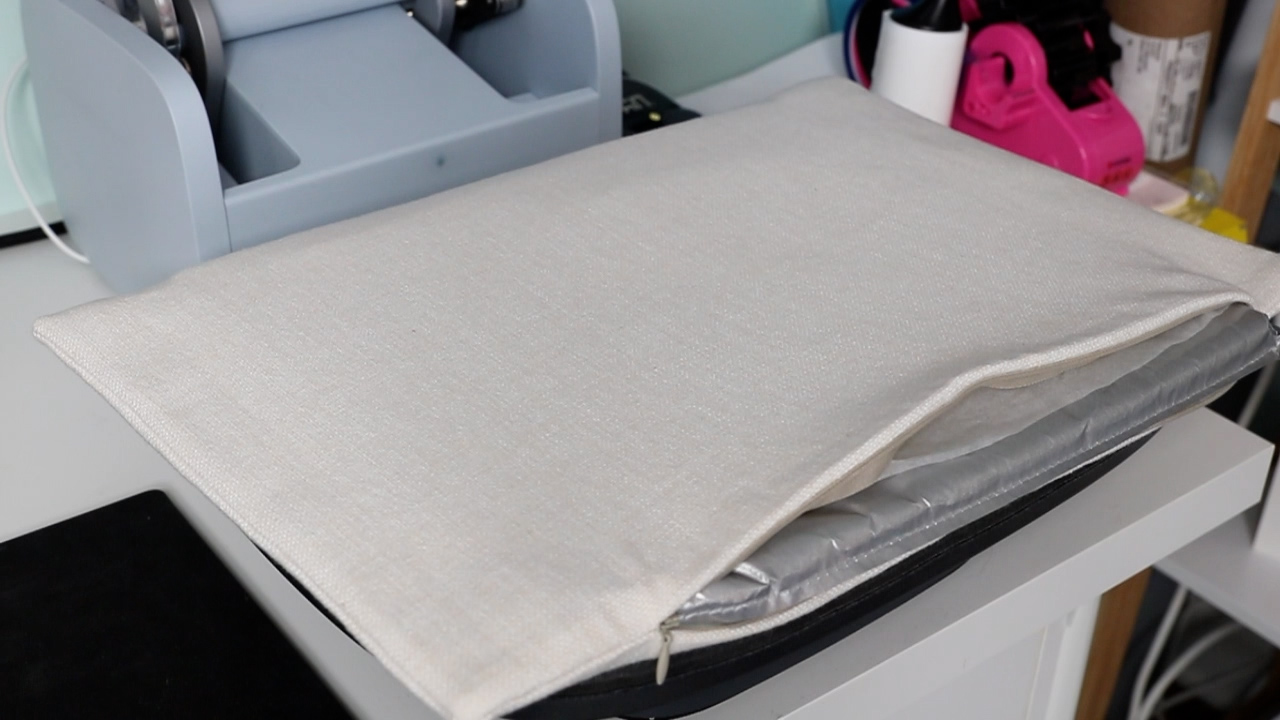
You can use any heat press for this project. I am using my Auto Press because it is the largest heat press I have. I want to press the entire design all at once.
With the pressing pillow inside, preheat the surface to remove any moisture. As I recommend, I am keeping the zipper outside of the heat plate area. Allow the cover to cool slightly and then lint roll the surface to remove any dirt, lint, hairs, etc.
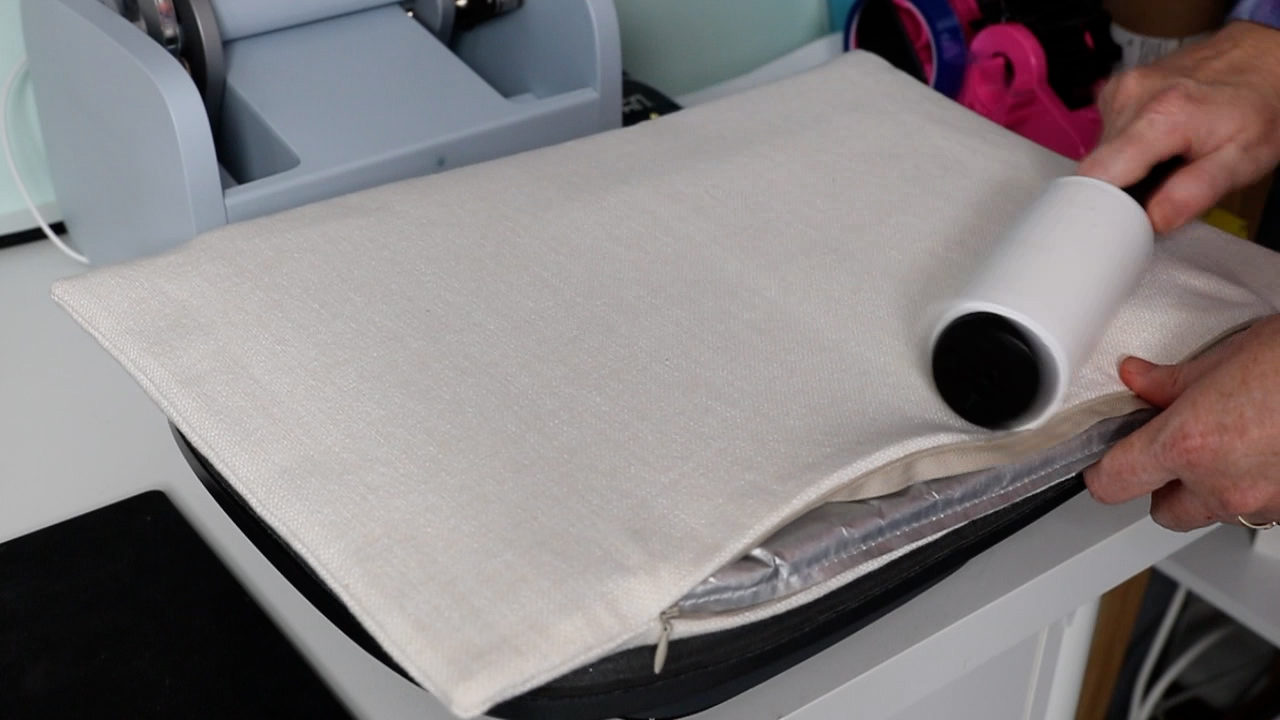
How to Heat Press Sublimation onto Pillow Covers
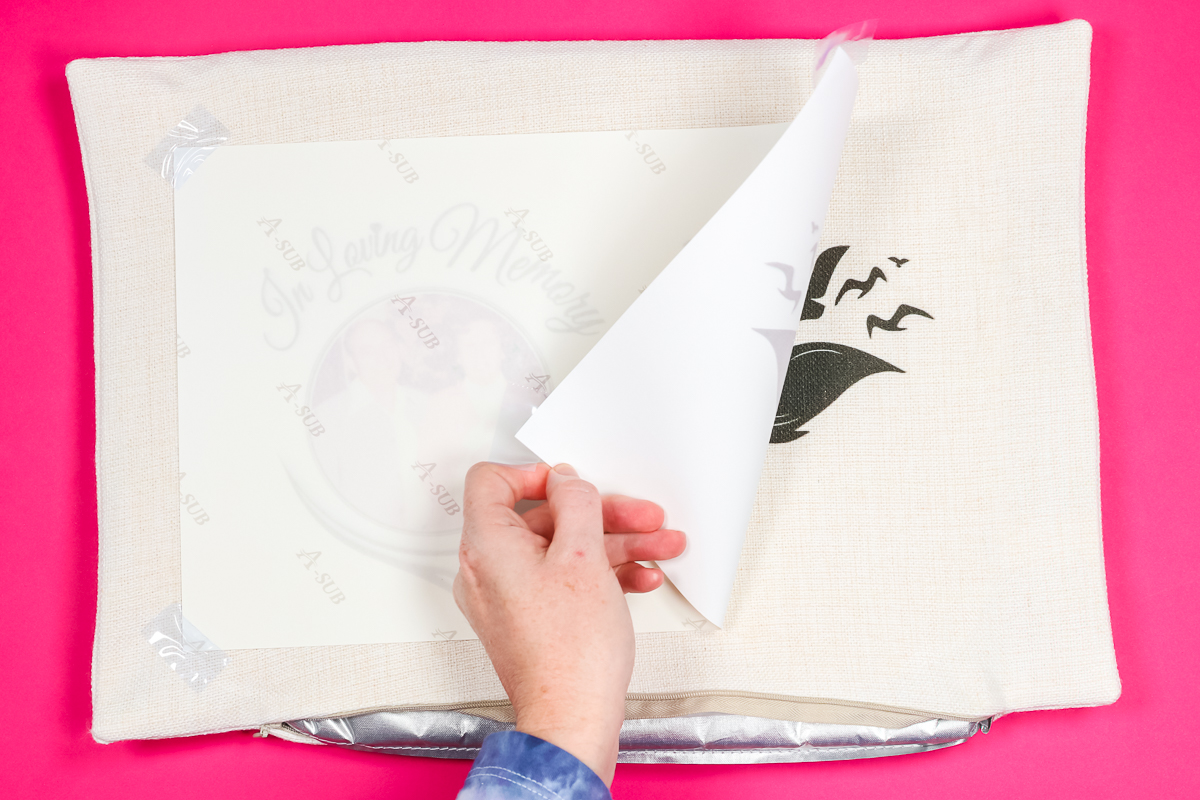
Apply the sublimation print image side down on the surface of the pillow cover. Use heat-resistant tape to hold the print in place. I am placing tape in each corner to prevent my design from moving.
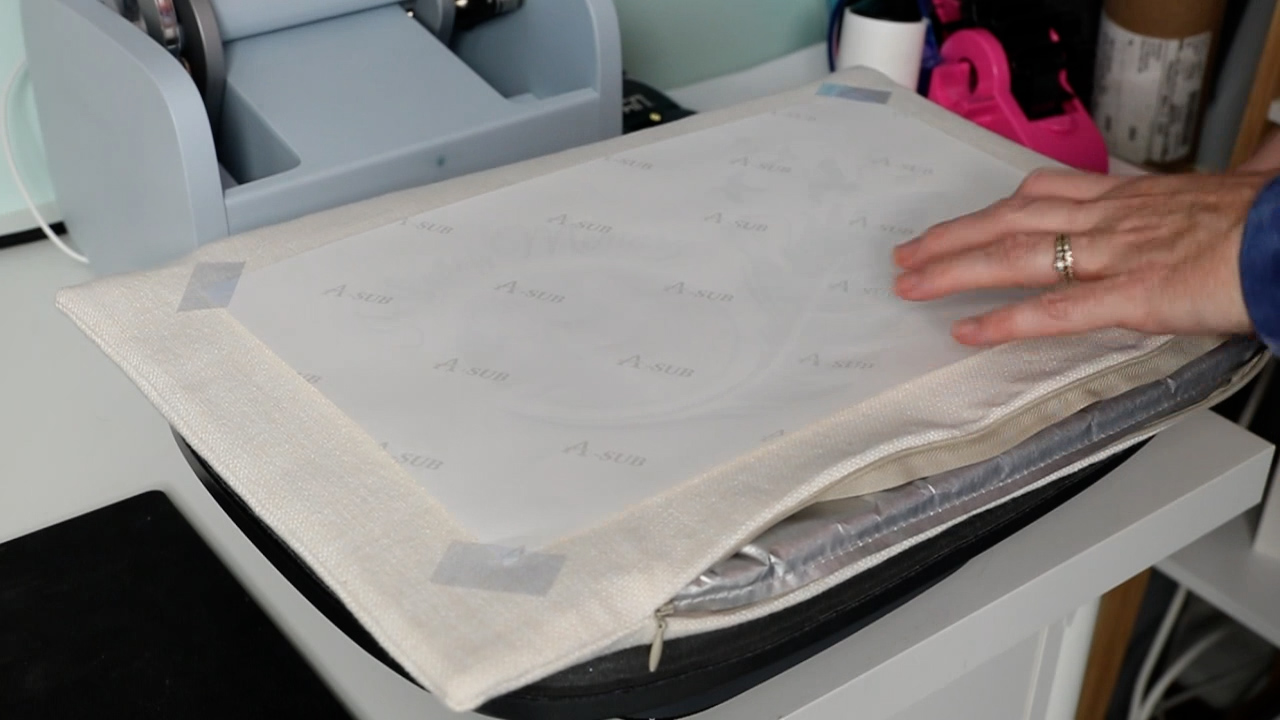
To prevent any sublimation ink from transferring to your press, apply a protective sheet on top of the sublimation design.
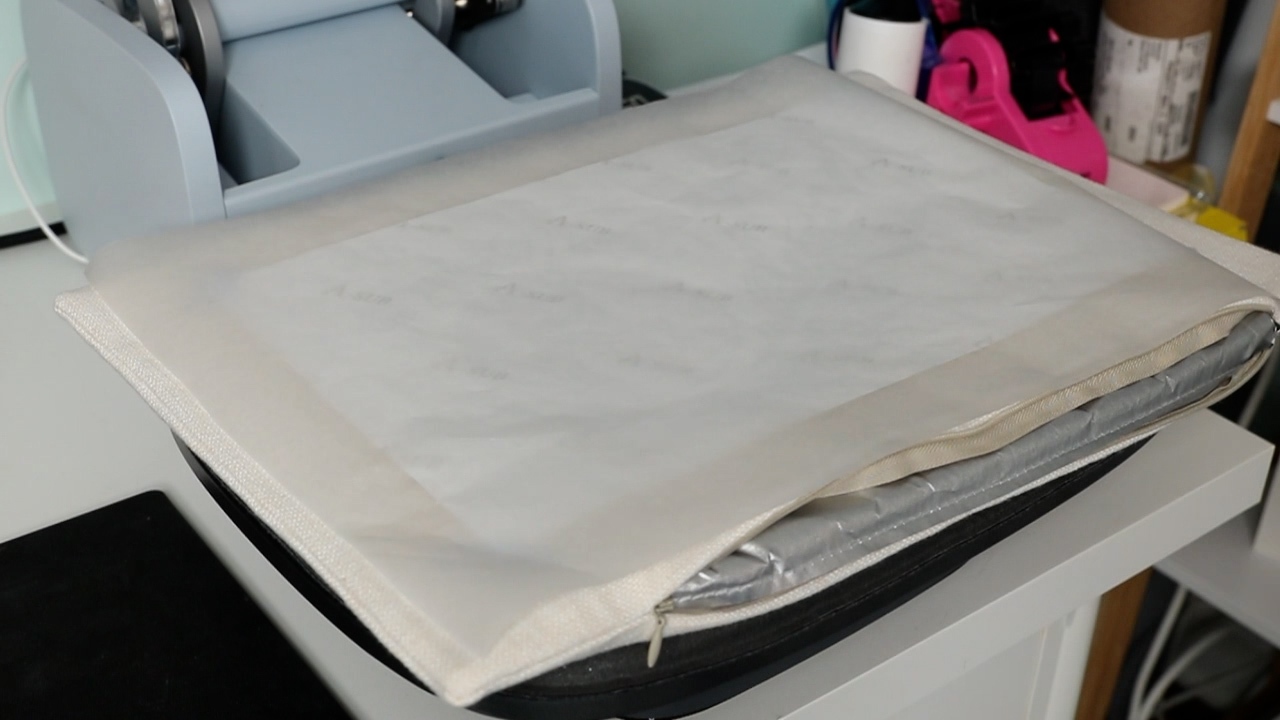
Apply heat and pressure for the full-time and temperature called for in the instructions. I always like to make sure the zipper is outside of the heat area so it doesn’t deform. Once the pillow cover is done in the press, remove the sublimation paper and reveal the beautiful finished product.
How to Finish a Sublimation Pillow Cover
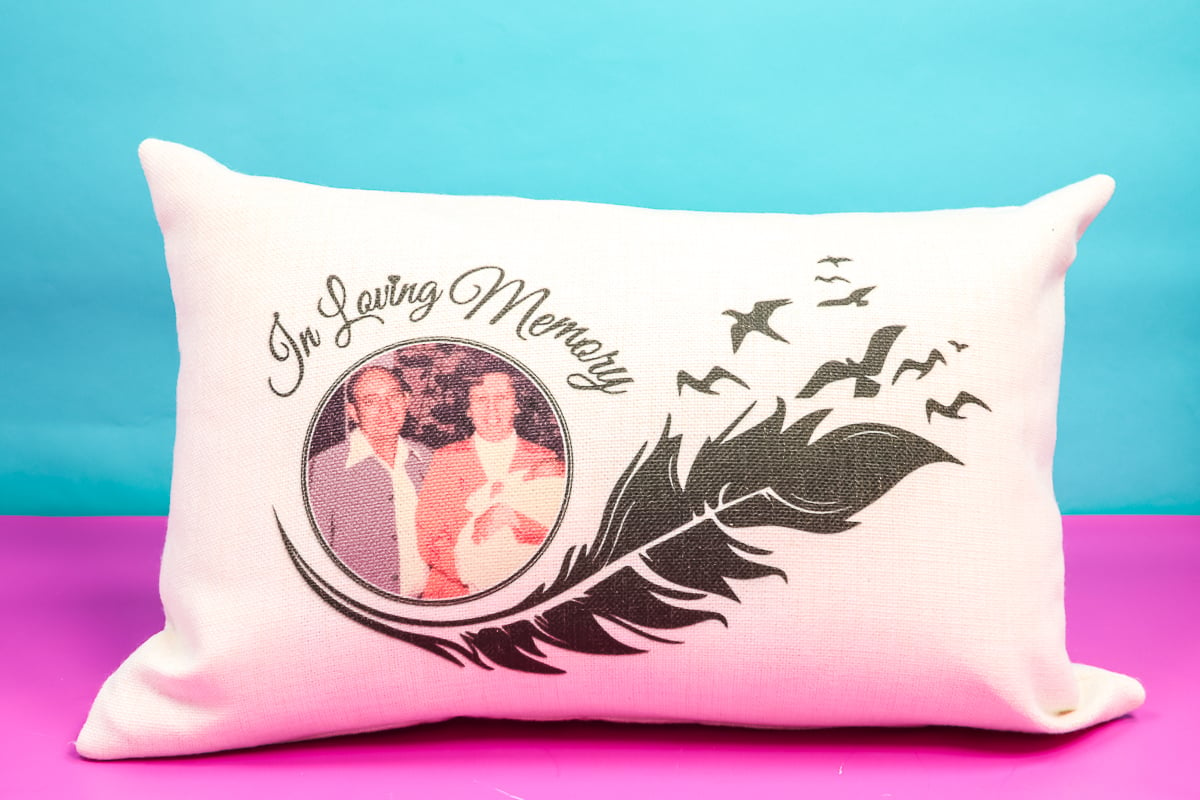
To finish your sublimation pillow cover, remove everything from the inside and stuff it with polyfill or a pillow form. This is one of my favorite features of sublimation, there is no wait time for a finished project. You can use it immediately.
Final Thoughts on Sublimation Pillow Covers
I love how these sublimation pillow covers turned out. I made a second pillow cover so you can see the difference between the creamy linen pillow cover and the bright white cover.
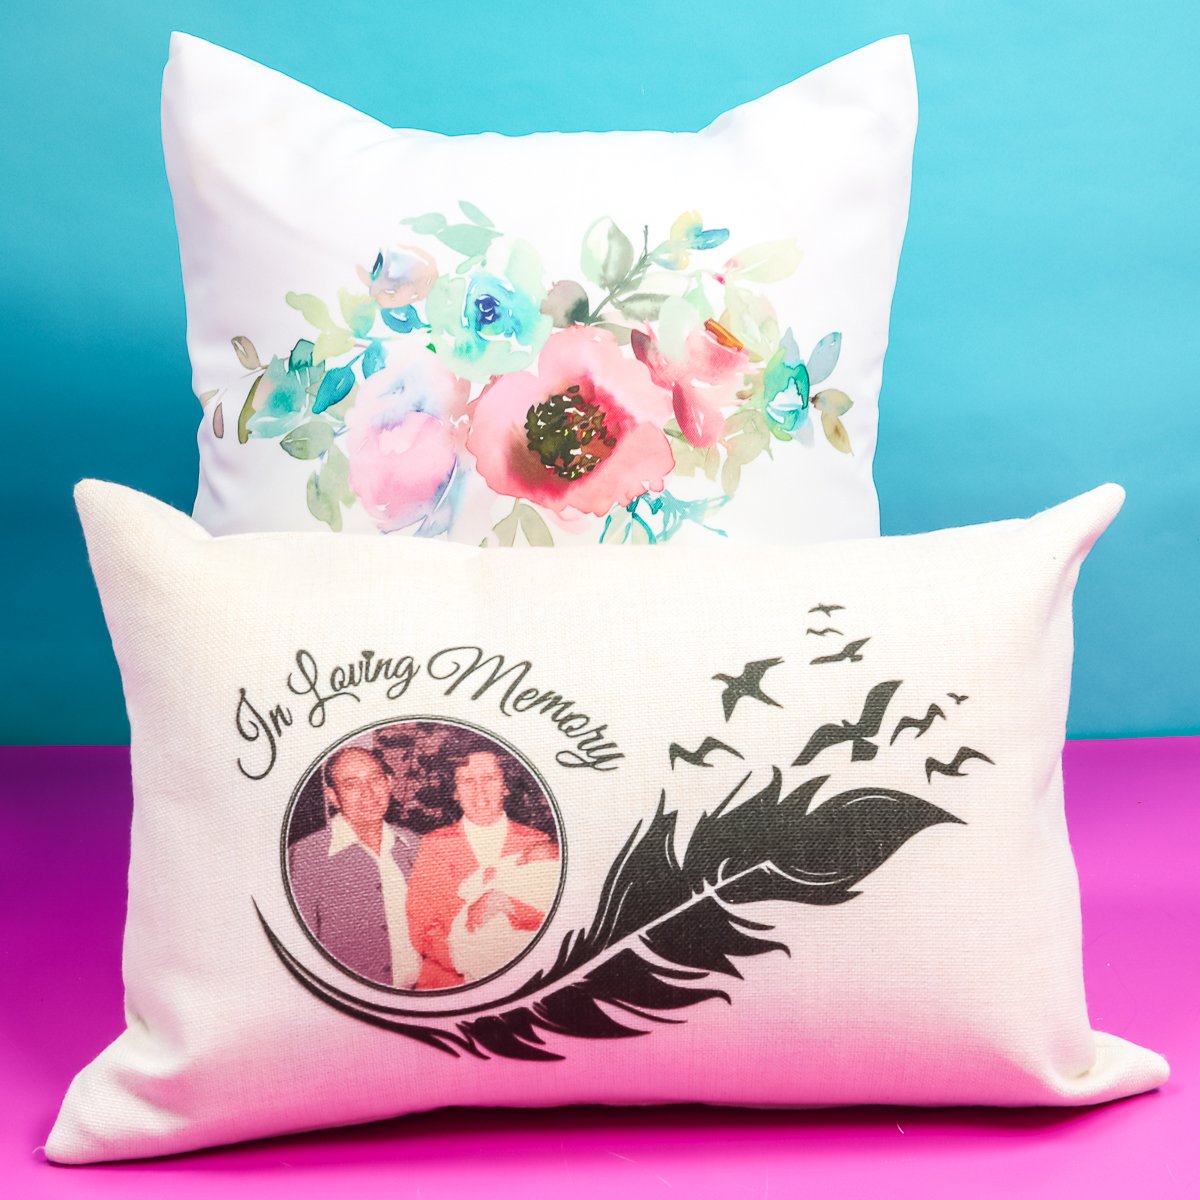
The front creamy off-white pillow cover is the Subli-linen brand. I did want to note it is an off-white cream color. It’s not a bright white. If you want a true white pillow cover for sublimation, you will want to use a different polyester pillow cover. Personally, I like the cotton feel of the options I listed above.
I listed my favorite options above but you can use any polyester pillow cover. I recommend at least 65% polyester for the sublimation to transfer and 100% polyester for the bright vivid colors you see in these photos.
Customized sublimation pillow covers make a perfect gift. I hope I’ve answered any questions you have about sublimation pillow covers. If you have any additional questions leave them in the comments and I’ll answer them for you. You can also print the directions for this project using the card below.
Equipment
- Sublimation Printer
- Sublimation Ink
- Auto Press
- Pressing Pillows
Supplies
- Sublimation Paper
- Heat-Resistant Tape
- Artesprix Protective Paper
- Tape Dispenser
- Pillow Cover
Instructions
Preparing a Pillow Cover for Sublimation
- To apply a sublimation print to a polyester pillow cover we’ll first need to prep the cover.
- To begin you need to place some form of pressing pad inside the pillowcase. You want the area that you’re sublimating to be raised up above all the seams so the whole image receives the same amount of heat and pressure.
- With the pressing pad inside the pillow cover, you need to place a protective sheet on top of the pressing pad inside the cover. This will protect your pressing pad from any sublimation.
- You can use any heat press for this project. I am using my Auto Press because it is the largest heat press I have. I want to press the entire design all at once.
- With the pressing pillow inside you need to preheat the surface to remove any moisture. As I recommend, I am keeping the zipper outside of the heat plate area.
- Allow the cover to cool slightly and then lint roll the surface to remove any dirt, lint, hairs, etc.
How to Heat Press Sublimation onto Pillow Covers
- Apply the sublimation print image side down on the surface of the pillow cover. Use heat-resistant tape to hold the print in place.
- I am placing tape in each corner to prevent my design from moving.
- To prevent any sublimation ink from transferring to the Auto Press apply a protective sheet on top of the sublimation design.
- Apply heat and pressure for the full-time and temperature called for in the instructions. I always like to make sure the zipper is outside of the heat area so it doesn’t
- Once the pillow cover has cooled, remove the sublimation paper and reveal the beautiful finished product.
How to Finish a Sublimation Pillow Cover
- To finish your sublimation pillow cover remove everything from the inside and stuff it with polyfill or a pillow form.


