Are you having sublimation printing problems? Issues with pressing? Are your projects turning out horrible? Well, I am here to help! I am sharing with you the 10 sublimation issues that I see most often from people and what the problem may be. This video will help guide you to solving your sublimation printing problems yourself so you can start sublimating like a pro! Think of this as your guide to sublimation troubleshooting all in one short video that you can reference at any time!
Just getting started? Try our sublimation for beginner’s post here!
10 Sublimation Printing Problems
You can click play on the video below and watch as I walk you through common sublimation problems and their solutions. You will be sublimating like a pro in no time at all!
Can’t watch the video or missed some of the information? You can follow along below as well!
Supplies Mentioned:
- Sublimation Ink
- Sublimation Paper
- Epson EcoTank Printer (I have the ET-4700 and here it is on Amazon and from Target – NOTE: Any EcoTank Printer should work with this conversion post.)
- Heat resistant tape – Use code CCC10 for 10% off
Wrong Equipment
Let’s start with the number one most common thing I see people doing wrong. The first thing you need to do is make sure you are not using the wrong equipment. To do sublimation, you need a sublimation printer with sublimation ink and sublimation paper. What I see people doing is purchasing sublimation paper, running it through their inkjet printer that has regular inkjet ink in it, and expecting it to sublimate onto shirts, mousepads, coffee cups, and tumblers. That will not work.
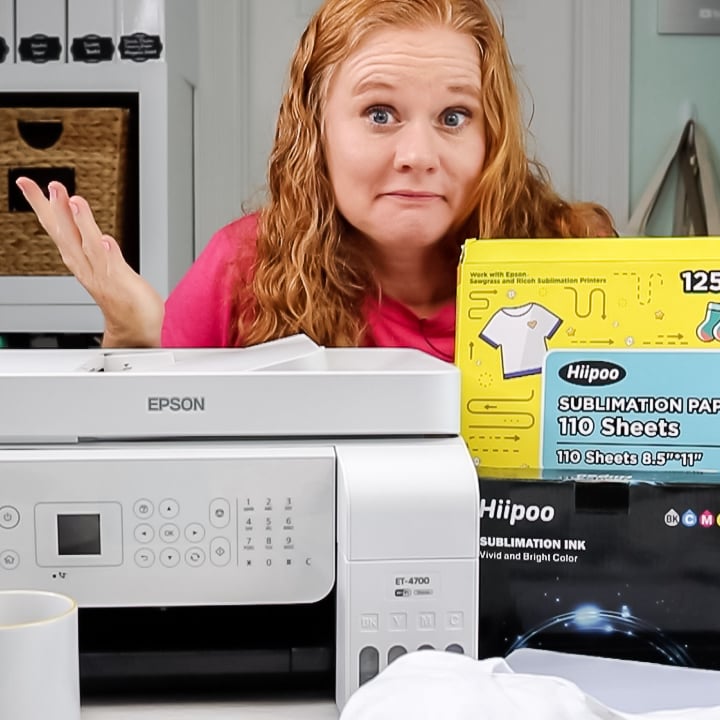
You do need a sublimation printer with sublimation ink installed in order to transfer a sublimation design. My setup includes a converted Epson EcoTank printer, which is traditionally an inkjet printer, with Hiippo sublimation ink installed. You’ll want to make sure that you have all three in place for proper sublimation – sublimation printer, sublimation ink, and sublimation paper.
NOTE: I do know that some people use copy paper instead of sublimation paper. I see better results with sublimation paper, so that’s what I recommend right now. I hope to do some more experiments in the future and see what happens.
Wrong Blank
The second most common issue that I see is the wrong blank. We have our sublimation printer, and we print the design on sublimation paper with sublimation ink. Guess what? Now you need something to put it on. You need a sublimation blank.
What does that mean? Sublimation is a chemical reaction and it needs polyester to finish the chemical reaction. That can be a 100% polyester shirt, a fabric blank made out of 100% polyester, or something like a coffee mug or a tumbler with a polyester coating on it. You want to make sure that you have a sublimation blank to use with your project. If you go to the dollar store and buy a coffee mug, sublimation will not work on that coffee mug. You need to make sure that the blank you’re using has a sublimation coating. You can find my favorite blanks here!
Printer Settings
The next thing I recommend you check is your printer settings. Whatever printer you have, you want to make sure that you have the right settings. I recommend that you print in the best quality, that you turn any fast printing modes off, and that you change your paper type to some sort of matte paper setting. Lastly, if you want to do any sort of color correction, you need to use an ICC profile with your sublimation printer. Of course, don’t forget to mirror that design because that’s another common issue.
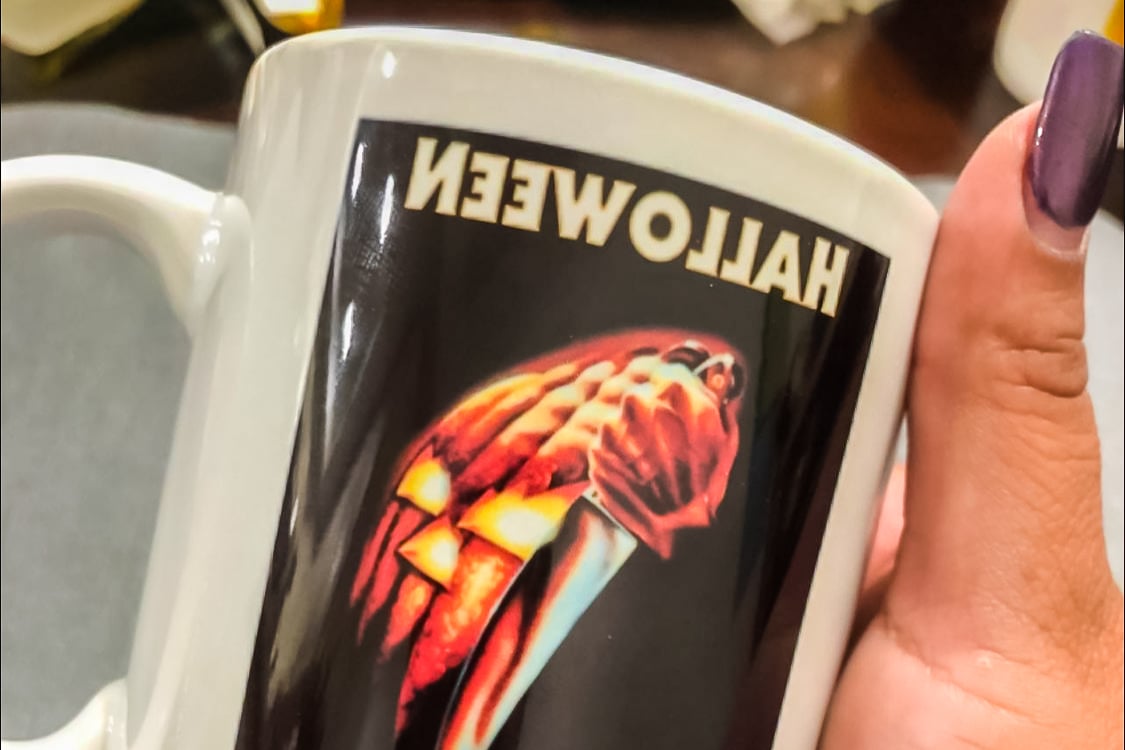
Image Not Bright
The fourth issue that I see is people saying that their image is not bright or vibrant. So the first thing I always say is “when did you get your printer?” If you just got your printer and you just installed the ink and your first print is not bright or vibrant, most likely the ink is not all the way through the printer. Print about five copies, then print the sixth one and try again.
If you’ve had your printer for a while and your print is still not bright or vibrant, it’s probably your time, temperature, or pressure. You need all three in order to sublimate on something – you need the correct time, the correct temperature, and the correct pressure. How do you find that? Usually with the blank.
Go to where you purchased your blank and see what the instructions are. What is the time, temperature, and pressure that they recommend? Be sure to follow those instructions for whatever blank you are using. If your blank has no instructions, what do you do? I would Google the type of blank you’re using and common instructions and sort of go from there.
Be aware that you might ruin a few blanks before you get to a point where you are good at a certain product. Especially if you’re doing a mug and you have a convection oven, and there are no instructions for a convection oven on the mugs you purchased. The mug instructions might be for a mug press, not a convection oven. You’ll just have to play around with convection oven settings until you get it right.
Ghosting
Next on our list of sublimation printing problems is ghosting. What is ghosting? Ghosting is sort of a double print of whatever you’re printing. You’re sublimating your design onto that surface and your sublimation print moves. It makes basically two copies of your sublimation print on your surface. How do you avoid that? Movement is the enemy of sublimation. You want to make sure that your print does not move. Heat-resistant tape is the best way that I found to do that. I would use plenty of tape to hold that sublimation print down onto your surface and make sure that it doesn’t move.
Extra Ink
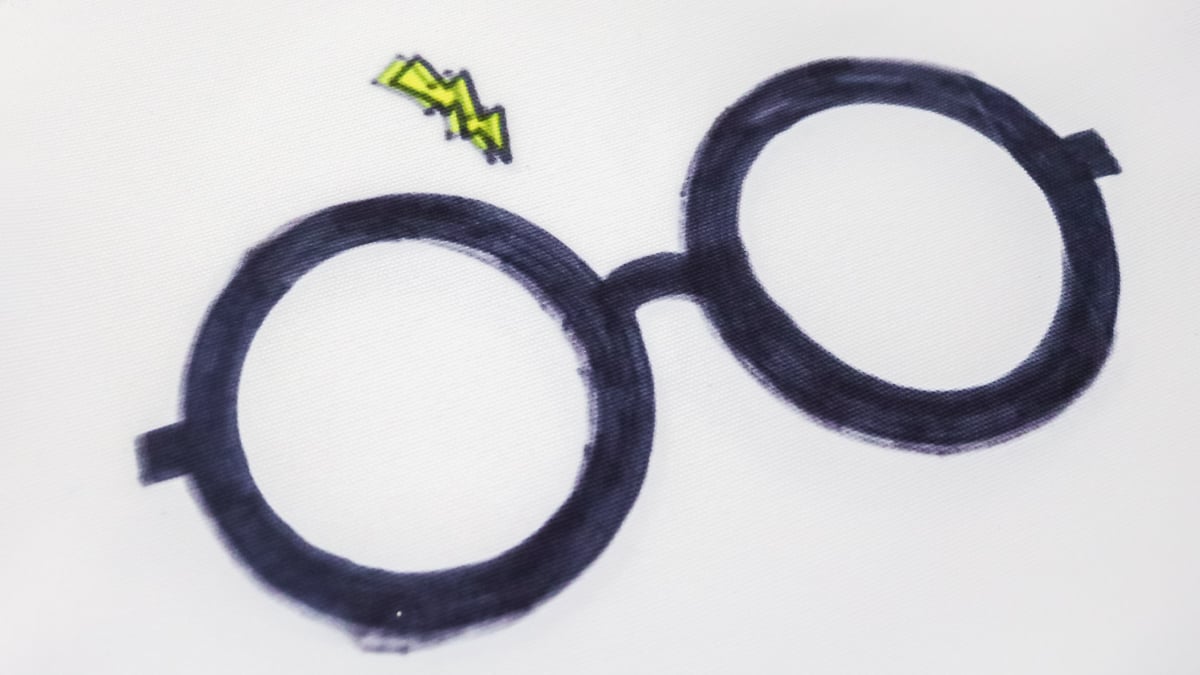
The next thing I see is extra ink. You’re pressing a design on a shirt and you have a small blotch off to the side. Maybe your printer got a little smudge off to the side, and you didn’t even notice it. You can definitely get that extra ink on your shirt. If you see extra ink on your print, you can cover it with heat-resistant tape before you press. That way the extra bit of ink doesn’t transfer onto your shirt. Remember any ink on that piece of paper is going to transfer to your shirt no matter how small it is.
Small Dots
If you see small dots on your sublimation blank after you press, that’s most likely moisture. Moisture is the enemy of sublimation. That is why you want to pre-press most blanks. For any fabric blank, I always use my heat press on it for a few seconds before adding my sublimation print. After that, you can add the sublimation print, tape it down, and press for the recommended time and temperature. All fabrics have some type of moisture, however, you could also see it in things like slate. Anytime you see a pre-press in the instructions for a blank, be sure to do that. On fabric surfaces, I pre-press regardless of what the instructions say.
Blurry Print
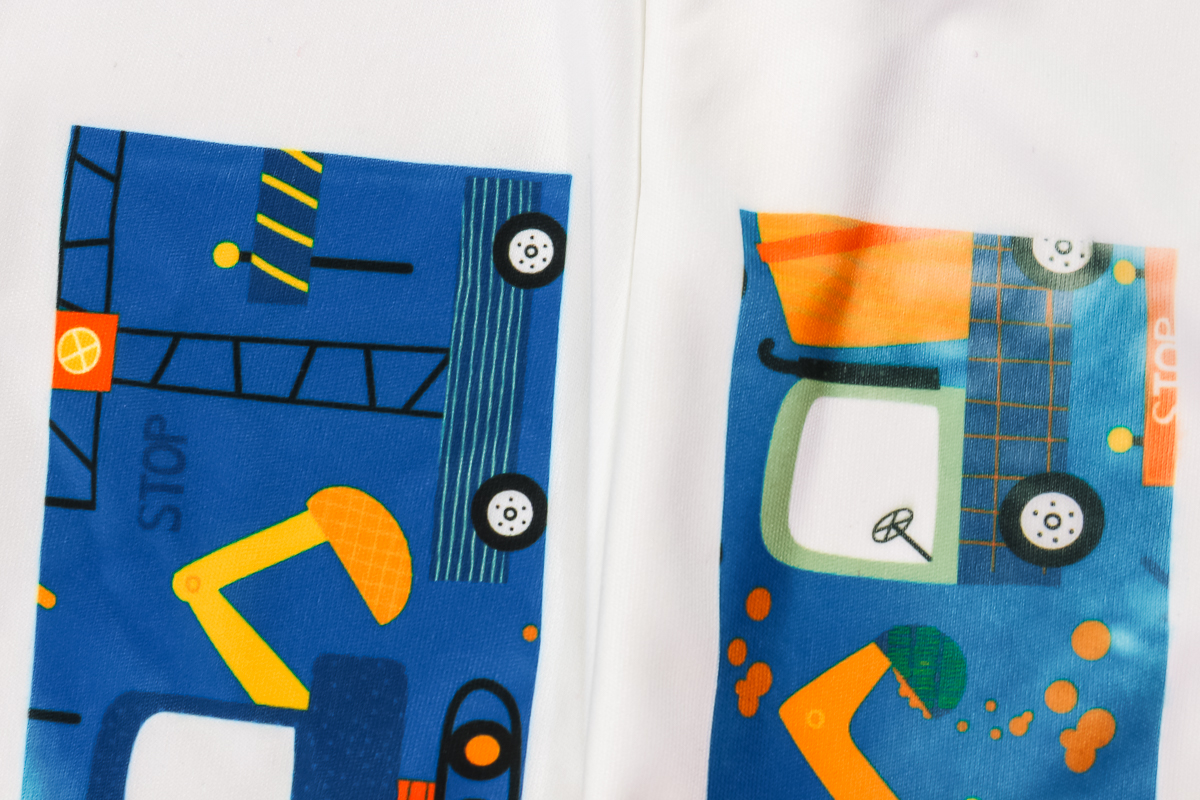
Number eight is a blurry print. This can be a couple of causes. The first thing I always want you to look at is the quality of the image you’ve printed. If you downloaded an image off the internet, make sure that the quality was good enough to print at the size you need. If it was a thumbnail image and you blew it way up and it was blurry when it printed, it’s going to be blurry when you transfer it to your blank. Keep in mind the quality of the image first.
If the quality of the image was fine, what else can make it blurry? Most likely it’s too much time or too much temperature. Yes, you can go too far. Don’t think, “Well, Angie said that I wasn’t doing enough time and temperature, and that’s why my images were faded. So, maybe I should add just a ton.” That won’t work either. You need to get in that sweet spot between too little and too much in order to get the optimal sublimation print.
Faded Print
And that brings us to number nine, which is a print that looks faded. Again, too much time, too much temperature, or even too much pressure can make your print look faded. Don’t take the advice too far. Because I said there wasn’t enough, don’t go too far and get too much time, temperature, and pressure because you will get results that you’re not wild about.
Banding
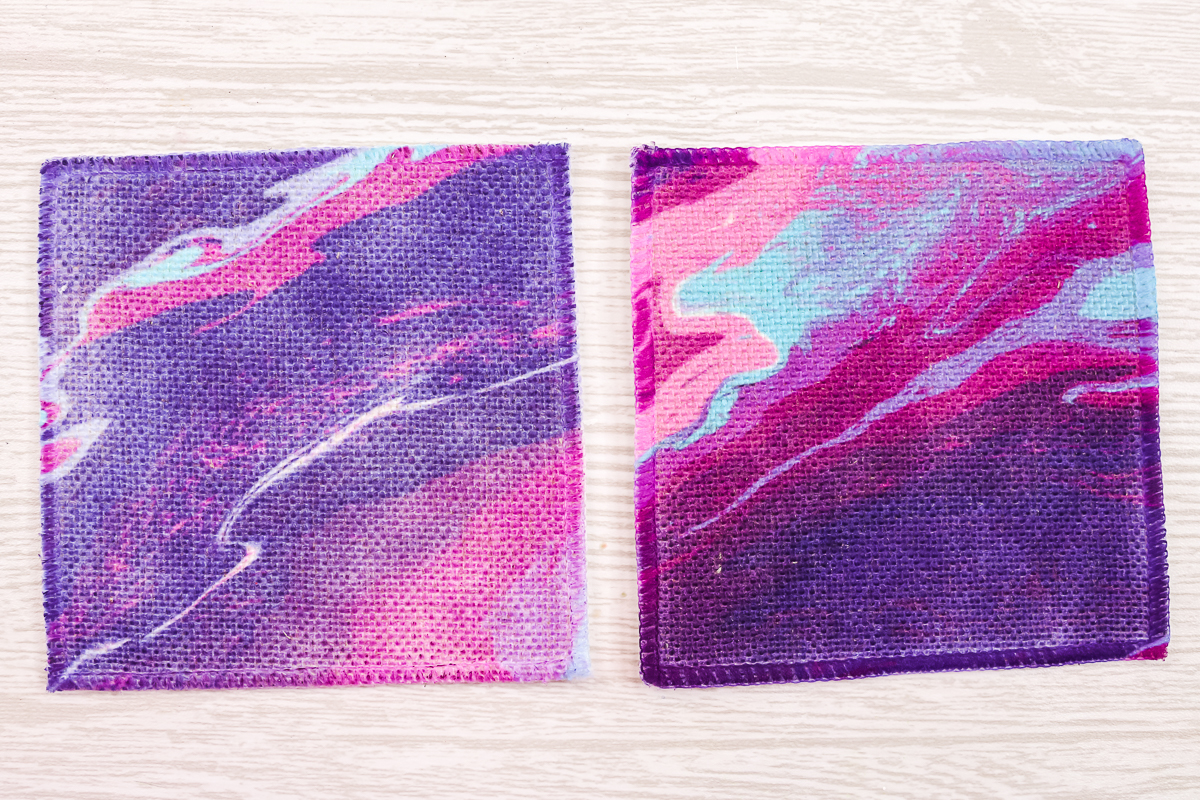
Finally, number ten is banding across your image. You may see lines in your print right off of the printer or they may only come in when pressing. If you see that banding, there are a couple of possible causes. The first thing I would always look at is those print settings that we talked about at number three. I would make sure that those are correct because things like the matte paper setting and the best quality can add banding to your image.
If all of that’s correct, then banding is most likely caused by a printer clog. You have a clog somewhere in your nozzles for your sublimation printer, so you will need to clear that. You can try printing a few images and doing a test press and see if that helps. The last resort would be to run a print head cleaning. I don’t want you to go crazy running printhead cleanings all the time thinking that’s going to fix all your issues because that’s going to cost you more money in the long run with printer maintenance. Do a printhead cleaning as a last resort. Sometimes it’s absolutely necessary to remove that clog and get on with your printing and get the best quality sublimation print that you can get.
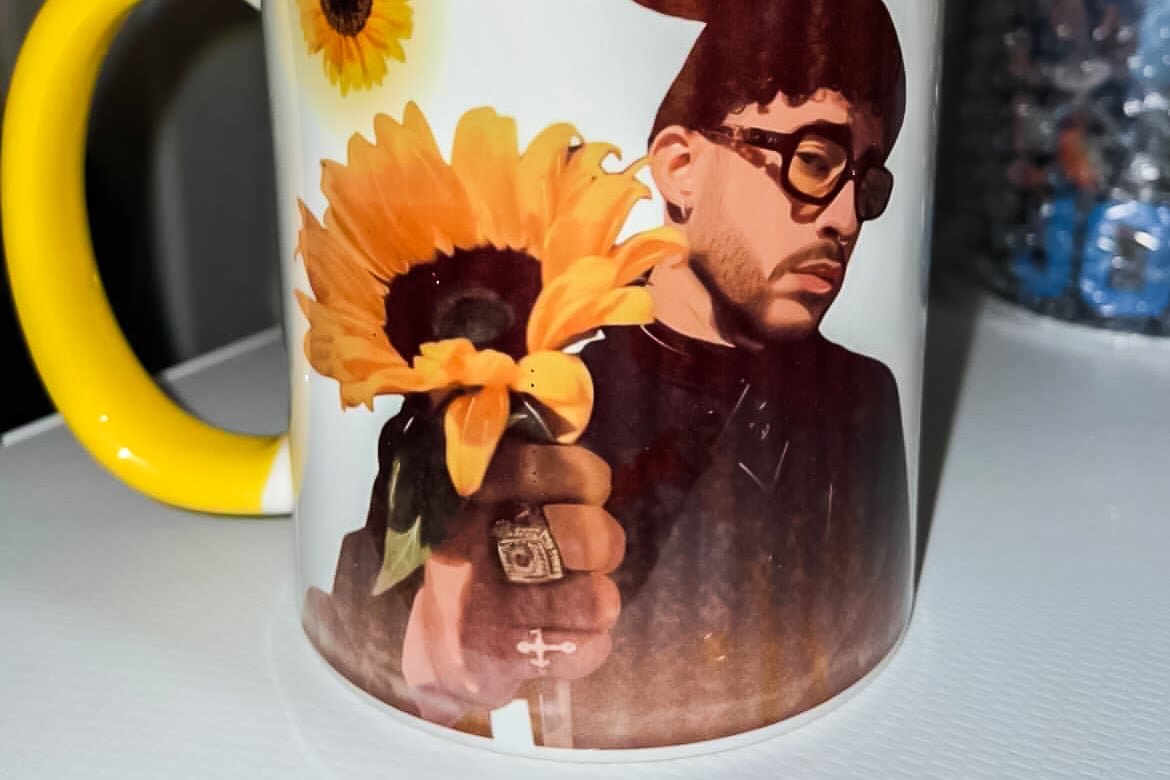
I hope that helps explain a little bit of the common sublimation mistakes and issues and helps you get the best quality sublimation print. Now, do you have more sublimation printing problems that I didn’t cover? Ask those in the comments section below. I’d love to do a second round with 10 more common sublimation printing problems and how to fix them.


I having problems with the fluorescent/lime green printing. I use hiipoo ink and koala paper. It prints gray and subs a darker green. Tried on regular paper and same print. I did a nozzle clean and head clean. I have a epson 2720 printer. I use word for my designs and haven’t had a problem till now. I’m not sure what else to do. Help!!
I’m so sorry that’s happening. Check out this post and see if it helps you solve the problem you’re having – https://www.thecountrychiccottage.net/icc-profiles-for-sublimation/
Why is my image faded/blotchy just at the top or bottom of my cup? I make sure to cut my image exact to the cup and then wrap by taping the middle seam and only a gentle wrap around the top and bottom with heat tape. I use a tumbler press.
Is it possible your tumbler is longer than the actual heat plate of your tumbler press? What do you mean by gentle wrap around the top and bottom? You want to make sure that your print is taped down well so it’s in complete contact with your tumbler. Maybe try adding more tape to get the image really secure to the tumbler.
What else can u sublimate on besides polyester?
You can do a cotton/poly blend but you want to have at least 65% polyester. Sublimation bonds to poly coating or polyester so it does need to have that.
I’m having trouble getting the tumbler wraps i purchased to print. Design space wont print them. I tried ink scape and it isn’t being very friendly either .can you recommend a program that is good for tumbler wraps?
Angie, thanks for the post! I’m still new to sublimation, but I was able to find a solution to my problem.
I’m glad it was helpful!
Hi Angie, I am having trouble with lining up the sublimation print to the EasiSubli cut. I use an Epson ET-2800 sublimation printer and THAT print doesn’t line up with the cut EasiSubli part. By accident, I sent the print to my HP Printer instead of my ET-2800 printer and THAT print (which I cannot use) printed and matched up perfectly with the EasiSubli cut. What am I doing wrong that my sublimation printer isn’t printing to match the EasiSubli cut? Thank you for ANY help you can give.
My guess would be you have the print settings set to “fit to page” or something of that nature. You want to set it to 100% so it is true to size.
Hi, I bought my F 170 because of your video Angie. I also have a Vevor heat press and for the life of me, I can’t get a crisp vibrant image. I have the right settings on the printer, but I think I may not have the right ones with the press. I was told 400 degrees for 45 seconds with light pressure. Then tried medium pressure and it seemed a little better, but definitely not vibrant by any means. I’m not sure what else to do. Thanks
The settings depend on what you are pressing ON so I can’t give you an overall recommendation. I would try 400 for 60 seconds with medium pressure on 100% polyester fabric and see if that helps!
Hi I have a ET 4760 I use for sublimation I’ve used for over a year now, but within the last month or so it will quit printing about a quarter to halfway through the print job. It does not matter which program I print from. Any help would be appreciated I’m ready to through it in the trash lol
That generally is a loss of connection. Can you try plugging directly into the printer and printing?
Hi, when I print out a sublimation image there is a beige square that seems to be in the background that is not included in my image. How can I get rid of this?
Is this happening with all images or just one?
Just purchased an ET-2850. Filled the tanks with Hiippo sublimation ink, and I get nothing when I try to print. I can hear the printer head moving, sounds like its printing, but the paper comes out clean.
Have you tried doing a full page print of all one color to see if the line is blocked?
Angie, I have been sublimating about a year. Every now and then I notice a “yellow shading” on the shirt. I use parchment paper on time of the design after taping it down. What causes that, maybe too much heat?
It could be too high of heat or applying the heat for too long. It could also possibly be the gasses just transferring a little depending on the colors you’re using. If that is the case make sure your image is taped down really well.
Hello Is My Very First Time To Sublimation I Will Like To Start My Small Business I Have A Epson ET-2800 And All The Desings Tha I print Are Very Light Colors How Am Able To Set My Printer To Print Brighter Color To Have Better Results.. Thank You I Read Allot Of Your Information
Have you pressed to 100% polyester? That is the only way to see the true colors.
epson et 2800 with hiipoo ink. i tried installing the icc profile from their site but dont see it in my printer settings. to me, my prints after pressing look dull and color looks little off to me. no idea what else to do. using mac mojave 10.14. installed profile to my colorsync but no idea what else to do about my colors looking off to me after pressing
You may need to try different ICC profiles to find the one that works best for your printer and set up. I have an ICC profile on my site and if that one doesn’t work my friend Cori George over at Hey Let’s Make Stuff has some other ICC profiles you can try too. I hope that helps!
Hi Angie! I have watched a few of your videos and I’m trying to fix a printer problem where only yellow ink is coming through. I’ve tried head cleaning several times and it seems to be getting worse instead of better….initially there was a little bit of cyan and magenta coming through but now only yellow and black. Should I do a power cleaning and replace my ink? I’m not sure of other options at this point and I don’t know if this is due to moisture or clog or what but I’ve been playing around with my color settings and the printer was doing okay before I changed them but even going back to original settings now is still with yellow only showing….
Have you printed any purge files? I usually find those are the best way to get the ink flowing again. I have a post here on my site for getting clogs out of sublimation printers. I would follow the steps in that post before doing a power cleaning. Search “Clogs” on my site and that post should come up 🙂
I have a converted sublimation printer, sublimation paper, and sublimation ink, but the prints won’t transfer to my blanks. The prints turn out yellow and unrecognizable. They won’t adhere to the HTV either. I followed the correct heat settings. Is it possible that there isn’t enough pressure? I’m just using my Cricut easy press.
You either do not actually have sublimation ink or you don’t have a sublimation blank.
I’m frustrated that my images are cut and print but doesn’t give me the option to slice so it will fit on my 81/2 x 11 paper in the printer.
What are you trying to slice? You need two, and only two layers selected for slice to work 🙂
I recently made luggage tags for my husband and I on the list below blanks. Red showed up on the name side and all but one of the tags had red haze on the picture side. The directions on the tags have a range of heat which 365 fell in the middle for 70 seconds. I used my tshirt press instead of my cricut heat press.
Do you know what would cause the red haze? I want to start making these for my daughter’s travel company for her clients.
Thank you for your time. Love your videos.
Darla Wilson
My guess is ink blow out. So maybe look at how much ink you are printing with and maybe humidity.