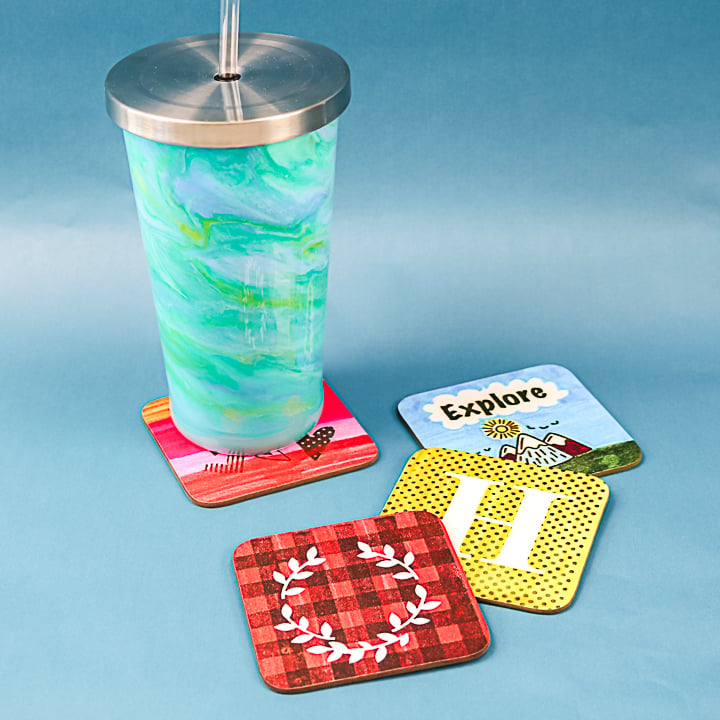
I get asked all of the time if sublimation with an iron is possible. Does it get hot enough? Will it transfer your design? I tested out some methods and came up with a way to do sublimation with a household iron. Here are my findings and some tests using my iron versus a Siser heat press.
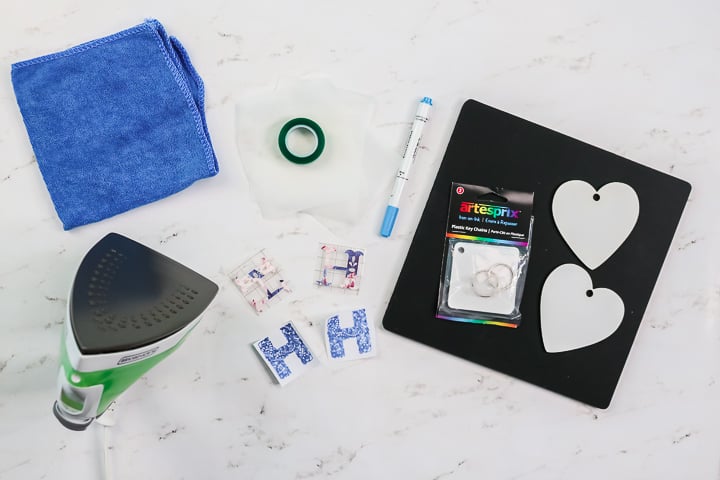
Supplies for Iron Sublimation
First, let’s talk about the supplies that I am going to use for my testing on this post.
What type of iron?
I used a standard household iron. In fact, it is the cheapest iron I could buy at WalMart. It does have holes for steam but I had all water removed and steam off. I used the iron at the hottest setting.
I am comparing the iron to a heat press. For those tests, I used the Siser heat press in all cases. I set it to the temperature indicated for the blank I was using.
What sublimation ink was used?
I do not have a sublimation printer so I used two forms of ink for these tests. I used Artesprix markers which are sublimation ink in marker form. Then I also used Infusible Ink sheets.
What blanks were used?
I used some blanks from Artesprix for all of the tests. You can find their entire sublimation blank selection here. I used the same blank for both the iron and heat press test for a fair comparison. I used the time indicated on the directions for the blank for both the iron and heat press tests.
Other supplies needed:
For sublimation, you also need some other supplies. Here are the links to the ones I used:
Sublimation with an Iron
Now that we have our supplies, let’s take a look at how sublimation ink works with both an iron and a heat press. Want to see all of the tests and results in a video? Try watching below!
Can’t watch the video or missed some of the information? You can see more below!
Artesprix Marker Test
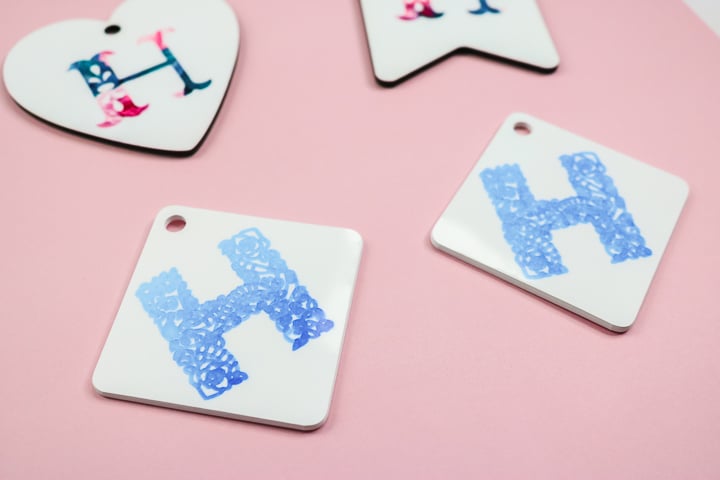
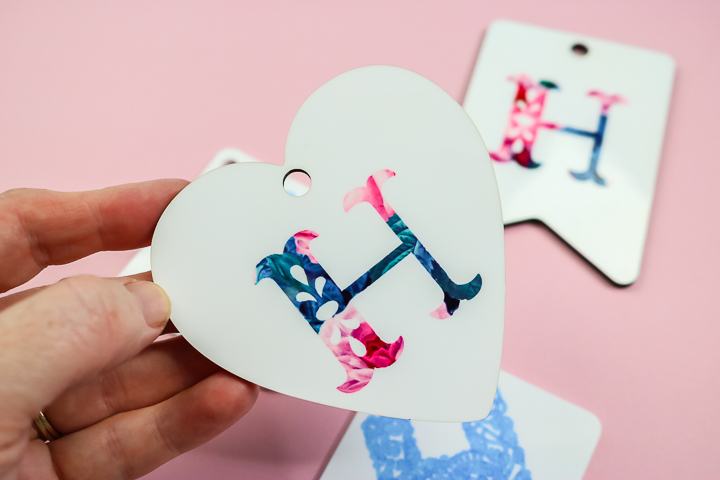
For the Artesprix markers, I used the Cricut Joy to draw an H with an elaborate pattern. I drew the same pattern for both tests and used regular copy paper in both cases. The H is small enough to fit on the flat part of the iron and not get onto the holes. I have found that the holes will leave areas that do not transfer as well.
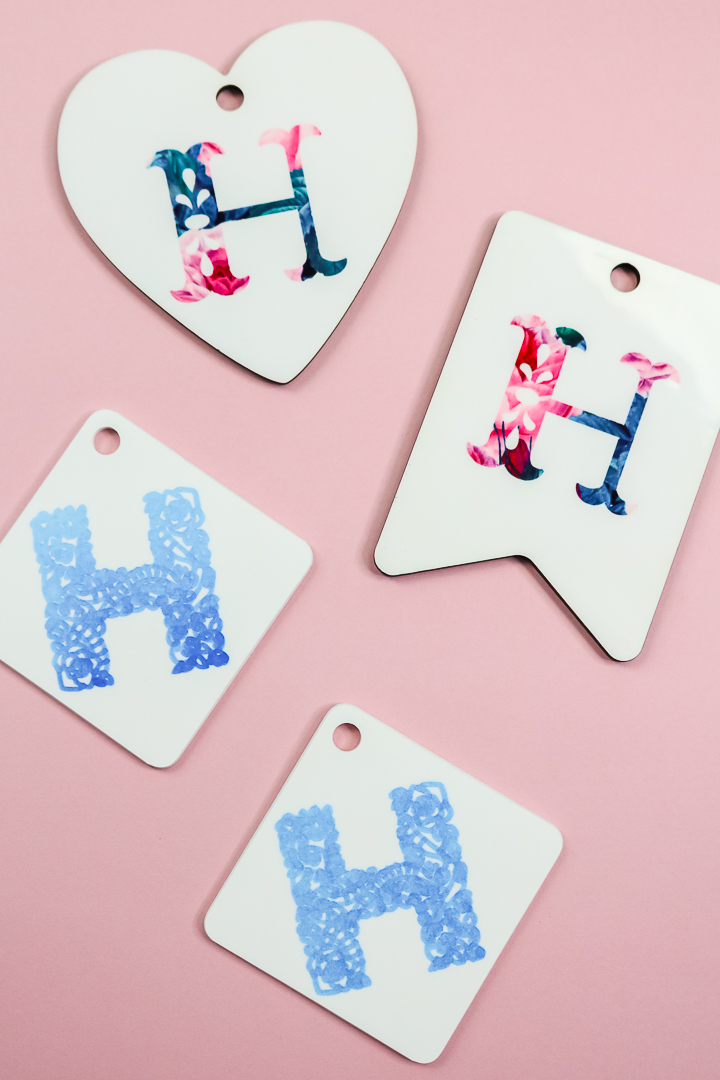
As you can see, both the iron and the heat press transferred the design well. The project made with the iron is on the left while the heat press version is on the right. I will say the iron left a few areas that were not quite as dark but overall, I was extremely happy with the results.
Infusible Ink Test
Moving on to Infusible Ink, once again I cut the same “H” twice in order to use for my tests. I used the directions for Infusible Ink and used my iron and heat press to transfer the designs. Once again, I made this small enough so it would fit on the area of my iron that does not have holes.
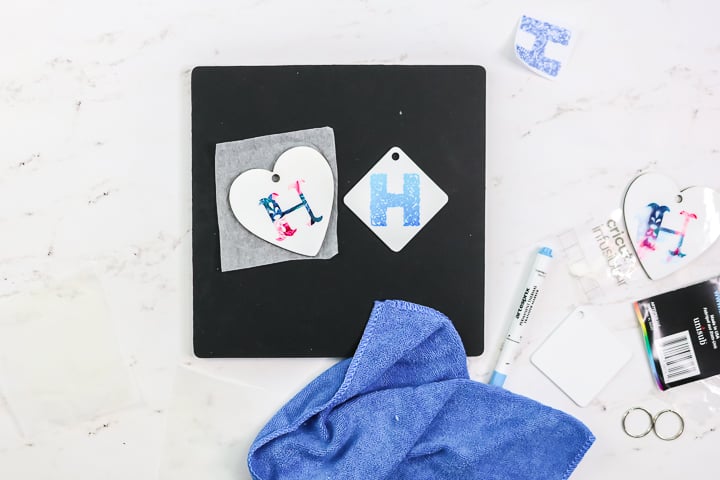
I will say here that you CANNOT move when pressing with your iron. I did that once on an Infusible Ink test and the results were horrible. You must stay still with the iron as you press. This can be difficult to do. Be sure to tape your design down well and stay as still as possible.
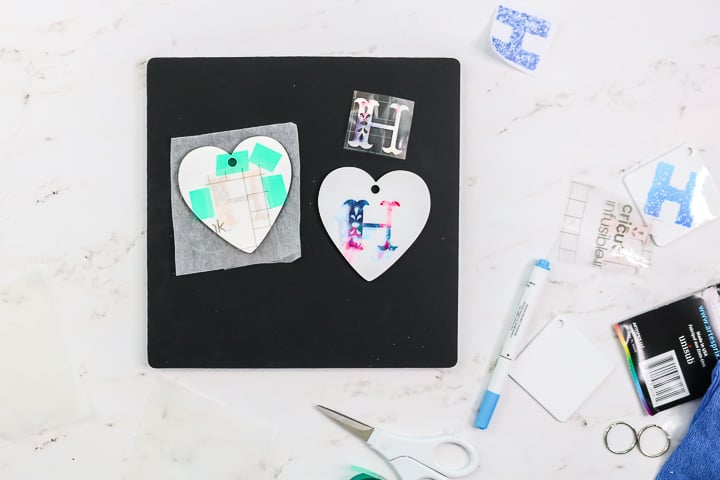
As you can see, both the iron and the heat press transferred the design well. The project made with the iron is on the left while the heat press version is on the right. I really cannot tell the difference between the two projects in this case. They both transferred so well.

Tips for Using an Iron for Sublimation
So, now that we know sublimation with an iron is possible, how do you do this for your projects? I have a few tips and tricks that I have learned when using an iron for sublimation.
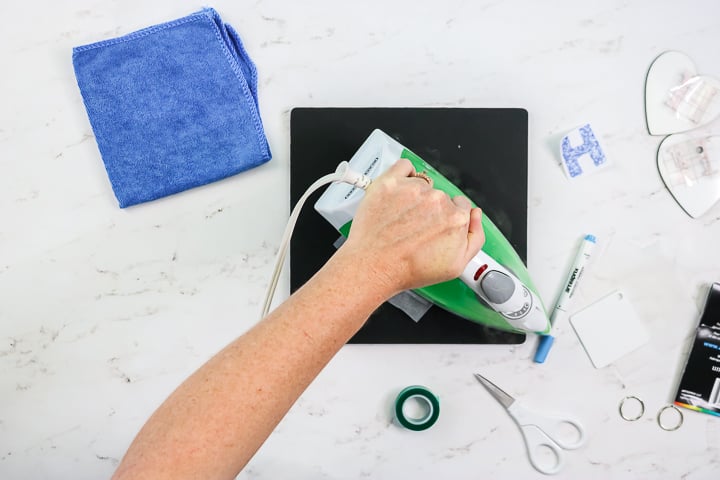
- It definitely works best on the flat part of your iron. The holes can affect sublimation as the heat will be uneven in those areas.
- Size your design to work within these restrictions. There are also irons with no holes but I would recommend getting an EasyPress instead if you are going to buy something specific.
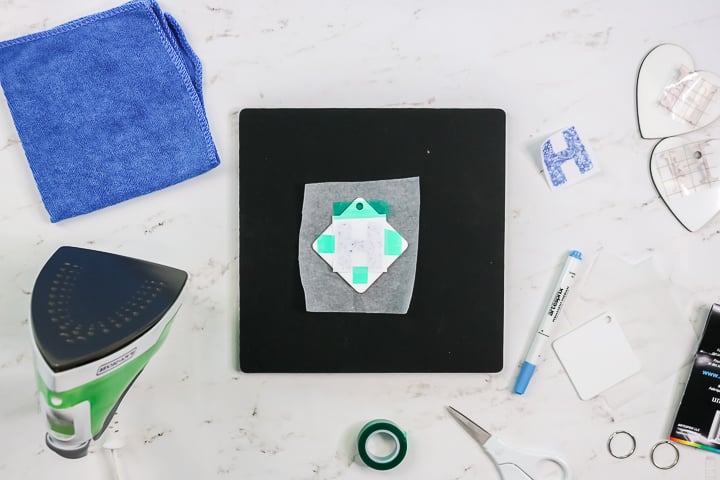
- Put your design down on the blank and tape down well. Movement can affect your results and you want everything to move as little as possible.
- Turn the iron all the way up and remove any water. Turn off the steam as well.
- Work on a protective mat if possible and be sure to use protective paper both under and over your design. The ink can get on your surface as well as your iron and you do not want that.
- Put your iron flat on your piece and hold for the entire time recommended for the blank you are using. DO NOT MOVE during pressing.
- Once the time is over, lift up the iron and allow the blank to cool enough to touch. Then you can remove the paper or Infusible Ink sheet.
- Once pressed, your design is permanent and ready to use!

So, now you can use your iron to make those sublimation projects (at least the small ones)! In fact, you might not be able to even tell the difference between the projects you made with other methods and your iron projects.
If you have been waiting to get Infusible Ink because you don’t have a heat press, don’t wait any longer! Grab your iron and make a few projects. I think you will love the results.

Sublimation with an iron is easy to do and will leave you with projects that you will love. Plus, it might just help you decide if you want to invest in more equipment to make larger and more complicated projects.

Love this project and want more sublimation ideas? Try the links below as well!


