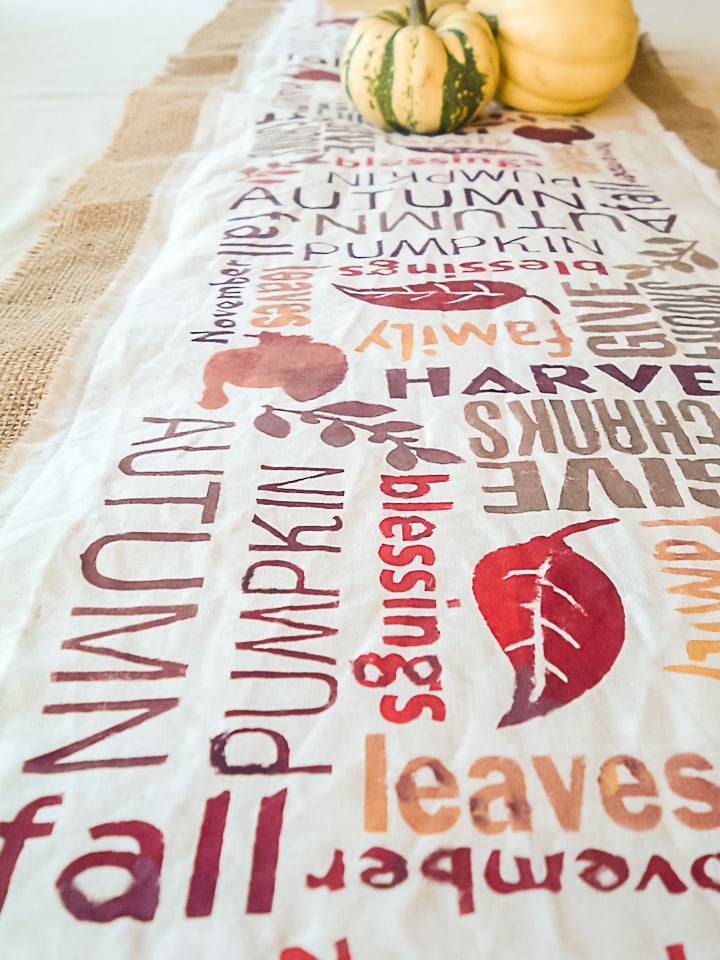
A DIY burlap table runner is a perfect thing for me. I really love burlap! Actually, I have had a thought of a subway art table runner for a while. I love subway art but have never found a way to work it into my home. A table runner seemed like the perfect opportunity. So, I combined that idea with burlap and came up with something fabulous for my Thanksgiving table. Ready to make your own stenciled burlap table runner? Just follow along below and then pick up your supplies!
Supplies to make this DIY Burlap Table Runner:
- muslin (12 inches wide)
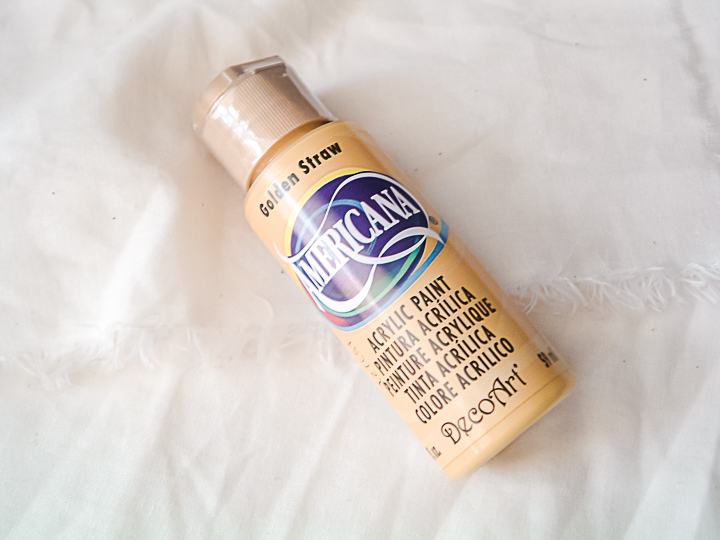
- craft paints
- burlap (16 inches wide)
- paintbrushes
- Cricut machine (you can see which one is my favorite here)
- white cardstock
- tape
- sewing machine
Making a Stencil with Your Cricut
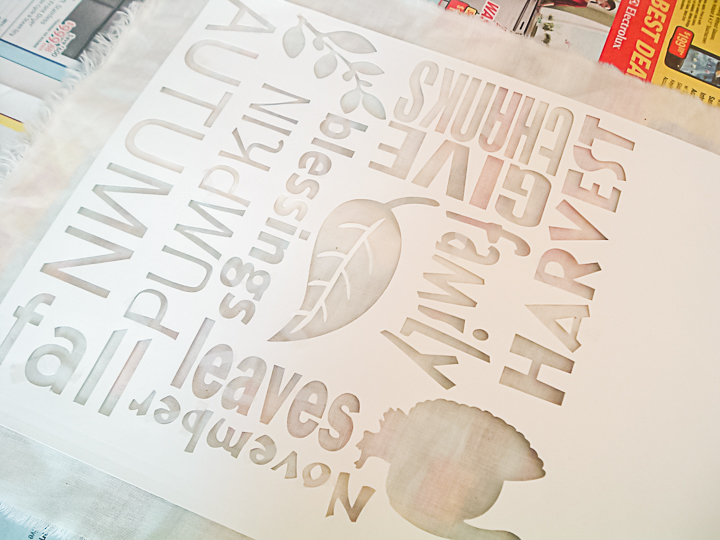
For this project, I broke out one of my other fave products — my Cricut. I made my subway art using different fonts, sizes, and directions plus stock images in Cricut Design Space. I made the stencil about 8 inches square. If you make your stencil square that allows for you to turn it as you work your way down the table runner. It looks a little less like you just used the same stencil all the way (even though you do). Paint it this way then turn it 1/4 turn. Paint it again. Then turn it 1/4 turn. Make sense?
My secret for stencils — I take the middles of the letters and tape them in with scotch tape. After I paint in this area, I would remove the stencil and go back by hand and paint in the areas masked by the tape. Want more details on that method? Check out this post for all the details. You can also see more about making stencils with your Cricut here.
How to Make a Stenciled Burlap Table Runner
I custom mixed my own paints. I did them in small amounts on a paper plate. So as you go down the runner, the orange may look different as I had to mix a new batch. I wanted this look. I did not want the runner to be exactly the same all the way. For me, the slight differences in color add interest.
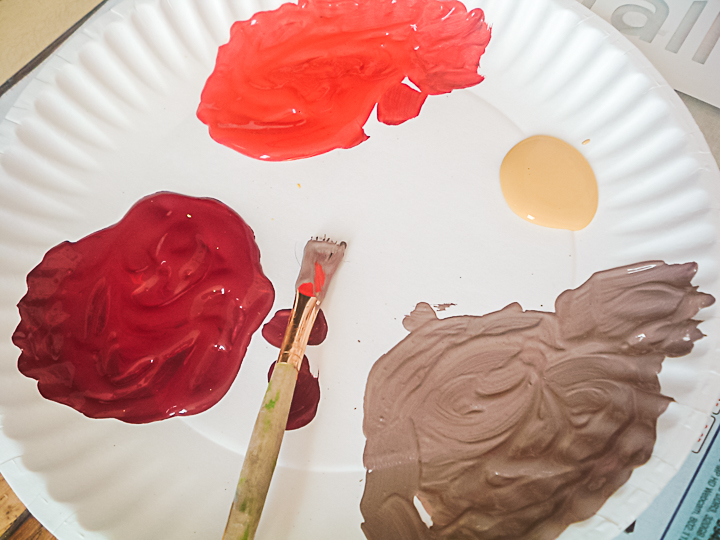
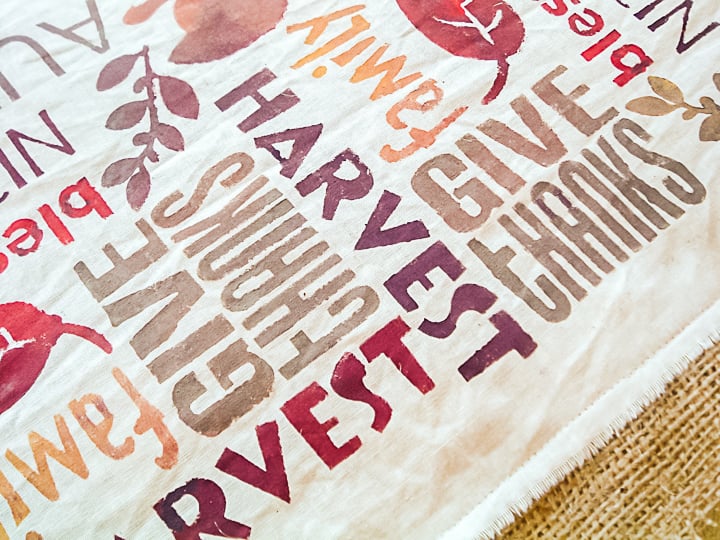
Plus when I painted I used different colors. Let’s take the “give thanks” in the picture below on the right for example. The “give” part looks like a slightly different shade than the “thanks”. But the “give thanks” on the left-hand side looks a little different yet. Just dip your brush in say a little red before dipping it into the brown. You will be amazed at the effects you can create.
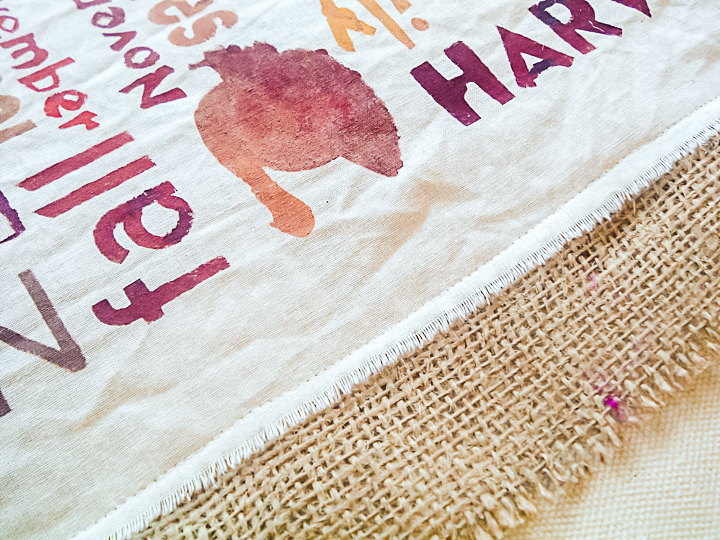
See my turkey below. Isn’t he pretty? Shades of red, orange, and yellow all used to make him stand out! When I got to the next turkey, I would try a different mix of colors.
I stretched my runner out on the floor with a newspaper underneath it. Then I painted all of my subway art all the way down. I did it in two sessions cause it totally hurt my back! But I finished it…then I let that dry.
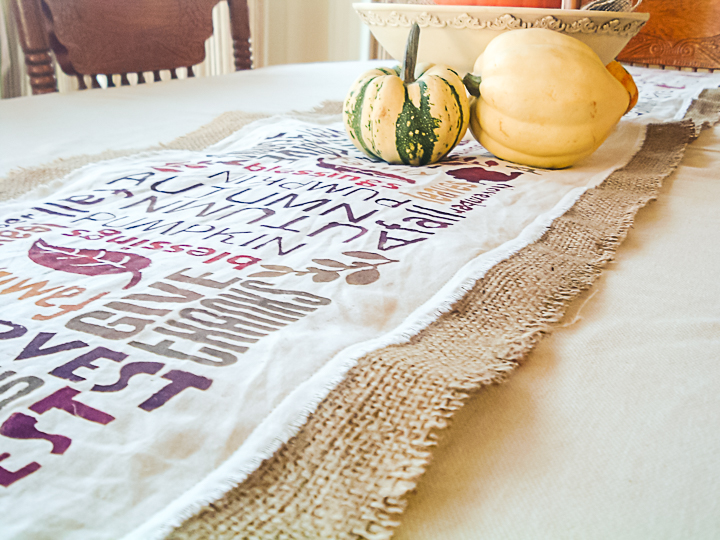
Sewing this Thanksgiving Table Runner
I took my burlap and cut it to be about 4 inches wider than my runner (2 inches on both sides). I then sewed the muslin to the burlap on both sides and on the ends. You do want to leave about 2 inches all the way around of the burlap. I left all of my edges raw cause I heart frayed edges. You can run some fray checker on the edges to make sure it does not fray more than you want it to.
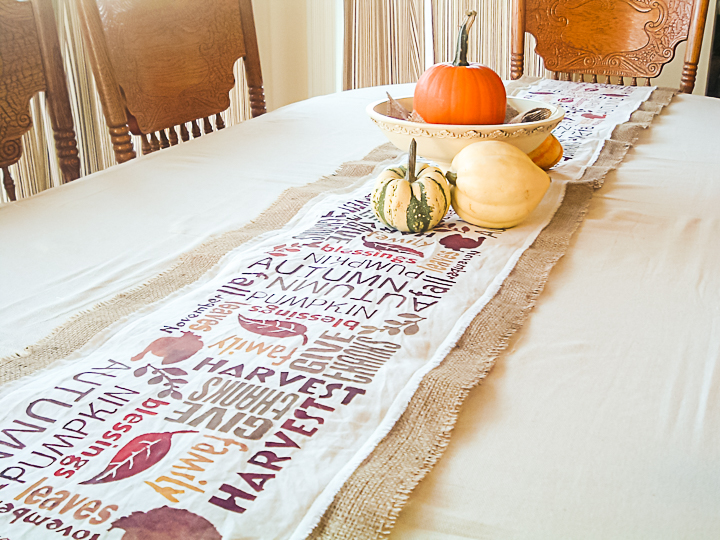
I frayed my edges some on purpose. Again cause I love that look. How much or how little is totally up to you.
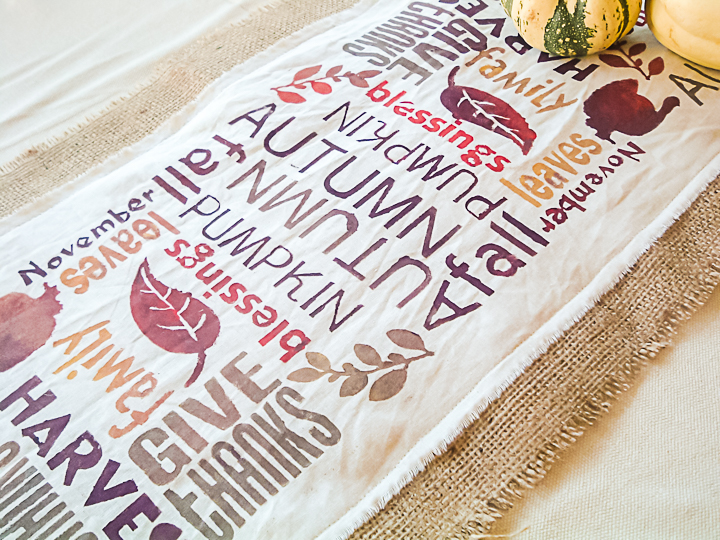
Then I set the table for a little photoshoot. Any guesses on what my table cloth is? It is a drop cloth. Yes, a canvas painter’s drop cloth. Impress your guests this Thanksgiving with a gorgeous table cloth…don’t tell ’em where you got it.
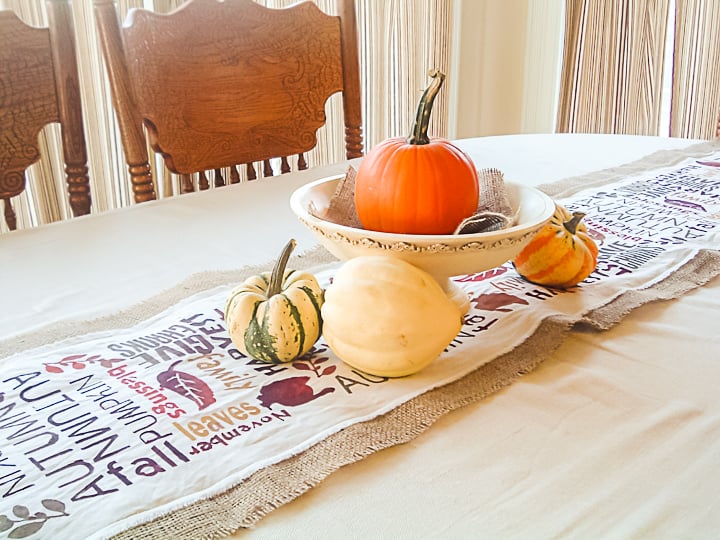
In the center of the table, I just added a footed wood bowl and some pumpkins and gourds. A little scrap of burlap was placed in the bottom of the bowl.
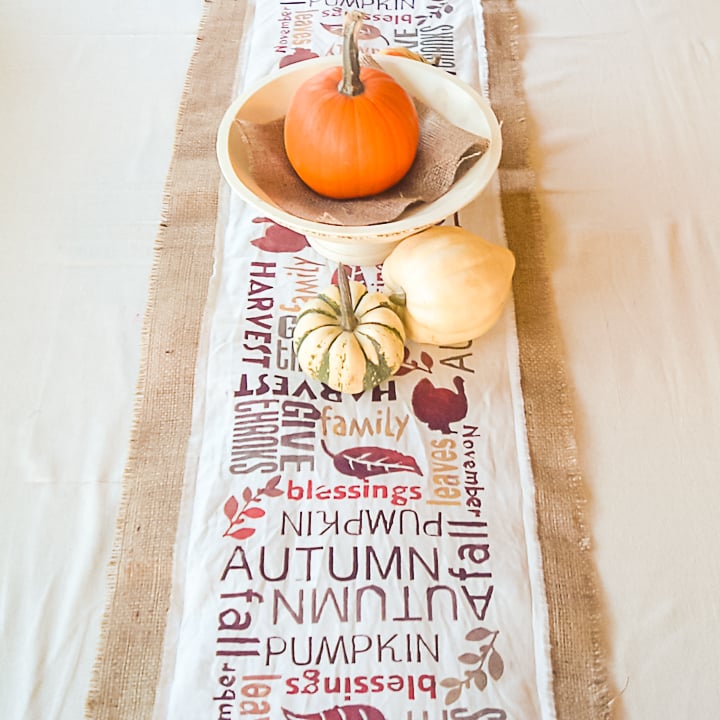
All that is missing is my Thanksgiving guests. I love the idea that no matter where you are sitting at the table you can read seasonal saying and words.
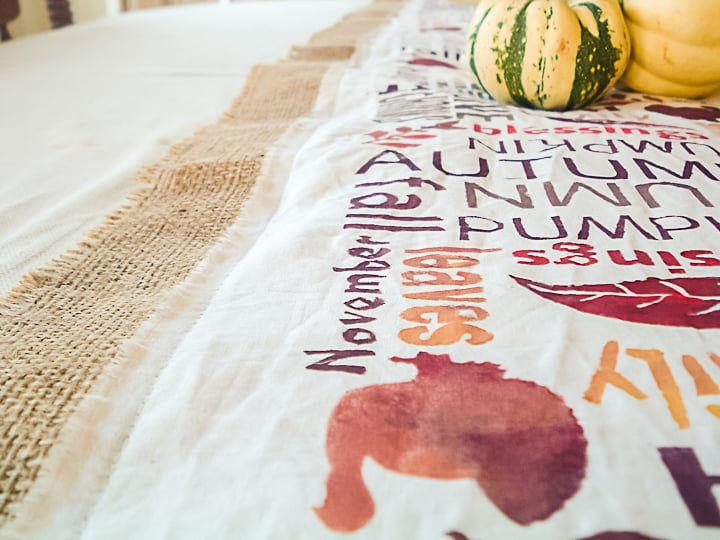
And, yes, I did indeed paint all 108 inches of table runner…no cheating allowed. I am so in love with this table runner, I am thinking of doing one for every season! The subway art table runner could very quickly become a “thing” for me.
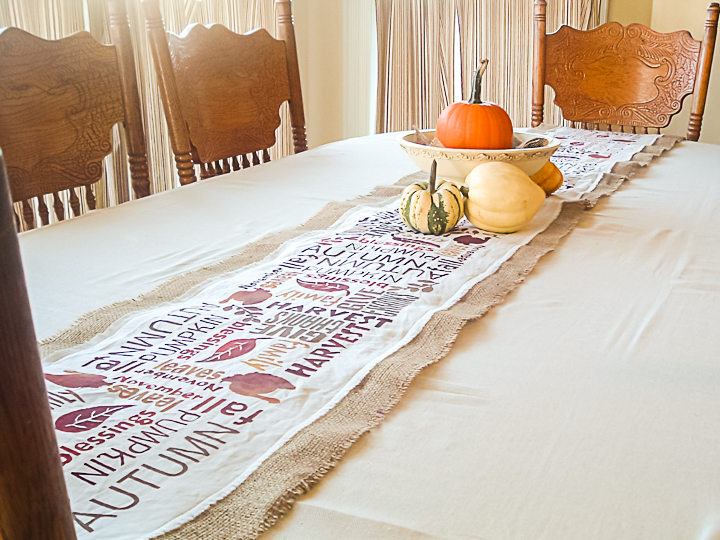
For now, I will just enjoy all the autumn colors on my Thanksgiving table. Oh if you are wondering — this one will be spot clean only. Sorry y’all, I don’t think burlap washes well. So, fire up your Cricut, make your stencil, and start painting! I would love to see your take on the DIY burlap table runner this holiday season!
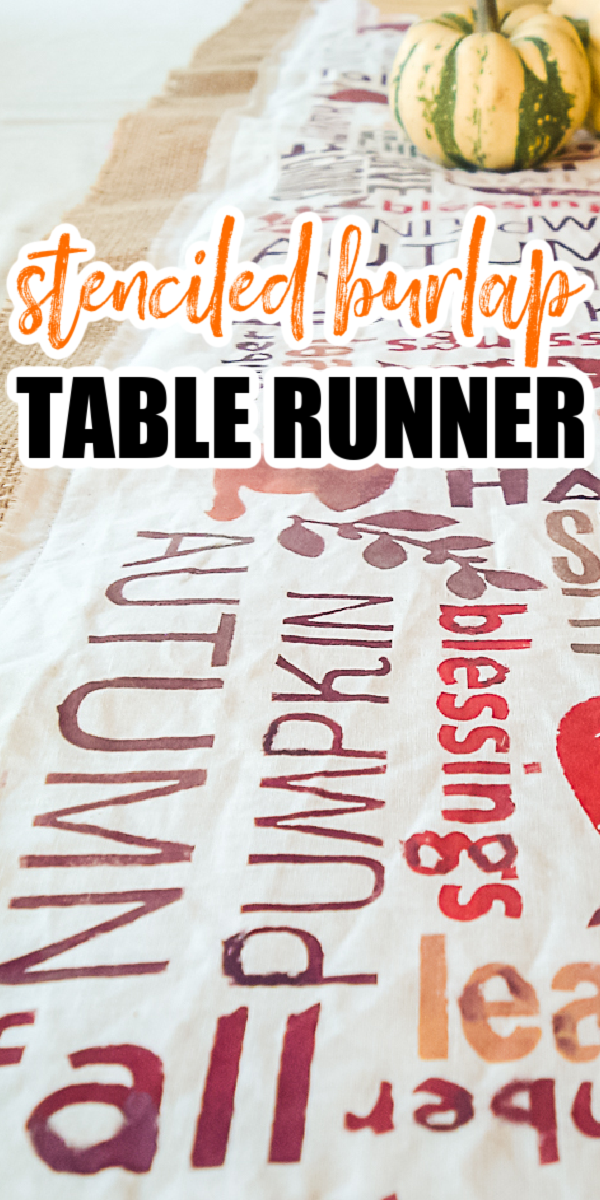
So, do you love this fall table runner and want more ideas? Try the links below!
- Table Decoration Ideas for Thanksgiving and Christmas
- Thanksgiving Decorating Ideas for Your Holiday Table
- Succulent Cornucopia for Thanksgiving
- Tray Decoration Ideas for Thanksgiving
- Free Friendsgiving SVG File
Want to print the instructions for this autumn table runner? You can also use the card below!
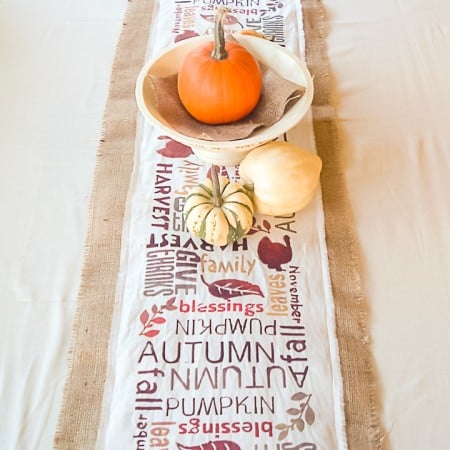
Supplies
- muslin 12 inches wide
- craft paints
- burlap 16 inches wide
- paintbrushes
- Cricut machine
- white cardstock
- tape
- sewing machine
Instructions
Making a Stencil with Your Cricut
- For this project, I broke out one of my other fave products — my Cricut. I made my subway art using different fonts, sizes, and directions plus stock images in Cricut Design Space. I made the stencil about 8 inches square. If you make your stencil square that allows for you to turn it as you work your way down the table runner. It looks a little less like you just used the same stencil all the way (even though you do). Paint it this way then turn it 1/4 turn. Paint it again. Then turn it 1/4 turn. Make sense?
- My secret for stencils — I take the middles of the letters and tape them in with scotch tape. After I paint in this area, I would remove the stencil and go back by hand and paint in the areas masked by the tape.
How to Make a Stenciled Burlap Table Runner
- I custom mixed my own paints. I did them in small amounts on a paper plate. So as you go down the runner, the orange may look different as I had to mix a new batch. I wanted this look. I did not want the runner to be exactly the same all the way. For me, the slight differences in color add interest.
- Plus when I painted I used different colors. Just dip your brush in say a little red before dipping it into the brown. You will be amazed at the effects you can create.
- I stretched my runner out on the floor with a newspaper underneath it. Then I painted all of my subway art all the way down. I did it in two sessions cause it totally hurt my back! But I finished it…then I let that dry.
Sewing this Thanksgiving Table Runner
- I took my burlap and cut it to be about 4 inches wider than my runner (2 inches on both sides). I then sewed the muslin to the burlap on both sides and on the ends. You do want to leave about 2 inches all the way around of the burlap. I left all of my edges raw cause I heart frayed edges. You can run some fray checker on the edges to make sure it does not fray more than you want it to.
New to Cricut?

Sign up for our email list to download the Beginner's Guide to Cricut Design Space for FREE today!
Sign up to get the guide emailed to you!



Very nice!!! I need to find some burlap because all of these awesome burlap crafts are inspiring!
Very cute! I love the colors you used and the way the turkey is shades of color. I can’t believe you painted the whole thing! Impressive. Lisa~
Angie- I told you before and I’ll tell you again- this runner is absolutely amazing! I love the whole thing. When I first saw the picture I saw that gorgeous turkey- he’s stunning. the whole thing is lovely.
I’ll stop gushing now. 🙂
So happy to have you participate in Point of View this month.
xoxo,
Amy
Hi Angie! Thanks for being a POV guest this month. Burlap is a perfect theme for you and I love how the table runner tured out. The subway art looks awesome on the table runner. What a great idea.
I love this, Angie!! It turned out fantastic. What material did you use for the stencil? It doesn’t look like freezer paper.
Angie – I love this! It is so cute! You did a wonderful job – I love the sayings and colors you picked – just darling my dear!
Gorgeous project, Angie! Lots of attention to detail, and it definitely shows. I love the frayed edges. Thanks so much for joining us for Point of View this month 🙂 Fantastic!
Oh, it is wonderful, I can see why your back hurt!!! I would soooo love a silhouette!
Carol
This table runner is so cool. Great job, and thank you for sharing the how-to!
Love love love this!! Great job mama!!
No Way! This is so fun and creative! Wow.
If you’re interested in linking up at more parties, I’ve got one that just started! I’d love to have you!
Once Upon a Weekend @ Family Ever After, Friday nights
http://www.familyeverafterblog.com/2011/10/once-upon-weekend-link-party-16-and.html
ps- Newest Follower!
Wow, this turned out great! Very clever. I have a silhouette too – what did you use to make your stencil?
I have not made many table runners – but this one I love enought to have on my table! Thanks for the great turoial,
Lindsay
http://www.craftyladylindsay.blogspot.com
I actually use card stock for my stencils. Since I just use them a time or two it seems to work! 🙂
This is adorable and I love the subway art look put on a table! Perfect!
Love it, but where do I go to do the lettering?
Love this! You did a fantastic job!
Susan — I used my Silhouette for the lettering. You just insert the text you want in different fonts. It cuts the card stock for you. If you don’t have a silhouette. I would reccommend making the subway art lettering in your word processing program. Printing it on card stock. Then cutting it by hand with an exacto knife.
This is adorable! Another reason to be envious of people with Silhouettes. 😀
Any chance you will be adding these wonderful table runners to your etsy shop? If so, I’d love two!
I really would…but the amount I would have to charge to reimburse my time…I am afraid they would be way too expensive. This was very labor intensive. 🙂