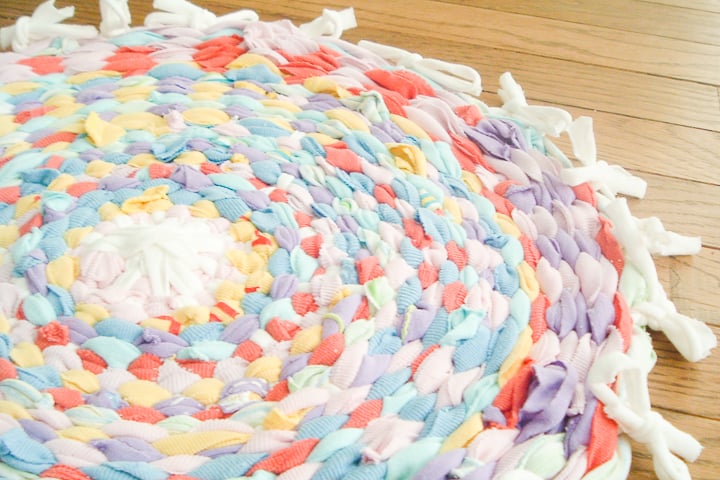
Ready to learn how to make a rag rug? A few years ago Family Fun magazine had a tutorial on how to make a hula hoop rug and my daughter wanted to try it. We went through our old t-shirts and found some to use. Of course, you can get t-shirts from your local thrift store as well. Literally, any old t-shirts will do the trick. Then just upcycle those old shirts into something fun for your home. Want even more? You might also like our teen room home decor ideas!
This one was first published on April 17, 2011, however, I am republishing with more information.
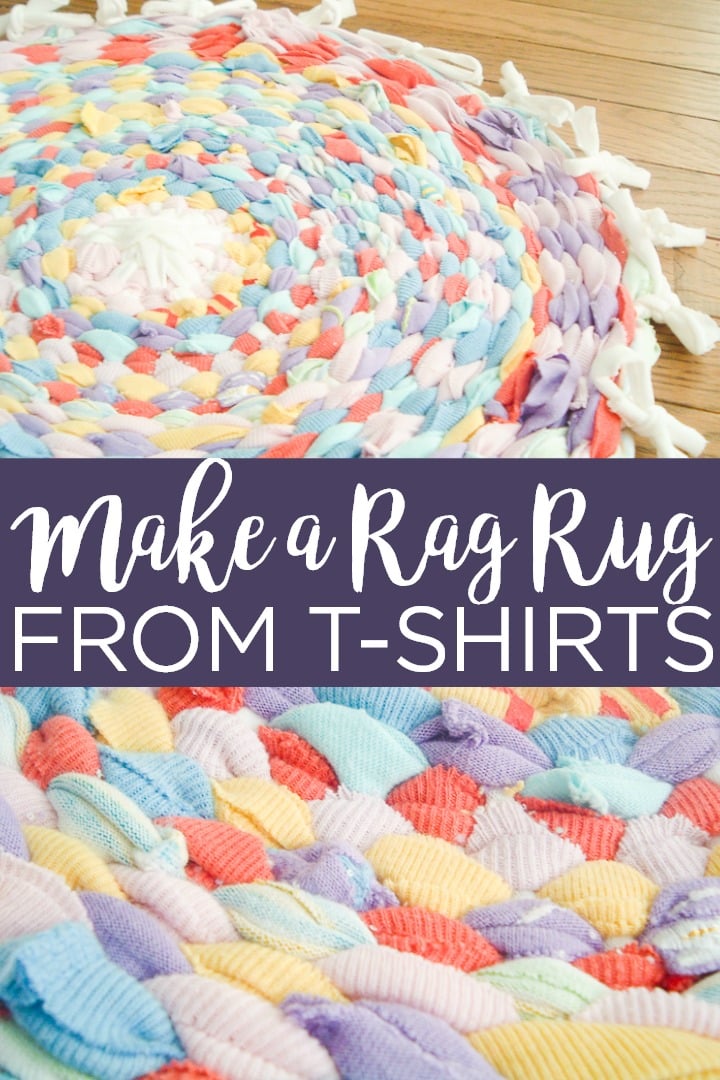
Supplies needed to make a t-shirt rag rug:
- old t-shirts
- hula hoop
- scissors
How to make a rag rug:
- Cut off the hemmed bottom of all shirts and discard.
- Cut one shirt into one-inch horizontal strips so that they are loops. You will need 14 strips.
- Stretch these loops in pairs around the hula hoop in a pinwheel pattern. You should have seven pairs of loops equal distance apart.
- Start cutting shirts into one-inch strips. This time you will want to cut the loops so you have long strips of fabric.
- Then weave these strips in and out of the loops that are on the hoop already. Go over and under as you weave. Just tuck in the ends and continue with a new piece as needed. Treat the pairs of loops as one.
- Once you have about an 8-inch diameter rug, you will want to separate the loops that are on the hula hoop and start going over and under them individually.
- Once your rug is 6 inches or so from the end, you can actually separate the loop itself and treat each piece as an individual as you weave over and under.
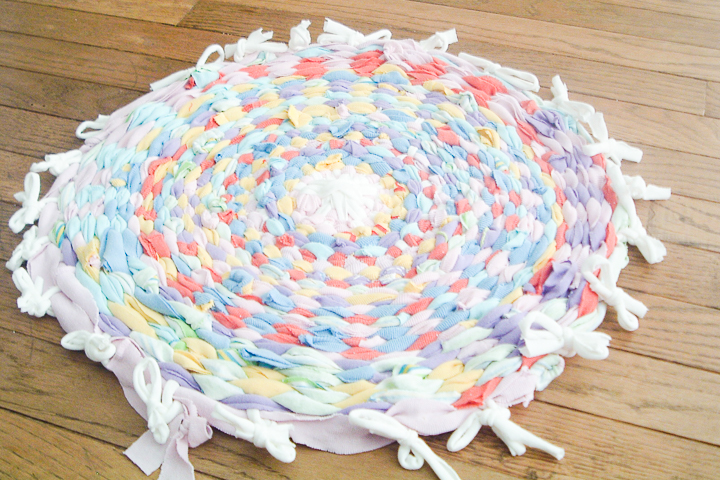
- When you are happy with the size, just cut the loops from your hoop and tie them in a double knot. You can leave these ends as fringe or tuck them in.
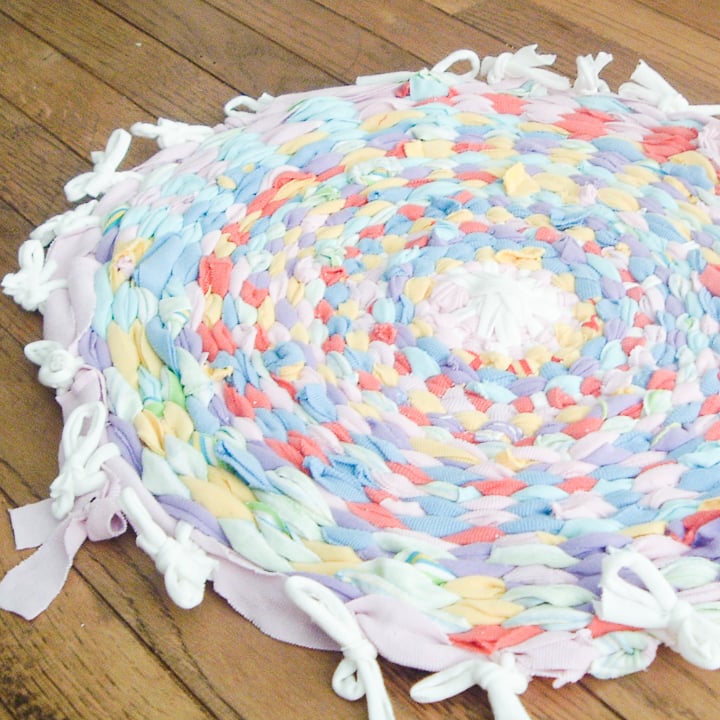
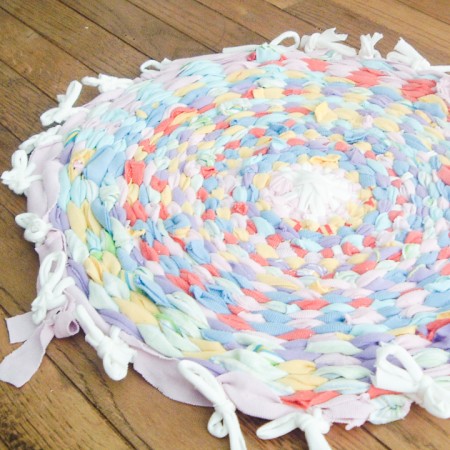
We used a mix of pastel colors for our rug but you can use whatever colors you like for your version.
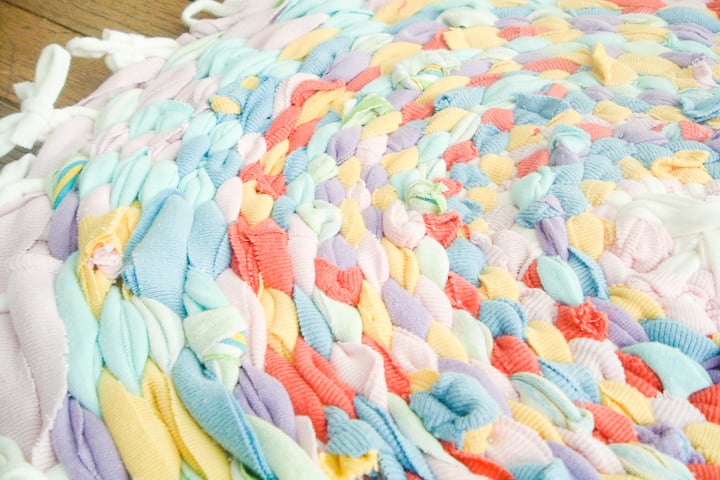
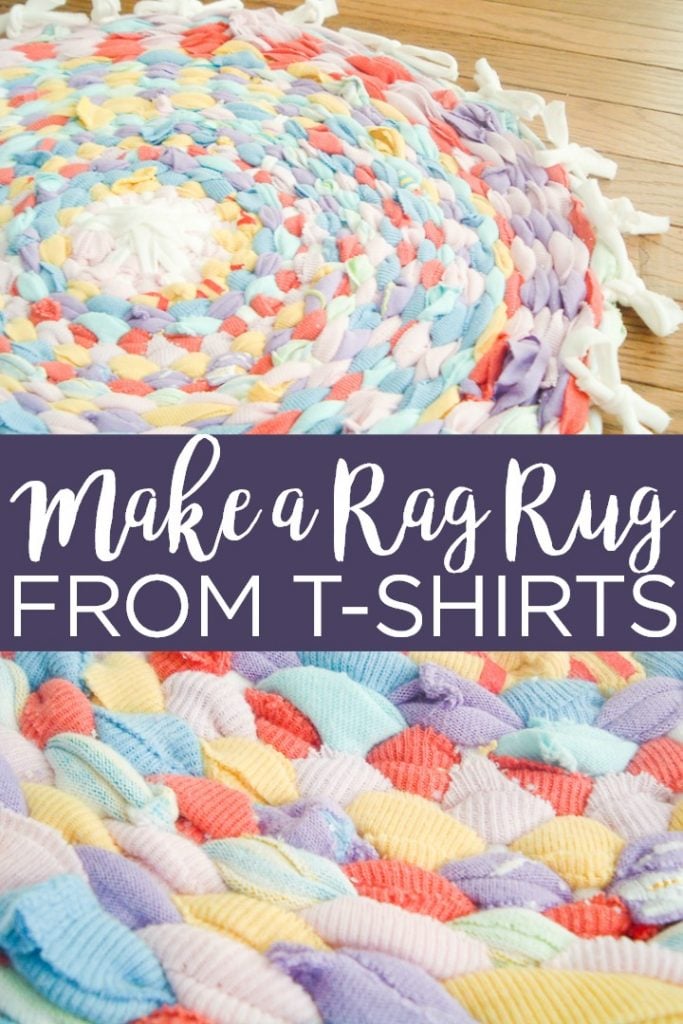
This t-shirt rag rug turned out great! And was super easy to make as well. If you love upcycling with your kids, this is definitely a craft that you want to try.
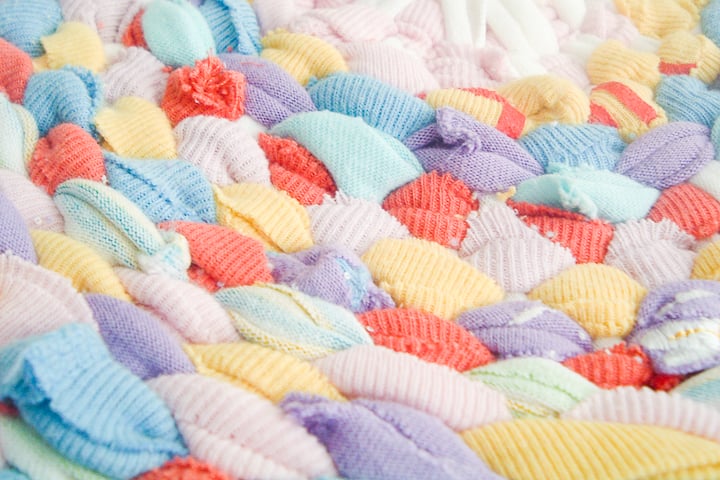
It is time-consuming…so put in a movie before you start! But what a great project to make out of a pile of old t-shirts.
Want to see how I used this same technique to make something completely different? See my DIY demijohn basket here! Now that you know how to make a rag rug, you can make all sorts of things!
Love this rag rug tutorial and want more ideas? Try the links below!
- Free Narwhal SVG File Perfect for Kids Crafts
- Lego Activities Perfect for Kids
- Pool Noodle Games: Summer Fun for Kids
- Make Your Own Felt Food for Kids with the Cricut
- School Year Memory Boxes
Want to print this tutorial for making a hula hoop rug? You can use the card below!
Supplies
- old t-shirts
- hula hoop
- scissors
Instructions
- Cut off the hemmed bottom of all shirts and discard.
- Cut one shirt into one-inch horizontal strips so that they are loops. You will need 14 strips.
- Stretch these loops in pairs around the hula hoop in a pinwheel pattern. You should have seven pairs of loops equal distance apart.
- Start cutting shirts into one-inch strips. This time you will want to cut the loops so you have long strips of fabric.
- Then weave these strips in and out of the loops that are on the hoop already. Go over and under as you weave. Just tuck in the ends and continue with a new piece as needed. Treat the pairs of loops as one.
- Once you have about an 8-inch diameter rug, you will want to separate the loops that are on the hula hoop and start going over and under them individually.
- Once your rug is 6 inches or so from the end, you can actually separate the loop itself and treat each piece as an individual as you weave over and under.
- When you are happy with the size, just cut the loops from your hoop and tie them in a double knot. You can leave these ends as fringe or tuck them in.



I’ve got a pile of tshirts and a hula hoop waiting for the very same project!
We did this! But we did ours too tight and it turned into one of those bowls they also give directions for…sorta. Actually it was more like a big floppy hat! But a cute one! We ended up undoing it to try again.
It’s good to know it’s super easy. It’s on my “mental list”of things I wanna make w/my kids this summer. Your’s turned out well.
O, I gotta go look at the instructions and see if I am capable of doing this. I am sooo not crafty so most of the time, I flub it.
This is so cute…:)
I am SO going to this with plastic grocery shopping bags!
What a sweet sping colors in there. I have been meaning to try a rag rug for a while….that for the inspiration!! I would love it if you would share this at my party A Marvelous Mess. I will be picking one project to feature on my side bar for a week!!
Hey get a good hoop, I tried this on a cheap one that bent and it turned out to be a nice plant holder or a bowl for fruit. My five year old granddaughter loved to do this with me and I told her to take it to school for show and tell. I pulled it to tight so no tension is necessary and buy a heavy duty hoop.
My daughter us is doing this for a 4H project for our local fair and she just finished her 2nd one and they both have curled up on her. Can you give any pointers to how you did yours? She had followed the directions but not sure why it is curling. Did you get it really loose? it says to make a tight spiral at the start but then pull snug. Please any help would be greatly appreciated.
How adorable! My daughter was just trimming fabric today and we were talking about something like this. You really use a hoolahoop? How does that works!
I came here from the “Craft Test Dummies” site because this is a great idea for our Linky Party too this week. The theme is ‘Best Ideas Fall’ this time.
Would you like to add your post to our site? We’re somewhat new, yet getting good traffic already and ranking very well for the search engines.
We’d love to host your ‘link’ there this week too!
Pam Hoffman
FYI: They’ve removed the instructions for the rug from Familyfun.com. If you check Google.com, you will run into the instructions on other web sites.
FYI: They’ve removed the instructions for the rug from Familyfun.com. If you check Google.com, you will run into the instructions on other web sites.
Nice creativity mam, impressive artwork.
The instructions are not very clear, so I googled it and realized that the “pinwheel” is actually a “wagon wheel”. Now it makes sense. A picture of the first step would be very helpful.
This post is many many years old. Sorry about that.