Y’all are going to love making Thanksgiving mason jars. This is the perfect craft for your Thanksgiving decor this fall. Plus these mason jar Thanksgiving centerpieces are so easy to make! Grab your mason jars and get started on this gorgeous craft idea today.
This was first published October 14, 2015, however, I am republishing with more information.
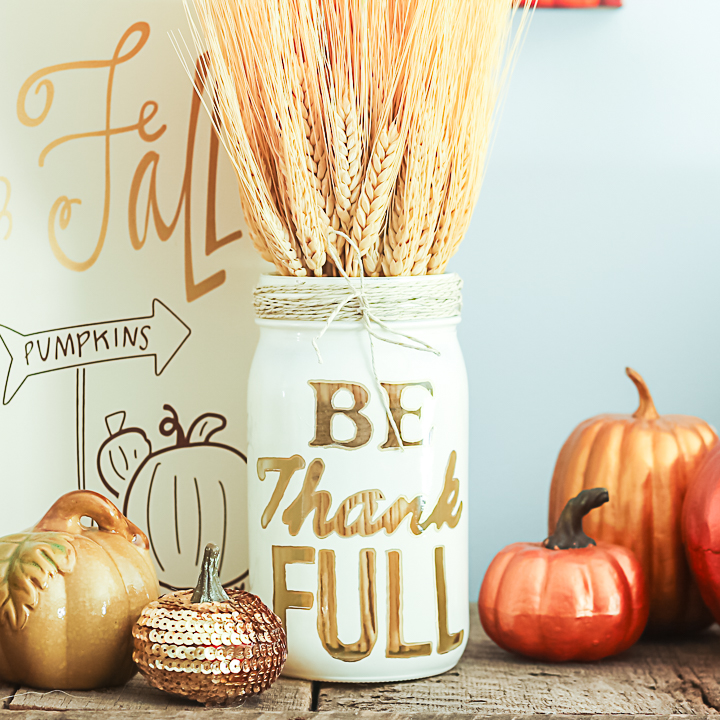
I actually created a super short 6 second video to show you the process below. I have written instructions below the video in case you can’t follow along. But I am telling y’all this is one easy mason jar craft!
Thanksgiving Mason Jars
I started out by really wanting to put a quote on a mason jar. It took me a few tries to get this one just right but y’all can benefit from a project that works great the first time and in just a few minutes!
For these jars, you can either purchase premade stencils or cut vinyl with your Cricut machine.
Supplies to make mason jar Thanksgiving centerpieces:
- Wide mouth quart mason jar (this is the version I used and it is plain on the back with no embossing)
- White spray paint
- Elmer’s Painters Paint Marker in Gold (fine tip)
- Metallic gold cord
- Premade stencils or a Cricut machine and vinyl
Step 1: Make or Buy Stencil
You can purchase premade stencils as are shown in the video above, however, the ones that I used are no longer made.
An easier option would be to add text to Cricut Design Space and cut the words and letters from any color of vinyl. Then you can customize the saying to be whatever you want!
You can see more about cutting vinyl with your Cricut here.
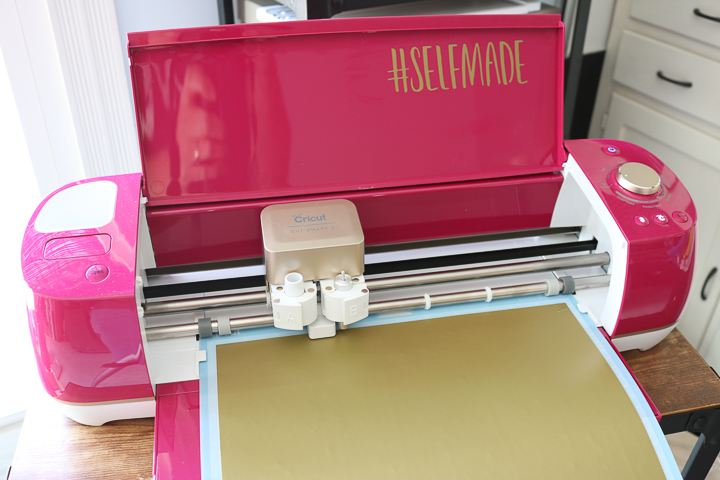
Step 2: Clean and Apply Stencil
Be sure to wash the mason jar well before beginning. I actually recommend wiping down with rubbing alcohol.
Apply the stencils or vinyl to your jar to spell out the desired quote.
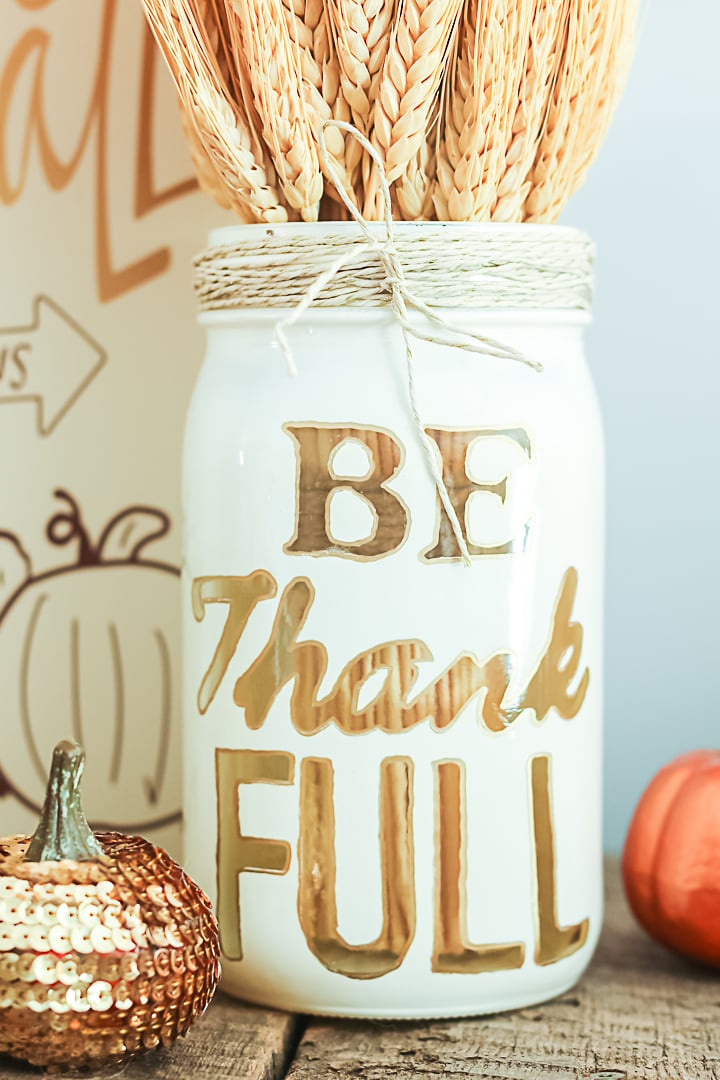
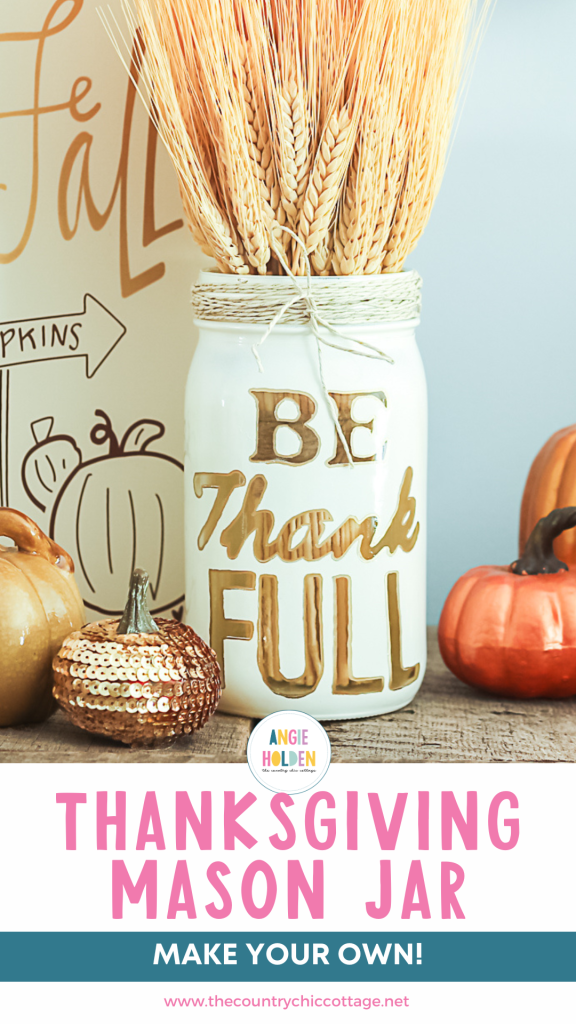
I used “be thank FULL” on my jar. Apply to the side of the jar that has no embossing.
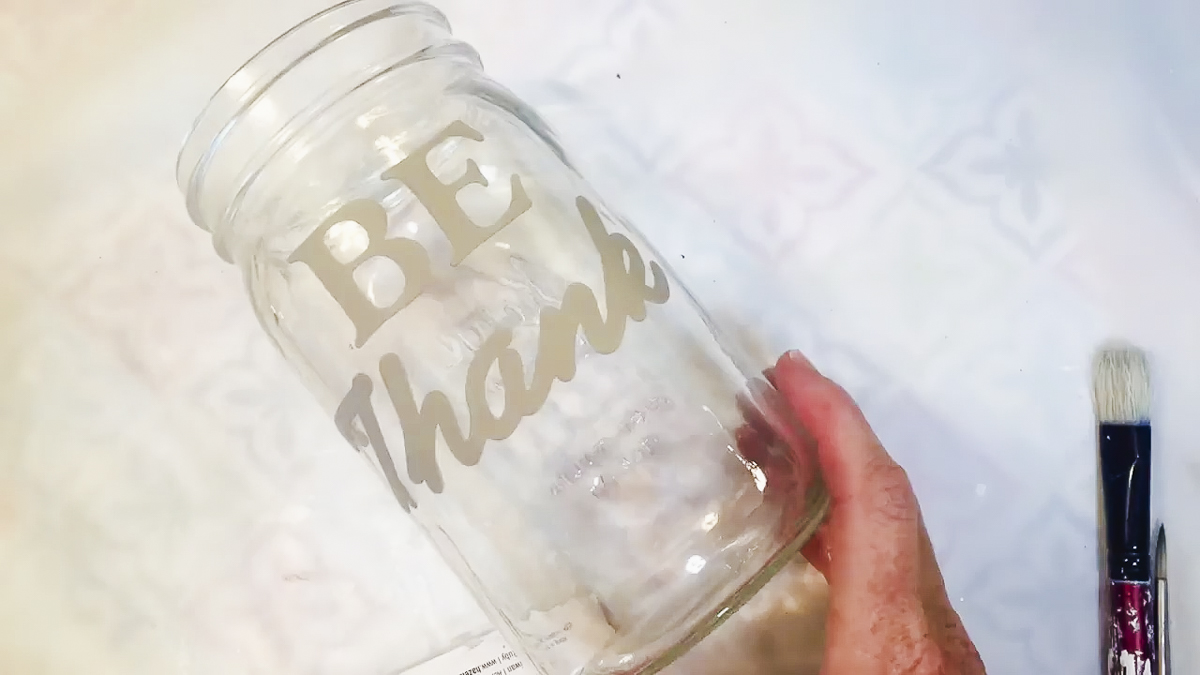
Step 3: Paint Jar
Press down on stencils to make sure they have adhered well. You will want to make sure they are down flat and adhered well to the jar.
TIP: You can heat the vinyl with a hair dryer to get it to lay down flatter around the curves.
Spray entire jar with white spray paint until completely covered. Several light coats may be better than one heavy coat.
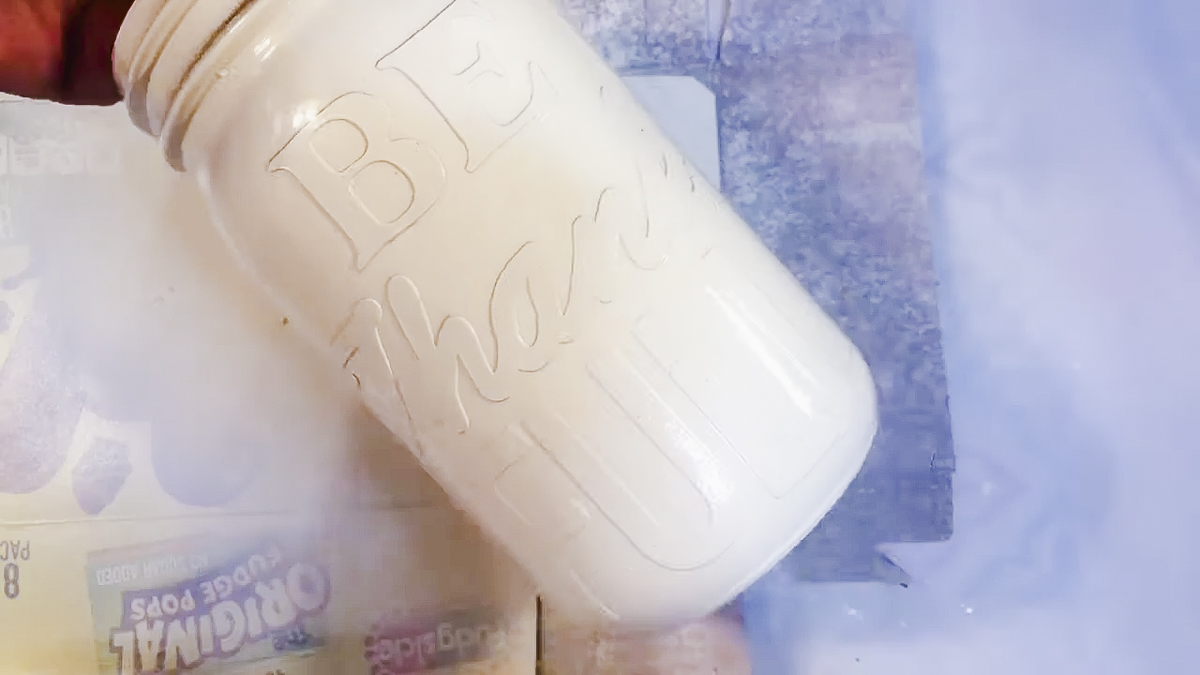
Step 4: Remove Stencils and Trace Letters
Allow to dry and remove the peel and stick stencils. Remove carefully and use a craft knife to cut if the paint is lifting.
NOTE: This does NOT have to be perfect as we are going to trace around the edges!
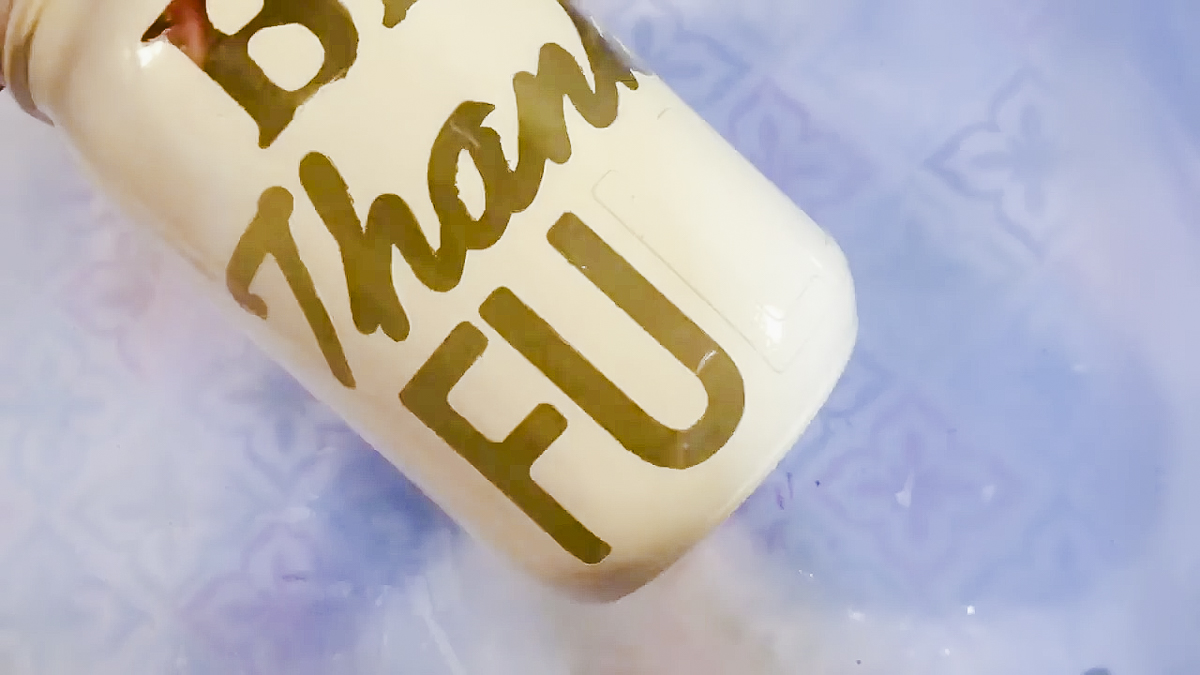
Trace each letter with the Elmer’s Painters Paint Marker in Gold. This is why the fine tip version is important. Allow to dry.
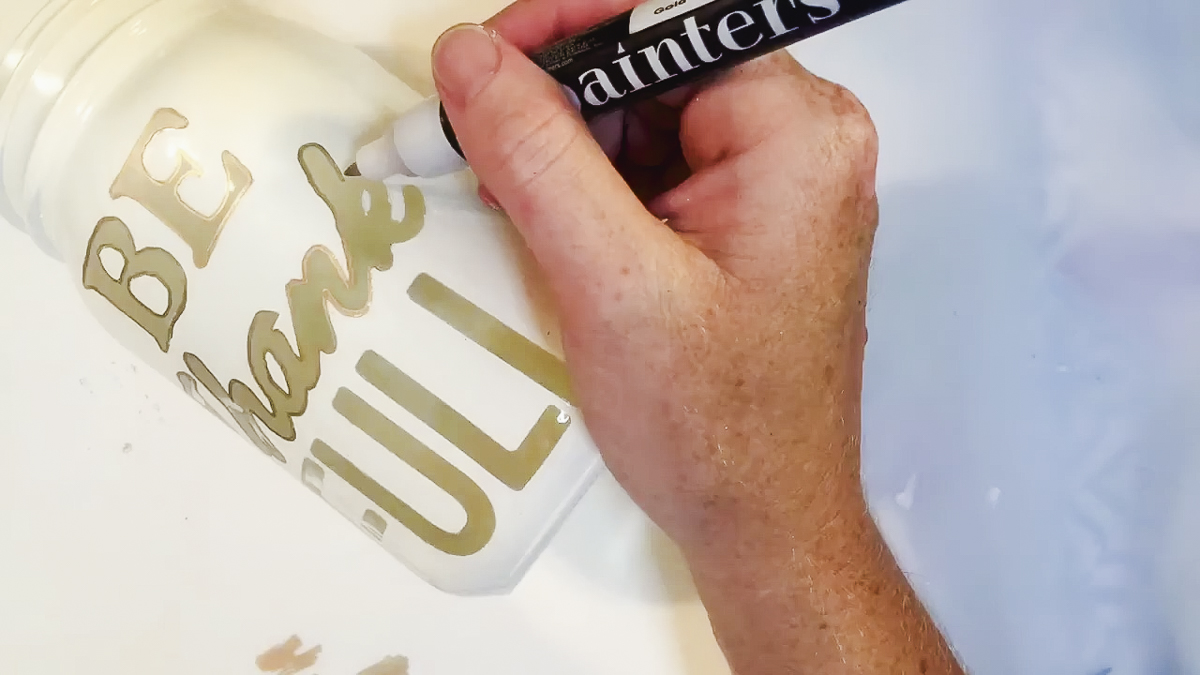
Step 5: Finish Jar
Wrap the top of the jar with the hemp cording and tie.
I love that you can see through the letters into the jar! This Thanksgiving mason jar craft is perfect for your home. Use this same technique with other quotes to make quote mason jars for every season.
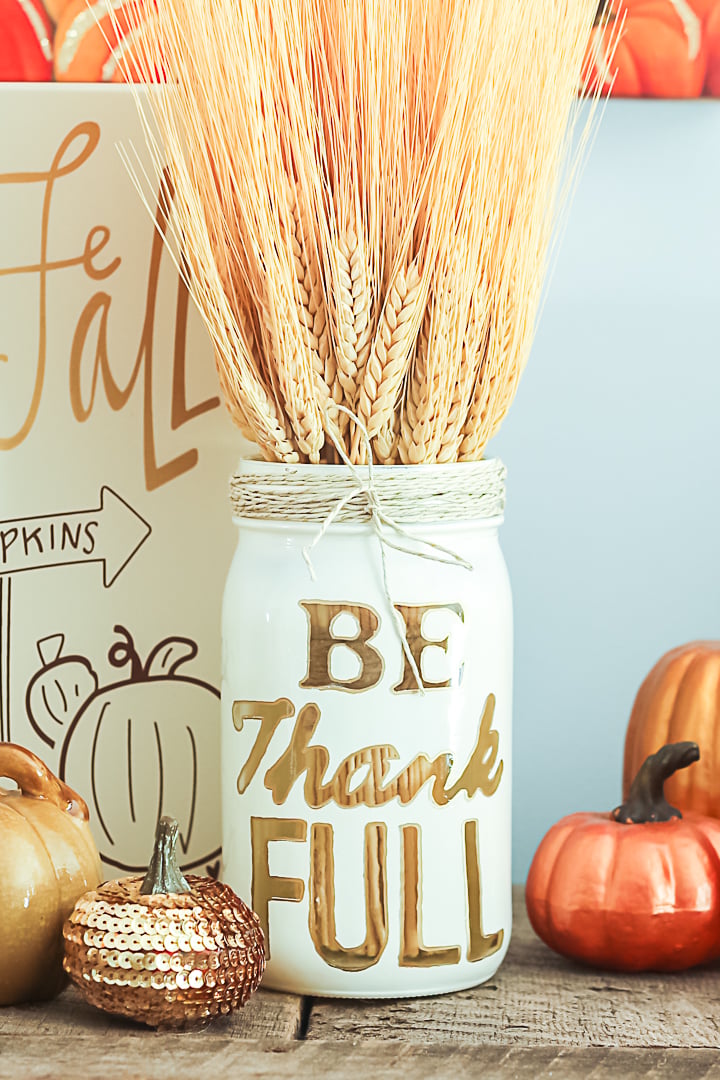
If you love the other items in the picture below, be sure to check out my sequin pumpkins, metallic pumpkins, and the rest of my fall mantel.
Make your own version of these Thanksgiving mason jars for your home using this technique. You will love how they look on a mantel or as a centerpiece for your Thanksgiving table.
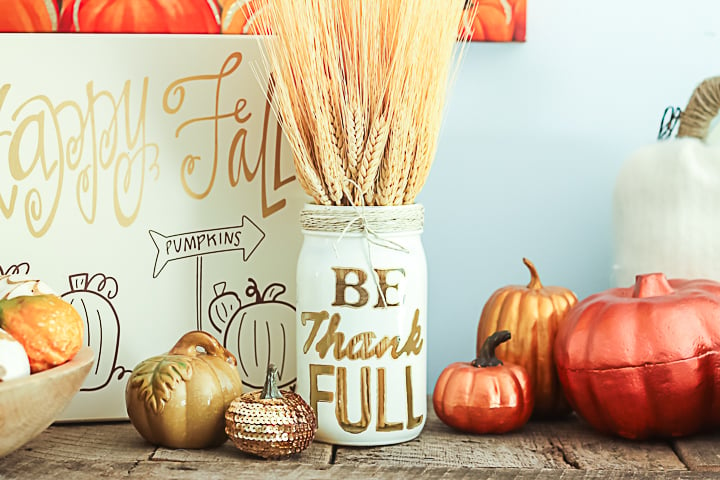
Will you make these mason jar Thanksgiving centerpieces? They are so easy to make and will look great in your home. So, get the supplies to make your own thankful mason jars.
Love these Thanksgiving mason jar ideas and want more? Try the links below as well!


This is so cute! I’m pinning so I can make it! Thanks for sharing!
Jill
Doused In Pink
This would be so cute on a mantle. Thanks so much for inspiring!
I LOVE your pretty fall mantel-and the Thanksgiving mason jar is the perfect centerpiece! Thank you for sharing at The Wonderful Wednesday Blog Hop! PINNING!
I love it! I also love that you can see through the letter to the stalks of wheat. Such a cool effect!
This is such an amazing idea! Thanks for sharing it. I’m Anita visiting from Creativity Unleashed.
I love this! Pinned and shared with my Facebook readers!
Found you on Foodie Friday blog hop!
Wow! This is really adorable. I’ve never seen something like this done before. a great touch for a center piece this fall!
Stephanie @ http://www.Mommyzoid.ca
PS: you should come share this at the Ladies Collective Linkup on Mommyzoid!
Hi! I just wanted to let you know that I love you post and I chose it to be featured on my blog, Classy & Crafty. (www.classyandcrafty.com) Thanks for submitting your link to our party!! 🙂
Beautiful! Pinning for later. Visiting from Dare To Share.
So cute! Pinned and tweeted. Thank you for being a part of our party! I hope to see you on Monday at 7 pm. We love partying with you! Lou Lou Girls
Hi Pretty Lady. What a cute ideas for Thanksgiving!!Thank you for sharing your wonderful creativity with us at Friday Favorites! I hope you will join us again next week! Christine at Must Love Home
I adore your fall Mason jar! Love it!
Super cute craft—very festive! I wanted to let you know that I’m featuring this post tonight at the Create & Share Link Party (7:00 PM MST)! Congratulations!!! Can’t wait to see what you share with us this week. 🙂
Saw your project on the Simple Pantry link up and love it. I am going to order these stencils asap.
Wow that is a super cute idea, and really easy. Really nice job on this project, thanks for sharing, pinned!
This is so pretty! I have never used paint markers before, but I love the look on your mason jar!
These mason jars are so versatile and modern, I would totally use them during the holidays! Great idea!
Did you spell thankful like that on purpose?
I did.