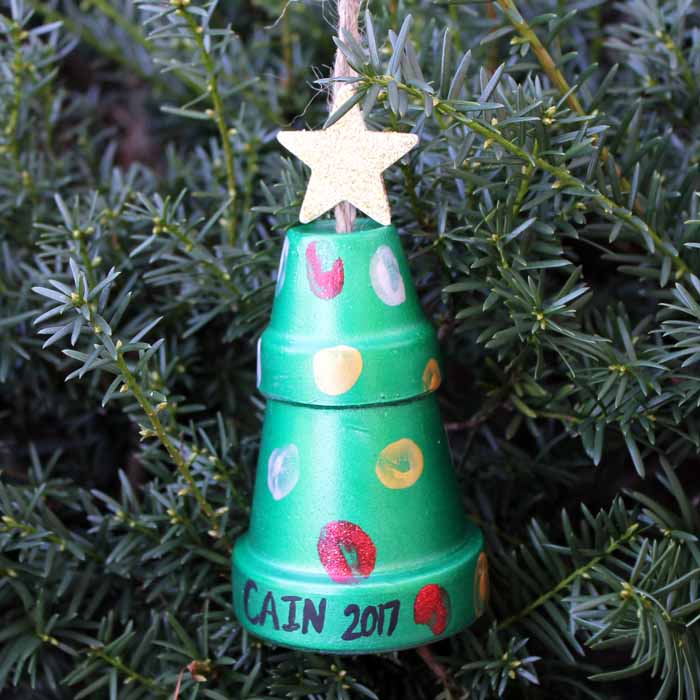
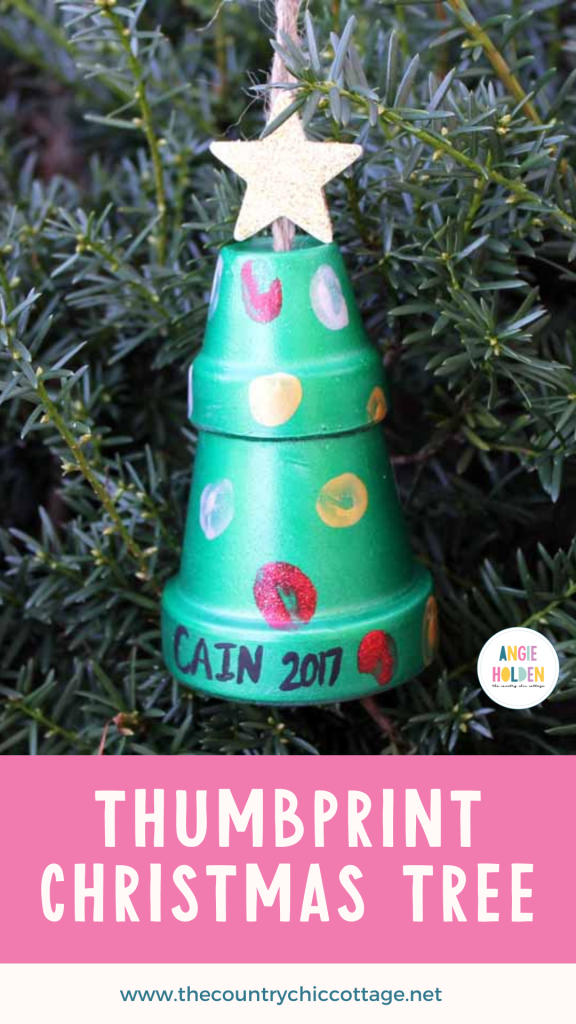
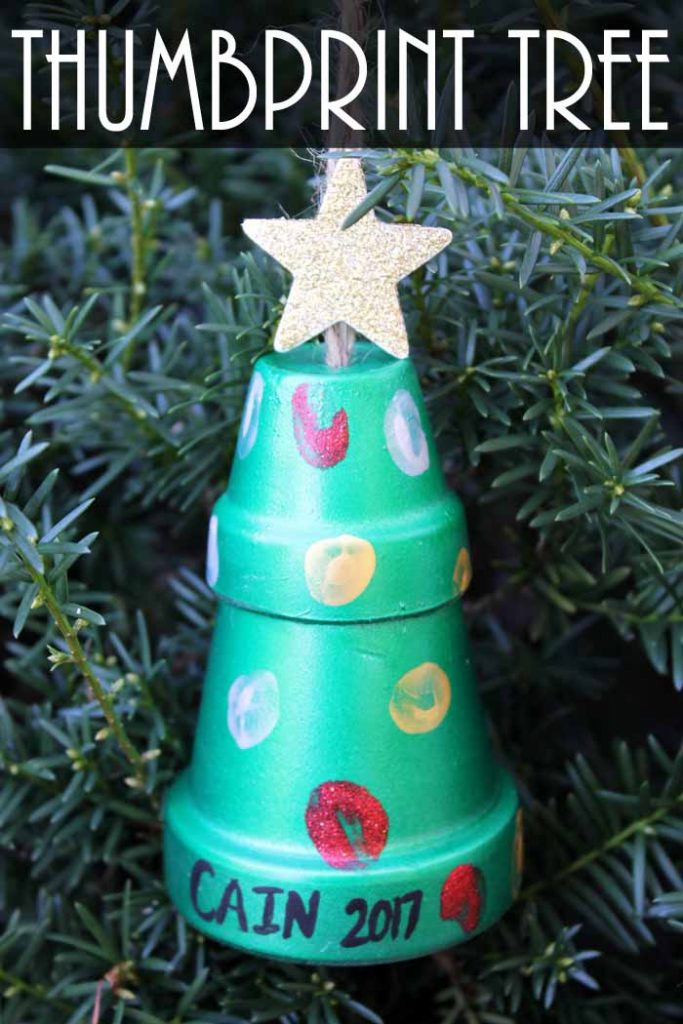
Today, I am excited to share how to create a cute thumbprint Christmas tree! This craft is a great way to involve kids of all ages. Year after year, you’ll cherish the memories as you unpack your handmade ornaments from storage.
Thumbprint Christmas Tree Video
I thought doing a quick video on how this one is made would be fun. You can watch it below.
Can’t watch the video or missed some of the steps? Follow along with our instructions below!
How To Make a Thumbprint Christmas Tree
This post is part of Craft Lightning, where we share crafts that take 15 minutes or less every week. You can catch up on the fun on day 1 and day 2 of our series. You will also want to scroll to the bottom of this post to see our ideas from today. Testors sponsor this post; however, all projects and opinions are my own.
I love ornaments with meaning and memories, so this is the perfect craft to kick off the holidays. The kids will love painting these with their hands!
If you love terra cotta pots as much as I do, try our other clay pot projects for Christmas! Make a terra cotta Santa decoration, Christmas bell ornaments from clay pots, or a terra cotta gingerbread man as a candy dish!
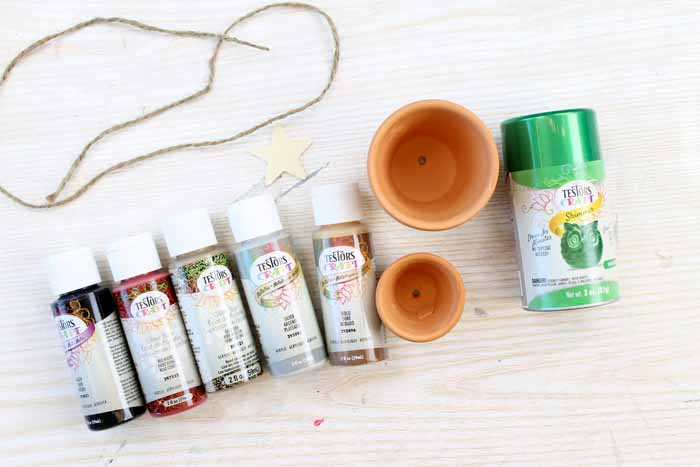
Supplies Needed To Make Thumbprint Christmas Tree
- Two small clay pots that fit into one another
- Testors Craft Paint in silver metallic, gold metallic, black matte, red glitter burst, and gold glitter burst
- Testors Craft Aerosols in green shimmer
- Twine
- Wood Star
- Paintbrush
- Hot glue and glue gun
- Super glue (optional – see below)
Step 1: Spray Paint Clay Pots
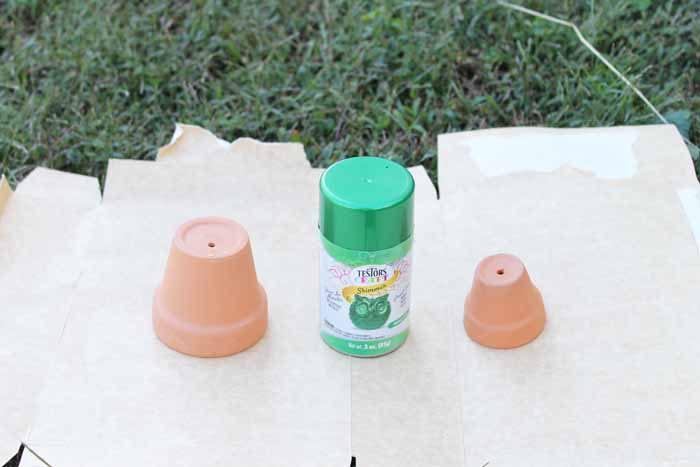
Use the green shimmer aerosol to paint both of the clay pots. Paint them completely and allow them to dry before continuing. In the meantime, paint your wood star with the gold glitter burst paint. I used two coats of this paint to get a glittery star.
Step 2: Add Thumbprints To Clay Pots
Once dry, you can now start adding your thumbprints to your tree.
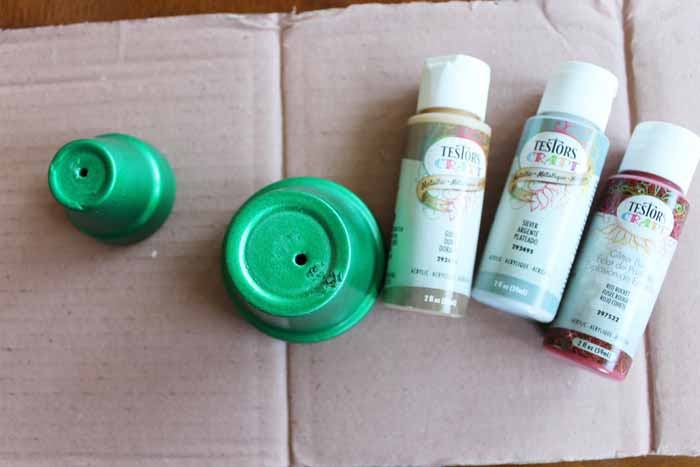
Make the thumbprint art by dipping your little one’s thumb in various paint colors and adding the prints as “ornaments” to your tree. We used silver metallic, gold metallic, and red glitter burst. Allow your thumbprints to dry completely before continuing.
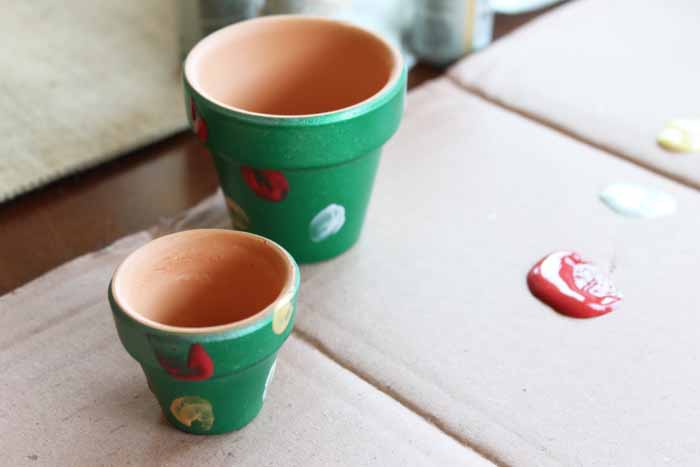
Step 3: String Clay Pots Together
Once everything is dry, you will want to string your pots together with twine. Knot the twine under each pot to help them stay in place. Use hot glue to add your star to the very top.
NOTE: Clay pots vary in quality, and you may have difficulty fitting them together. If needed, use super glue between the two pots so they hang correctly.
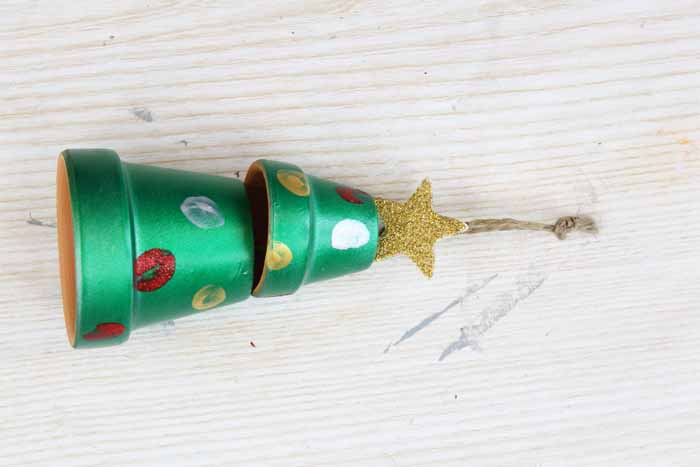
Step 4: Add The Child’s Name To The Bottom Of The Clay Pot
Finally, use black paint and a fine brush to add the name and year to the bottom of your tree.
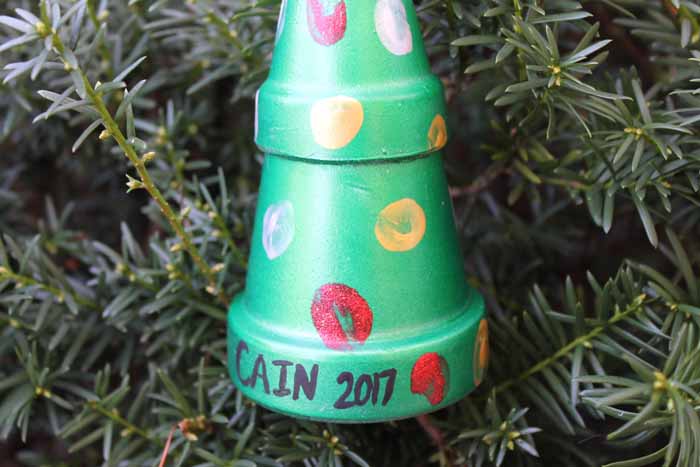
This thumbprint art is complete and ready to hang on your tree! The combination of the green shimmer paint on the tree with the metallic and glitter paints really makes this one stand out.
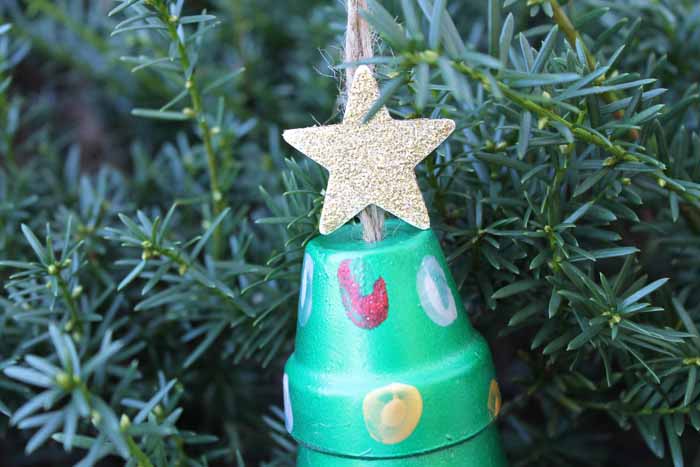
Kids of all ages will love adding their thumbprints to the clay pots to make a one-of-a-kind ornament that is all their own.
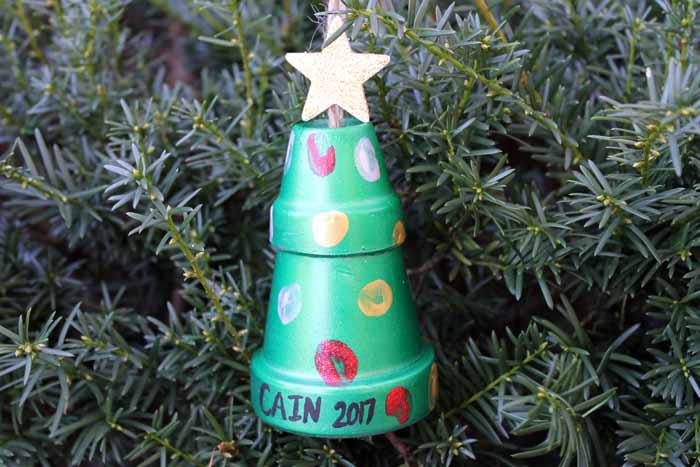
Be sure to pick up the supplies to make your own thumbprint art for your tree or to give as a gift. Grandparents and family members love these sentimental gifts!

Make this thumbprint art for your tree, or try any one of the other quick and easy holiday crafts from today. Stay tuned as there is more to come this week!
Tips and Tricks for Thumbprint Christmas Tree
Now that you’ve seen this fun thumbprint Christmas tree, are you ready to make your own? Here are a few tips and tricks to ensure your project goes as smoothly as possible!
- Cover Your Work Surface—Since you will be working with little ones, you may want to protect your work surface from paint spills and unwanted thumbprints. To cover your work surface, you could use paper, a mat, or even a Dollar Tree tablecloth that you can throw away later.
- Add Embellishments – If you want to dress up your ornament even more, you can add a few extra embellishments! For example, you could glue on pom poms or buttons.
- Use Twine – I highly recommend that you use twine for this project and not substitute it for a thinner cord or ribbon! This is because it’s easy to work with and can easily be fed through each clay pot.
- Skip The Black Paint – If you don’t want to hand-paint the name and year onto your ornament, you don’t have to! Instead, you could use a paint pen to write the information or use a Cricut to cut out the information in vinyl.
9 Holiday Crafts
Did you love this thumbprint Christmas tree and want more holiday crafts? Then check out the projects below!
Start by adding some heat transfer vinyl to a gift tag like this one from Pineapple Paper Company.

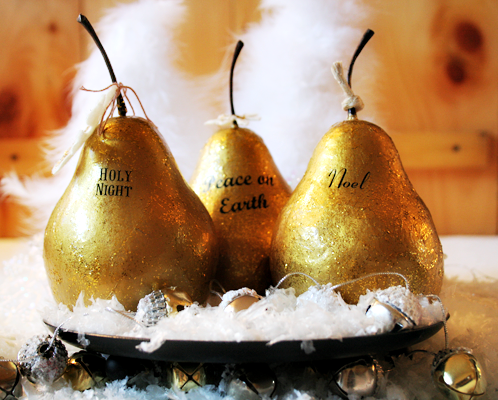
Gilded pears like these from Cupcakes and Crinoline make a gorgeous display for the holidays.
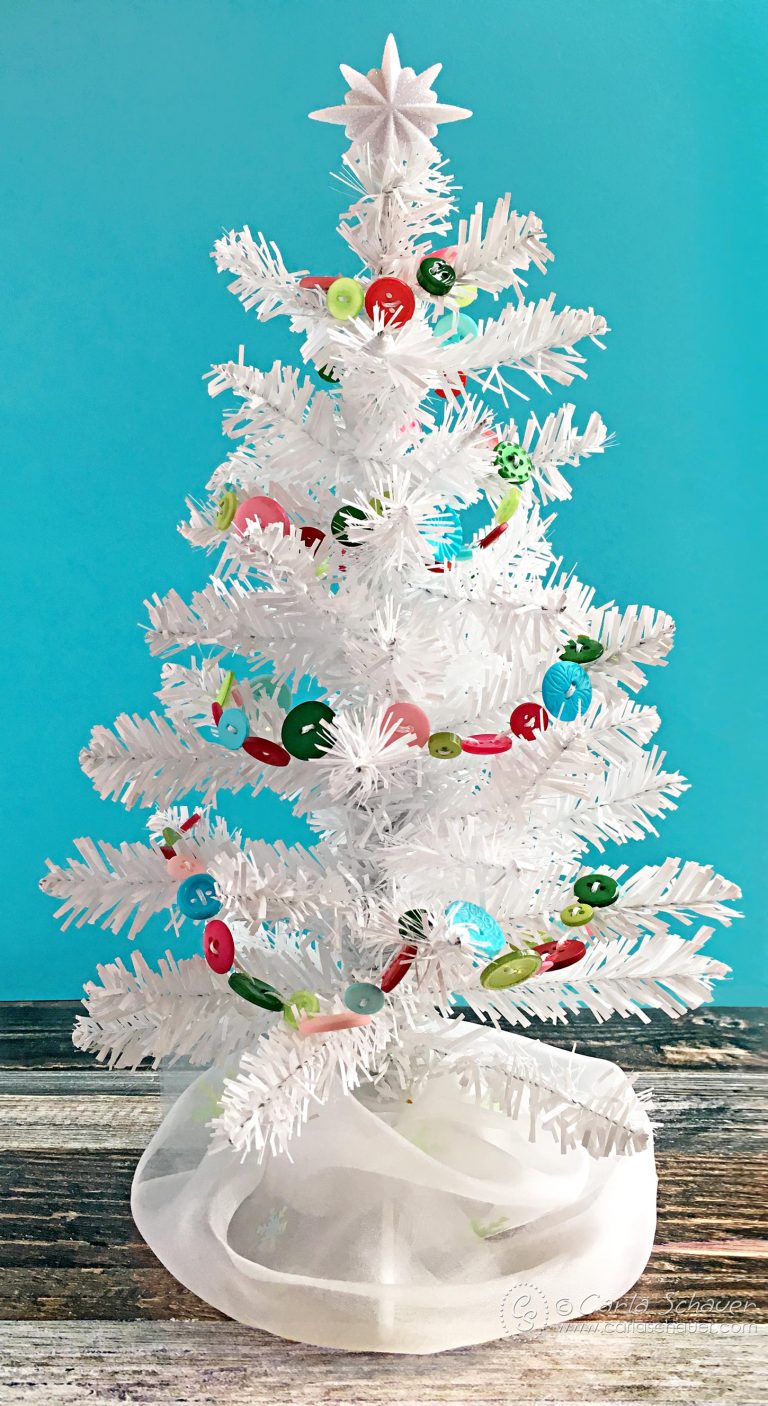
I love buttons! If you do as well, you might try this button garland from Carla Schauer.
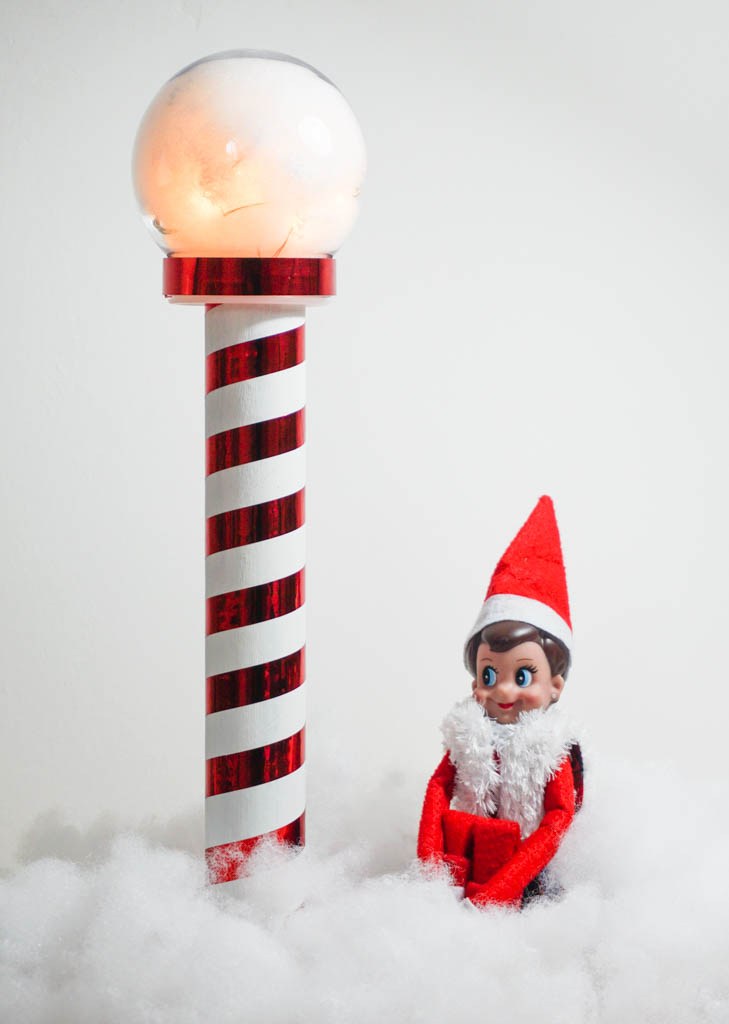
Make a north pole decoration for your holiday with these instructions from Albion Gould.
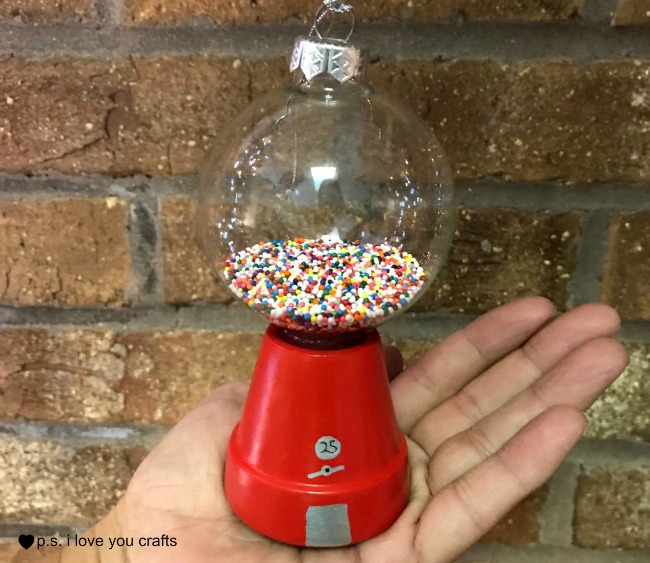
Need more ornament ideas? Try this adorable gumball machine from PS I Love You Crafts.
Did you know that you can add heat-transfer vinyl to wood? Oh yes, you can! See how with this rustic sign tutorial from Everyday Party Magazine.
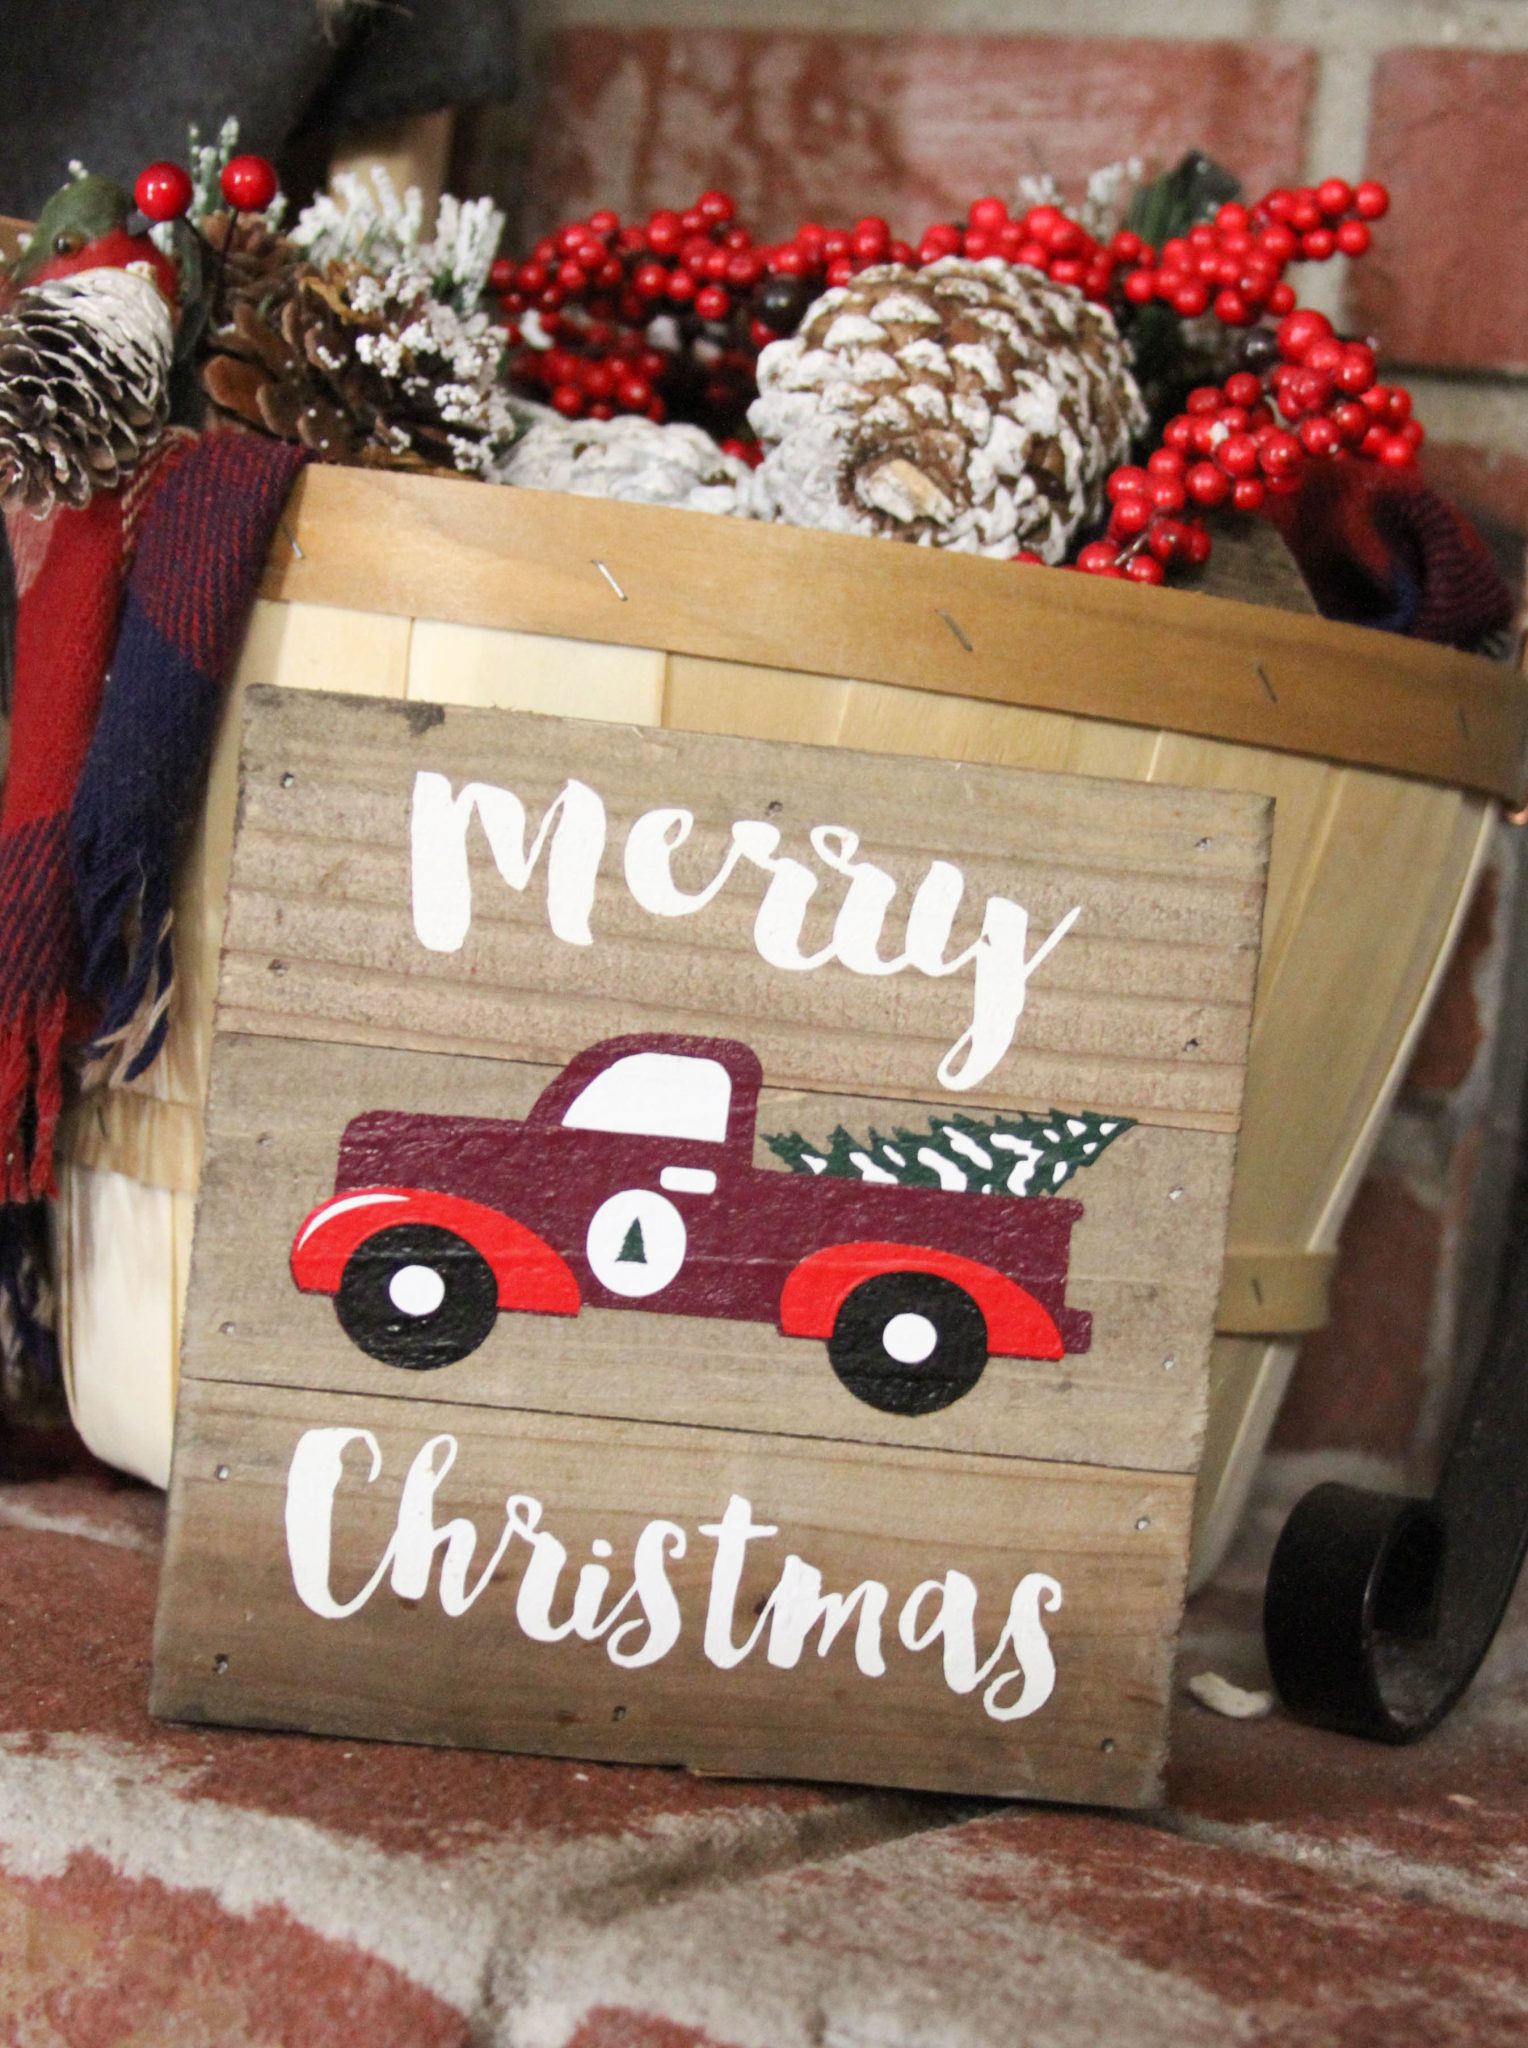
Turn scrap wood into a cute Christmas sign with this tutorial from Our Crafty Mom.

Our guest co-hostess is Mad in Crafts, and she is sharing some great wire squiggle ornaments that will look great on your tree.

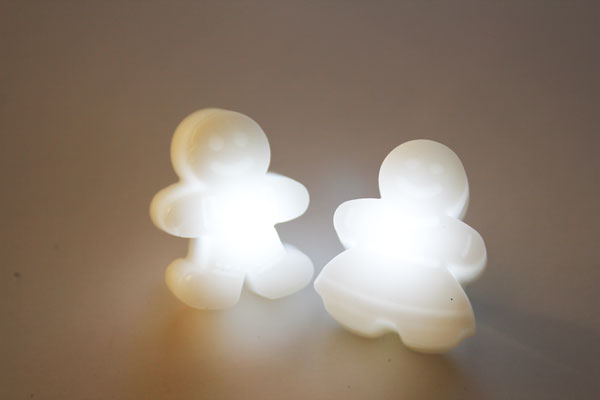
My long-time co-host, 30 Minute Crafts, is sharing how to make these DIY caroling lights. You won’t believe how easy it is to make these!
5 More Ornament Crafts
Finally, if you want to make more ornaments to accompany your thumbprint Christmas tree, check out my other ornament projects below!
- DIY Christmas Llama Ornament
- Baby Handprint Ornament (An Easy Christmas Craft)
- Cinnamon Applesauce Ornaments Recipe
- DIY Wooden Ornaments: Santa Wood Slice Ornaments
- Christmas Tree Wine Cork Ornaments Kids Craft



What a sweet memory!
I love this! And such a clever use of the clay pots!
What a cute idea. Perfect for my girls. Would love for you to stop by and link this up to More The Merrier Monday.
Jamie
http://diyhsh.com/