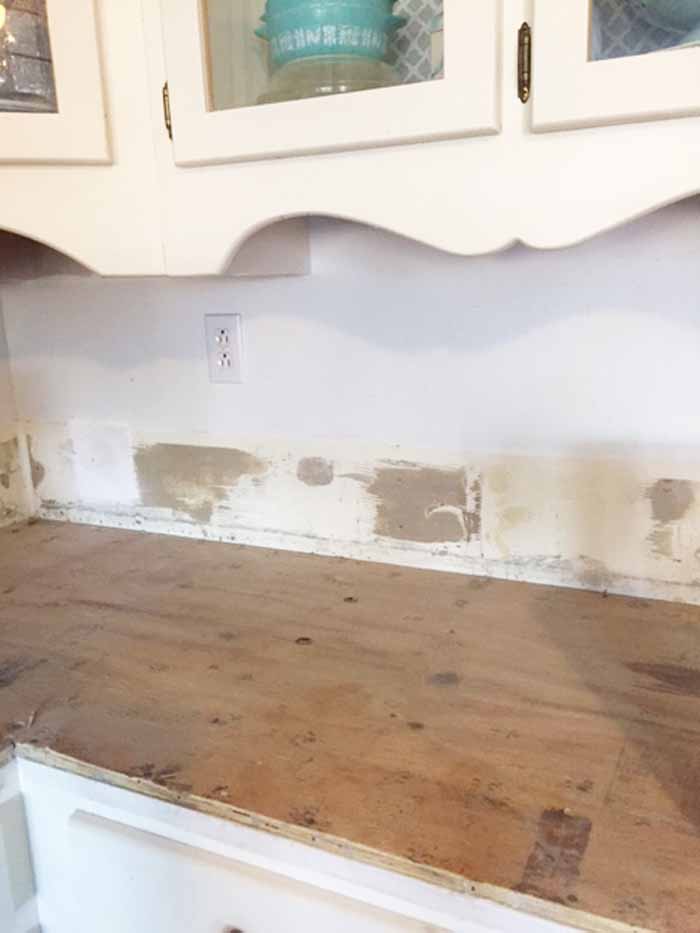
We started our kitchen remodel recently with a little tile removal. This was a topic where I could find little to no information. You see we had thick set tile counter tops. Not thin set on top of plywood with some tile. Oh no. We are talking thick set mortar over an inch thick. We finally came up with a good procedure for removal and I thought I would share it here. If you are fighting this same battle, I hope this helps a bit!
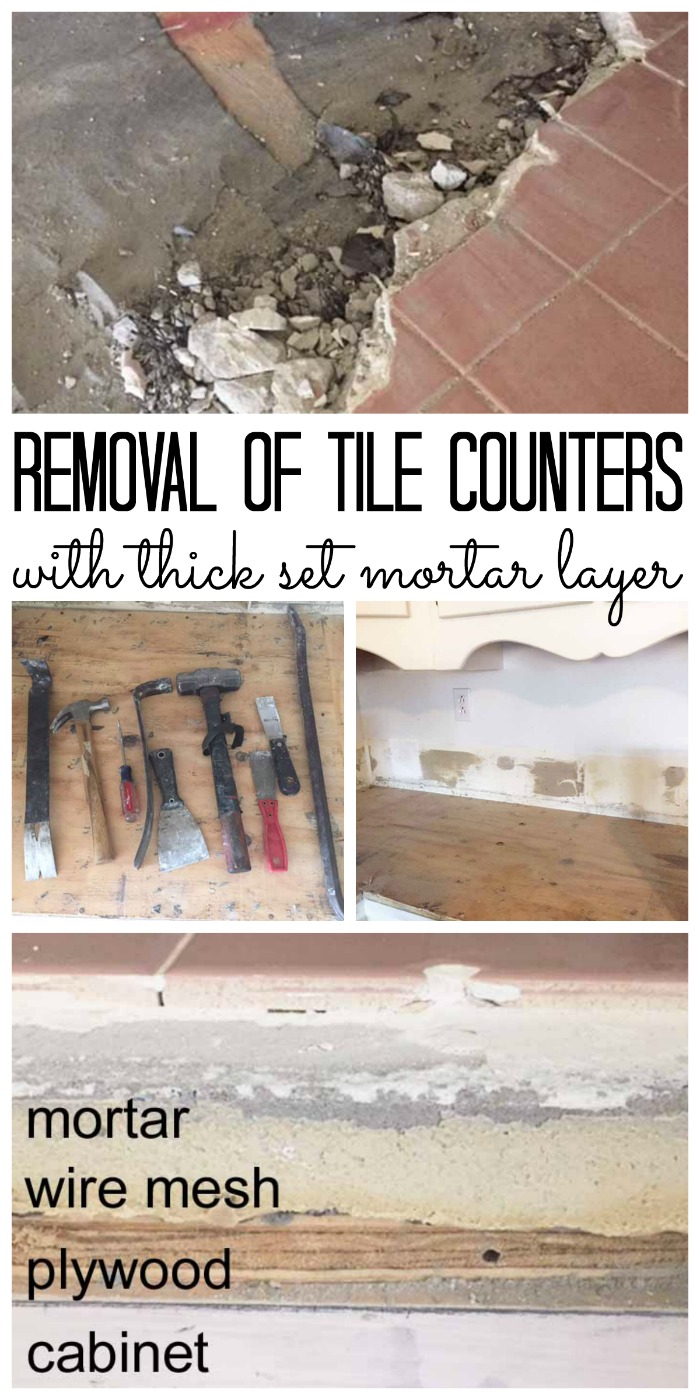
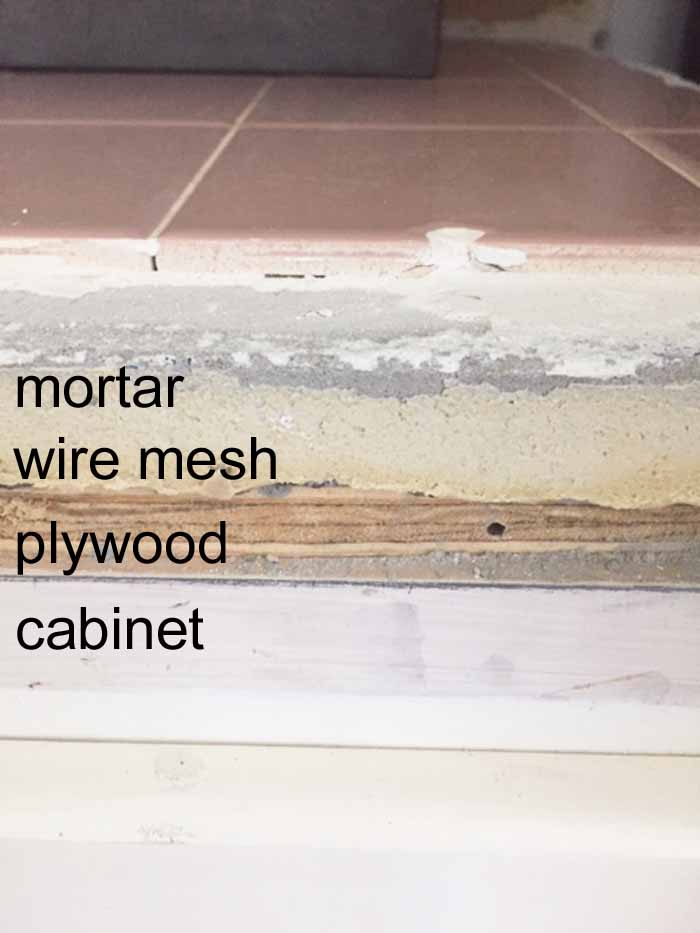
I started by removing the edging and knew right away that this was way more work then those quick videos online made it sound. I found the image below. The layers will be as follows:
- Tile
- Adhesive
- Thick set mortar
- Wire mesh
- Paper layer
- Plywood
- Cabinet top
So yes all of that has to come off to install granite (which we did). Whew. Where to start??
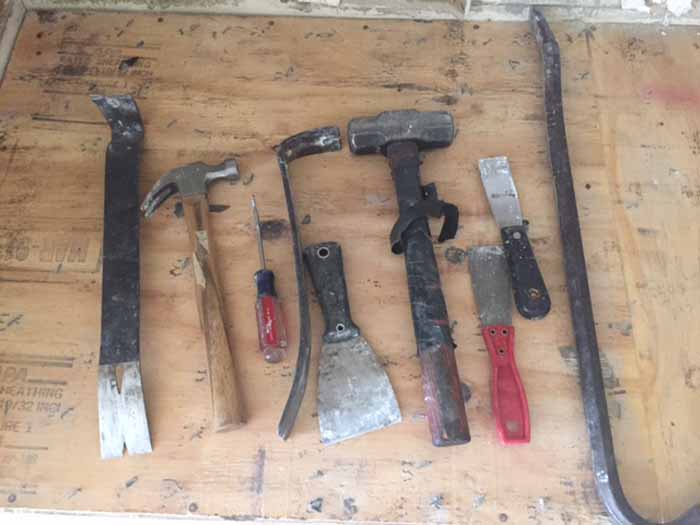
Useful tools for tile removal:
First I thought I would detail which tools we found useful.
- Hammers (both large and small)
- Flat screwdriver
- Putty knives
- Utility pry bar (two of these)
- Crow bar
- Punch
- Safety glasses and gloves (VERY IMPORTANT!)
 Instructions:
- Start by protecting your floor as there will be tile and mortar flying everywhere.
- Protect yourself as well by wearing safety glasses and good gloves. This stuff is sharp!
- Start by removing any tiles around the edges. We found putty knives, a flat screwdriver, and even the claw end of the hammer worked well here.
- You will want to remove this in sections as it is heavy. Go about three foot and use your punch and hammer to create a crack in the grout lines.
- Once the edge is exposed, use your hammer to drive in two of the utility pry bars about a foot apart.
- Then work the crow bar in between these two and push it even further with the hammer. Your section should start to lift up. Lift with your crow bar and break off in large sections.
- We also found putting the debris in cardboard boxes worked well.
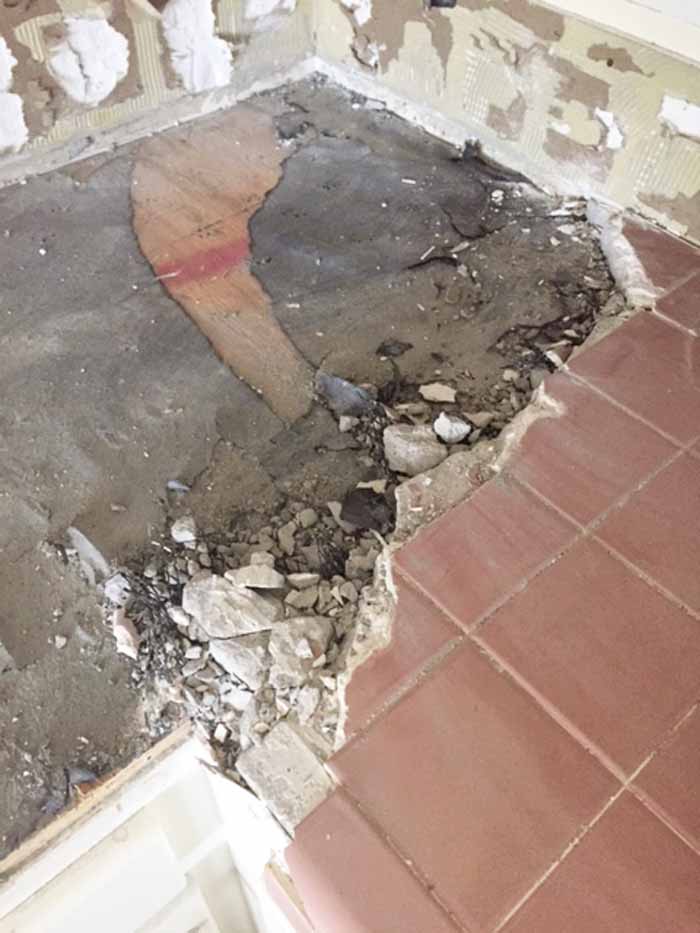
You will have to remove the paper and possible some wire mesh. This gets you down to the plywood layer. We used these as counters as we worked on demo over a series of days. The plywood in our case was held with several nails as well as glue. We had to carefully lift it to avoid damage to the cabinets.
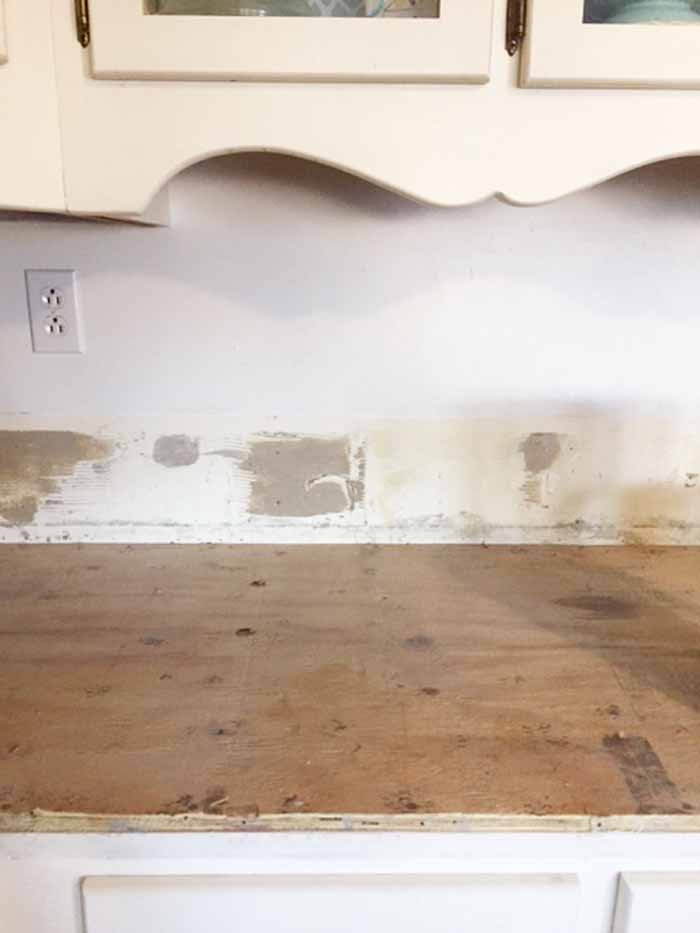
Back splash removal
Just in case you are curious, we also had a tile back splash running up a few inches. Under those tiles there was a piece of drywall that was glued to our walls. That is the mess you can see on the walls in several of the images. This was actually way more difficult to remove than the actual counters. Tips on this just in case you run into something similar:
- Remove the tile with the claw end of the hammer, a utility bar, or putty knives.
- Then carefully use a putty knife to remove as much drywall as possible.
- Wet any that is left with a spray bottle.
- Then use your putty knife to remove the wet dry wall remnants.
This is a very slow process! But eventually we got it all off.
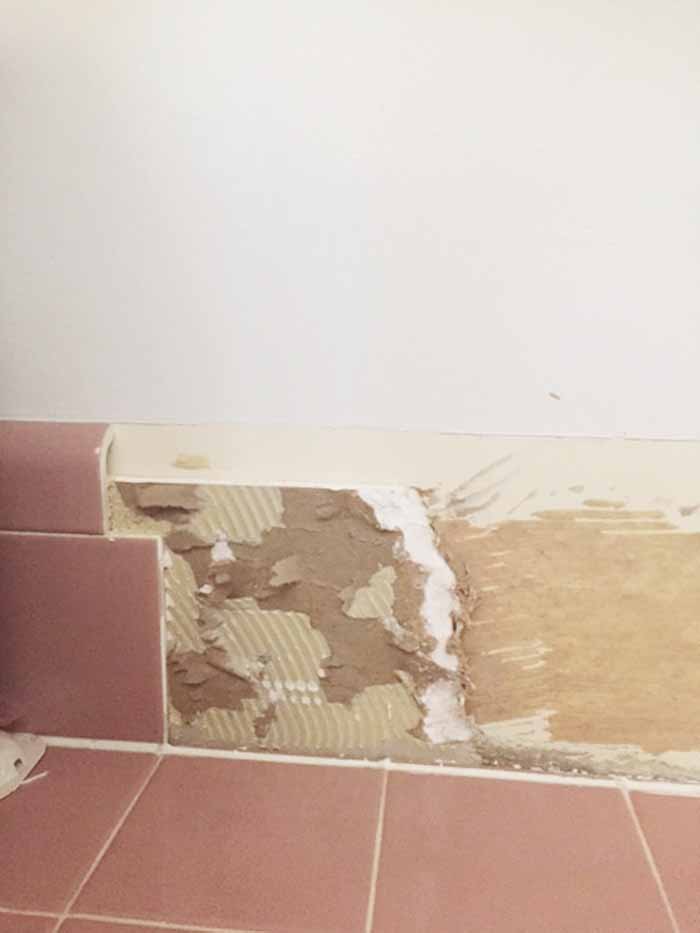
So over the course of several weeks, we had tile debris and dry wall dust pretty much everywhere. That portion is complete and the new counters are now in! You will have to wait to see the final reveal. It will be a few more weeks as there are many more projects in the works. I can’t wait to show you, however, so y’all stay tuned! Tile removal was just the first step of many! I do hope this helps anyone dealing with thick set mortar like we did.
