Hosting a gathering? Make this easy and cute DIY cake pop holder to hold the cake pops for your guests! This post is sponsored by Hostess.
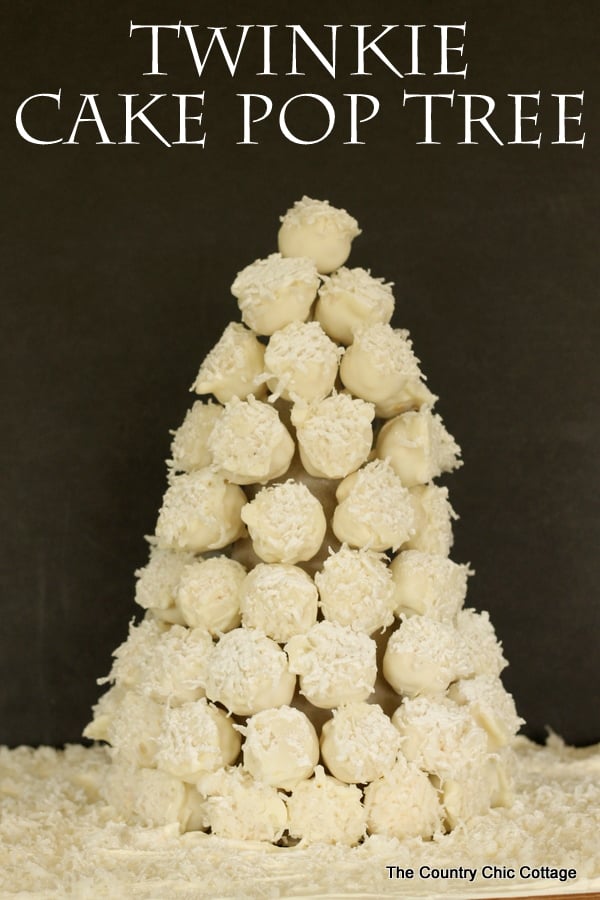
Cake pops are all the rage right now, and for good reason. They’re delicious, satisfying, and come in small quantities.
Oh yeah…and they’re cute!
I have an amazing post for you today and it starts with Twinkies. Yep. Doesn’t get much better right? Except it does…these Twinkies are transformed into cake pops!
You can make this easy peasy Twinkie cake pop holder tree this holiday season as a beautiful – and edible – centerpiece.
Now, let’s dive in and find out how to make cake pops from Twinkies!
Making Twinkie Cake Pops
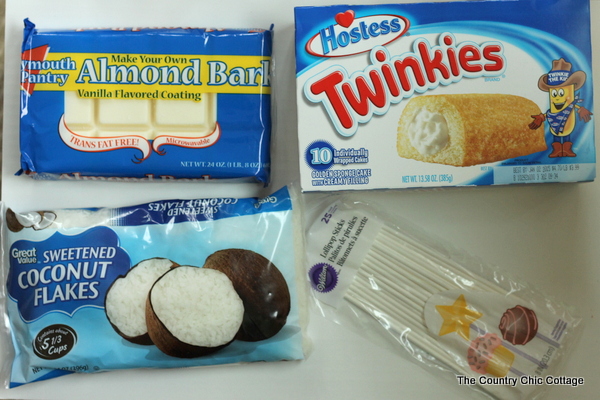
To make the cake pops themselves, I headed to Walmart to pick up the simple ingredient list.
Ingredients Needed To Make Cake Pops
- Twinkies
- Vanilla flavored almond bark
- Sweetened coconut flakes
- Lollipop sticks
To give you an idea of the ratio for your ingredients, here’s what you need for a LARGE cake pop stand:
- 4 boxes of Twinkies
- 2 packages of almond bark
- 1 package of coconut
- 2 packages of lollipop sticks.
You will need about 75 – 100 of these cake pops to fill a large tree. I know that sounds like a lot, but trust me…your family will devour them!
Note: The entire tutorial is in the printable craft card at the end of this post.
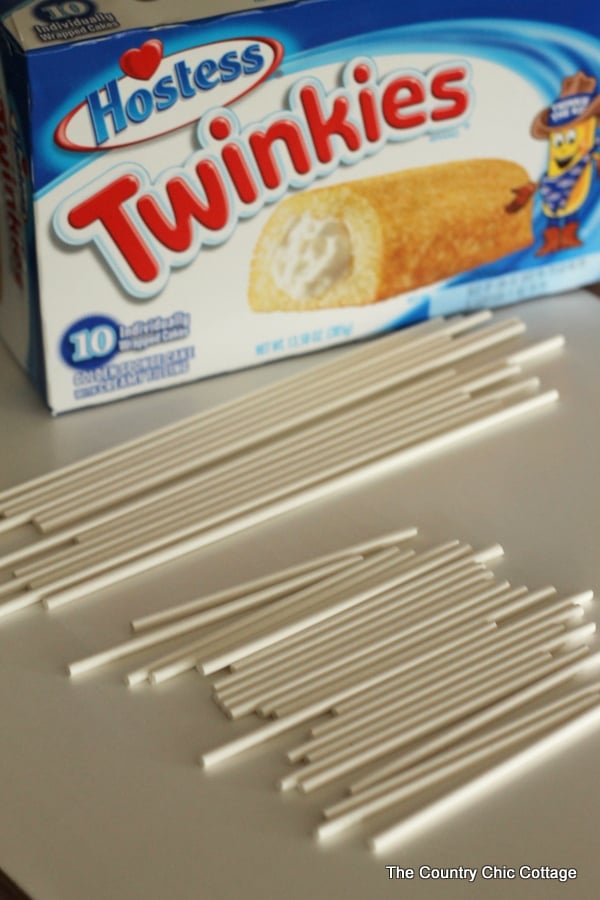
Note: I bought long lollipop sticks because that’s all that was in stock at my store. They only need to be about 1/2 that length, so I just cut mine in half.
If you’re able to buy the smaller version, I highly recommend it.
Now lets make the easiest cake pops EVER!!
How To Make Twinkie Cake Pops
Just follow these easy instructions, and before you know it, you’ll have a batch of delicious cake pops at your fingertips!
Pro Tip: I would do one box of Twinkies at a time because if you do more than that, you’ll need a HUGE bowl.
Step 1
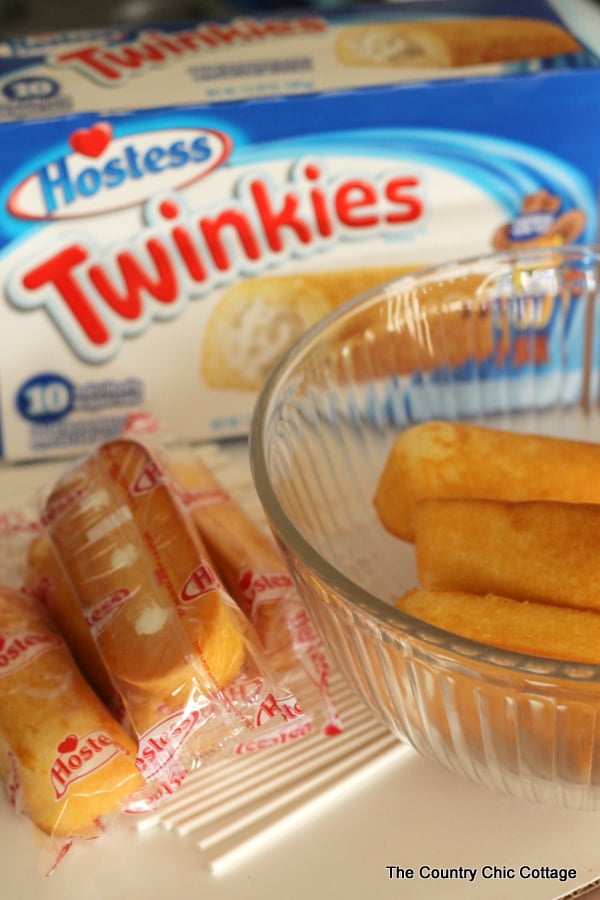
Unwrap every Twinkie in the box and pop it into a bowl.
Step 2
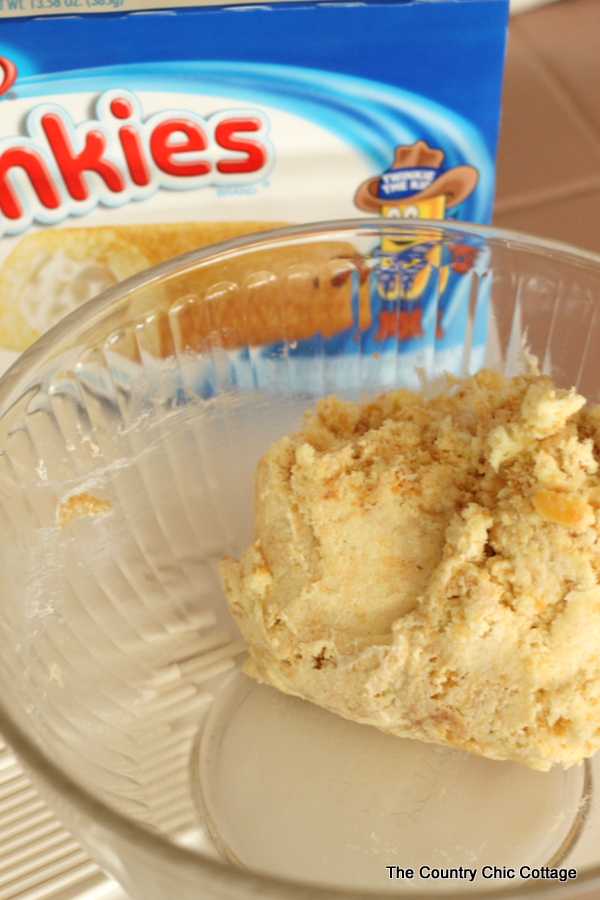
Smash them until the entire thing comes together as a great big ball of delicious cake mix.
Step 3
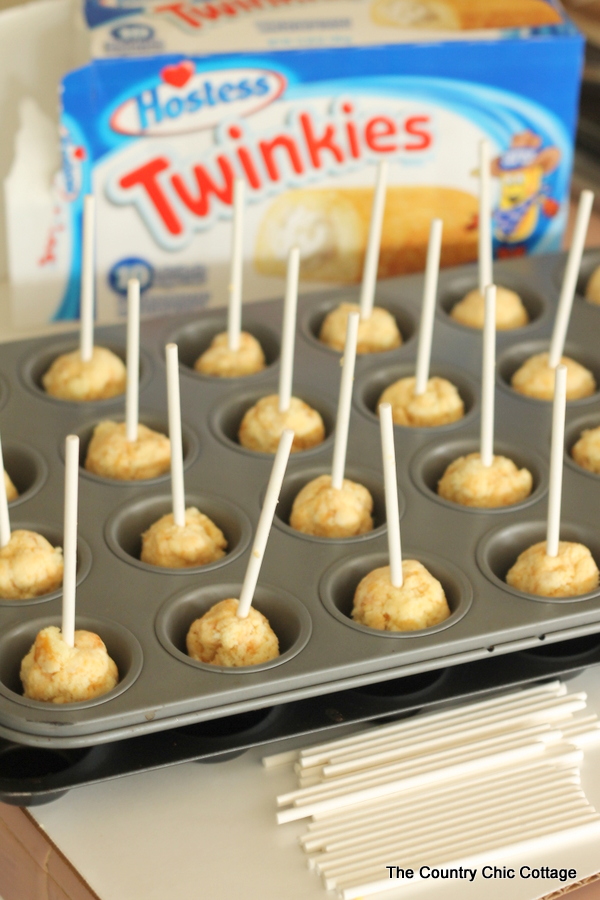
Using clean hands, scoop teaspoon-sized chunks of the mixture, and roll them into balls. Add a lollipop stick to each one.
I added these to a mini muffin tin just for ease. However, you can use a cookie sheet covered in parchment paper. Pop the entire pan into the freezer for about 10 minutes.
NOTE: Every box of Twinkies makes about 24 cake pops.
Step 4
Melt the almond bark in the microwave according to the package directions.
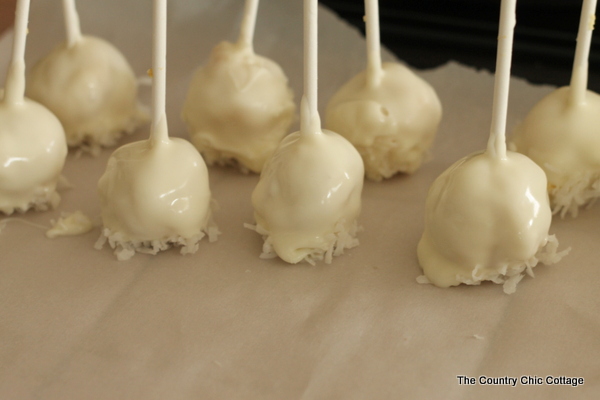
Remove your cake pops from the freezer and start dipping them into your melted almond bark. Cover each one completely – including where the cake pop meets the stick.
This will make sure they stay on when you pull them off of the tree.
Step 5
While the candy coating is still wet, dip just the very top into the coconut flakes.
Then pop them onto parchment paper and allow them to harden completely.
You can go ahead and do the next box of Twinkies while you wait.
Making The DIY Cake Pop Holder
Here are the supplies you’ll need for this project.
Supplies Needed To Make Cake Pop Tree
- Chipboard (could be the flattened Twinkie box), rolled into a cone
- Scotch tape
- Scissors
- Ice pick or scrapbooking tools to punch holes in the stand
How To Make A Diy Cake Pop Stand
You’ll be shocked at how easy this cake pop display is to make! Simply follow these quick instructions.
Step 1
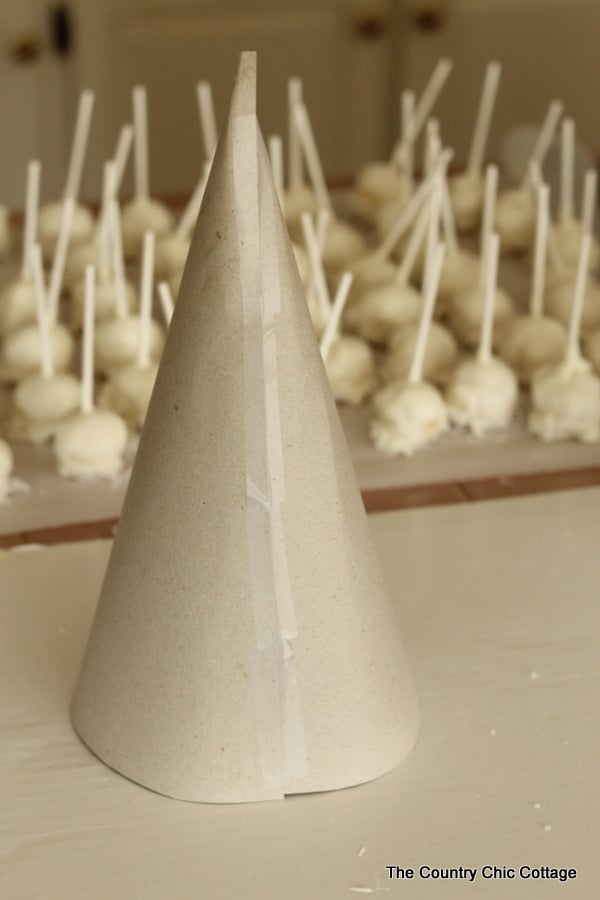
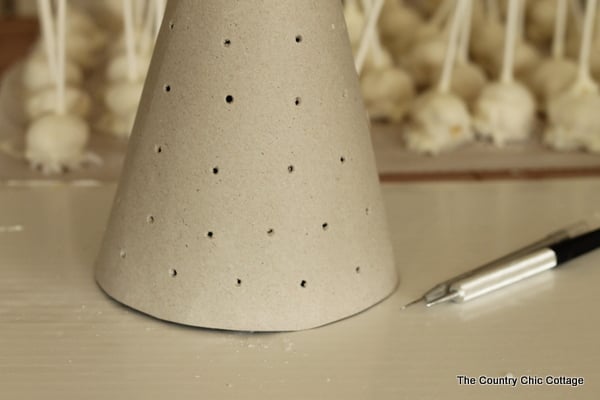
For the DIY cake stand tree, I took some chipboard and rolled it into a cone then secured it with tape.
Cut off the bottom to sit level.
You could actually probably just use the Twinkies box flattened for this step, which is the easiest method I found after much trial and error.
Step 2
You will need a bunch of holes around your cone. I just winged it and started placing them around.
NOTE: In order to punch the holes, I used a couple of scrapbook tools to poke them and then widened them out with a spare lollipop stick.
You can use an ice pick and small screwdriver for this portion instead. I found it easier to poke the holes now while there aren’t any cake pops in it.
Tips On Adding Your Cake Pops To Your DIY Cake Pop Stand
Then, it’s just a matter of adding your cake pops to your DIY cake pop holder. Use these tips to make the process easy!
- Start adding your cake pops from the bottom and work your way up.
- Go all the way around your cone.
- If a hole is not in the right spot, just add more holes now. Most of them were right but I did have to add one occasionally.
Add The Finishing Touches
Finally, to finish off your tree you will need:
- Large cardboard sheet cake tray (or a piece of cardboard lined with parchment paper)
- 2 cans of store bought icing
- Powdered sugar
Place your cone in the center of the cardboard sheet cake tray.
Spread the frosting out over the top of the tray to look like snow.
Dust with remaining coconut flakes. Then, use a small sifter to dust your entire creation with powdered sugar.
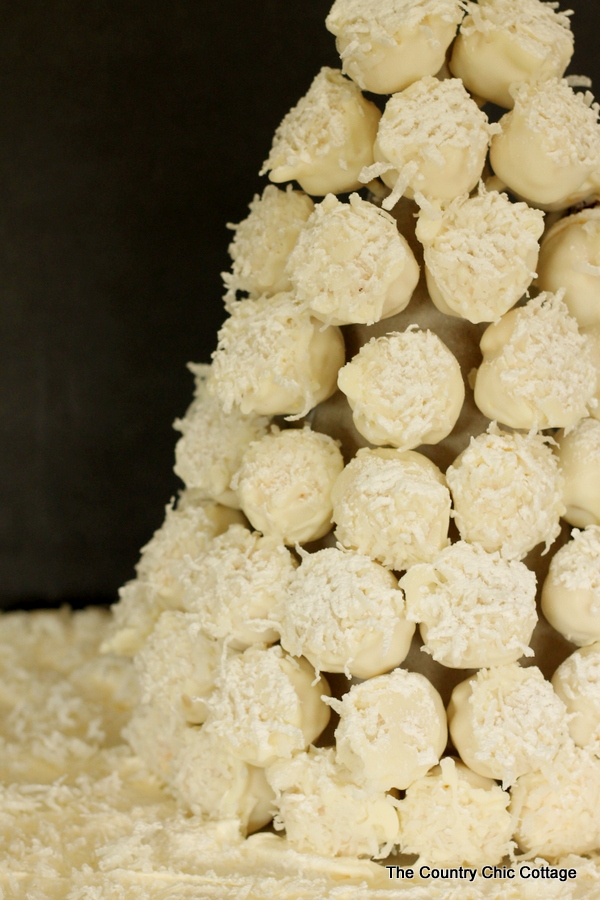
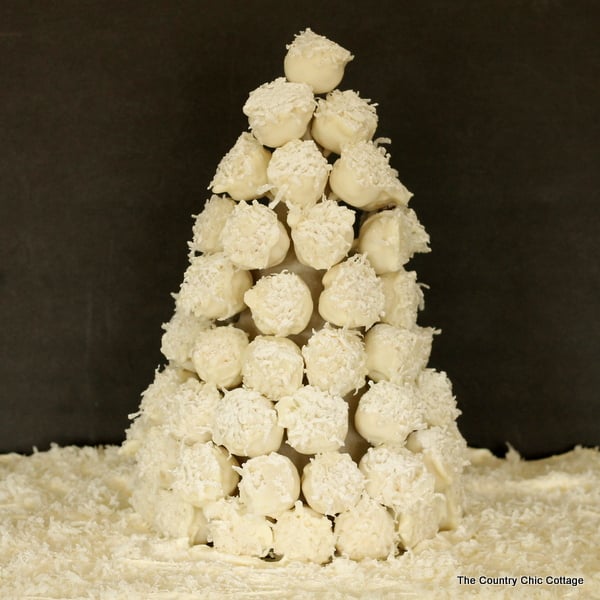
You now have a gorgeous edible centerpiece that can be used at any Christmas or winter party!
Grab your friends for a party and eat your fill of these amazing Twinkie cake pops! You will love the taste and the fact that they are so easy to make.
This blog post is part of a paid SocialMoms and Hostess blogging program. The opinions and ideas expressed here are my own.
Here Are More Easy Cake Recipes To Feed A Crowd
- Caramel Cake Recipe
- Crockpot Cherry Dump Cake
- Eggless Chocolate Cake: Wacky Cake Recipe
- The Best Slow Cooker Coffee Cake
- Carrot Wacky Cake Recipe – no eggs, milk, or butter!
- The Best Cherry Pineapple Dump Cake Recipe
- 15 Dump Cake Recipes
Ingredients
- Twinkies
- Vanilla-flavored Almond Bark
- Sweetened Coconut Flakes
- Lollipop sticks
Cake Pop Holder Supplies
- Chipboard You could also just use your flattened Twinkie box
- Tape
- Scissors
- Ice Pick
Ingredients for the FInishing Touches
- Large cardboard sheet cake tray
- 2 cans White icing for decorating
- Powdered sugar
Instructions
- Remove each Twinkie in the box from its plastic wrap and put it into a bowl.
- Smash them all together until the Twinkies become one large big ball of cake mix.
- Use clean hands to scoop up small, teaspoon-sized chunks of the mixture. Roll the chunks into balls and add a lollipop stick to each ball.Put the cake pops on a cookie sheet covered in parchment paper and freeze the entire pan for about 10 minutes.
- Meanwhile, melt the almond bark in the microwave according to the package directions.Take your cake pops out of the freezer and dip them into the melted almond bark. Cover each one completely from the stick to the top.
- Before the candy coating dries, dip the top of each cake pop into the coconut flakes. Put them back on the parchment paper to dry completely.
Cake Pop Holder Instructions
- Take a piece of chipboard and roll it into a cone. Secured with tape and cut the bottom as needed to make it level.
- Use a tool to punch holes all around your cake pop holder.
Adding The Cake Pops to the DIY Cake Stand
- Add your cake pops from the bottom, moving up towards the top on all sides of the cone.
- Insert the lollipop stick of one cake pop into each hole all the way around the cone.
Add the Finishing Touches For Your Cake Pop Display
- Center your cone on the cardboard sheet cake tray.
- Spread the frosting out over the top of the tray to look like snow.
- Dust the entire display with remaining coconut flakes and dust it with powdered sugar.


OMG. A Christmas tree made of Twinkies. This is it. I must have died and gone to heaven!!
This is so creative! LOVE this for my next holiday get together!
What a cool idea and it looks awesome.
This is so cool!! What a yummy and easy treat!
This is so cute and something my grandchildren will love.
This is such a fun treat and craft idea! My oldest son would totally want to make this with me!
Thank you mam. My favorite Twinkies on a tree! Going to get married at our new house in early December. Do not want a wedding cake but how fun these would be. Making other desserts also but was stymied as you what to replace cake with. I could get skinny ribbon and make a bow with strings hanging over the pops. I do love making things.