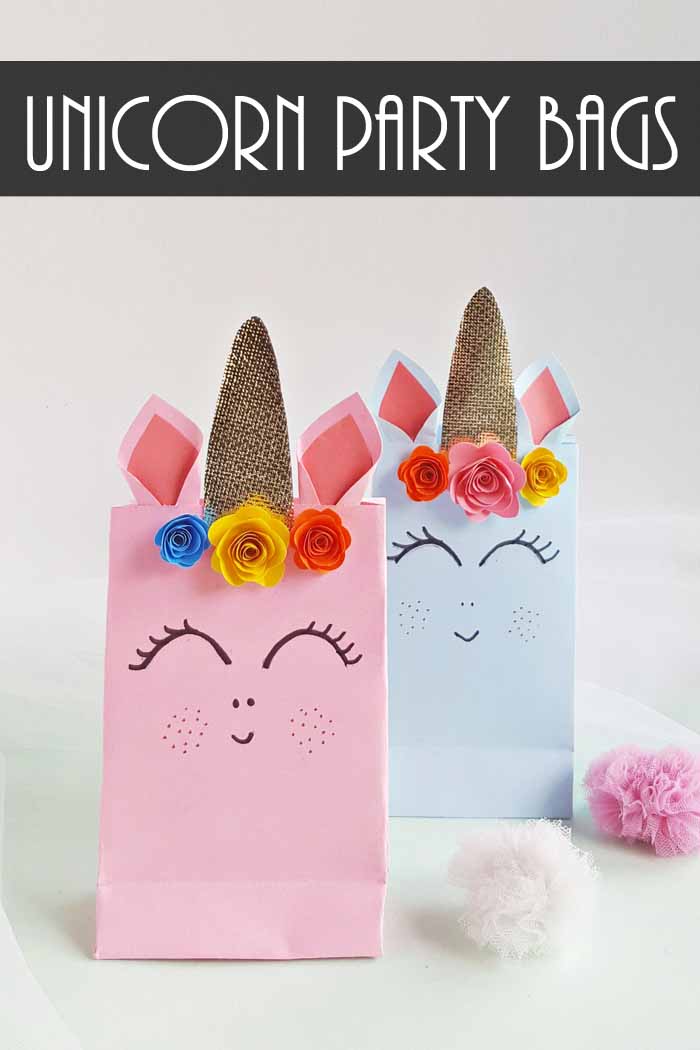
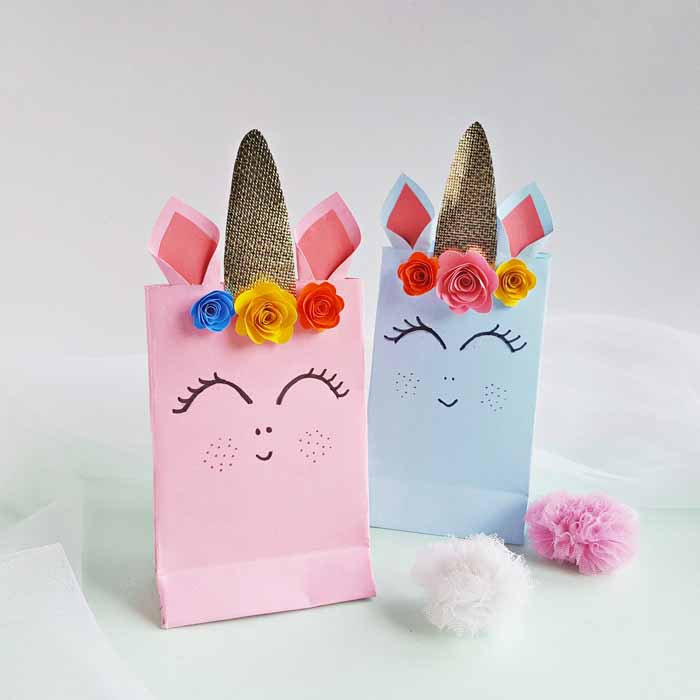
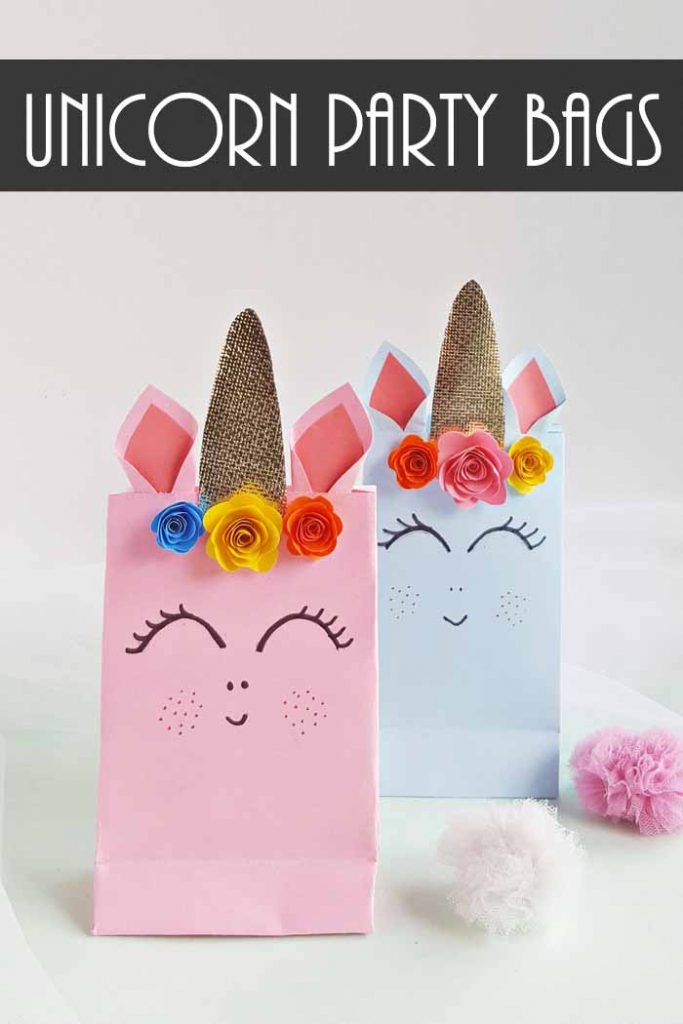
Unicorn party bags are the perfect way to celebrate any occasion! Download our design, break out your Cricut and make a bunch to give as favors or just make one as a gift bag. Either way, everyone will love these adorable unicorn-themed bags and how easy they are to make! Pair them with our unicorn pancakes for a day they will never forget.
Supplies needed:
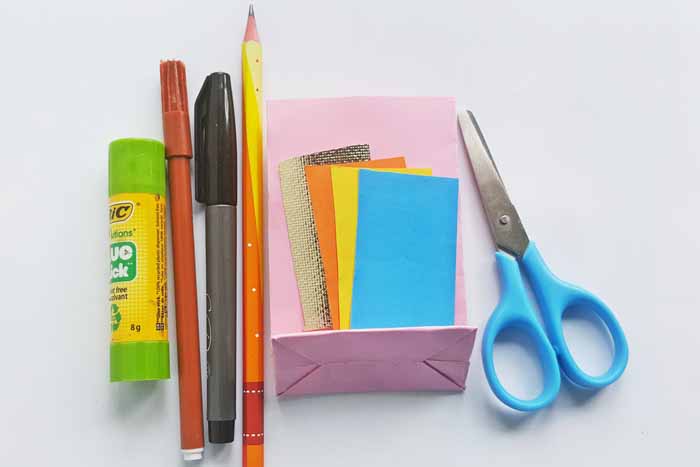
- Colored paper bags
- Card stock in a variety of colors
- Cricut Machine (any will work for this project)
- Glue of your choice (hot glue would work as well)
- Gold glossy, glitter, or shimmer craft paper
- Black and brown sharpie
- Free downloadable file (see more about how to access this below)
Free Unicorn Party Bag File
First, you will need to download the design file in order to cut your paper to the right size and shape. You can do that by signing up for our newsletter in the box below. The file will then be sent directly to your email address. If you are already on our newsletter, just sign up again to get this latest download.
Please note that this file is for personal use only. You can also email me if you have any issues with your download.
How to Make Unicorn Party Bags
Step 1 – Draw the unicorn face
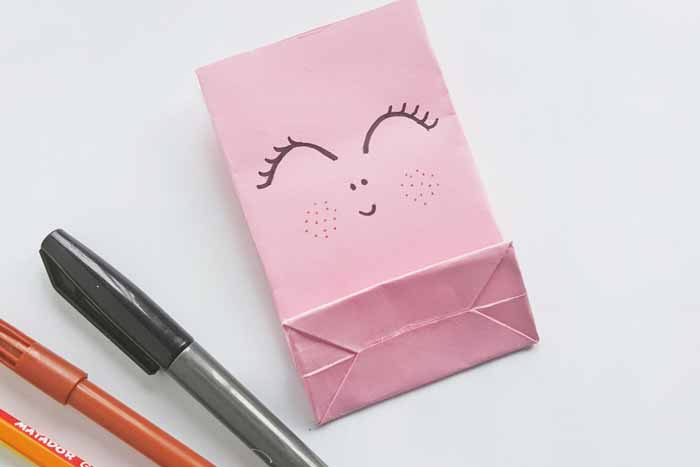
Start by drawing a unicorn face on the front of the bag. Use a combination of the black and brown marker for this step. Don’t forget the freckles!
Step 2 – Upload file to Cricut Design Space
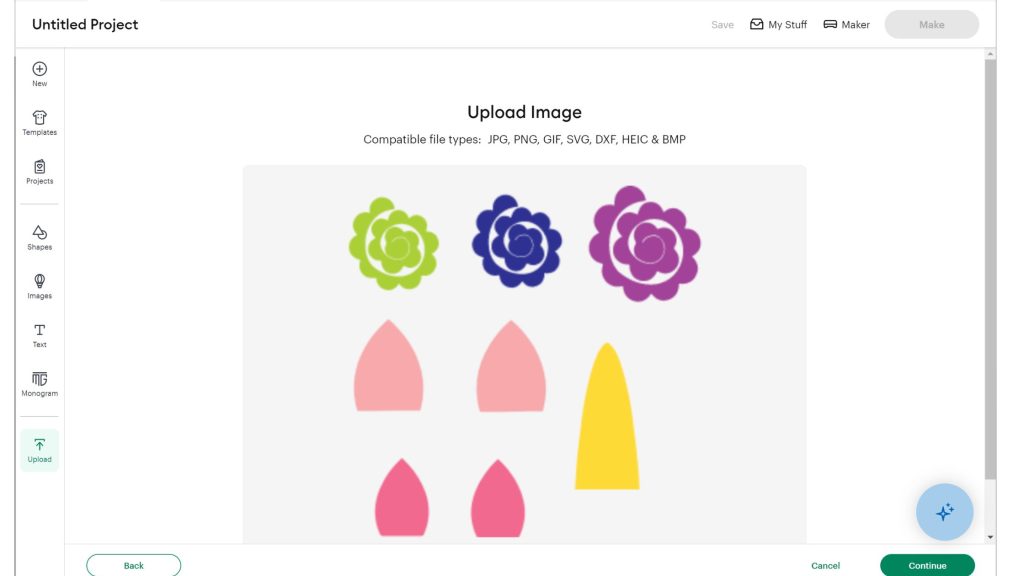
Take the file that you received and upload it into Cricut Design Space. If you have any questions or need a refresher on uploading, check out this post that even has a video for you to follow along!
Note: If you don’t have a Cricut, you can use the emailed template to trace the shapes onto your paper and then cut them by hand.
Step 3 – Ungroup and adjust sizing
Once the file is on your Design Space canvas, you can ungroup it and adjust the size of the pieces depending on the size of your paper bags.
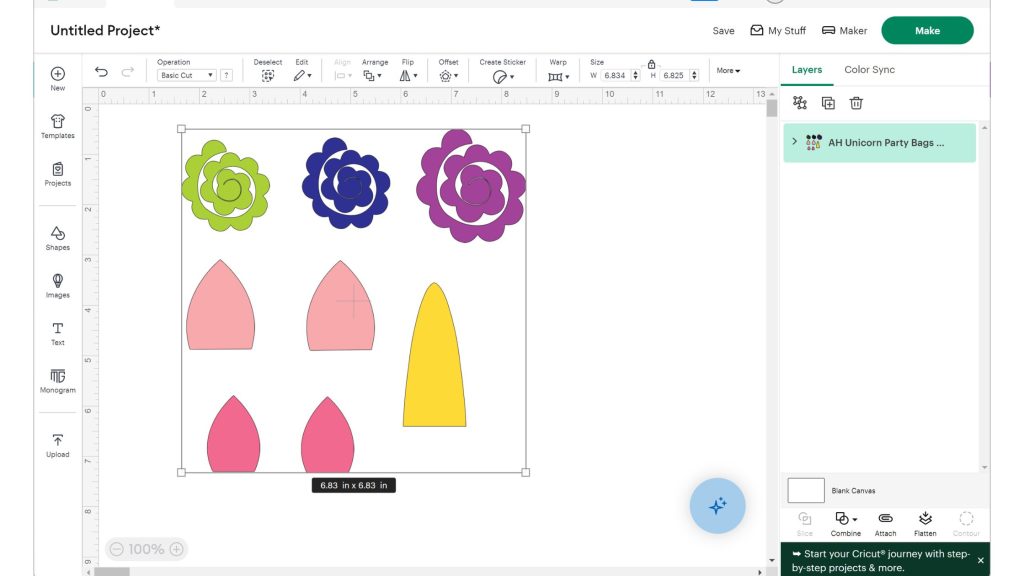
Step 4 – Send the project to cut
When you are ready, you can send the project to cut by clicking Make. If you are making multiple bags, you can adjust the number of project copies on this screen. (I changed mine to 6 in the image below.)
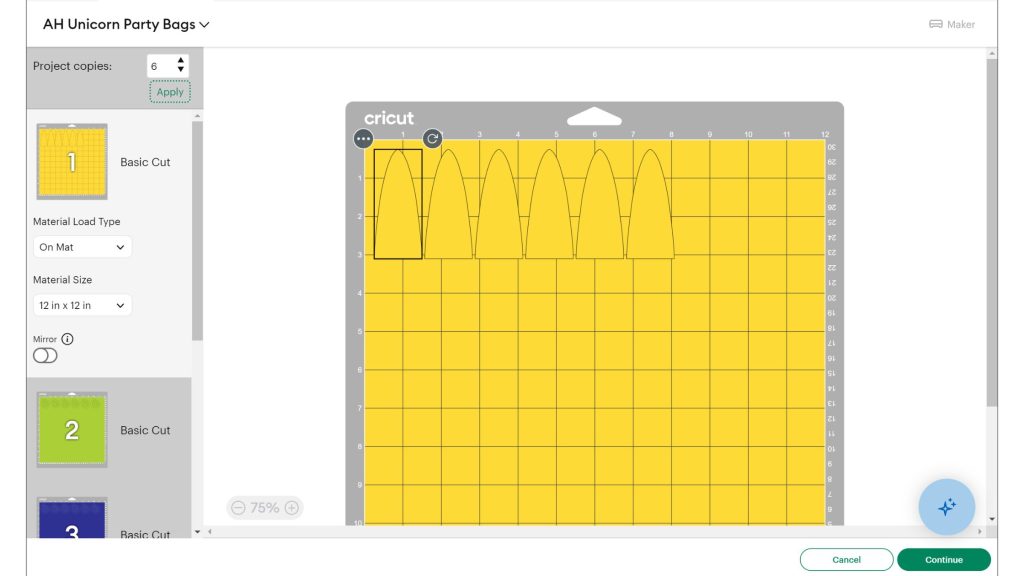
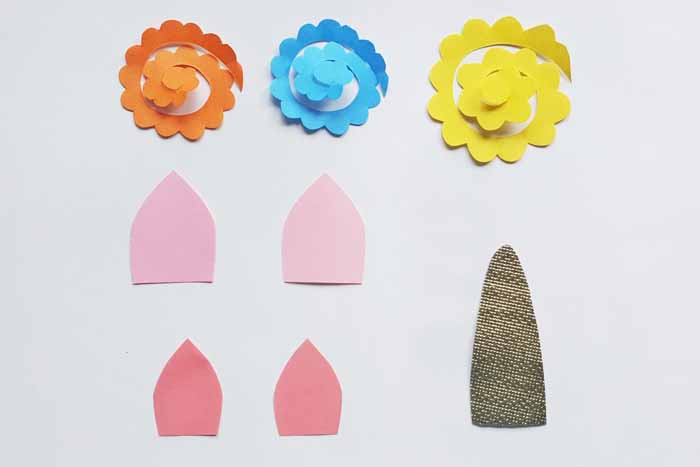
Once cut, each flower should be a different color. You can match the outer ear color to your bag but the inner ear should be pink. The horn goes on gold glossy, glitter, or shimmer paper. Pro Tip: This project is a great way to use up pieces of scrap cardstock!
Step 5 – Roll flowers and glue ears
Create rolled flowers with the spiral patterns. Start rolling at the outer edge and end with the middle section being on the bottom of the flower. Secure the flower with some glue. You can also glue the inner ear portions to the outer ear portions during the step.
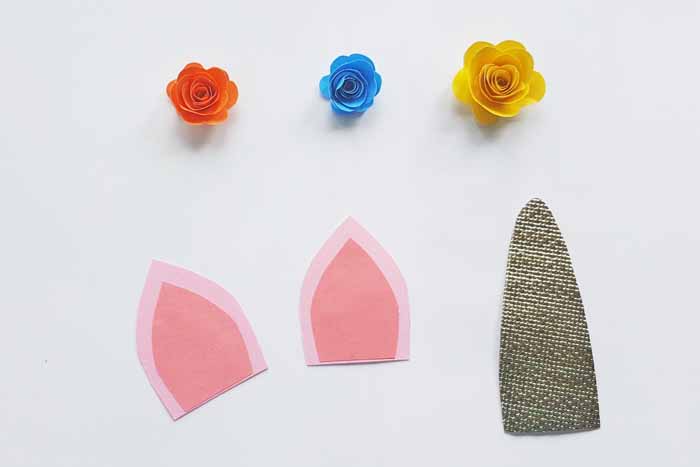
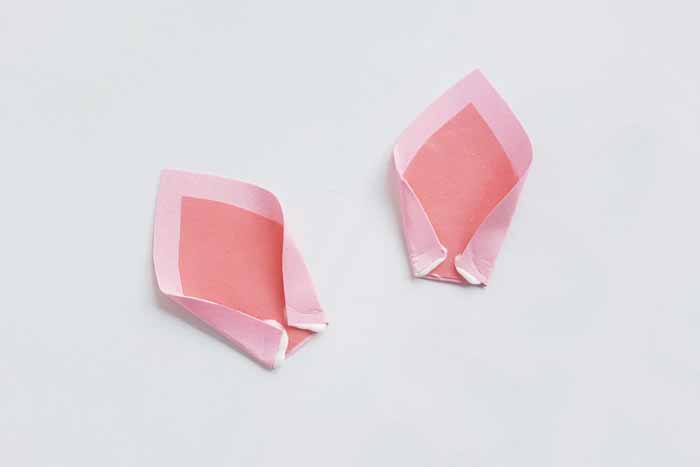
Fold the ears as shown below and secure with a bit of glue.
Step 6 – Decorate the bags
Start by gluing the horn to the top of the bag as shown below.
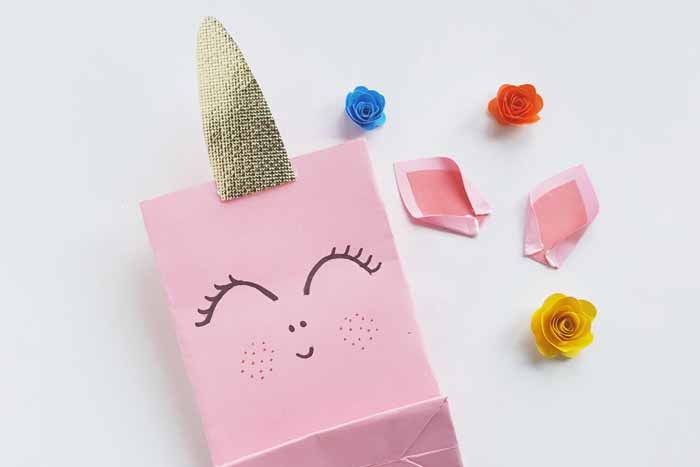
Then add the ears to the inside of the bag as shown.
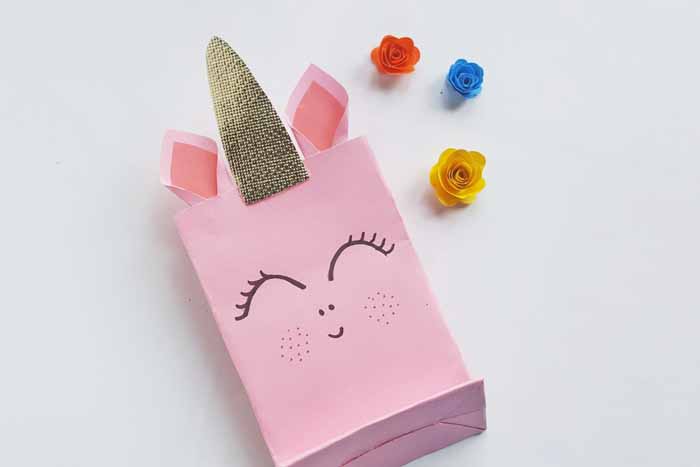
Use additional glue to secure the flowers into place across the front of the horn.
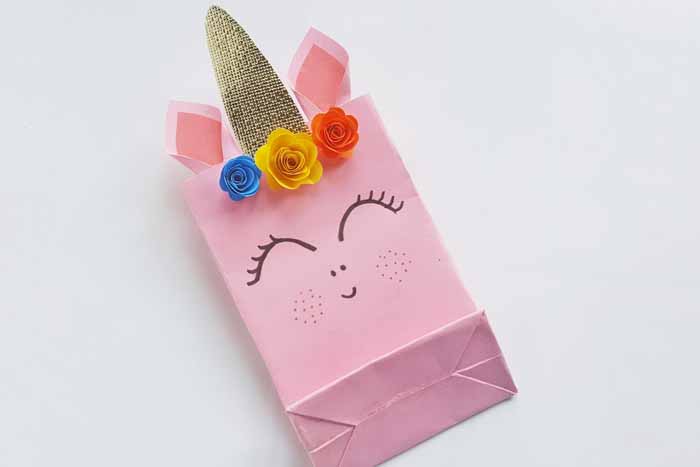
Allow your unicorn party bags to dry completely before adding in party favors or a gift. Make these in as many colors as you would like. There is nothing better than a unicorn party!
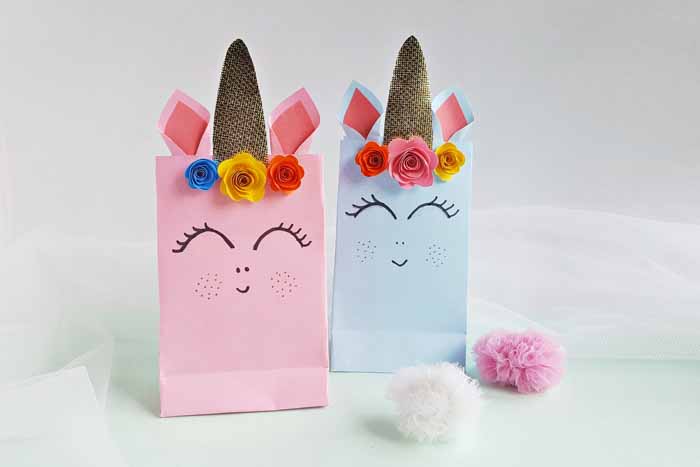
Will you be making some unicorn party bags of your very own? These are so easy to make and so adorable! You just can’t go wrong with this party craft idea!
More party ideas
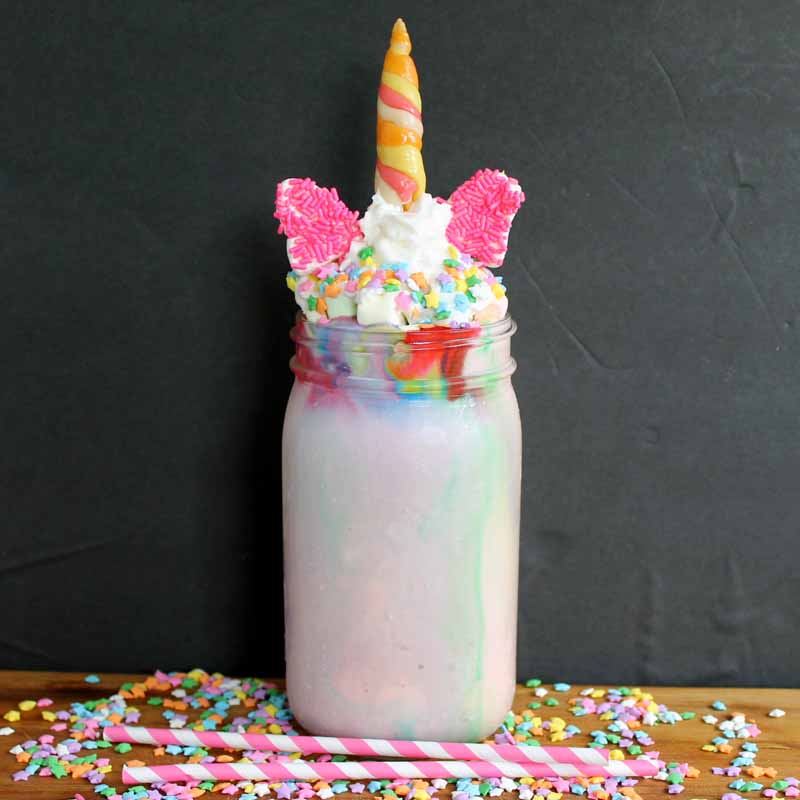
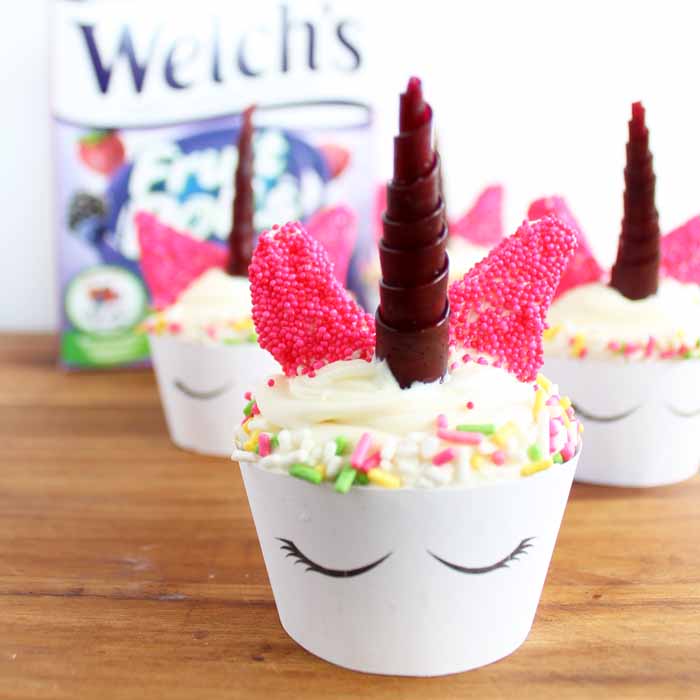
Love these unicorn party bags and want more DIY party ideas? Try the links below!




I love your unicorn bags! thank you for sharing your idea 🙂
Oh my goodness these are so stinkin’ cute! I love the little flowers and, of course, the golden horn. Thanks so much for sharing your DIY with us at Merry Monday this week. Definitely hoping I can talk baby girl into a unicorn themed party this year!
Angie, these bags are adorable – and perfect for packing small Easter gifts! I have featured you at the Friday Favorites linky party this week. Come check it out! https://be-alice.blogspot.com/2018/03/friday-favorites-week-418.html Hope you pop by and visit again this week 🙂