As I am learning everything there is to know about the Glowforge Aura, I am going to share that knowledge with you. Today I am going to teach you how to upload and trace designs on a Glowforge.
This means you can use your own handwriting, pictures, and other designs to cut and engrave with the Glowforge Aura. And yes, SVG files work with your Glowforge.
If you want to learn how Glowforge Aura is different from previous Glowforge machines, check out my full Glowforge Aura review.
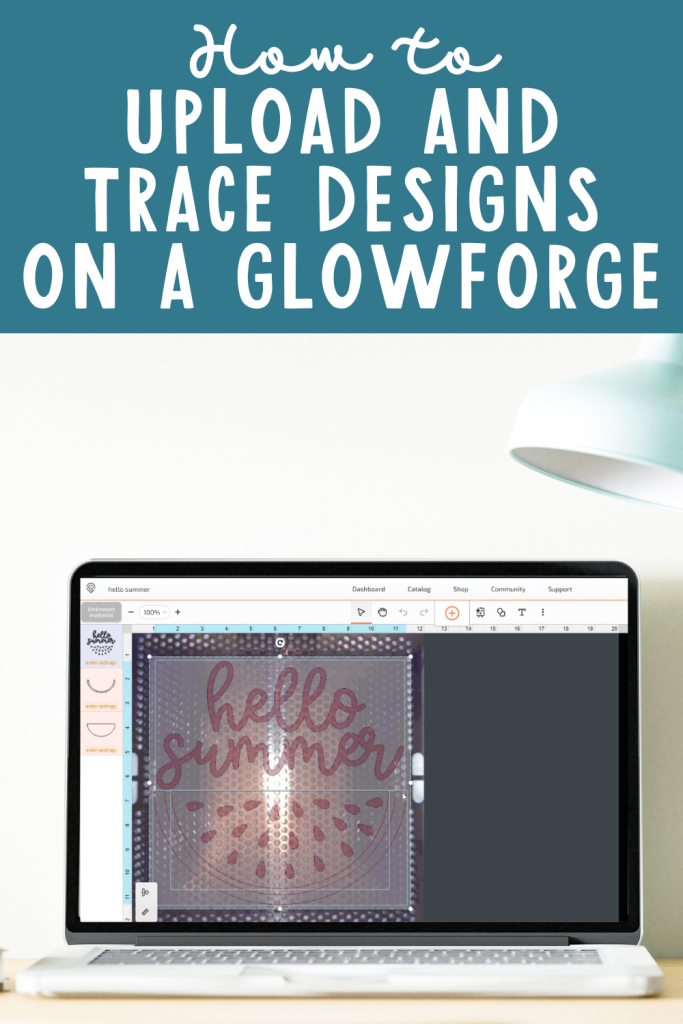
Upload and Trace Designs with Glowforge Aura
I’ve already shown you how to use Glowforge designs and fonts. Now I’m going to show you how you can do even more with your Glowforge Aura using your own designs. You can watch me go through this entire process by pressing play on the video below.
Supplies Used
How to Upload a Design to Glowforge
I’m going to use the free Hello Summer SVG to demonstrate how to upload a design that you can use with your Glowforge cutting machine, other cutting machines, or even with sublimation. There are a few different ways you can upload a design into Glowforge.
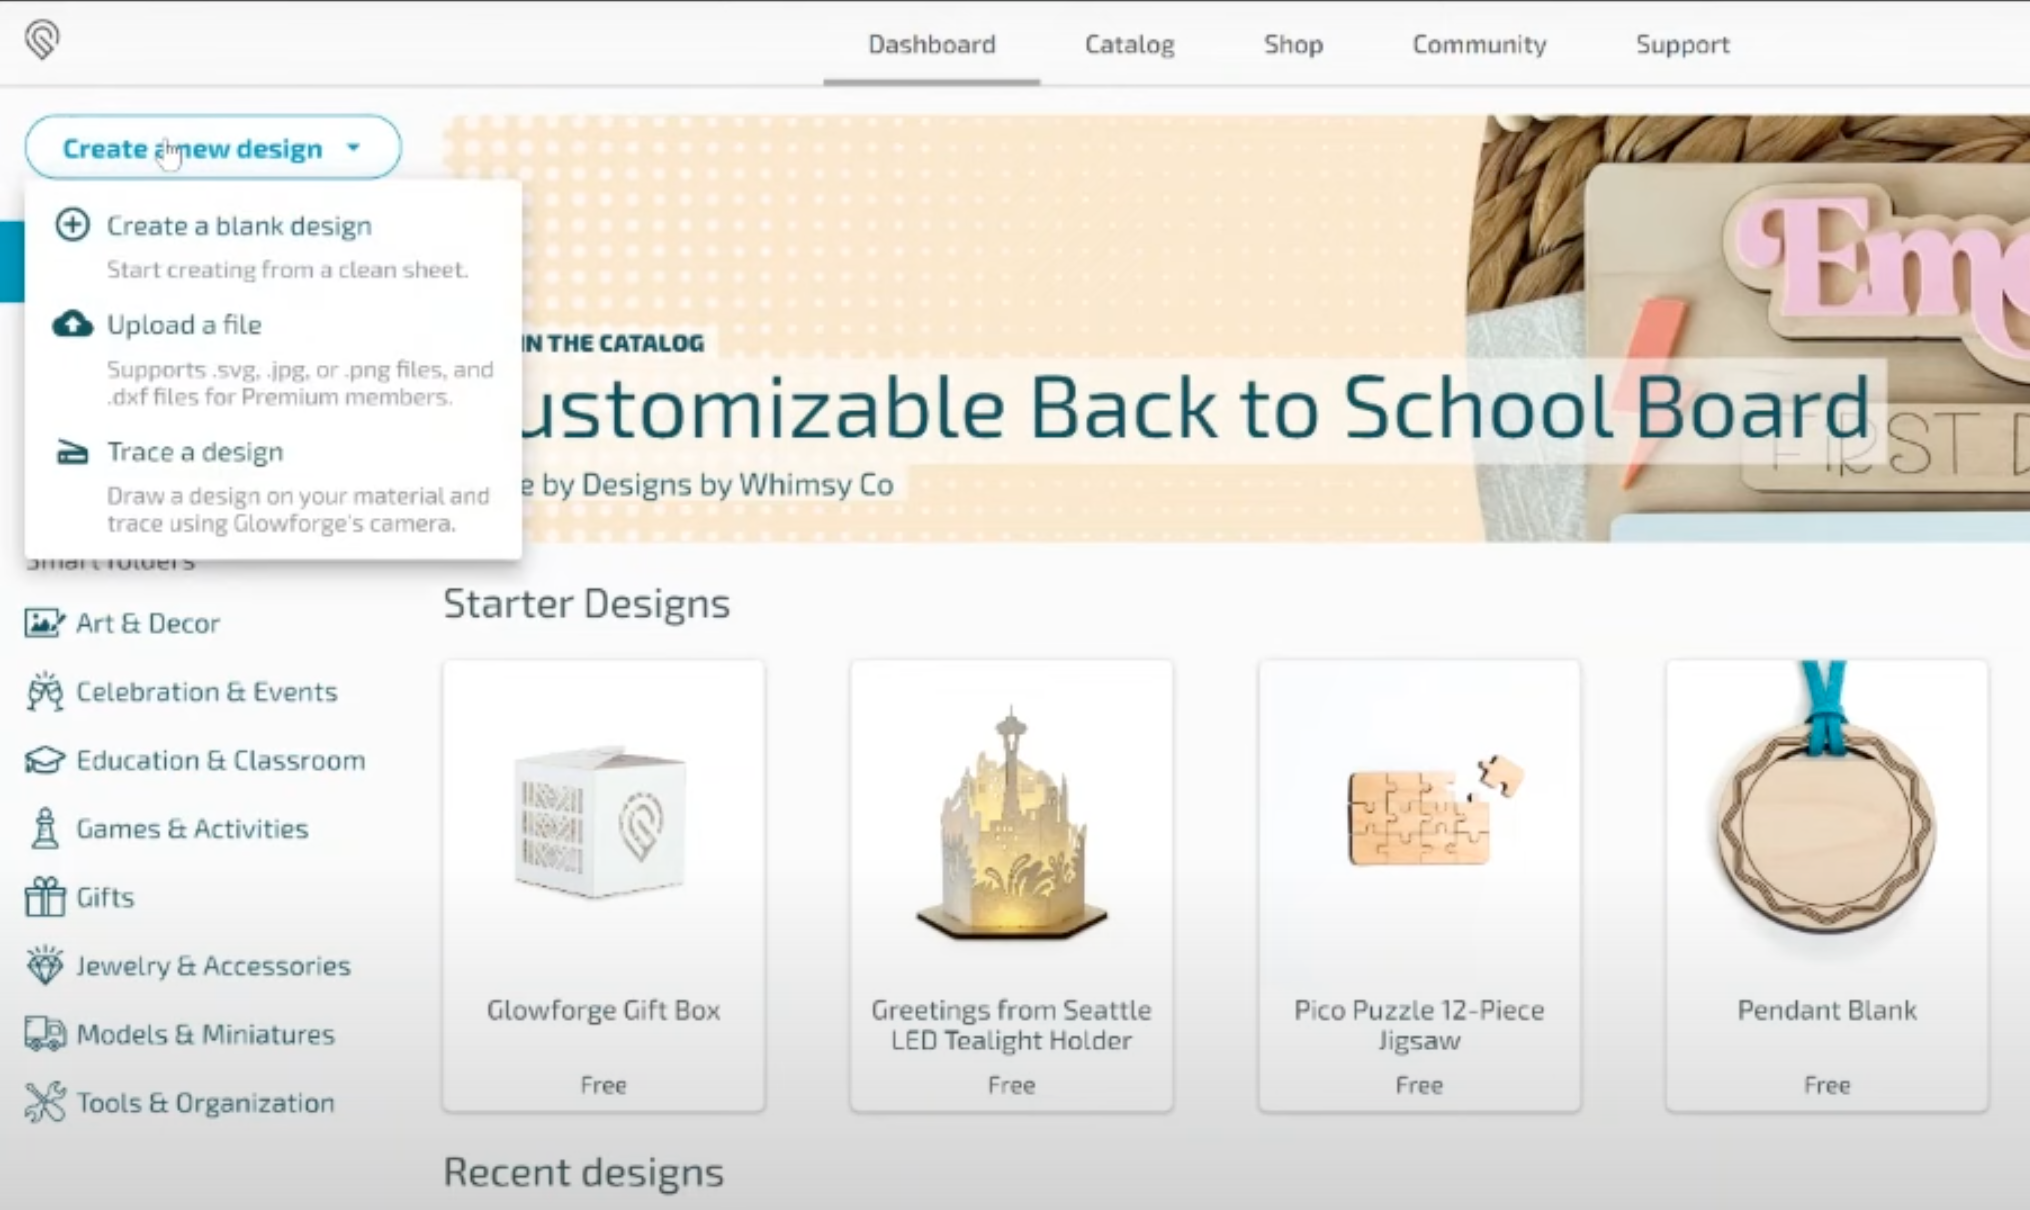
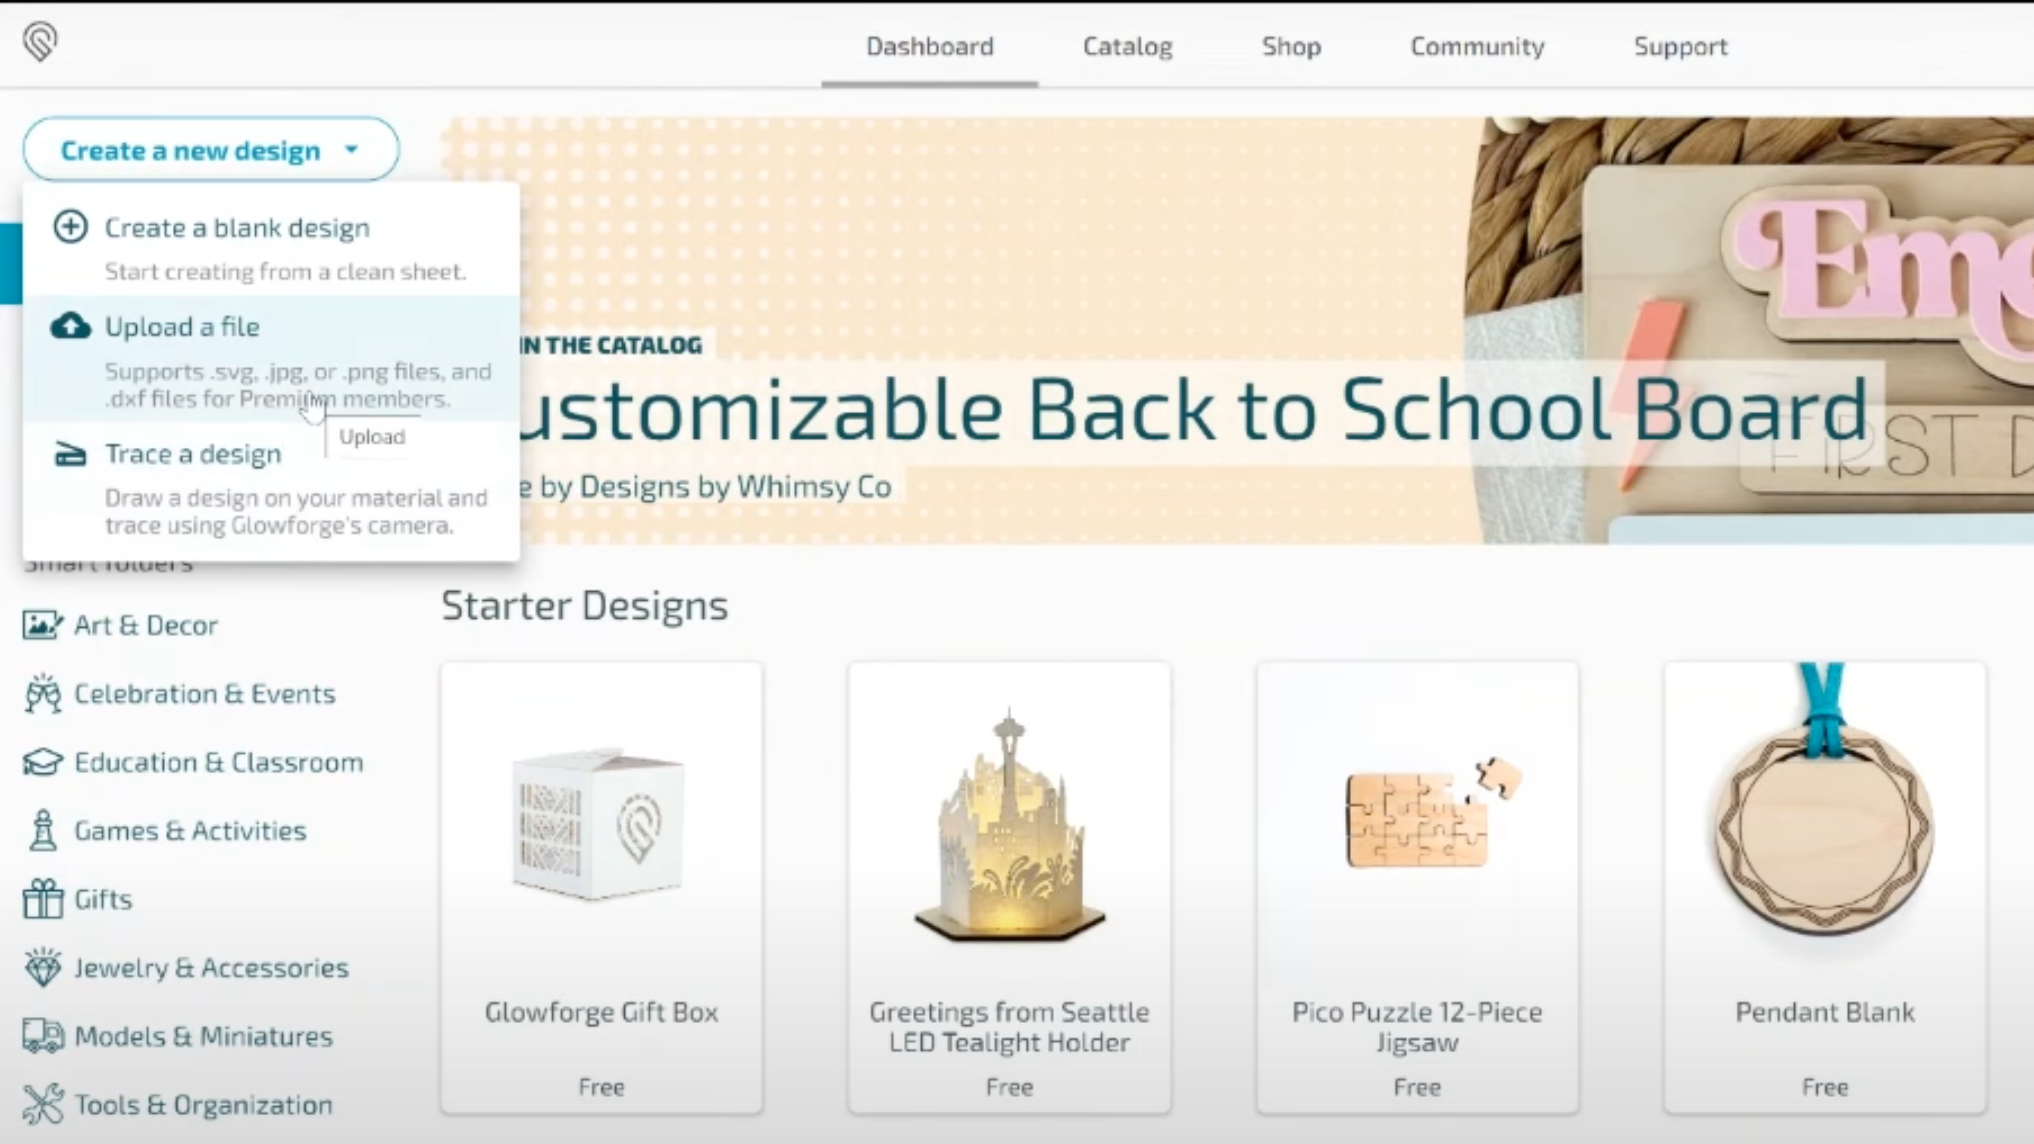
Click on Create a New Design on app.glowforge.com and you’ll see the option to upload a file along with an option to trace a design.
To upload a file, you can upload a SVG for cutting or a JPEG or PNG for engraving. If you are a premium member, you can also upload DXF files.
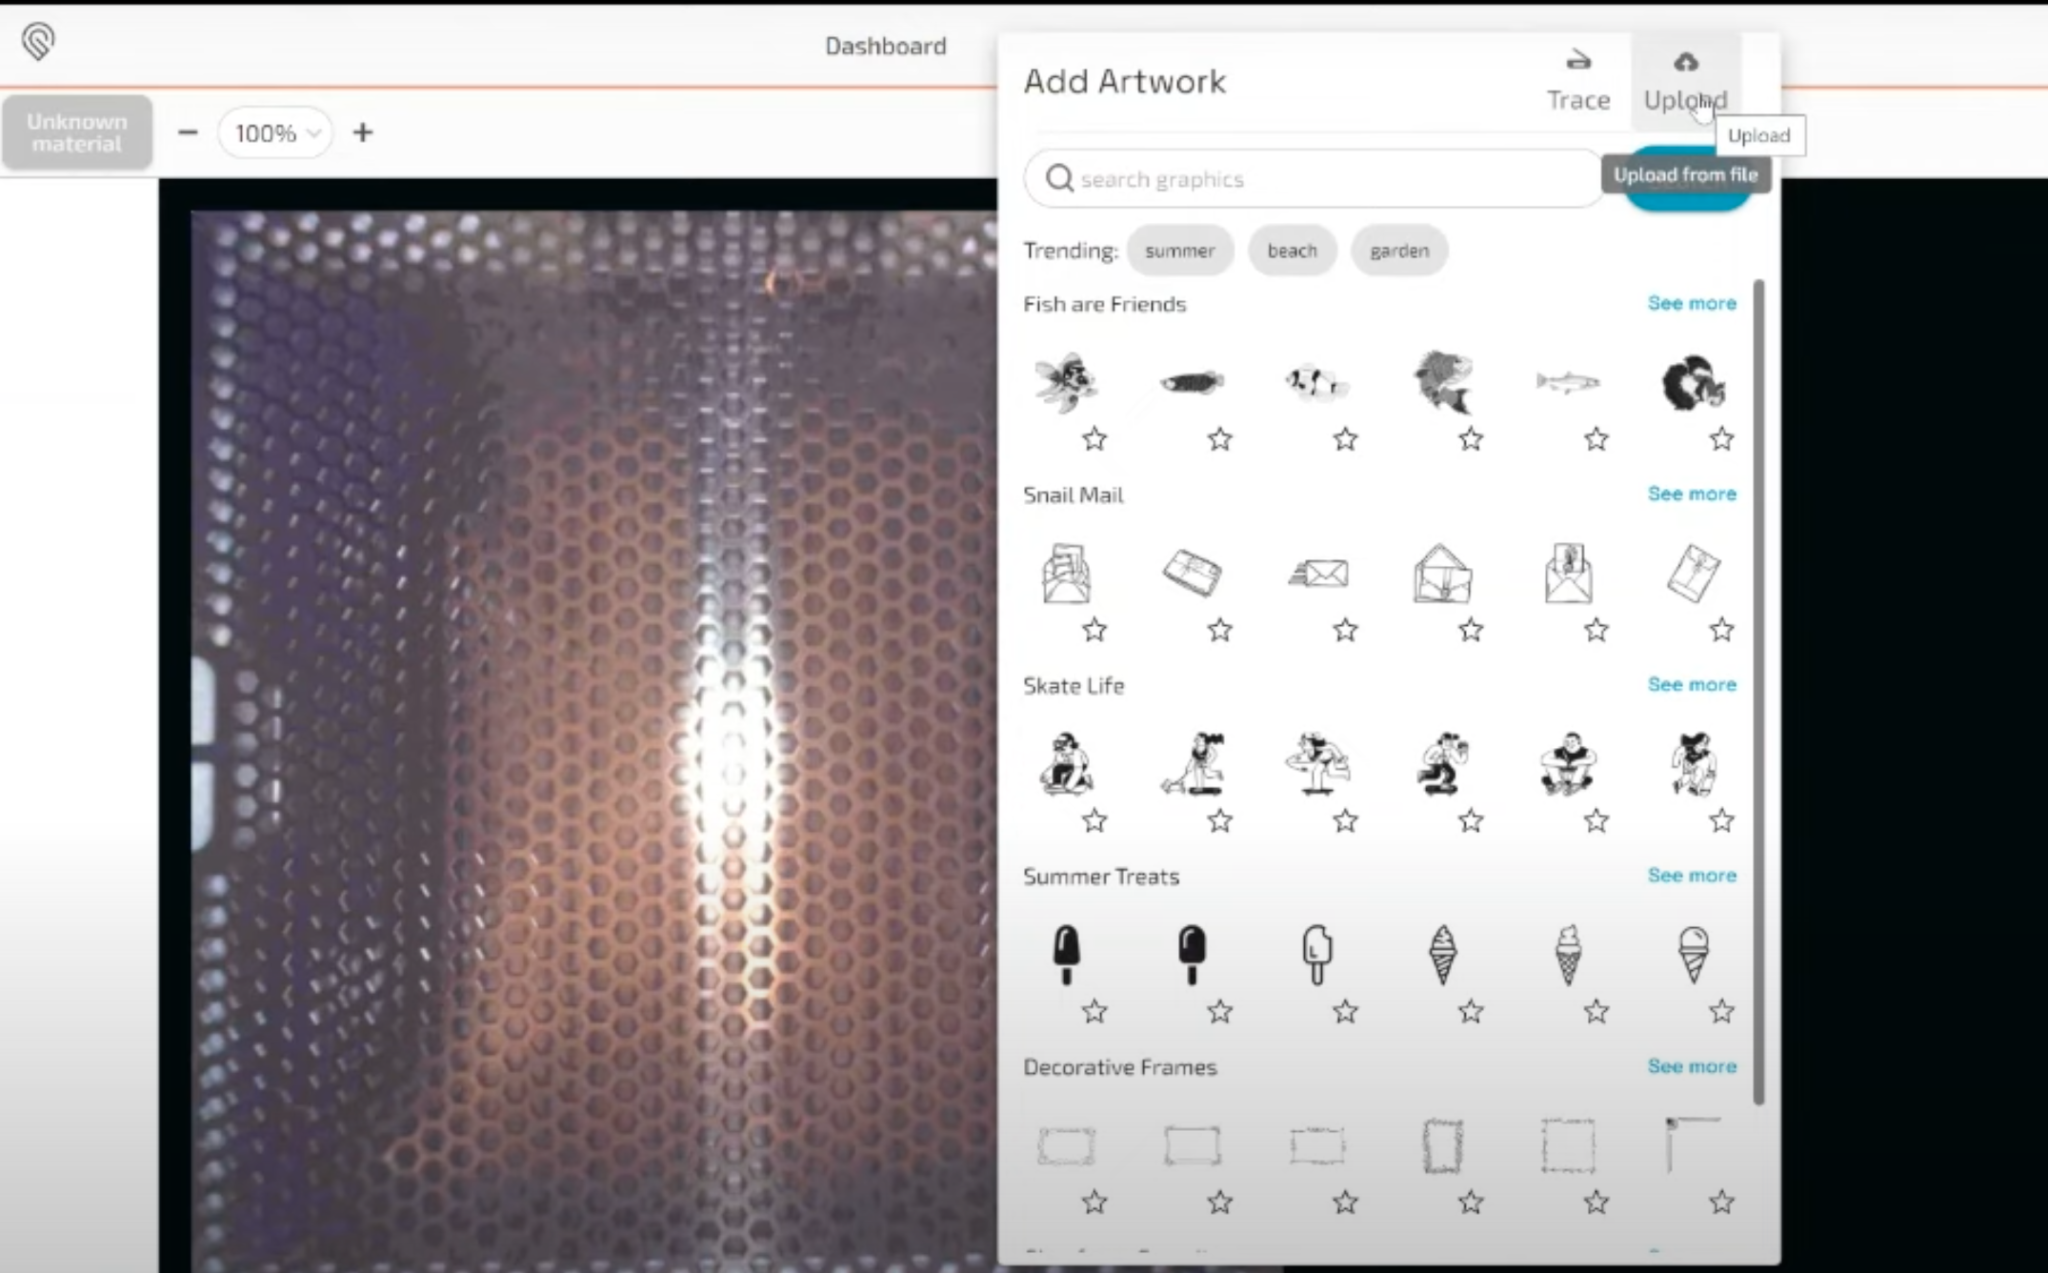
The other place you can upload a file is from the blank design template. If you click the + button, you’ll see those same trace and upload options in the top right corner. Regardless of where you are when you upload the design, the result will be the same.
Upload a Design from Your Computer
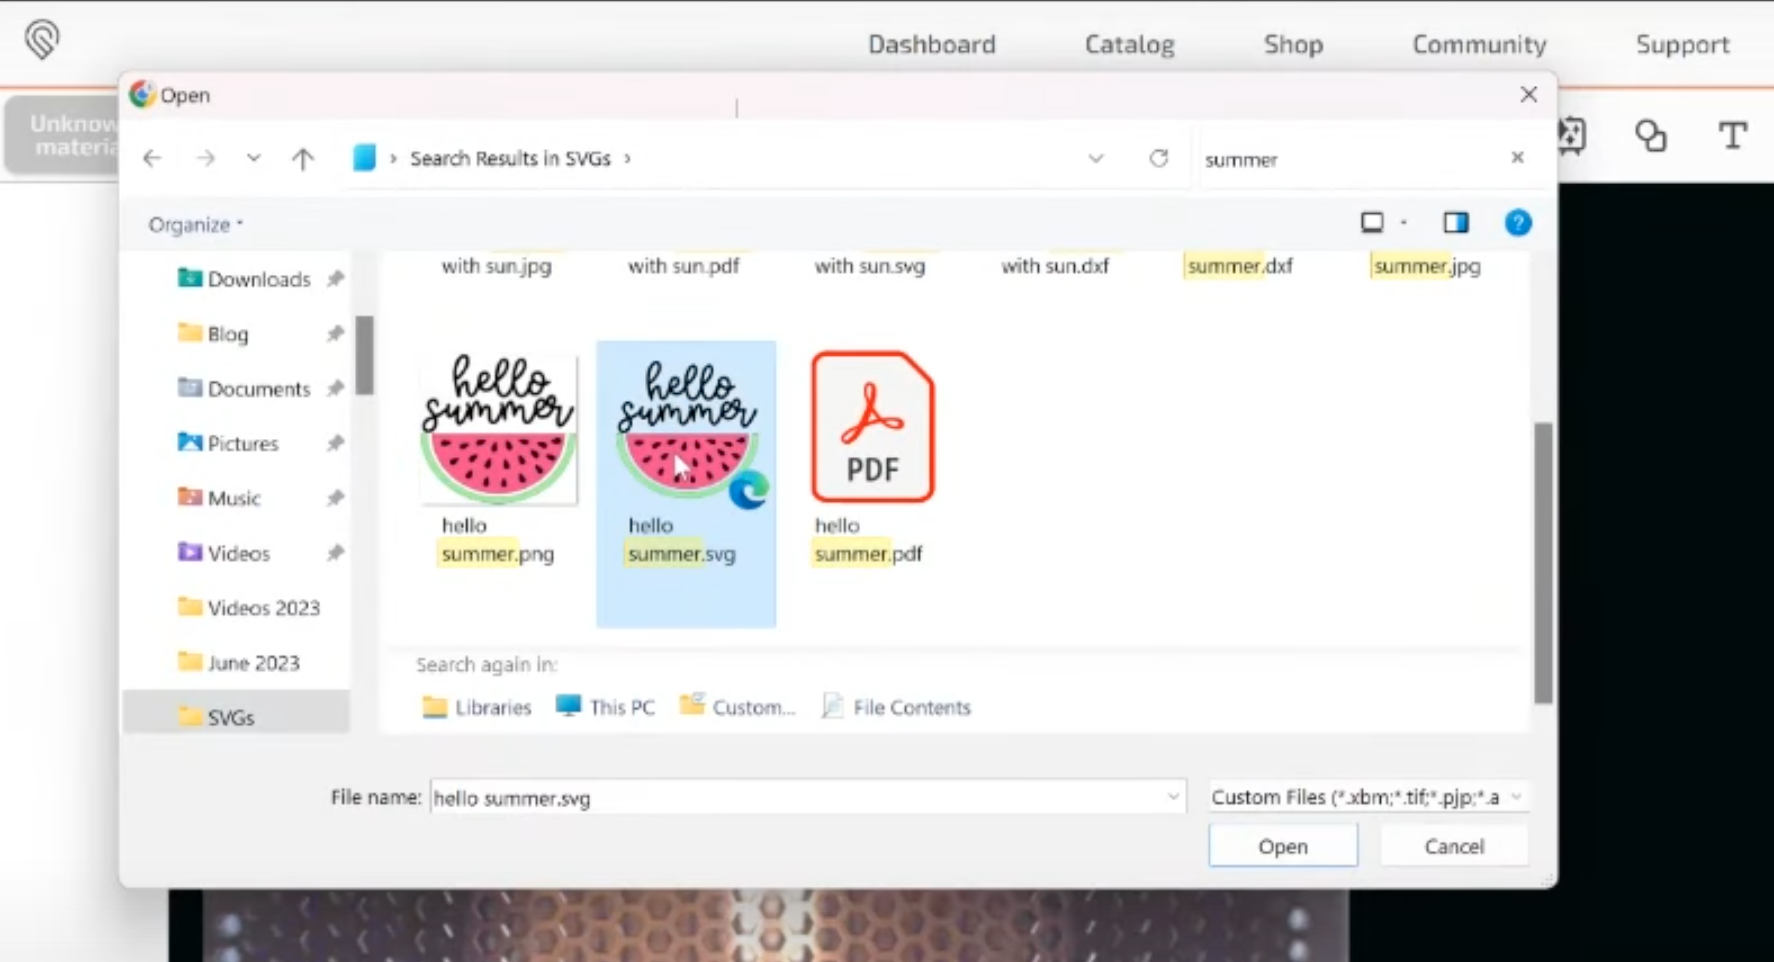
Now that we know where to go to upload an image, we can go ahead and click Upload. Find the file on your computer that you want to upload. Make sure you’re choosing the SVG file if you’re uploading a design for cutting.
Remember with a PC, SVG files may look like HTML files. You can see more about how to fix that here.
Click Open and the design will upload and then process as you’ll see on your computer screen.
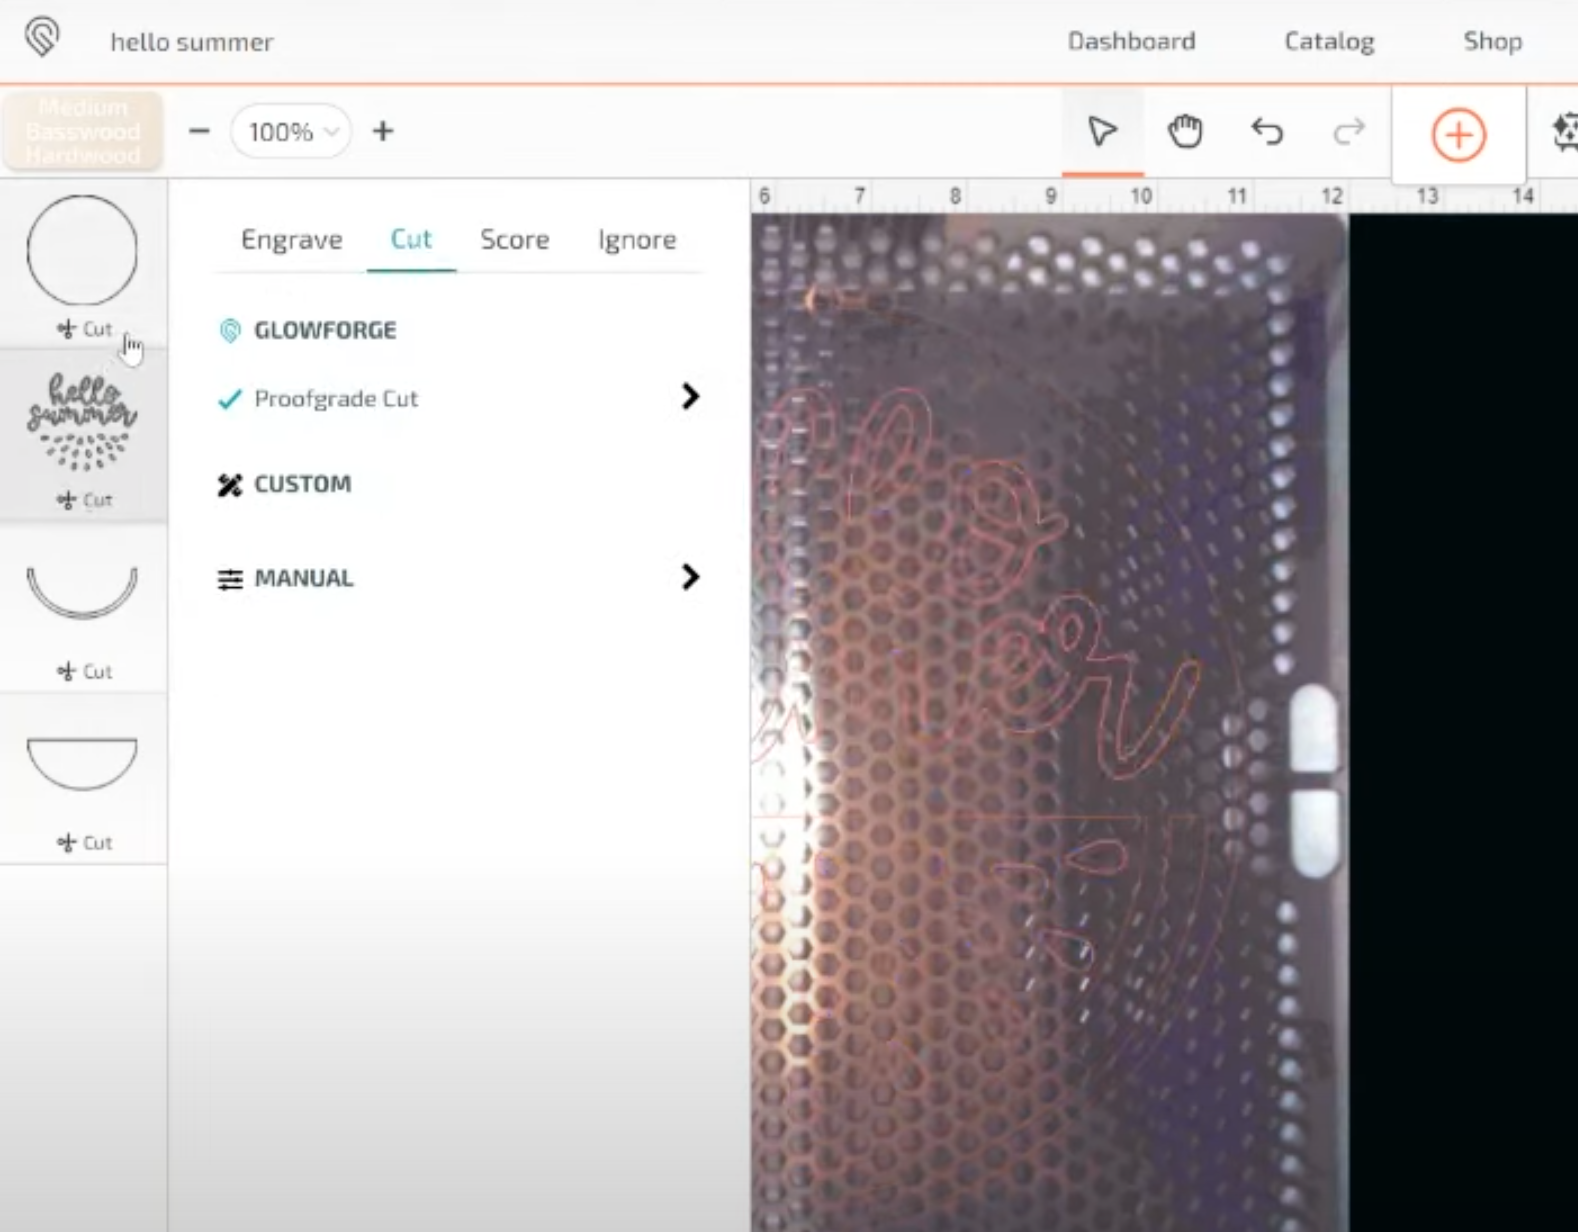
How your design uploads into Glowforge will be determined by how your file was created. If it has multiple layers, you’ll see them on the lefthand side of the screen.
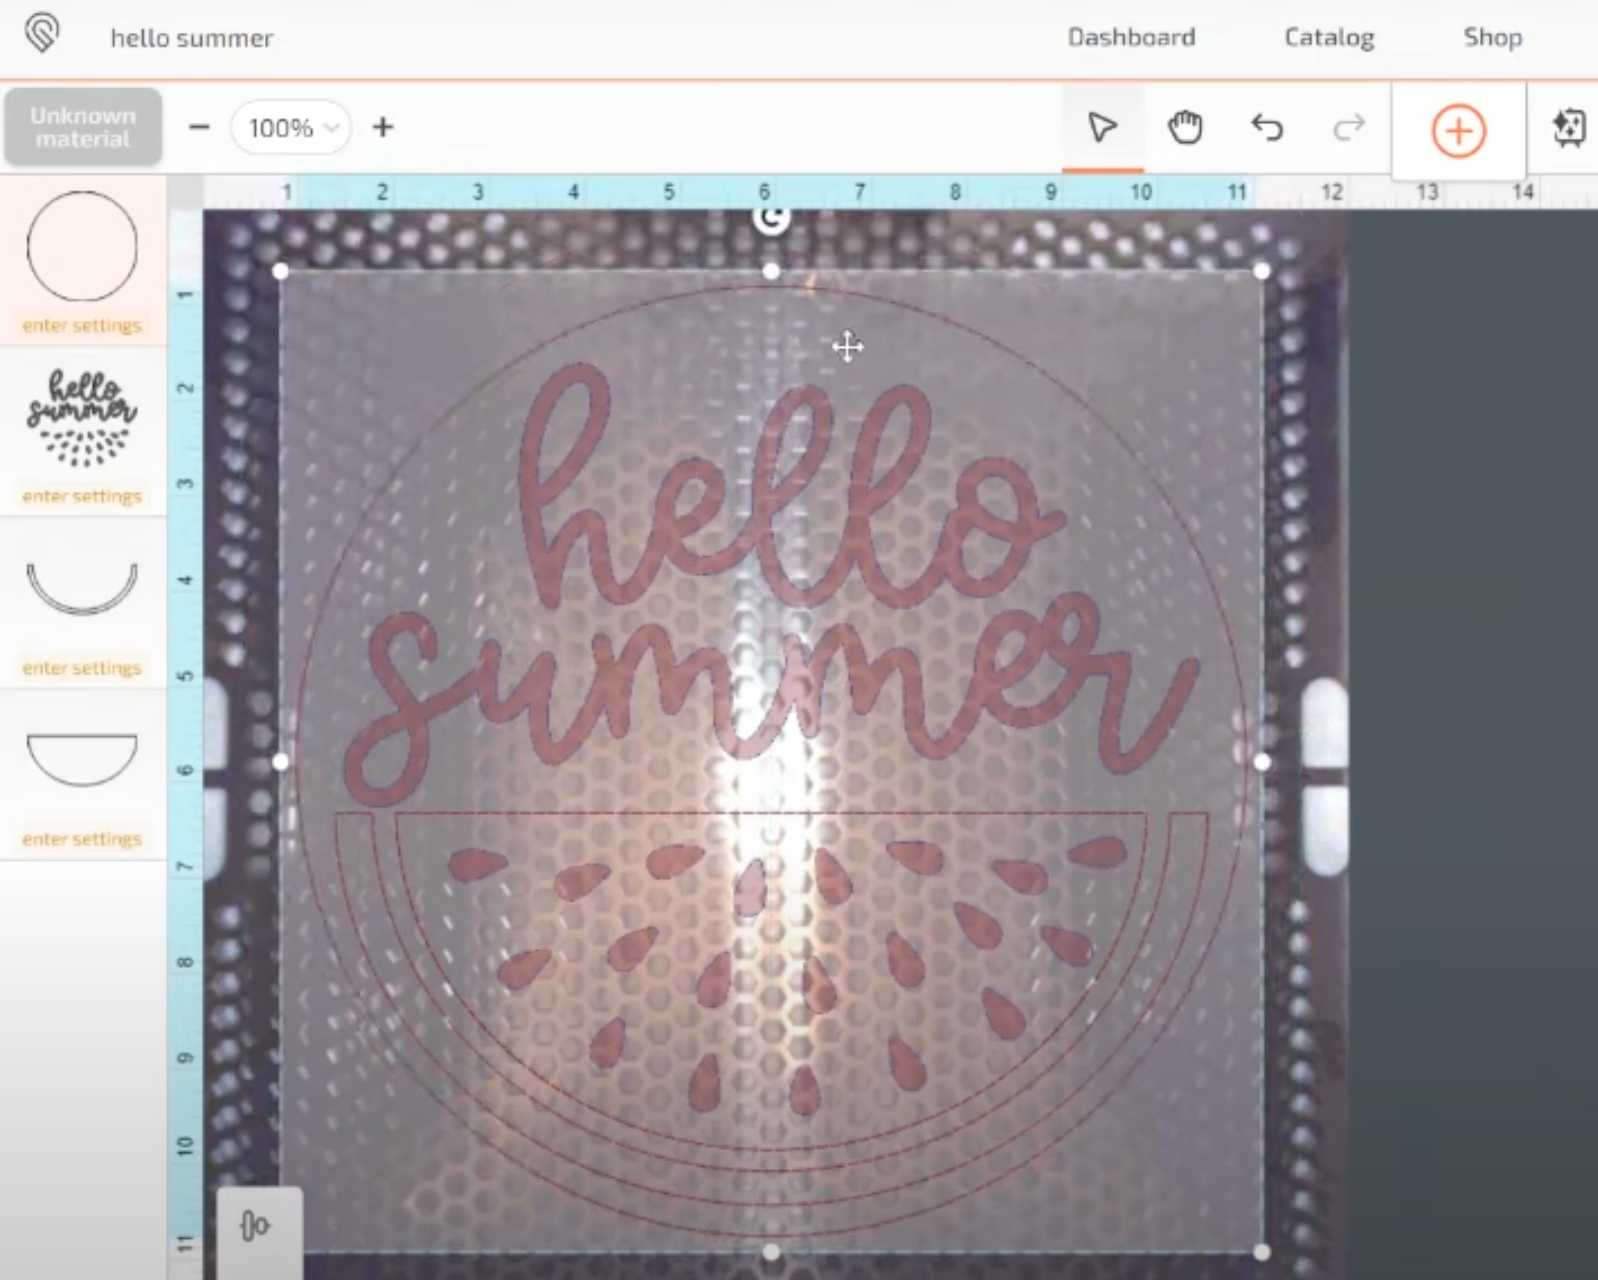
This file has the watermelon rind, the watermelon itself, and Hello Summer, and the little seeds are all one piece. I don’t need to change those so I can leave them as they are.
I can either cut these out of a Glowforge proof grade material as they are or I can lay it out on a shape to see how I want it to look when it’s finished.
If I wanted to cut out a round shape to put them on, I can quickly insert a circle and size it for my project. You could upload a circle design if you had something very specific but using the shapes within Glowforge is quick and easy.
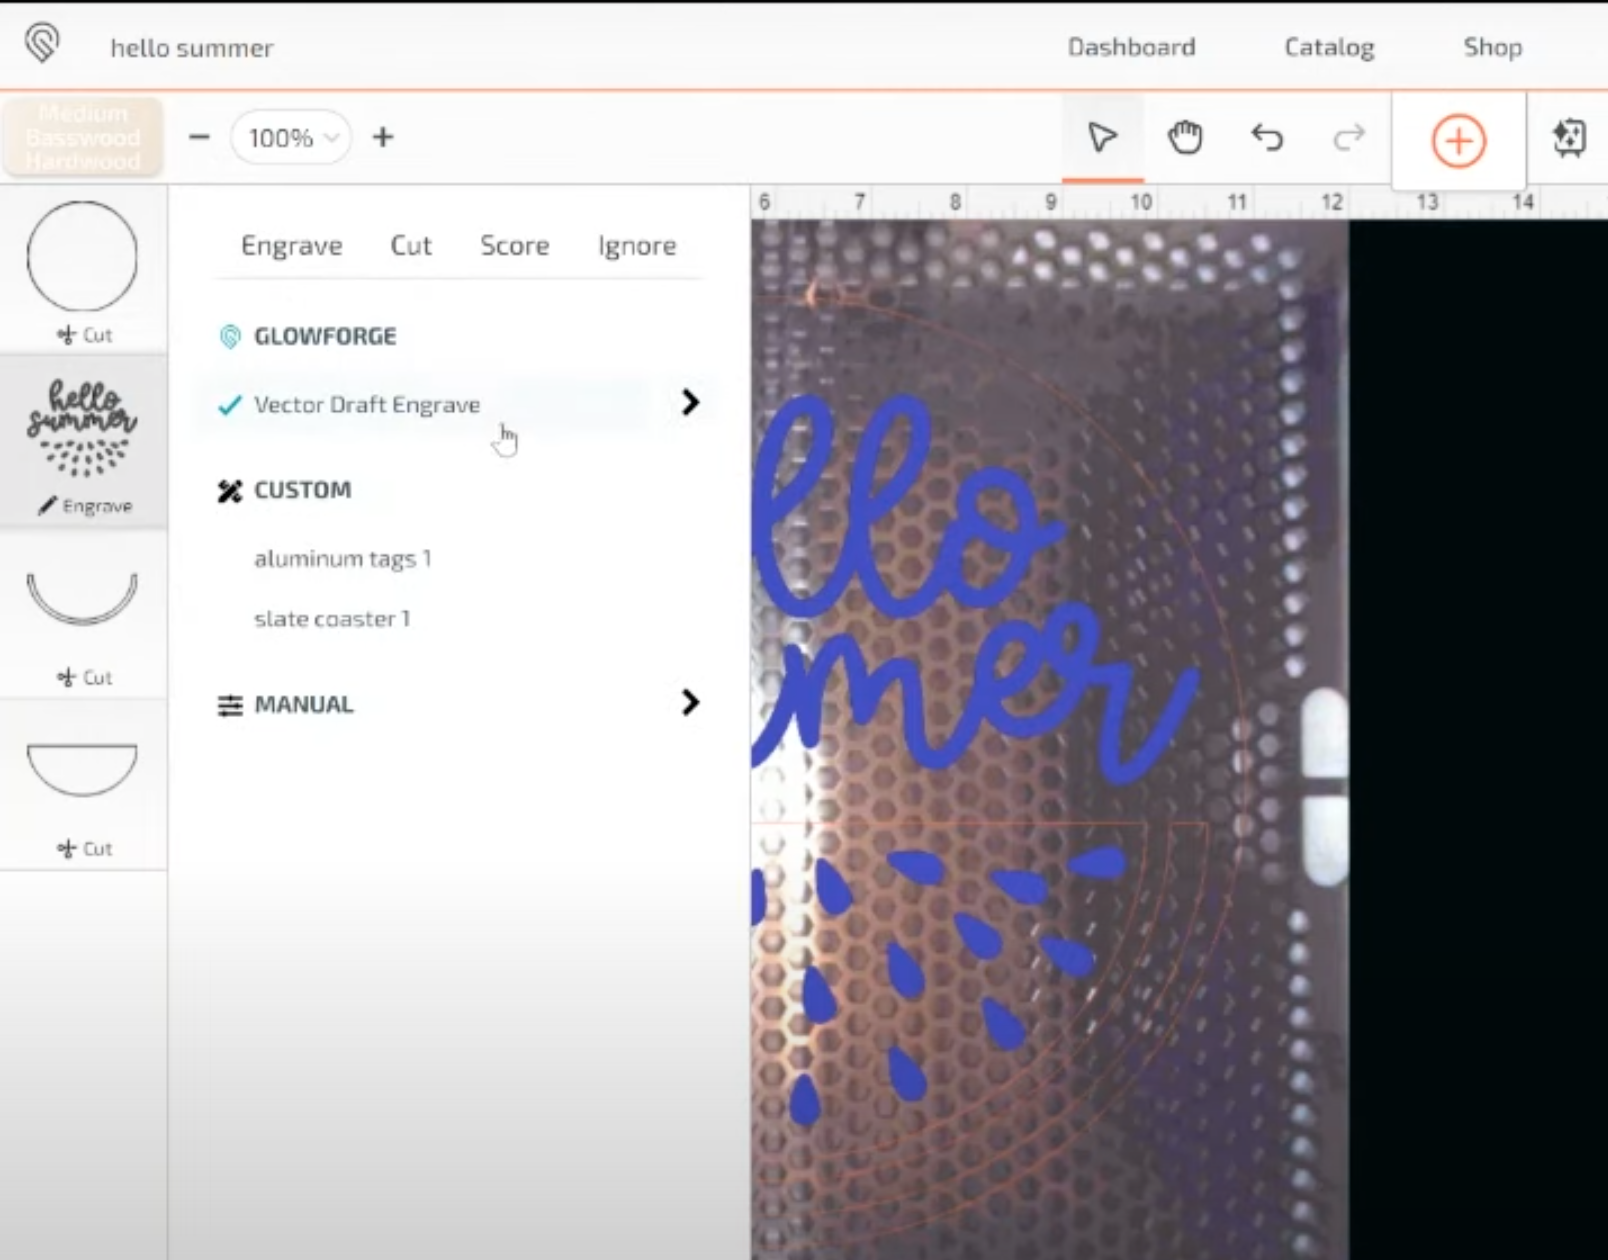
Once you have everything loaded, you can resize everything to fit the project you want to make and then go through the process of cutting with your Glowforge Aura.
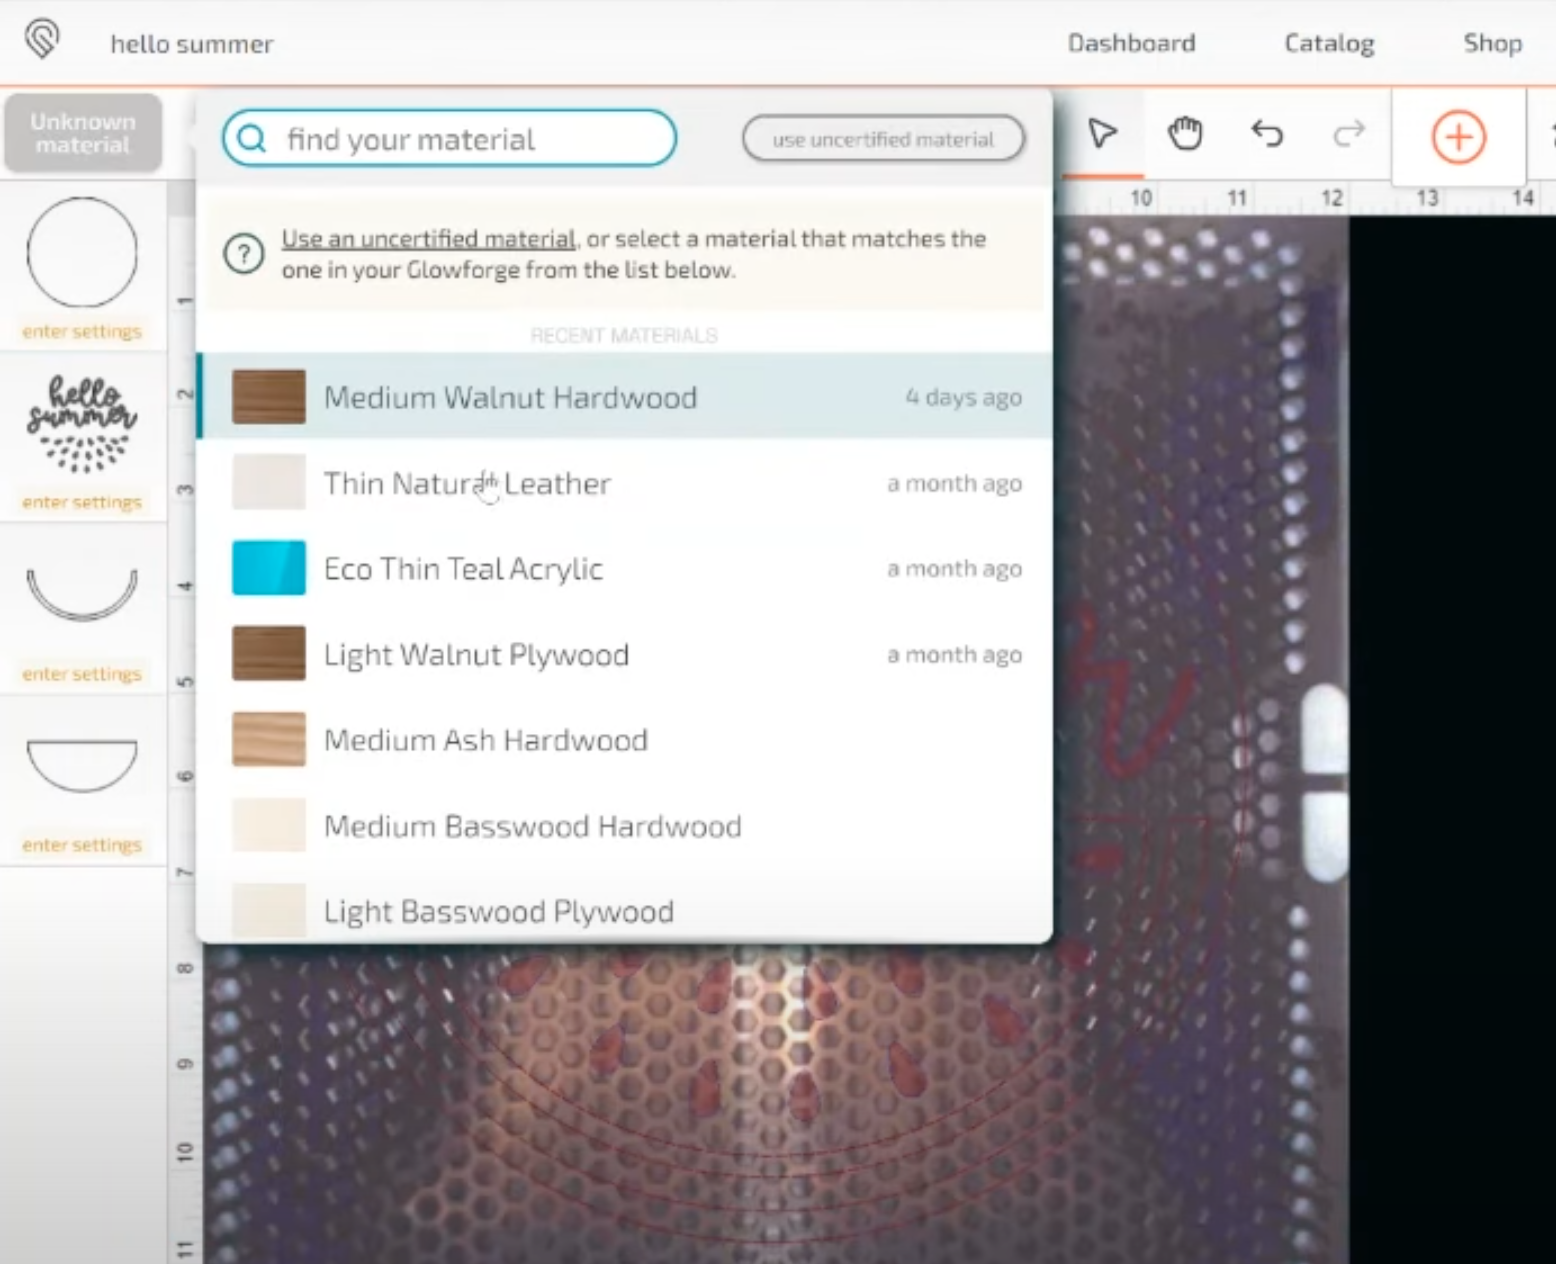
Select the material you want to cut. You do need to make sure each layer is set as a cut file. If you wanted to engrave some of those layers into the wood you can change that here too.
That is how you upload your own design into Glowforge for cutting. You can use any SVG file with the program including my other freebies.
How to Use the Trace Feature in Glowforge
The Glowforge Aura has a camera inside itself that can trace your drawings, handwriting, photos, and more. You can also add other items like wood blanks, leaves, and almost anything you can think of you can place into the Glowforge and it will trace around it for you using the camera.
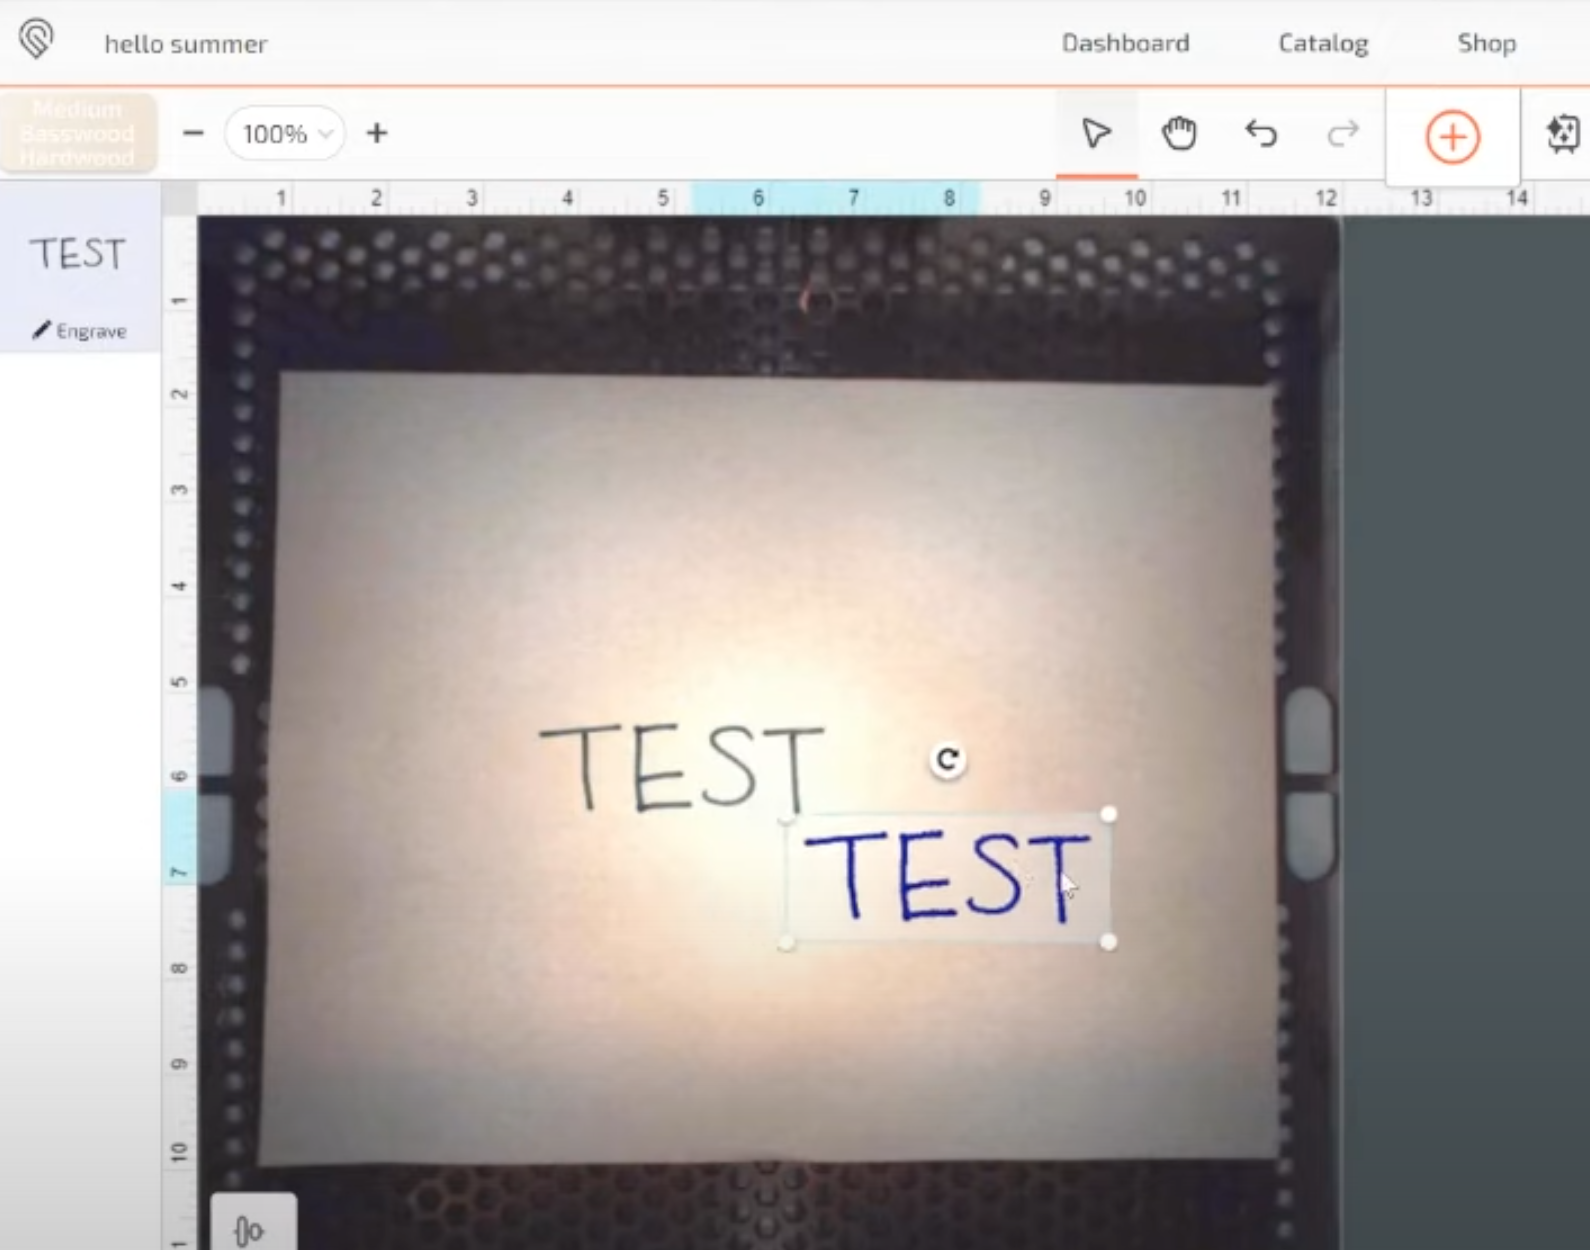
To show you how the trace feature works, I am simply using a Sharpie to write the word TEST on a piece of plain copy paper. Open the Glowforge Aura and place that sheet of paper inside the machine and when I close the lid it scans that piece of paper.
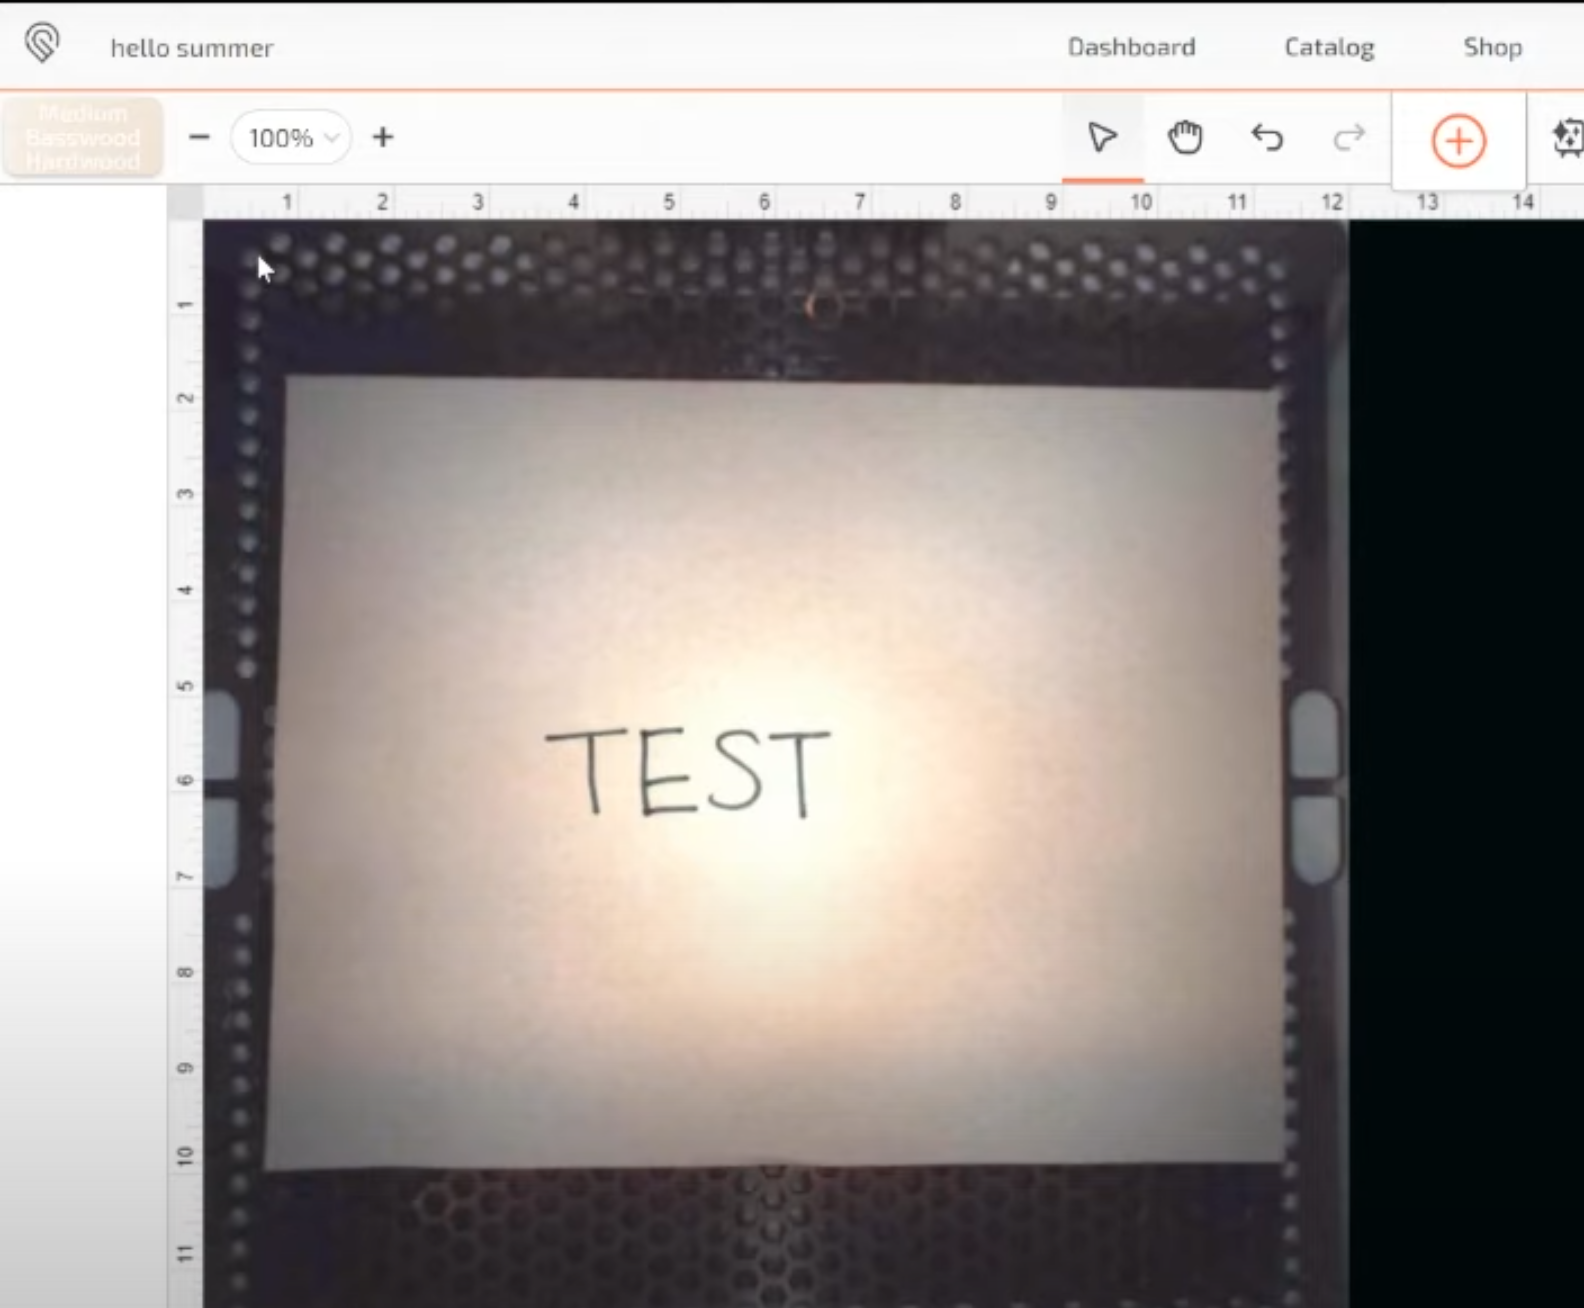
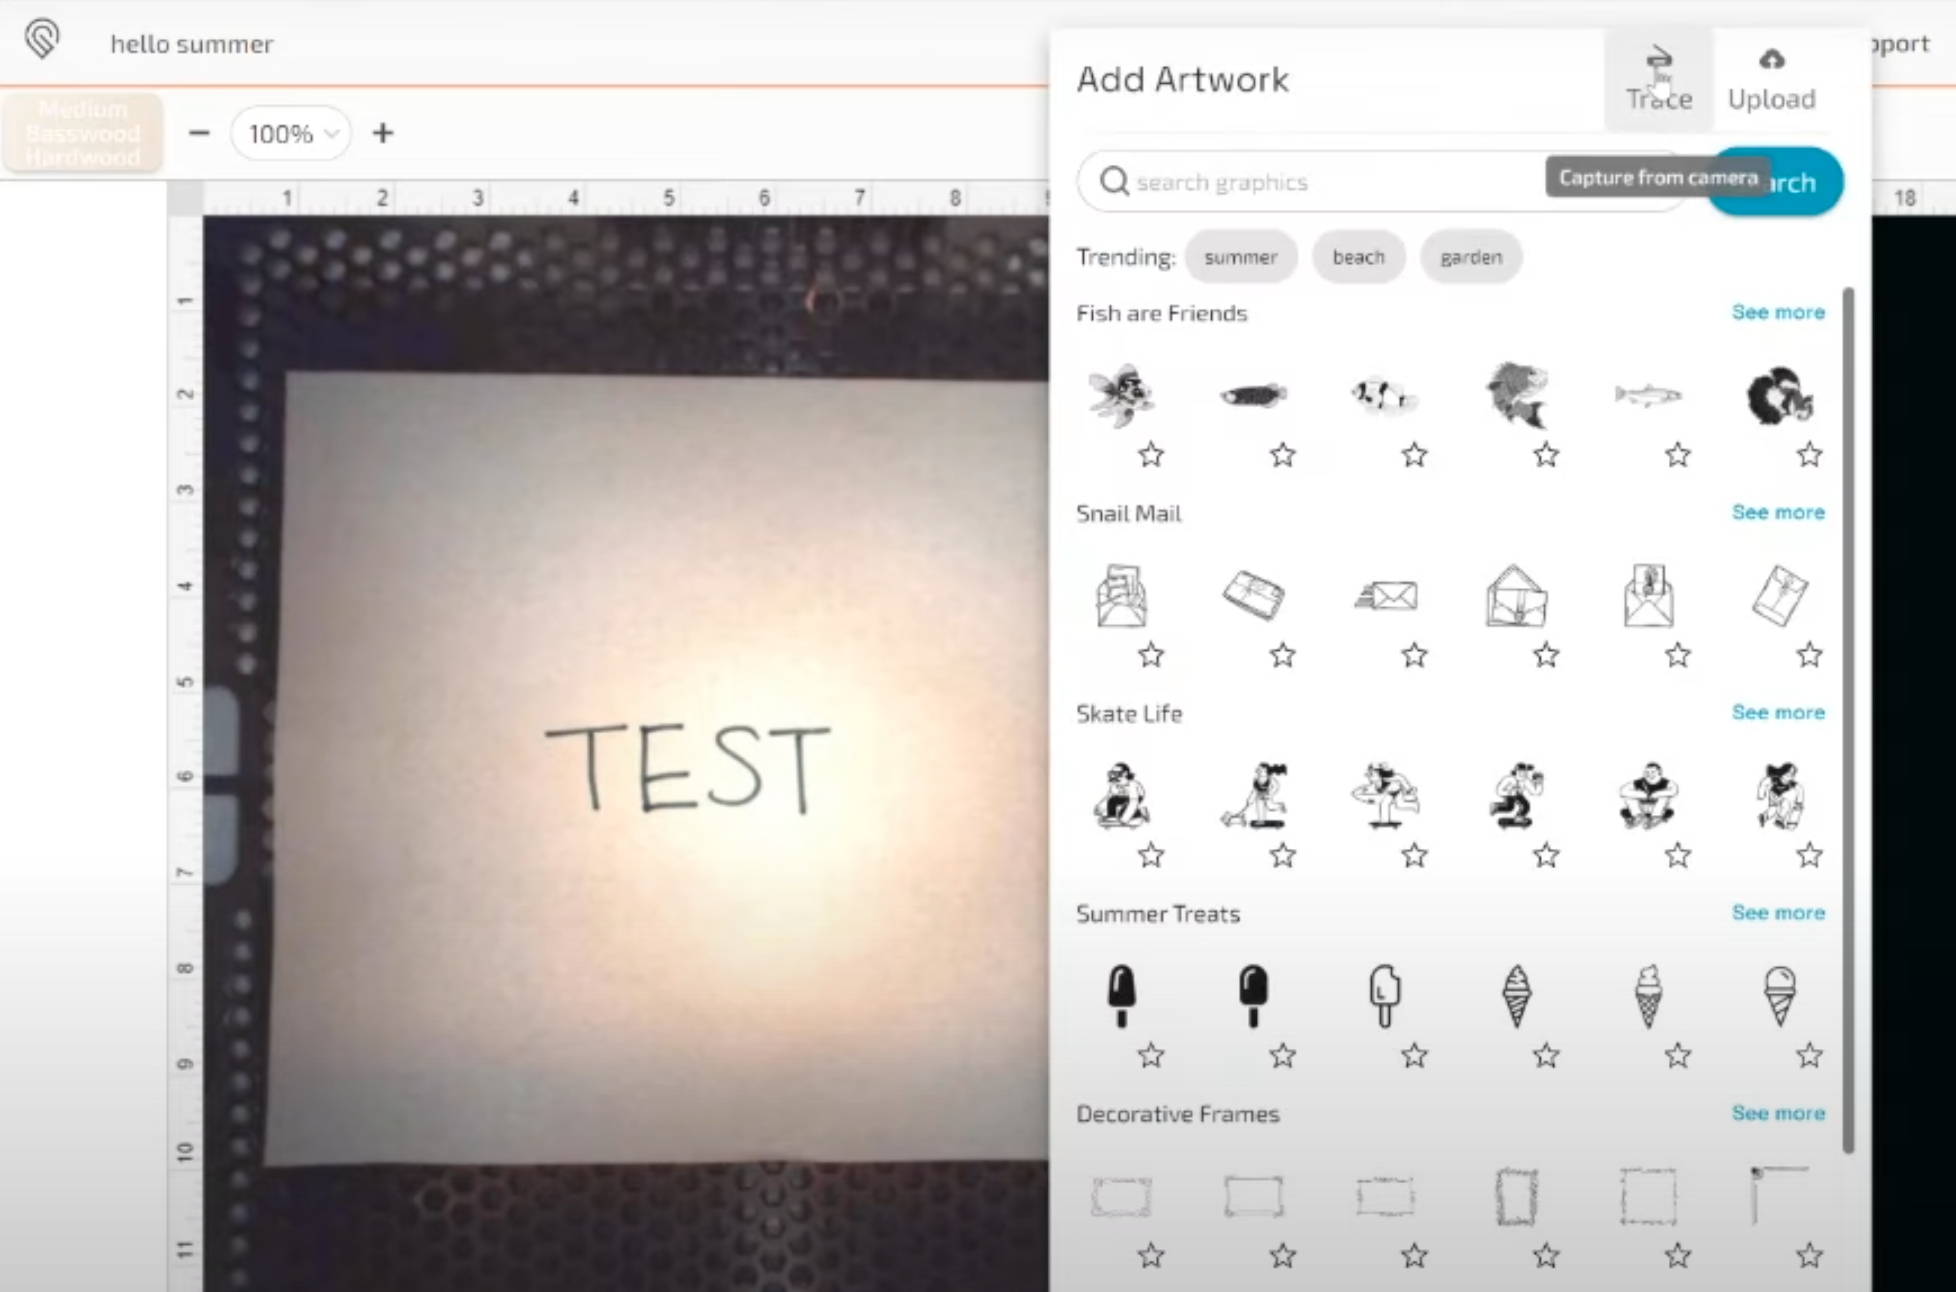
Now I can click Import Artwork and then click Trace. The Glowforge will capture whatever artwork I have put inside.
Use your mouse to draw a square around the section of the image you want to trace. This is essentially cropping out all the excess so the machine only captures what we actually want to use.
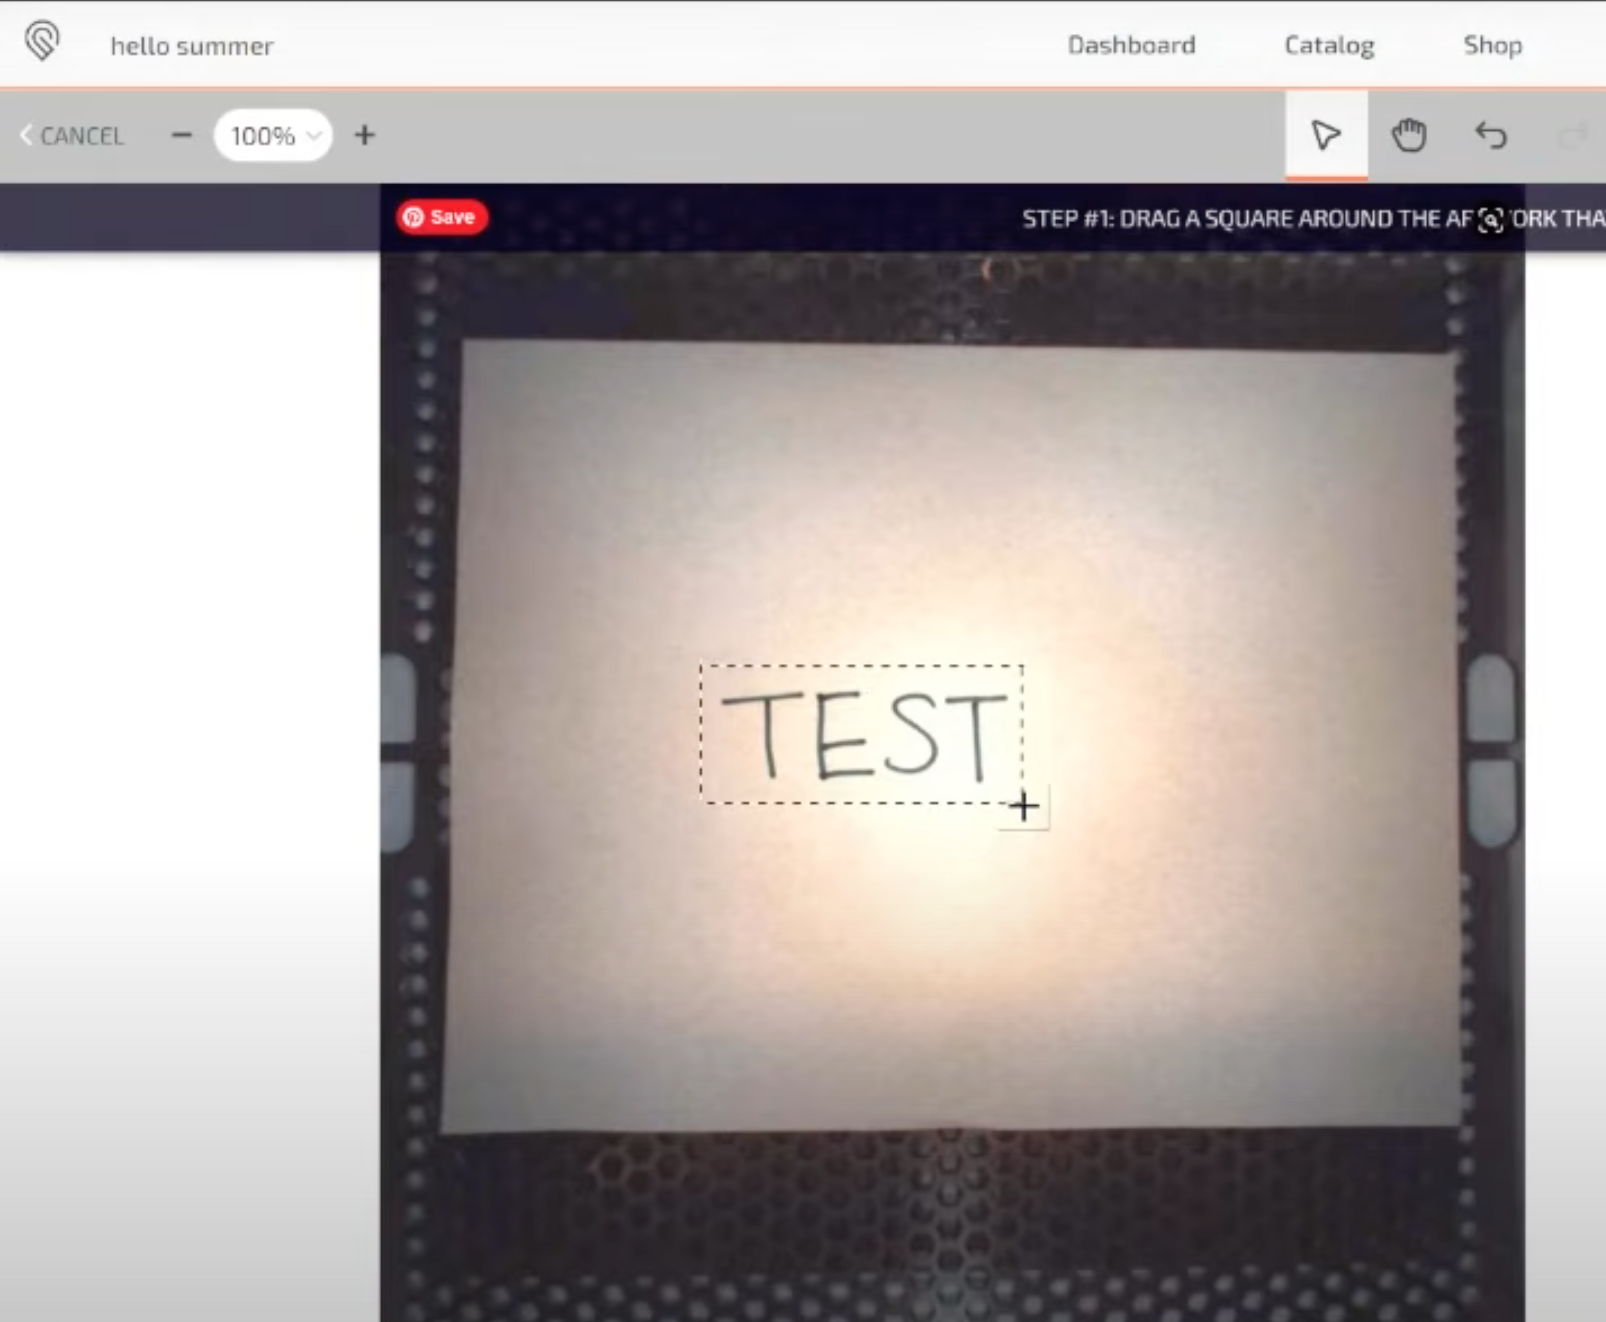
After that step, if you wanted to clean up the image or remove any portions you could do that now.
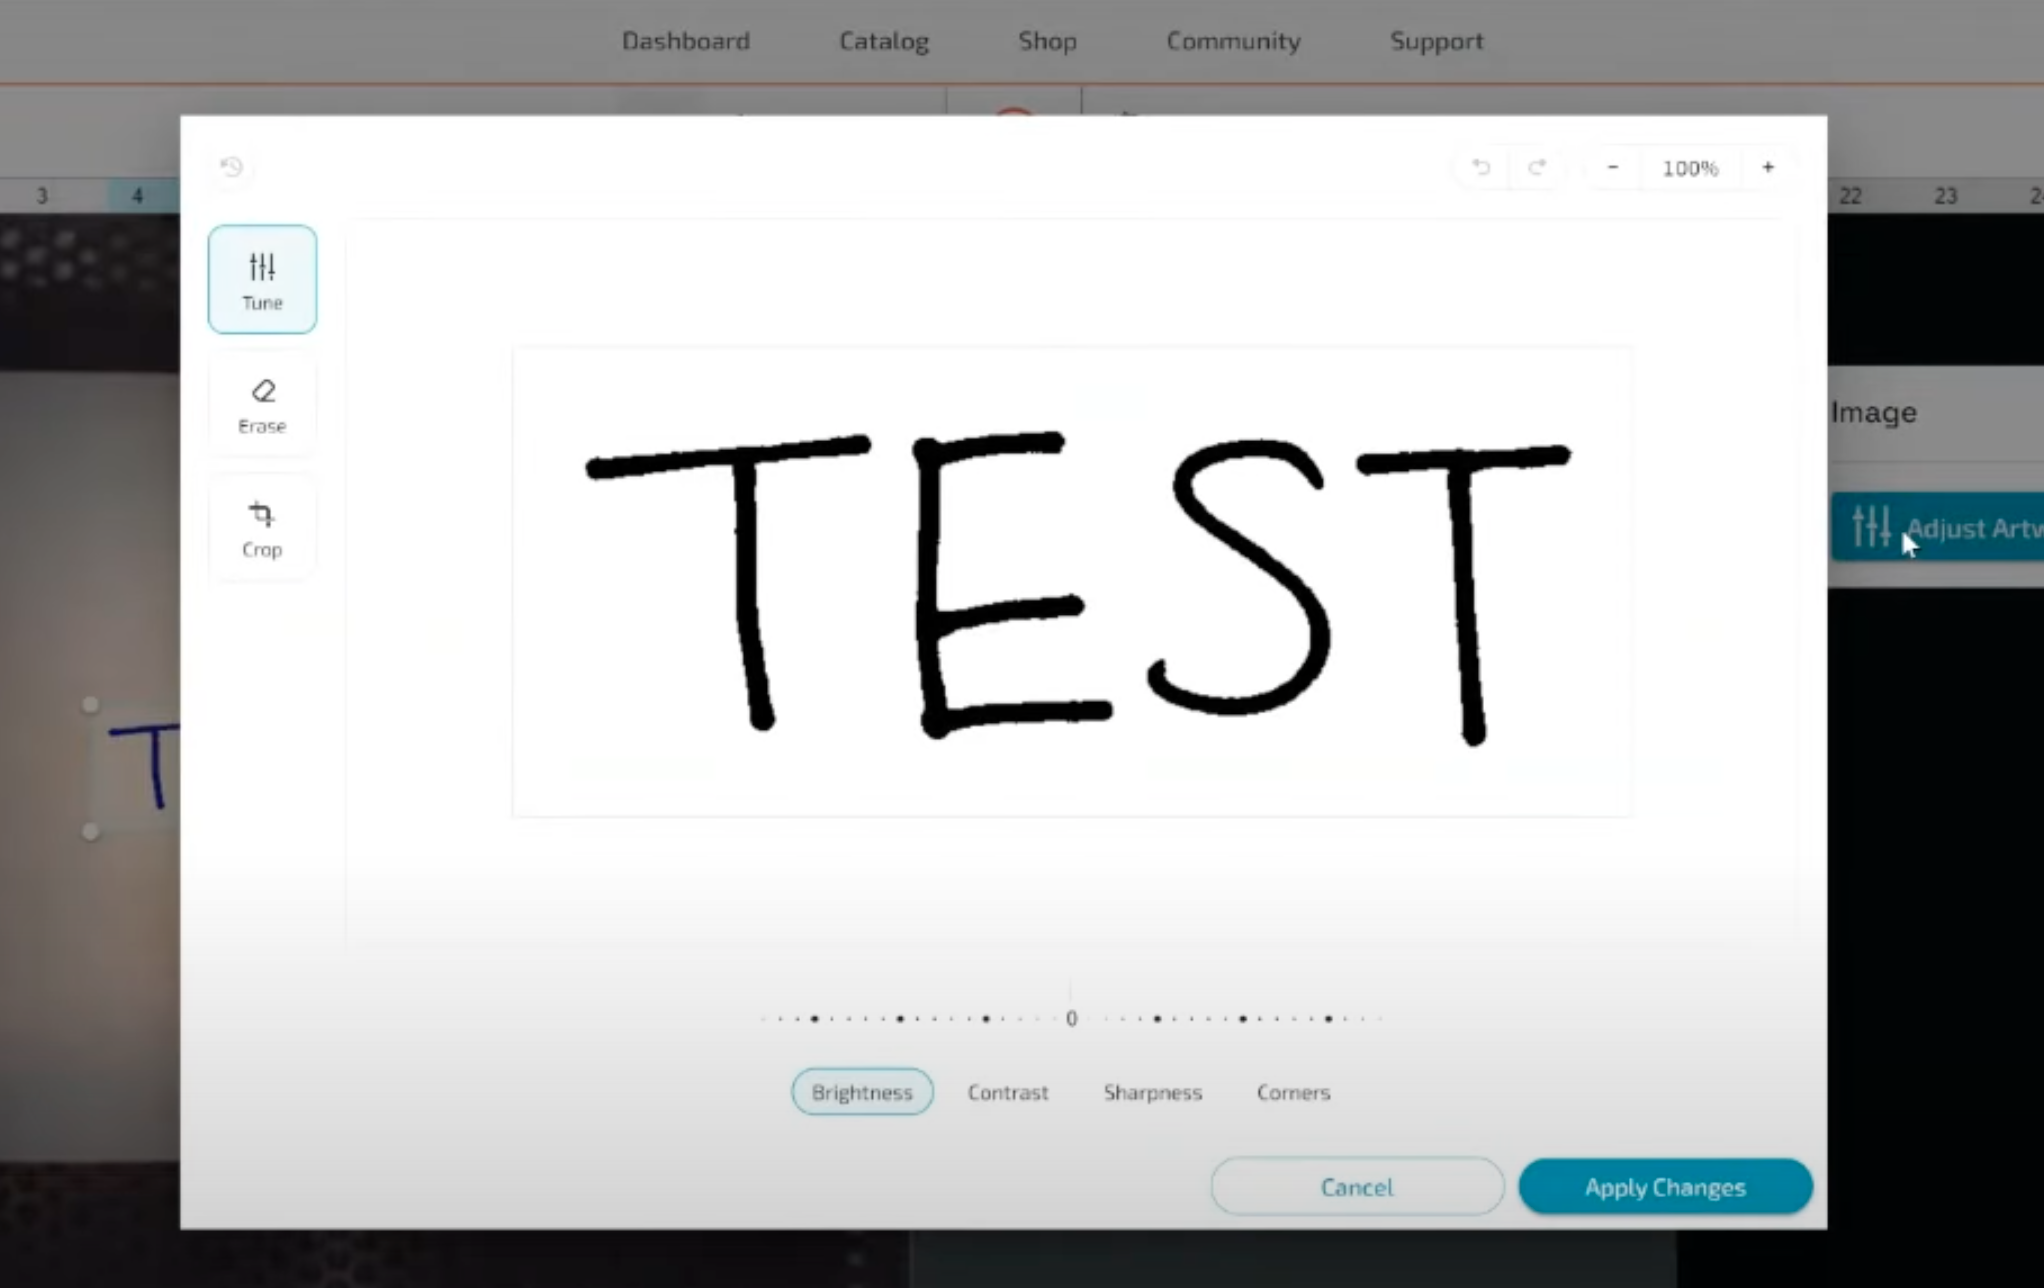
Next, I’m going to click Place Artwork. We can adjust the artwork from here. If we needed to change any of the settings, brightness, contrast, sharpness, we can do that here. We could also erase portions if we wanted to.
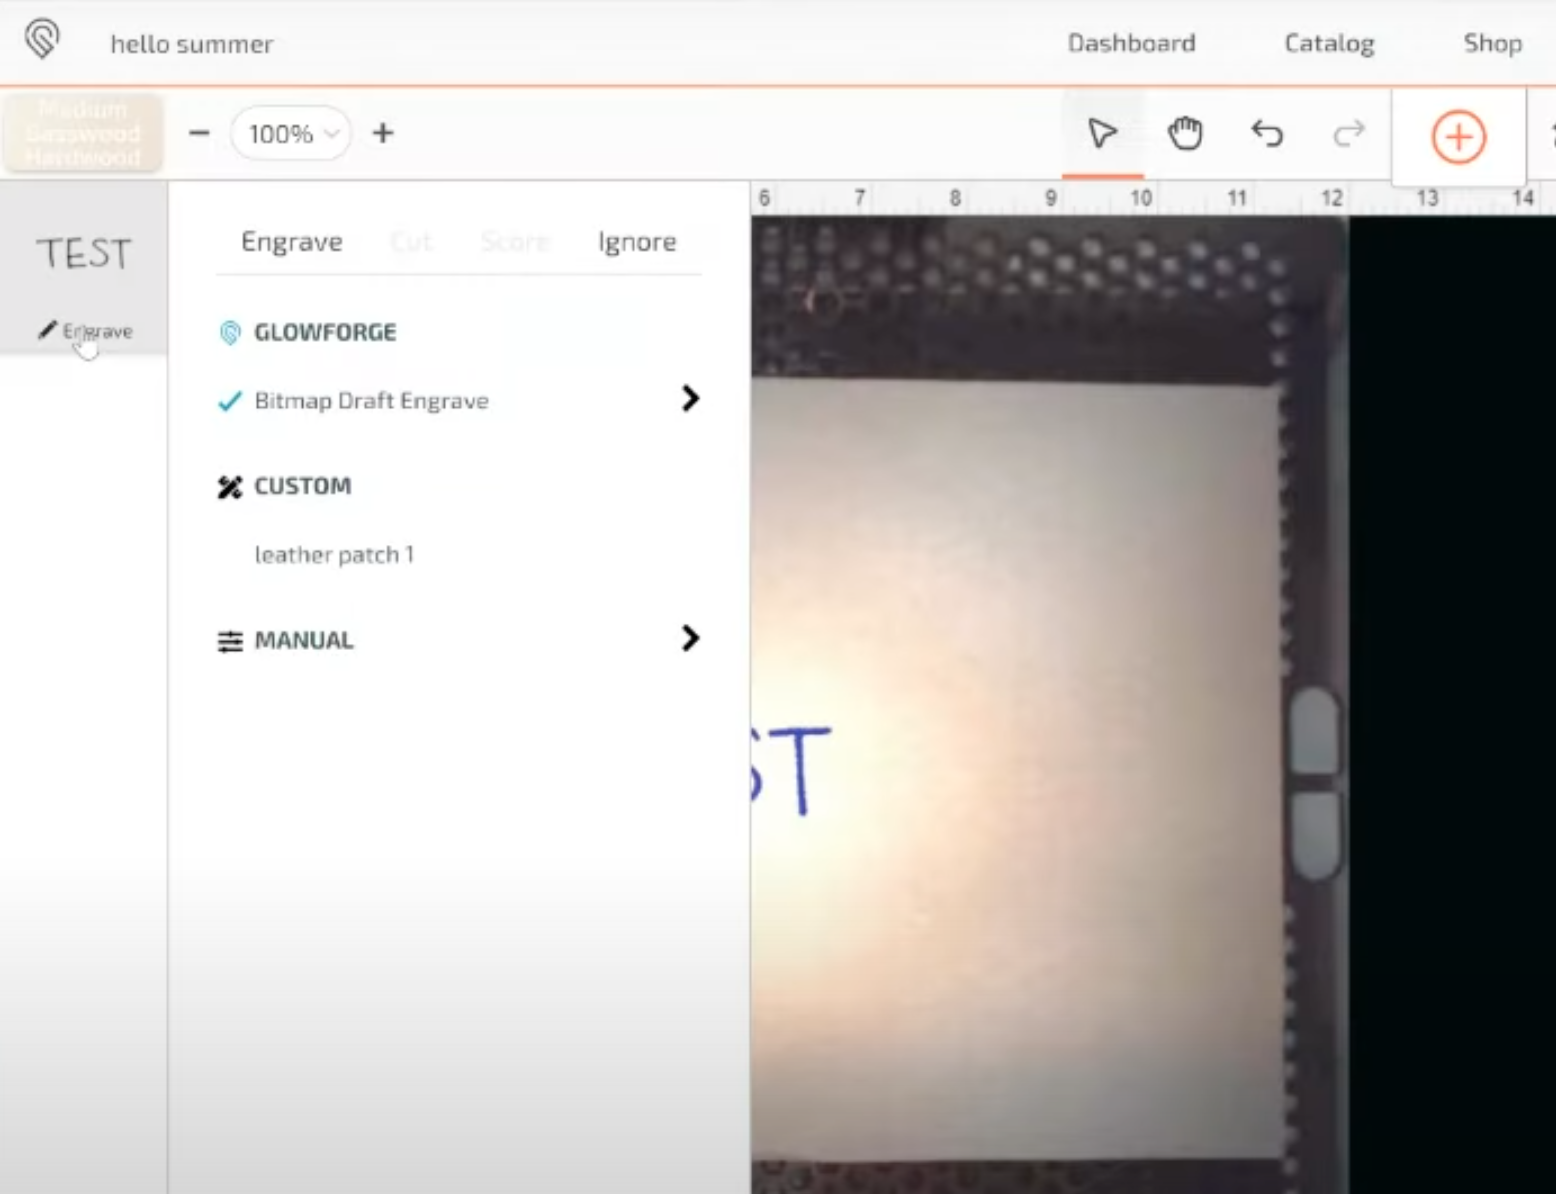
When you choose the trace function the Glowforge is going to see that as an engrave-type file. This will allow you to engrave this design into other things.
This tool is really great for things like handwritten letters or recipe cards. You can also use it for other things you’ve drawn or even photos of your family.
Final Thoughts on How to Upload and Trace Designs with Glowforge Aura
As you can see, the process of uploading and tracing designs with Glowforge Aura is really simple. I think they’ve done a great job at making the process easy and quick. Knowing how to use these tools you’ll be able to create a wide variety of projects with your own images and designs.
While I’m teaching you how to use the Glowforge Aura, I am going to break up the tools and projects into a variety of smaller tutorials like this one for engraving.
If you have any questions on how to upload and trace designs with Glowforge Aura or any of the other Glowforge software questions, leave those in the comments. I’ll be happy to answer them for you.


