Sometimes, all you are looking for are some beautiful DIY signs that add that special and unique element you crave in your home decor. Well, today’s project is a fun and simple technique using crackle medium and chalky finish paint! It will help you create the ultimate rustic sign your room needs!
I love making signs for my home, especially rustic-looking ones.
Rustic signs are perfect for ANY day, season, or holiday, and I look at any upcoming occasion as an excuse to make a much-needed sign! I’ve even made signs for a wedding. 😉
All you need is some wood, stain (or paint), and maybe a stencil or two to make a truly unique sign that you’ll love and receive endless comments about from your friends and family.
Tip: If you love easy DIY rustic signs be sure to check out my Rustic Sweet Tea Wood Sign, DIY Home Sign with Wreath, and Wooden Signs with Quotes ideas!
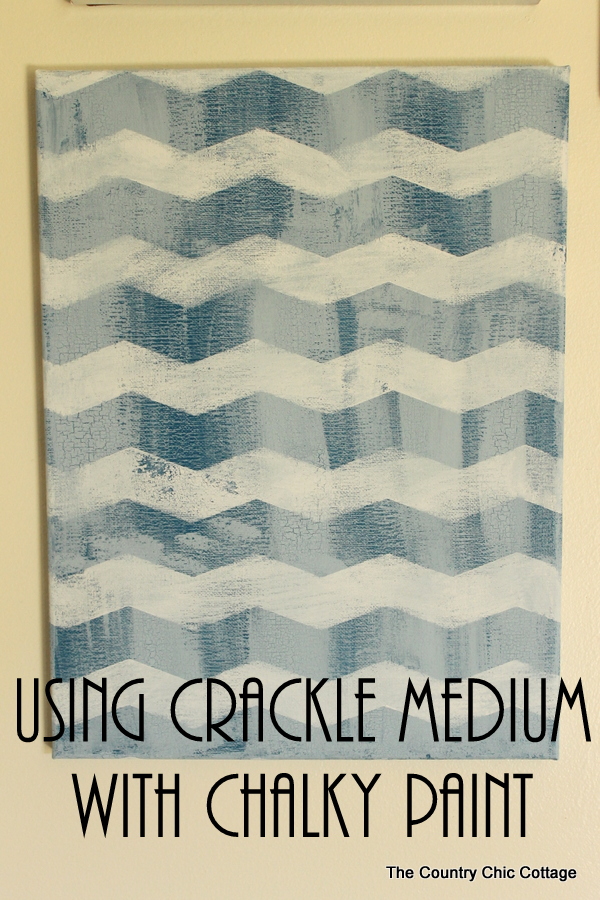
How To Make A Wooden Sign Using Crackle Medium
For today’s sign, I’m making a generic chevron design, but the real attraction to this sign is the crackle paint finish. Although it’s something you see occasionally on signs in stores, I am super excited to be making one of my own.
How do you create a crackle finish?
Well, DecoArt also makes a crackle medium to go with their chalky finish paint. I just had to give it a try and see what it would do, and I’m absolutely in love.
Y’all follow along below as I share my adventures in using crackle medium with chalky finish paint!
NOTE: This project is a part of my design team status with DecoArt. However, all projects and opinions are my own.
Supplies Needed
I’ve included a list of everything you’ll need for this project and even added links for some items to make finding them faster and easier!
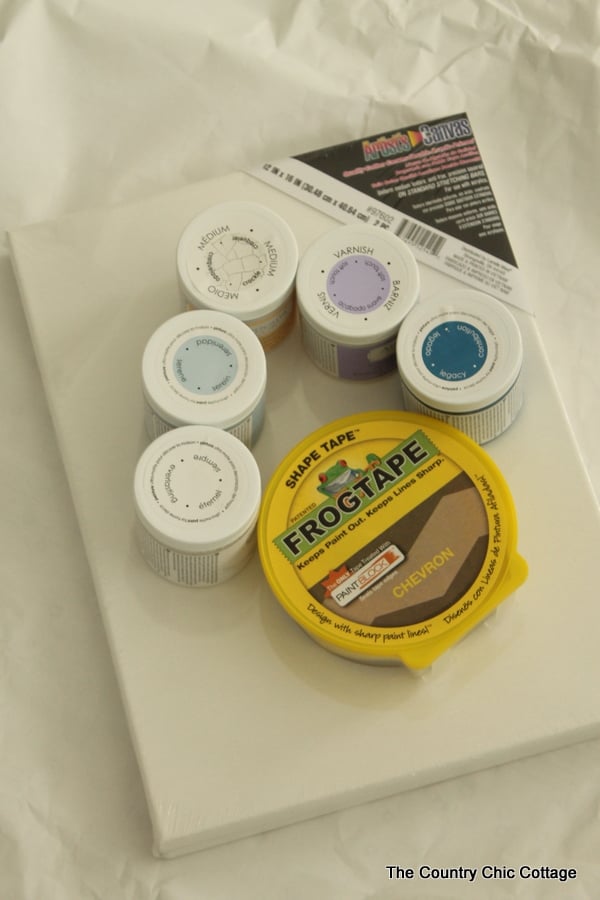
- Americana Chalky Finish Paint, 8-Ounce bottles in Legacy
, Serene, and Everlasting
- Deco Art Crackle Medium, 8-Ounce, Clear
- Deco Art Soft Touch Varnish
- Canvas
- Shape Tape Painting Tape, Chevron Design
Painting Tip:
Choose whichever colors you would like to do this project! I used blue and white because I love those two colors together (like the sky!)
Instructions
Are you ready to create your own unique work of art? The process looks intimidating, but I promise it isn’t. Just follow each step as I’ve outlined them, and you’ll be amazed at how simple and easy it really is!
Step 1
Start with your darkest color (legacy in my case) and paint the entire canvas including the edges.
Allow the paint to dry completely (at least 2 hours) before continuing.
Step 2
Next, grab your bottle of Americana Décor Crackle Medium.
Paint an even coat of crackle medium onto your surface and allow to dry completely.
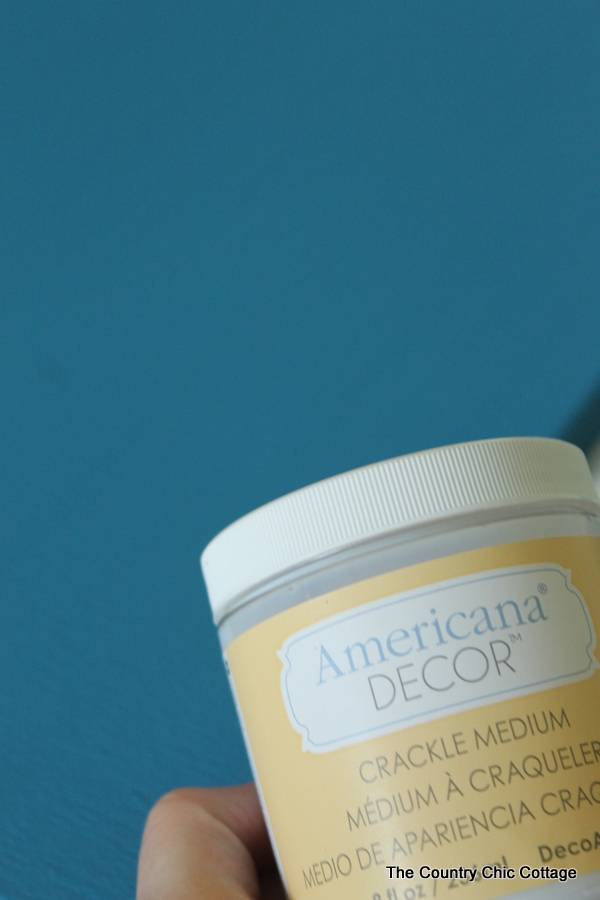
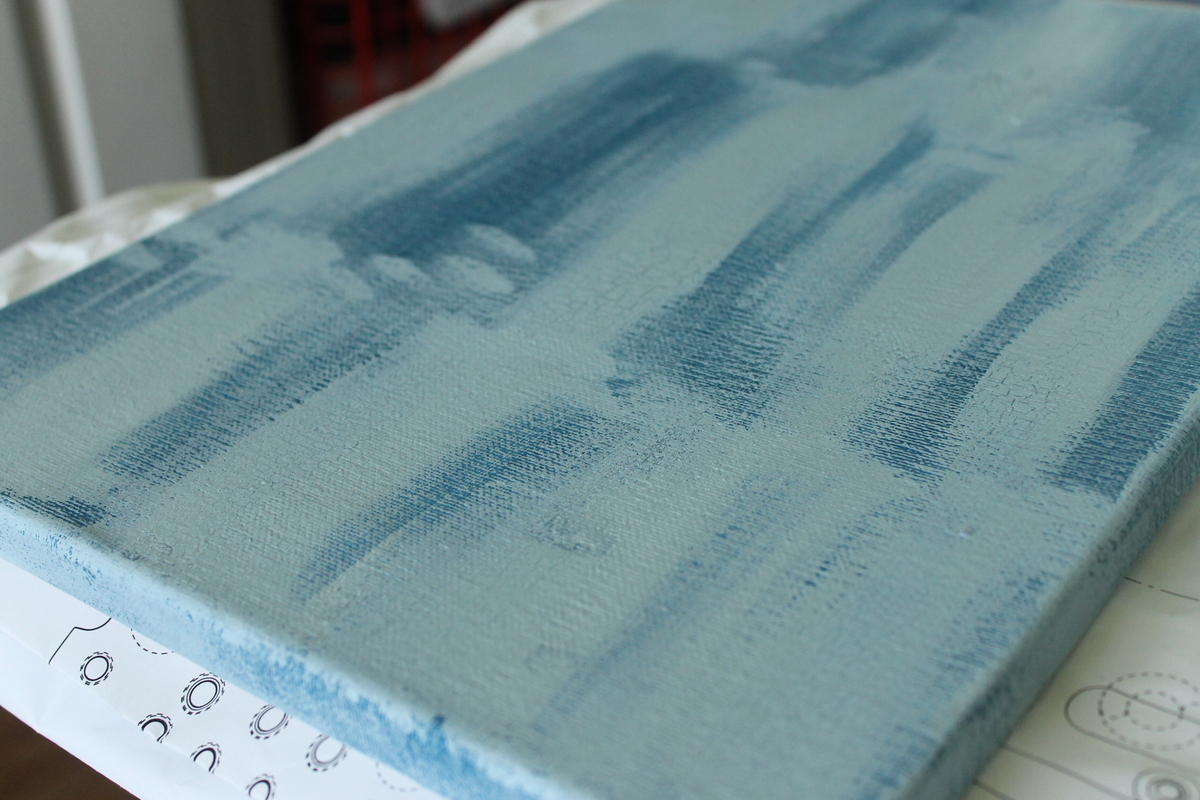
NOTE: The paint may look blotchy like the image below, but trust me. It’s all going to look wonderful once the project is completed. Again I used it on the entire canvas, including the edges.
Step 3
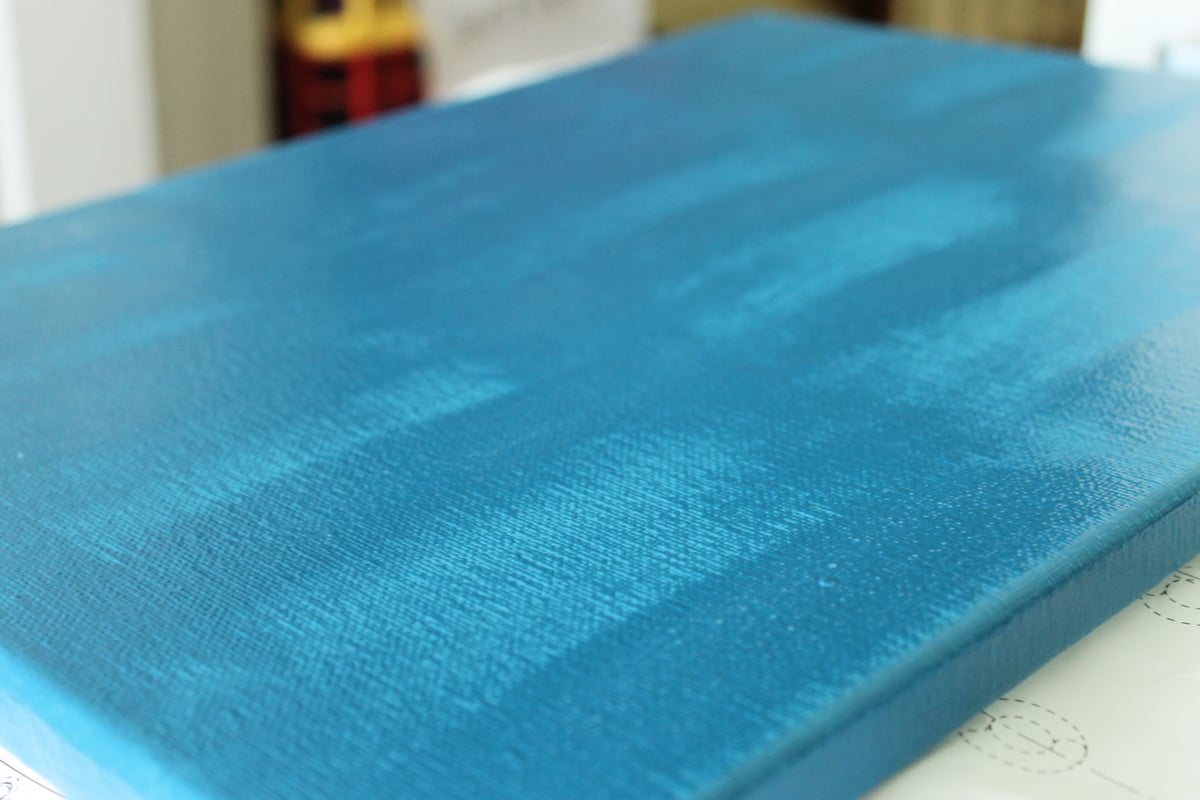
Be sure the crackle medium is dry completely to the touch. Then, go over the canvas with your next color (serene in my case).
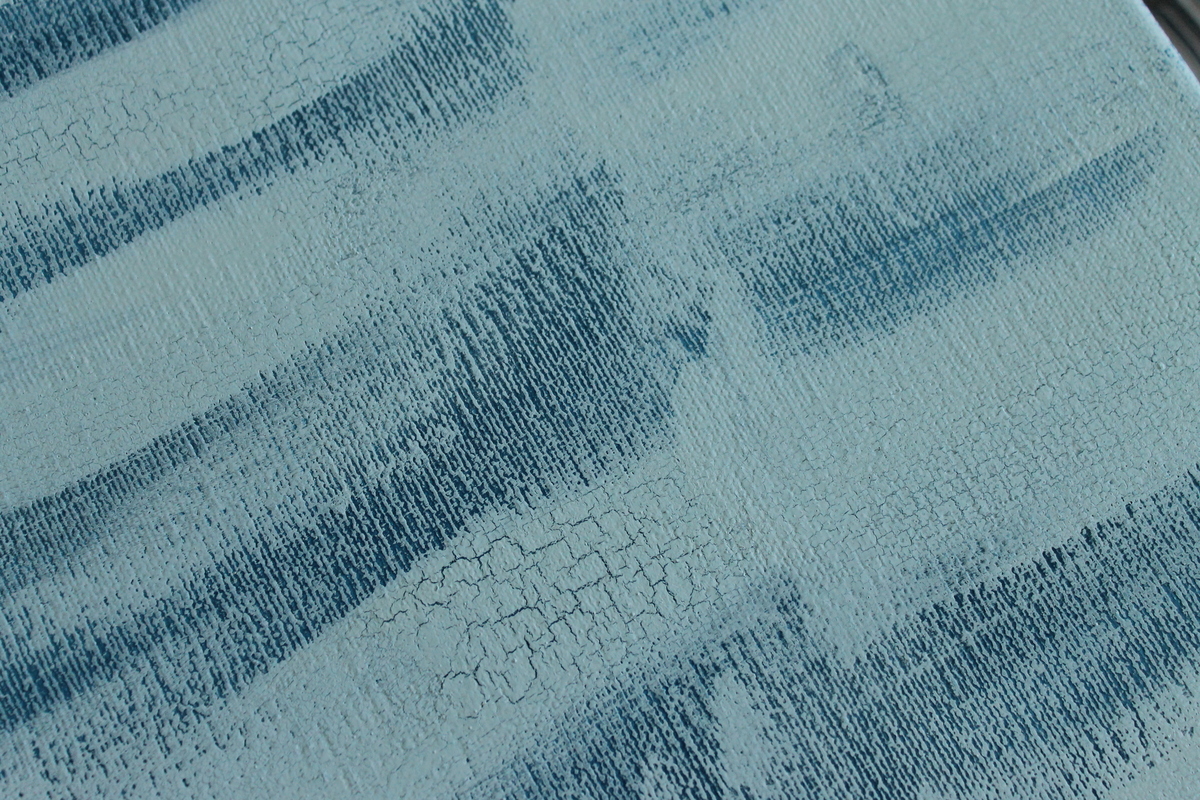
I went heavy in some areas and light in others. I did this to illustrate the effect of the crackle medium but this will also give a worn look to your completed canvas.
Here’s a close-up of that crackle effect. Again this needs to dry completely before continuing (at least 2 hours).
Step 4
Now’s the time to add our chevron design!
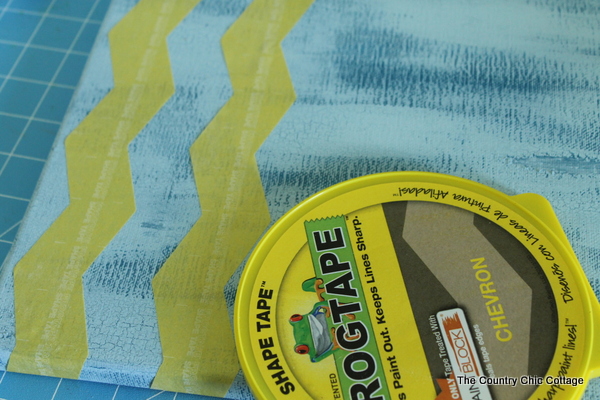
Grab your chevron painter’s tape and start laying out chevron stripes. Be sure the edges of your painter’s tape adhere well to the canvas.
Step 5
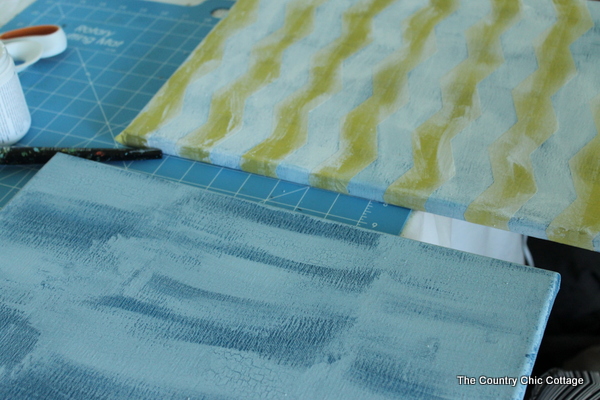
Go over the entire thing with a very light coat of white or cream paint (everlasting in my case).
The tape itself has some sort of (waxy?) coating on the top and it appeared to make the chalky paint “ball up” when I applied it.
I just took my fingertips and went over the surface lightly to remove that texture. You can do this within minutes of applying the paint in such a light coat.
Step 6
Remove that painter’s tape to reveal a distressed canvas that will go wonderfully in your home. Allow drying for at least 2 hours.
Step 7
The final step is to go over your entire canvas with Americana Décor Soft Varnish to protect your work. Allow your canvas to completely dry and hang it up in your home.
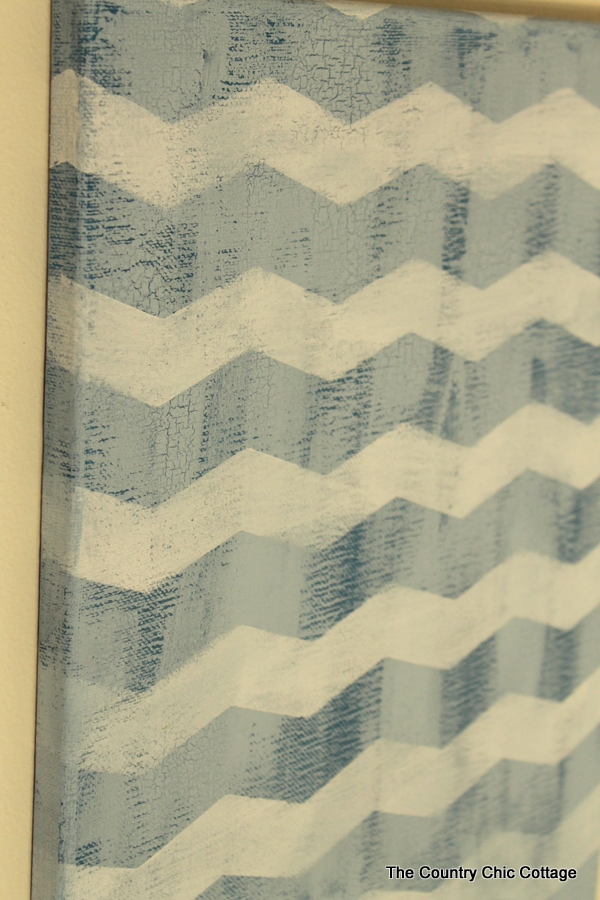
It is super easy to use crackle medium with chalky finish paint – and the results are so much fun.
In fact, I love it so much that I also made a Crackle Finish Table Top! Y’all, check it out!
Project Tips
- You can pick and choose the severity of your crackle effect on any surface where you choose to use the medium. The heavier the top coat of paint, the more crackle will appear, and the opposite is true for lighter painted areas.
- You aren’t limited to canvas or wood when using this crackle medium. It will work on metal and other surfaces too.
FAQs
Here are a couple of common questions I see from readers about this using crackle medium. If you have a question but don’t see it down below, please leave it in the comments so I can answer it for you.
Do I need to buy a special brush or sponge to apply crackle medium?
Nope! This can be applied with a standard paint brush. No fancy tools or equipment is required to get a crackle finish on any surface.
Can I use a different type of paint?
Yes! The crackle medium is designed to pair with chalky paint, but it will also work with acrylic paint.
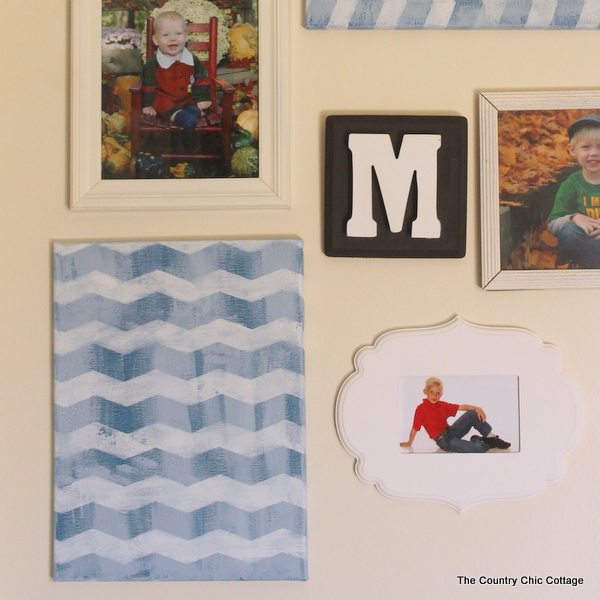
Isn’t the crackle medium so much fun? I love how it turned out! Go grab the supplies above and get started.
And, if you want to have even more fun with it, invite some girlfriends over for a crafternoon with this project!
More DIY Sign Projects To Love
If you love this project and want more DIY sign inspiration, check out these ideas!
- DIY Rustic Wedding Signs
- Pumpkin Patch Sign: An Easy DIY Idea
- How To Paint A DIY Barnwood Sign
- Wood Pallet Sign — no sawing or nailing required!
- Painted Acrylic Sign from the Dollar Store
Supplies
- Americana Chalky Finish Paint in Legacy, Serene, and Everlasting colors
- Deco Art Crackle Medium
- Deco Art Soft Touch Varnish
- Canvas
- Shape Tape Painting Tape Chevron design
Instructions
- Paint your entire canvas with your darkest color. Allow at least 2 hours of drying time.
- Next, paint an even coat of Americana Décor Crackle Medium over the surface of your project. Allow it to dry completely.
- Once your crackle medium is completely dry to the touch, add a layer of your next color on top. Allow it to dry completely (2+ hours).
- Grab the chevron painter’s tape and start laying chevron stripes across your canvas. Double check that the paint adheres to your canvas.
- Add a light coat of cream or white paint on top.
- Once the paint dries, remove the tape strips to reveal your distressed design.
- Apply a coat of Americana Décor Soft Varnish to protect your project. Once it's dry, your project is ready to display!


I used the chalk paint on a project. When it was time to use the crackle medium, I used the Decoart one step crackle which I had on hand but it did not crackle at all. Why??
Did you paint over the top of the crackle medium? The color on top will be the one that crackles.