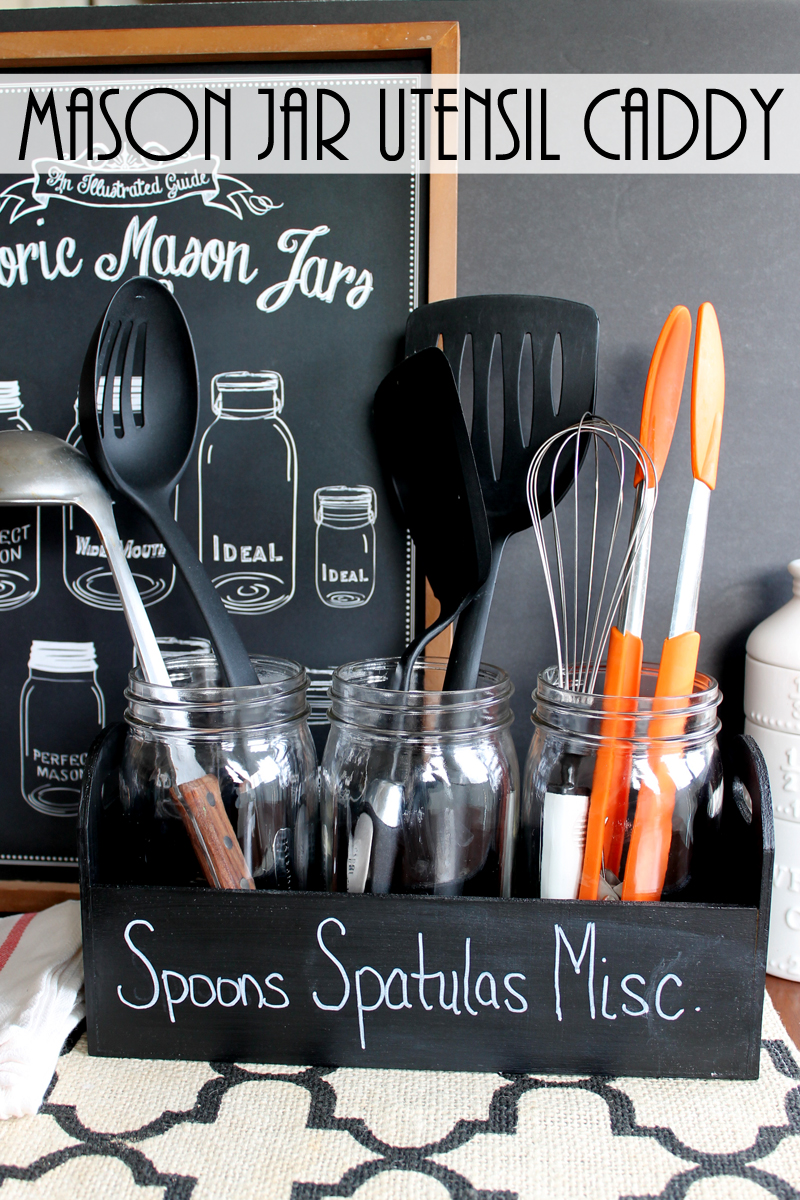
Make this simple utensil organizer as a way to keep things tidy in the kitchen. See how I made this utensil organizer with a few craft supplies and mason jars.
I love organizing things. Keeping like-minded items together in cute containers is one of my favorite ways to stay organized in the various rooms of my house.
Here are just a few of the organization crafts I’ve made recently:
This utensil organizer is a perfect way to store and show all your utensils in your kitchen. It is a great way to use mason jars to organize in the kitchen. Plus it is a chalkboard surface so you can change it up as often as you need to!
You can make this utensil organizer for your home in just minutes. This idea will leave your kitchen more organized and have you loving the look on your counter! Grab the supplies below and get started on making one for your kitchen counter today.
How to Make this Utensil Organizer
Let’s make this utensil organizer together. Then you can use it to show off your utensils in your kitchen and to keep things tidy.
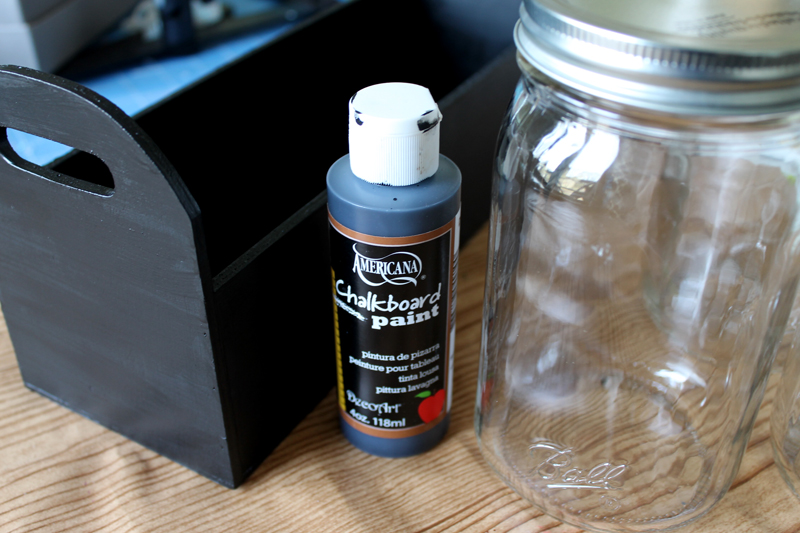
Supplies needed for this utensil organizer:
- Wood planter box
- Chalkboard paint
- Wide mouth quart jars (3)
- Paint brush
Instructions for Utensil Organizer
First use a paint brush to apply chalkboard paint to the entire planter box.
I find that it works best to apply a coat in one direction, allow to dry, then apply a coat in the opposite direction. Allow your paint to dry and cure according to the package directions before using.
You will then want to use regular chalk over the entire surface to condition it before use.
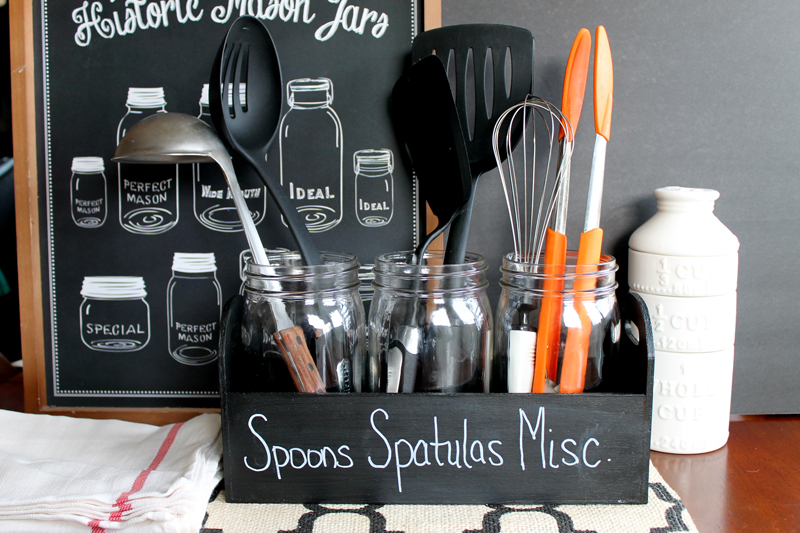
For use in the kitchen, I use chalk markers. These are not required but they are slightly more permanent than regular chalk. Once you write on your words and allow it to dry, the writing can only be removed with water. This is much better than regular chalk that can easily be removed just by rubbing against a surface.
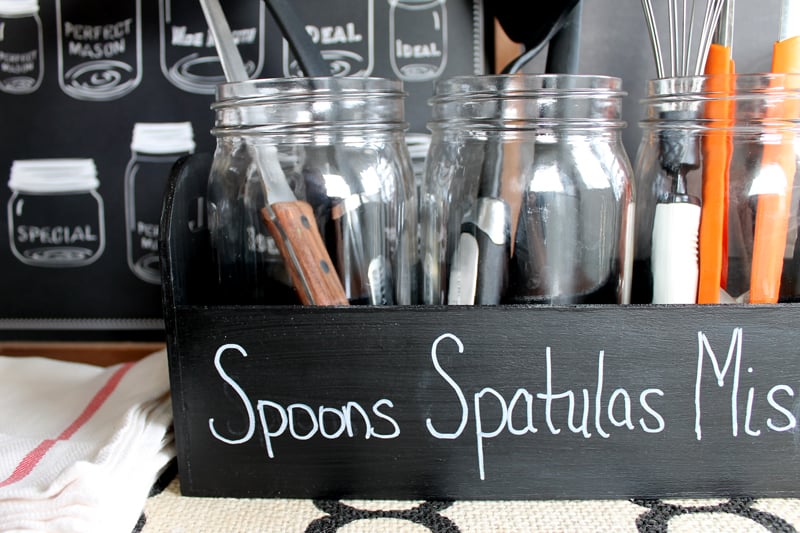
I use one jar for spoons, one for spatulas, and one for miscellaneous utensils. You can definitely customize this project to the needs of your kitchen and use it for what works for you.
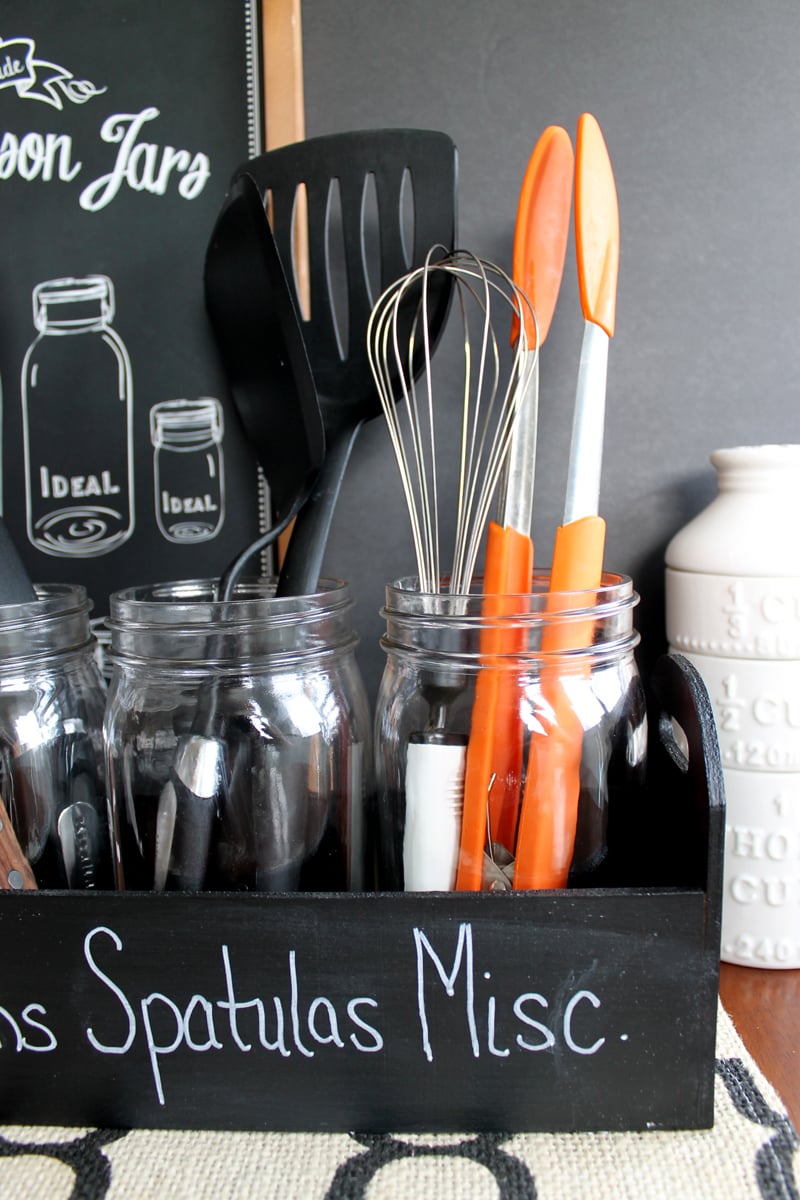
You can easily make this utensil organizer in an afternoon. Have fun customizing it to your needs.
Ingredients
- Wood planter box
- Chalkboard paint
- 3 Wide mouth quart jars
- Paint brush
Instructions
- First use a paint brush to apply chalkboard paint to the entire planter box.I find that it works best to apply a coat in one direction, allow to dry, then apply a coat in the opposite direction. Allow your paint to dry and cure according to the package directions before using.You will then want to use regular chalk over the entire surface to condition it before use.
- For use in the kitchen, I use chalk markers. These are not required but they are slightly more permanent than regular chalk. Once you write on your words and allow it to dry, the writing can only be removed with water. This is much better than regular chalk that can easily be removed just by rubbing against a surface.
- I use one jar for spoons, one for spatulas, and one for miscellaneous utensils. You can definitely customize this project to the needs of your kitchen and use it for what works for you.
- You can easily make this utensil organizer in an afternoon. Have fun customizing it to your needs.
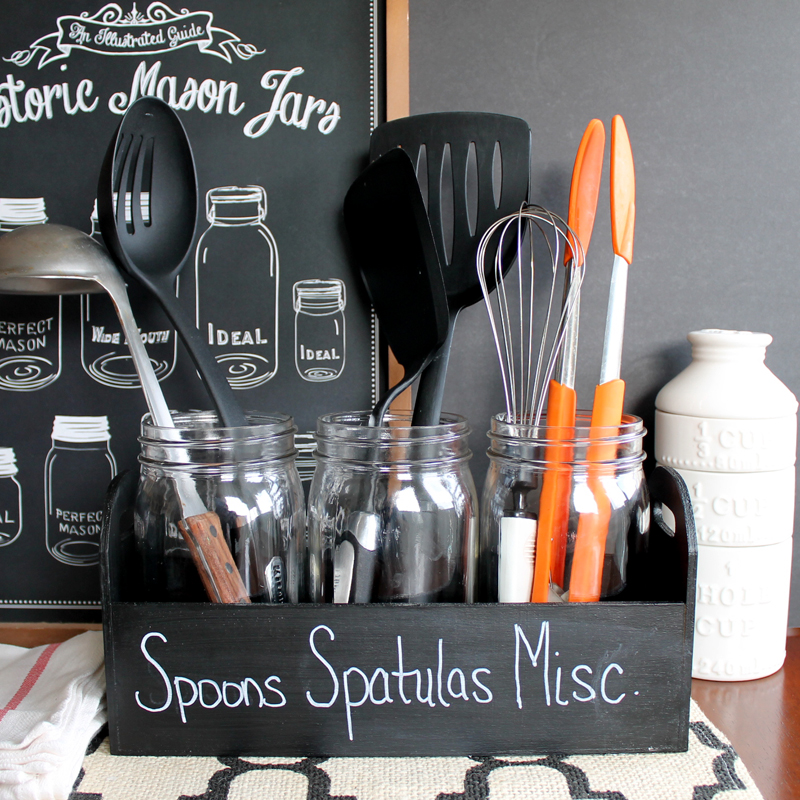
Love this DIY utensil organizer using mason jars and need more ideas? Check out the kitchen organization projects below.
- Magnetic Knife Block
- Kitchen Organization Tips
- Organizing Your Kitchen
- Kitchen Organization Ideas
- Dollar Store Lazy Susan
- Kitchen Organization Supplies
A Year of Jar Crafts

Sign up for our email list to get a FREE book with an entire year of jar crafts! 12 months, 12 crafts, tons of fun!


