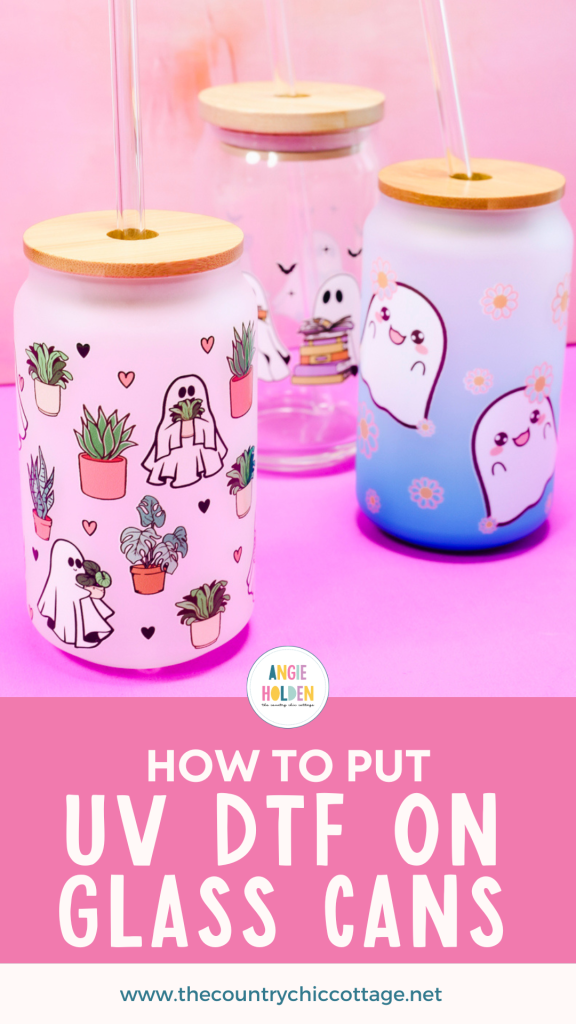
I’m excited to show you how to use UV DTF prints to create customized glass cans. If you’re ready to create fun glass cans for every holiday, I’m here to help.
If you order UV DTF prints, you don’t need a printer or machine to create projects just like these.
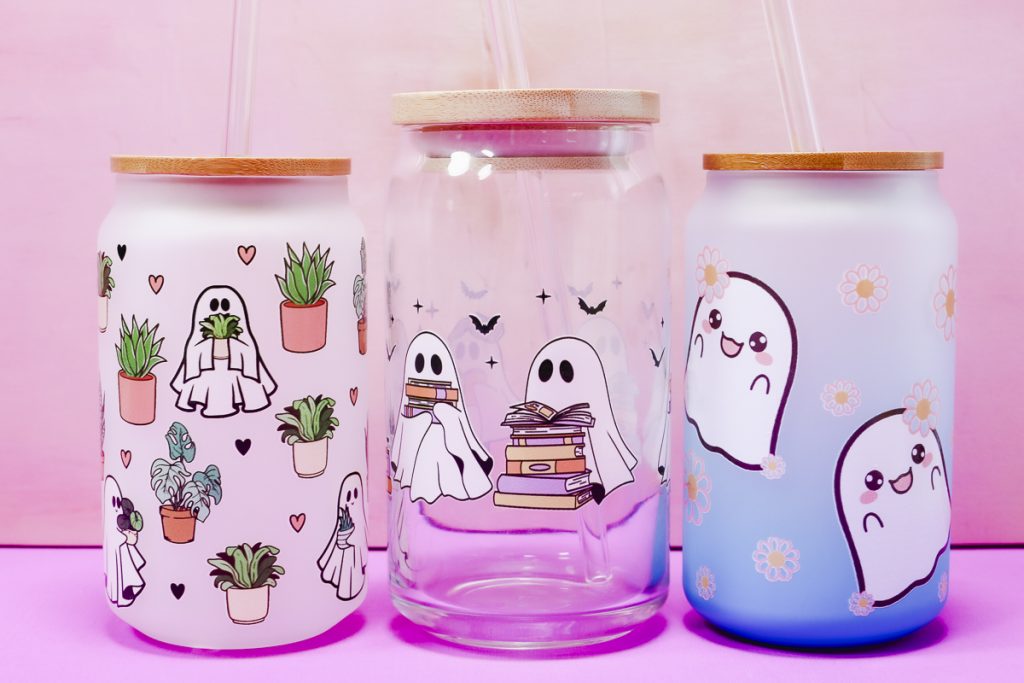
You can watch me make these UV DTF glass cans with Cori George by pressing play on the video below.
How to Make Custom UV DTF Glass Cans
Grab your supplies and some Libby glass cans or any other brand and start creating your own custom drinkware in minutes!
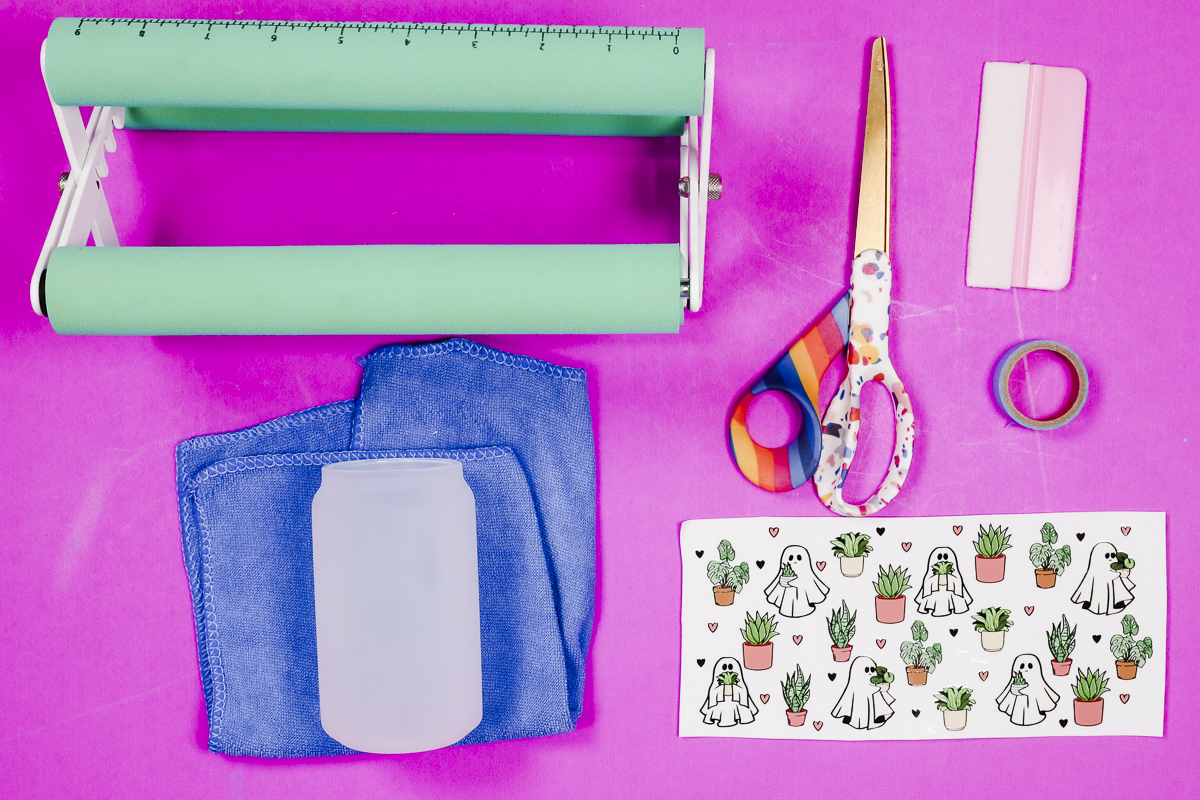
Supplies Used:
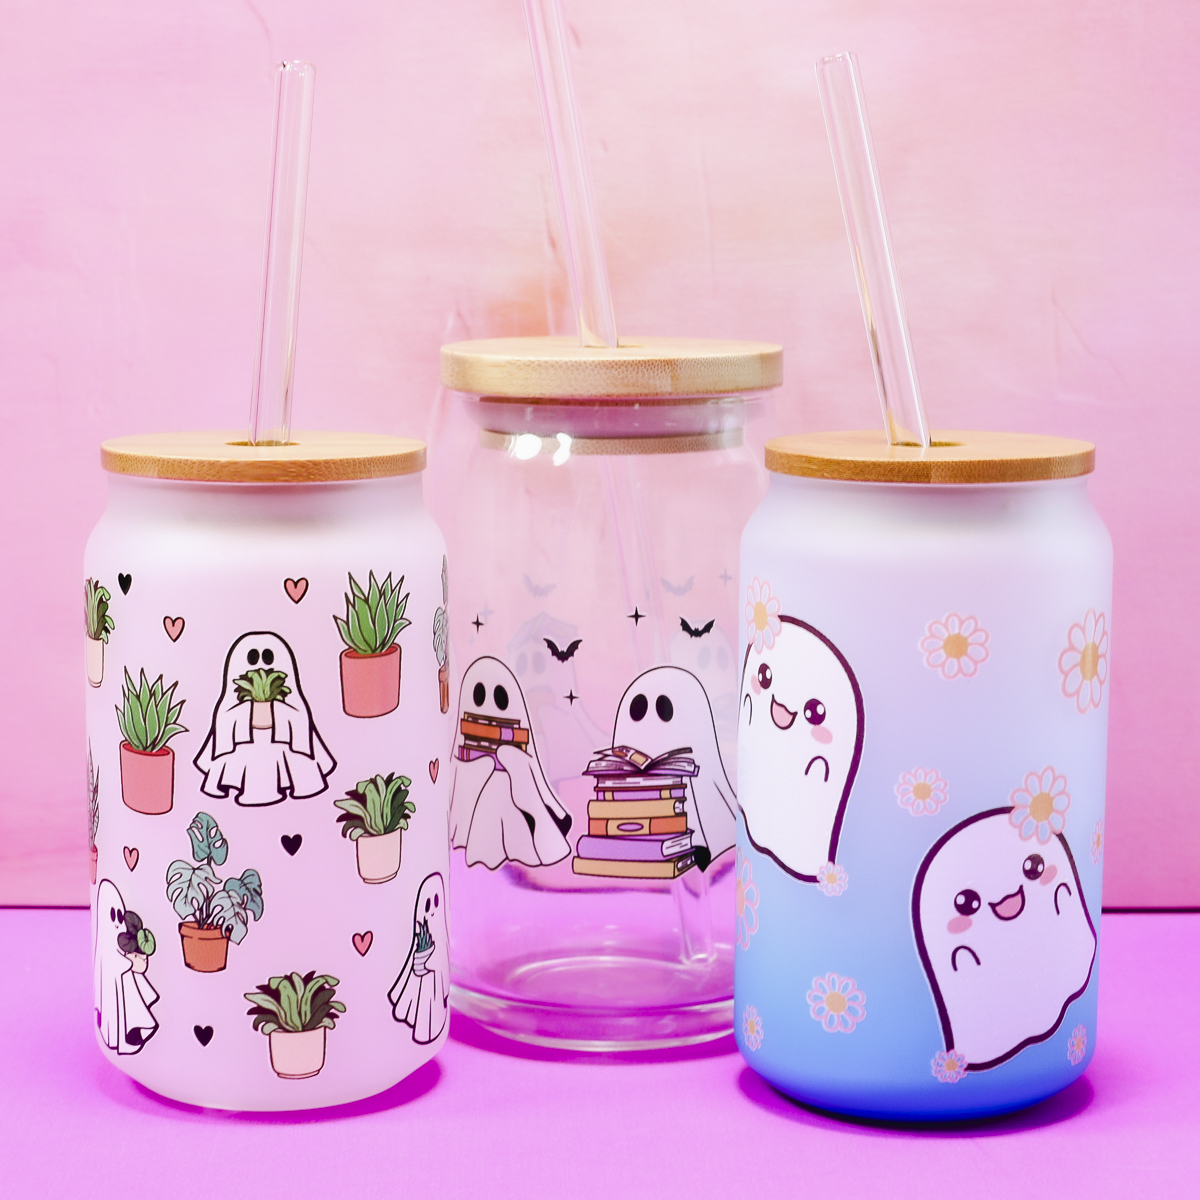
- Ghost with Plants Design
- Smiling Ghosts Design
- Reading Ghosts Design
- UV DTF Prints (You can order them here!)
- Glass Cans (You can choose from Frosted Glass Cans, Clear Glass Cans, or even Ombre Frosted Glass Cans. Remember these DO NOT have to be for sublimation. Any glass cans will work.)
- Felt Covered Scraper
- Cup Cradle
- Washi Tape
What is UV DTF?
DTF stands for Direct to Film. A UV DTF printer prints directly on film with ink that is then cured by a UV light. Laminate is applied over the top to create UV DTF stickers, tumbler wraps, and more all with amazing results.
Like regular DTF prints, UV DTF prints are opaque meaning they can be applied to blanks that are dark or light in color.
The adhesive on UV DTF sticker is extremely sticky and permanent. This makes them a great option for projects like these custom glass cans.
Step 1: Get UV DTF Print
Before you begin you need to gather your supplies. If you don’t have a UV DTF printer, you will need to order prints.
Utilizing a gang sheet is a great way to get a lot of stickers at once.
Glass cans come in a variety of sizes. If you are ordering a full wrap design, make sure you have the glass can on hand so you can measure it and size the design correctly. Then order UV DTF prints here.
Step 2: Double Check Measurements
Even though we measured the glass can before ordering the print we want to double-check the print size.
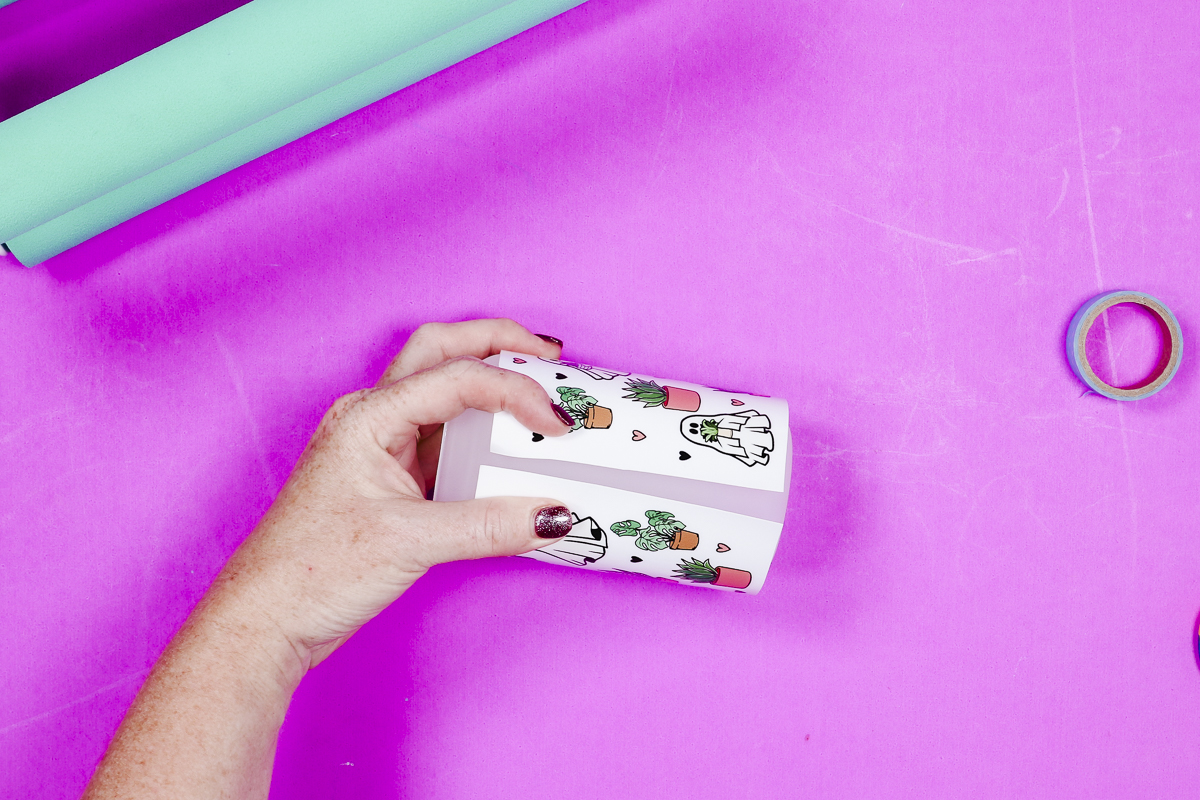
Trim the print from the gang sheet and wrap it around the glass can without removing the backing to make sure the print is the right size.
Step 3: Prepare Glass Can Blank
To prepare the glass can you want to make sure the surface is clean. I am using a lint-free cloth to remove any dust and debris.
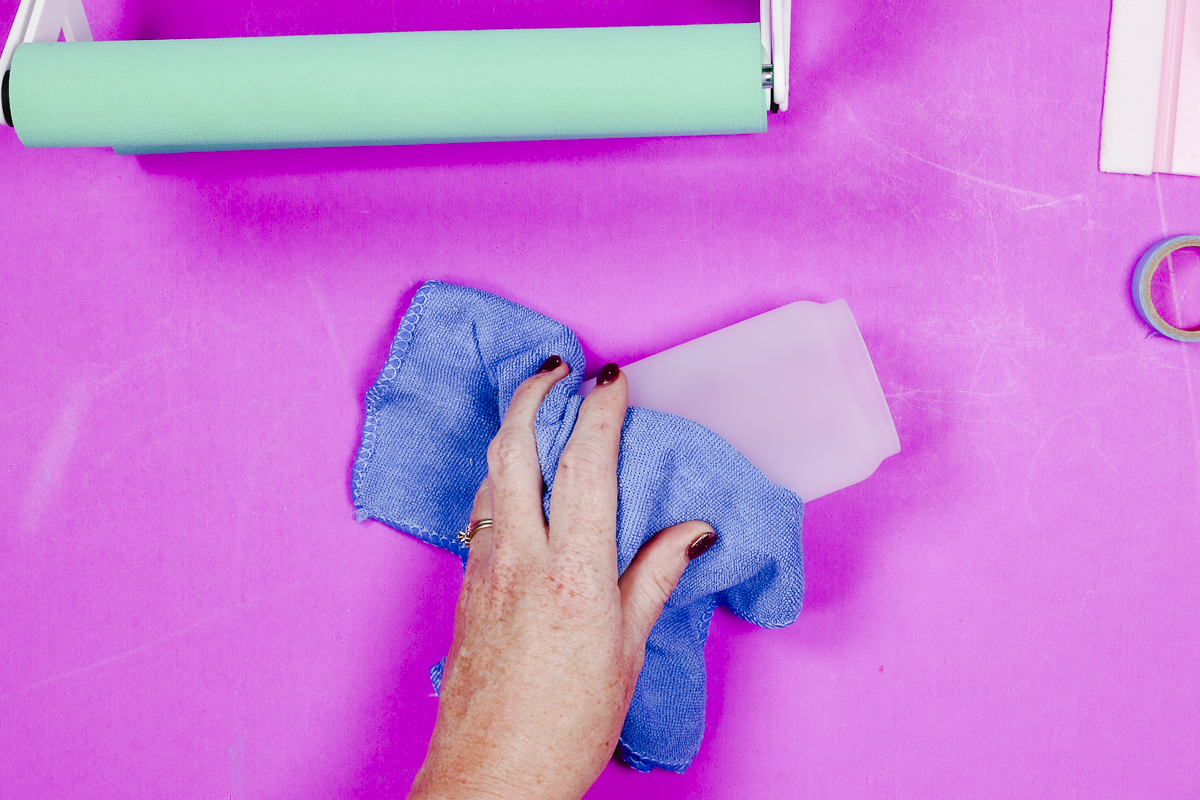
If your glass jar is dirtier, you can use a lint-free cloth and rubbing alcohol. Make sure the can is completely dry before applying the UV DTF sticker.
Step 4: Prepare UV DTF Print
If you haven’t already, trim the print to fit the glass can.
I like to burnish the front and the back of the print with a felt-covered scraper to make sure the UV DTF sticker is stuck to the transfer sheet really well.
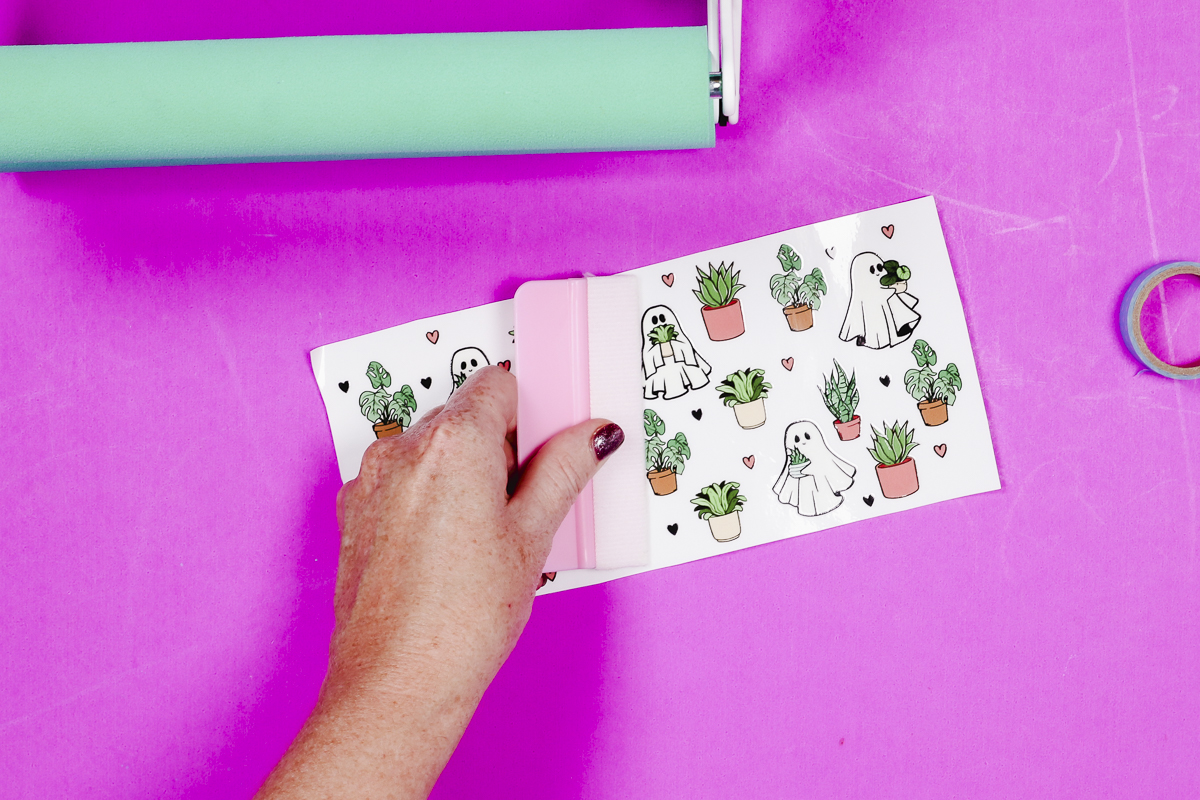
Step 5. Add UV DTF Print to the Glass Can
Now we’re ready to add the print to the glass can.
I am using a cup cradle to hold my glass can in place and I’ll be using the hinge method application process.
First, wrap the print around the can with the carrier sheet still intact and use a light grip tape like Washi tape to hold it in place.
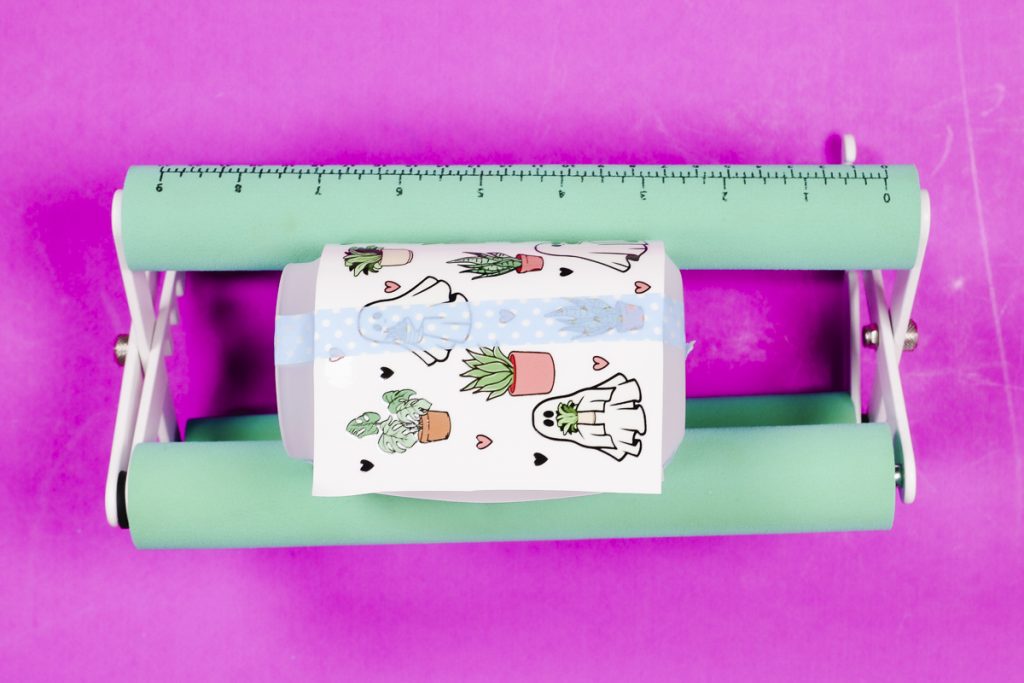
Next, peel the transfer sheet and UV DTF print away from the carrier sheet.
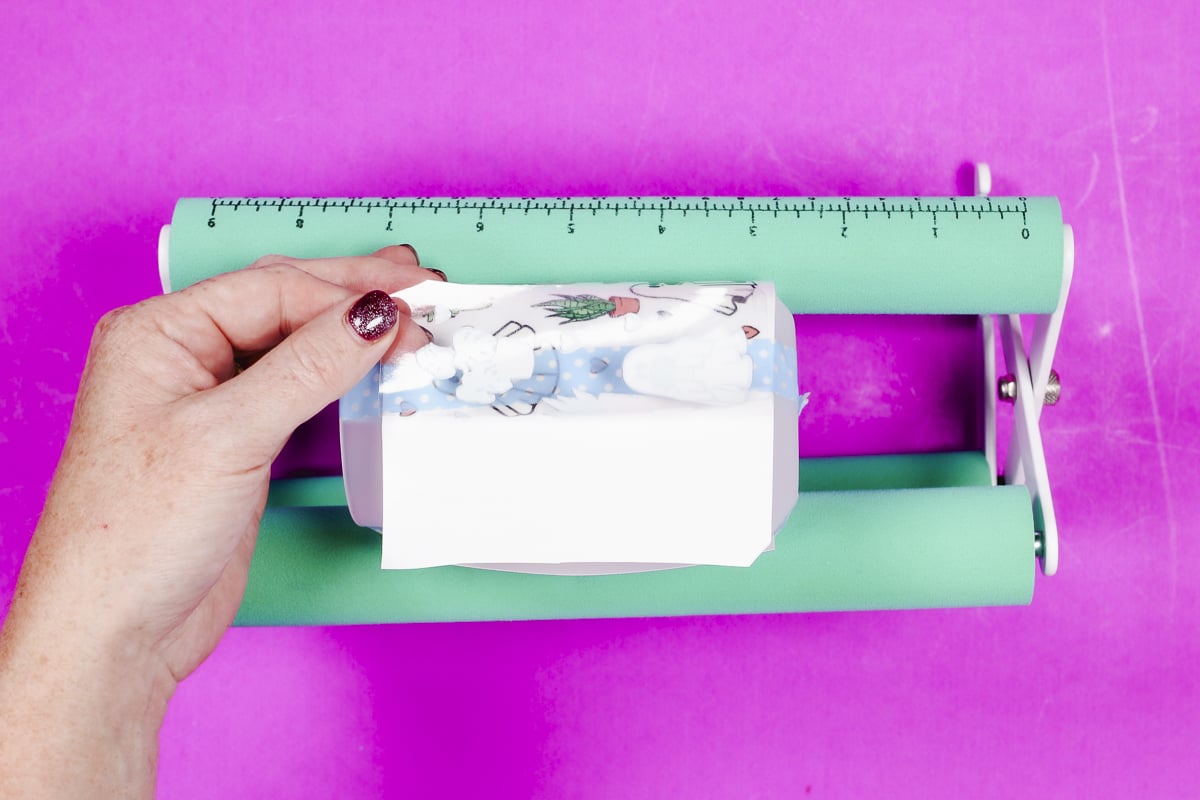
Trim away the exposed carrier sheet.
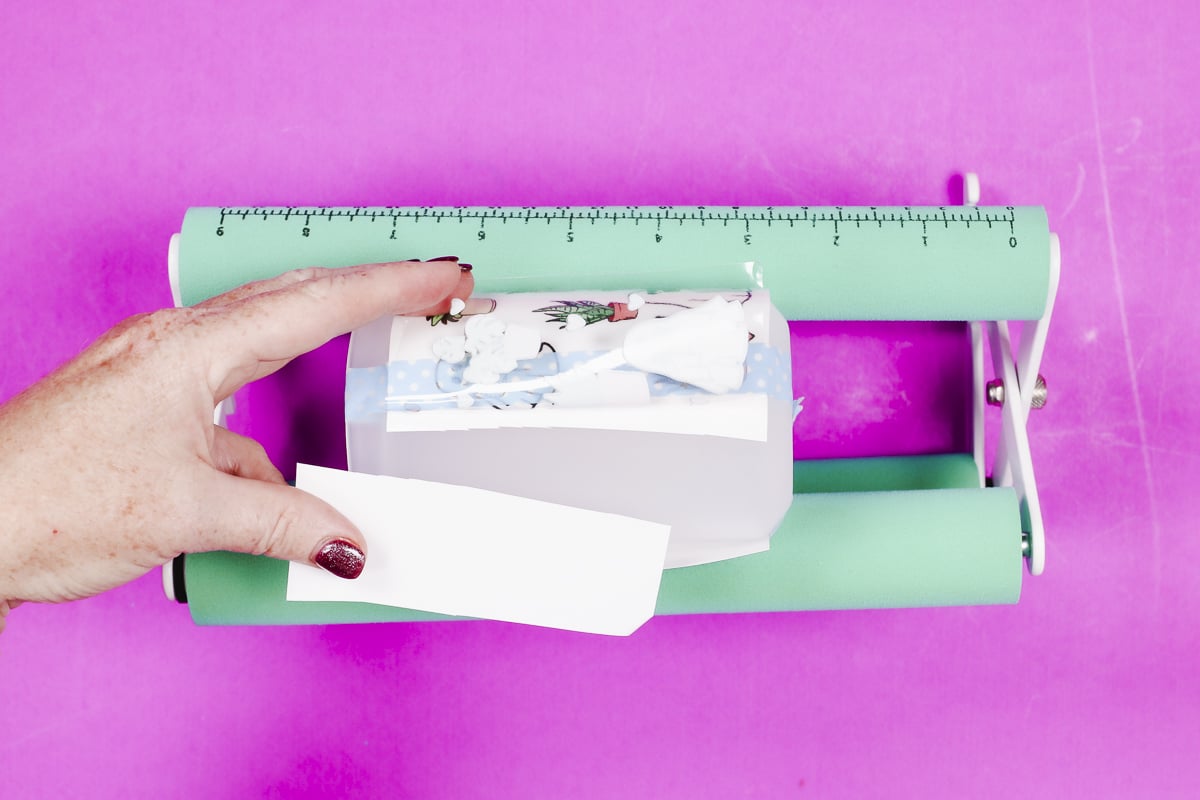
Use a felt-covered scraper to press the UV DTF print onto the glass can starting at the Washi tape and pushing out any bubbles.
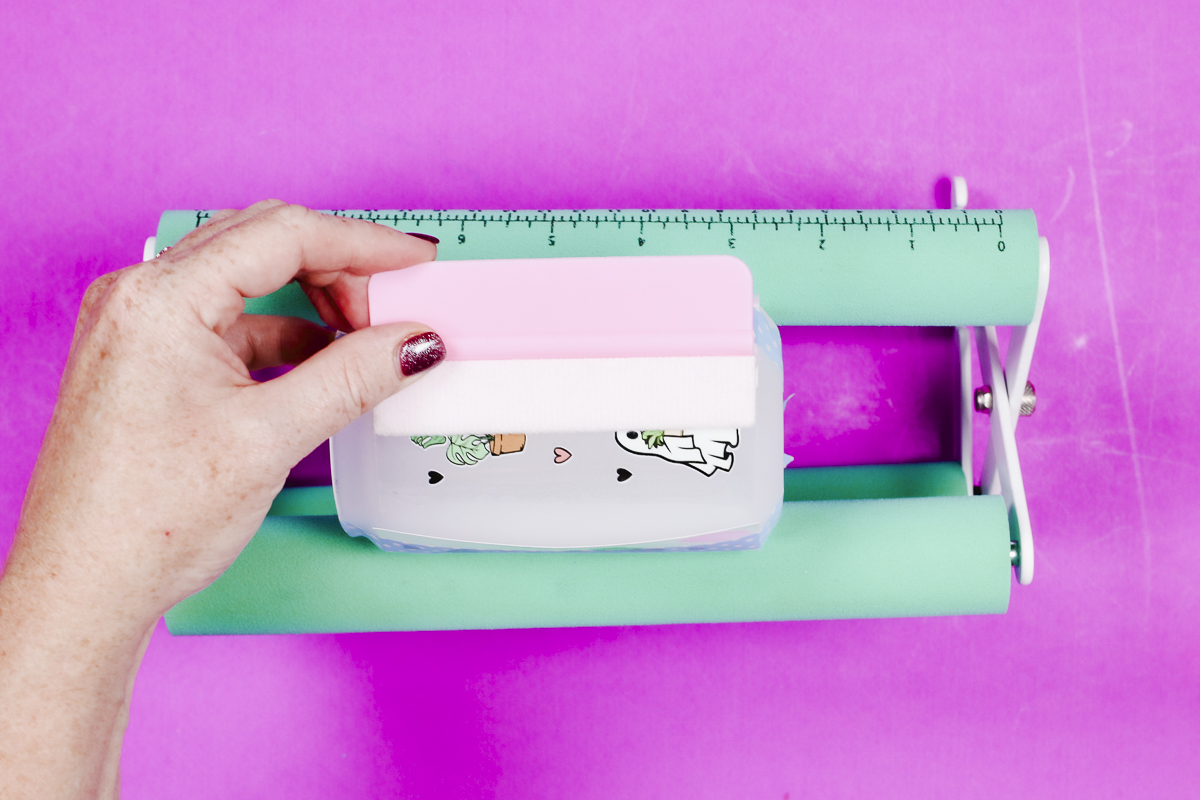
Remove the Washi tape hinge and press down the UV DTF to ensure the print stays lined up correctly.
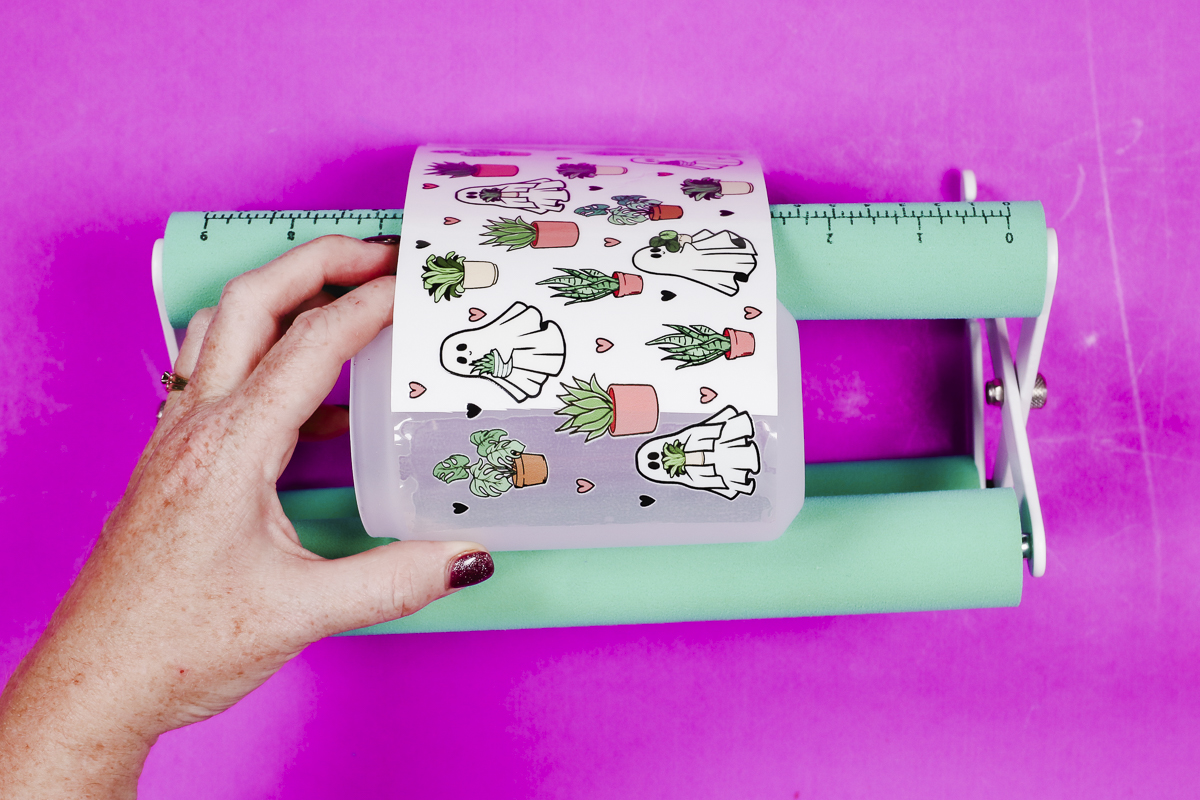
Fold back the design, peel back the carrier sheet, and slowly press the design onto the glass can.
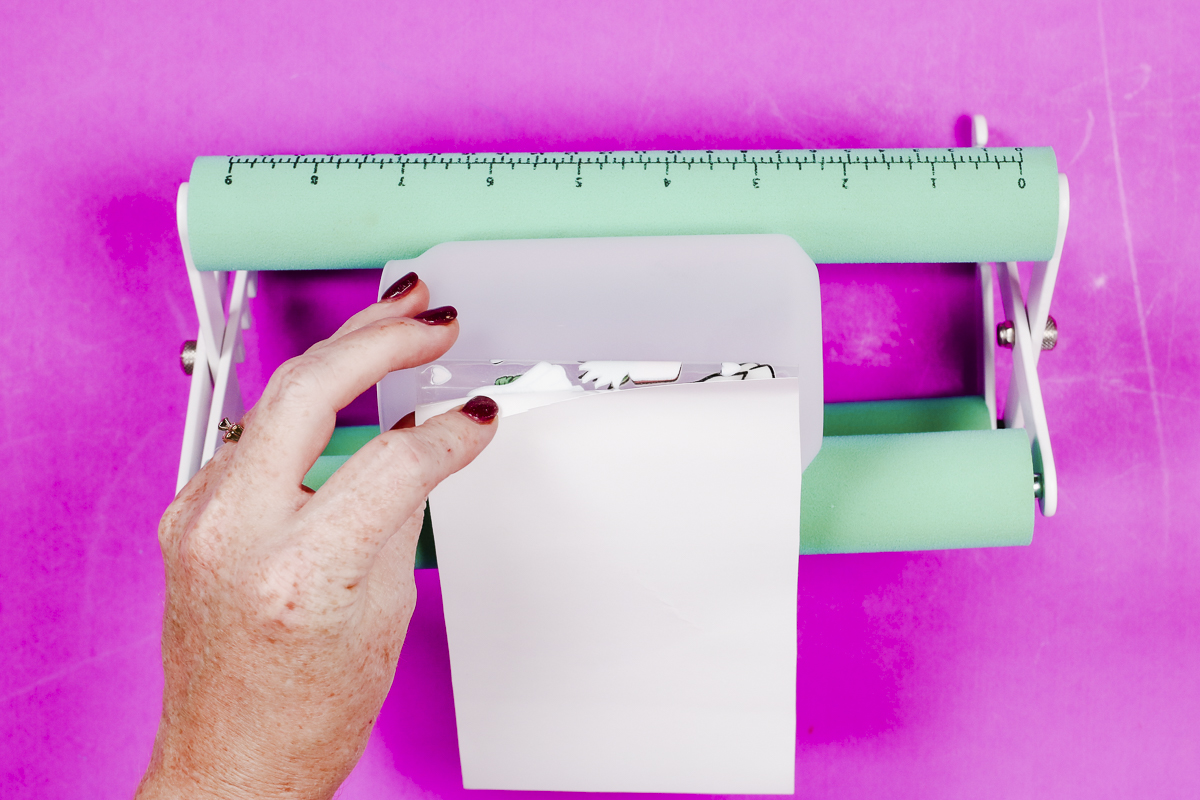
Peeling the carrier sheet away while burnishing the design onto the glass can will help prevent bubbles.
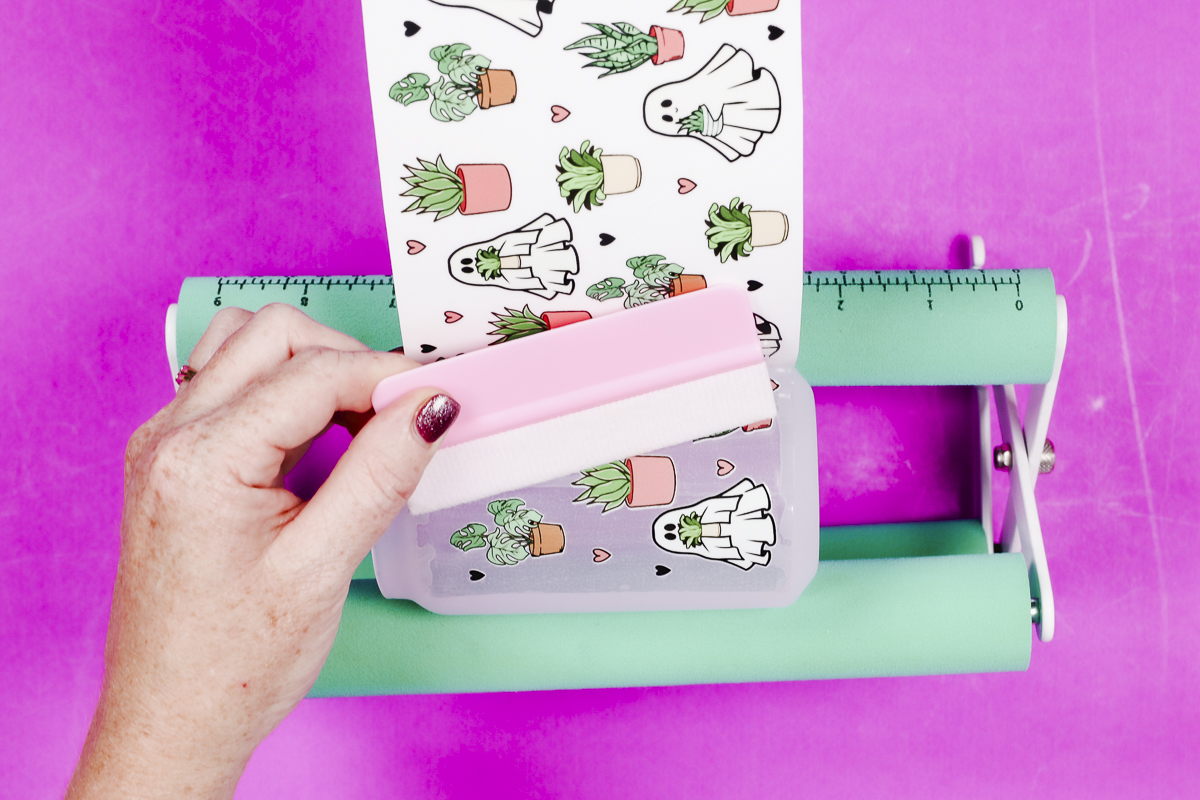
With the carrier sheet removed, burnish the design really well all the way around.
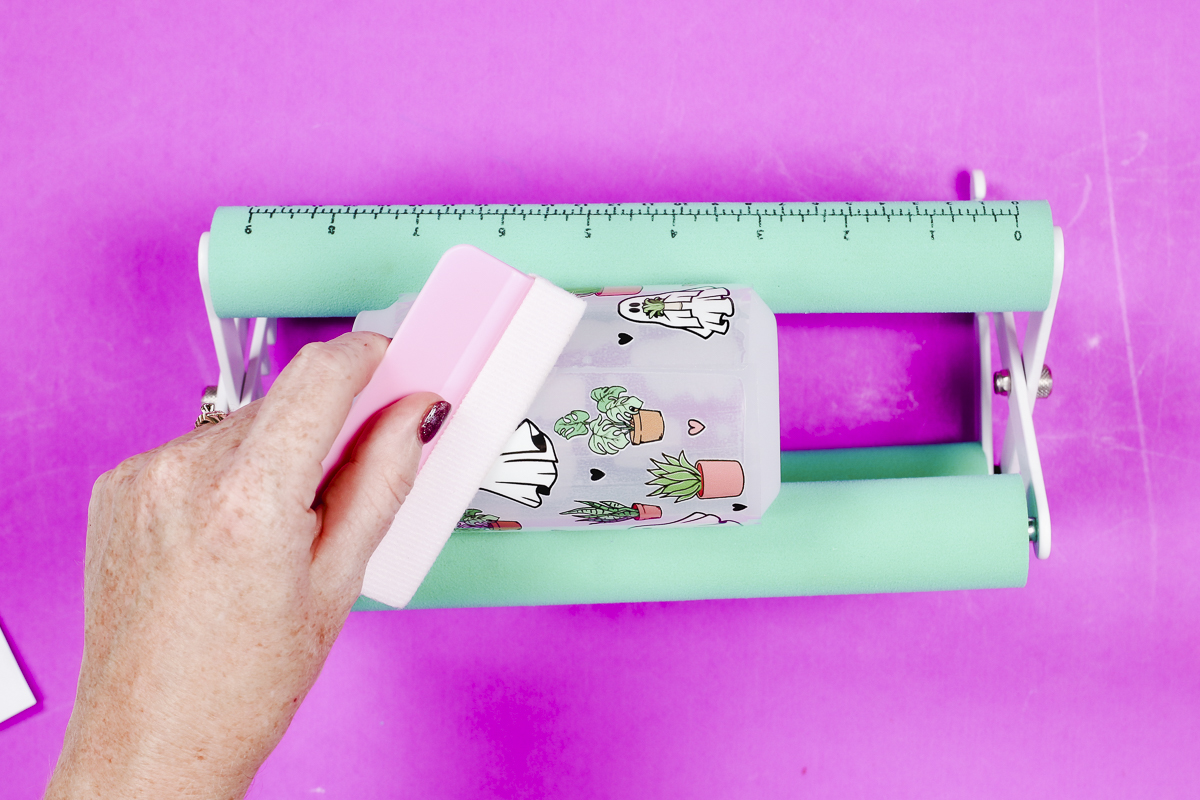
Step 6: Remove Transfer Tape
UV DTF prints are very sticky. Removing the transfer tape is more difficult than regular transfer tape. Take your time so you don’t tear your print.
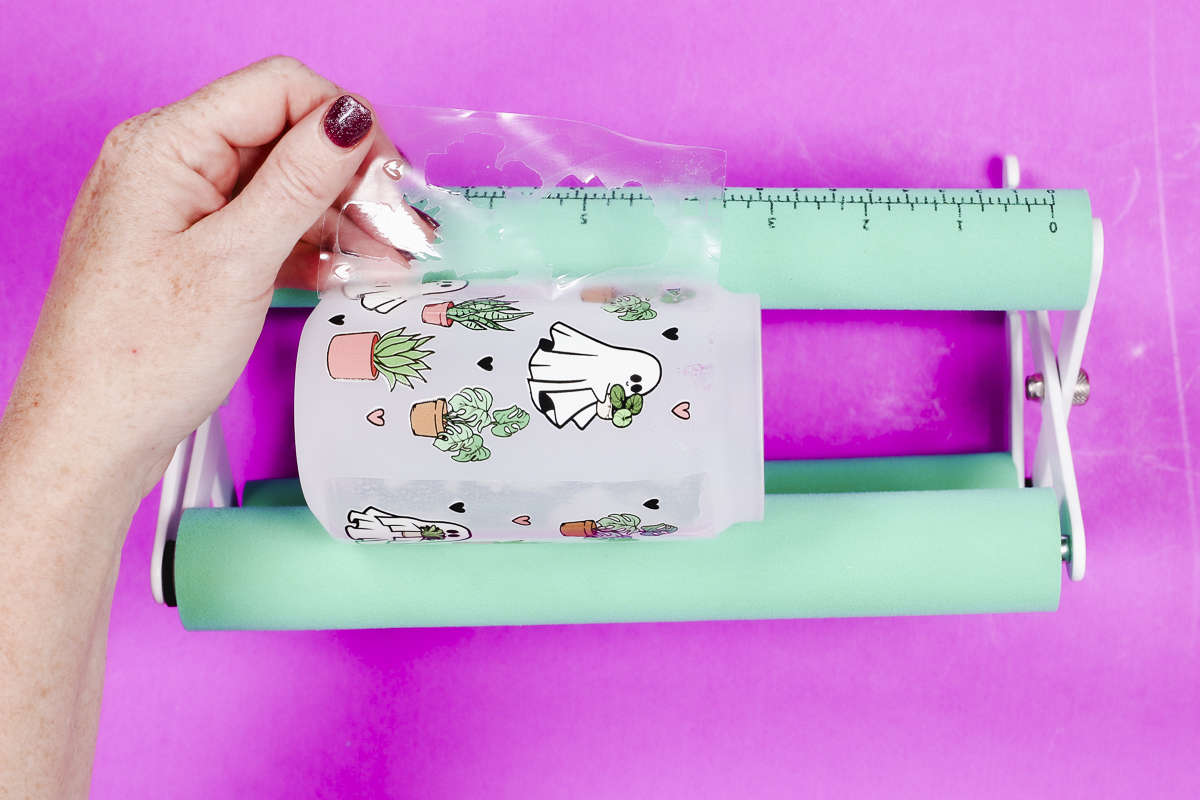
I’ve never had the print not stick to the blank but double-check to make sure everything is stuck down well.
Step 7: Admire Finished UV DTF Glass Cans
UV DTF glass cans are perfect for any occasion. There are so many different options and the UV DTF prints work beautifully on them all.
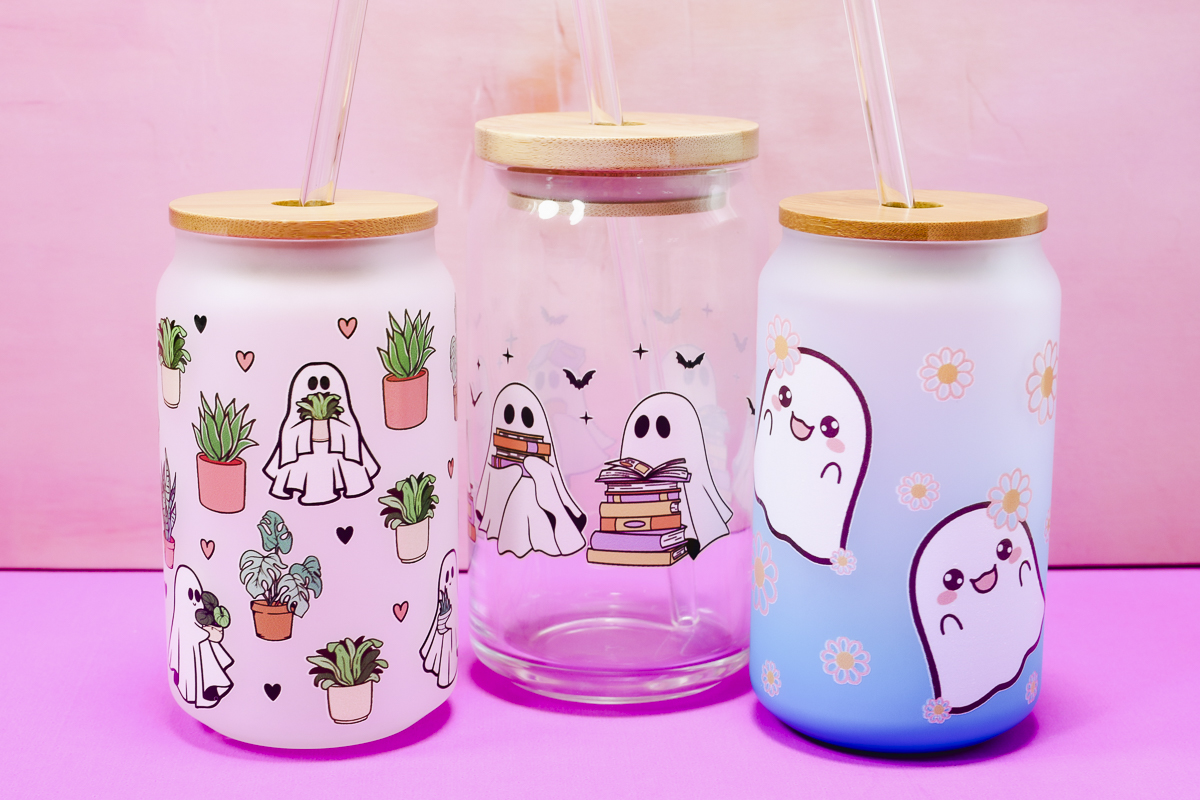
UV DTF glass cans are really fun to make. I love how well the designs show up even on the clear glass cans.
You can use UV DTF stickers on a variety of solid surface blanks, not only glass cans. I’m a fan and these ghost designs are too cute.
Frequently Asked Questions
How is UV DTF Different than Sublimation?
One of the reasons UV DTF is perfect for projects like glass cans is because the ink is opaque, including white ink.
UV DTF adheres with adhesive and sits on the surface. The adhesive is very strong but it is still an adhesive. Even though the adhesive is strong the stickers are very thin and feel great on the surface.
When creating sublimation projects, you need to have a lot of supplies including a sublimation printer and sublimation oven or tumbler press.
Sublimation ink is translucent so it works best on glass cans that are colored or frosted and you need to make sure your glass can has a sublimation coating on it. Sublimation ink is permanent and it becomes part of the blank.
Can You Put Hot or Cold Drinks in a UV DTF Glass Can?
You can use UV DTF glass cans with hot or cold drinks.
Can You Microwave a UV DTF Glass Can?
I would not put a UV DTF project in a microwave.
Is UV DTF Different than Adhesive Vinyl?
Yes, UV DTF is different than adhesive vinyl. It is stickier and is printed so it can be full color vs. one color. UV DTF also needs to be cured with a UV light and requires a special printer and other supplies.
I hope I’ve answered any questions you have about making UV DTF glass cans. If you have additional questions leave them in the comments and I’ll be happy to answer them for you.
