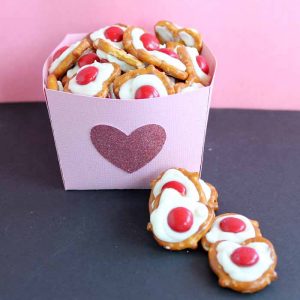
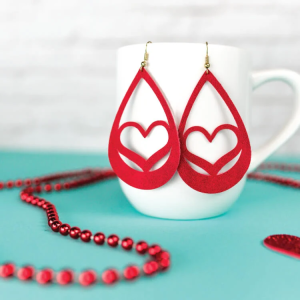
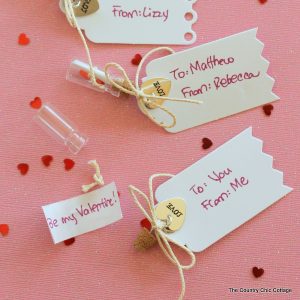
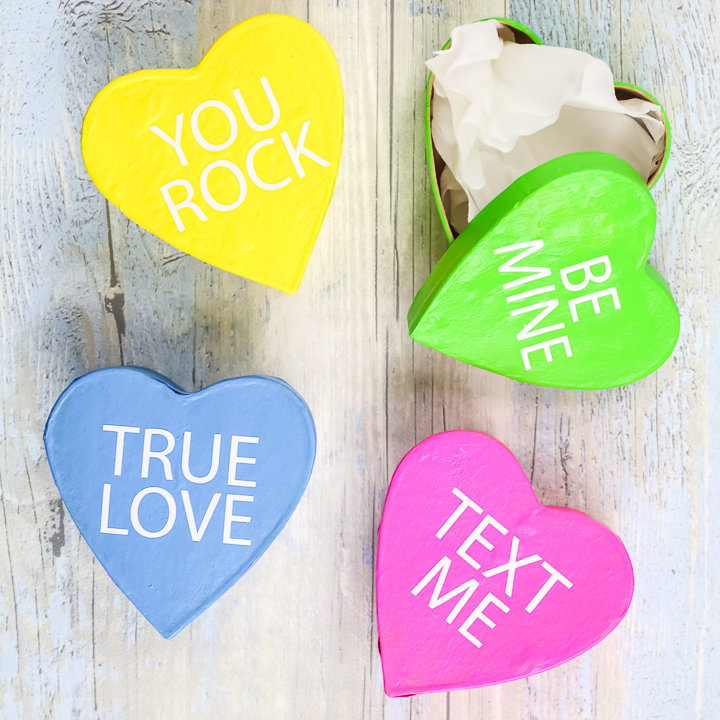
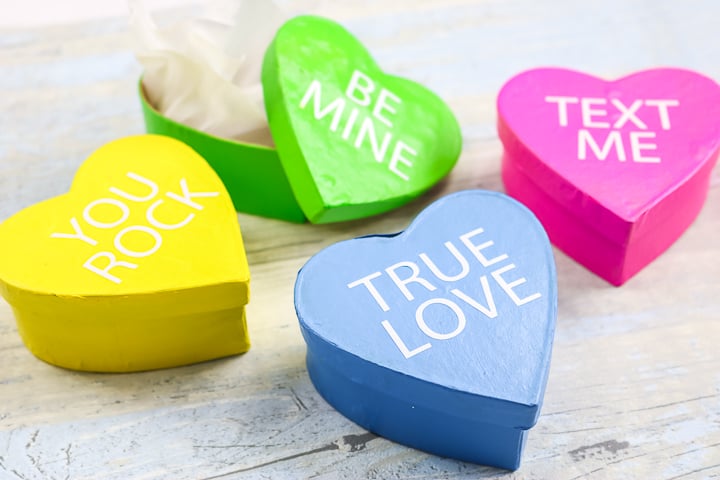
These Valentine heart boxes can be used to give a gift or to decorate your home for the holiday. Either way, your Cricut machine makes these boxes simple to make. You can whip up several in just a few minutes and start adding in gifts. You can even personalize the text on each one to be whatever you would like. What can you put inside of these? Try a heart necklace, bath bombs, or some clay earrings!
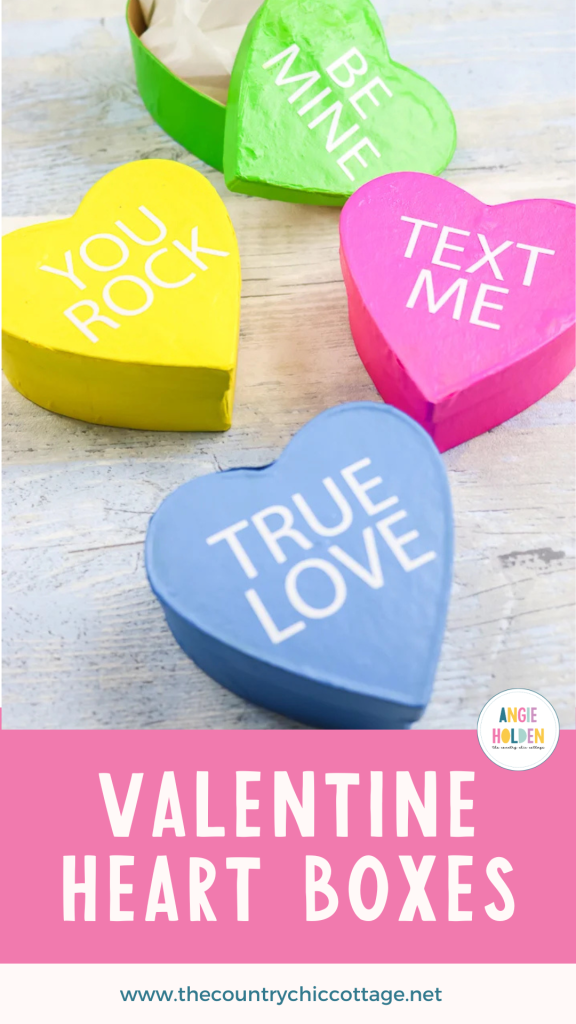
How To Make Valentine's Heart Boxes
I love the bright colors of this project as they remind me of conversation hearts, which we all used to love as kids! You can, however, change this up and use whatever colors you like for this project. It will be amazing no matter which colors you choose!
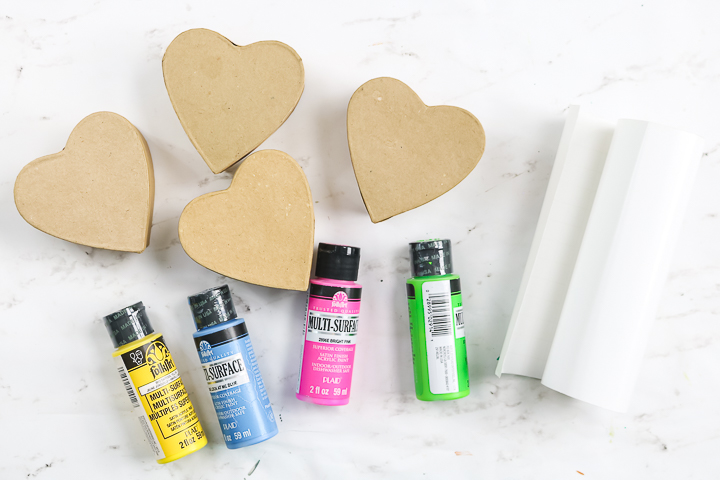
Supplies Needed To Make Valentine Heart Boxes
- Paper Mache Heart Boxes
- Craft Paint in the colors of your choice
- Vinyl
- Cricut machine (any will work)
- Conversation Hearts Cut File (see how to get that below)
- Transfer Tape
- Paint Brushes
Download Conversation Hearts Cut File
Sign up for the newsletter using the form below, and the SVG file to make this project will be sent directly to your email inbox. Be sure to look for a form with a picture of the file you need. If you already get the newsletter, add in your information, as you will not be signed up for anything further.
This file is for personal use only. You can contact me if you have any issues with the download.
Step 1: Paint Paper Mache Boxes
Start by painting the paper mache boxes in the color of your choice. You will need to paint both the top and the bottom. With paper mache, always do light coats of paint. Then, allow to dry and add another coat. These boxes took me approximately three coats for full coverage.

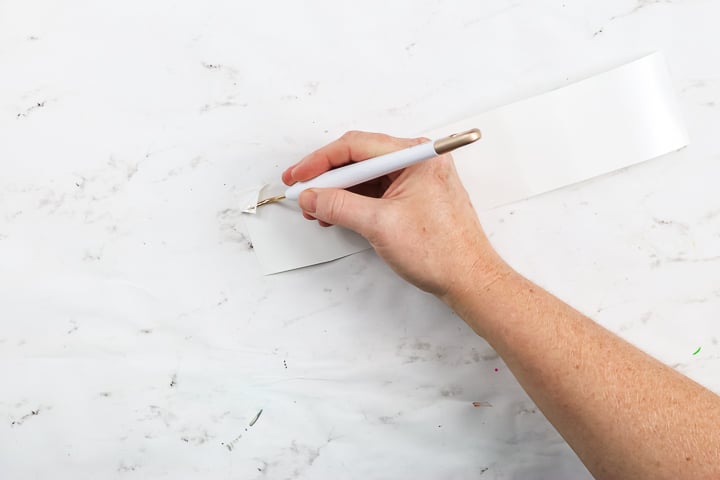
Step 2: Cut Vinyl
While your paint is drying, you can download the conversation heart cut file above. Then, upload that cut file into Cricut Design Space. Cut the designs from vinyl. Then, weed away all of the excess vinyl around the outside and the centers of letters with a weeding tool.
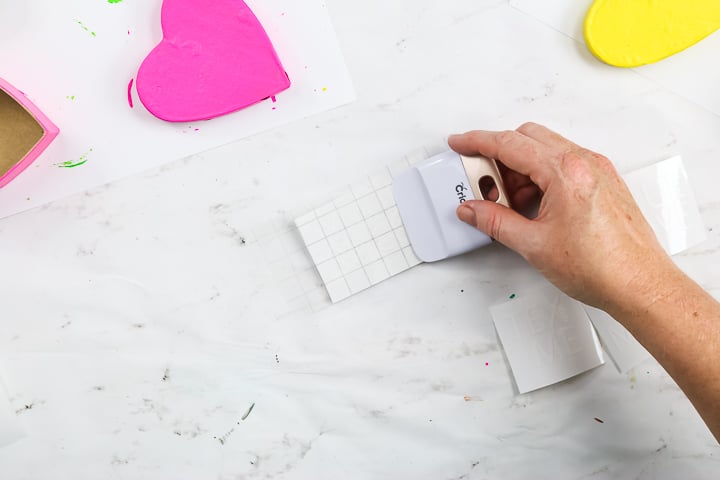
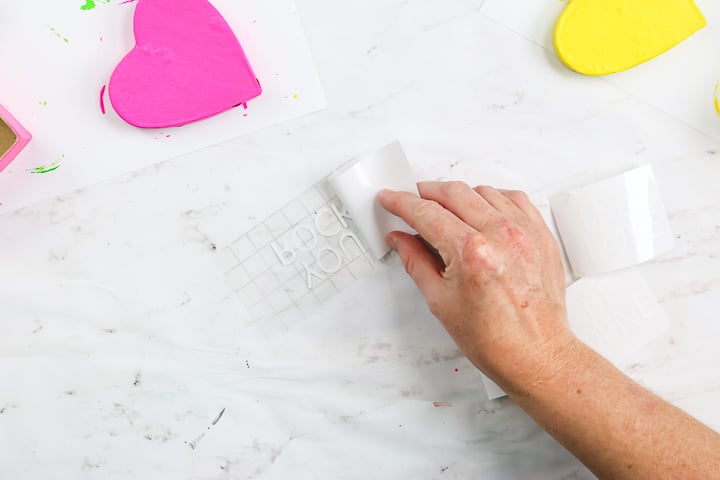
Step 3: Add Transfer Tape To Vinyl
Then use transfer tape to move the design from the backing paper to the paper mache boxes. Paper mache can be delicate, so I recommend cutting a piece of transfer tape to the size of your design and then sticking it to your shirt a few times. This will make it less sticky and, therefore, less likely to damage your paper mache. Then, use the transfer tape on the top of your design and burnish it well.
Step 4: Remove Backing Paper
You can then remove the backing paper from your design and prepare to add to your box lid.
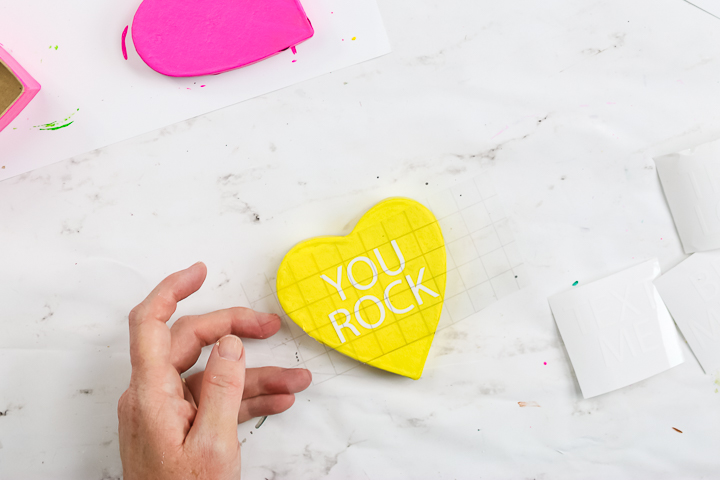
Step 5: Add Vinyl To Paper Mache Boxes
Carefully place your design on the box lid. Make sure it is in the correct location, as you will not be able to reposition it.
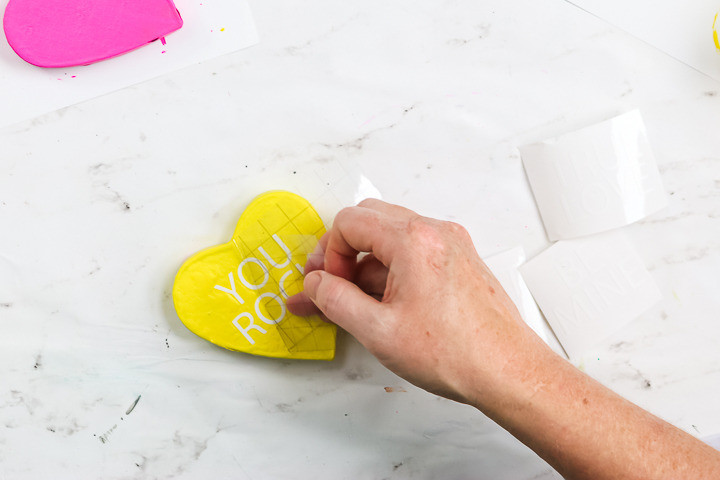
Step 6: Burnish Vinyl Onto Paper Mache Boxes
Burnish it well, then peel back the transfer tape. Be careful when pulling back to ensure the paper mache is not damaged.
Step 7: Repeat Steps 3-6 For Other Valentine Heart Boxes
Then repeat this same procedure for as many Valentine's heart boxes as you want.
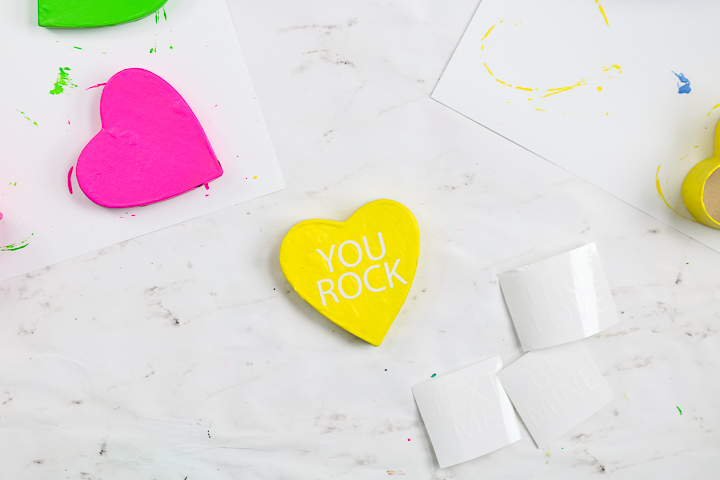
These boxes are so easy to make, and they are simply adorable. I love adding a small gift for someone special inside, but you can also use this same idea for decor for your home.
These heart-shaped boxes come in a wide variety of sizes. Pick the one that will fit your gift or your home's decor. Just be sure to resize your cut file before cutting if it needs to be larger or smaller.
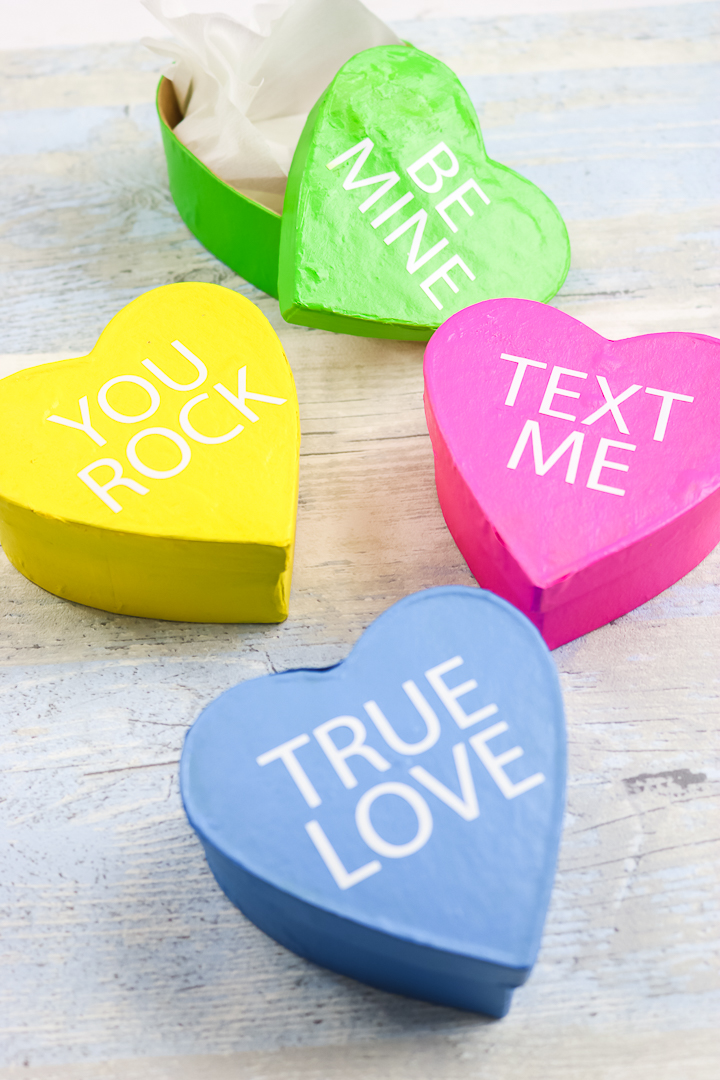
So, grab your supplies and make some Valentine heart boxes for those you love. You will be so glad that you did! I mean, just look how cute they are. They are sure to put a smile on someone's face.
FAQs About Valentine Heart Boxes
Here are a few common questions that I often see readers asking about making these Valentine heart boxes. If you have a question, please check if I’ve already addressed it below. If you don’t see your question listed, please leave it in the comments!
Where Can I Find Paper Mache Heart Boxes?
You can find paper mache heart boxes at your local craft store or online!
Do You Have Resources On How To Use Cut Files/SVG Files?
Yes, I do! If you are brand new to the world of SVG files and want to learn about them and how to use them in your projects, check out my SVG resources below!
- What is an SVG File?
- How to Use an SVG File on Your Cricut
- How to View SVG Files on a PC
- How to Use Zip Files on Your Cricut
What Other Phrases Could I Add To These Heart Boxes?
The sky is the limit on what you can write on your heart boxes! You can use traditional conversational heart phrases, write a funny saying, or even send an encouraging message. If you want more ideas, below are a few other phrases you can use.
- Valentine's Day Themed: XOXO, Sweet Heart, Stay Sweet, Cutie Pie, Soul Mate, U R Cute
- Encouraging: Smile, Dream On, Dream Big, Good Vibes
What Size Gifts Will Fit In These Paper Mache Heart Boxes?
The size of gifts these paper mache heart boxes will hold will vary depending on the size of the boxes you choose. My heart boxes were the right size for jewelry and small bath bombs.
5 Valentine's Day Gift Crafts
Do you love these Valentine's heart boxes and are looking for ways to fill them up? Then check out the projects below!