I thought I would share with y’all today the video equipment that I have used over the years. I have used a variety of methods to shoot food and craft videos for my blog and you tube channel. No matter what your budget, you can make an efficient setup for video that will work for your brand. I needed to film overhead shots for most of my videos and sometimes coming up with a way to do that on a budget can be a challenge. I am going to walk through my set up over the years and where I would love to head in the future as well.
Note links below may be affiliate links which means you do not pay anymore.
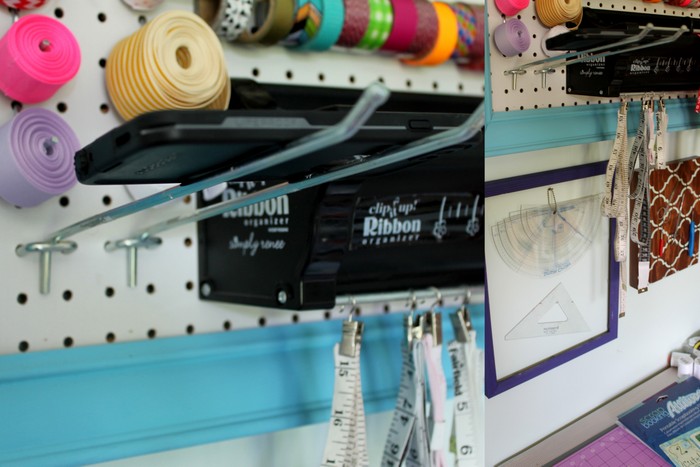
I started with a couple of attachments to the pegboard above my craft table. I would just lay my phone onto the attachments and start filming. Don’t have a pegboard? I used those same attachments with this wood tower (two stacked one top of one another) so I was able to adjust the height of filming. You can also use this same set up with a webcam if you don’t have a smart phone.
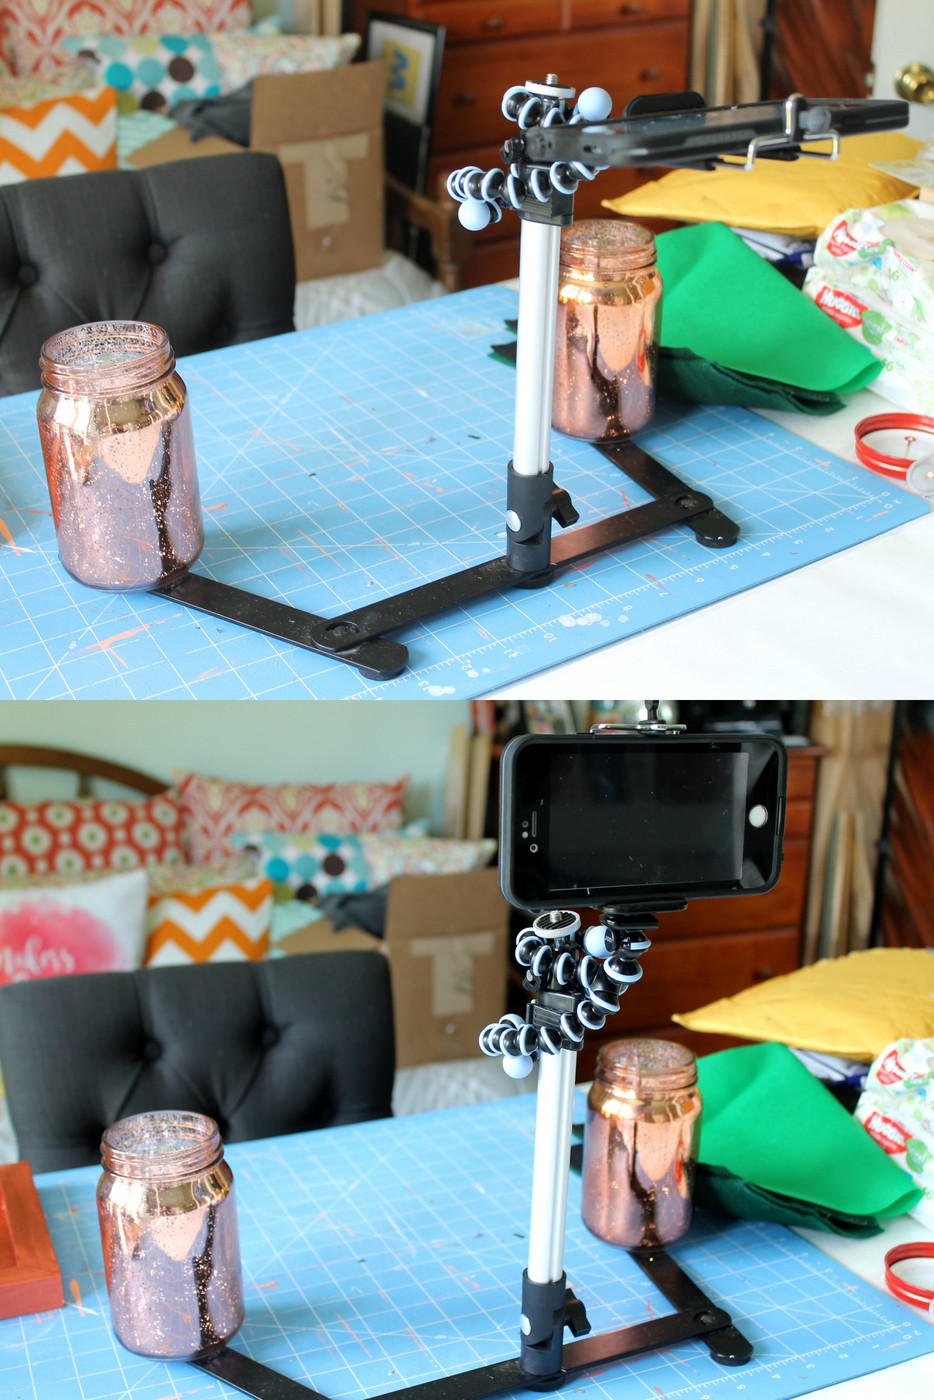
I then found the gorilla pod and my entire filming set up changed. I purchased one to work with my phone (case included!). I used a table top tripod to hook the gorilla pod up but it will literally work attached to anything with the flexible arms. It works great filming pointing down so you can do those overhead shots easily. It will also work pointed at your face so you can easily shoot both types of shots. NOTE: You might have to weigh down the back of the table top tripod depending on the weight.
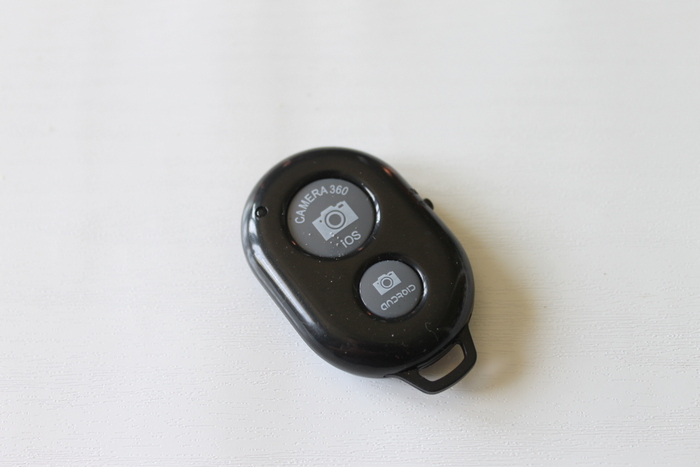
If you are filming anything with your phone, you will also want to do a few tricks. A selfie stick remote works great for starting and stopping the video with no camera shake. If you want to get into stop motion video, be sure to try out an app like Stop Motion for easy video creation.
The table top tripod will of course also work with a DSLR. I just weight down the back to hold it steady. However it is almost impossible to not have the tripod itself to show up in the overhead shot. It takes a lot of adjustment and the shots will not be straight down to do so. You may also have to flip the videos one filmed if you want the look of the video going over your shoulder. I was not a fan of this setup for overhead shots. So I knew I had to some up with something new once I started wanting to use my DSLR more and more.
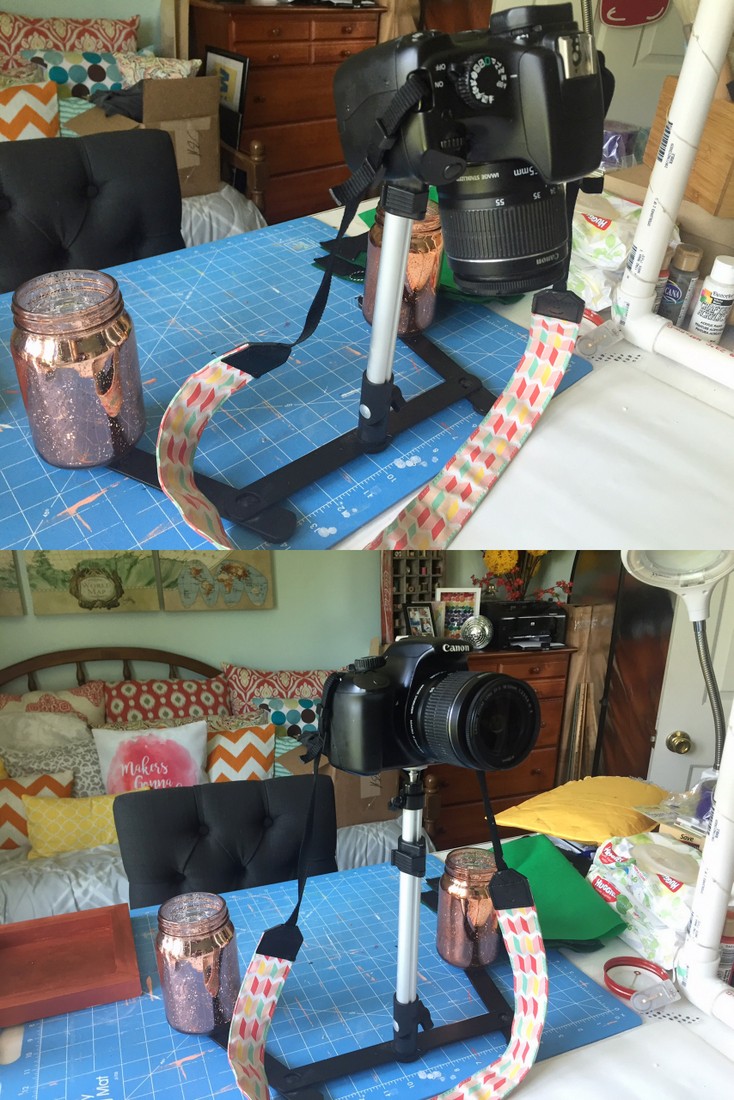
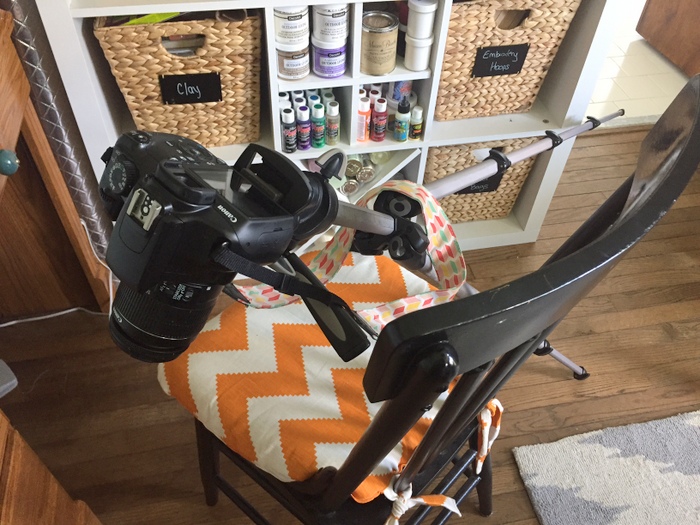
I tried using my expensive tripod with my DSLR and hanging it over my work space. You have to weight down the tripod to get this to work or get one of your kids to hold it. This was not ideal and definitely not sturdy enough for me.
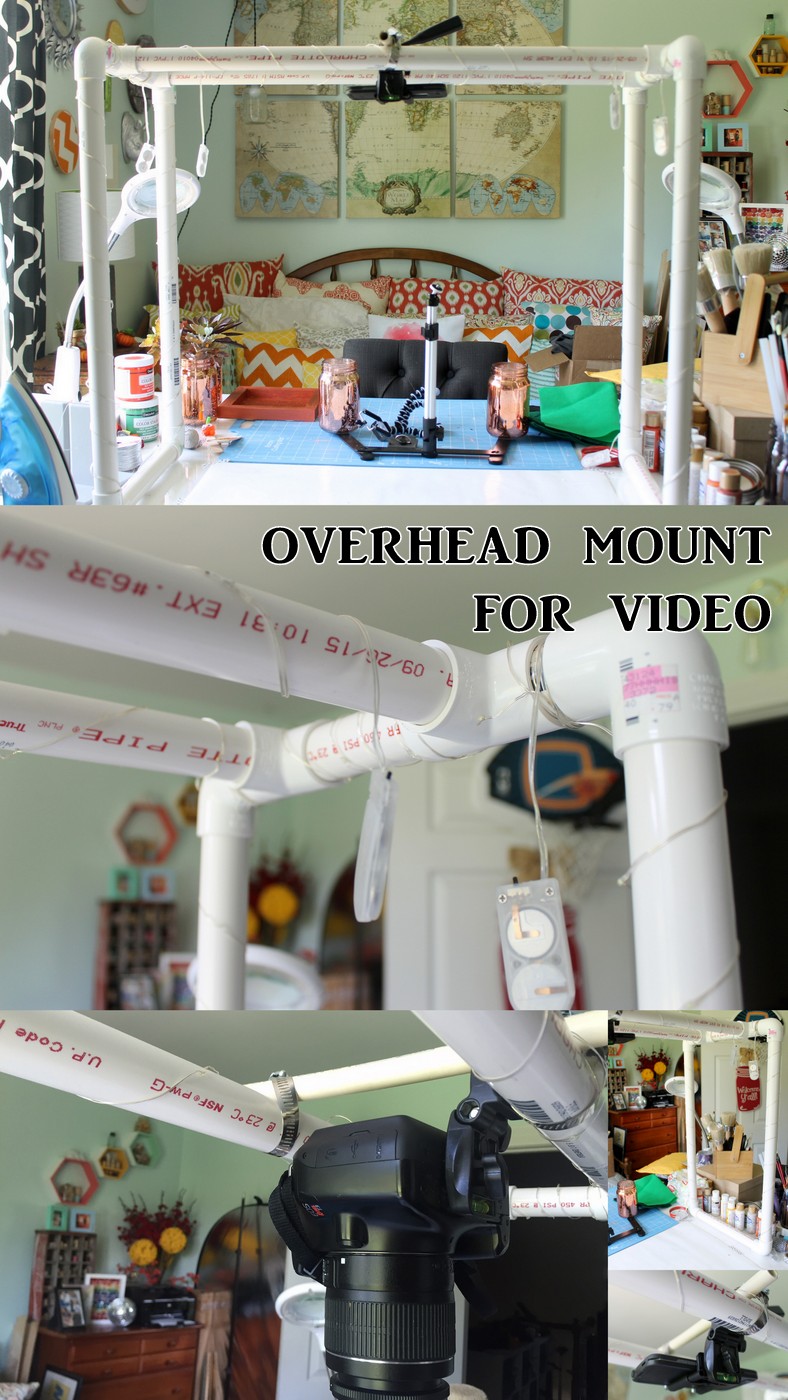
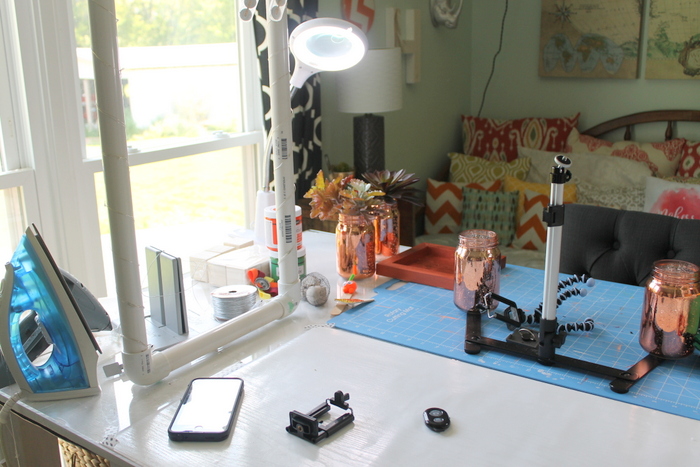
My latest setup involves a custom made PVC pipe camera mount. The frame itself is made from PVC and elbow pipe connections. Nothing is even glued into place. Just cut and dry fit everything together. I then used a camera mount from an expensive tripod to gain a thumbscrew for mounting. Get a mount that will work with the thumb screw for your phone as well. You now have an awesome setup that will work with either your phone or your DSLR. I still use the tabletop tripod or gorilla pod for face shots or additional angles when filming. NOTE: I have some lights strung on my rig but I am not happy with the quality. I have a lighting update below for you!
When you are ready to spend some additional money on your video production, a boom tripod is really the next step. It will hold your camera securely and allow you to film from a variety of angles including those great overhead shots.
Lighting is also extremely important for your video production. There are tons of different options out there for lighting. I will say that more lighting is always better. Even when you think you have enough light, you probably don’t! Pull in various adjustable arm lamps and portable lights for your videos. I use mostly things I have acquired over the years along with tons of natural light. If you have room and the budget, a set of softbox lights are really the way to go. Ready to go big? Try a Diva Ring light.
UPDATE: My current lighting setup includes the following:
- This softbox light kit with an overhead option. I love having these that are portable to use in different areas of my home.
- These LED strip lights with this power adapter. These are self adhesive and can be put right on that PVC rig! So awesome! TIP: You have to buy the lights and adapter. Get the daylight white if possible for perfect light balance!
I mostly use music over a video and not my voice. But in those occasions when I need to record my voice along with the video, a microphone can really help with your sound quality. To begin, a lapel mic can really help eliminate that background noise. For those that want to spend a bit, an investment in a Yeti mic is always a good choice.
I mostly use my iPhone and DSLR camera for video. I think great videos can be made with either one! Don’t feel like you have to invest a fortune in video equipment to make great videos for your brand. Just jump in and get started! Don’t know where to get started? Click here to get my You Tube Beginner’s Guide! Everything you need to know about uploading that first video to You Tube correctly!


