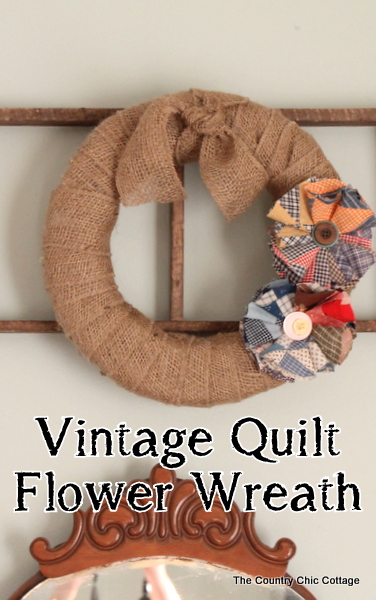
Make an adorable vintage wreath with quilted flowers in 10 minutes or less! This simple wreath project will be a great addition to your front door. Read for the full tutorial.

I am live crafting tonight with Carolina Moore of 30 Minute Crafts. We are creating wreaths in 10 minutes or less! What kind of wreath can you create in 10 minutes? My vintage quilt flower wreath with burlap ribbon can be made that easily.
I love making wreaths! I practically have one for each and every season! If you are looking for more wreath projects, definitely check out the ones I have on the site.
If wrapped wreath forms are your style definitely check out this winter wonderland wreath, this easy burlap wreath tutorial and more! I also have a few adorable wooden door hangers too.
Video Tutorial
Watch live below as I use a plain wreath form given to me by Styrofoam Crafts and transform it into a gorgeous wreath to hang in your home.
How to Make a Burlap Wreath with Vintage Quilt Squares
Supplies needed to make a Burlap Wreath with Vintage Quilt Squares
- Burlap
- Vintage quilt squares from the thrift stores
- Wreath form
- Hot glue
Instructions
Start with your wreath form, wrapping the entire form with burlap. My burlap pieces were finished on both ends, so it didn’t make a mess like other burlap.
Wrap around continuously until the entire form is covered. Secure the end with a little hot glue.
To make the vintage quilt flowers, cut circles out of the vintage quilt squares and folded in half. Then, overlap each circle to create ruffled layers. Then, add a button in the center of each flower and secure with hot glue.
Then secure each flower to the wreath. When everything has dried, your wreath is ready to hang on your front door.
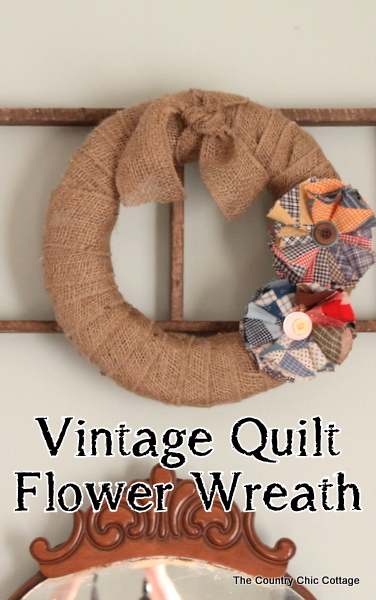
Here is a close up shot of the completed flowers for y’all. I don’t think you could properly view them on the video. This time I just used hot glue to assemble my flowers but I have made something similar by sewing them together.

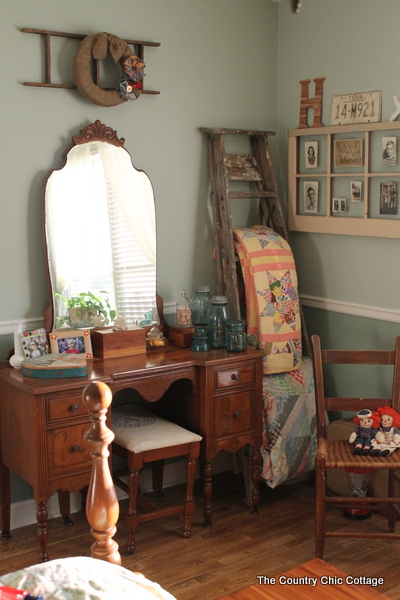
I hung my wreath on a small vintage ladder I found at the antique store. I added it to the wall above my vintage ladder quilt hanger.


Equipment
- Burlap
- Vintage quilt squares (I got mine from a thrift store)
- Wreath form
- Hot glue
Instructions
- Start with your wreath form, wrapping the entire form with burlap. My burlap pieces were finished on both ends, so it didn’t make a mess like other burlap.
- Wrap around continuously until the entire form is covered. Secure the end with a little hot glue.
- To make the vintage quilt flowers, cut circles out of the vintage quilt squares and folded in half. Then, overlap each circle to create ruffled layers. Then, add a button in the center of each flower and secure with hot glue.
- Then secure each flower to the wreath. When everything has dried, your wreath is ready to hang on your front door.


Loved the video and the wreaths. very different but gorgeous. Thinking I could incorporate both ideas somehow in one wreath. You gals sure did a great job demonstrating how to make your wreaths.
I could even hear what you were saying some of the time. I’m a bit hard of hearing and my volume only goes so high but it was great, really enjoyed watching you both. The little guy is pretty cute also, a little ham. Will look forward to next video. Happy days, great job gals.
I absolutely love this one! Pinning!
Very pretty! I love your flowers made from quilts. I’ll be sharing!