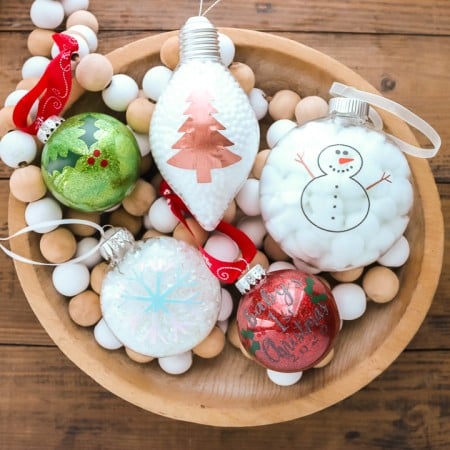
Vinyl Christmas ornaments can be tricky. It is so hard sometimes to get your vinyl on those rounded surfaces. I am here today with my tips and tricks for applying vinyl to Christmas ornaments. Use these ideas for your holiday crafts this year and you will love how they turn out. You can even use this with some of our free SVG files.
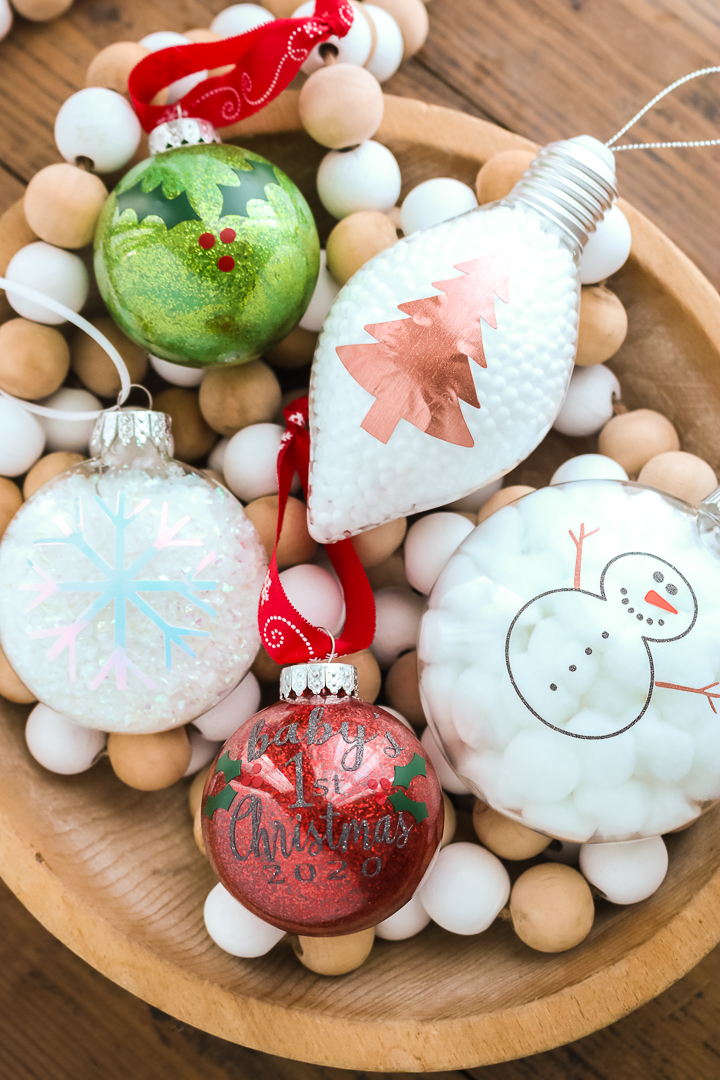
Vinyl Christmas Ornaments
There are several factors to consider when deciding on what project you will make. Here are a few of those:
Type of Ornament
You can definitely use standard ornaments with this tutorial but there are several types of ornaments that will make the application process a bit easier. Here is a rundown of some ornament types:
- Round ball ornaments – these are the most common type of ornament but will also be the hardest to work with when applying vinyl. Consider other options if your design is large.
- Disc ornaments – these are a compromise between the round ball and the flat. They are still rounded but slightly flat and they make it much easier to get a good vinyl application.
- Flat ornaments – if all else fails, just go with a flat disc ornament to make your project. You can never go wrong here!
Vinyl Design
Large designs that cover a lot of surface area are going to be harder than designs that are broken up into smaller pieces. For this reason, text is actually fairly easy as each letter can shift slightly to get a better looking design with fewer wrinkles. On the other hand, if you have a large gingerbread man cut out with nothing cut from the center, that large area will tend to bubble and wrinkle.
Type of Vinyl
Believe it or not the type of vinyl you use can have an effect on how your ornaments turn out. Glitter vinyl actually offers a bit of stretch and is more forgiving than standard. I also find that certain metallic and holographic vinyls are even more unforgiving then a plain color. So, choose carefully and maybe try a different type of vinyl if you really want a certain design and it is just not working for you.
How to Apply Vinyl to an Ornament
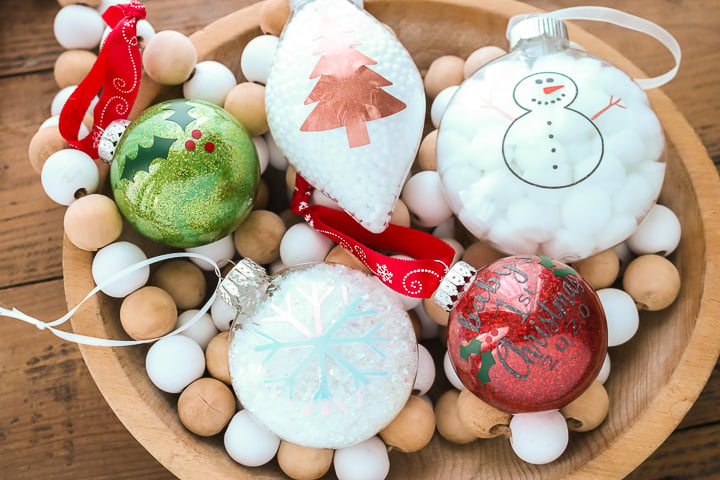
Now that you have your materials picked out, it is time to actually add the vinyl to the ornament. I made a few different projects as examples and you can actually see all of those in the video below.
Can’t watch the video or missed some of the steps? You can also follow along below with my step-by-step instructions.
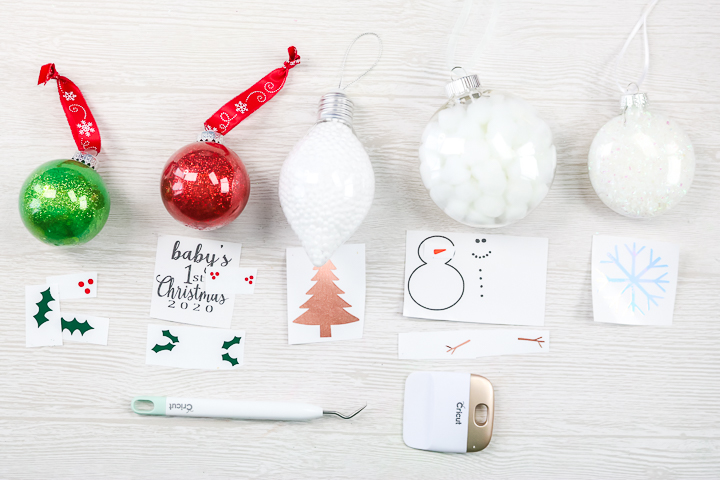
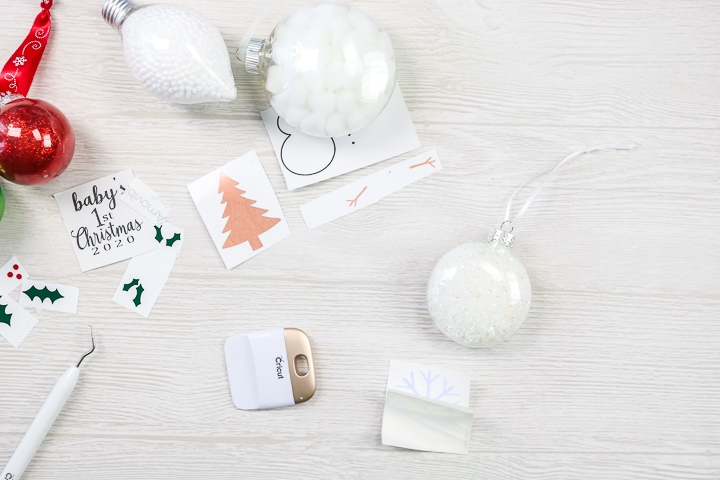
Supplies needed:
- Ornaments (see above for recommendations on the type)
- Vinyl, glitter vinyl, or metallic vinyl
- Transfer tape (this is my favorite)
- Strong grip transfer tape (if using glitter vinyl)
- Cricut machine
- Scissors
Cut files used:
For my ornaments I used the following files:
- Snowman
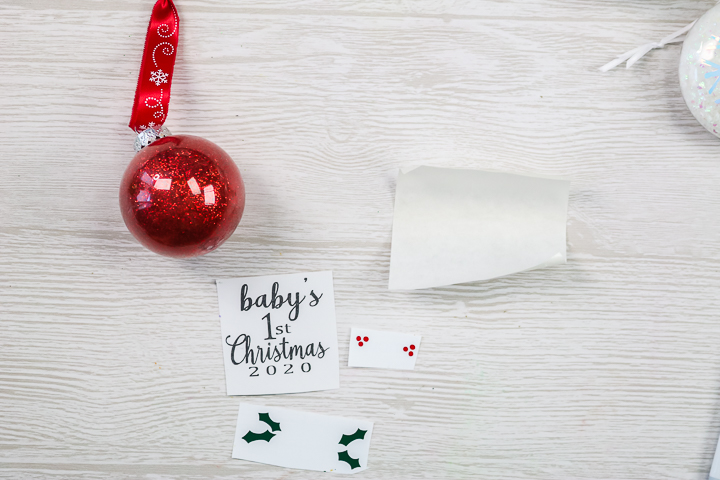
- Baby’s first Christmas
- Holiday shapes
- You can also try these other free SVG files.
Vinyl Application Method
Now that you have your supplies and are ready to make an ornament, I have the basics of application in the card below. You can follow along or even print the card if you need to.
Supplies
Instructions
- Cut vinyl with your Cricut machine into the shape desired. Use our guide for choosing the type of ornament as well as a design that will work well. Weed away all excess vinyl and add the vinyl to transfer tape. You can see the basics of working with vinyl here.
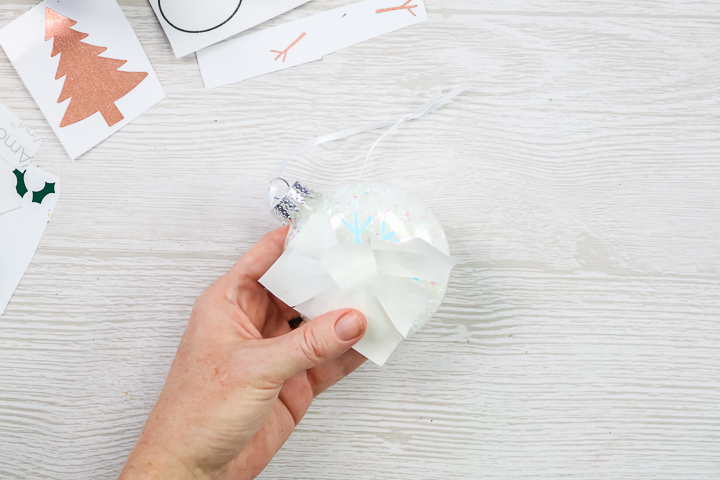
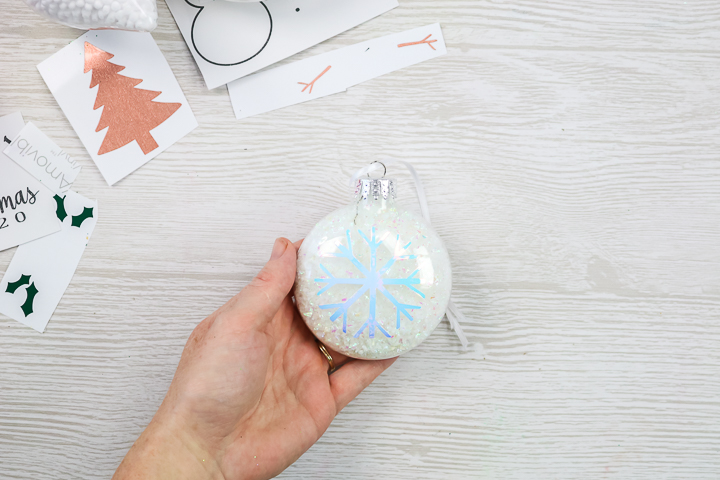
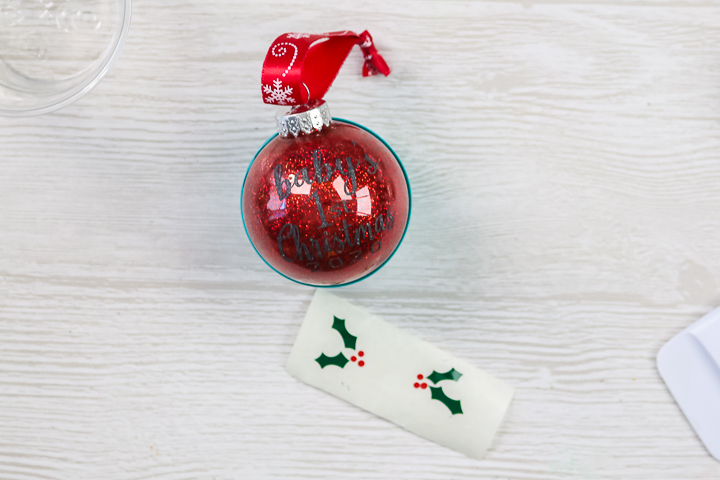
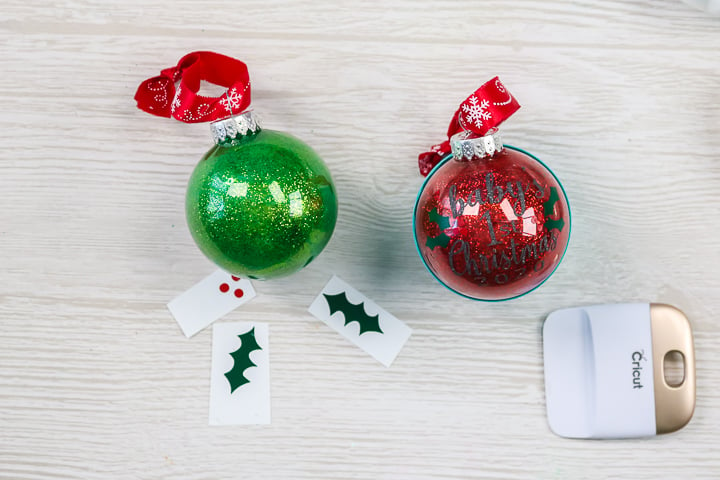
- Use scissors to cut slits in your vinyl all the way around the outside. For something like this snowflake, make those slit go between each of the prongs. Do not cut the vinyl during this step. Then apply your vinyl to your ornament starting in the center and working your way out. Press down well and burnish. You can lift any areas that have wrinkles or bubbles and try to press down a second time. Then start lifting up the transfer tape leaving the vinyl on your ornament.
- Once the transfer tape is removed, you can burnish the vinyl down well to complete your ornament.
Applying Vinyl Tips and Tricks
The method above works for MOST projects but you will have some hiccups along the way depending on your design. Here are a few tips and tricks to get you through those situations.
Wrinkles You Can’t Remove
Sometimes you get a wrinkle that just will not come out. Here are a few things you can do:
- For glitter vinyl, try stretching it to remove the wrinkle. This may not be the best options for shapes that will appear wonky once stretched.
- Overlap your vinyl and just leave the wrinkle.
- Cut the vinyl and overlap to hide the imperfection.
- Cover the imperfection with the next layer.
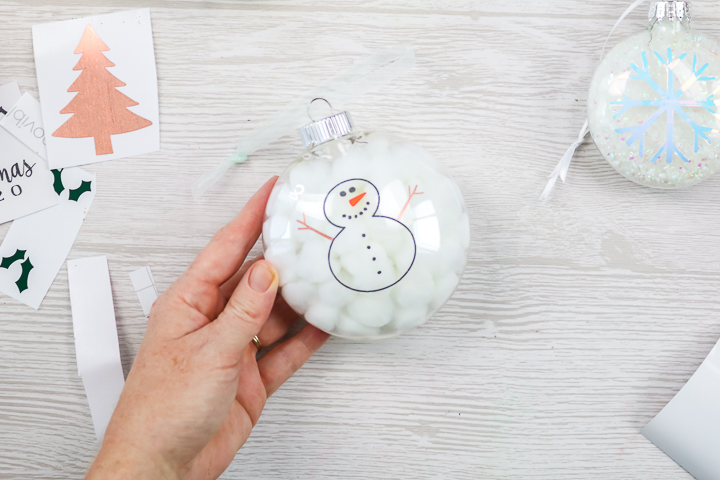
Designs like this snowman are hard to apply and NOT have wrinkles as the outline is so large and you are applying to a rounded surface. Sometimes, leaving those wrinkles in and disguising them a bit is the best you can do.
Choosing a Different Surface or Vinyl
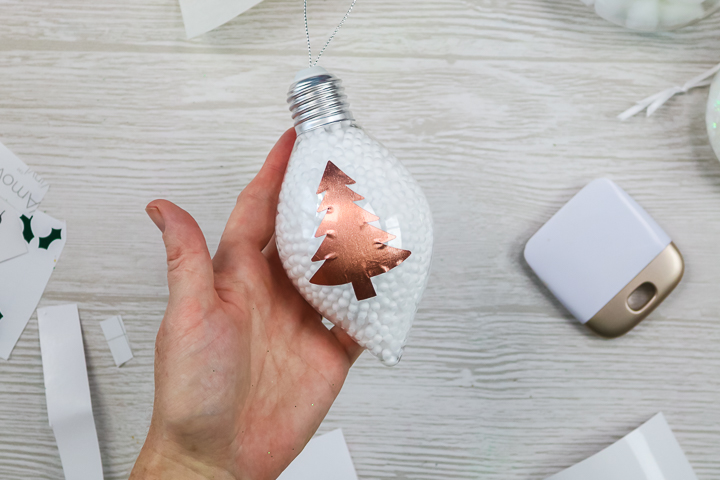
There are times when your vision may need to change to make your project actually work. The combination here of metallic vinyl with an extremely round surface will probably never be perfect. You can use the tips and tricks above to make it look as good as possible or decide you need to change to a different surface or even design to make the project work.
Text is Simple
Adding text to an ornament is my favorite! It is easier to work with and way more forgiving than a large, flat vinyl design. Consider choosing text for your ornament especially if it is your first ornament project.
Hold Your Ornament Still
These round ornaments tend to want to shift as you are trying to apply your vinyl and that can ruin a project. You can actually use things around your home to hold your ornament as still as possible. What works best will depend on the size of your ornament but here are a few options to try:
- Spray paint lid
- Plastic cup
- Roll of tape
- Mason jar lid
Anything that is round and deep may hold your ornament still as you work. Try a few different options and see which makes your ornament as steady as possible and us it to hold it as you work.
Layering
You may find it easier to apply layers at different times so they are not all on your transfer tape at once. Then you only have to worry about getting one layer flat and you can move on to the next.
Ditch the Transfer Tape
For simpler designs and those that are one piece, consider NOT using transfer tape. That is one less thing you have to worry about bunching up when going over the curves. Just peel and place the vinyl with your fingers instead of applying the transfer tape.
I hope these ideas for making vinyl Christmas ornaments help you to make the most perfect crafts this holiday season. You can fill an entire tree with gorgeous ornaments that you have made yourself.
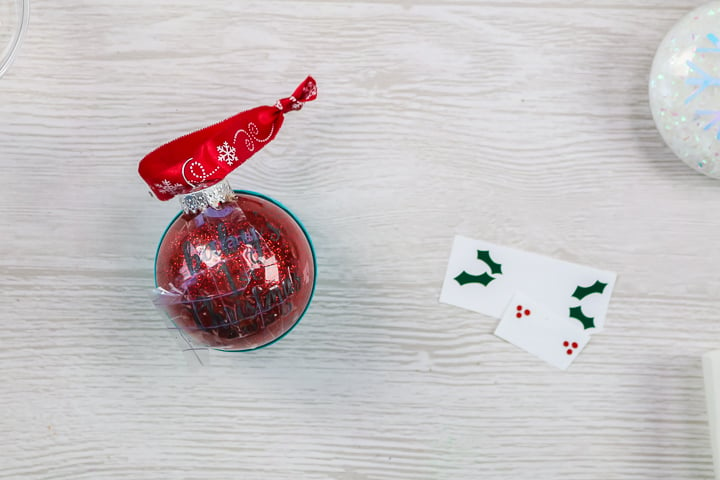
Want to see how I add glitter on the inside of ornaments? You can see me making glitter ornaments from the dollar store here. You will want to do the glitter process first before applying vinyl to the outside. Want a different look? Try painting the inside of your ornaments instead.
I hope you use my tips for applying vinyl to Christmas ornaments for your craft projects. These same tips and tricks can actually be applies to any rounded surface. Enjoy and make some vinyl Christmas ornaments with your Cricut this year.
Love this idea for making Christmas ornaments with Cricut vinyl and want more? You might also like the links below!







I am new to Cricut, have learned a little, enough to try those ornaments a little later today. Wish me luck….Thanks for the help! I will be back for more knowledge as I go along. I have the Joy, but there is an Explorer under my tree! So looking forward to using that after the holiday (with your help)!!
Merry Christmas
Yay! You can do it!