Make your own Instagram picture frames with this tutorial. Add hashtags to the side of wood frames for a unique photo display in any home.
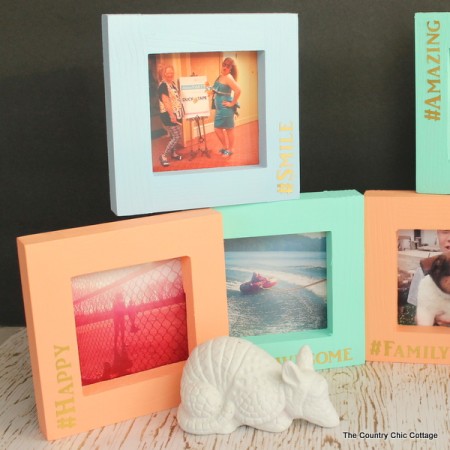
I love all things Instagram! Sometimes the shot is just too good not to print and show off around our home. So I made these really cute Instagram picture frames.
These frames only take a few minutes to make and I will even show you how to add that gold hashtag to the side! These family photo frames would make a great gift for Mother’s Day for any tech savvy lady as well.
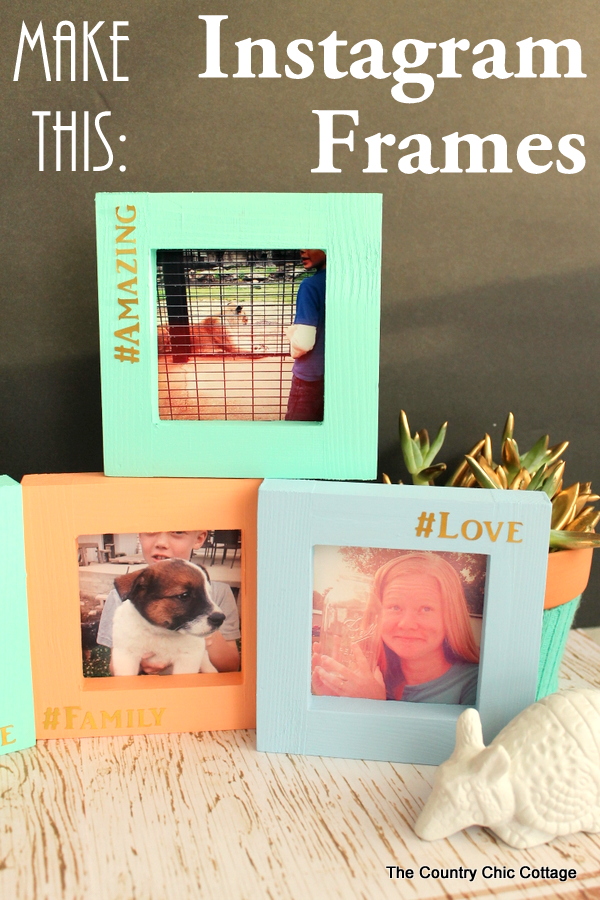
How to Make Instagram Picture Frames
I love my Washi tape Instagram frames and these gold-foiled frames are another spin on picture frames!
Cricut adhesive foil in gold is a great way to add a little glam to projects. I’ve used it for my clover SVG jar and metallic gold jars!
You can make these Instagram picture frames with just a few supplies.
Perfect for capturing a family vacay, the first day of school, or a special night out, these are a perfect DIY gift for the Instagram lover in your life!
Supplies Used
- Cricut machine
- Cricut adhesive foil in gold
- Wood Picture Frames 3″ x 3″
- Craft paint
- Paintbrush
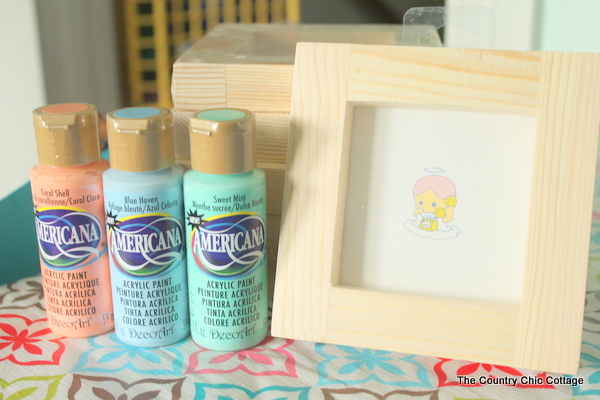
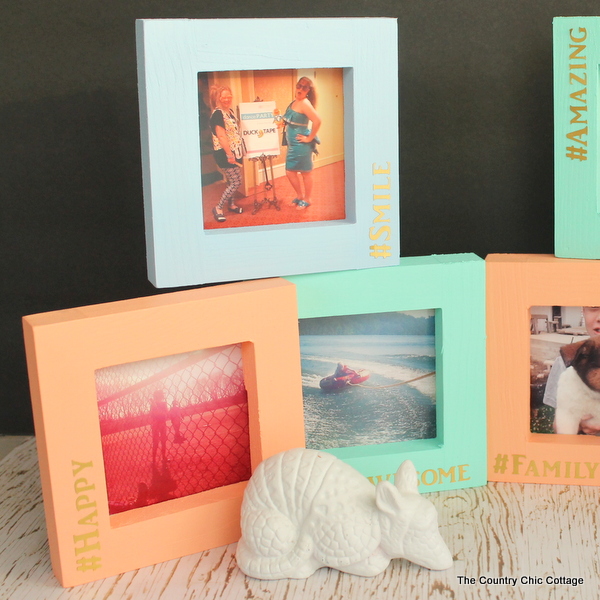
Start by painting your wood frames with craft paint. The colors I used are from Americana and are Coral Shell, Blue Haven, and Sweet Mint. Choose any paint colors that you love and will go with your home.
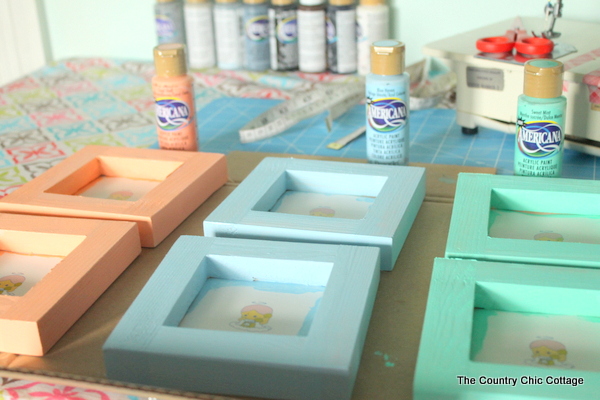
Paint each frame with a few coats of your paint. I left the paper inside of the frames to act as a masking. Allow the frames to dry and cure completely before continuing.
While your paint dries, choose a font and write out your text in Cricut Design Space. You can choose whatever font and text you like to add to your photo frame.
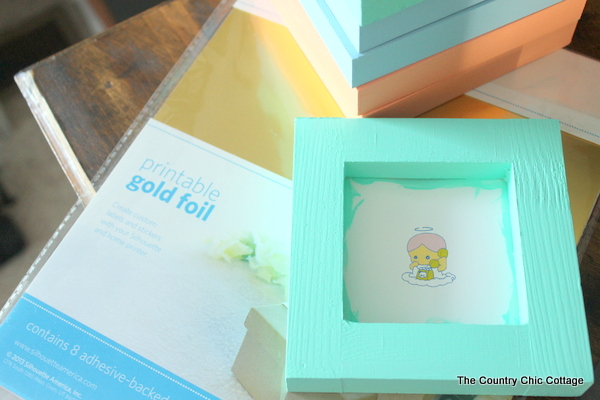
For these frames I chose:
- Welcome
- Amazing
- Smile
- Love
- Happy
- Family
Feed free to add your own too. Words like glam, star and diva would be fun as well!
Then click Make It and cut the text from the adhesive foil vinyl. The gold adhesive foil adds instant glam to any project!
If you’re not a fan of gold, they have several other metallic colors to choose from, including silver and bronze.
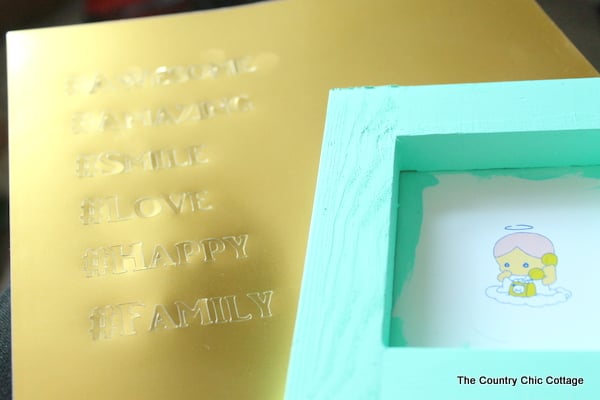
The foil is adhesive backed so it is super simple to peel and stick each letter into place on the frames. Rub to ensure it sticks weIl.
I’ve left mine as is and they have been fine for over a year.
If you want to protect with a coat of decoupage medium, go right ahead.
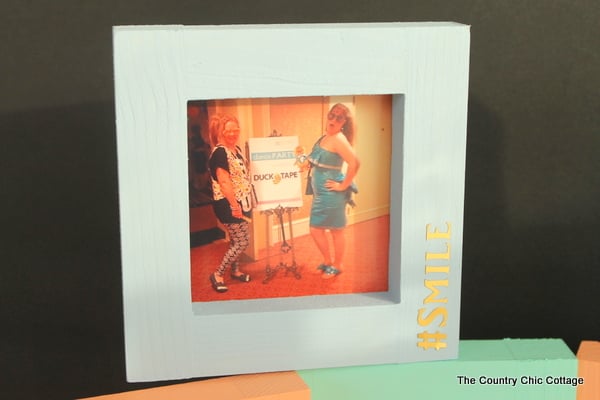
Sometimes those Instagram shots are just too precious to be left in the camera. Be sure to get them out and display them in your own custom set of Instagram picture frames today.
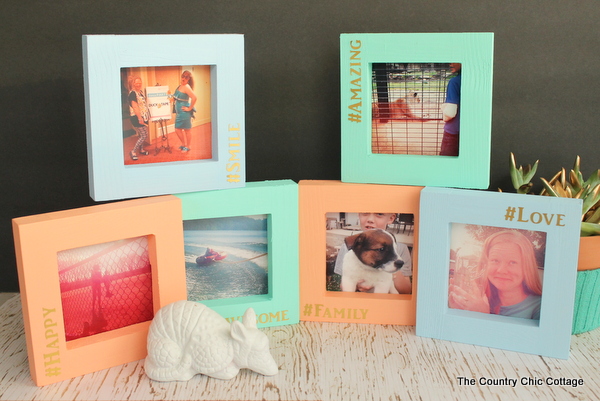
Be sure to follow me on Instagram to see what shots might just end up in these frames next. You can never tell what I will be up to and have fun making your own instagram picture frames!
Equipment
Supplies
- Cricut adhesive foil in Gold
- Wood picture frames
- Craft paint
- Paintbrush
Instructions
- Start by painting your wood frames with craft paint. The colors I used are from Americana and are Coral Shell, Blue Haven, and Sweet Mint. Choose any paint colors that you love and will go with your home.

- Paint each frame with a few coats of your paint. I left the paper inside of the frames to act as a masking. Allow the frames to dry and cure completely before continuing.

- While your paint dries, choose a font and write out your text in Cricut Design Space.You can choose whatever font you like to add to your photo frame.
- Then click Make It and cut the text from the adhesive foil vinyl. The adhesive foil adds instant glam to any project!

- The foil is adhesive backed so it is super simple to peel and stick each letter into place on the frames. Rub to ensure it sticks weIl.


So cute! lovely frames.. I have some Polaroid prints of my instagram, will be setting up soon 🙂