I am infatuated with watercolor projects. So I just had to make this DIY watercolor art. It is seriously so easy to make and looks amazing when you are done. This die-cut watercolor art is actually easy enough for kids of all ages to make themselves.
I love a quick and easy project that kids can make and that looks amazing hanging in any room. And these could even make a great Mother’s Day gift. So grab your Cricut or any other cutting machine you may have and let’s get started!
This was originally posted on March 21, 2017, however, I am republishing here with more information.
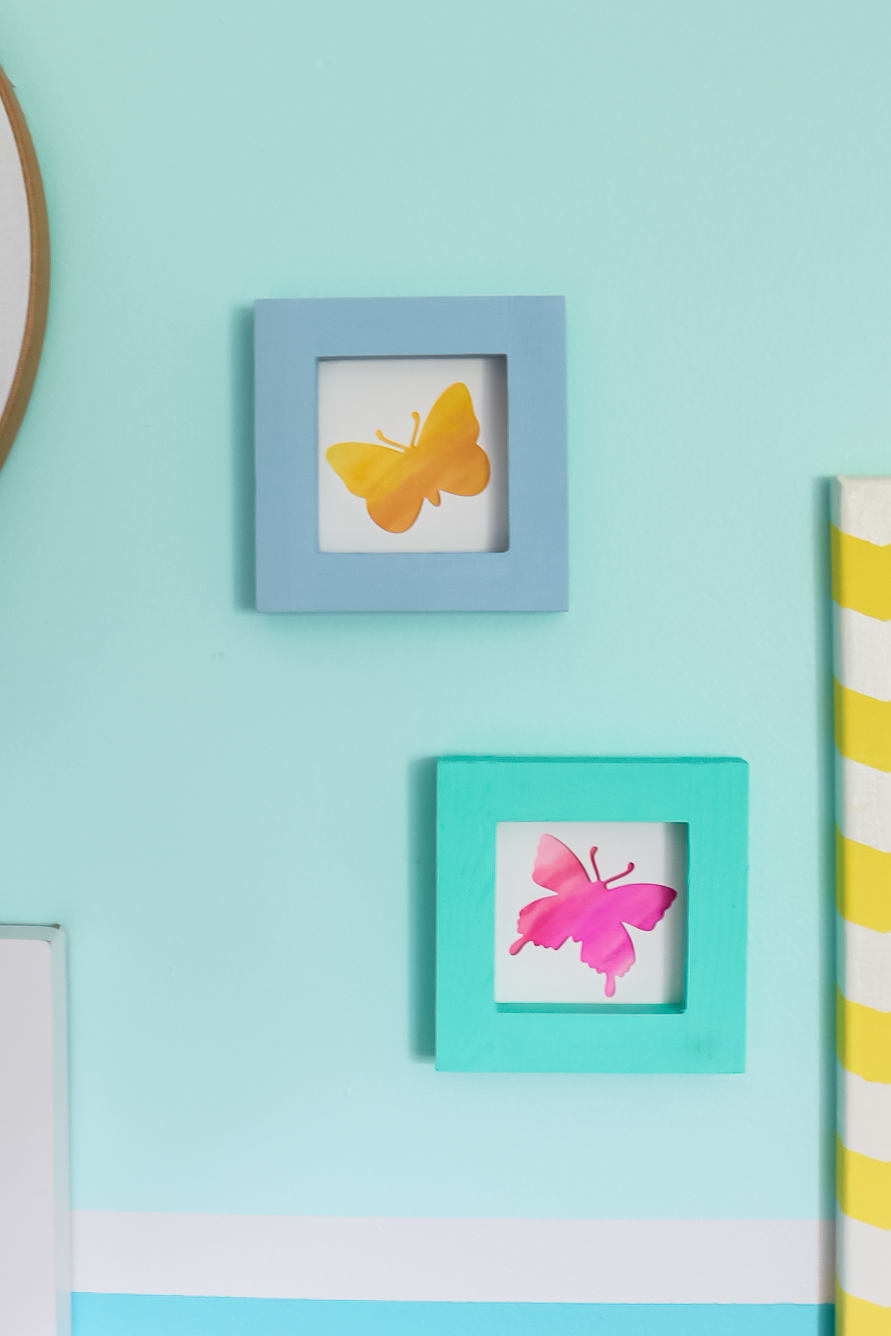
DIY Watercolor Art
I am going to show you how to make this project using a Sizzix die cutter, however, I also have instructions for cutting on a Cricut machine. You can use whatever method you would like for cutting your butterfly shape.
Supplies needed to make these watercolor projects:
- Frame (The one I used is no longer available, however, here is another option that may work.)
- Craft Paint
- Paintbrush
- Watercolor Paper
- Watercolor Pencils, Markers, or Paints (I am using Spectrum Watercolor Markers.)
- Sizzix with Butterfly Dies or a Cricut Machine for cutting shapes (NOTE: The dies I am using do not seem to be made any longer.)
- Scissors
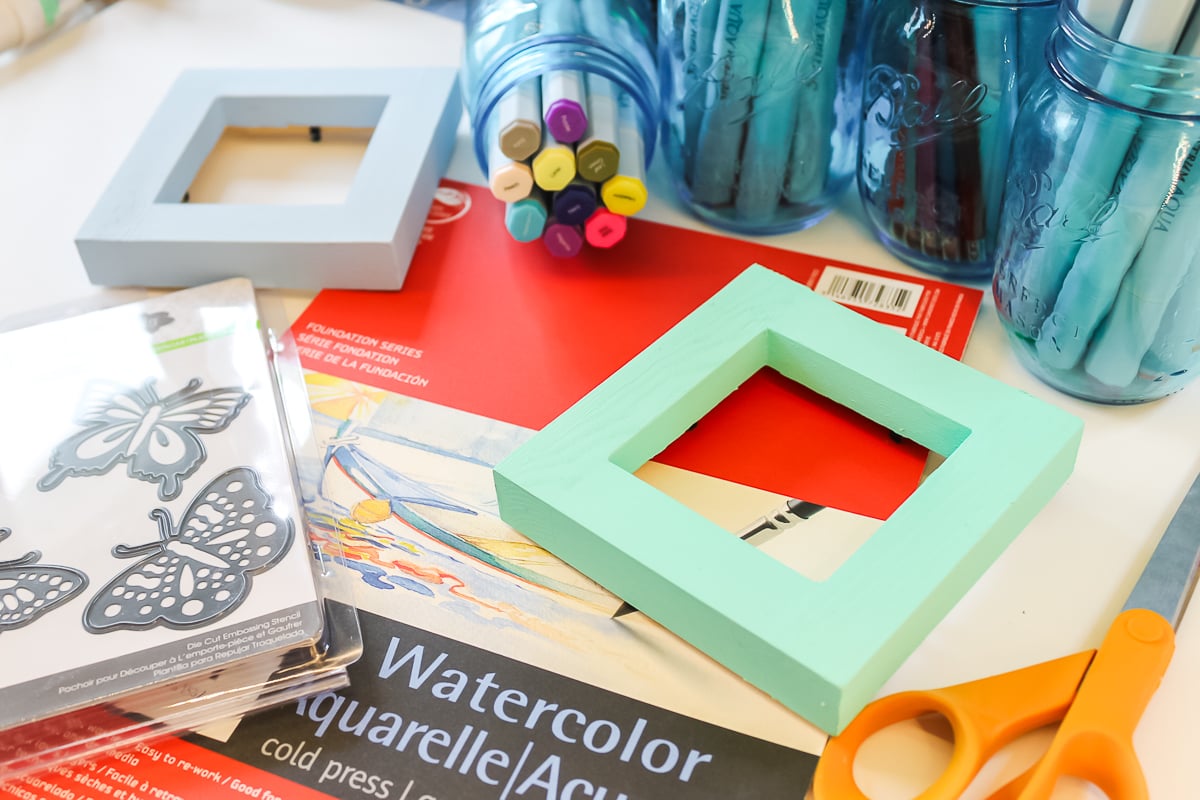
How to Make Your Own Watercolor Art
Paint your frames any color you desire and set them aside to dry. Measure the inside of your frame. Then cut your watercolor paper to the size of your frame. You will need two pieces of watercolor paper for every piece of die cut watercolor art that you are making.
NOTE: If you are using a Cricut machine to make this, you can cut just one piece per frame during this step and let your Cricut cut the other piece. Or even let the Cricut cut all of your pieces!
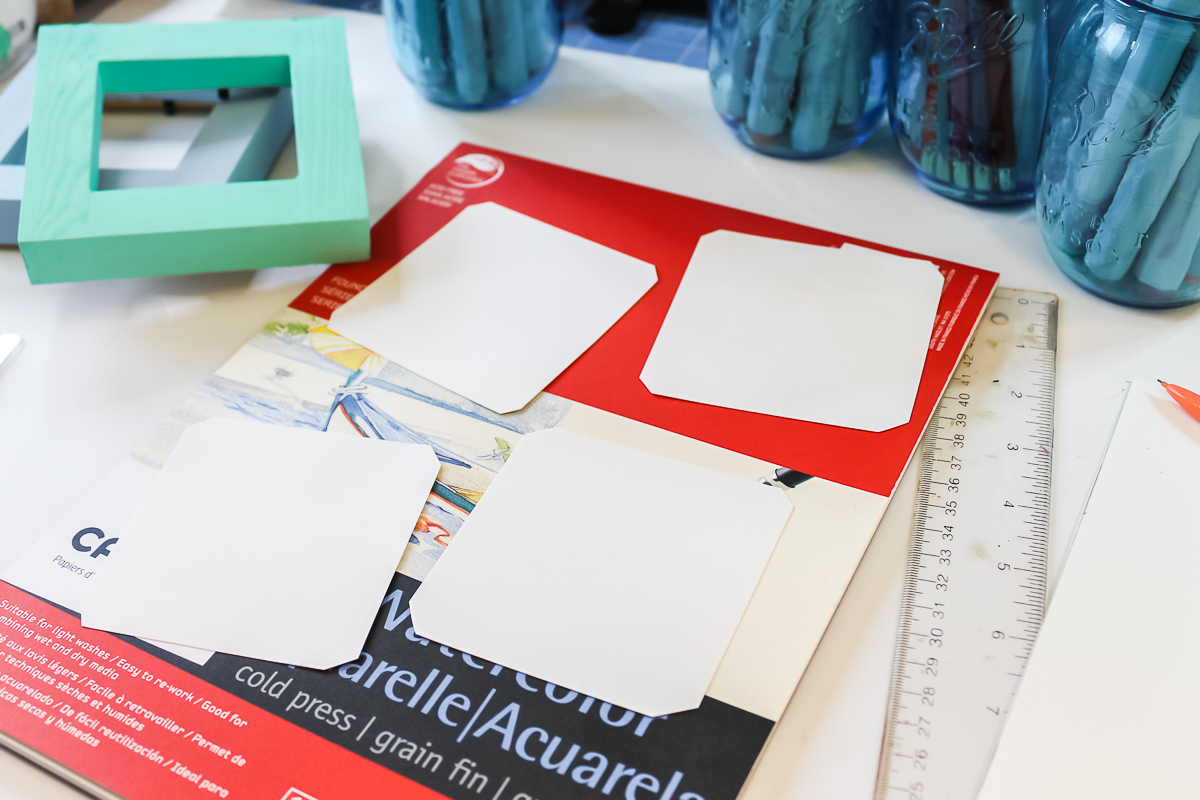
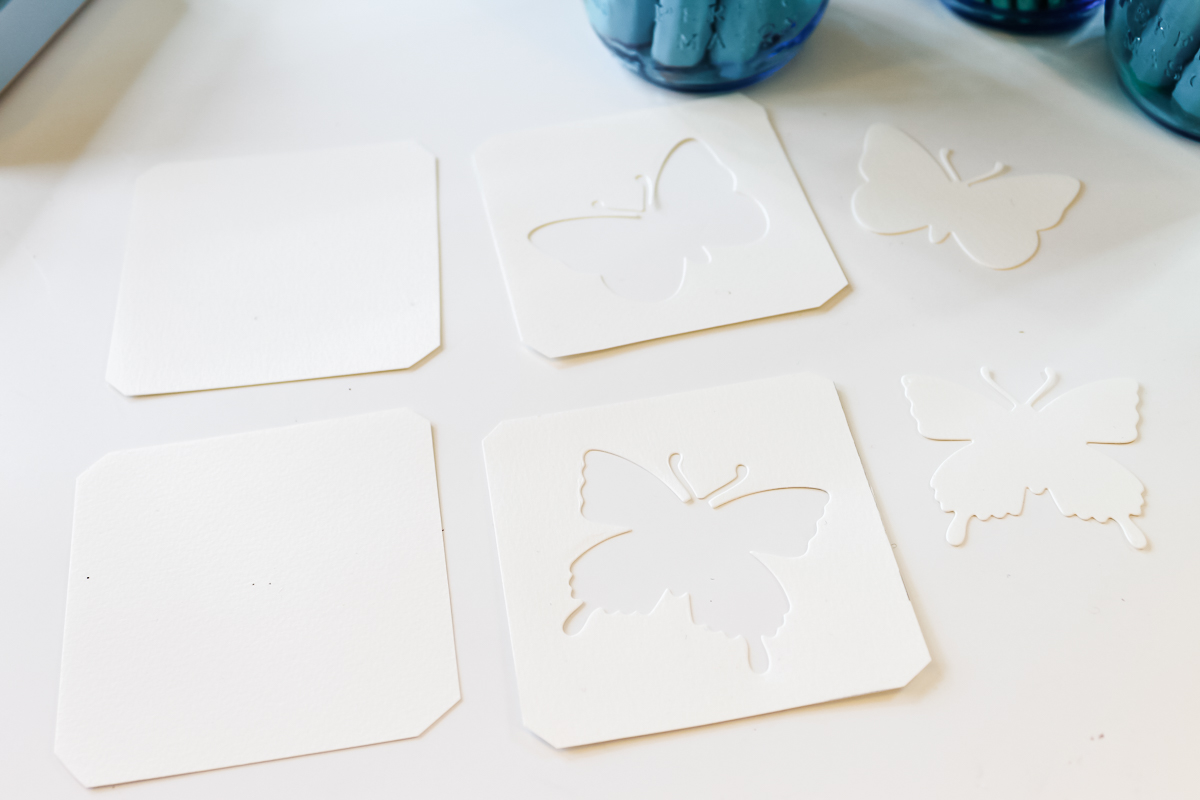
Use your machine to cut a shape from one of the pieces of paper. I used a set of dies to cut some butterflies. You could literally do any shape that you desire. No machine? No problem! Cut a monogram, circle, or anything else super simple with a craft knife.
Want to use your Cricut machine? Add a square the right size to your canvas and put the shape in the middle of the square. Highlight everything and click attach. Then cut from any paper. This layer does not have to be watercolor paper.
The piece of paper that does not have a cut-out needs some watercolor on it. You can do it any way that you desire. We used watercolor markers but pencils or paints will work as well. You could even use the Cricut Watercolor Markers for this portion.
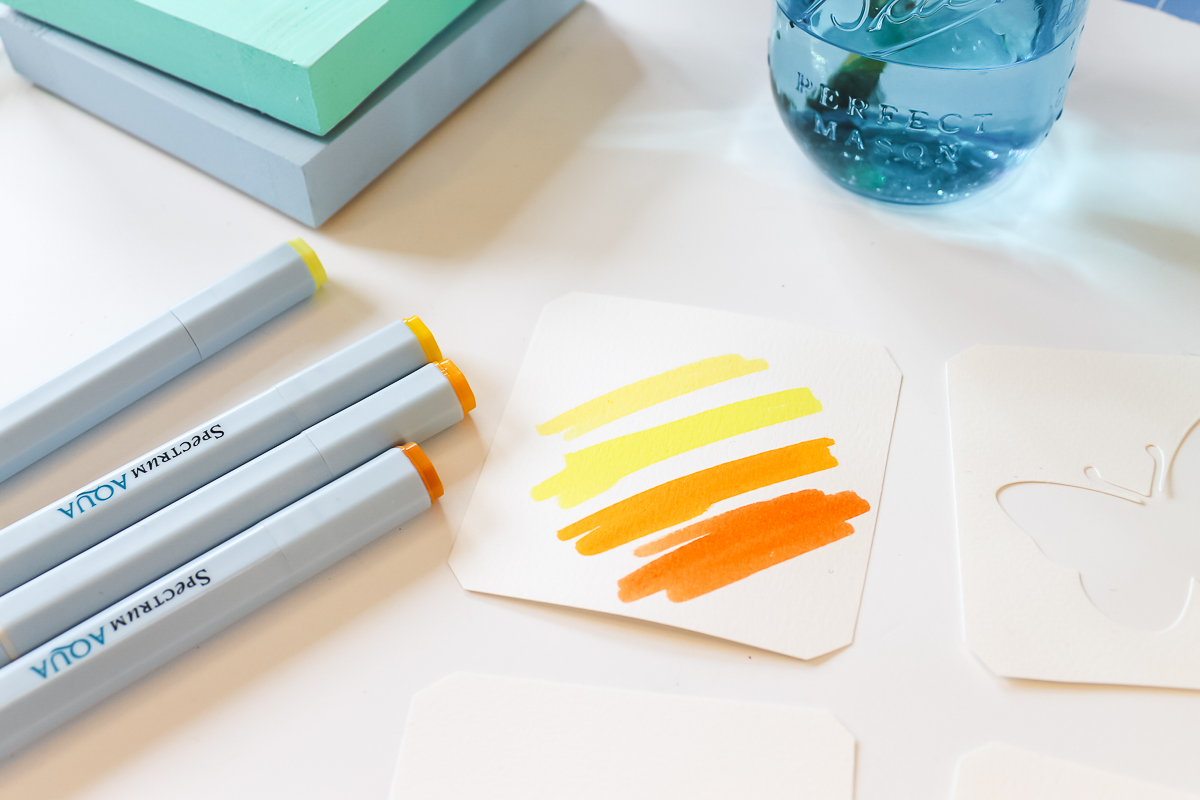
This is where you can let the kids go wild! Let them make a watercolor pattern in any way they would like on the paper. I literally drew a few lines then used water to make a design on the paper. You cannot mess this part up!
Remember you do want color in all areas that will show through your shape. You may want to hold the shape up to the paper and make sure all areas will have color.
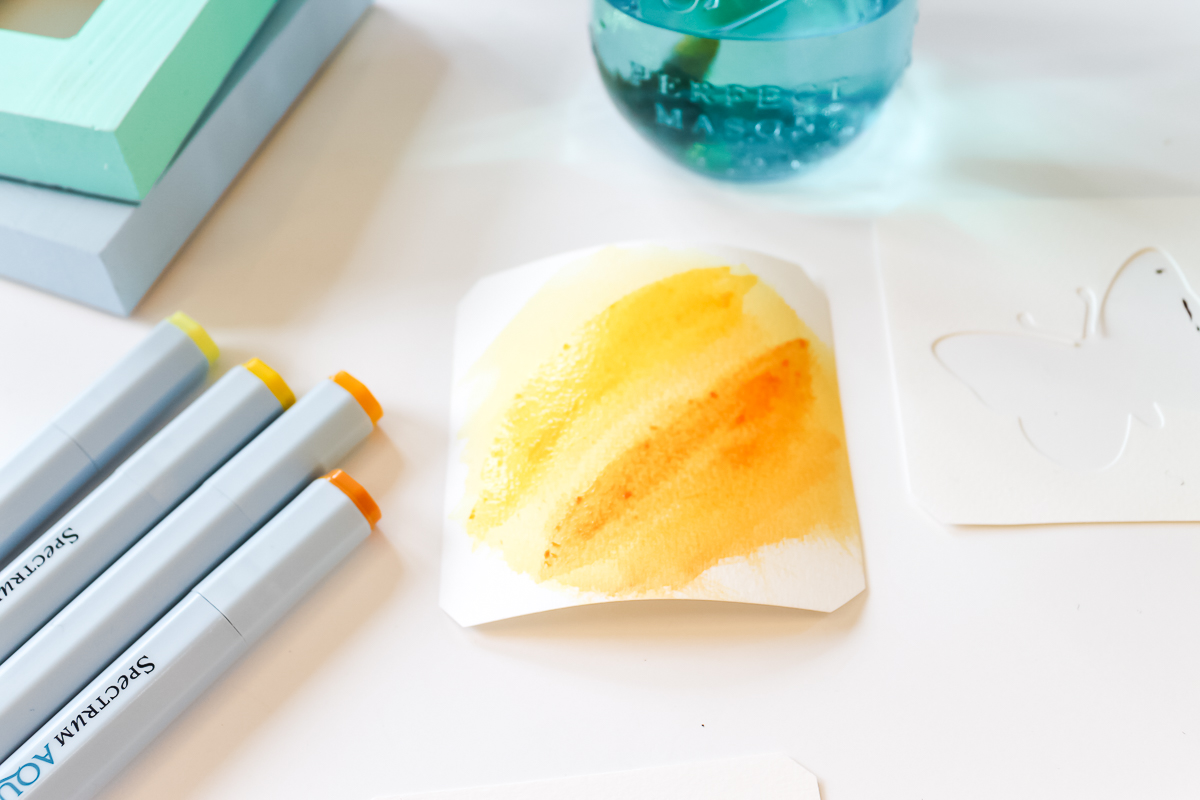
Allow your paper to dry completely before continuing. I do recommend a good quality watercolor paper for this layer as the moisture can warp and twist the paper.
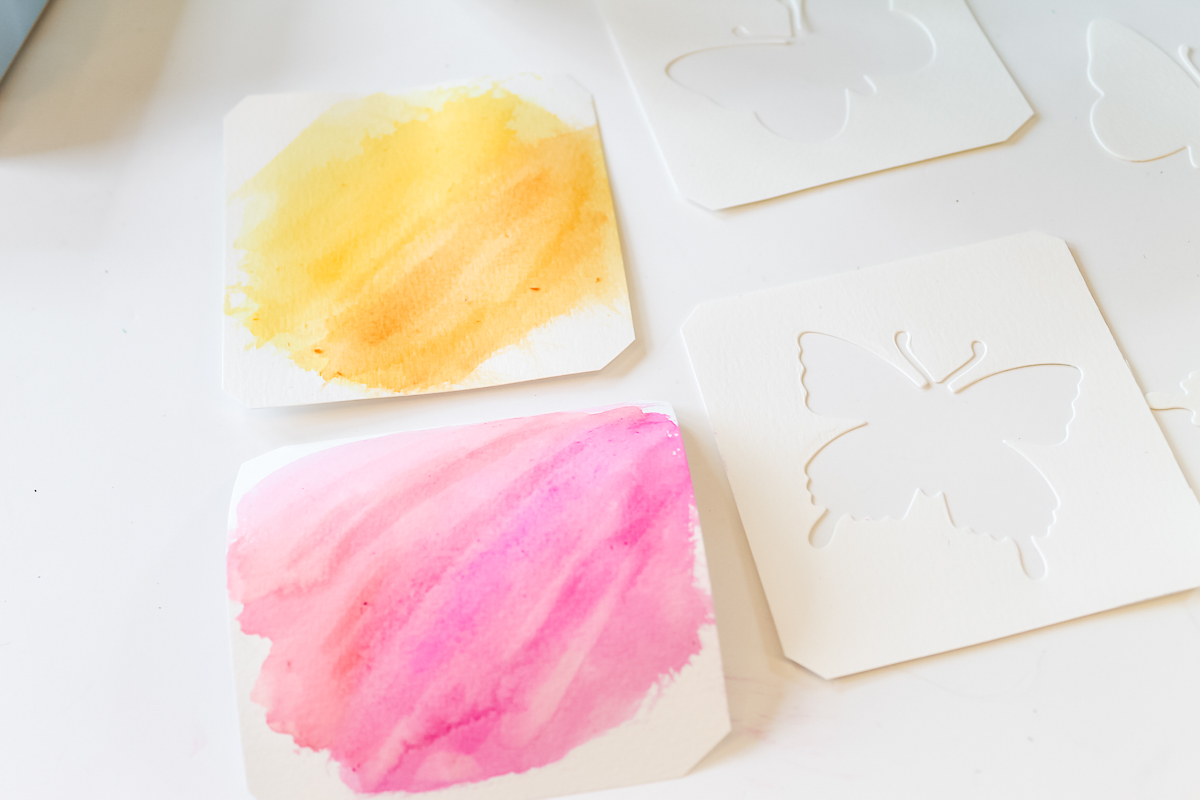
Assembling the DIY Watercolor Art
Once the watercolor layer is dry, it is time to assemble everything together. Layer the cut piece over the watercolor piece and add it to the frame. Your watercolor projects are complete! Yes, it really is that easy!
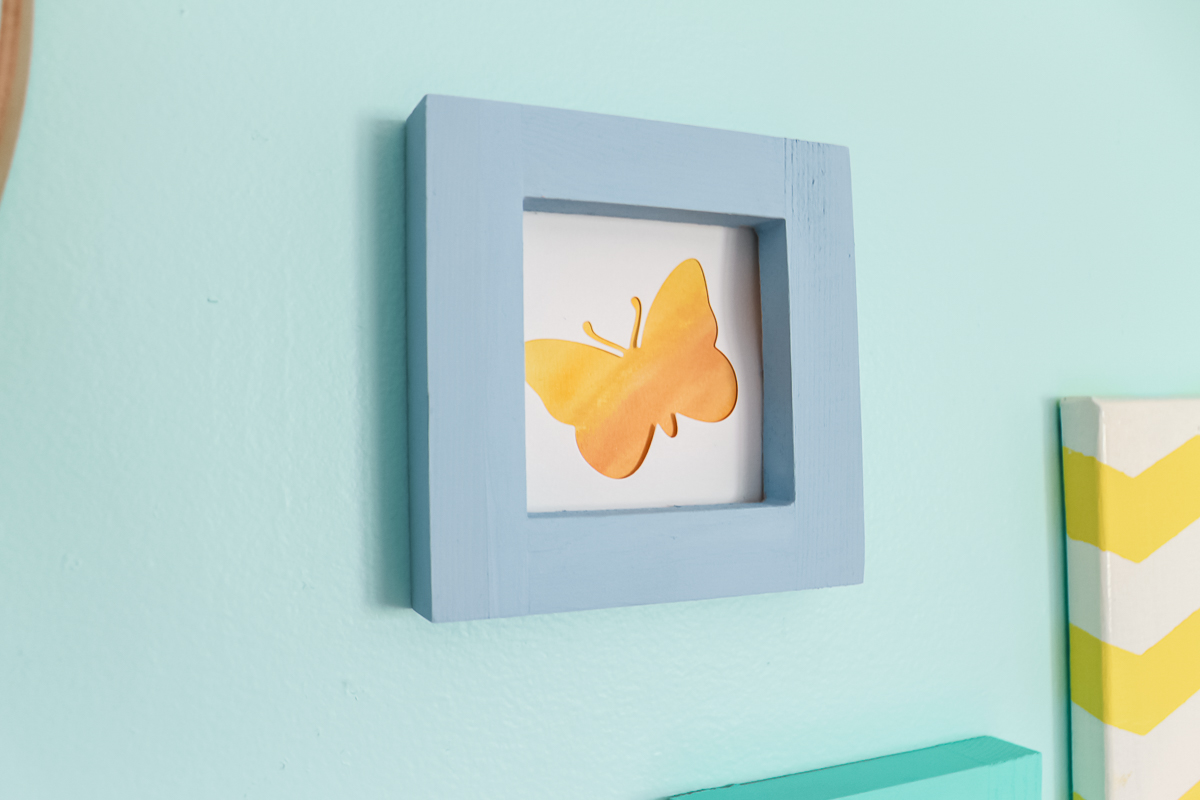
These will look amazing in any room of your home and mom will love to receive them as a gift! You can make as many or as few of these as you would like. I hung them next to the watercolor hoop art that I also made.
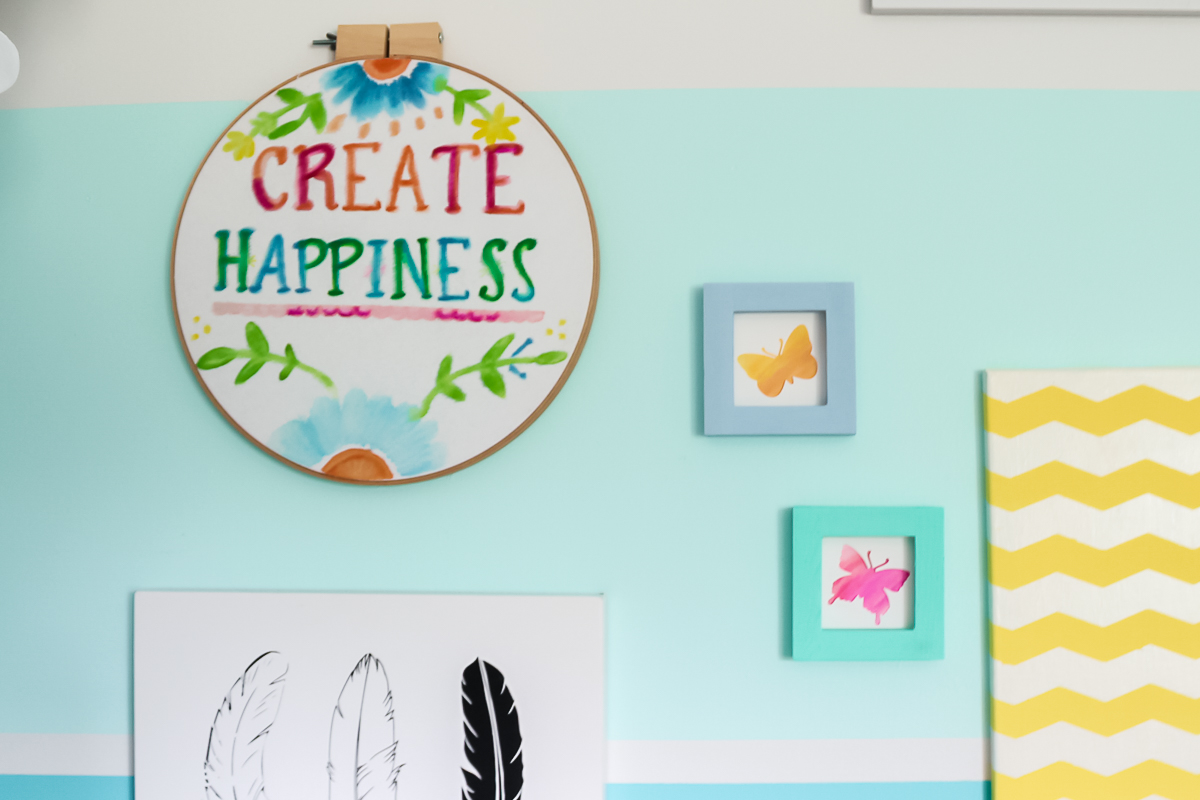
So, will you make a DIY watercolor project for your own home or give it as a gift? I think this is a fun way to get the kids involved in making something amazing for any occasion.
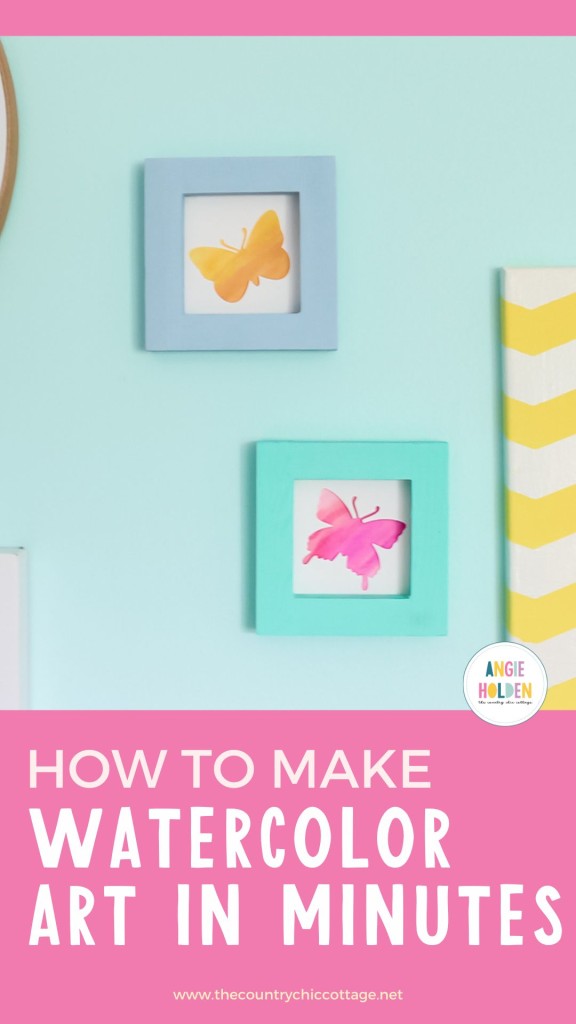
Love this project and want more quick and easy craft ideas? Try the links below as well!

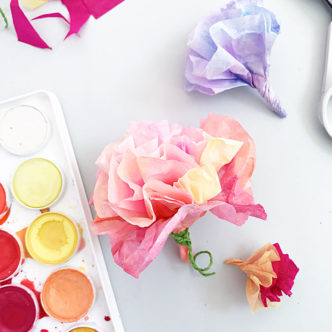


Creating DIY watercolor art is a delightful and accessible project for all ages. The results are stunning and worth the creative journey
I agree, it’s so fun to do 🙂 I’m glad you liked it!