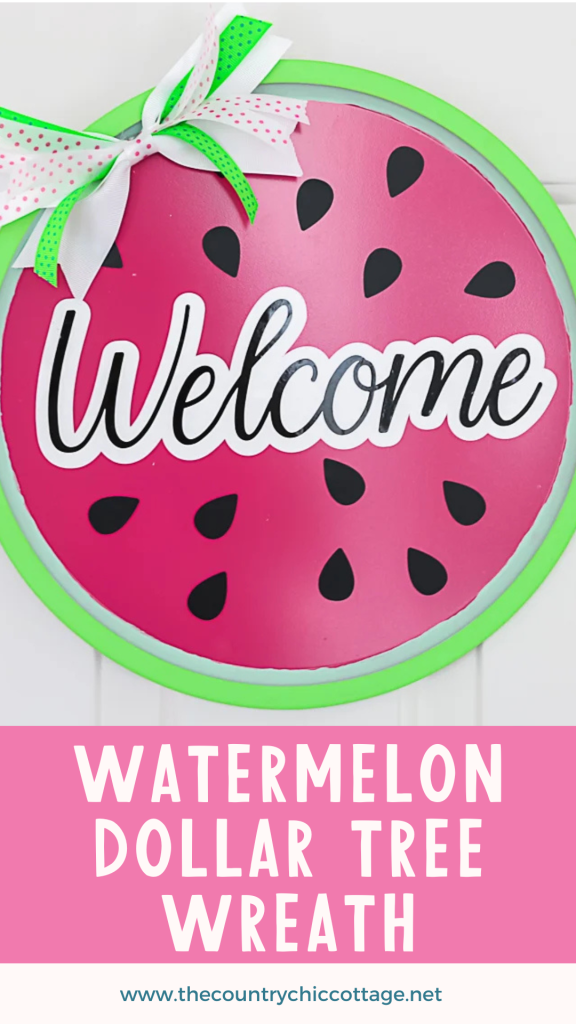
Grab your supplies to make a fun Dollar Tree watermelon wreath, and add something special to your front door! Adding Testors paints to a pizza pan is an inexpensive way to create a fun wreath for any season. Since making pizza pan wreaths for the holidays, I have been trying to think of other occasions they would work for. Well, summer and watermelons it is!
Testors sponsor this post; however, all projects and opinions are mine.

Video Tutorial Of Watermelon Wreath
In the video below, you can watch my methods for painting and applying vinyl to a spray-painted surface. Just click play!
Can’t watch the video or miss some of the information? You can also follow along below!
Dollar Tree Watermelon Wreath
For this project, you will need a pizza pan from Dollar Tree. Depending on your Dollar Tree, you may find two different sizes of pizza pans: 12-inch and 16-inch.
I am using the 12-inch pizza pan for this project, but you can use the 16-inch if you prefer.
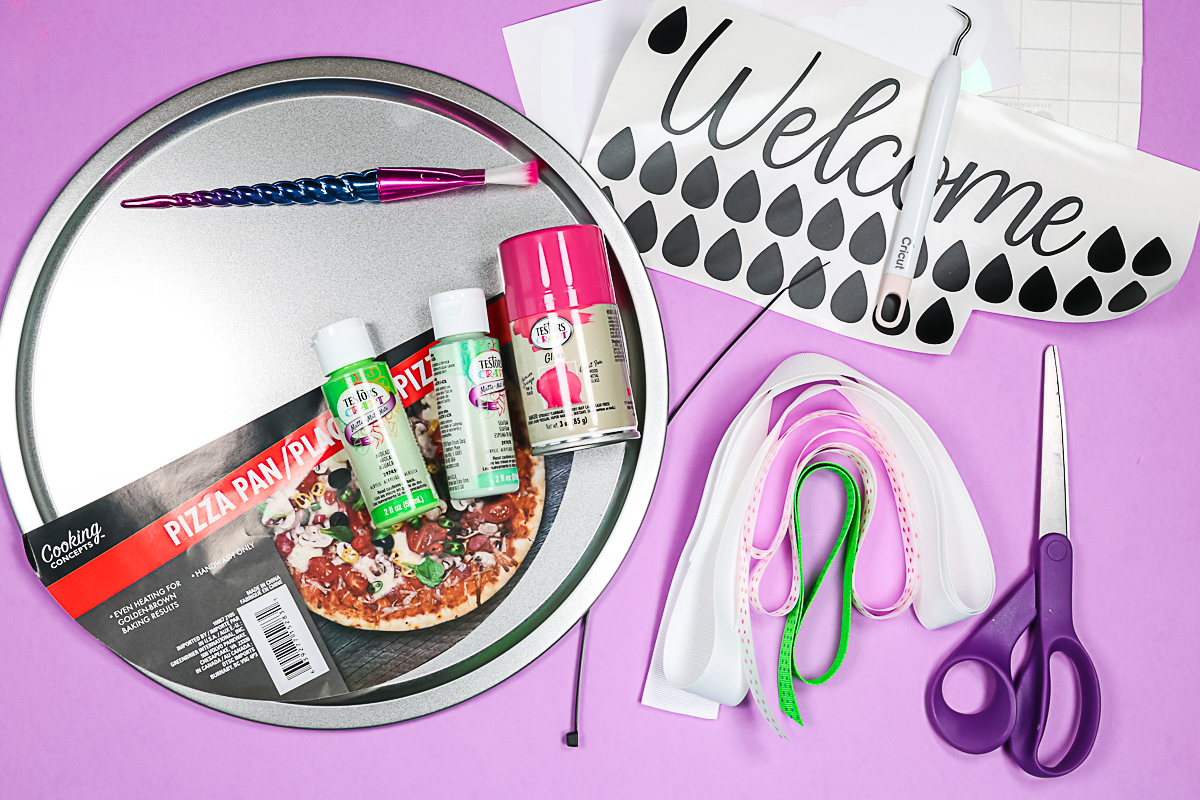
Supplies Needed For Watermelon Wreath:
- Testors Spray Paint
- Testors Acrylic Paint
- Pizza pan
- Paintbrush
- Cricut machine
- Vinyl
- Weeding tools
- Transfer tape
- Scraper
- Ribbon
- Wire tie
- Scissors
- Hot glue gun
- This project uses Design Space files. Click here for my Design Space profile. Once on my profile, find the image of the project you want to create, click on it to open it, and then you can make it yourself. Click Edit A Copy to add the file to your canvas to enlarge or reduce the size or Make It to proceed directly to the cut screen.
How To Make Watermelon Wreath
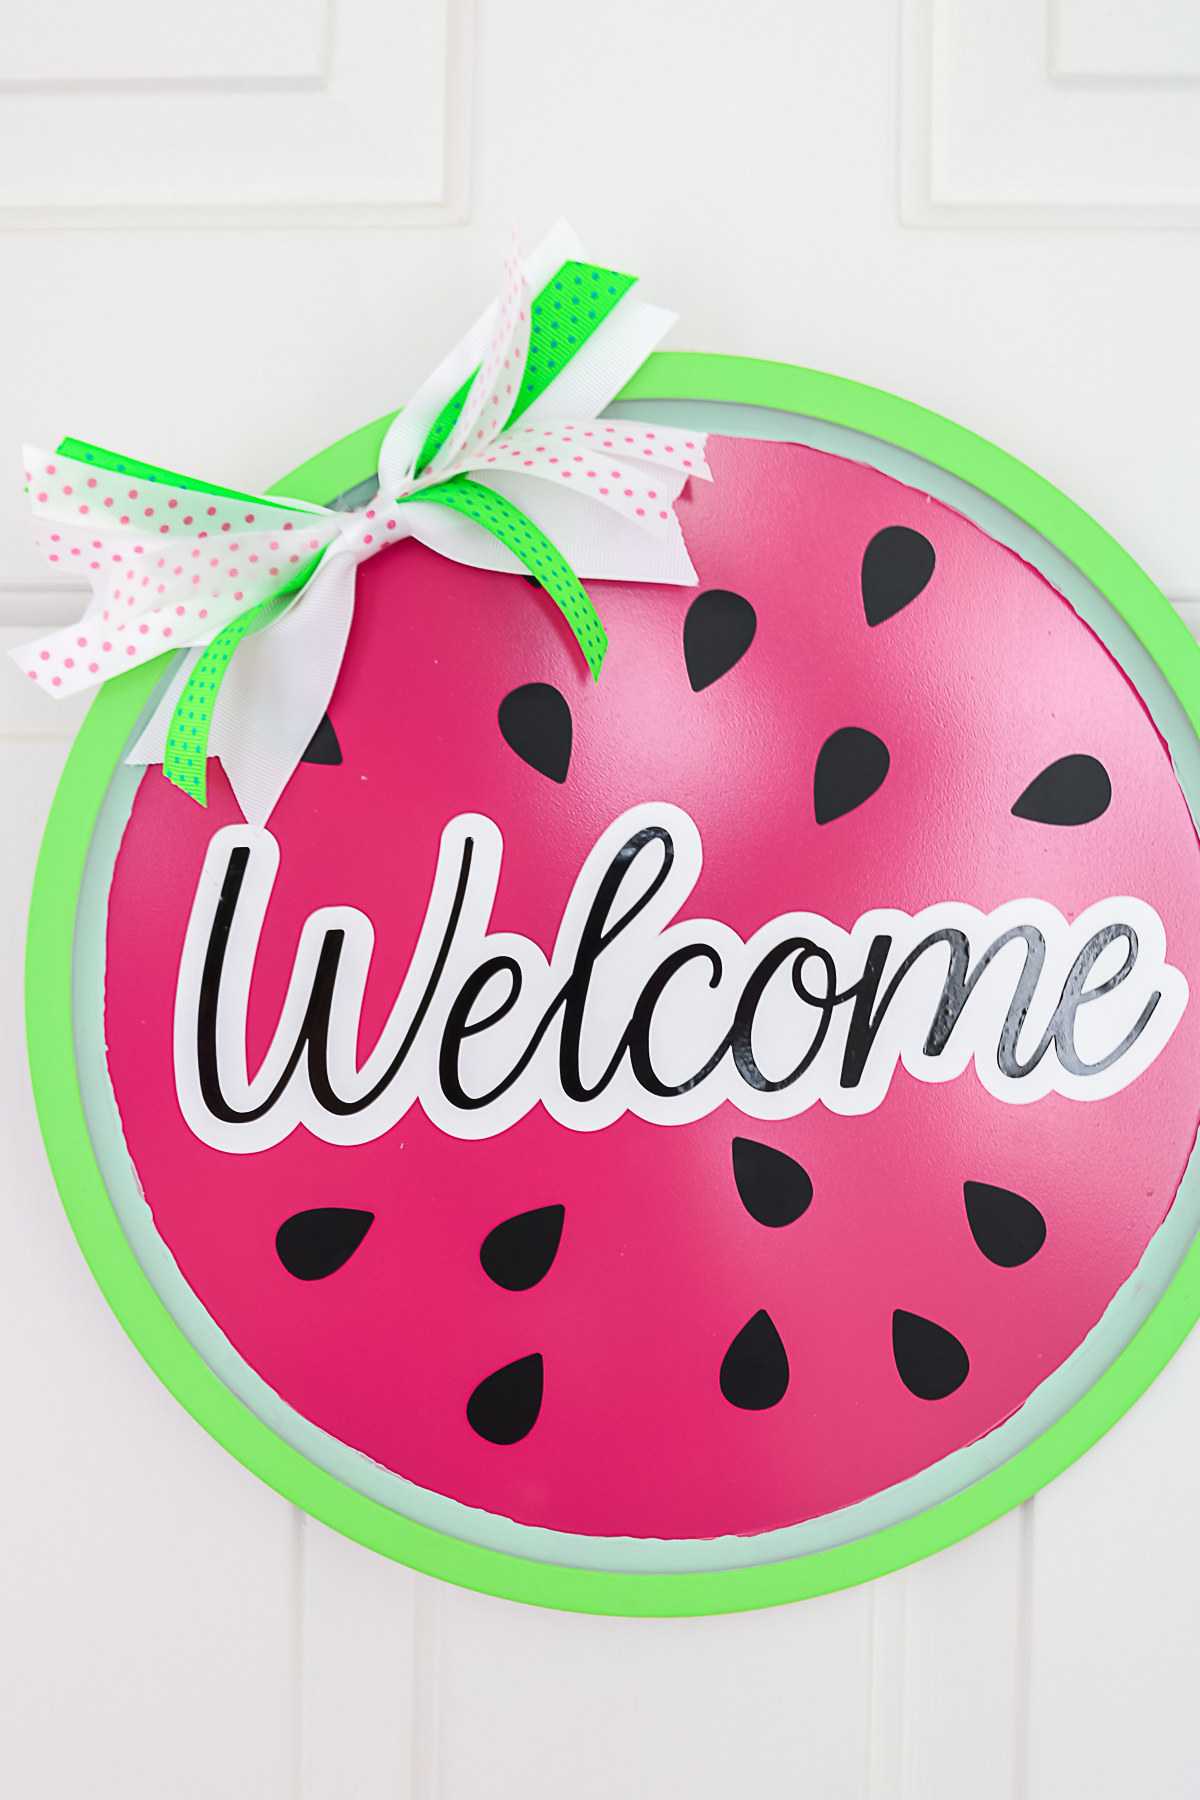
Now, it is time to make your Dollar Tree wreath. This door hanger is easy to make and will make a welcome addition for guests this summer.
Step 1: Paint Pizza Pan
Start by spray painting the pizza pan in the color of your choice. I am using this gorgeous Blush Pink spray paint from Testors. Be sure that the pan itself is clean and that all glue has been removed. You’ll want to do this outdoors and use several light coats a few minutes apart to paint the pan. Then, allow it to dry for 24 hours before continuing.
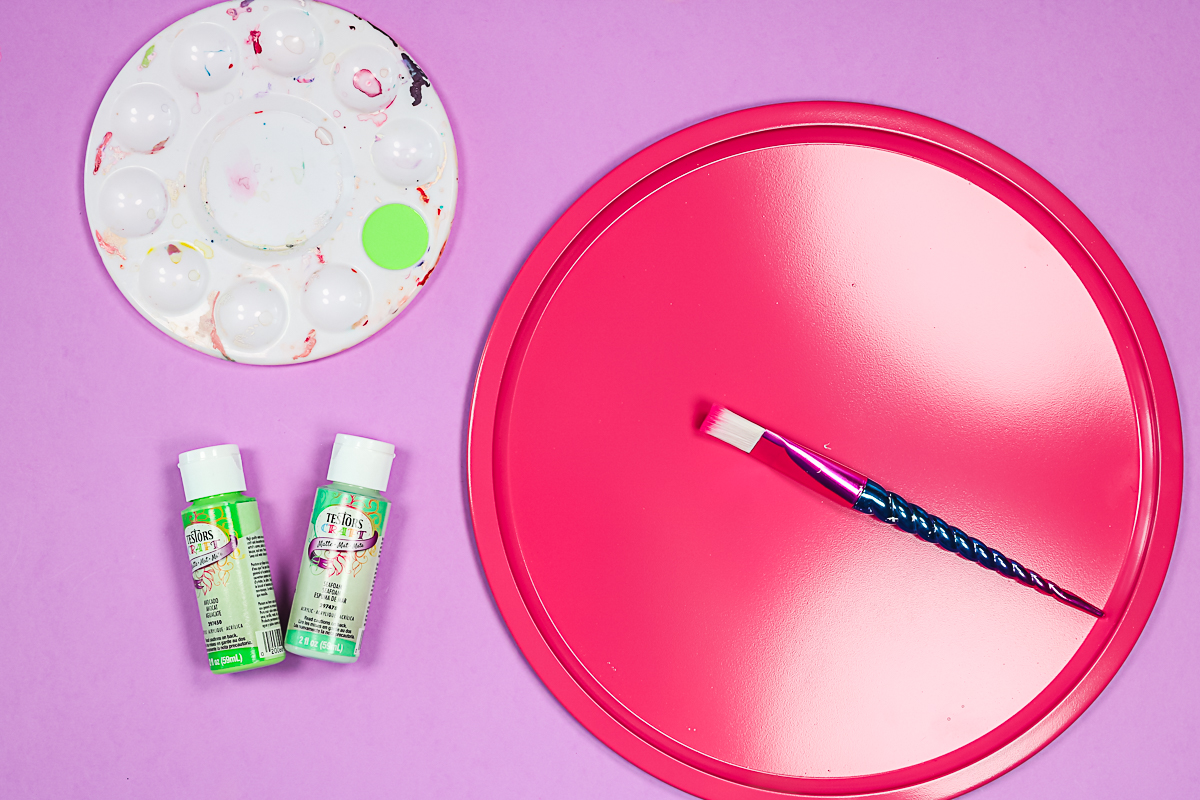
When your pan is fully dry, continue by adding the green “ring” portion. I used the Avocado green color and painted the outermost edge of the pizza pan. Brush on light coats and allow each coat to dry before adding additional coats. I ended up with about four coats in this area.
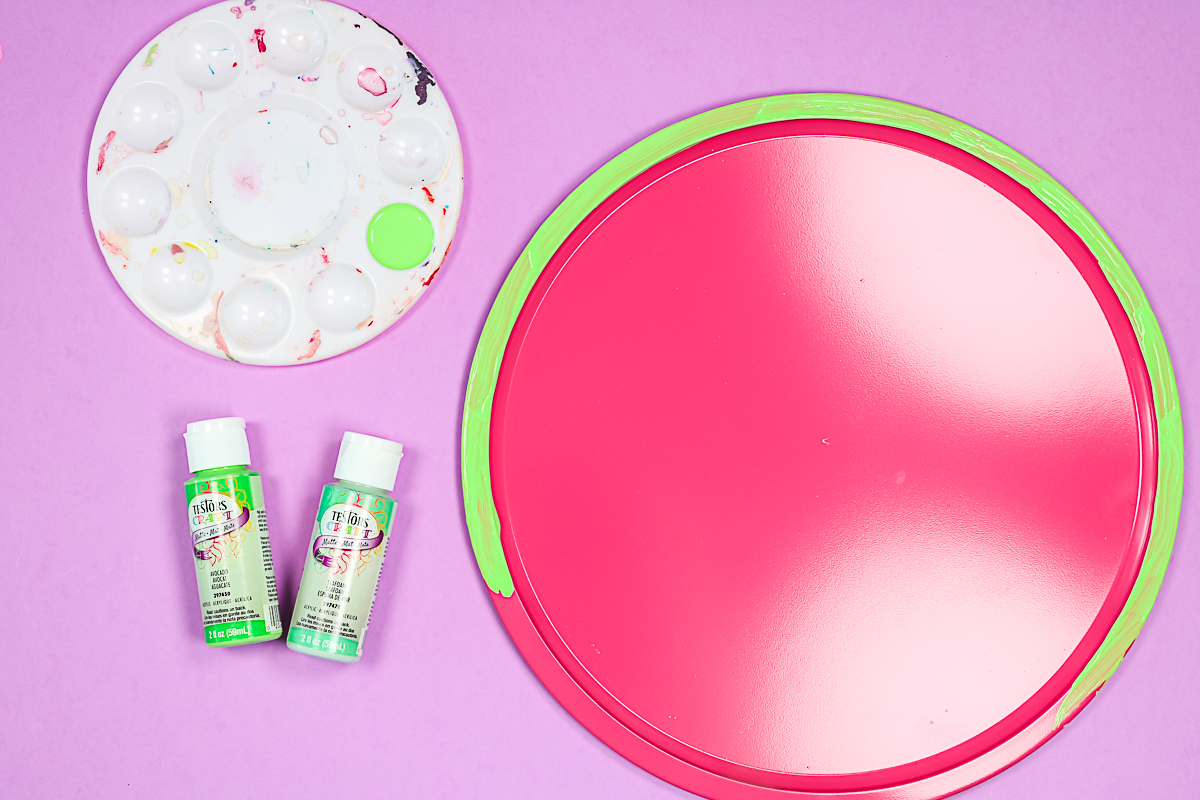
Then add the Seafoam green color inside of the darker green. Again, just brush on light coats allowing them to dry in between coats. I did about three coats in this area.
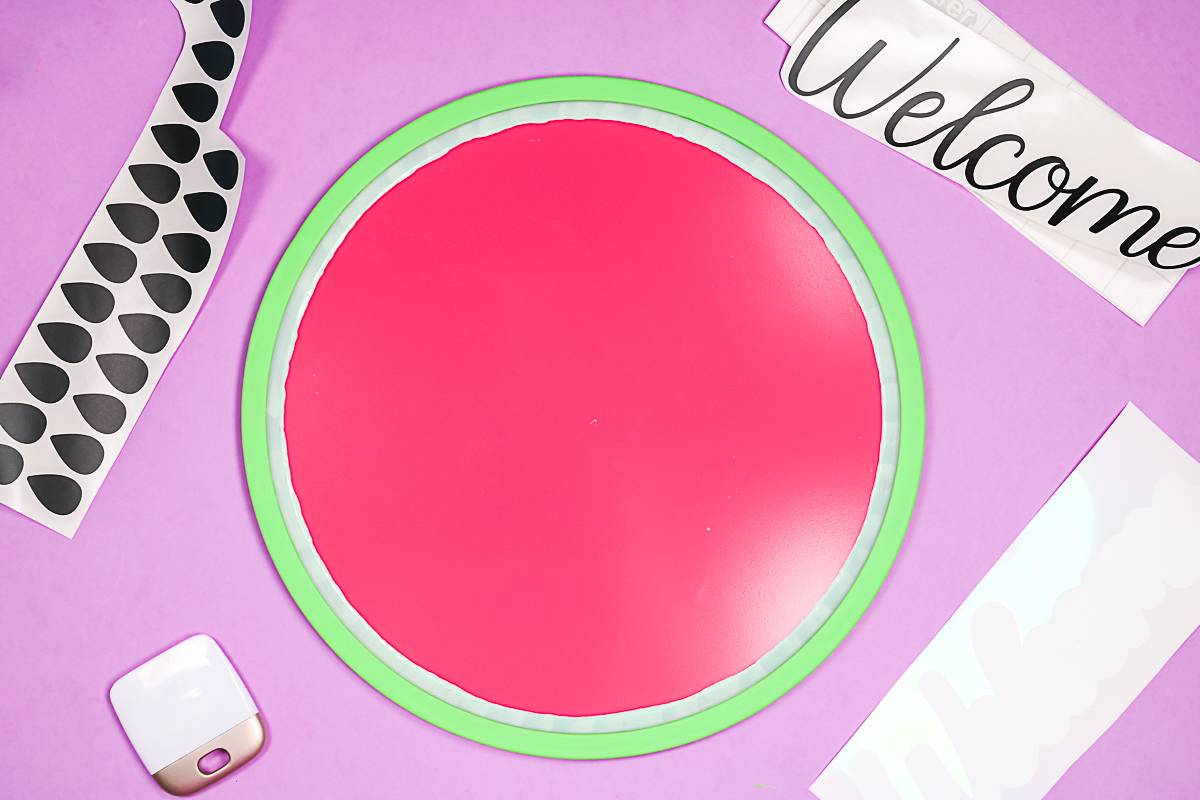
Step 2: Add Vinyl To Pizza Pan
Cut the file using black permanent vinyl on your Cricut machine and weed away any excess. Then, you are ready to apply it to your pizza pan to complete the wreath.
When adding adhesive vinyl to a spray-painted surface, it is best to allow the paint to cure for 72 hours before adding it. This will ensure the paint does not peel from the surface when you use the transfer tape to transfer the design.
In this case, I had waited over 24 hours, but I wanted to finish the wreath, so I used a trick I showed in the video tutorial to avoid using transfer tape. I cut black vinyl and then white vinyl in an offset around it. I applied the black vinyl to the white using transfer tape.

Remove the transfer tape, and you have a sticker that you can apply to the surface without transfer tape. I made sure that the white offset was all one piece, and then I applied it to the center of the pizza pan.

Then, I peeled each of the watermelon seeds and scattered them randomly all over the wreath. I like the look of them randomly, but you could cut them in a pattern if you wish.

Note: You should use permanent vinyl on your wreath. If you will be using it outdoors, seal the entire thing with a few coats of sealer (before adding the ribbon bow). Something like Polycrylic works well. This will protect your wreath from the elements and make it last as long as possible.
Step 3: Make A Ribbon Bow
I cut a few different ribbons to about 7 to 7 1/2 inches in length. I also cut the ends at an angle or in a “V.”
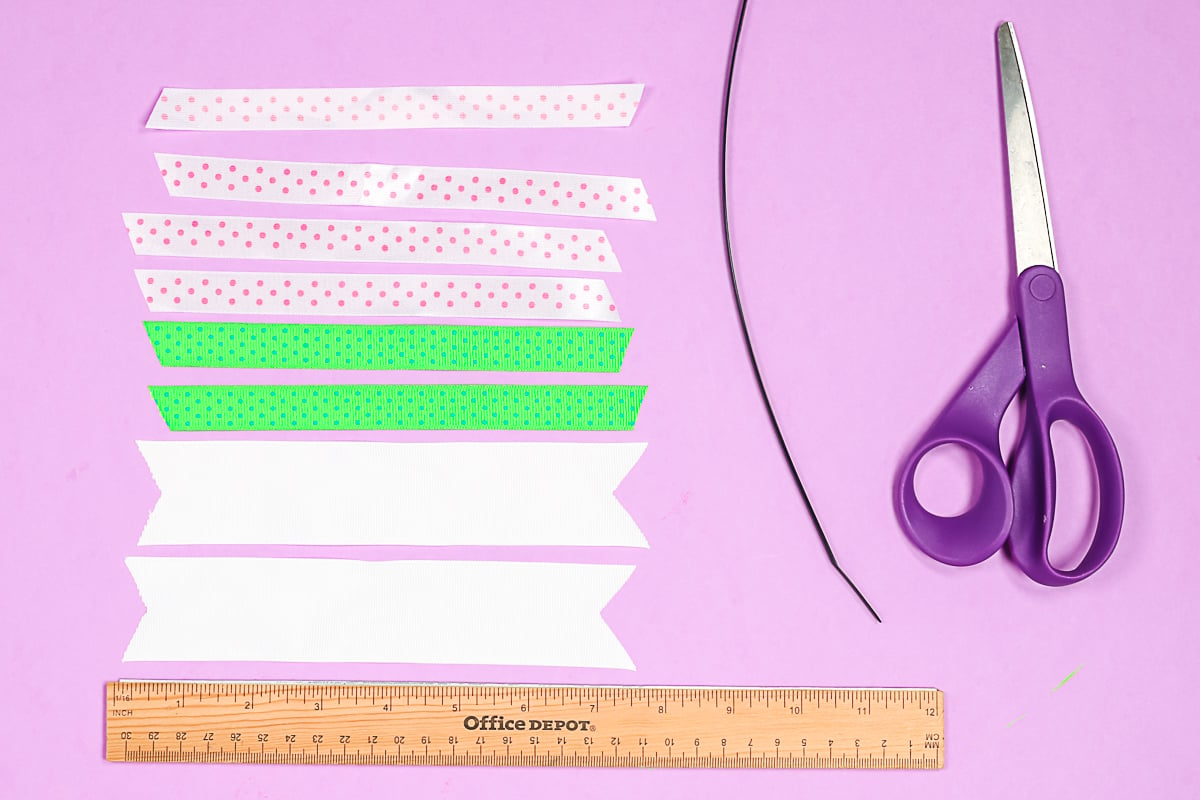
Stack ribbons randomly, then scrunch in the center and add a wire tie to hold it together. Pull tight and trim any excess wire tie. Then, cover the center with a small piece of ribbon and hot glue it into place.

Step 4: Add Ribbon Bow To Pizza Pan
Hot glue the bow to the wreath. I like mine slightly off-center, but you can add it to any area you like. Add a ribbon to the back with hot glue to hang on your door.
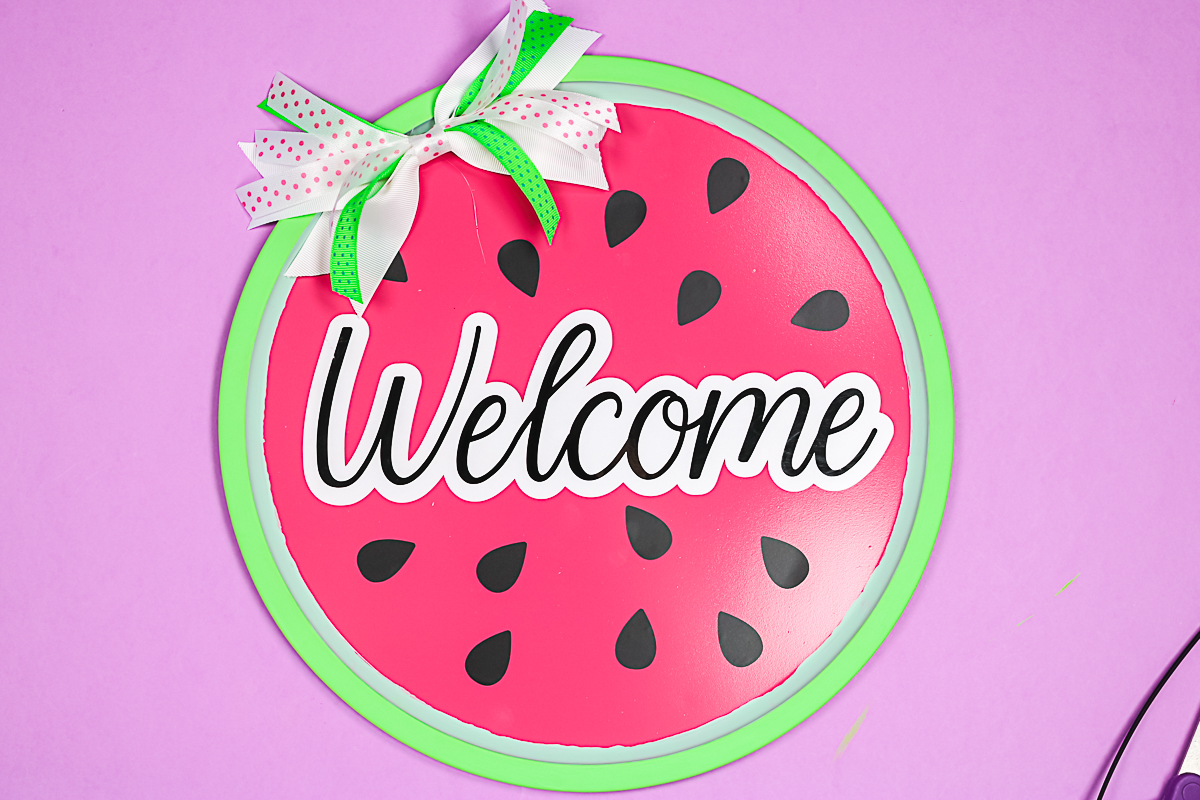
Look how cute this watermelon wreath is! It just screams summer!
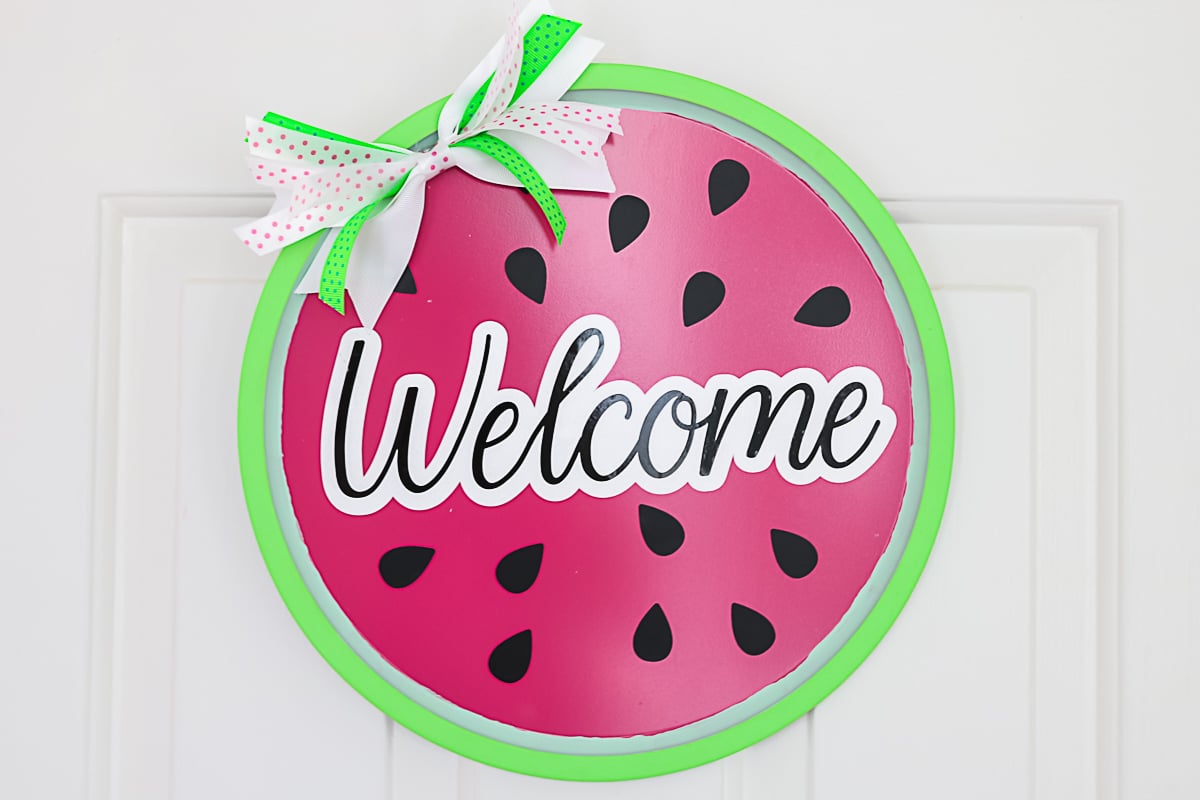
So, are you ready to make this watermelon wreath for yourself? Head to the Dollar Tree to pick up supplies. I know you will love how this one looks and how easy it is to make.
Testors paints make this project easy to make. So, grab those supplies and get started! Summer is coming, and you will be ready with this Dollar Tree watermelon wreath.
FAQs About Watermelon Wreath
Here are a few common questions that I often see readers asking about making this watermelon wreath. If you have a question, please check if I’ve already addressed it below. If you don’t see your question listed, please leave it in the comments!
What Cricut Machine Can I Use For This Project?
All of them! The Cricut Maker, Cricut Explore series, Cricut Joy, Cricut Joy Xtra, and Cricut Venture, can all work for this project.
The only thing to keep in mind is that each Cricut machine has different project-size capabilities. So, depending on how big you make your watermelon wreath, you might need to resize your design.
Do You Have More Information On How To Use The Offset Feature In Cricut Design Space?
Yes, I do! If you have never used the offset feature in Cricut Design Space, I have a full video that walks you through how to use it and shares some helpful tips and tricks. The video you will want to check out to learn more about the offset feature is my Cricut Offset: How to Use This Feature in Design Space!
I Don’t Have A Cricut, Can I Still Make This Project?
Yes, you can! The great thing about Testors is that they make paint in a variety of colors. So, you can easily pick up some black and white paint and add your seeds/welcome phrase either by hand or stenciling.
How Did You Add A Hanger To The Back?
I used a ribbon loop on the back that I secured with hot glue. However, depending on where you hang the wreath in your home, you could use another method.
4 More Summer Crafts
Do you love this watermelon wreath and want more summer crafts? Then check out the projects below!