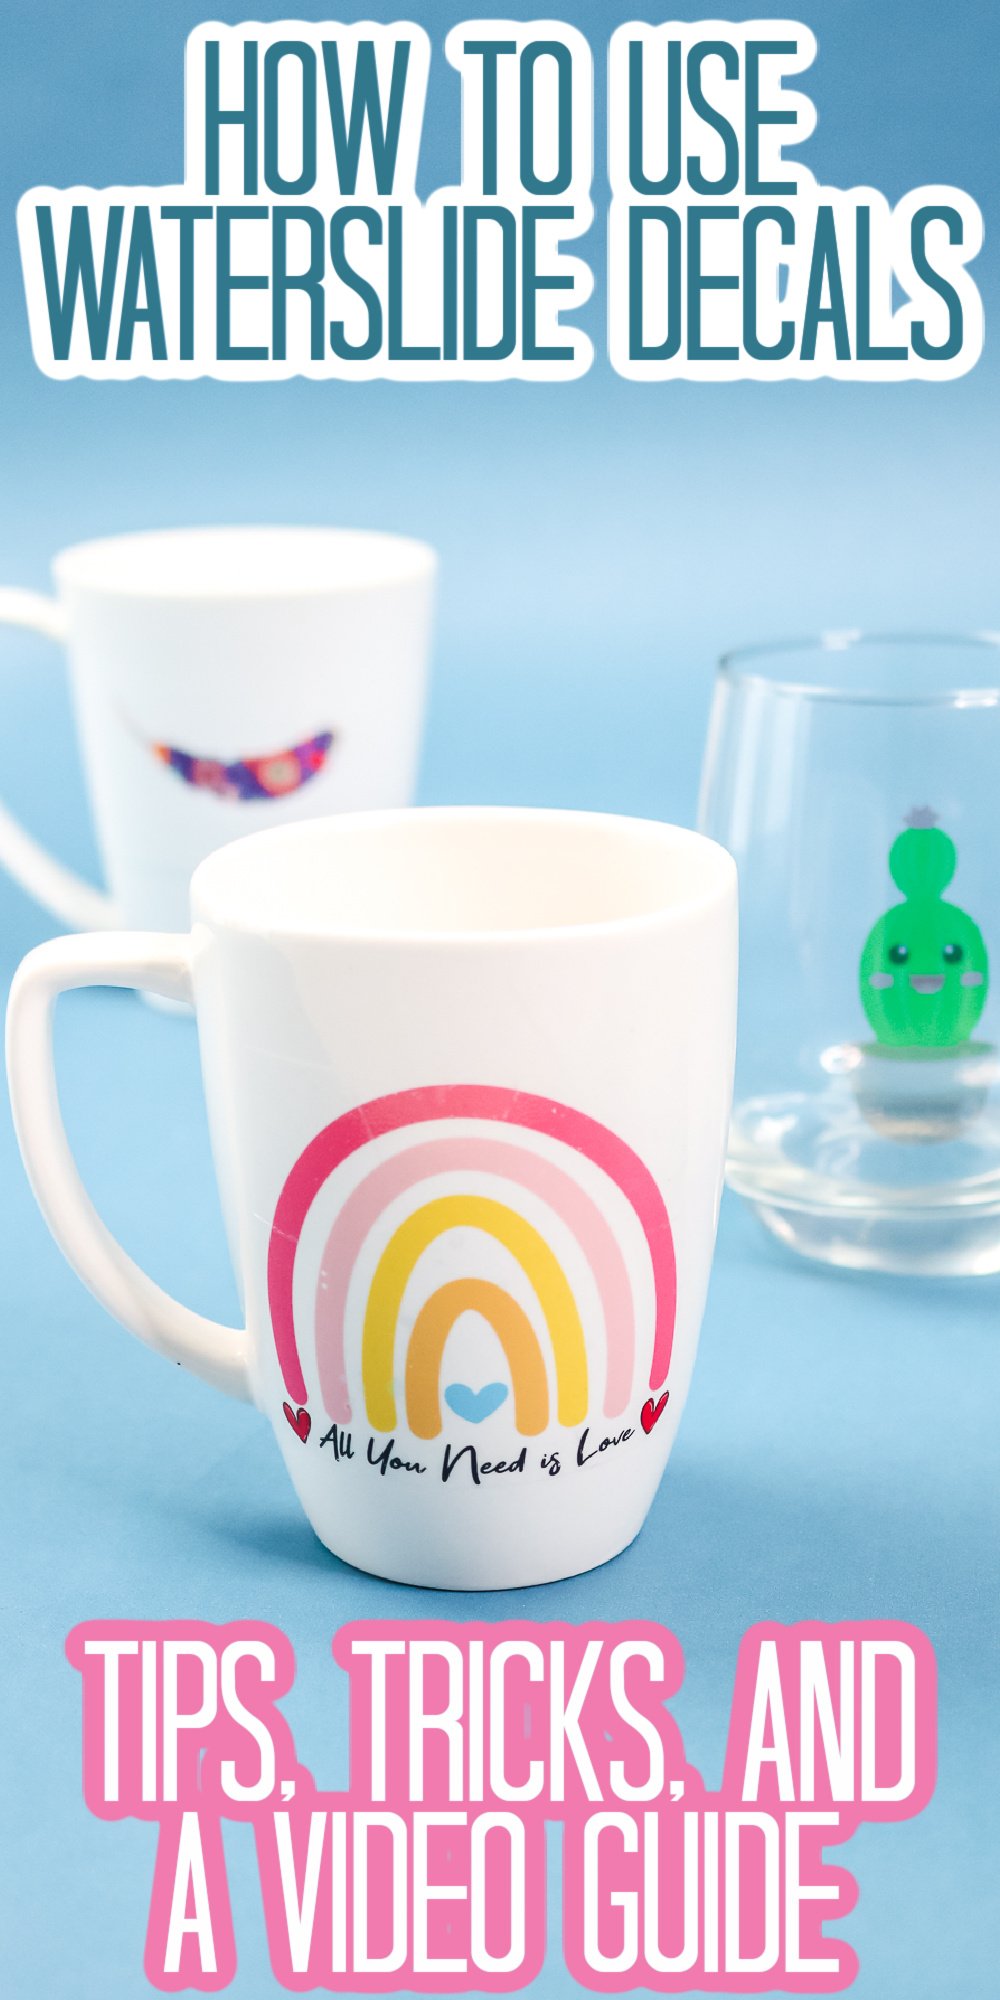
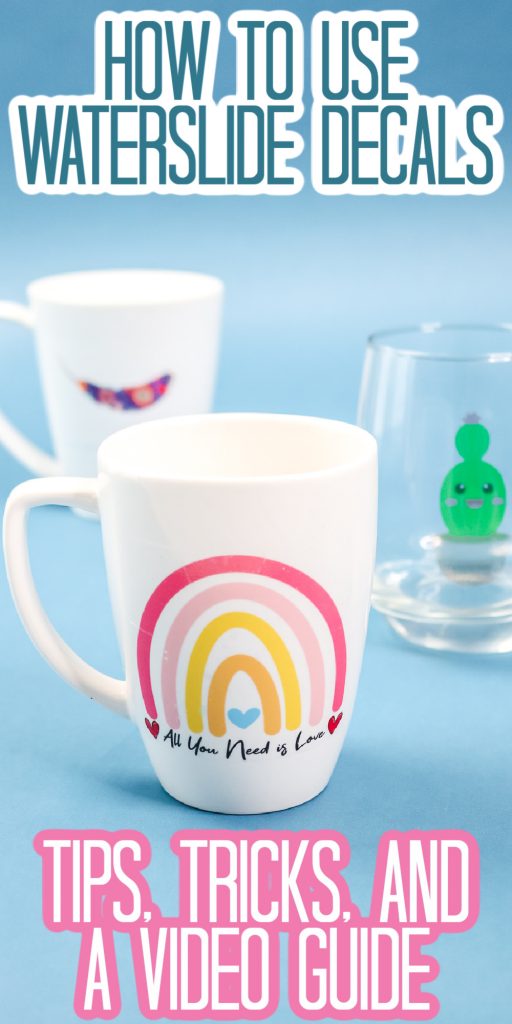
Knowing how to use waterslide decals creates fun new crafting possibilities! Learn all you need to know about how to use waterslide decals in this tutorial.
If you’re a crafter, you know there are many mediums you can use to create wonderful new things. There’s paint, fabric, vinyl, and much more. Today, I have a new medium I want to show you: decals. Specifically waterslide decals.
Decals are images with a sticky backing that you can adhere to your preferred surface. You’re probably wondering if decals and stickers are the same things. The answer is yes, and no.
All decals are stickers, but not all stickers are decals. Here’s why: Decals are printed on vinyl, while stickers have a paper backing.
I am here today to show you everything you ever wanted to know about waterslide decals! Plus, I am going to show you how to use waterslide paper to make decals for hard surfaces.
This is a great way to transfer an image onto a surface using an inkjet or laser printer and it might just be the answer you are looking for when it comes to a craft project that you have in mind. So, let’s dive into this craft medium to use on mugs and more!
Note: If you want more ideas for working with stickers and decals, check out our Summer Stickers, Cricut Car Decals, and KitchenAid Mixer Decals!
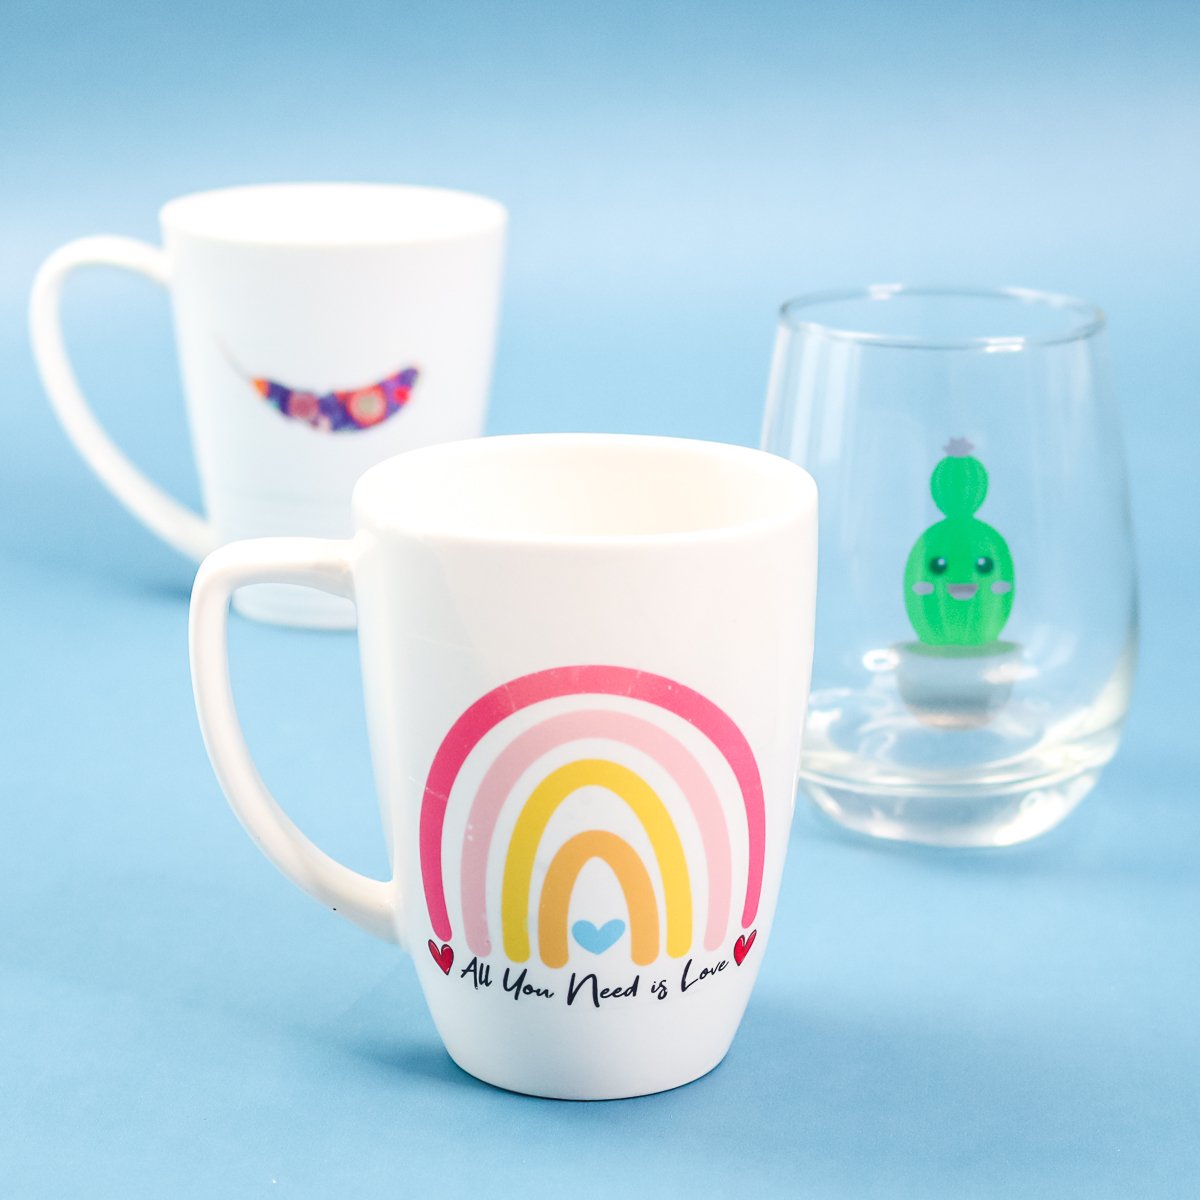
Waterslide Decals Video Tutorial
You can watch me use waterslide paper to make decals in the video below. This is often the easiest way to explain a process like this, so just hit play on the box below.
If you can’t see the video or missed some of the steps, I have all of the information you need to make your own decals from waterslide paper in written form too!
What Are Waterslide Decals?
First things first, what are waterslide decals?
They are decals that you can print on with either your laser or your inkjet printer. Then you put a sealer on it, soak it in water to remove the backing, and slide it off the backing onto your surface. You cure it on the surface itself by baking it.
You can apply these decals to hard surfaces, like mugs, tumblers, plates, etc.
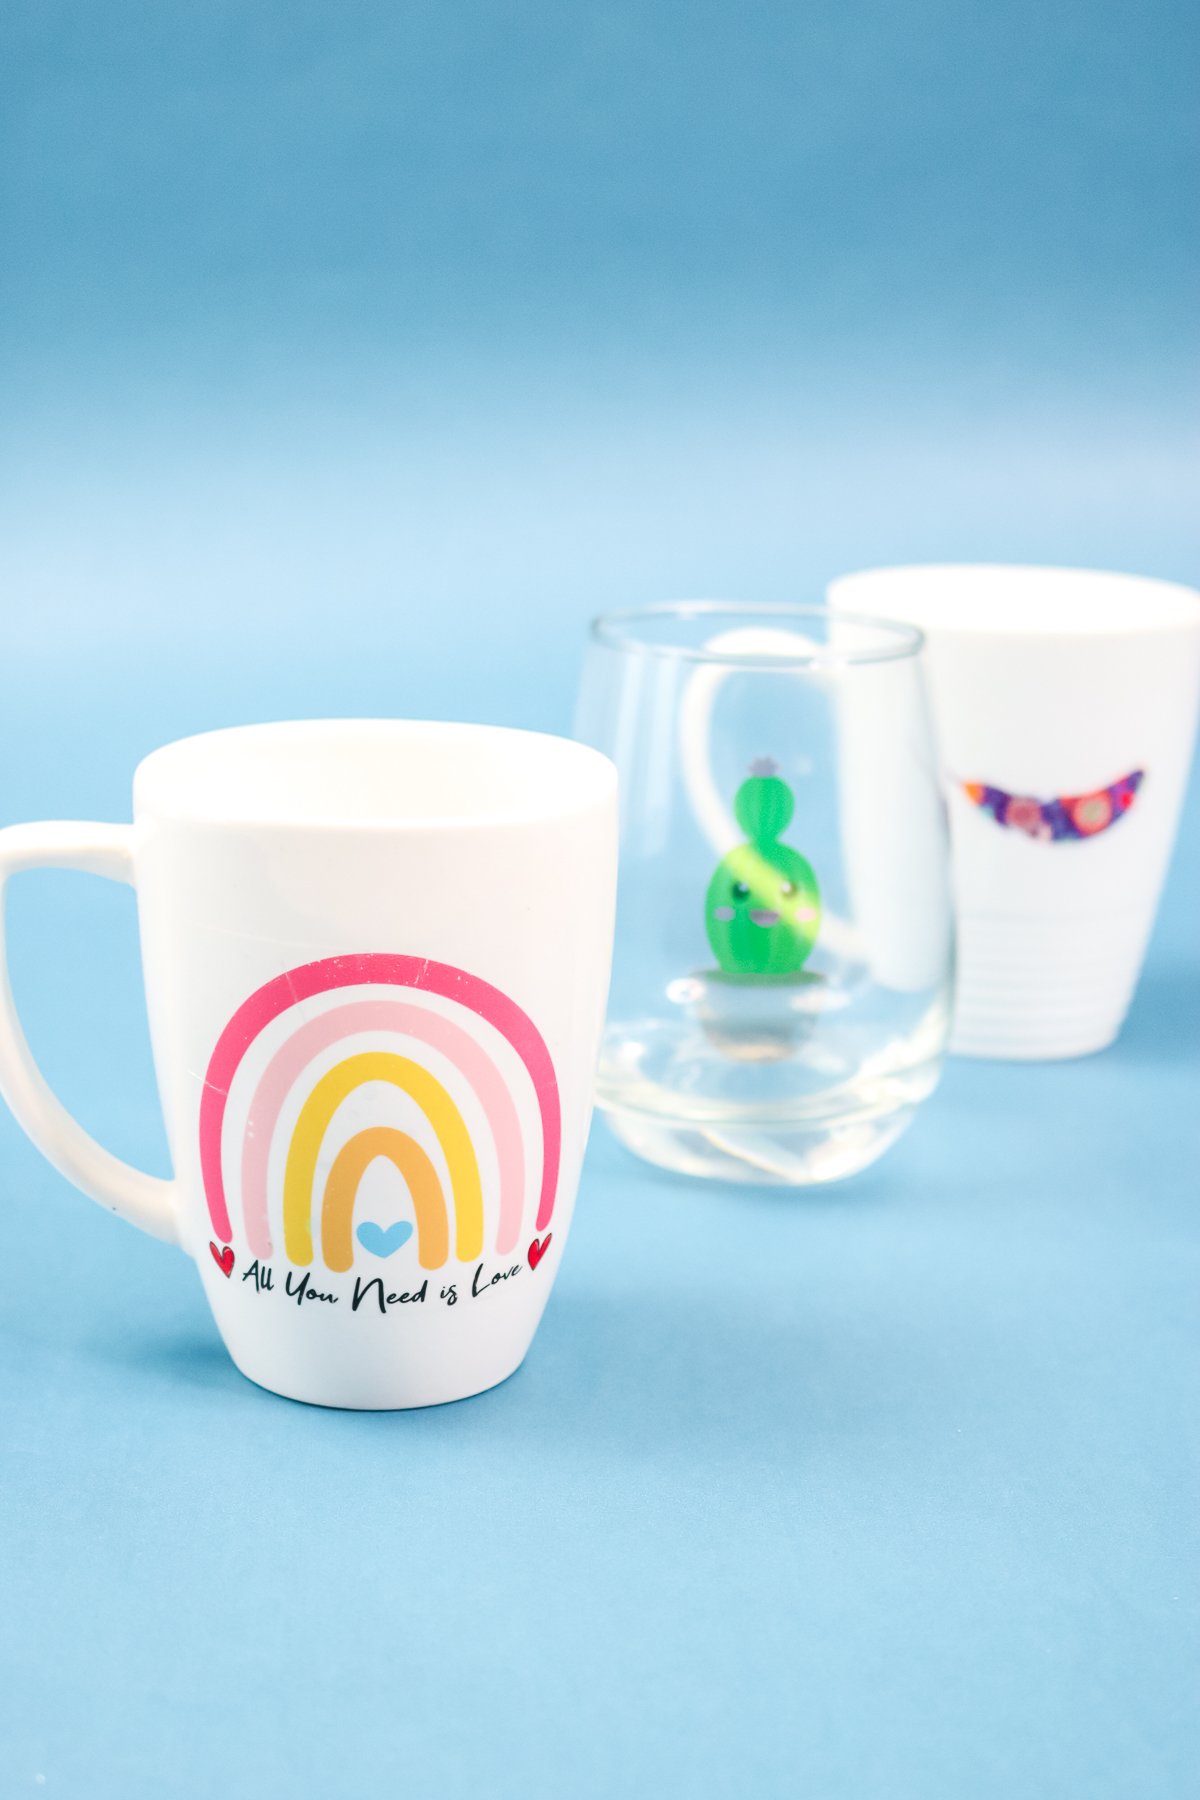
How To Make Waterslide Decals
As I mentioned above, if you missed the video or just need written instructions, below is everything you need to know about making and applying your waterslide decals!
Types Of Waterslide Paper
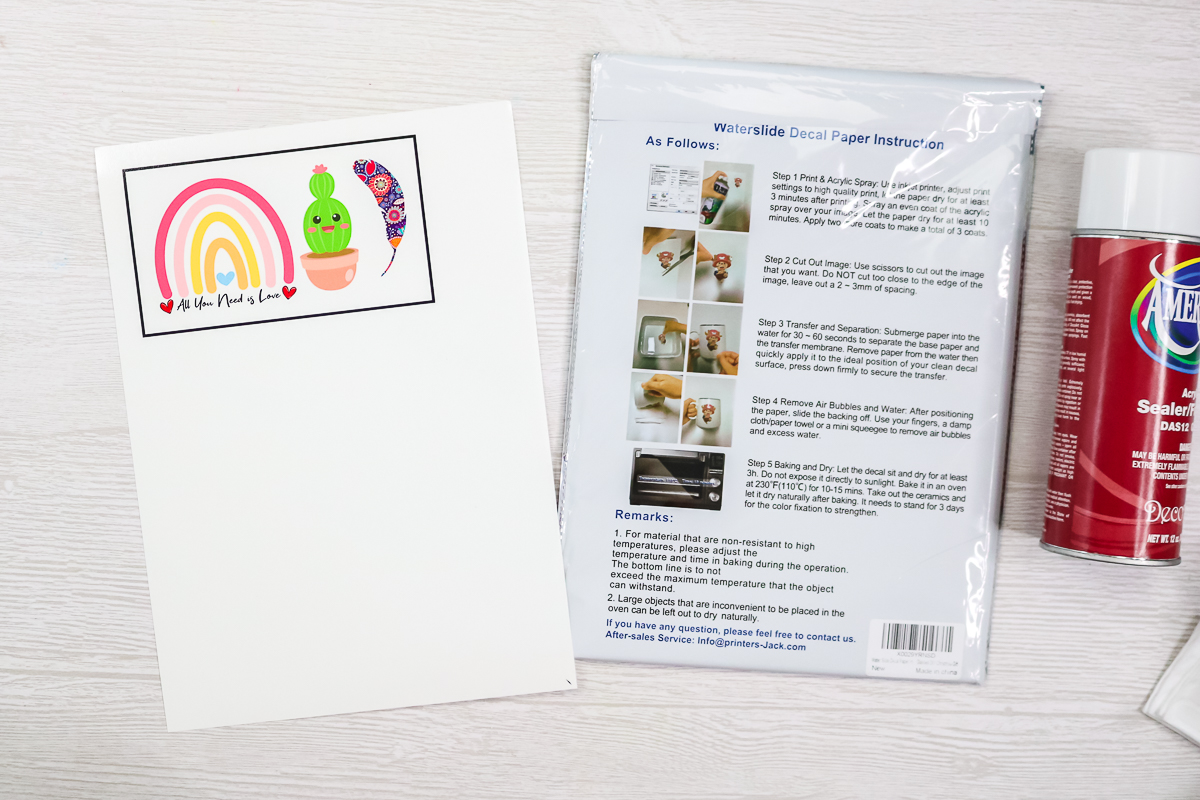
I am using clear waterslide decal paper. This type of paper is available in clear as well as white, and you can pick the one you would like for your project. It also comes in versions for both inkjet and laser printers. Be sure to pick the type that will work with your printer as well as the version you want for your project before getting started.
NOTE: Always check the instructions that come with the brand of waterslide decal paper you are using! I am going to walk through the procedure for the brand that I am using below, but double-check that the instructions are the same for your brand.
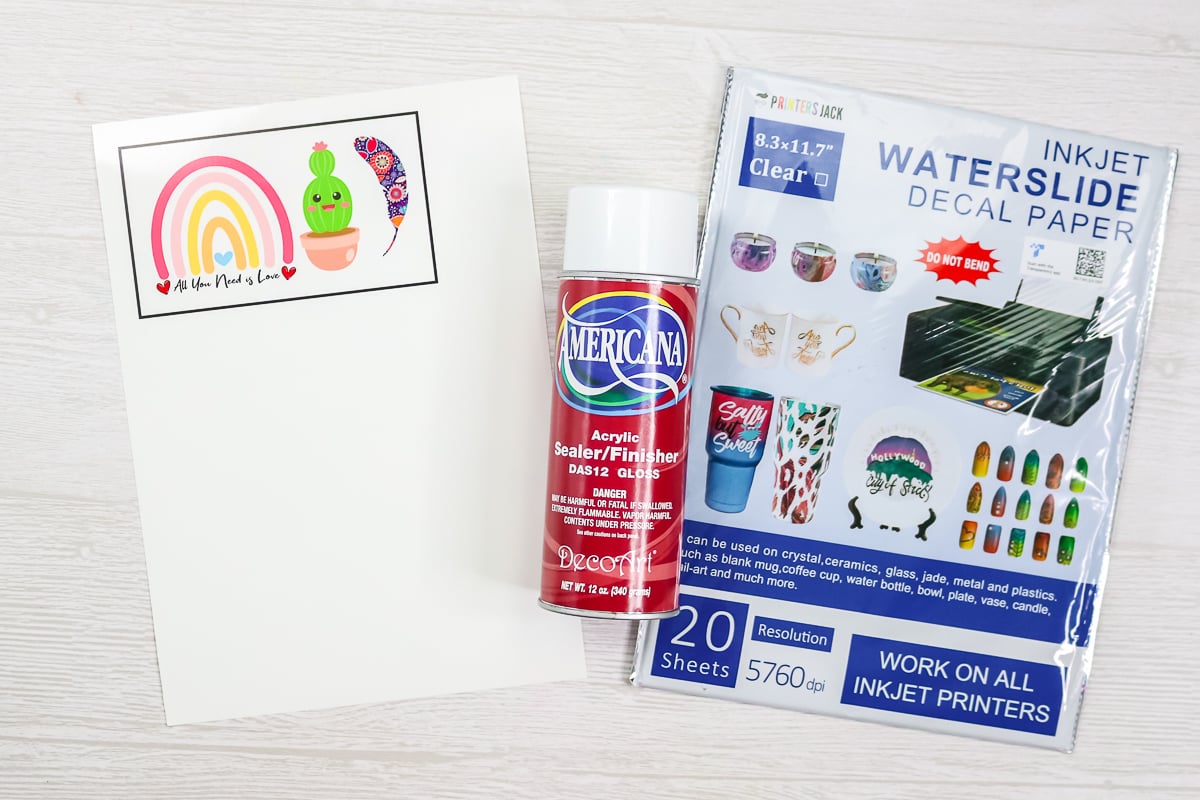
Supplies Needed For Waterslide Decals
- Printers Jack Waterslide Decal Paper
- Printer (you can see which I use here)
- Cricut machine (or you can use scissors)
- Spray Sealer – I have linked to the matte version because the gloss version is no longer available. However, if you still want to use gloss, check out this gloss spray sealer alternative.
- Rubbing alcohol
- Paper towel
- Paintbrush
- Water
- Matte tape (if you have issues cutting with a Cricut)
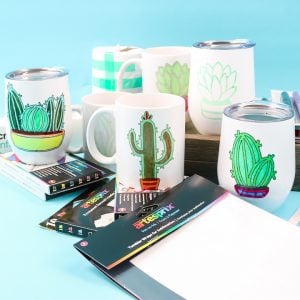
- Mugs, wine glasses, or another surface
Images Used
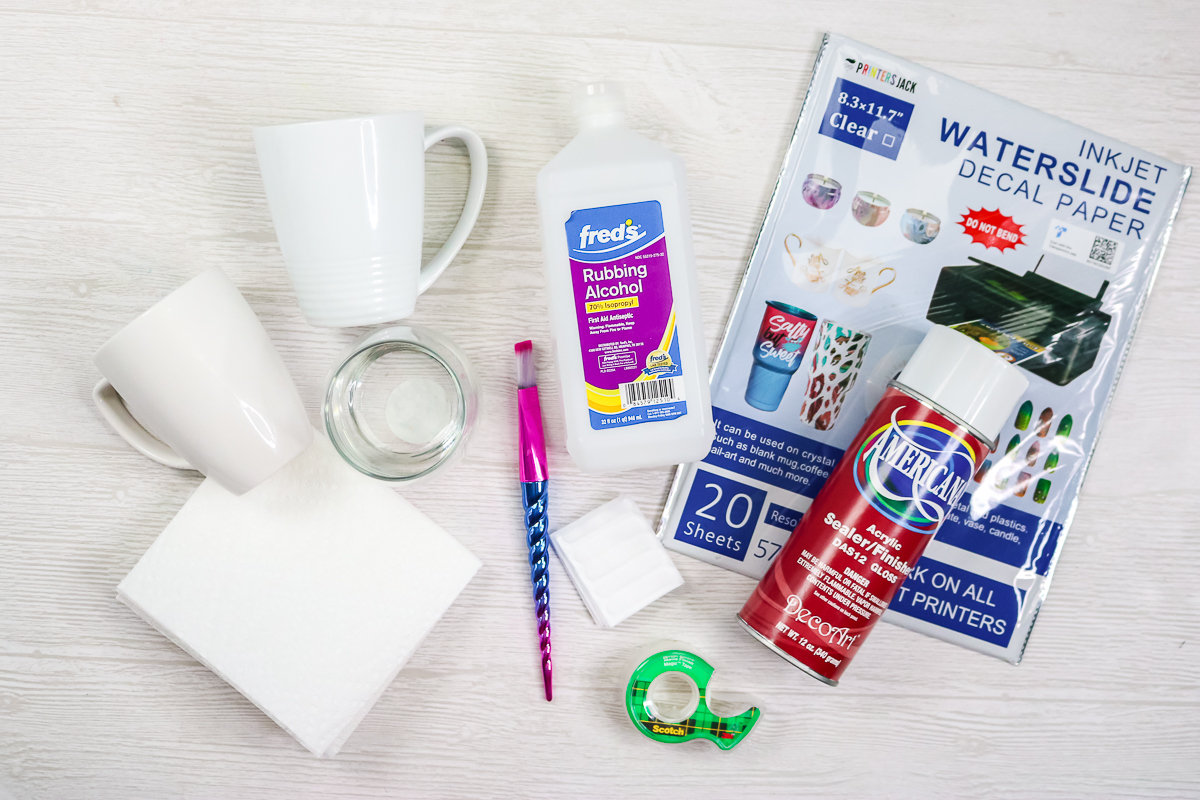
Sizing And Printing Your Images
I find that a size of around 2 to 3 inches tall works for most small mugs and wine glasses. You will, of course, need to size your images for the item you are using before printing.
Here are a few printing tips that may help.
- Check settings: make sure to click the glossy paper option and choose the best print quality.
- Cover the entire sheet with decals to maximize how many decals you can get out of one sheet (this paper is fairly expensive).
- Load your paper so that it prints on the shiny side of your paper. Note: The backside of the brand that I used had writing on it, so it was easy to tell the front from the back.
Pro Tip: You can use Cricut Design Space for this step. For most images, you can use the “flatten them” setting or upload as a “print then cut file” into your Cricut. On more complicated images, you may need to place a shape behind the image and flatten the image to that shape. There is also a new offset feature in Cricut Design Space that can help.
You can see more about the exact steps to take with your Cricut in the video above if you are having issues with the “print then cut” function.
Sealing The Image
After you print, allow the image to dry for at least 10 minutes without touching it.
Once it dries, spray with three coats of acrylic sealer. I like to spray with one coat in each direction. Spray in one direction, then allow to dry for 30 minutes. Turn your paper and spray in another direction, then allow it to dry for 30 minutes. Finally, spray at your last angle and allow to dry for 30 minutes.
I think it’s important to note that you can’t really tell that the sheet has been sprayed. Once your final coat has dried for at least 30 minutes, you are ready to cut.
Cutting Your Waterslide Paper
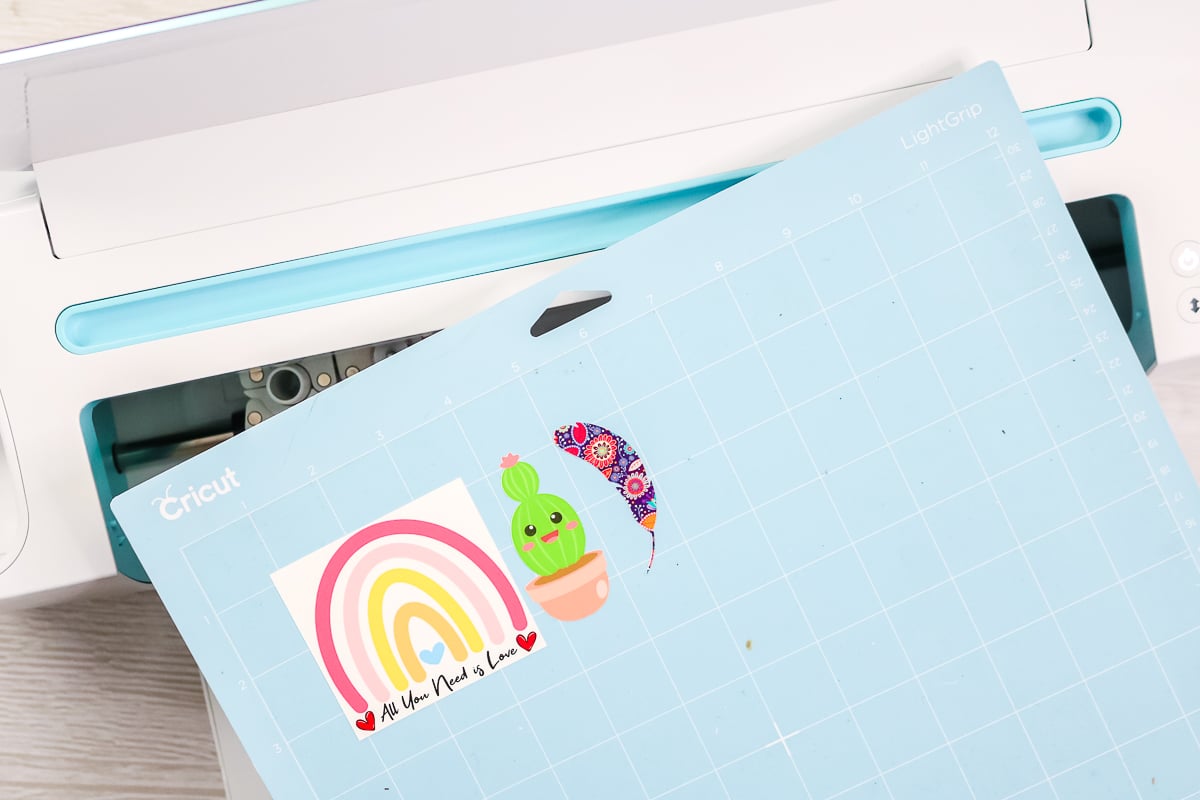
You can use scissors to trim around the images by hand at this point. However, I like to use my Cricut and the “print then cut” function to make things a bit easier.
Note: Make sure to cut all the way through your paper. This is NOT like cutting a sticker where you do a kiss cut. I use the medium cardstock setting on my Cricut to ensure a clean, thorough cut in this material.
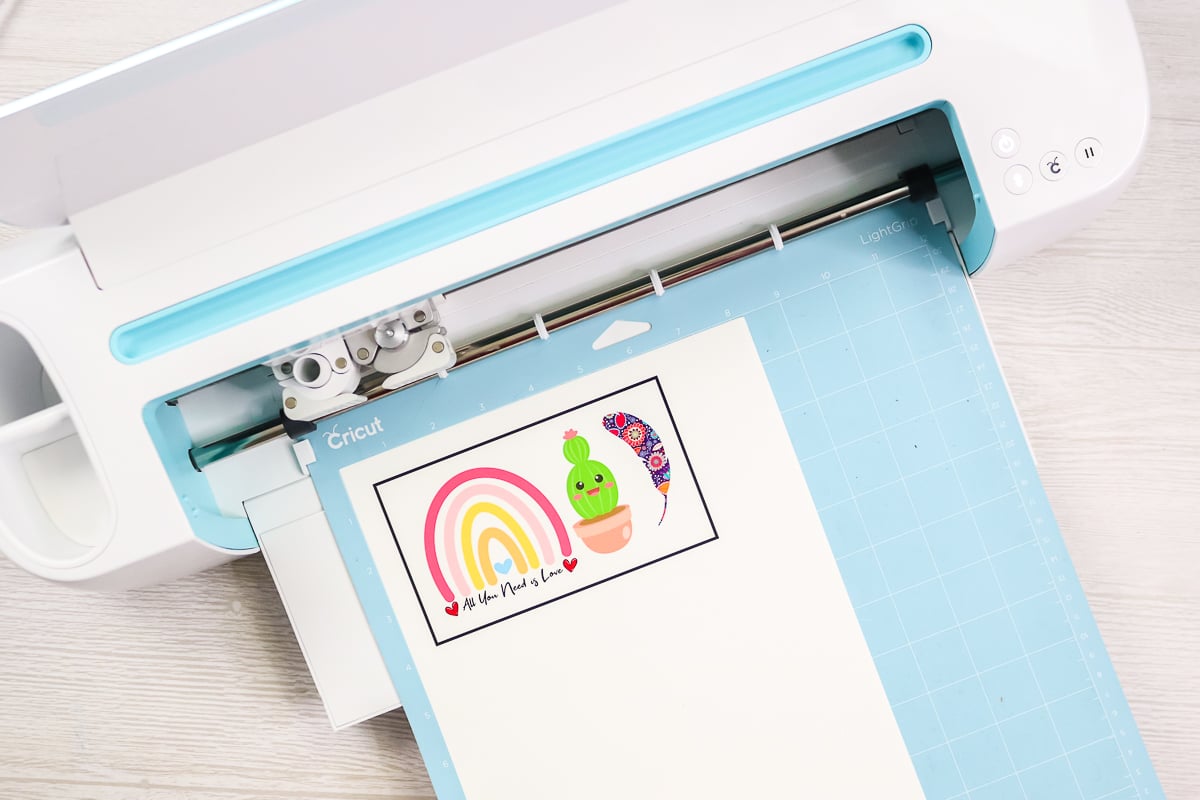
Pro Tip: If you have trouble cutting your waterslide paper on your Cricut machine, use matte tape around your registration marks after it prints. Usually, this will help the Cricut to read the marks and cut them out properly.
How To Apply Waterslide Decals
Now that you have some decals cut out, it is time to apply them to your surfaces!
Step 1: Submerge Decals In Water
You will need some water in a small container or cup for application. Submerge each decal in the water for 30 to 60 seconds. Don’t panic when you see it curl up slightly because that’s normal.
Step 2: Clean Mug
While the decal is soaking, make sure your mug surface is clean and dry. I recommend cleaning it with rubbing alcohol and then wiping it down with a clean cloth.
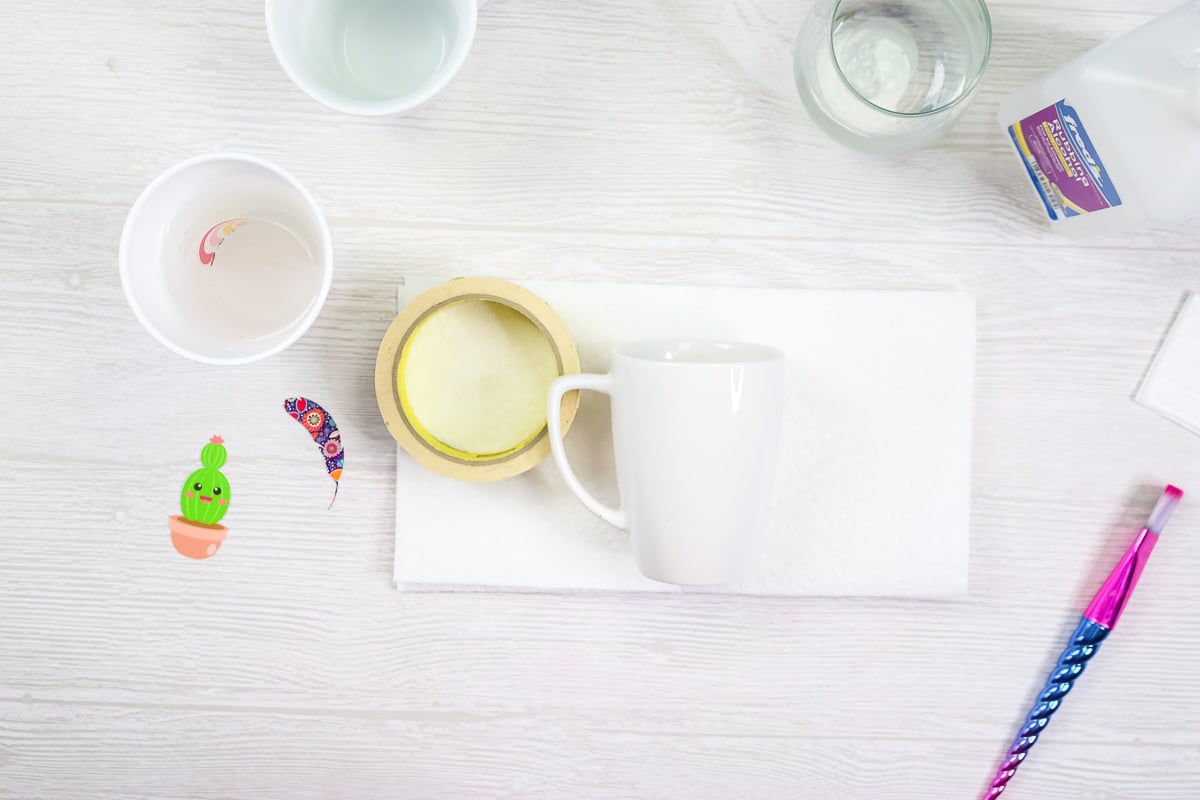
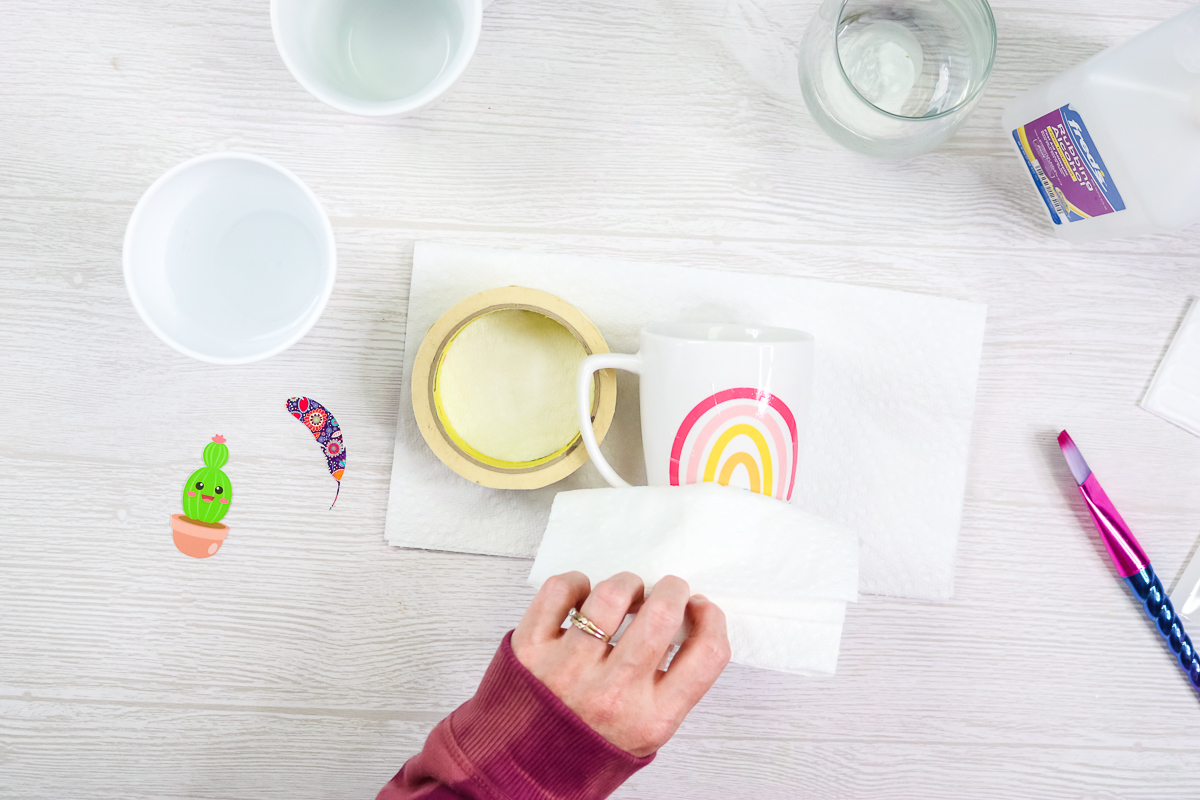
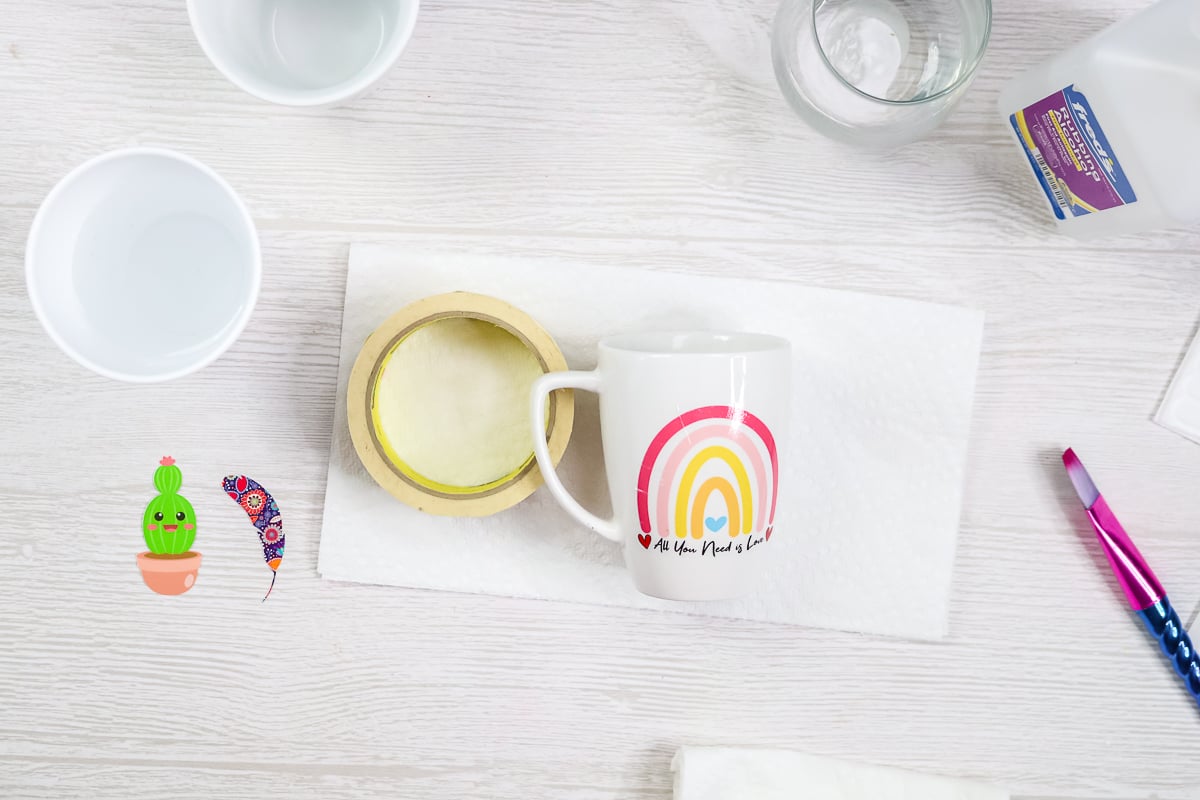
Note: You may notice that I am using a roll of masking tape under the mug handle to help me hold the mug or wine glass level in these images. You can use whatever works best for you here.
Step 3: Place Waterslide Decal On Mug
Next, wet the surface where you will apply the image. You can use a paintbrush or just your fingers for this. Remove the waterslide decal from the water and place it approximately where you want it on the mug.
The decal should already be separated from the backing paper. Hold the decal with one finger while you slide the backing paper out with the opposite hand. You can move the decal around on the mug at this point because everything is wet.
Step 4: Push Out Any Air Bubbles
Once it is where you want it to stay, start pushing out any bubbles or wrinkles in the decal. You can use your paintbrush for this step.
Step 5: Dry Up Excess Water
Then use a paper towel to push the water out and dry it up. Start in the middle and work your way out to each edge, drying up the water.
Pro Tip: You do need to be fairly gentle on all of these steps.
Step 6: Set Mug Aside To Dry
Once you have it how you want it and have dried it with your paper towel, allow the entire thing to dry for at least three hours.
Step 7: Bake Mug
Next, bake it according to the package directions for your waterslide decals. In my case, that was 230 degrees F for 10 – 15 minutes.
Note: For surfaces like wood that you don’t want to bake, you can just allow those to air dry instead.
Step 8: Set Mug Aside To Cure
After you bake your projects, allow them to sit for 3 days to let them set so that the colors completely come out.
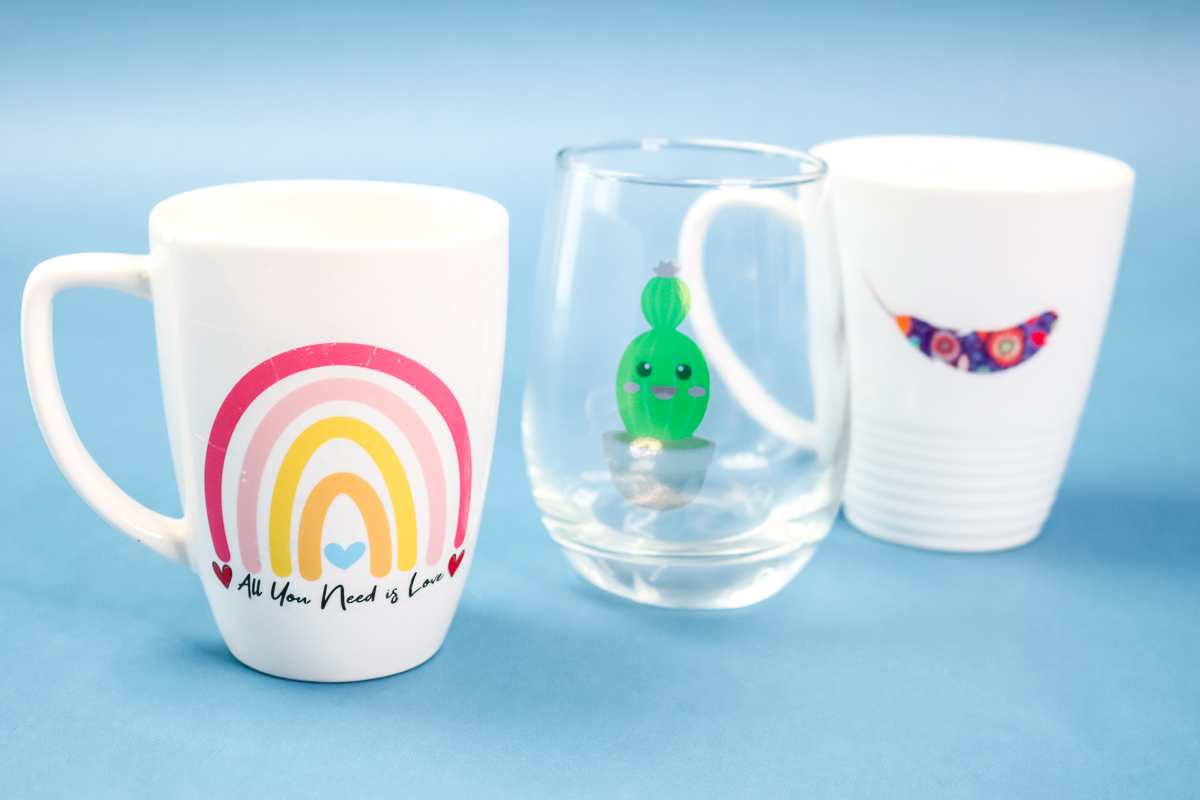
Once your project has been set, you are ready to use your mug or wine glass. You might just want to make some additional projects as I did!
Waterslide Decals Tips And Tricks
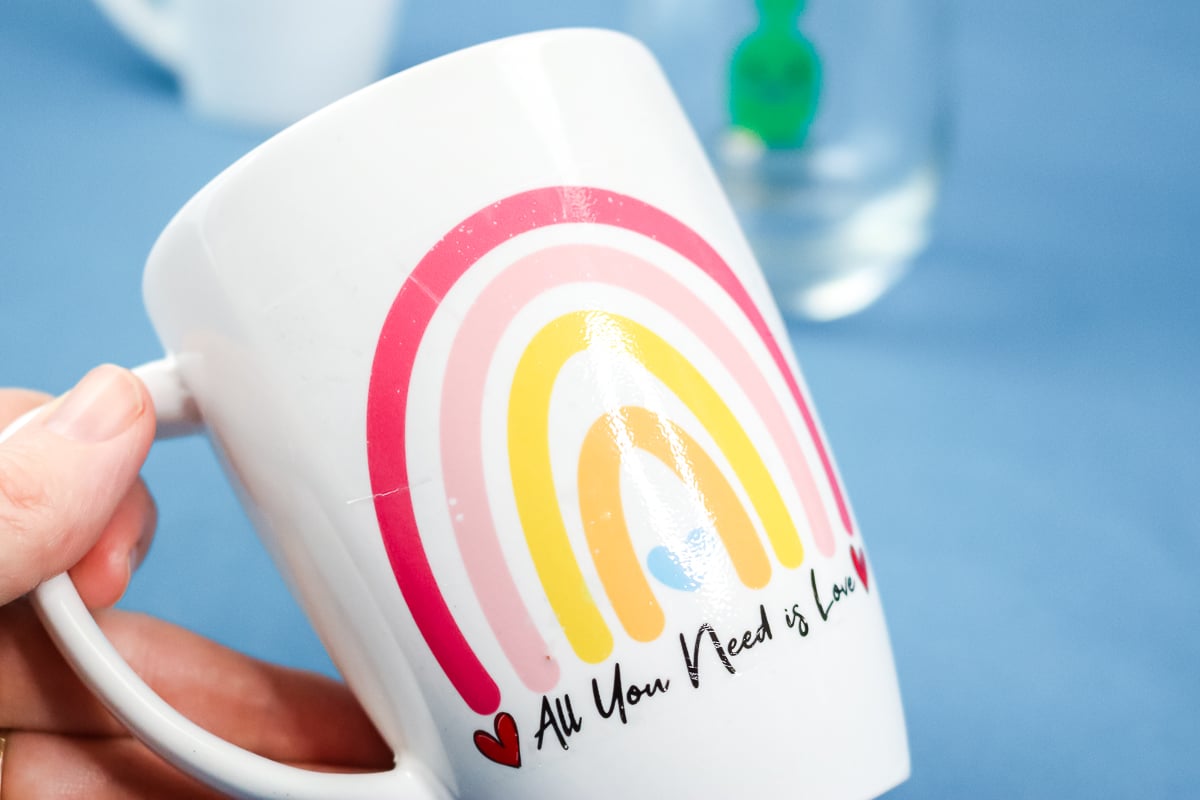
I ended up liking the decals that were trimmed close around the edge the best.
Additionally, I liked the results from small decals because they looked better overall and were less likely to wrinkle.
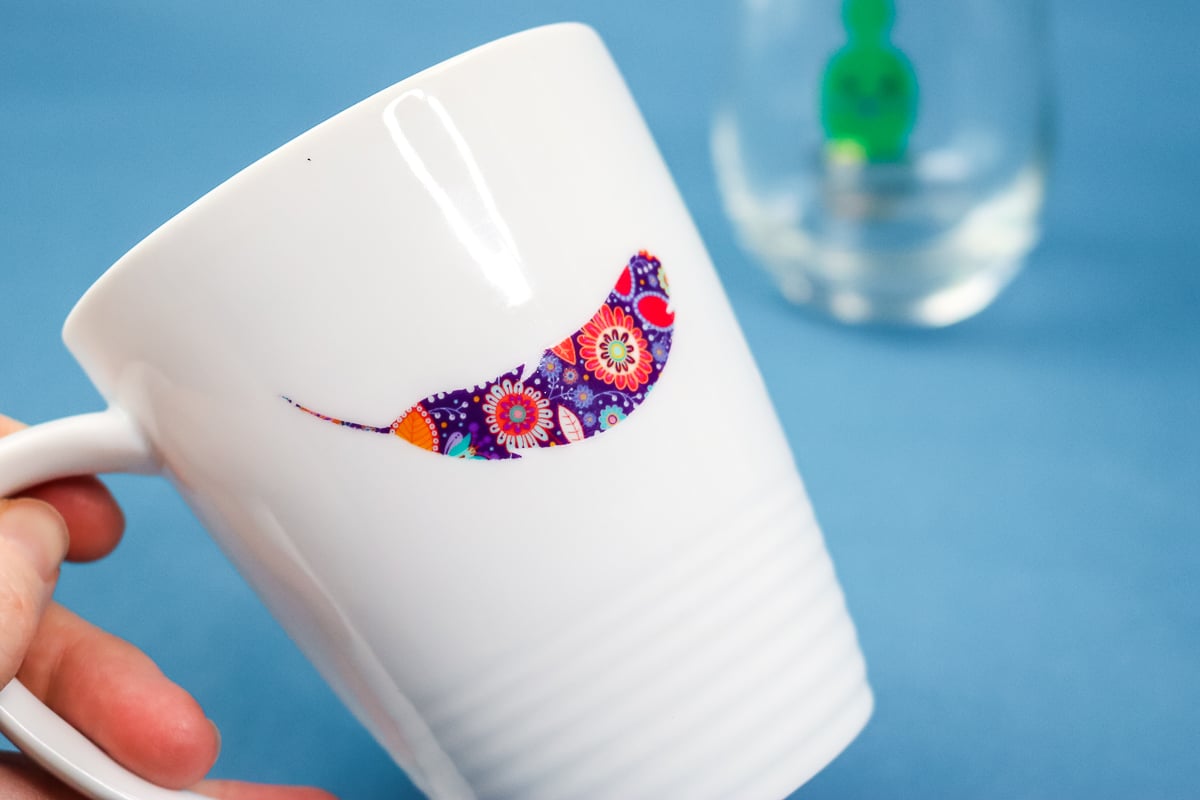
The larger decals tend to show wrinkles and imperfections, especially when they’re put on a rounded surface.
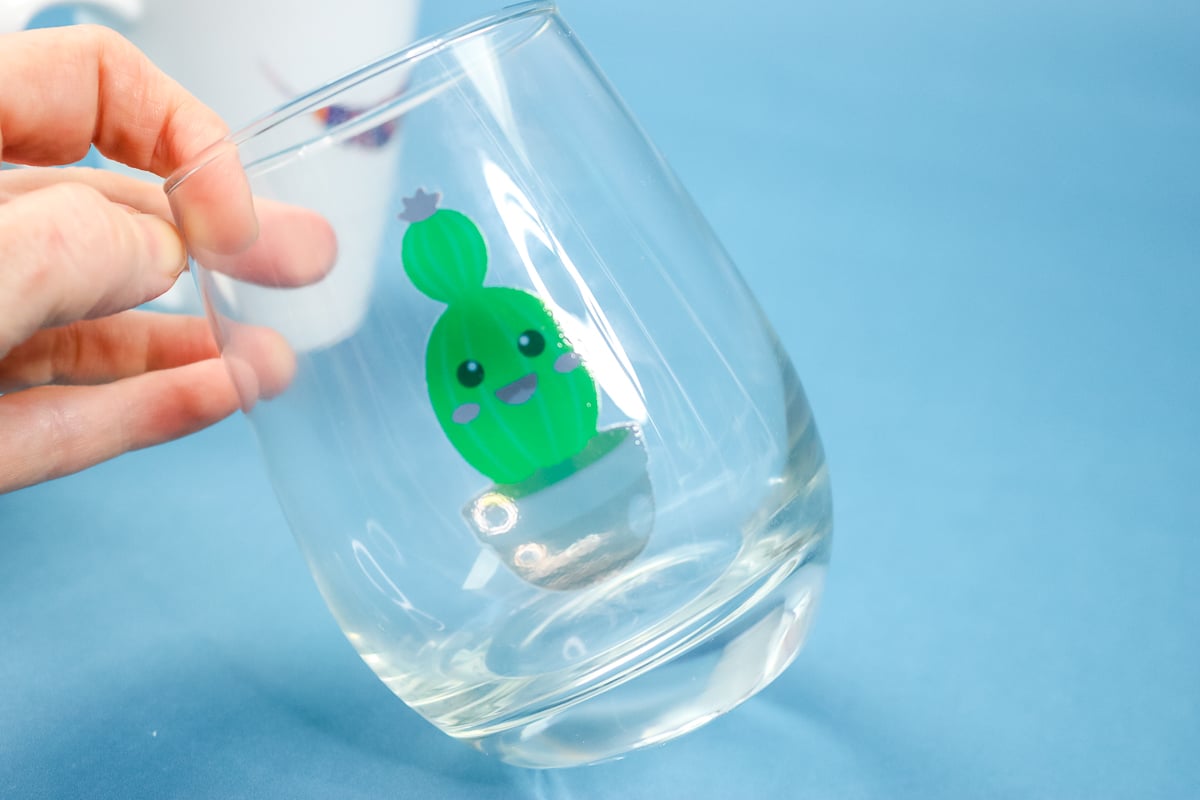
This wine glass highlights what happens when you put a clear decal on a clear surface. Notice how you are able to see through the decal.
This is an example of where you might want to use the white waterslide decal paper.
You will be able to feel these images on the glass as they do sit on top rather than baking into the glass or ceramic. It is similar to the feel of when you apply vinyl to the glass.

FAQs About Waterslide Decals
Here are a couple of questions that I see readers ask about using this product. If you have a question, please check to see if I’ve already answered it below. Don’t see your question? Leave it for me in the comments!
Are Waterslide Decals Dishwasher-Safe?
Unfortunately, they are not dishwasher safe when you apply them using these directions. You will need to handwash them.
In order to make them dishwasher safe, you would have to do something else to the top of them to make them more permanent.
For example, if you put a waterslide decal on a tumbler, you could epoxy over the outside. Or, you could try dishwasher-safe Mod Podge on a project like a mug.
You would need to do an extra step in order to make these waterslide decals dishwasher safe. It would be similar in that respect to using vinyl that you cut on your Cricut machine. With vinyl, you add it to your mug and then add a sealer over the top.
Waterslide decals would be more similar to printable vinyl because you can print on them.
Are Water Decals Food-Safe?
I cannot find anything on them that says they’re food-safe.
Products have to be run through a very rigorous certification process to be deemed food-safe. While these decals may not be toxic, they have not been certified as being food-safe.
When you’re making a mug, just keep your design about 1/2 an inch below the lip to stay to be safe. This way, your lips would not touch the decal when you’re drinking coffee.
How Long Do Waterslide Decals Last?
Because we put that sealer over the top, you don’t need to worry about the ink fading or washing away at all.
If you’re pretty careful with your mugs or glasses that have waterslide decals and take care of them, they can last for many years. However, do know that with “normal” wear and tear, the glue will start to break down after 3-5 years.
What are other types of projects where I can use waterslide decals?
I have seen them used most often on items such as mugs or wine glasses. However, you could use them on ceramic tiles, and I love them on these candles from Fun Stuff Crafts!
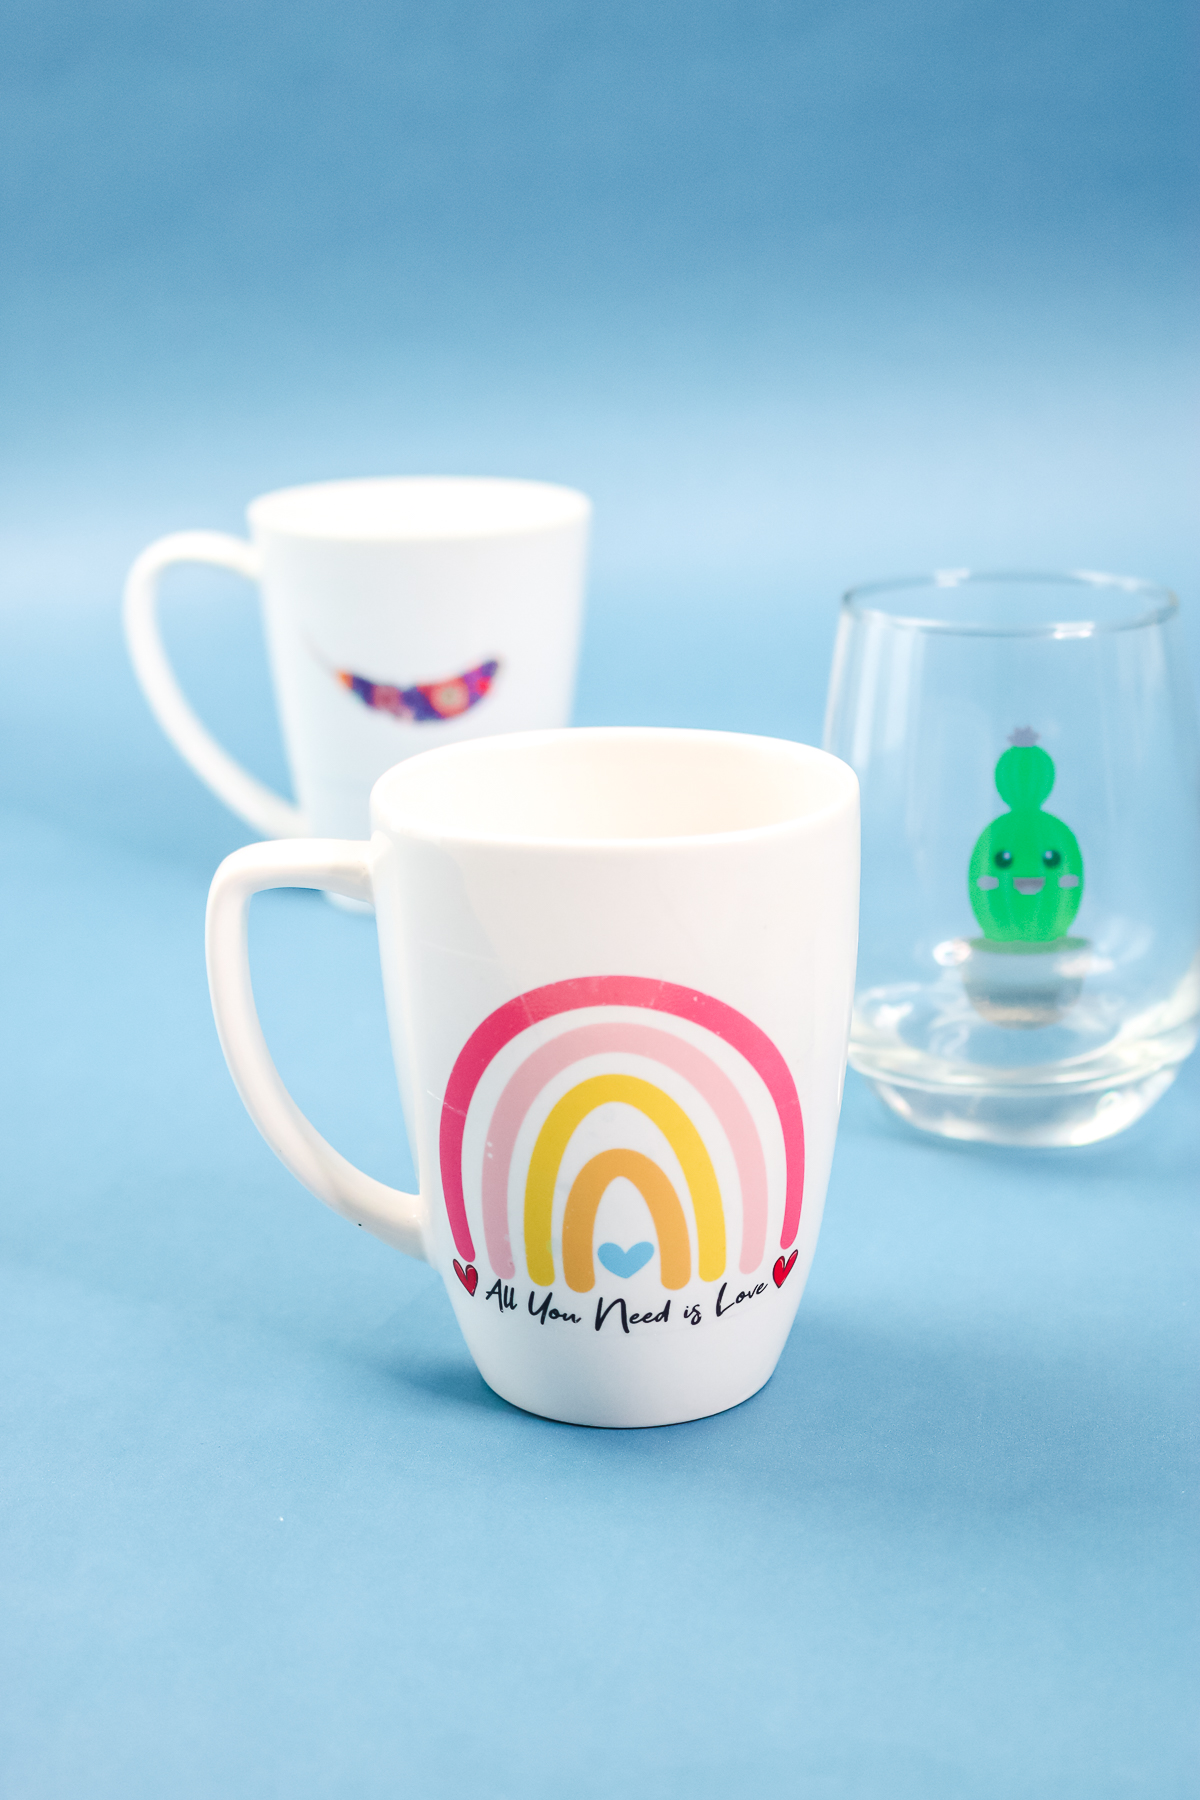
So, now that you know how to use waterslide decals, will you be using them to make some projects for yourself or someone else? I think you will really like these for a variety of surfaces. Now I want to try using these on wood!
5 Cricut Vinyl Projects
Do you love these waterslide decals, and are looking for more vinyl crafts? Then check out the projects below!




I have white plates and want to use them for the cookies for Santa idea. Someone said to use water slide but now I see it isn’t food safe. The plate is white so putting it underneath isn’t an option. Any ideas how I can apply it? Maybe water slide then food grade epoxy??
Yea I would do waterslide or vinyl then epoxy over it.
I love this. Can I use waterslide on the color-changing plastic tumblers?
The answer is that you can but they do not wash very well.
Hi, I tried this too, using Hayes waterslide decal. I sealed my images and a day later put stickers on my tumblers. Left over night, gave a tumbler to my cuz to use and the decal slid off when rinsing glass out. How do I avoid this happening? I am in the UK so hopefully something I am able to source here. If anyone could advise, that would be much appreciated. Thanks.
You might try heating to set or allowing to dry longer.
Hi! I loved your instructions! I used a couple different waterslide papers and I LOVED the brand you used, it def worked best and easiest! I have an issue though, after placing the images on the medium, some of them peeled on the edges and some didnt,, why is that? all were done using the same procedure… thanks.
Hmmmm…that is weird! I did have issues after washing these. Was this after that?
What does the acrylic spray do? Is it necessary? Thanks!
Yes it is. Otherwise the ink just washes away.
If you use these on a mug, can the mug be used in the microwave?
Thank you,
Jill
I am not sure about microwave use.
Do the mugs HAVE to be baked, or can they air dry? My directions say oven or air dry. Also, if not baked, how do they hold up to hand washing them? I watched a video and the gal did 5 hand washes and the decal was coming off. (after baking)
You can air dry. Mine come off after just a few washes so you need to be careful with these if they are on mugs.
Do laser printed decals need to be sealed before being applied? I believe that laser print is a powder fused to paper. I was hoping to label switches.
Sealing will give them a longer life. They make adhesive laminate to put over the top.