
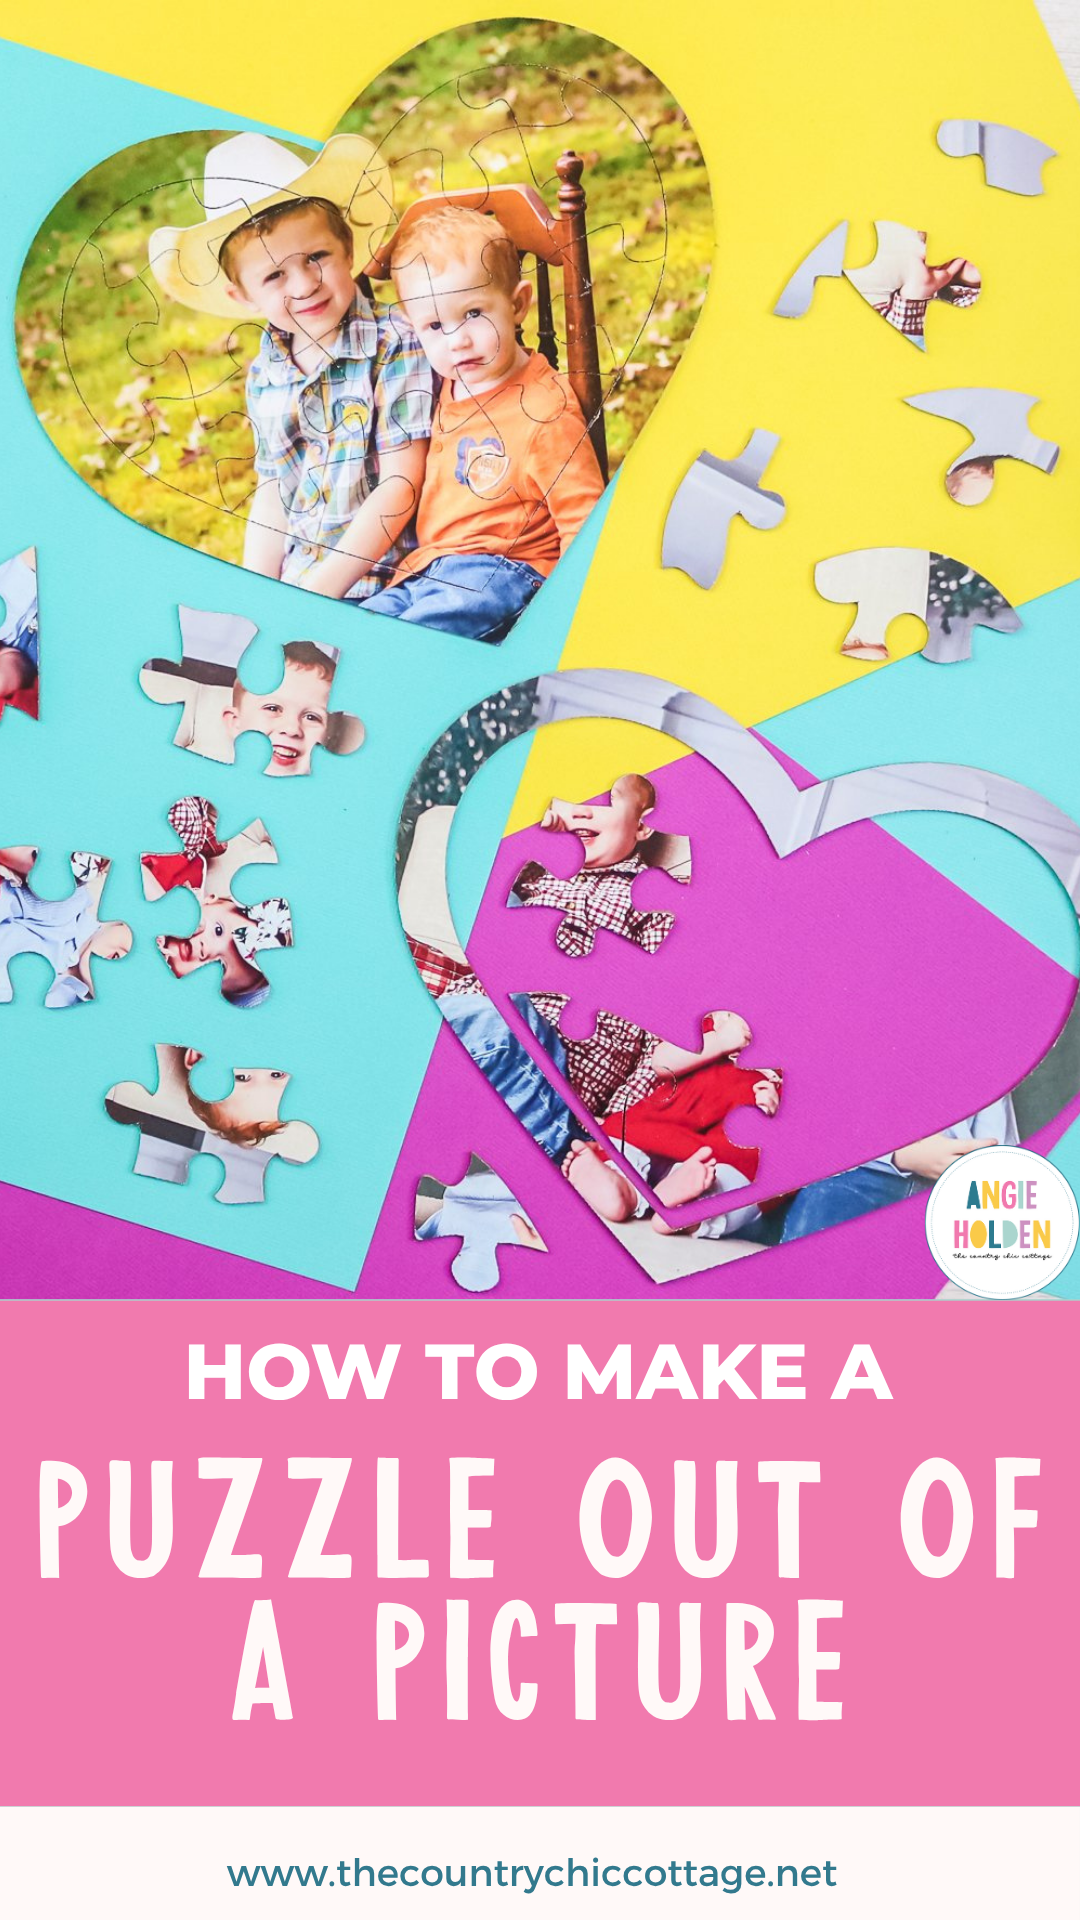
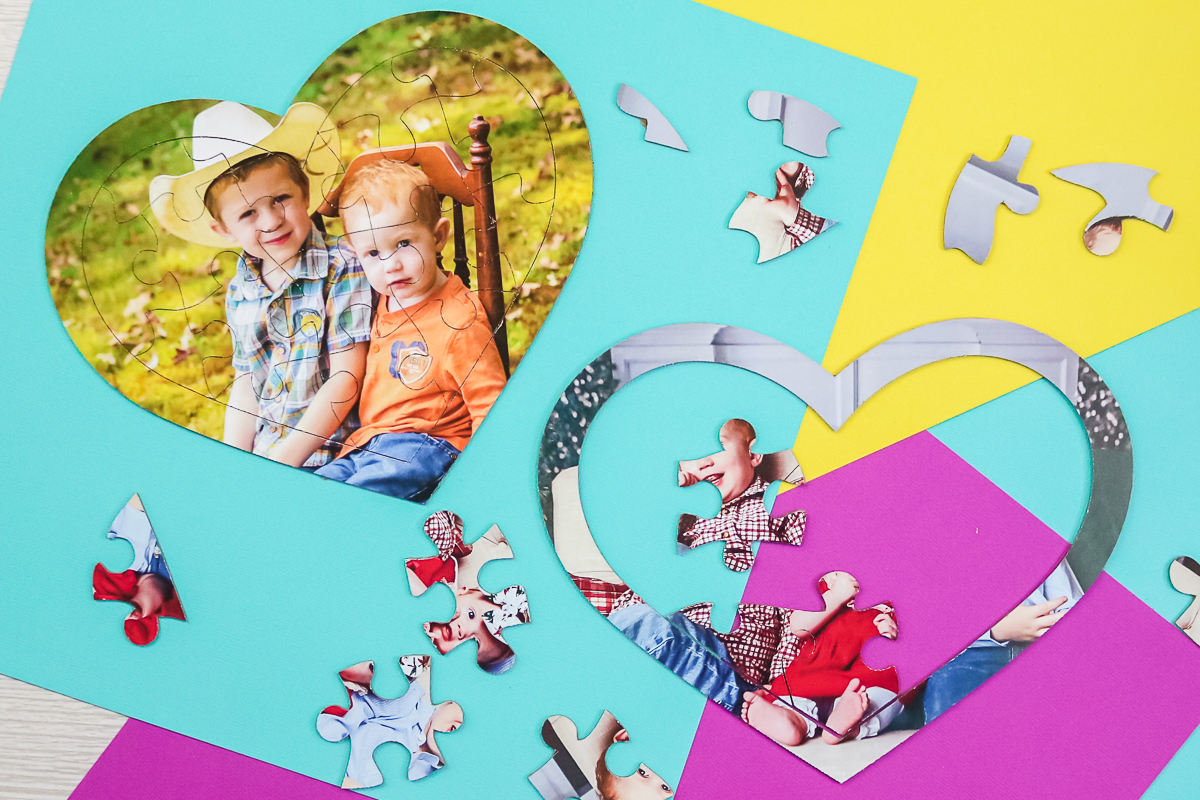
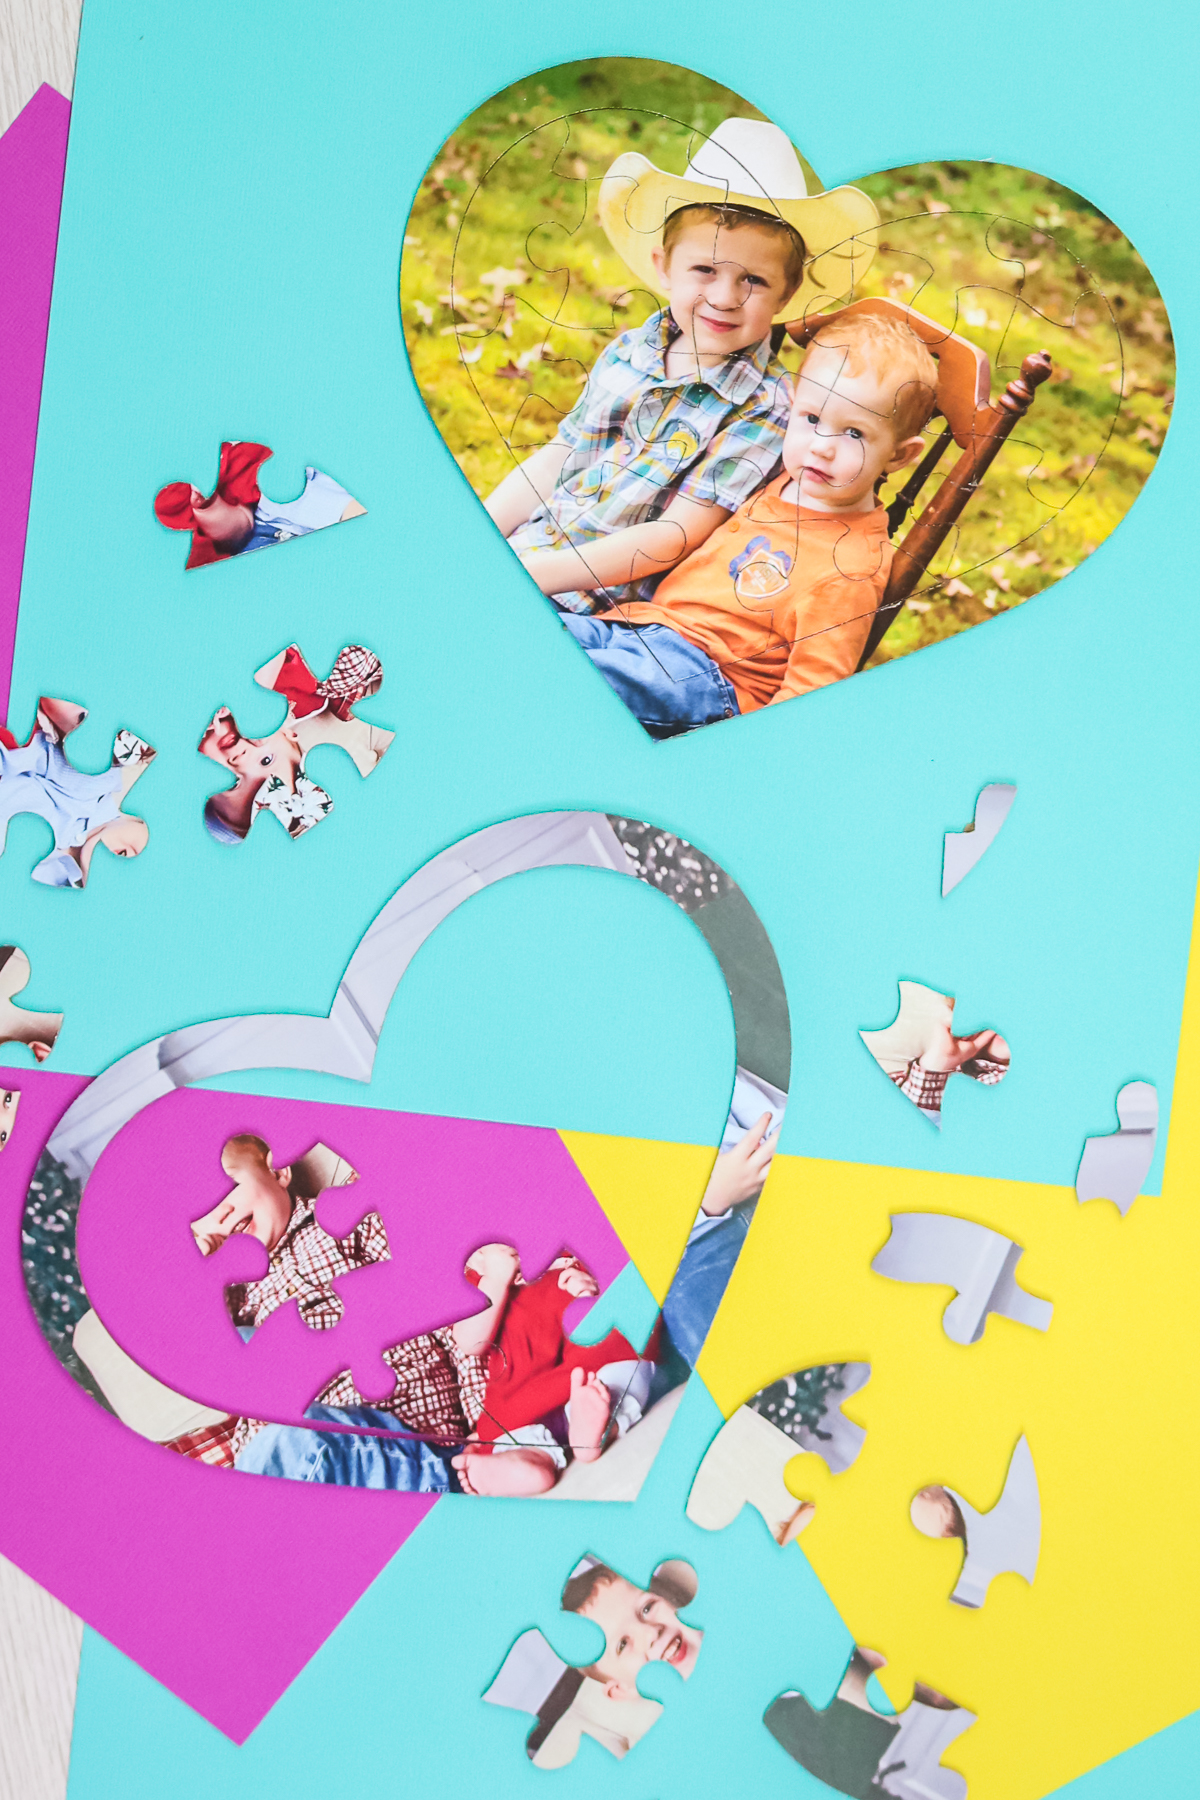
Have you ever wanted to know how to make a puzzle out of a picture with your Cricut Maker? If the answer is yes, then you will love today's project, which is the perfect game for kids!
If you are looking for home games for kids, this is one idea that you can make in minutes with your Cricut machine using literally any picture. In fact, kids and adults alike will love this cute idea for summer fun or as a gift for any time of the year. So, pick out your favorite pictures and break out your knife blade to get started!
How To Make A Puzzle Out Of A Picture Video Tutorial
You can actually watch me create these games for kids in the video below. I even walk you through how to design your own picture puzzles right in Cricut Design Space. Just click play!
Can't watch the video or missed some of the steps? I have the details for making your own games with your Cricut machine below as well.
How To Make A Puzzle Out Of A Picture
Learn how easy it is to turn any picture into a custom puzzle using your Cricut Maker! This project is so much fun to create that you'll wonder why you didn't try it sooner!
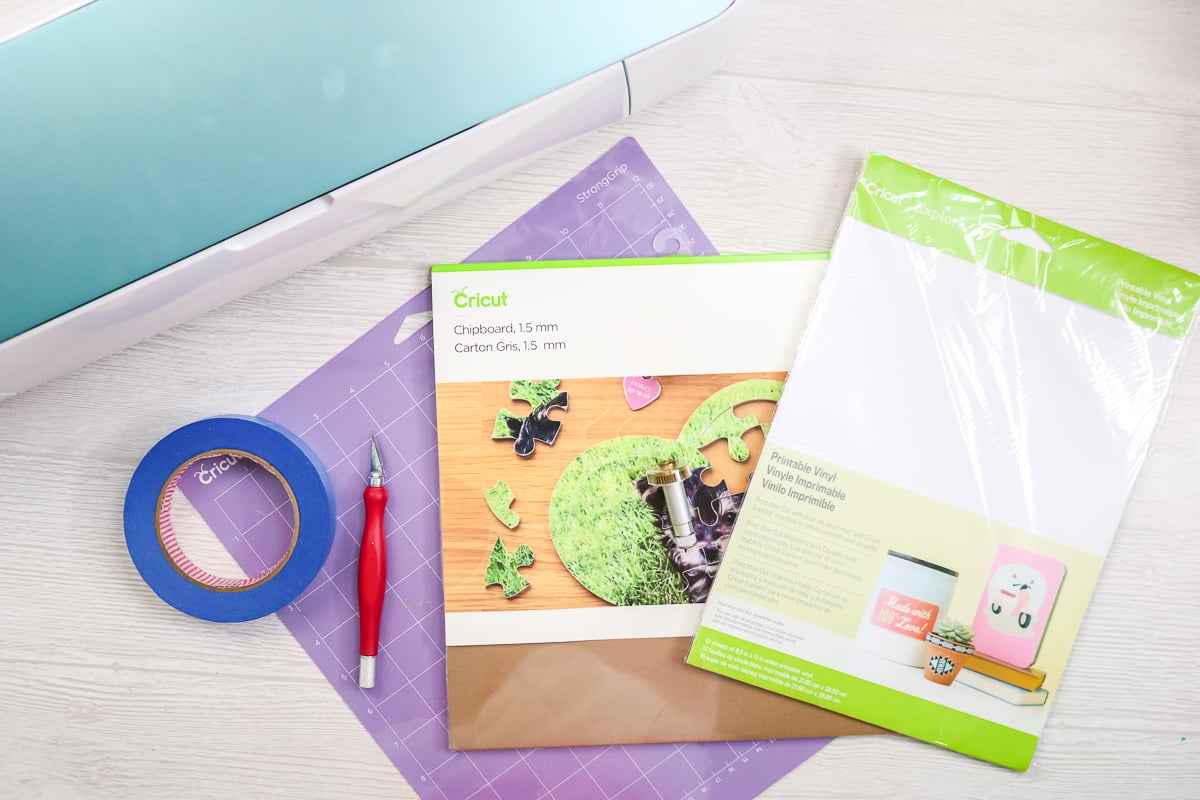
Supplies Needed To Make Picture Puzzle
- Cricut Maker
- Knife Blade
- Cricut Chipboard (1.5 mm thick)
- Printable Vinyl
- Strong Grip Mat
- Printer
- Painters tape or masking tape
- Craft knife (optional)
- Brayer (optional)
How to Design a Picture Puzzle
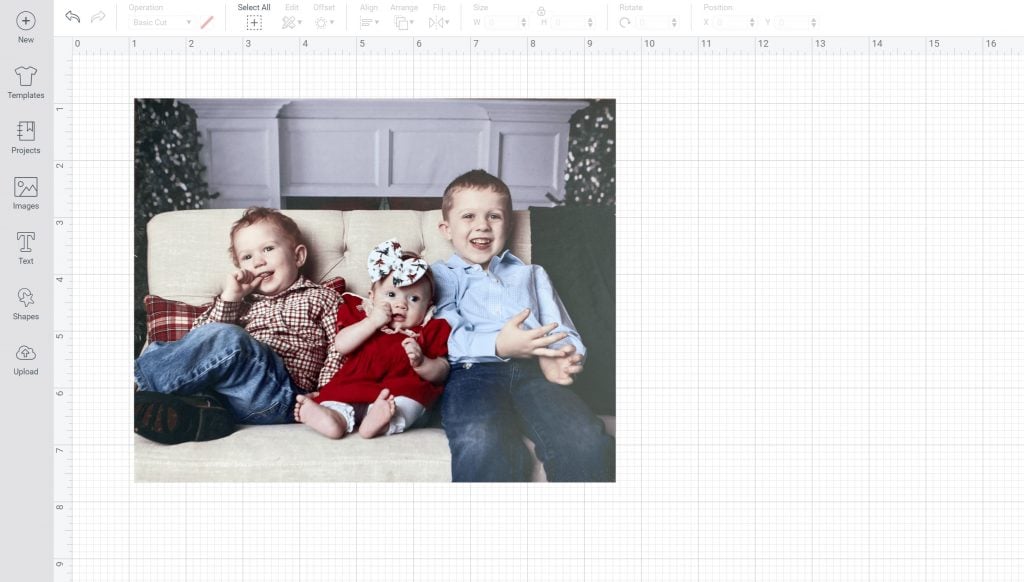
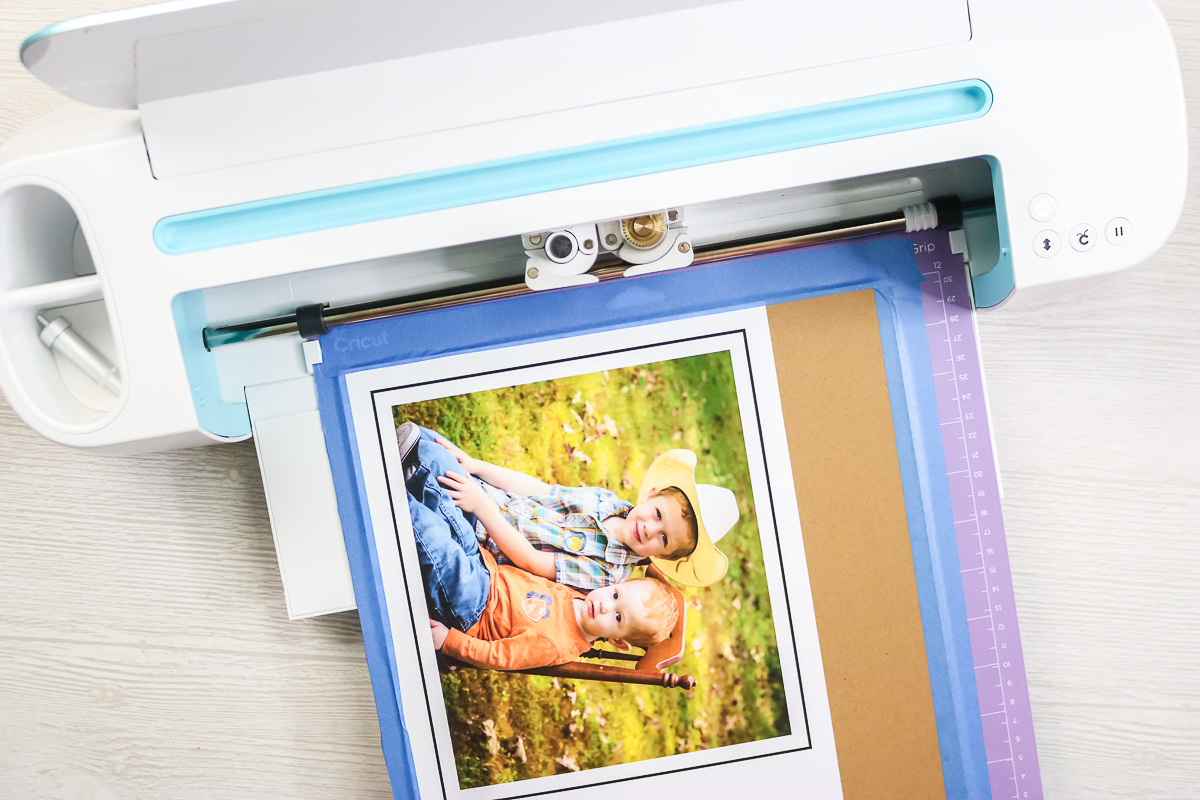
Step 1: Upload Photo To Cricut Design Space
First, you will need to design your puzzle in Cricut Design Space. Upload your image as a print then cut image and insert it onto your canvas.
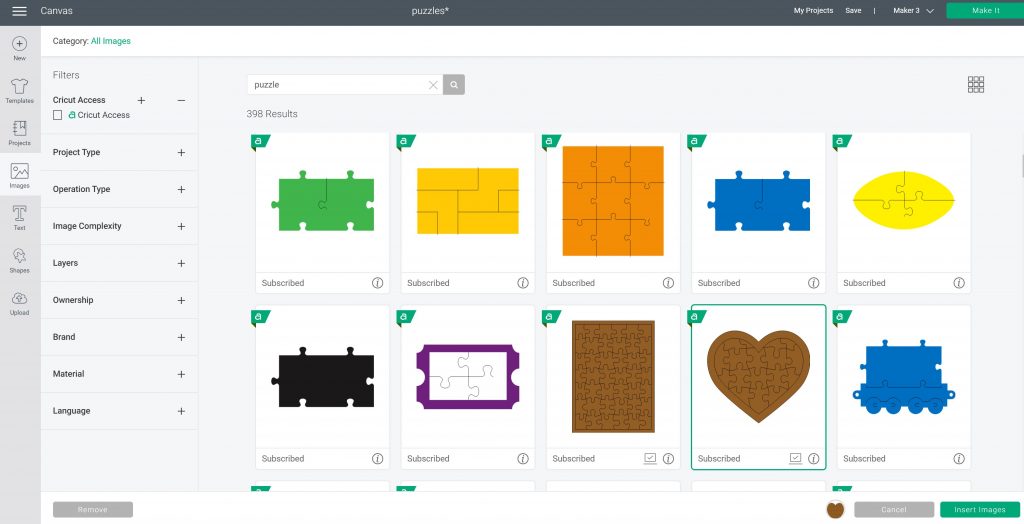
Step 2: Search Puzzle In Cricut Design Space
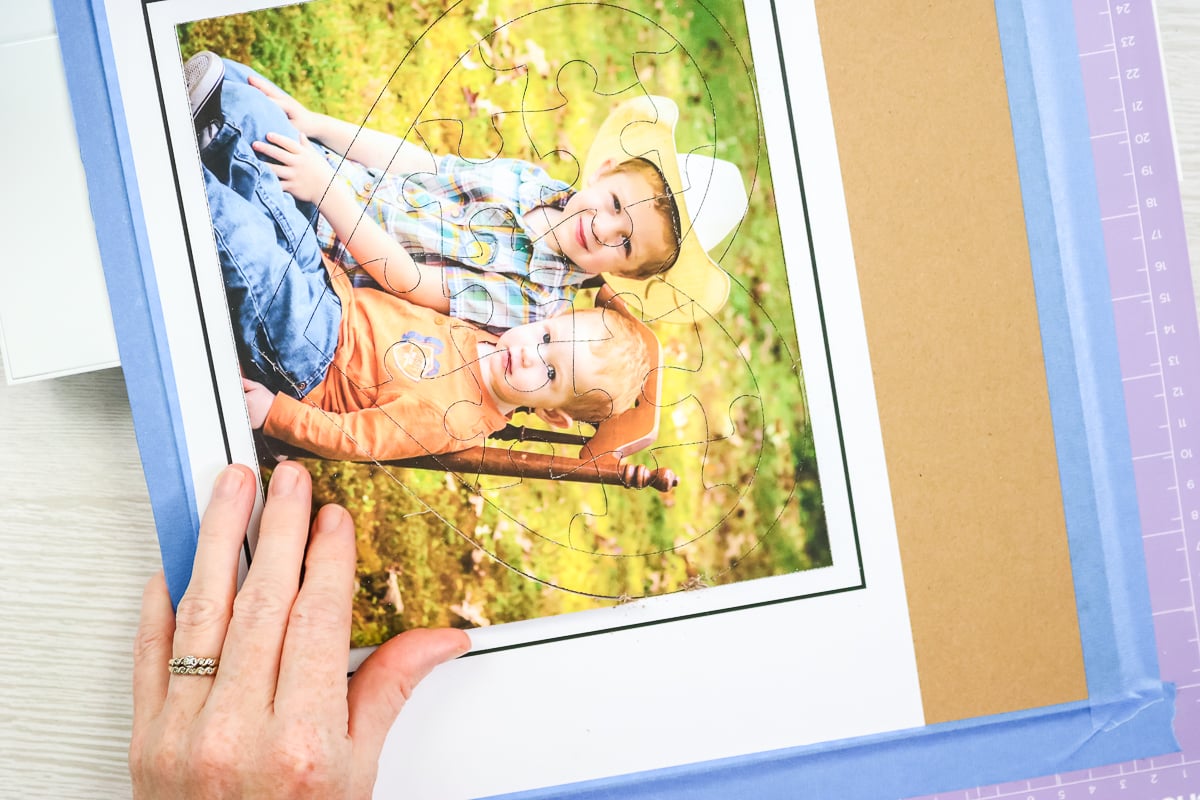
Click “Image” and search for “puzzle”. You will find a wide variety of templates to use. I am going to choose a heart shape for my puzzle, but you can pick from any of the ones shown.
Step 3: Resized Photo
Once it is inserted onto the canvas, make sure your image is the right size. It needs to be less than 7.44 by 9.94 inches in order to do print then cut using 8 1/2 x 11 paper. For more information about sizing print then cut images, check out this post. You can use the slice opion to crop the image if needed.
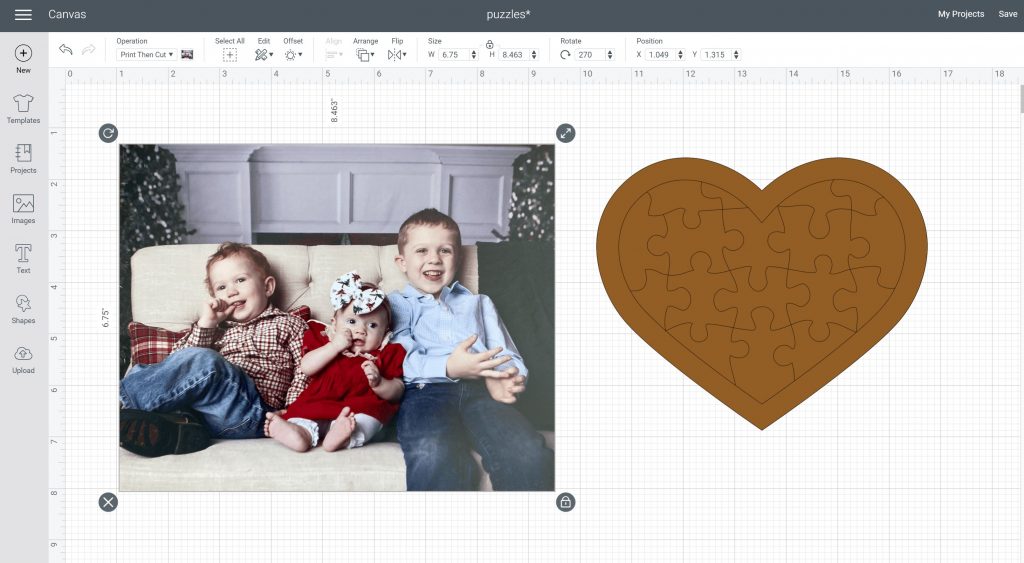
Step 4: Delete Extra Layers
The puzzle I am using comes with two layers. A plain heart and the actual puzzle. I am just going to delete the heart layer. You could use this to slice your photo, but I want the extra room around the edges to make sure the puzzle looks good when cut.
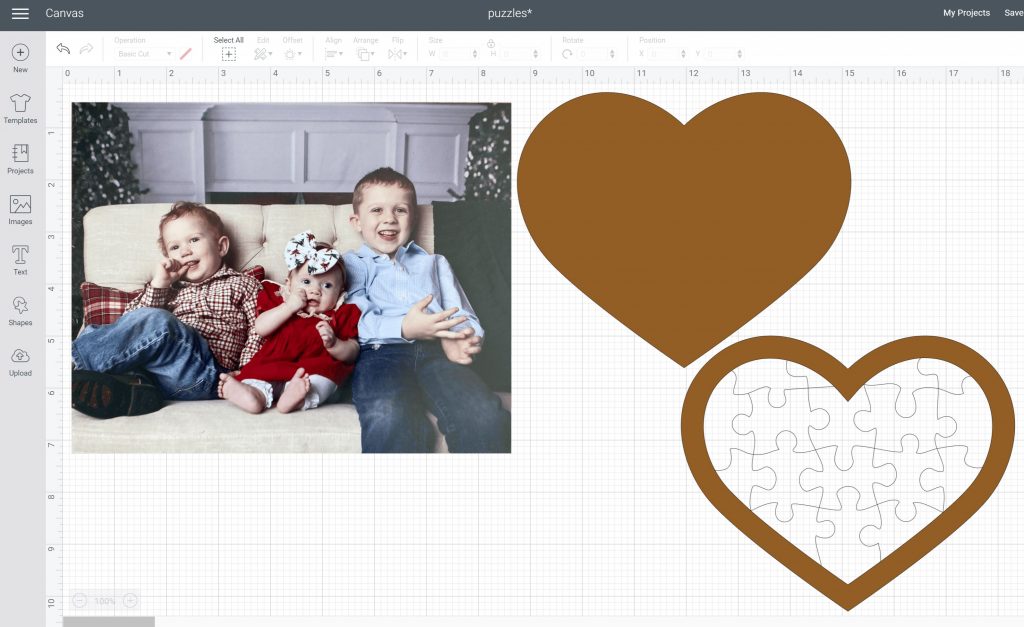
Step 5: Click Attach
You can change the puzzle layer to white to see it a bit better, then place it over your image and position it exactly as you want your puzzle to look. Pick both the puzzle layer and the picture, and click “Attach.”
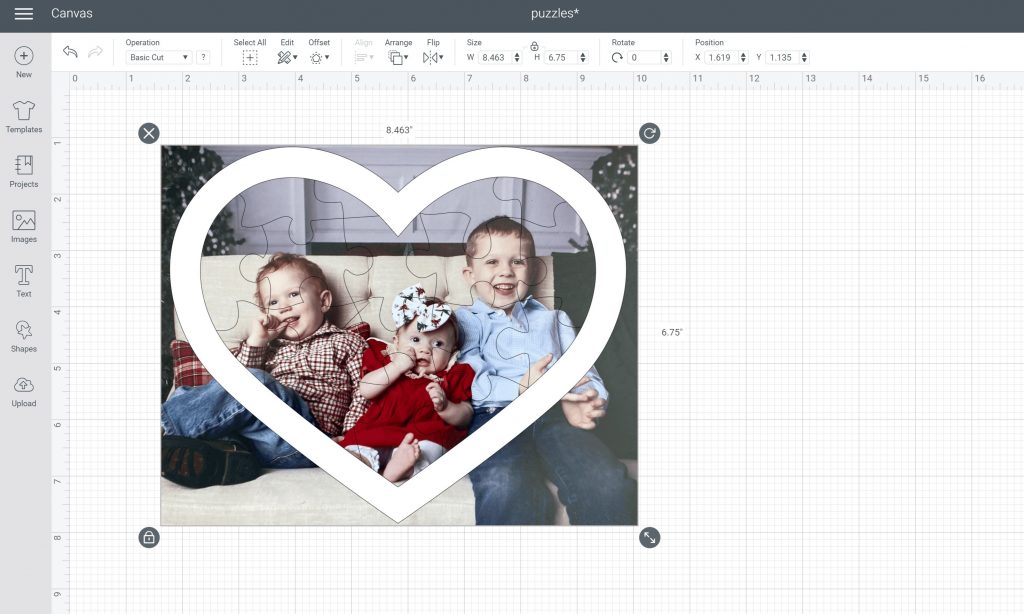
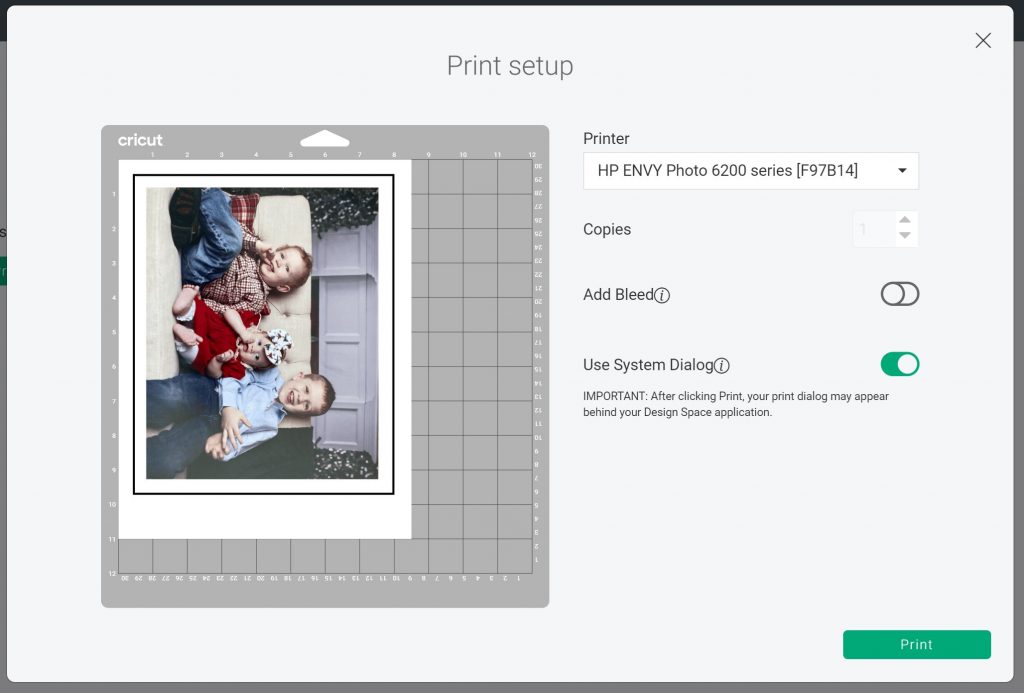
Step 6: Double Check Print Settings
You are now ready to click “Make” and cut your puzzle. I will note that when you print your image, the puzzle itself will NOT print. Those lines are cut lines and will not be on your image. They will only cut with the knife blade after printing is complete.
NOTE: I always turn off bleed and use the system dialogue box so I can choose the best quality when printing pictures.
Adding Printable Vinyl to Chipboard
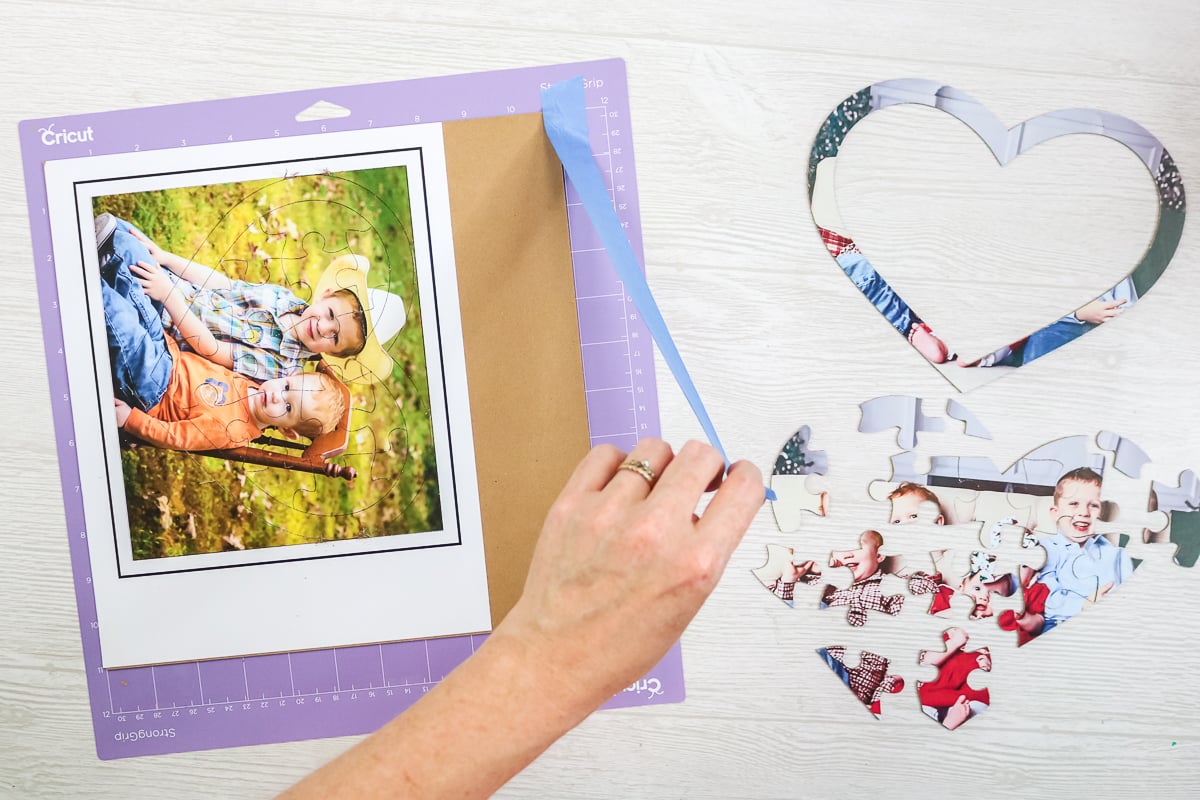
Step 1: Print Image On Printable Vinyl
Now that you have your design, you can print the image onto printable vinyl.
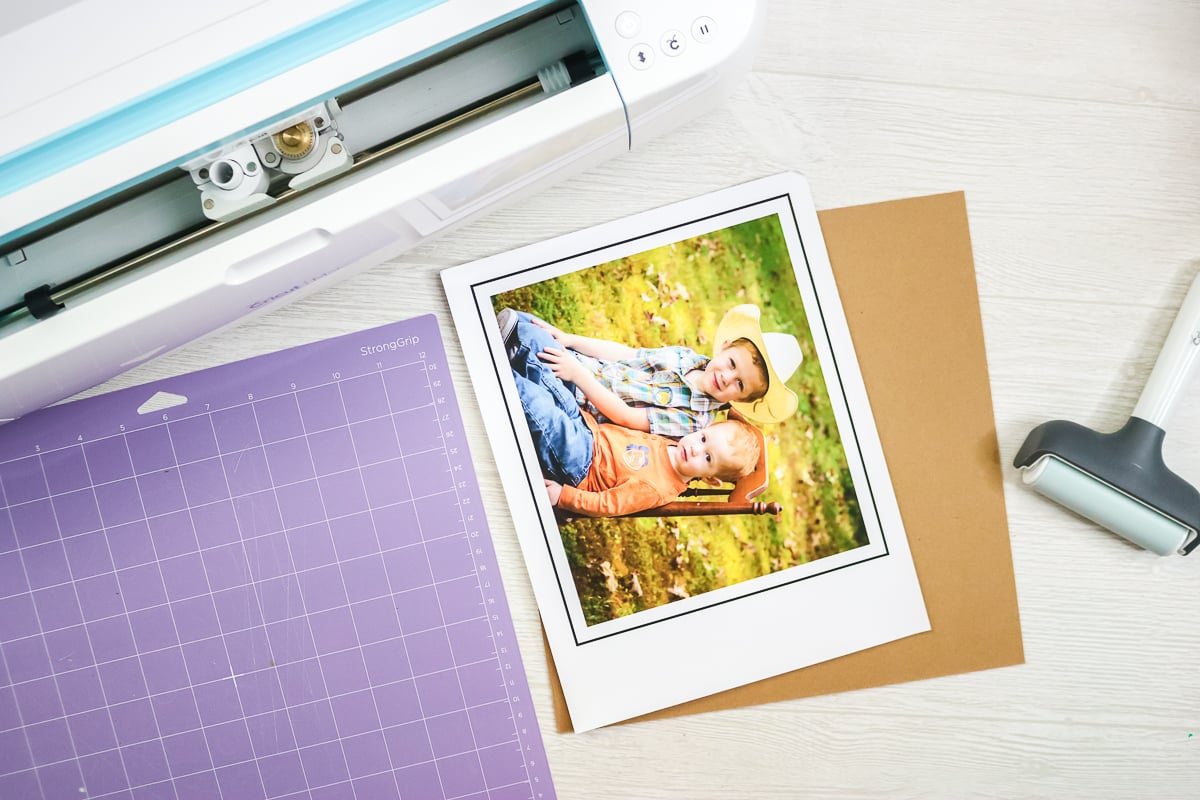
Step 2: Add Printable Vinyl To Chipboard
Then peel back the backing on the printable vinyl and stick it to the chipboard piece, aligning it in the corner.
NOTE: You want to orient your image on the chipboard the same way it is oriented on the mat in Design Space.
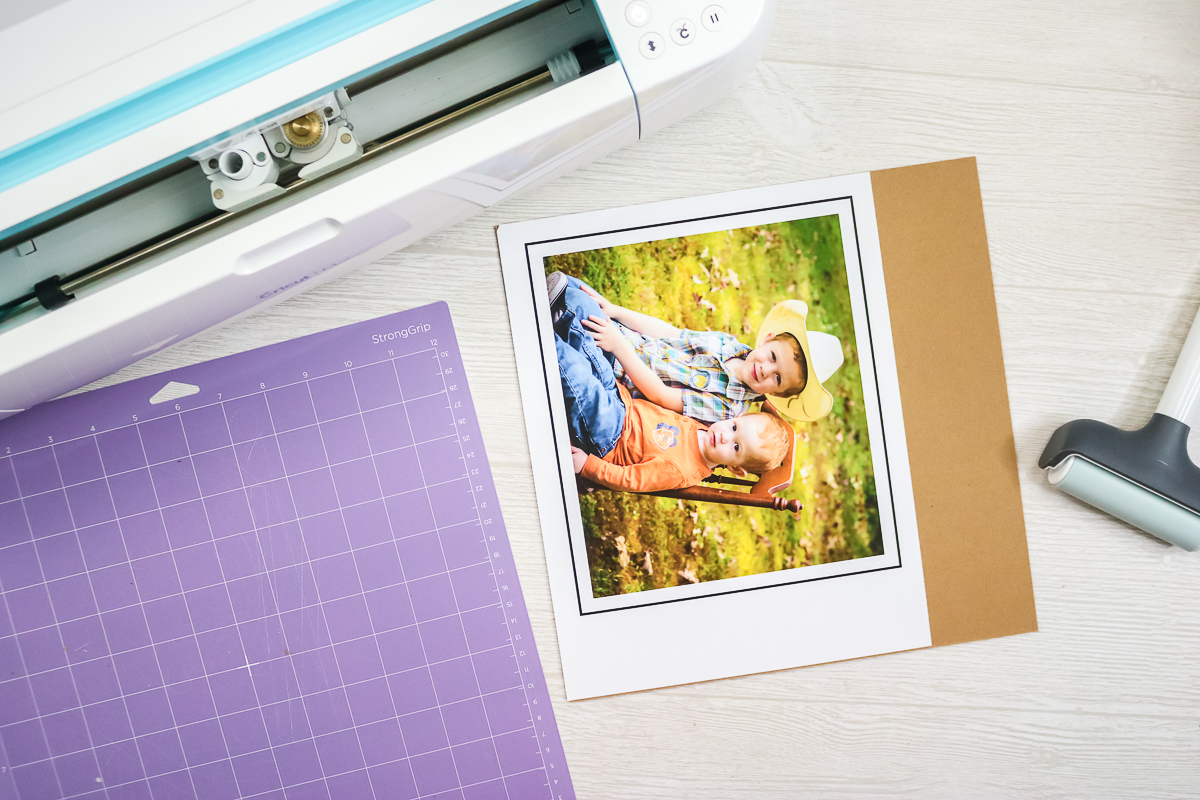
Step 3: Add Chipboard To Mat
Then add your chipboard piece to the mat and align it in the corner. Press the chipboard firmly onto the strong grip mat. I like to use a brayer to do this. Tape around all four sides of the chipboard using painter's or masking tape. Just grip the very edge of the chipboard and press the tape down well. Be sure to cut away excess tape on the left-hand side of your mat.
Cutting Chipboard with the Cricut Maker
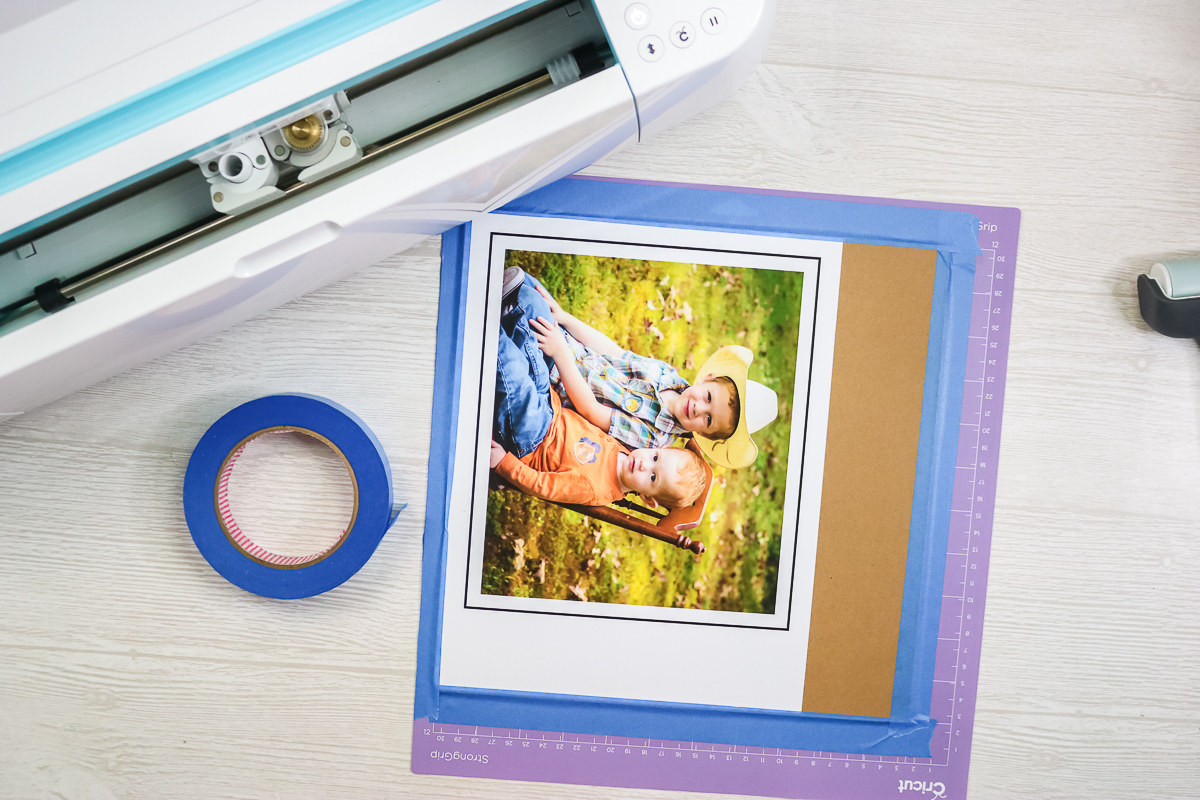
Step 1: Add Mat To Cricut Maker
Then add the mat to your Cricut Maker when prompted. You should have your knife blade installed and your white star wheels pushed all the way to the right. You will also want to pick the 1.5 mm chipboard setting in Design Space.
Step 2: Press Go
Press the go button when prompted to start the cut. You will see the Maker read the registration marks first, then it will begin to cut your puzzle.

The cutting process is long, and it will take a while. This puzzle stated it would take 12 passes to cut. I start checking the cut around the 7th pass.

Checking Your Cuts
Step 1: Pause And Check Cuts
To check the cut, pause the machine when the mat is mostly out. Then lift the puzzle edge to make sure it is cut through. Curved areas will cut through last, so be sure to check those. If it is cut through, click the load/unload button to remove the mat. If it is not cut through, click the pause button again to resume cutting.
Completing Your Puzzle
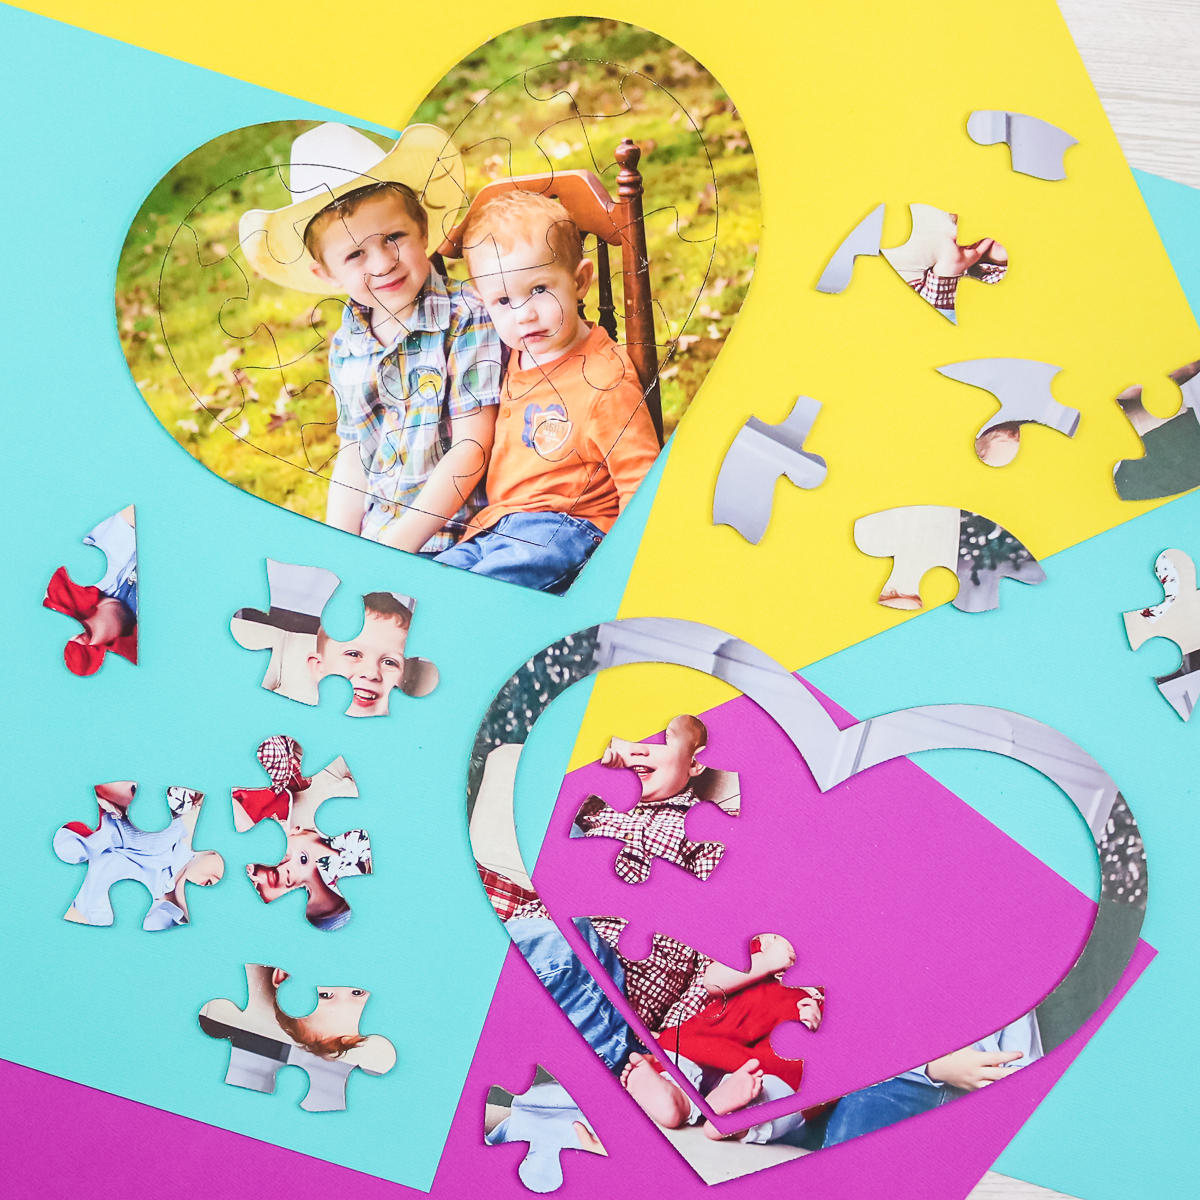
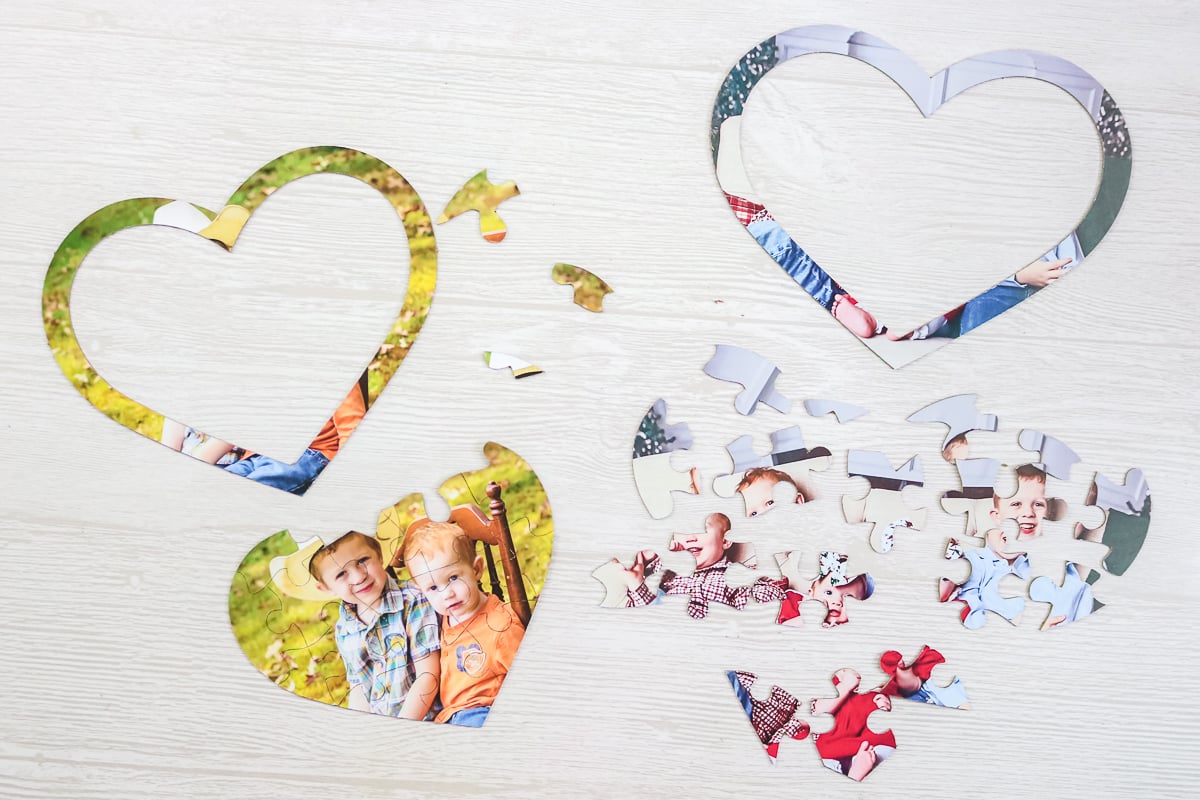
Step 1: Remove Puzzle From Mat
Once the puzzle is complete, you can remove it from the mat. I find it is easiest to flip the mat over and pull the puzzle off of the mat. Then you will want to carefully remove each piece of the puzzle. If there are any areas that are not cut through, just complete the cut with your craft knife.
Now you have a home game for kids that you made yourself and that they are going to love! After all, who doesn't love a picture puzzle?
Now that you know how to make a puzzle out of a picture, the possibilities are endless. You can make these photo puzzles with any image and give them to kids, friends, family, and more.
I love this idea for a Father's Day gift, maybe with “We Love You, Dad” spelled out across the image. Then have Dad put it together to get his cute Father's Day gift and message. You can also give one of these to Grandma as a unique way to share your kids' pictures.
Plus, the kids will definitely love putting together a photo puzzle with their own picture or even pictures of loved ones from far away. Add an image of your pet for a fun puzzle the whole family will love. Seriously, you can really let your imagination run wild with this one. So, be sure to make a puzzle out of a picture for any occasion or just because!
FAQs About How To Make A Puzzle Out Of A Picture
Here are answers to some of the most frequently asked questions I receive about creating a puzzle out of a picture. If your question isn’t listed, feel free to drop it in the comments, and I’ll be happy to help!
Can You Do This With A Cricut Explore?
Not this thick of material. You could use a thinner material and try stacking and gluing together.
Can You Use Cardboard With The Deep Cut Blade On The Air 2?
I saw someone suggest a magnet material, and I think that would work on the Explore Air 2. Could you also cut really thin cardboard on the Air 2 and stack it up and glue it, maybe?
Does It Have To Be Printable Vinyl? I Have Sticker Paper.
That should work too!
Why Did You Choose Printable Vinyl Over Sticker Paper?
I just like it better.
My Photos Are Printing So Dark When I Print Them On The Cricut Vinyl. Any Clue How To Fix This?
Try picking a matte paper setting on your printer.
Why Would You Stop The Cut And Check To See If It Cut All The Way Through After So Many Passes? Can’t You Just Let It Do All The Passes? Or Would It Cut Through Your Mat?
It can cut through your mat. I prefer to stop and look instead of ruining my mat.
My Paper Keeps Tearing. Can You Tell Me What I'm Doing Wrong?
I would check your blade. It could be dull, damaged, or even dirty.
What If You Want Your Puzzle To Be 8 X 10?
Check out this post for more details about sizing your print then cut projects.
4 More Puzzle Crafts
If you loved learning how to make a puzzle out of a picture and are looking for more puzzle crafts, check out the projects below!
- How to Make Custom Sublimation Puzzles
- Make a DIY Name Puzzle with a Cricut Maker
- Wood Blocks Puzzle Handmade Gift Idea
- Make Picture Puzzles on Cricut (+ a Hidden Message Puzzle!)


