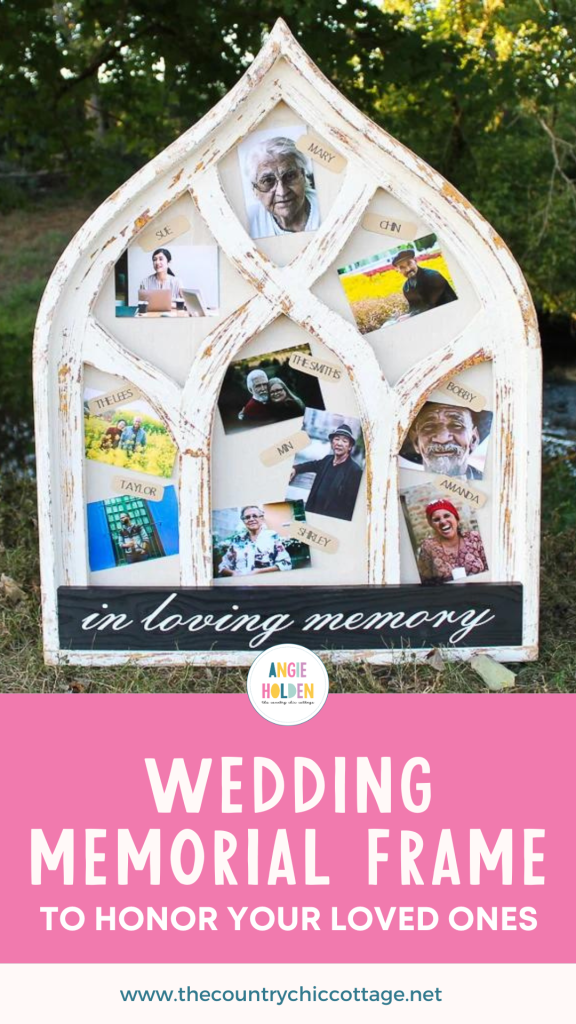
Wedding memorial frames have become a popular trend in planning a wedding. You can use an “in loving memory” wedding sign to honor those loved ones who have passed. In this post, I will share how you can use your Cricut to create one. You will need to choose a frame, preferably a self-standing one. This can be used on a wedding memory table or placed on the ground around the ceremony.
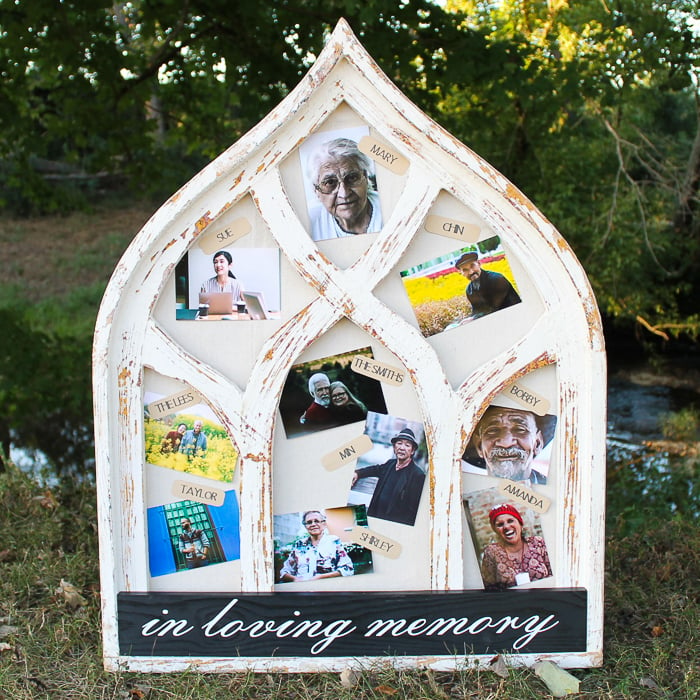
Wedding Memorial Frame
As I mentioned above, a wedding memorial frame is a great way to honor those who as passed on both sides of the family. The store-bought version of these types of memorial frames can be expensive and somewhat limited in style.
With that in mind, I wanted to create a wedding memorial frame that was simple to put together and could be customized in a variety of ways.
Below is the full tutorial, and I broke it up into two parts to make it even easier to create. In the first part, we will be making the ”in loving memory” sign, and then in the second part, we will make our actual frame. Then, we will put the two pieces together!
Supplies Needed To Make A Wedding Memorial Frame
- Frame of your choice
- Backer for frame
- Printed pictures
- Wood strip
- Paint
- Paper or cardstock
- Cricut machine (click here to see which I like best)
- Cricut pens (click here to see more about using Cricut pens)
- Vinyl
- Transfer tape
- In loving memory cut file
- Name tag cut file
- Adhesive
How to make ”In Loving Memory” wood piece for Wedding Memorial Frame
Let’s start with making the sign that I have inside this frame. You will want a piece of wood that will fit inside your frame or you can just lean the sign up against the frame instead.
Step 1: Paint Your Wood Strip Piece
Paint the wood piece in any color you desire and allow to dry.
Step 2: Cut Vinyl Wording
Cut vinyl on your Cricut machine with the words “in loving memory.” You can click here to access the cut file I used.
Step 3: Add Transfer Tape To Vinyl Wording
Use transfer tape to move the vinyl to the wood strip piece.
Step 4: Position Vinyl Wording On Your Wood Strip Piece
Press the vinyl down well and burnish it with your Cricut Scraper or a credit card. Once you have done this, your ”in loving memory” wedding sign is complete.
How to make a frame for your Wedding Memorial Frame
Now that you have the ”in loving memory” wood sign, you can work on the frame. I chose this extra large vintage-looking window, but any frame will work here.
Step 1: Prep The Backing Of Your Frame
Add a backer and even some fabric to your frame. You can also remove the glass if desired. If the frame needs to be painted, complete that during this step as well.
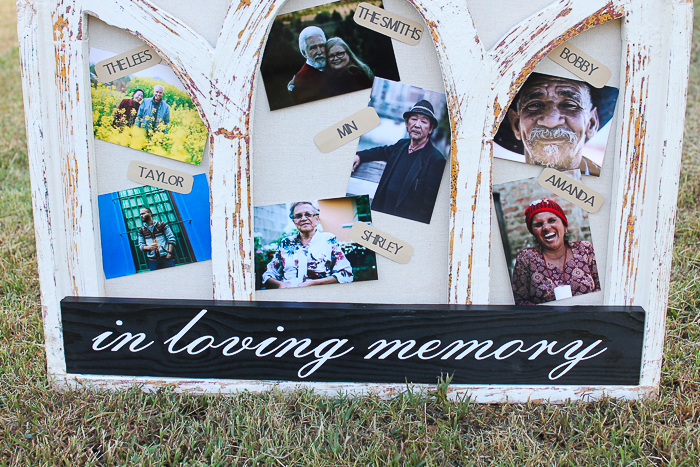
Step 2: Create Name Tags For Wedding Memorial Frame
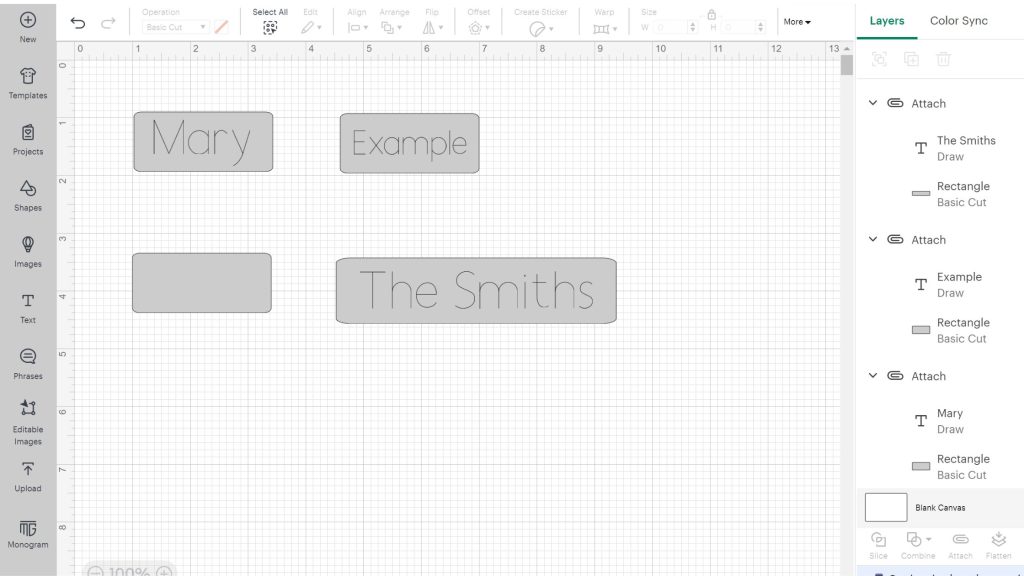
Use paper or cardstock, pens, and your Cricut machine to make name tags for your wedding memorial frame. For this example I used a rectangle to make the tags. Then I chose a font that is a single line font and changed from “cut” to “draw”. Make sure you attach the tag and the writing for each name to they cut and write correctly.
Step 3: Add Photos And Tags To Inside Of The Frame
Stick the pictures and tags onto the inside of the frame with adhesive.
Step 4: Add Wood Strip Piece To Wedding Memorial Frame
Add the ”in loving memory” wood sign you made above, and your wedding memorial frame is complete!
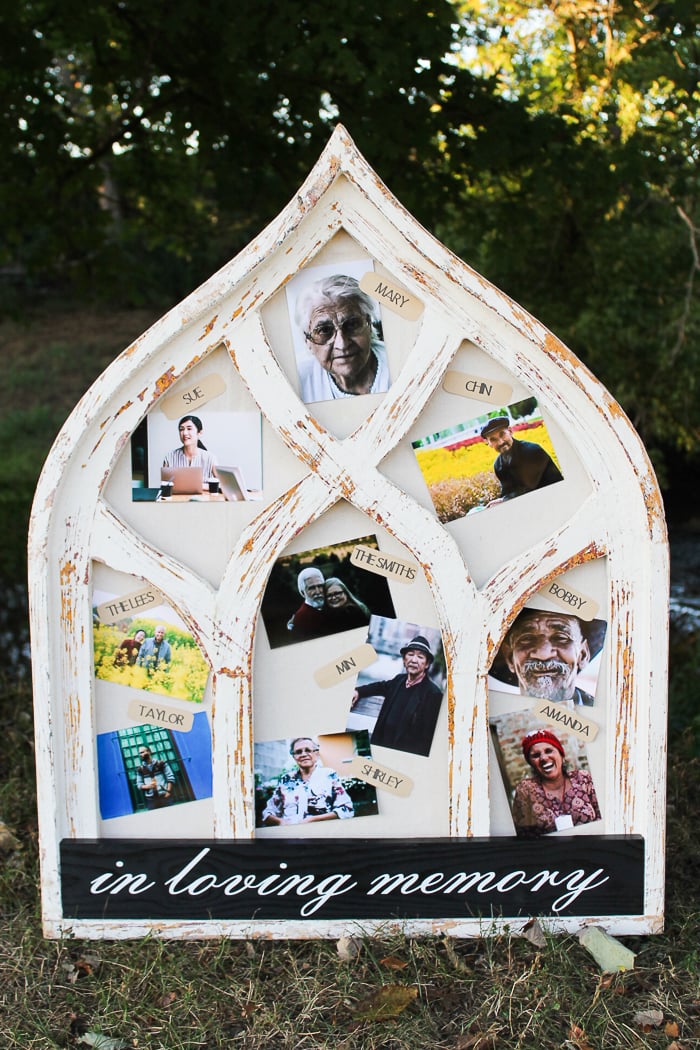
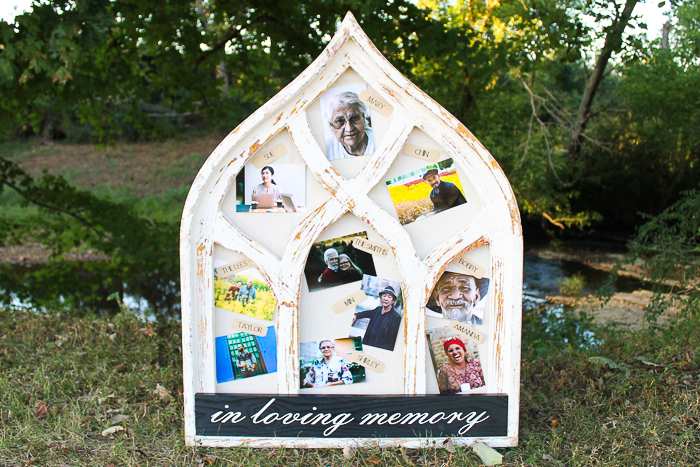

This is such a special way for the entire family to remember those who have passed and would make an amazing addition to your wedding memorial table.
I hope you have enjoyed this wedding memorial frame and will consider adding your own version to your upcoming wedding!
FAQs About Wedding Memorial Frame
Here are the answers to some common questions I often get about this project.
Do I Need To Buy A Special Frame For This Project?
No, a special frame is not needed for this project.
This is your wedding, so you can pick the best frame for your wedding decor and memorial needs.
I would only keep in mind how many family members/friends you will be honoring on your frame. Knowing this information can help you to determine the size of the frame you will need.
Also, you want to be able to see the photos and tags on your frame. So, I would make sure that you don’t pick a frame pattern that is so intricate that you can’t see your photos.
Where Can I Buy A Frame For This Project?
Depending on your style, you can buy frames at the thrift store, rehab store, or even your local craft store.
Can I Add Embellishments To This Frame?
Yes, you can add a wide variety of embellishments to the frame!
When making this project, I kept things minimal so the focus could be on the photos. However, you could add any emblemments that go with your wedding decor or the family/friends you are honoring. Below are a few ideas that I think would be nice to incorporate.
- Farily Lights around the inside border of the frame.
- An embellishment (like a button, etc.) that represents that family member or friend. This embellishment could hold the photo or name tag.
- Religious Symbols (cross, angel wings, etc.)
- Faux greenery like vines, lamb’s ear, etc.
What Cricut Machine Will I Need For This Project?
Depending on your frame size, you can use any Cricut machine you have on hand. However, with that being said, if you are looking to create a bigger wedding memorial frame, the Cricut Maker and Cricut Explore would be your best options.
Also, if you are trying to find the right Cricut machine for you, check out my ”Which Cricut is for you’‘ video!
5 Easy Wedding Ideas To Make
So, do you love this wedding memorial frame and want more ideas? Then check out the projects below, which range from centerpieces to a rustic wedding in a barn!
