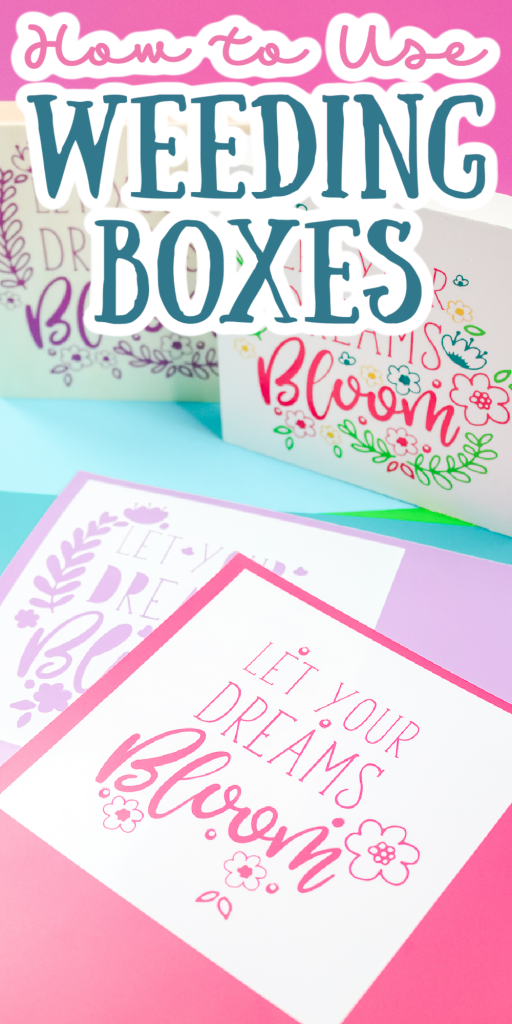
Do you know what weeding boxes are? I am covering how to use them with your Cricut as well as why you would want to use them. These boxes can be super convenient for weeding as well as locating your design on your blank. Watch me create weeding boxes and use them to make a couple of projects. You might find that you are using boxes for weeding on your crafts as well!
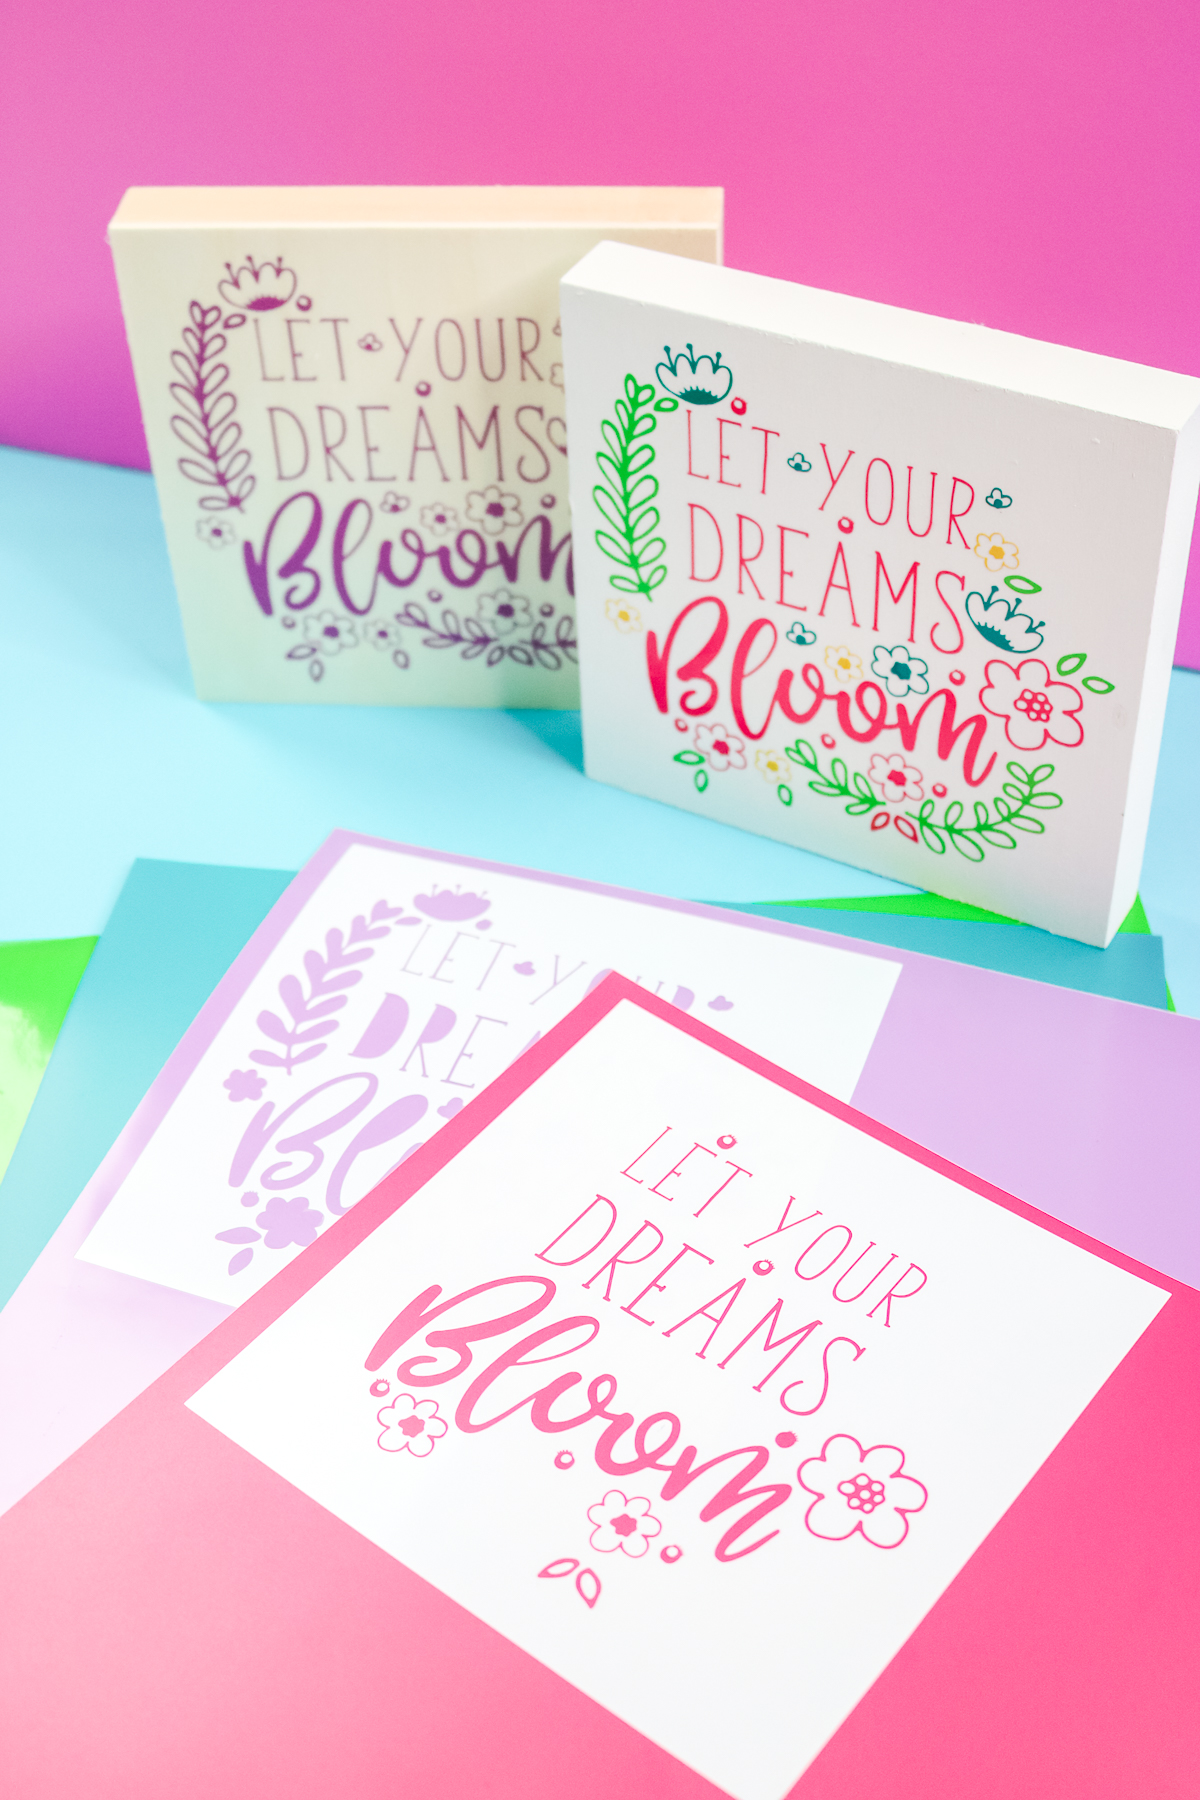
Weeding Boxes
You can actually watch the full tutorial in the video below. Just click play and watch as I make weeding boxes in Cricut Design Space and use them to create a couple of projects.
Don’t want to watch the video just yet? Follow along below!
What is a weeding box?
A weeding box is something that you put around your design in Cricut Design Space, and it has a few benefits as well as some drawbacks. Let’s take a look at both!
Benefits of weeding boxes
Weeding boxes have many benefits including:
- helping you with weeding
- saving material
- help when applying the vinyl to your surface
- assist with layering vinyl and locating your design
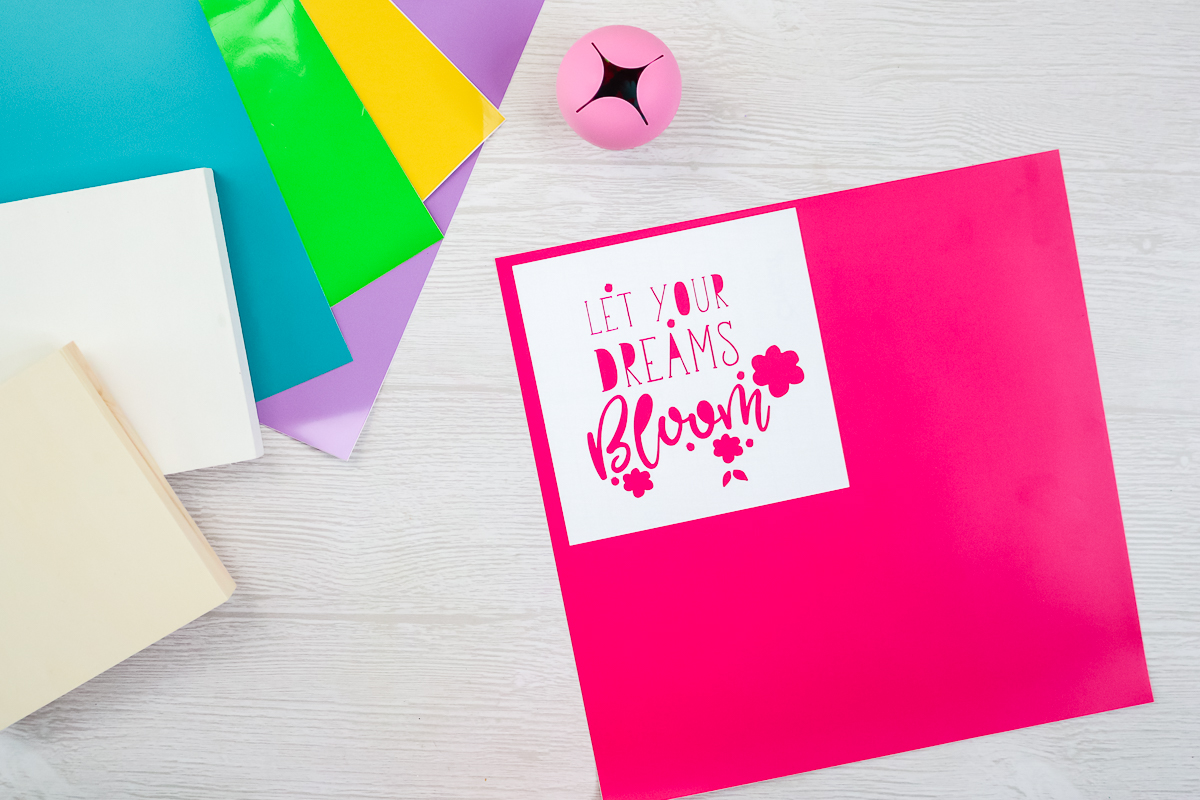
Drawbacks of weeding boxes
As with anything, there are drawbacks as well. When using weeding boxes for locating and layering your design, you will find that you actually waste more material. Is it worth it? Keep reading and decide for yourself!
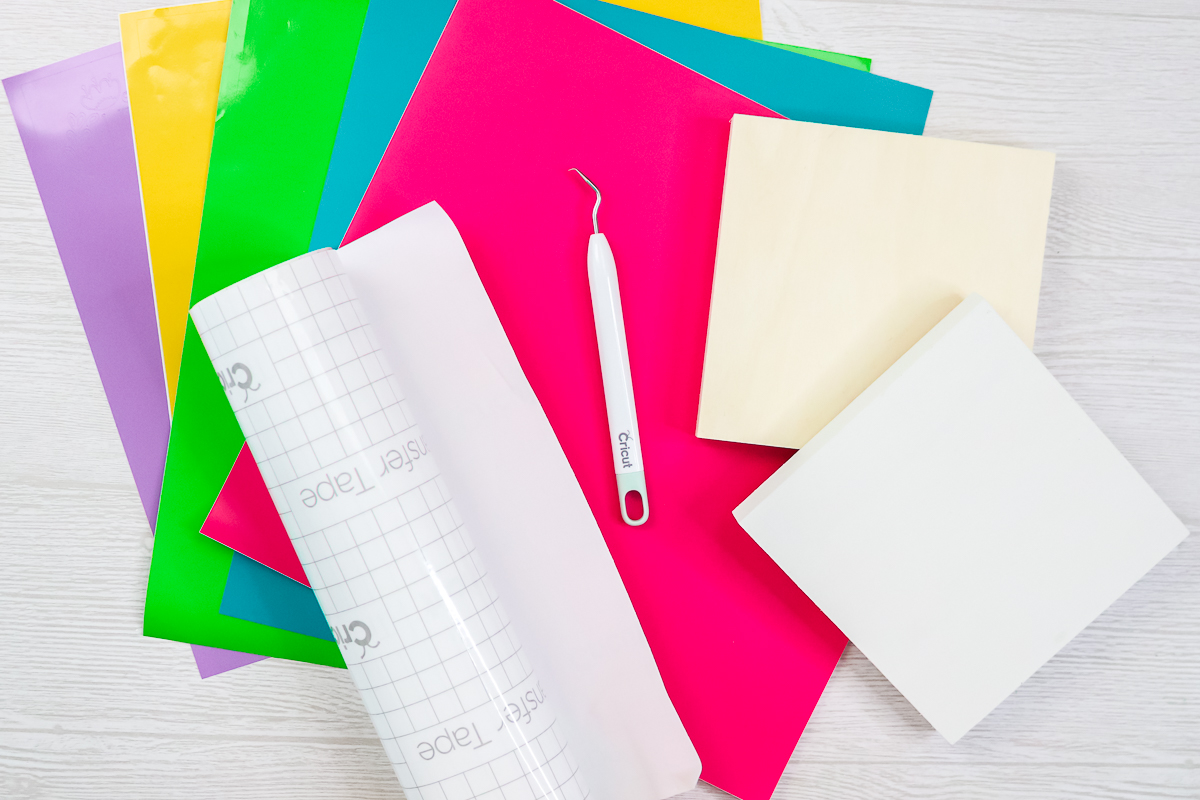
Supplies needed:
- Cricut machine
- Cricut vinyl
- Transfer tape
- Weeding tools
- Wood surfaces
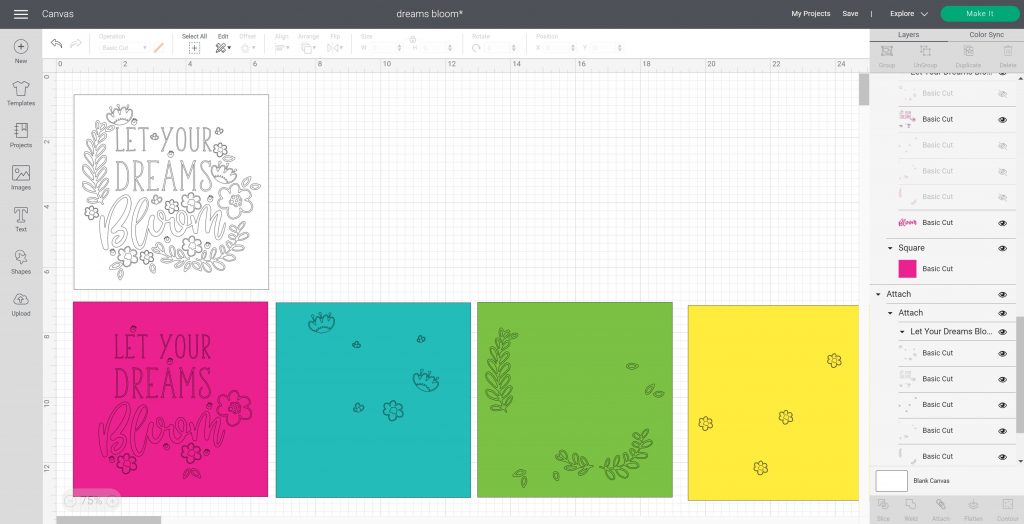
How to Make a Weeding Box in Cricut Design Space
There are a couple of different ways to make a weeding box depending on what you are working on. You can actually watch me make these weeding boxes in the video above if you would like.
For single-color designs:
- Start with your design in Cricut Design Space.
- On the left hand size of the screen under shapes, you’re going to want to add a square to the canvas.
- Unlock the size and drag it to the size of your choice. I am using a 6 inch x 6 inch box for my example.
- Click arrange and send the box to the back.
- Then pick both the box and your design and click align then pick center so that your design is perfectly even with the square.
- While everything is picked, click attach.
- You’re ready to cut!
For layering:
One of the great benefits of weeding boxes is using them to help with your layering on multi-colored projects. You can use the weeding boxes to help you align your project so that you can get your design perfectly layered every time!
- Start with your prject in Cricut Design Space and add a square.
- Adjust the square to your preferred size for your project and send to the back using arrange.
- Pick your box and your design then click align and center.
- Highlight your design and weeding box and copy it for however many colors you’re going to be cutting.
- In each of the boxes, you’re going to want to hide everything except for the color you’re going to cut.
- Now that you have each color on a separate block, pick each box along with the color it goes with and click attach. You will also want to make sure that the color of each block and design matches the color of vinyl you will be using at this point.
- Now you’re ready to click Make It and cut each of your vinyl layers.
How to Use a Box for Weeding
Now that you have your project cut, you are ready to start weeding! You can use the box to weed just a small area of a larger sheet. They are also helpful when you have several things on one large sheet so you can concentrate on weeding one area at a time. My favorite use for weeding boxes by far is layering and locating vinyl. Keep reading to see how I do that below!
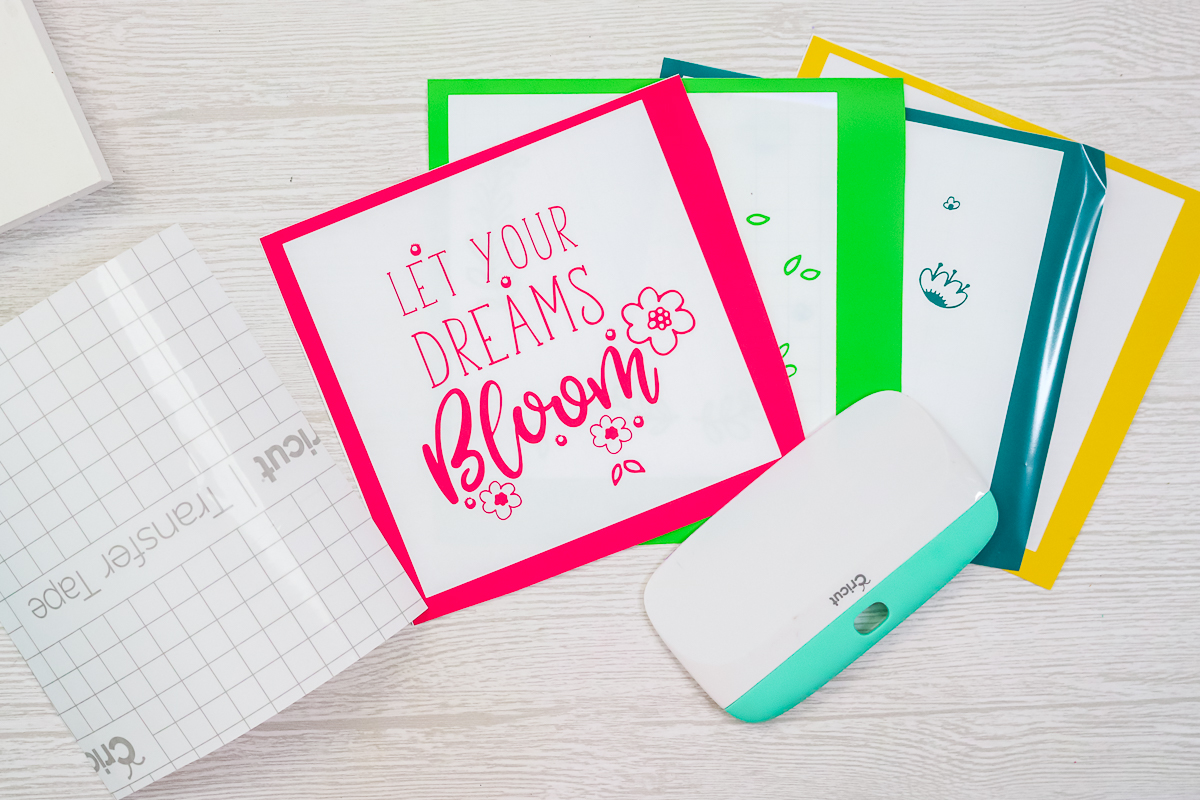
Using Weeding Boxes to Locate Vinyl
This method is best for a single layer. I trim the vinyl right where the weeding box is located. Then cut a piece of transfer tape the exact size. In this case, they are both 6 inches by 6 inches which is the same size as my wood blank.
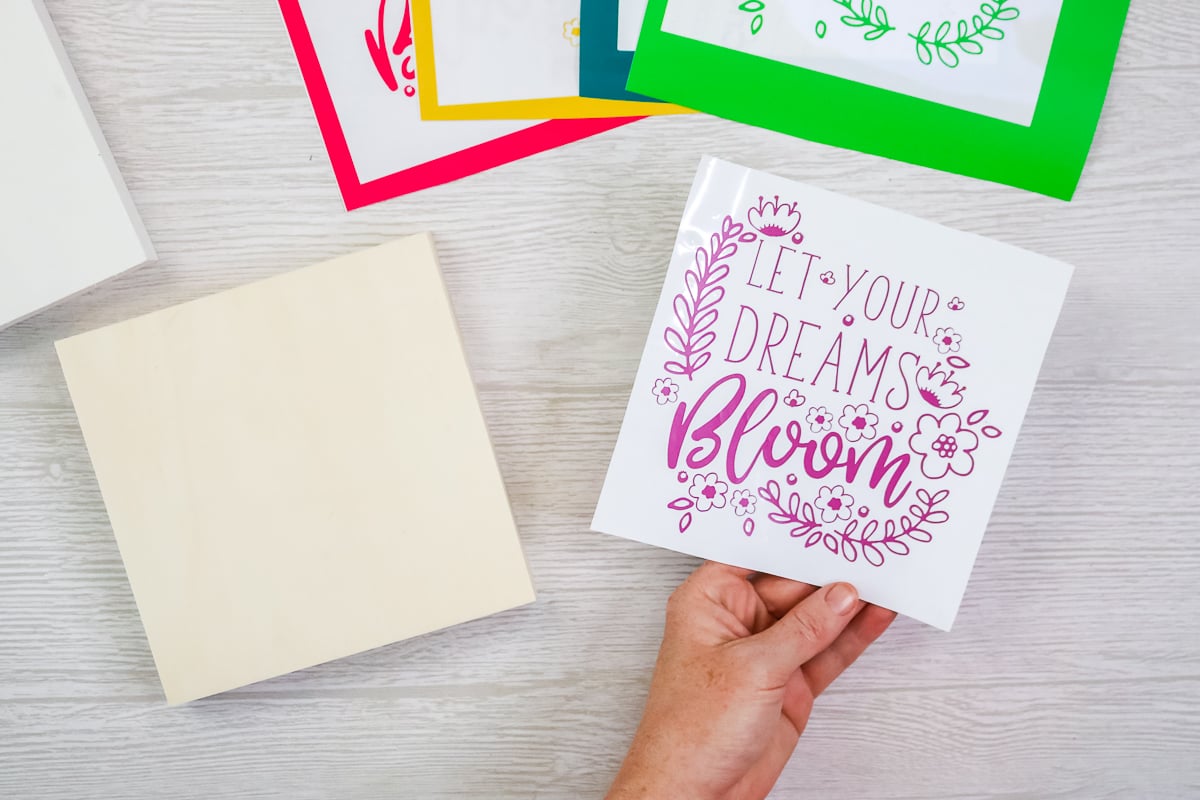
Then line up the transfer tape exactly with the edges of the vinyl backing.
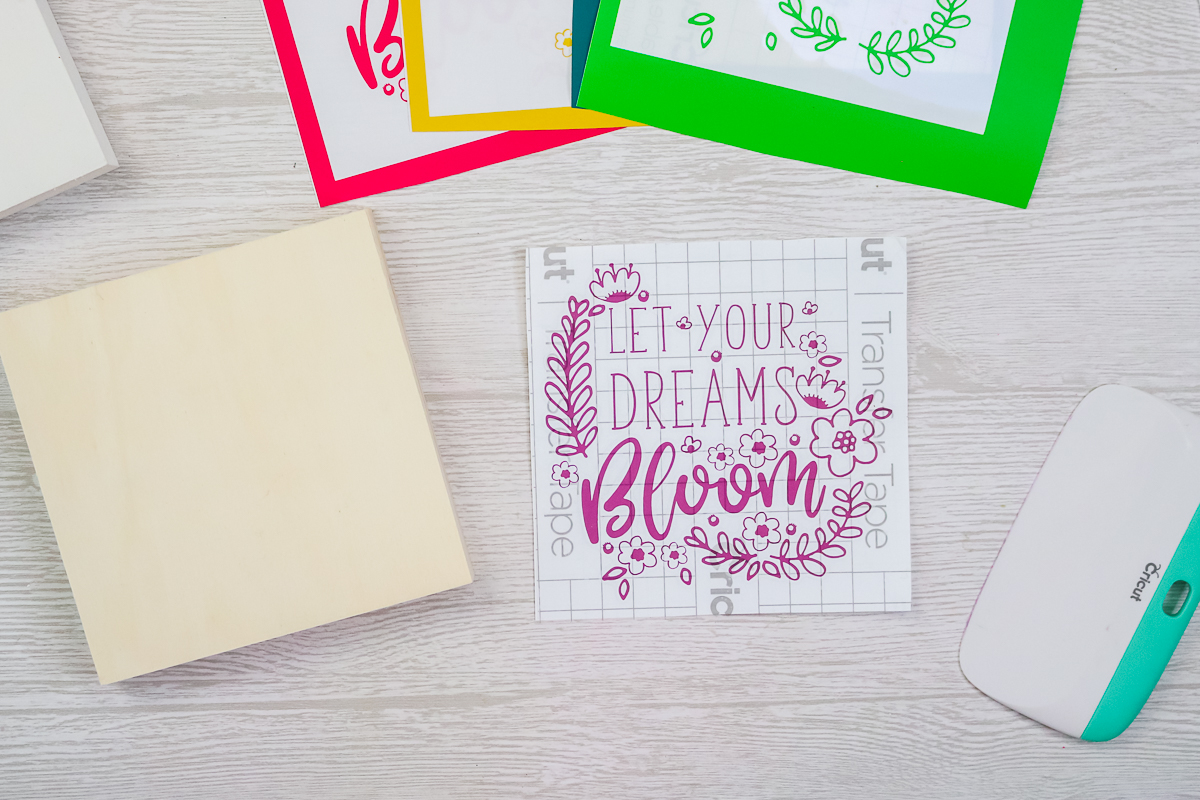
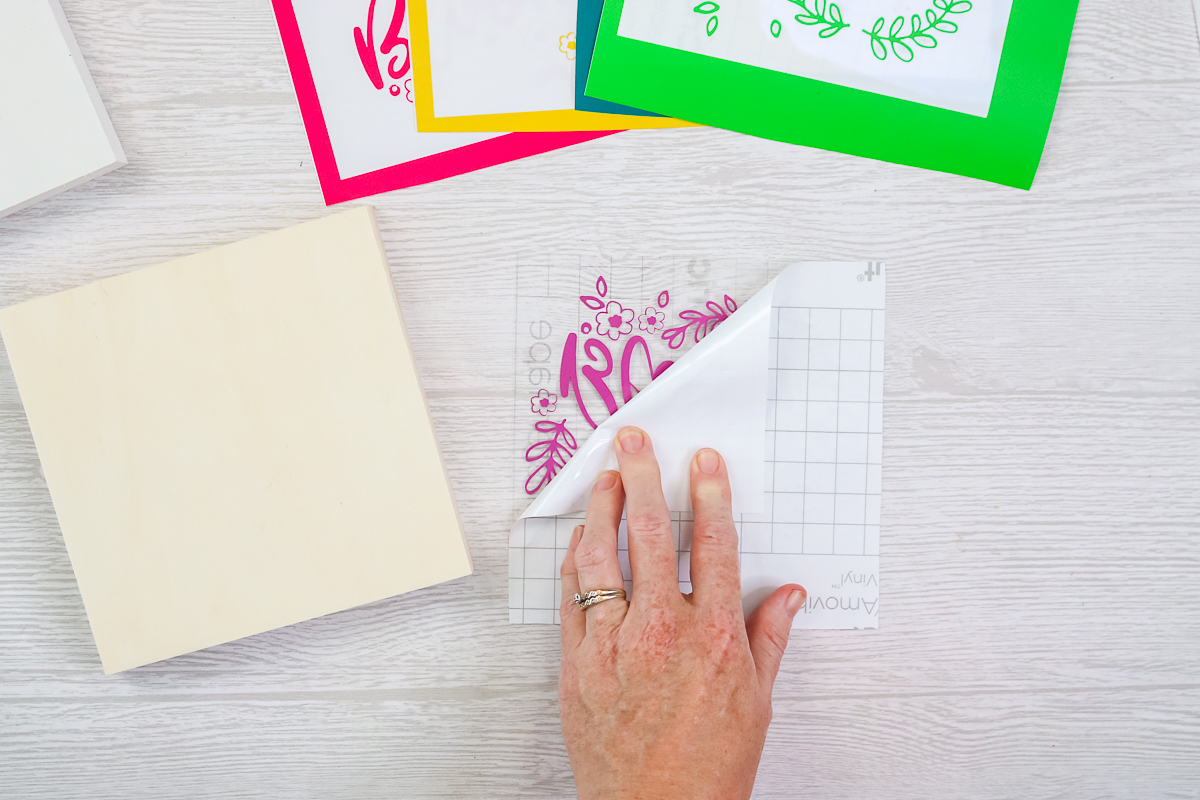
Burnish well and peel back the backing paper leaving the vinyl on the transfer tape.
Then use the transfer tape to align exactly to the edges of your blank. This ensures that your vinyl is right in the middle of your project.
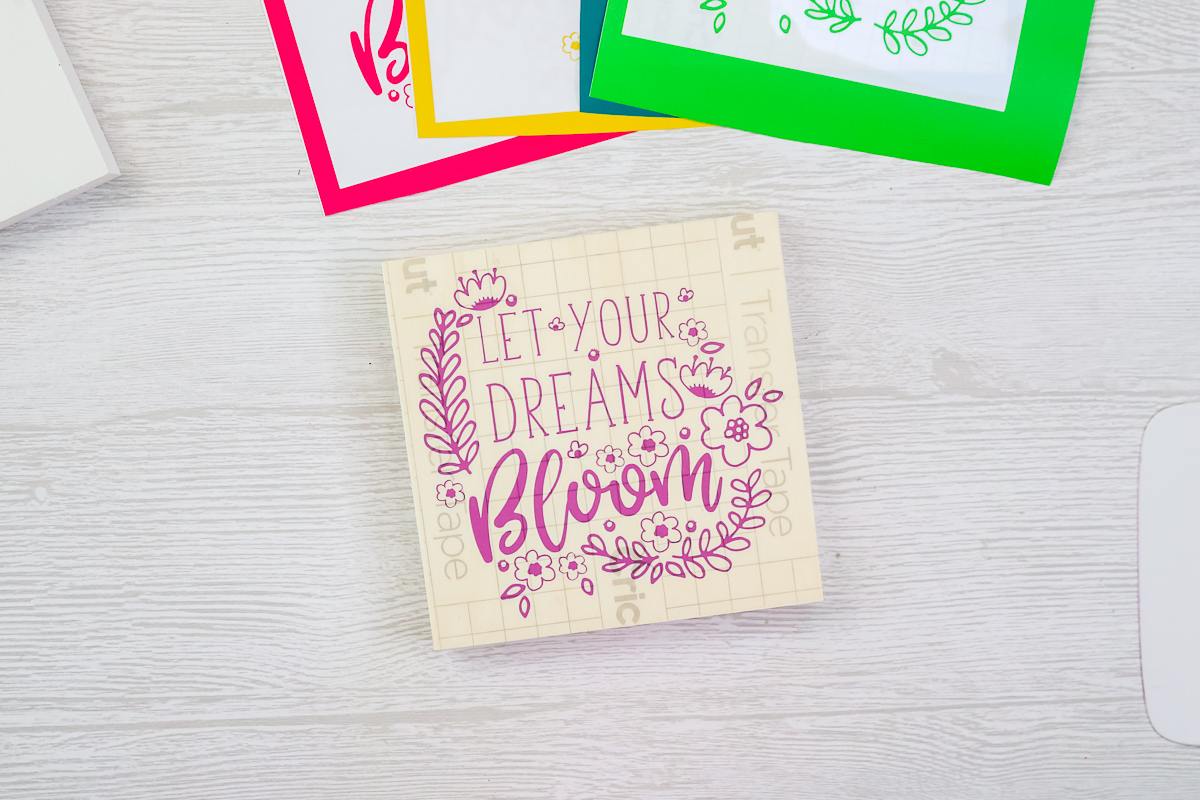
Burnish well and peel back the transfer tape to complete your project.
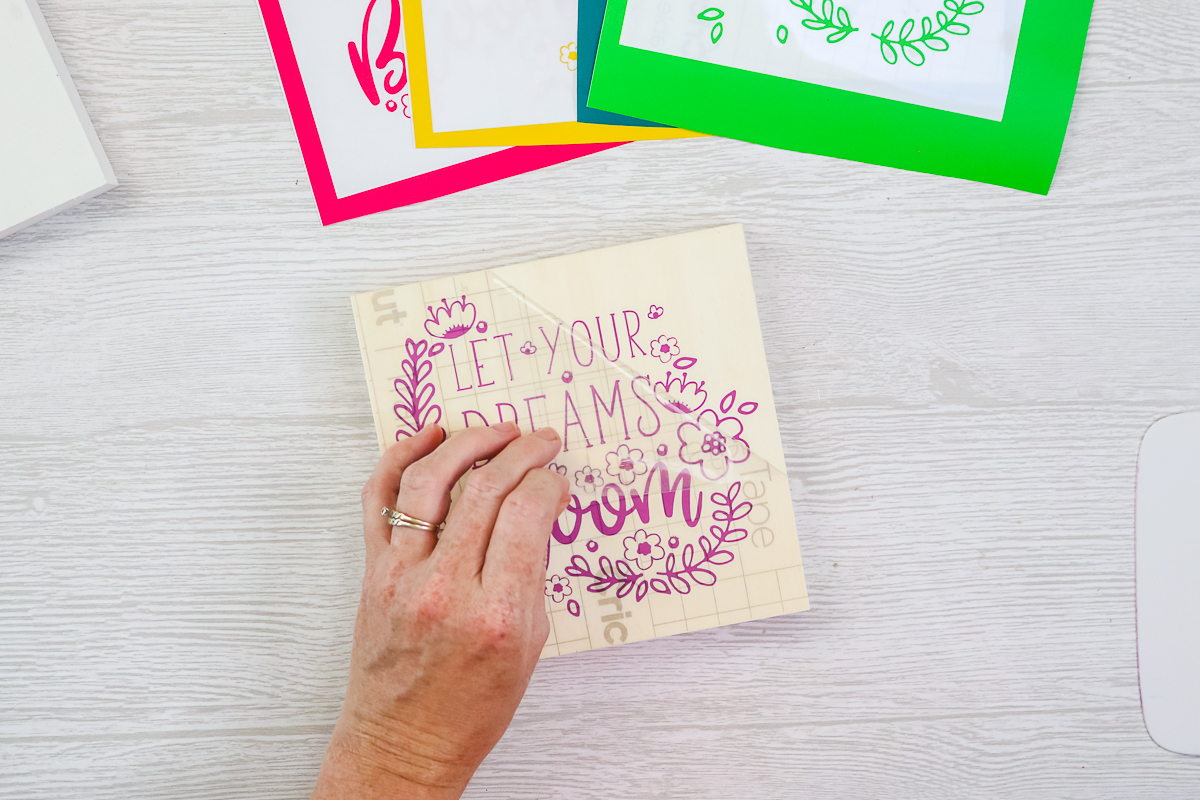
Such an easy way to make sure that your vinyl is in the right location every single time!
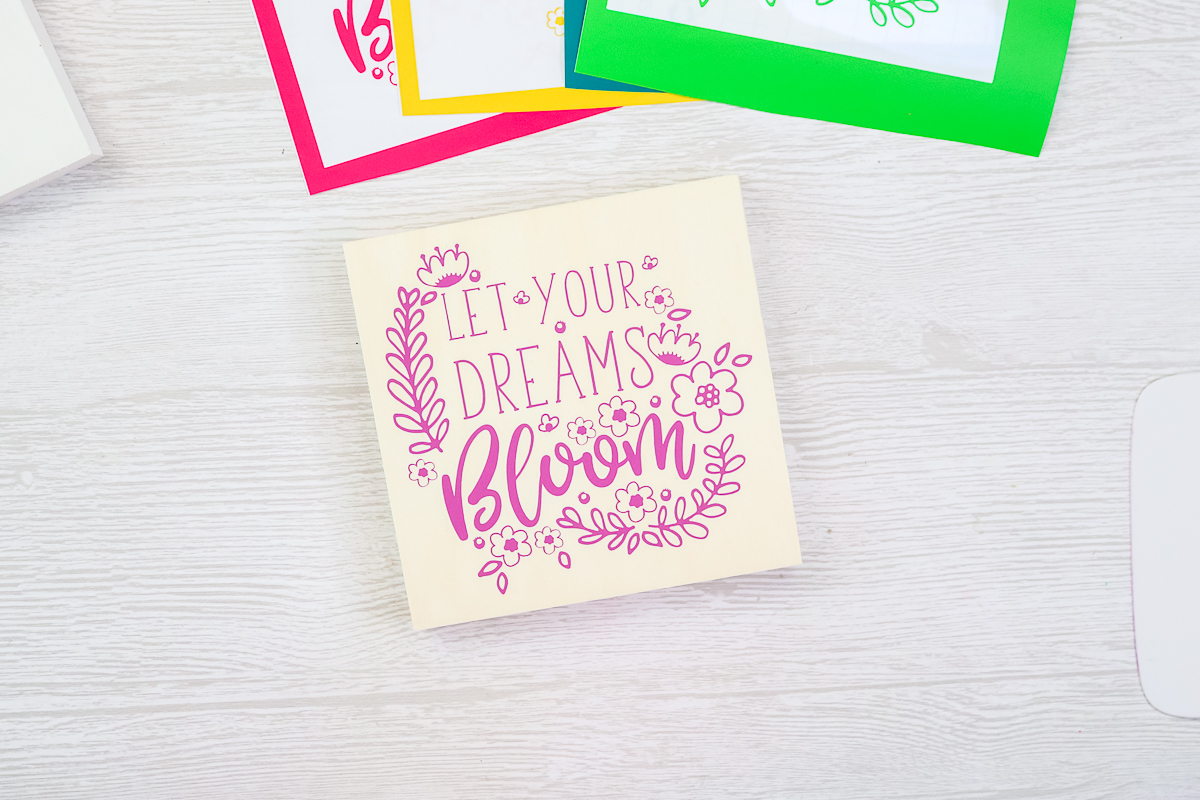
Layering Vinyl Using Weeding Boxes
If the project you’re making has complicated layers, you may want to use weeding boxes to get it perfectly aligned as well. There are a few more steps but it is still a fairly easy process. This time you can trim your vinyl but you want to leave a small piece of the box all the way around every single layer. You will also need a piece of transfer tape larger than the box and your blank.
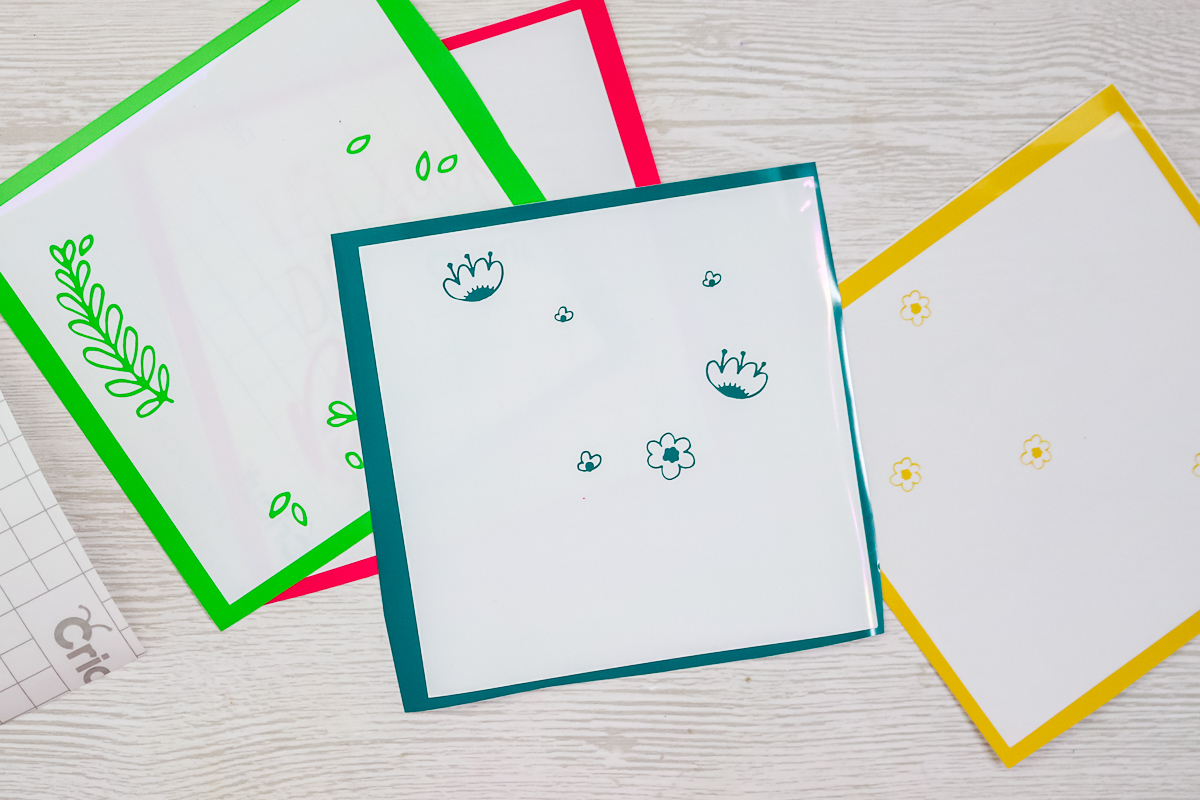
Start with your top layer and add your transfer tape. Burnish down well then peel away the backing paper leaving the box on the transfer tape.
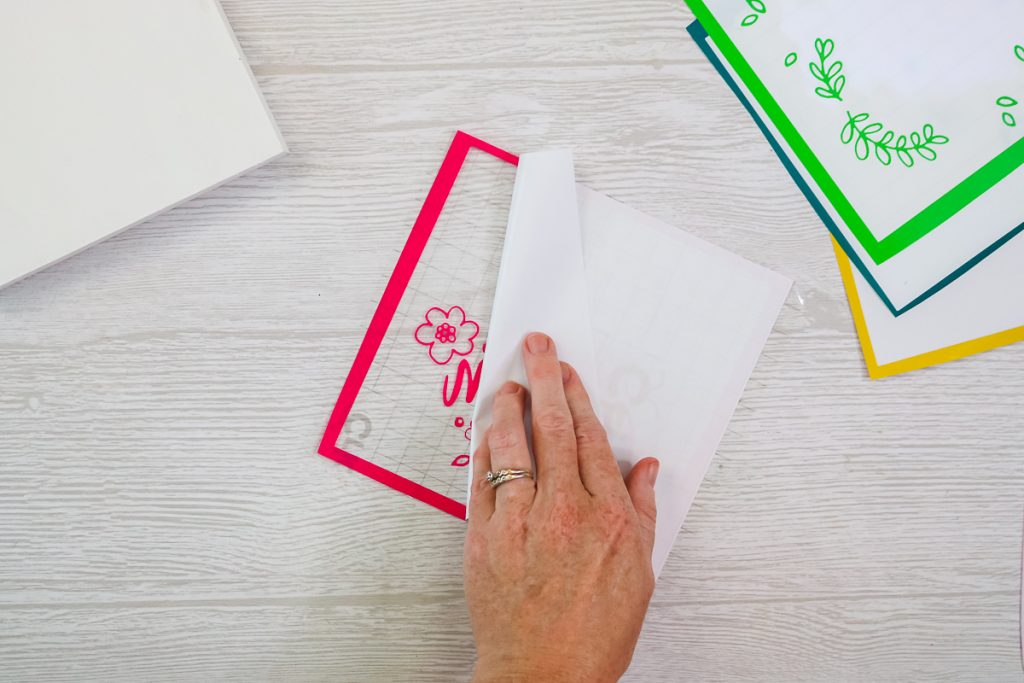
Then use that box to align your next layer. Put the first layer directly over the second where all sides of the box line up. Once again burnish the vinyl and peel away the backing paper.
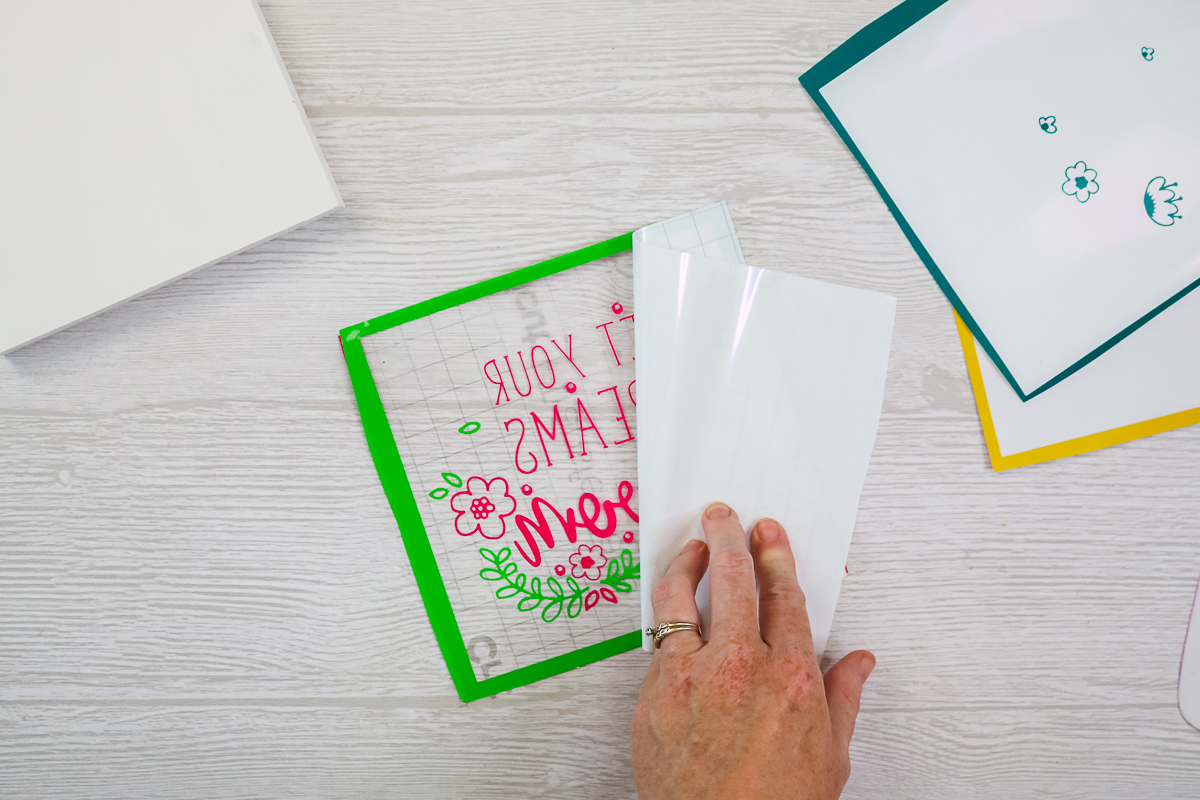
Repeat for each layer until they are all on the transfer tape.
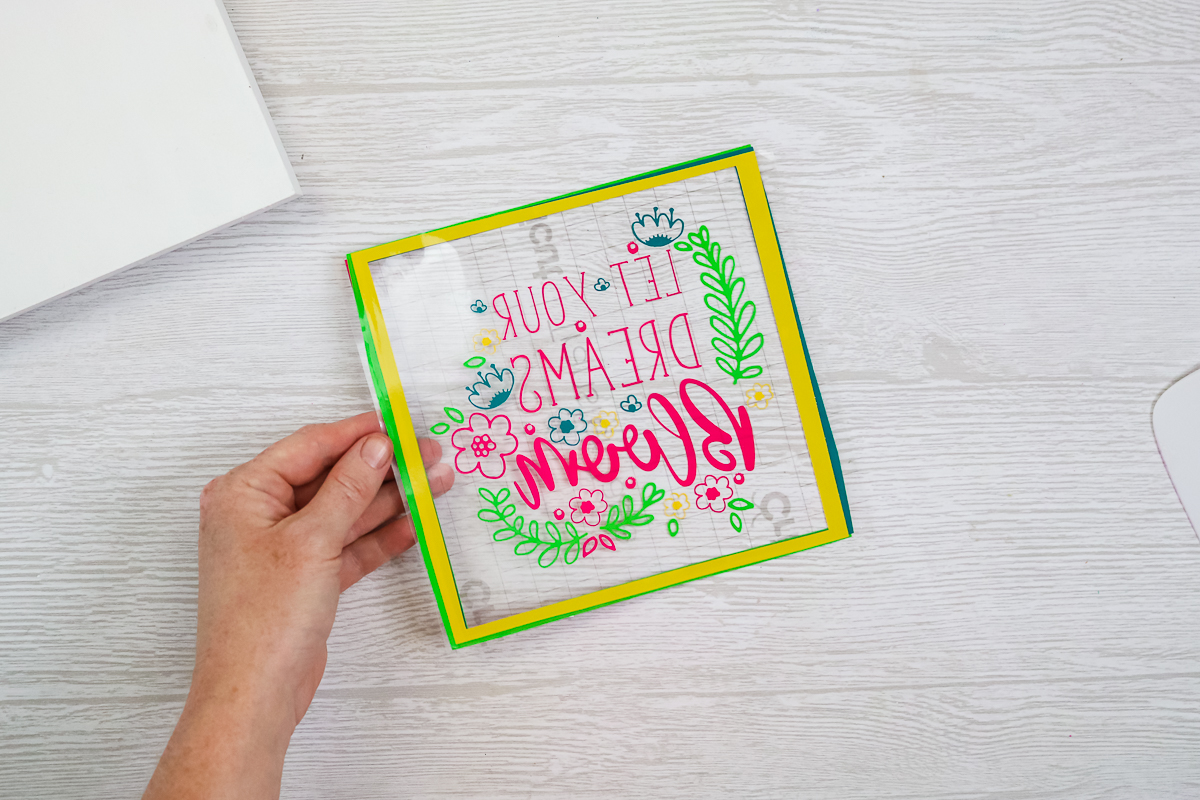
Again I made the box the same size as my blank, so I used it to align to the four sides of my wood piece.
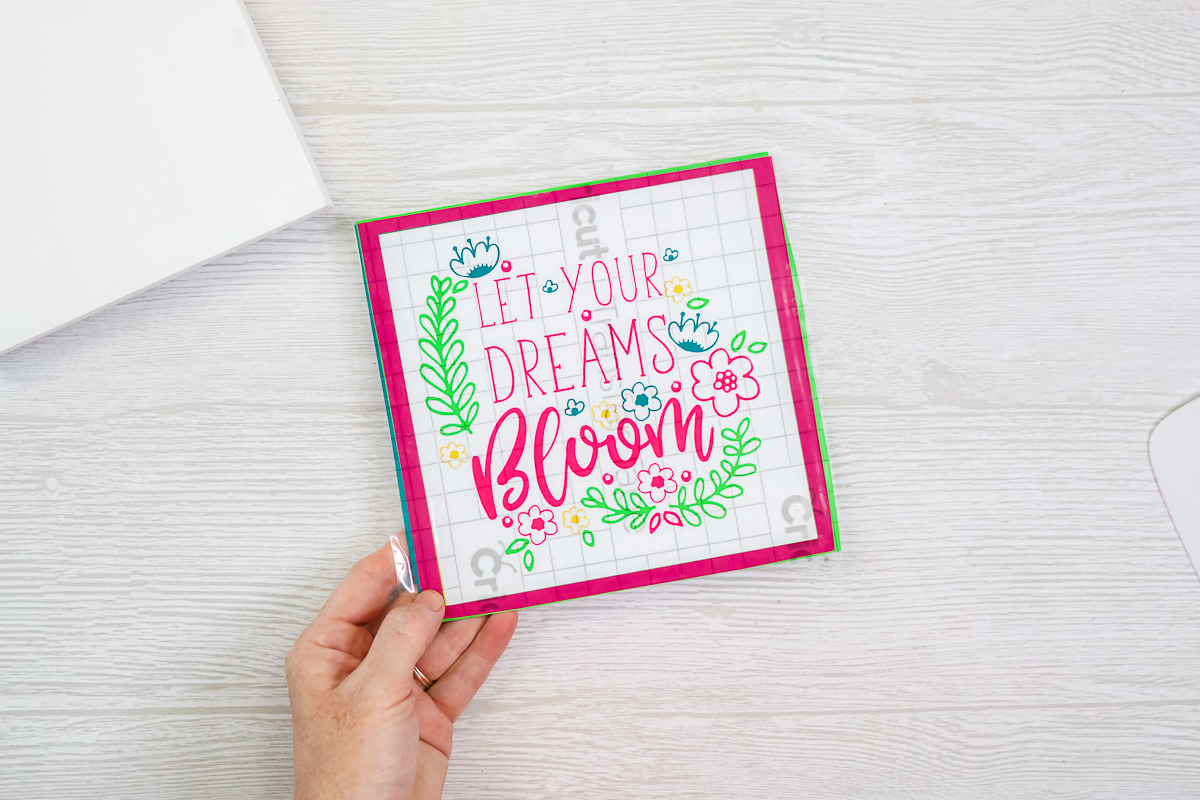
Burnish well and peel back the transfer tape. You want to leave your vinyl on the surface EXCEPT for the weeding boxes. Those you want to pull up as you go.
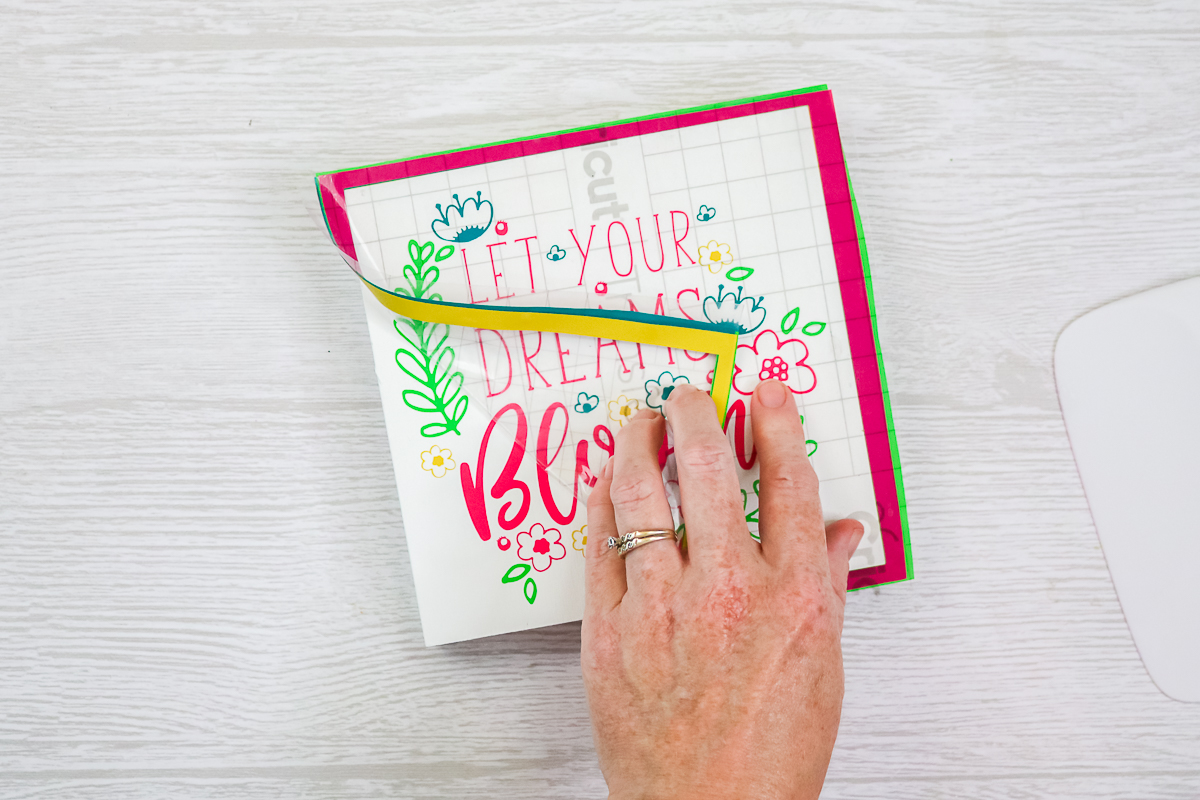
You have a perfectly layered sign in minutes! If you still have issues layering, you might want to try the parchment paper hack here.
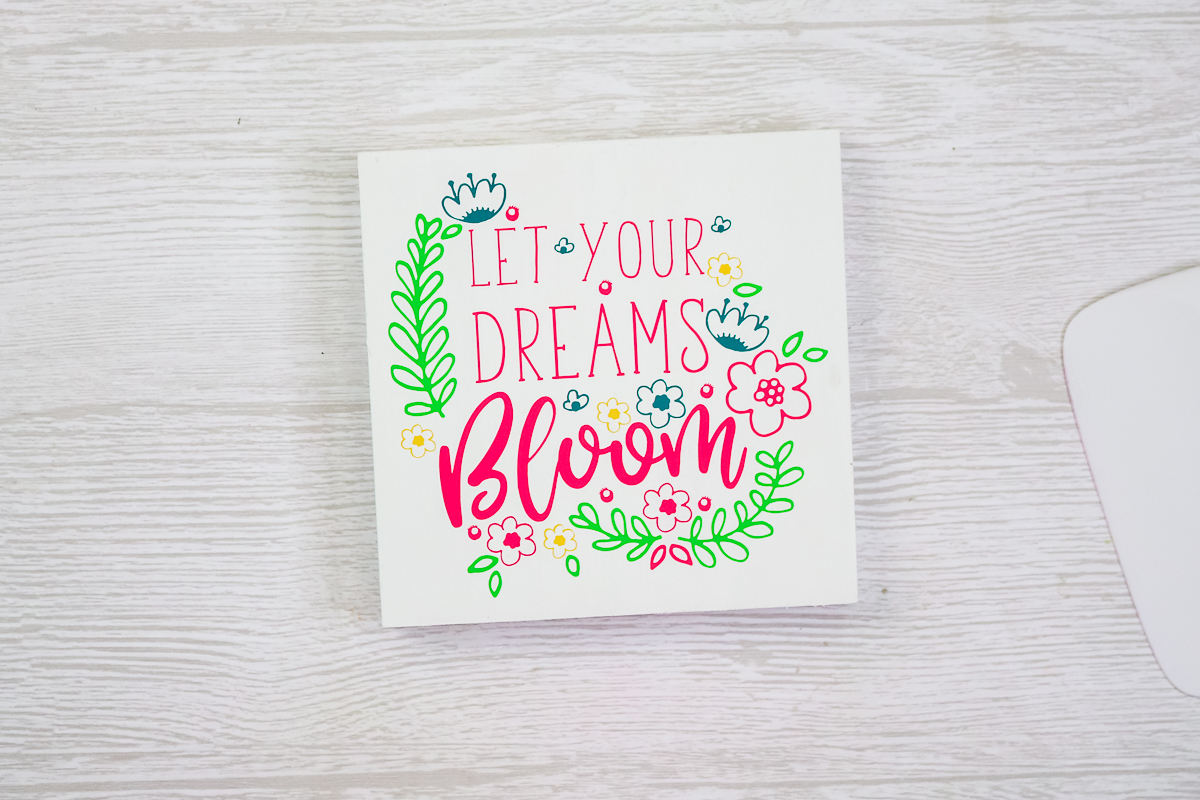
Should you use boxes for weeding?
I hope you found this tutorial helpful and gave you a little more insight on what weeding boxes are, how they can be helpful, and how you can use them in your projects. The only question is should you use them for your crafts? You can see that they can be helpful but they are definitely not for everyone. Give them a try a few times and see if you might like them! You may just find a new way to craft that makes everything a bit easier.
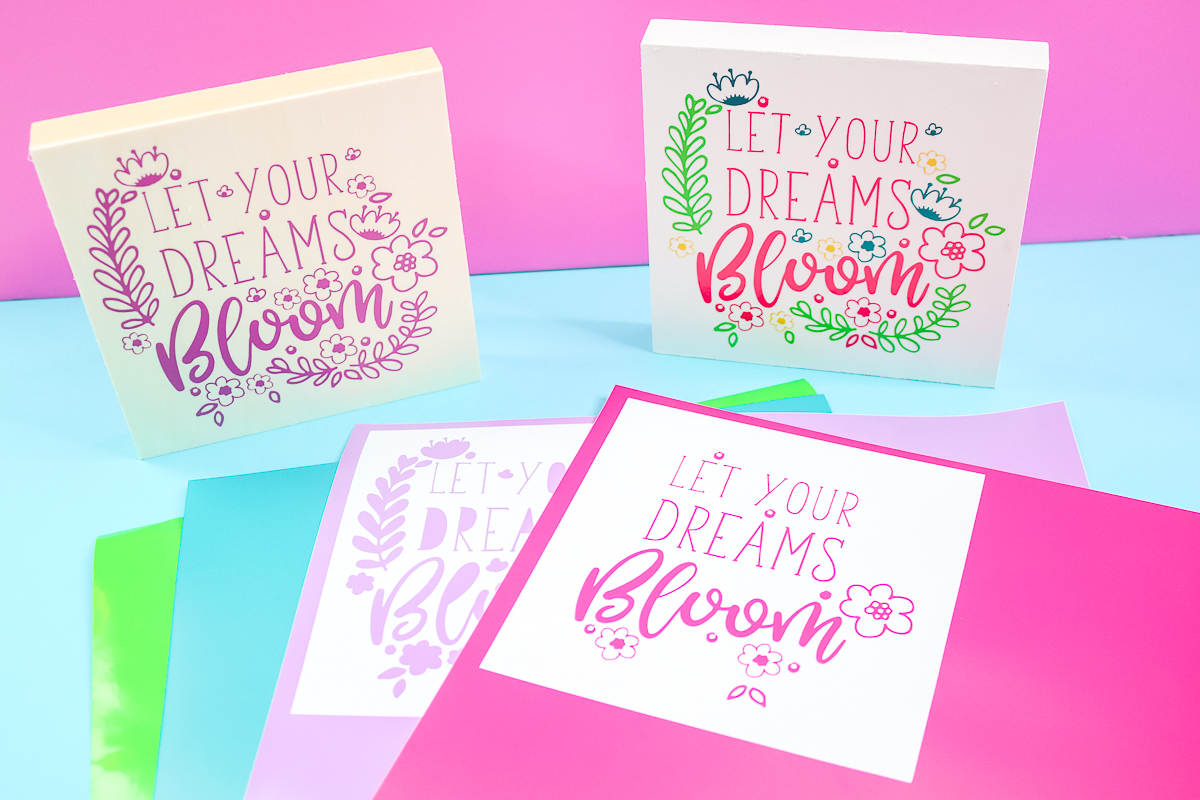
I hope this tutorial at least gave you some ideas on ways to do your vinyl crafts a bit differently.
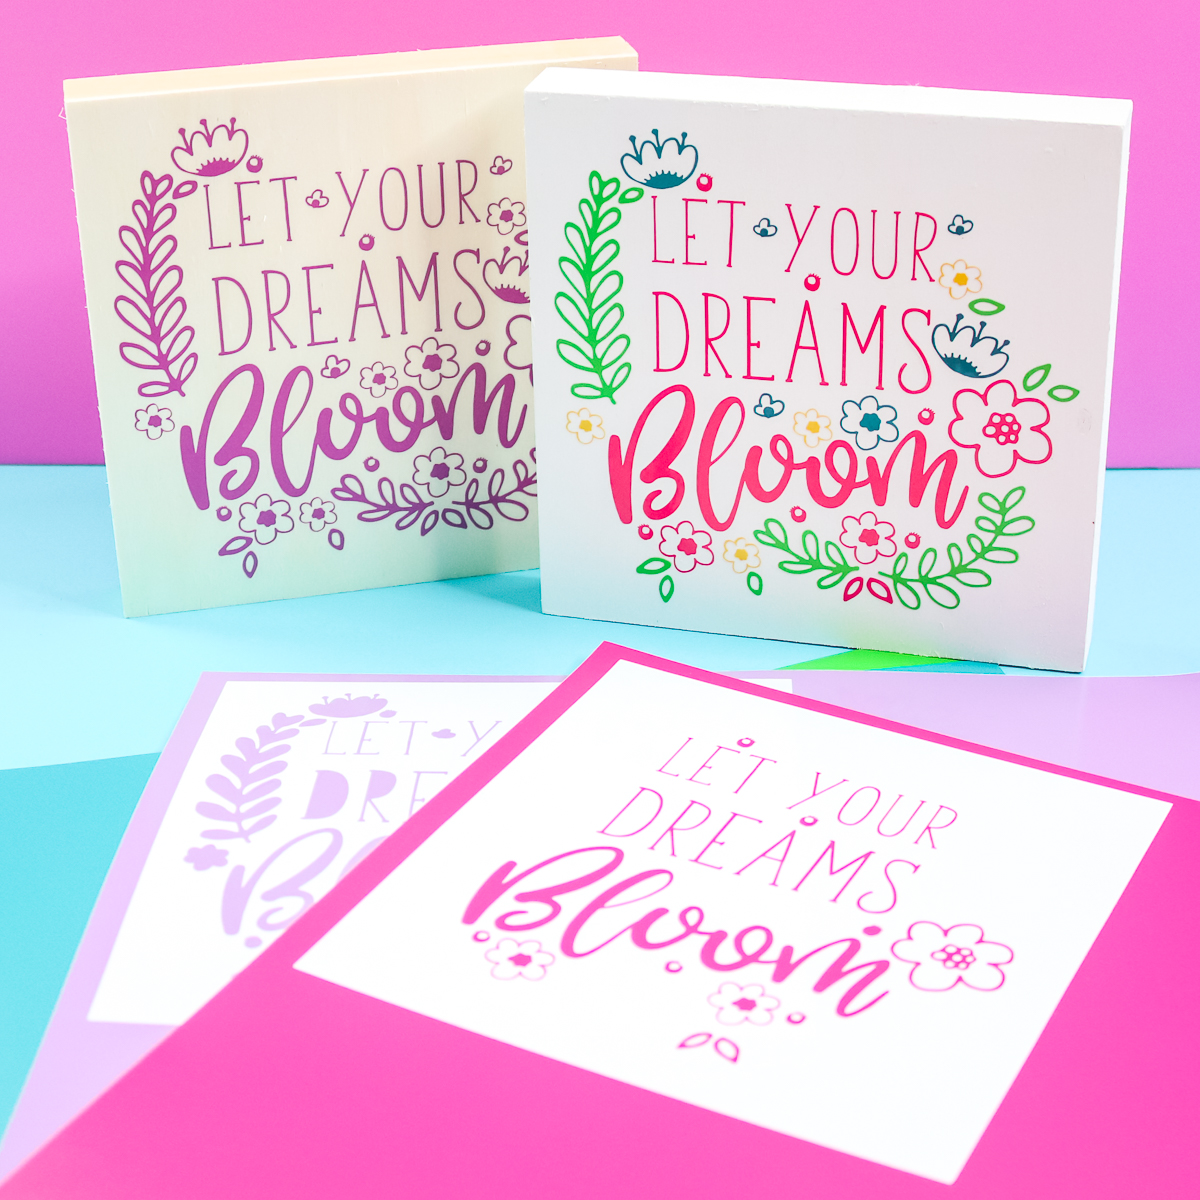
Give weeding boxes a try for yourself! I really think you will love how they change your crafting!


Great explanation! I’m always looking for ways to make applying layers easier and I’m definitely going to try this. Thanks! 😊
I’m so glad you found it helpful 🙂