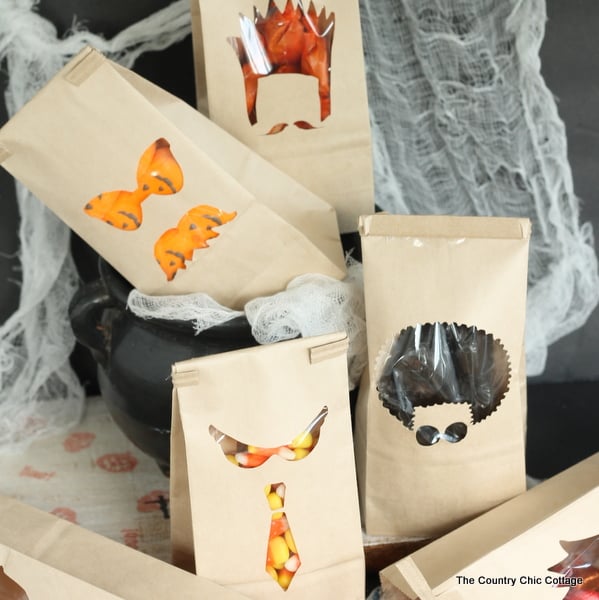
This Halloween paper bag craft is easy to make with any Cricut machine. These bags have a fun window, so you get a sneak peek inside at the contents. So, fire up that Cricut this fall and make something your kids will love! These are perfect for handing out treats on Halloween night or as a Halloween party bag.
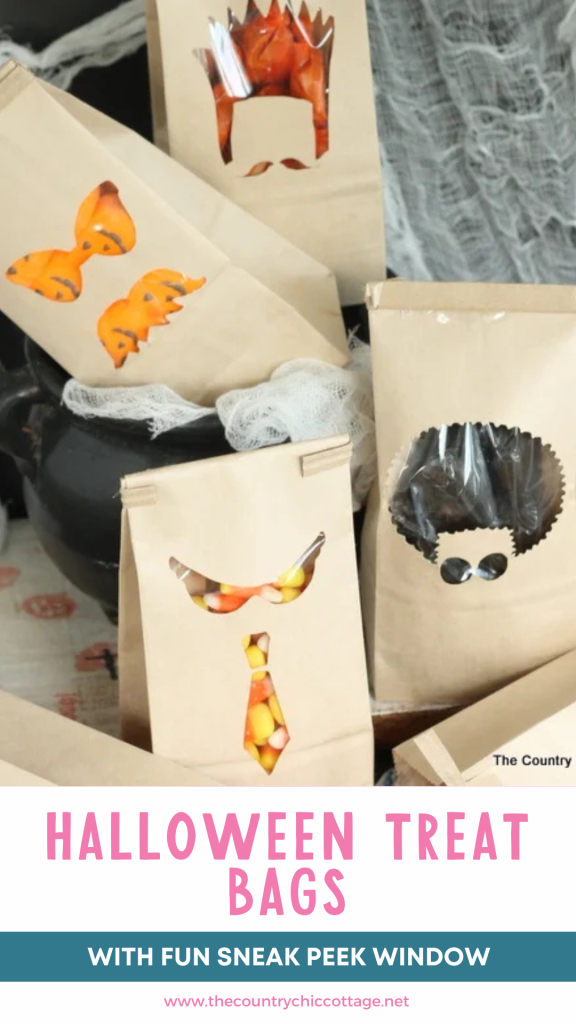
Halloween Paper Bag Craft
I really wanted to come up with a way to make the candy visible through a window in a bag. After some trial and error, I figured it out for you! Using any Cricut machine, you can cut right through paper bags!
Supplies needed
- Paper Bags (1/2 lb Kraft versions seem to work well)
- Large Clear Treat Bags
- SVG files for cutting bags (see how to download them below)
- Cricut machine
- Standard Grip Cutting Mat
SVG Cut File for Your Cricut
I made four cut files to use for these bags. Feel free to use these or any Halloween shape with the tutorial below. You can get the cut files I made for free by signing up for the newsletter in the box below. Look for a signup box with a picture of the file you want to download, and then add your information. If you have already receive our newsletter, add your information again, and you will not be signed up for anything further. Then check your email inbox for the files.
Please note that these files are for personal use only. Contact me if you have any issues with your download.
How to Make this Paper Bag Halloween Craft
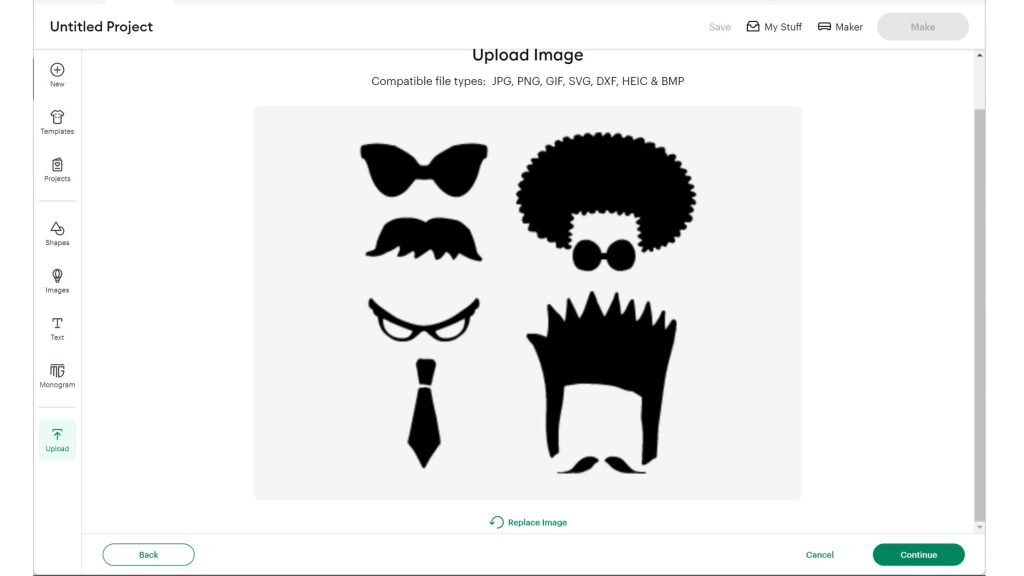
Start with your paper bags. I tried a variety of bags, and the ones listed in the supplies above seemed to work best. You need fairly strong paper so it does not rip in the machine. Remember you are trying to cut TWO layers, one of which will NOT be held down by the mat, so this is important. Next, you will need my custom images or something else to cut out of the bags. You can download my version above. Just click the upload images button in the Cricut software to upload those onto your Design Space canvas.
Step 1 – Add the bags to the mat
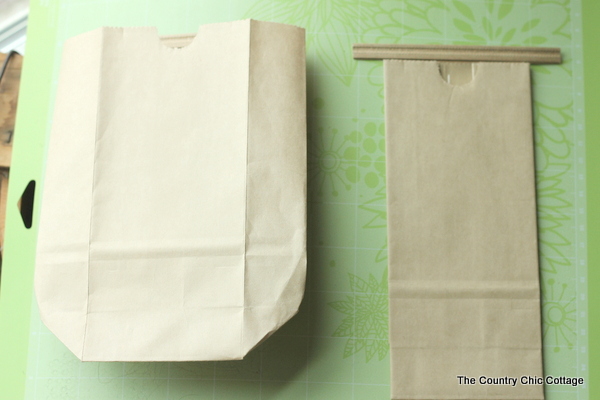
Now, you will need to flatten the bags previously mentioned. Just remove all of the folds, as shown in the image below. The bag on the left is what you want, and the one on the right is out of the package.
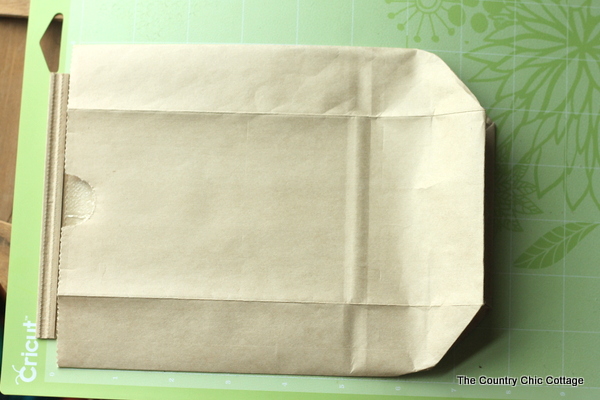
Next, line the bag up on the Cricut cutting mat and press down, as shown in the image below. You can also use a brayer to help make it really flat.
Step 2 – Upload the files
The download from above is available in several different file types. I uploaded the SVG version of the file, which was easily loaded into Cricut Design Space.
Step 3 – Resize (if necessary)
Now, we can prepare these images for cutting. You should not have to resize the images at all. You can double-check by measuring your bag’s front and ensuring the image will fit correctly.
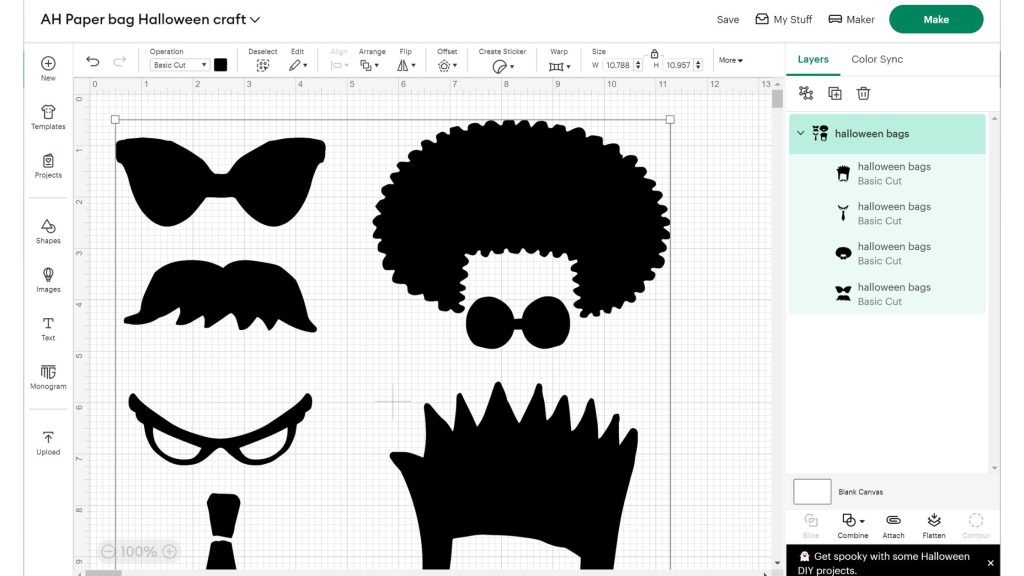
Step 4 – Place the image on the mat
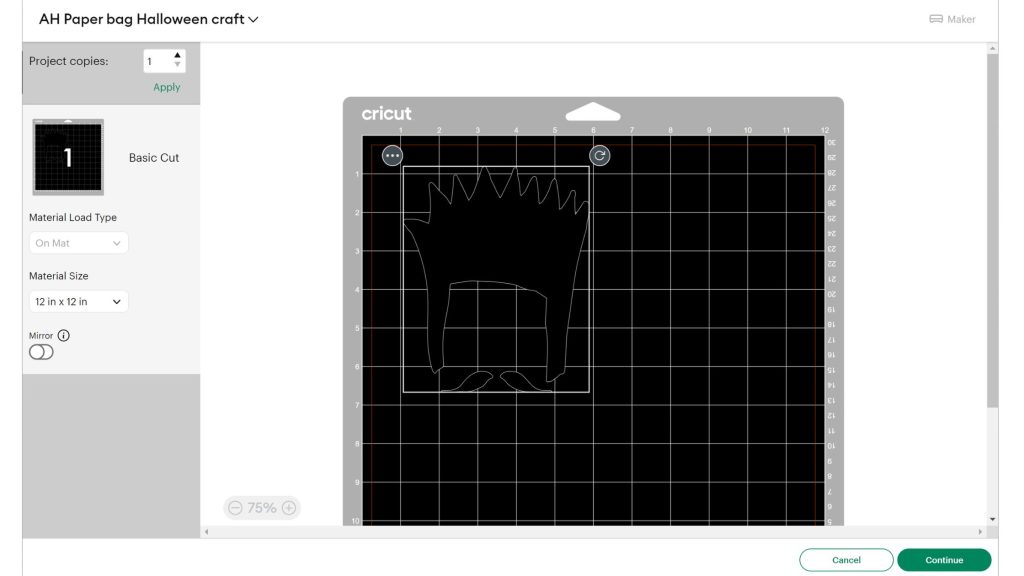
Then click Make, and you will be transferred to the screen below. You can drag the image to any location within this window. You will need to measure the bag ON THE MAT and decide where the image needs to be to get into the center of your bag. Move the design accordingly using the mat markings on the screen as your guide. Be sure you are not getting into the bottom of your bag where there are more than two layers of material.
Cut Settings
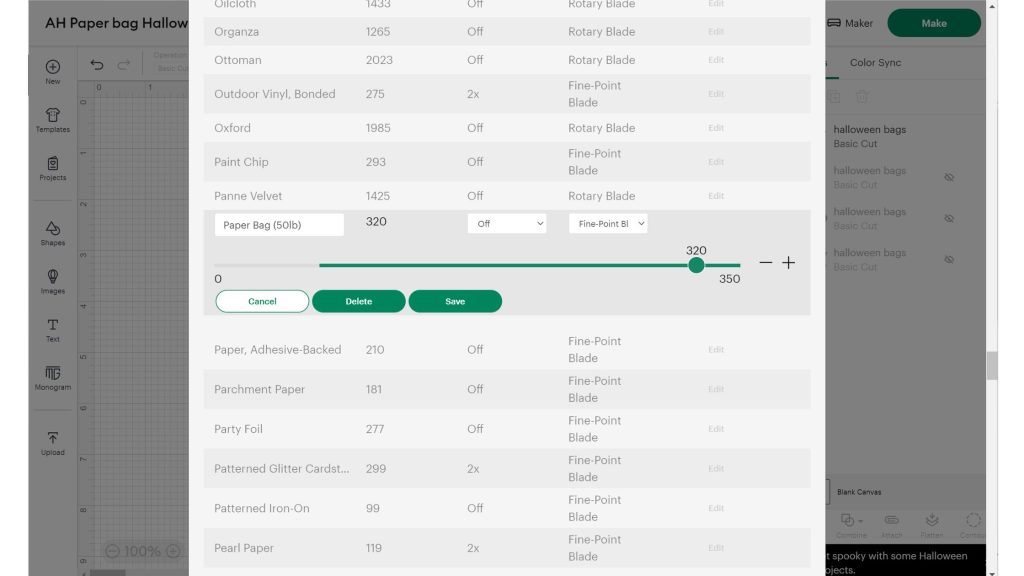
A note about cut settings: After some trial and error, I found that I needed a custom setting to get the bags to cut correctly. If you’ve never created a custom setting on your Cricut, check out this post here to learn how. I found that changing the cut pressure on the cardstock helped my images to cut smoother. I used a cut pressure of 320 for these bags and made a custom setting to use again to make more.
Step 5 – Cut Paper Bags with a Cricut
Once you have the image where you want it, click Continue. You can choose the setting you just created or try an alternate setting. Note that it may take a few tries to get it right.
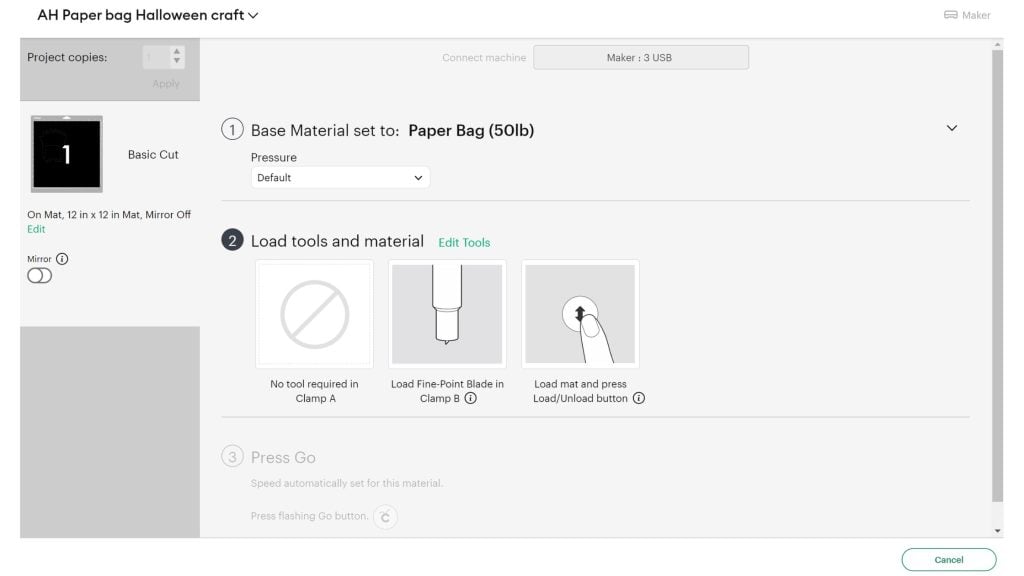
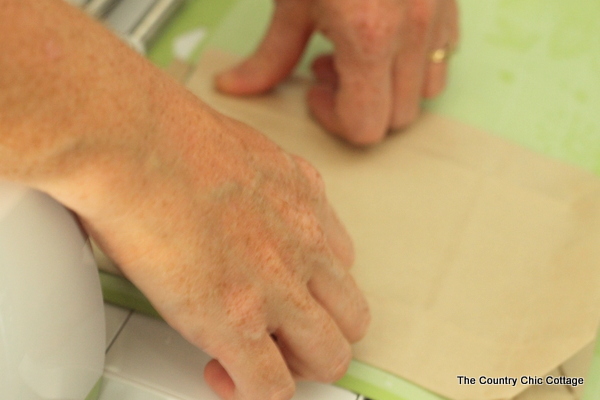
Now, when you insert your mat AND hit the cut button on your machine, you will want to help guide the mat and bag into the machine. REMEMBER that the top layer is NOT held down by the mat. I would recommend holding it down with your fingers initially while the machine feeds it in and gets started. After that, it should be fine to run by itself. Once done, remove and repeat for as many bags as you want.
Step 6 – Finish the bags
Now you have these awesome bags with holes in them. What now? Grab some large plastic treat bags in the party section at any store or online and insert them in the kraft bags. Fill with candy and cut off the excess bag at the top.
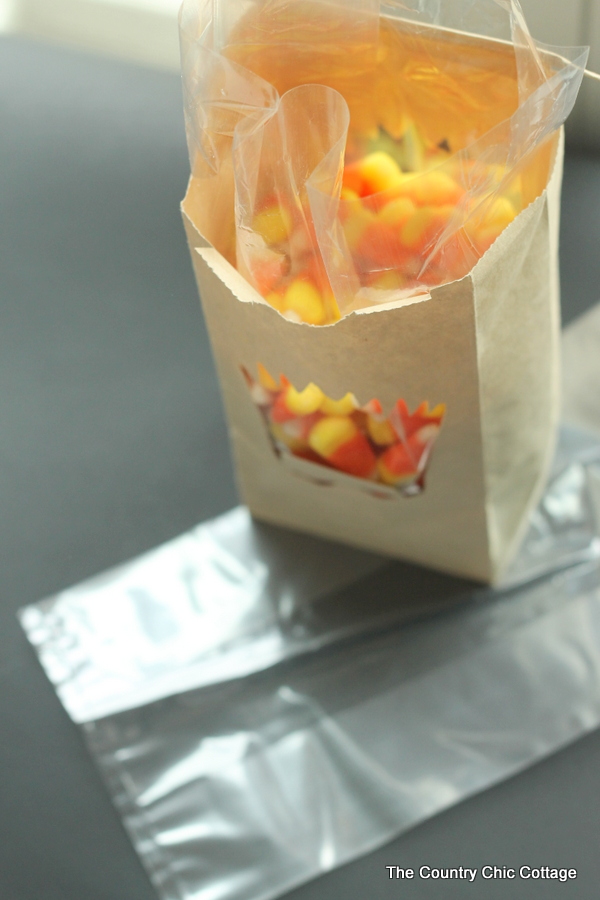
Be careful not to overfill the bags, as the treats will start escaping out the front and back of the bags.
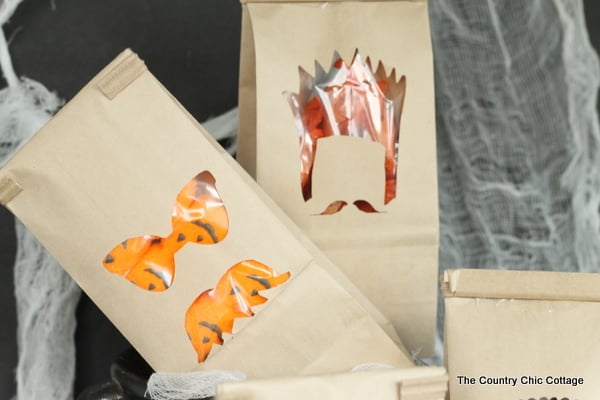
These would be a fun addition to a Halloween party or send them to school with Halloween treats for the class. The images are a fun take on Halloween without being too scary.
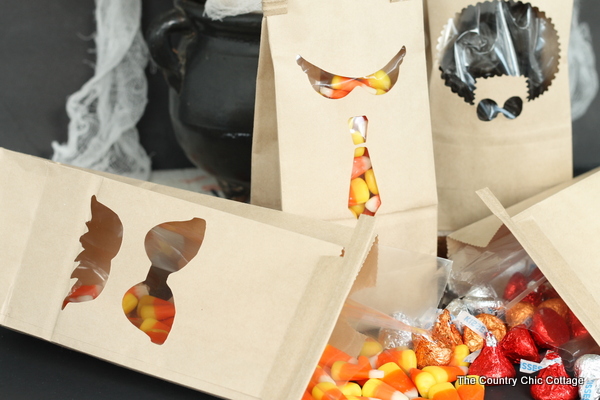
Now, get out your Cricut and grab some supplies. These make such fun and easy gifts!
More Halloween Crafts
Love this Halloween Cricut craft and want more? Try the links below as well!


Super cute and fun idea, Angie! My girls would love to help me fill bags. 🙂
Those are so cute … the perfect treat for a party!
I love these little “window” bags! That is so cool! I would have never thought to make something like this!
Everyone loves a take-home treat. These bags are so fun!
Love it! I have done this project on a Evolution too, so if you have a manual die cutter, you can still do it – although my Cricut makes it way easier! Off to visit the rest of your teams projects now – what a great theme you chose!