
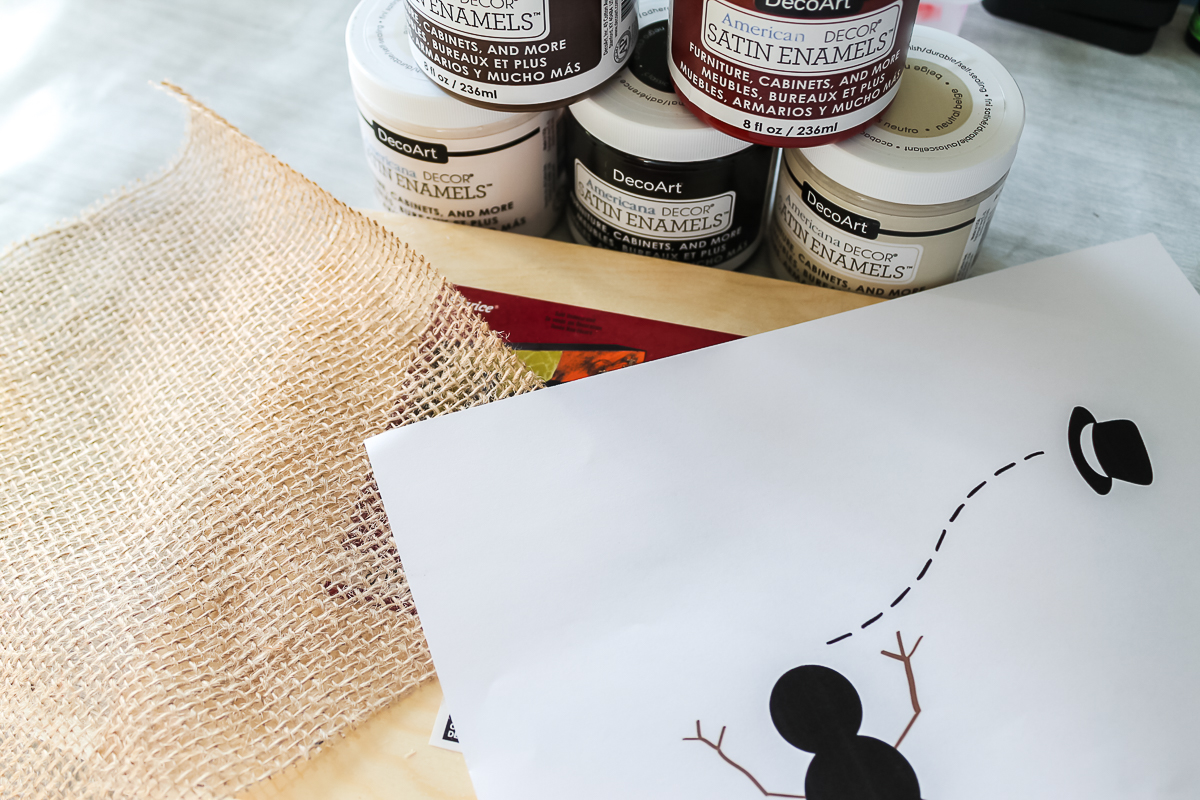
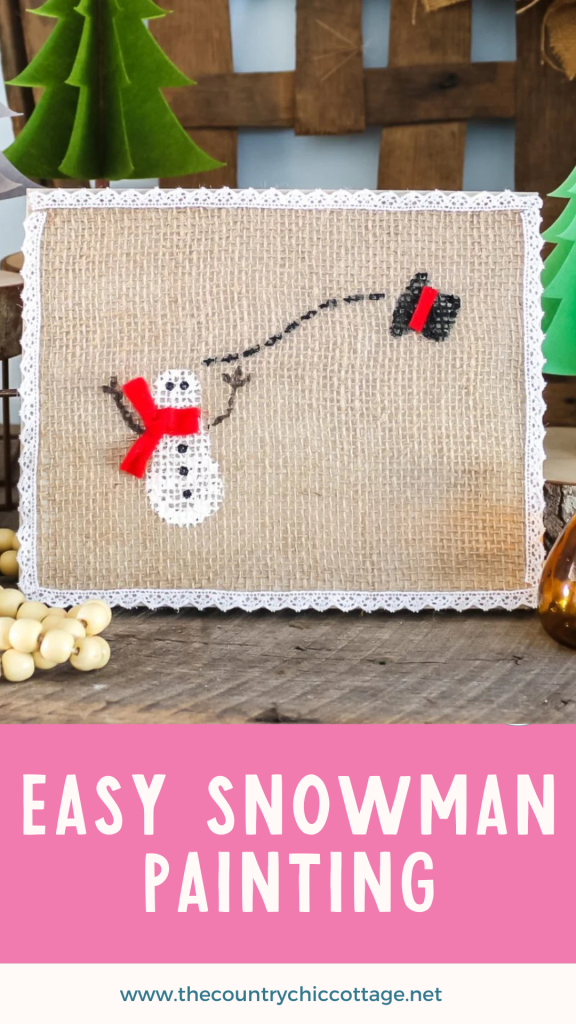
Gather your supplies and create this simple snowman painting for your home! With a rustic burlap touch and an adorable snowman, this artwork is easy to make and will look great throughout the holidays and into winter. If you enjoy versatile projects, follow along to make your own!
Are you ready to make more holiday crafts to add to your winter decor? Hang this free “Let it snow” printable and place some simple DIY snowballs next to your burlap art to make your own winter wonderland!

How To Make Easy Snowman Painting
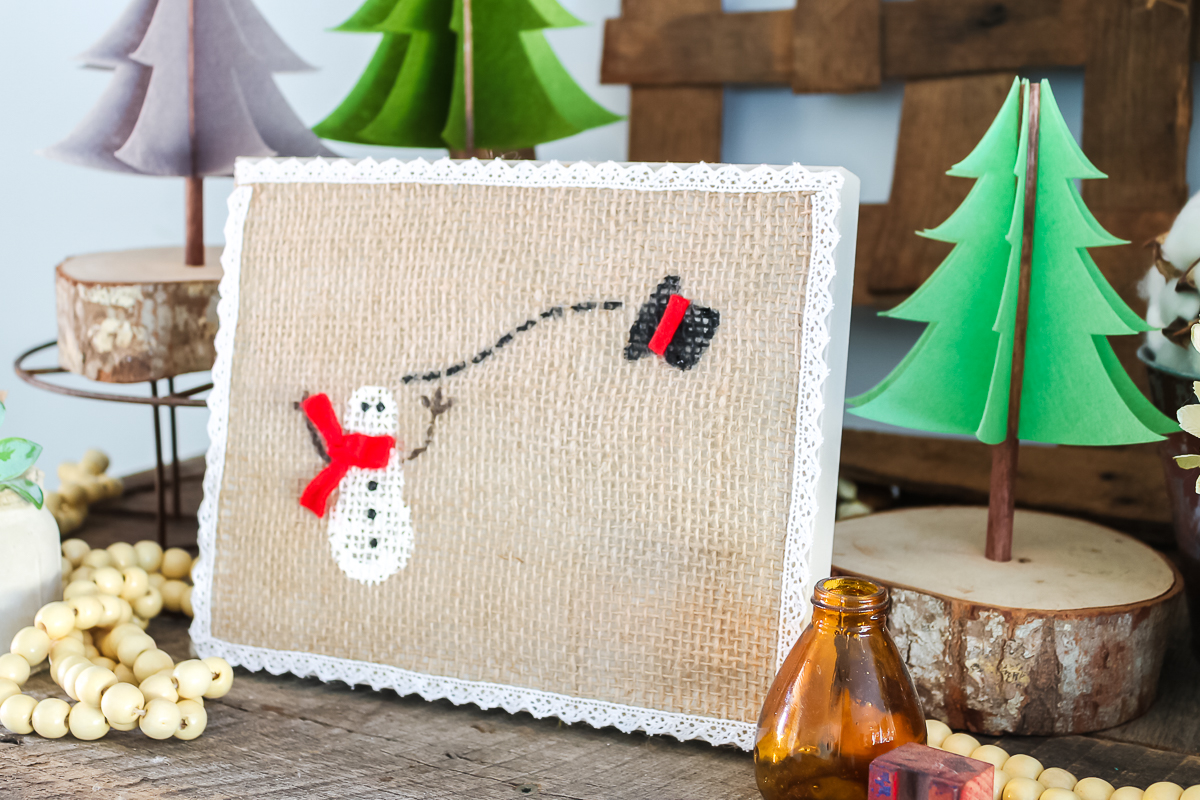
Wouldn’t this winter snowman art look perfect on your mantel during the holidays, making a lovely rustic addition to your winter home decor?
Speaking of decor that works well for the holidays, you might also want to add these cute felt trees! You can see them in the pictures of my finished snowman painting. I think they look amazing with this project.
Supplies Needed To Make Easy Snowman Painting
- Americana Decor Satin Enamels (I used warm white, natural beige, classic black, and rich chestnut)
- Wood panel (8 x 10 in my case)
- Burlap the size of your panel
- Red felt scrap
- Hot glue and glue gun
- Tacky glue
- Scissors
- Lace trim
- Paintbrushes
- Printable snowman template (see how to download this below)
Download Snowman Art Template
To print the template for making this easy snowman painting, sign up for the newsletter in the box below. The template will be sent to your email inbox after you add your information. Look for a box below with a picture of the template you want to download. If you already get the newsletter, add in your information again as you will not be signed up for anything further. Check your email after you sign up to get the template, and then you can print it as many times as you like.
Please note that this template is for personal use only. You can also contact me if you have any issues getting the file.
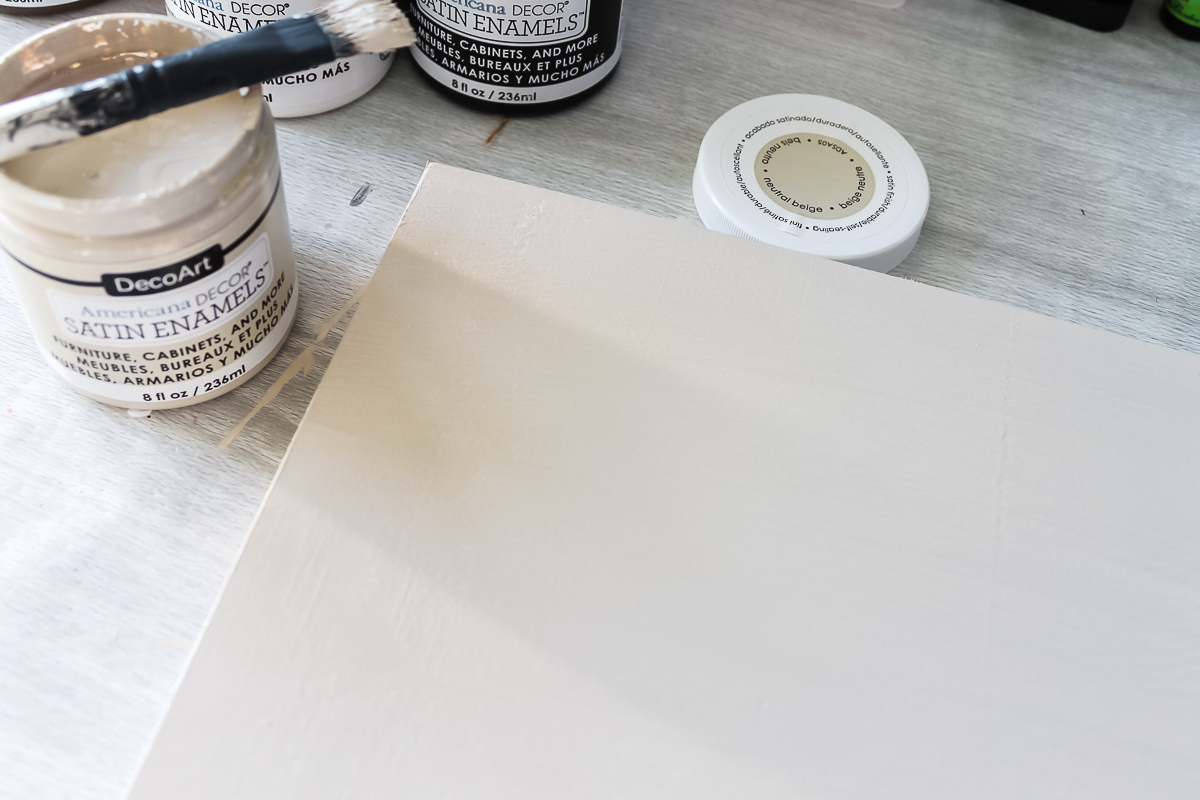
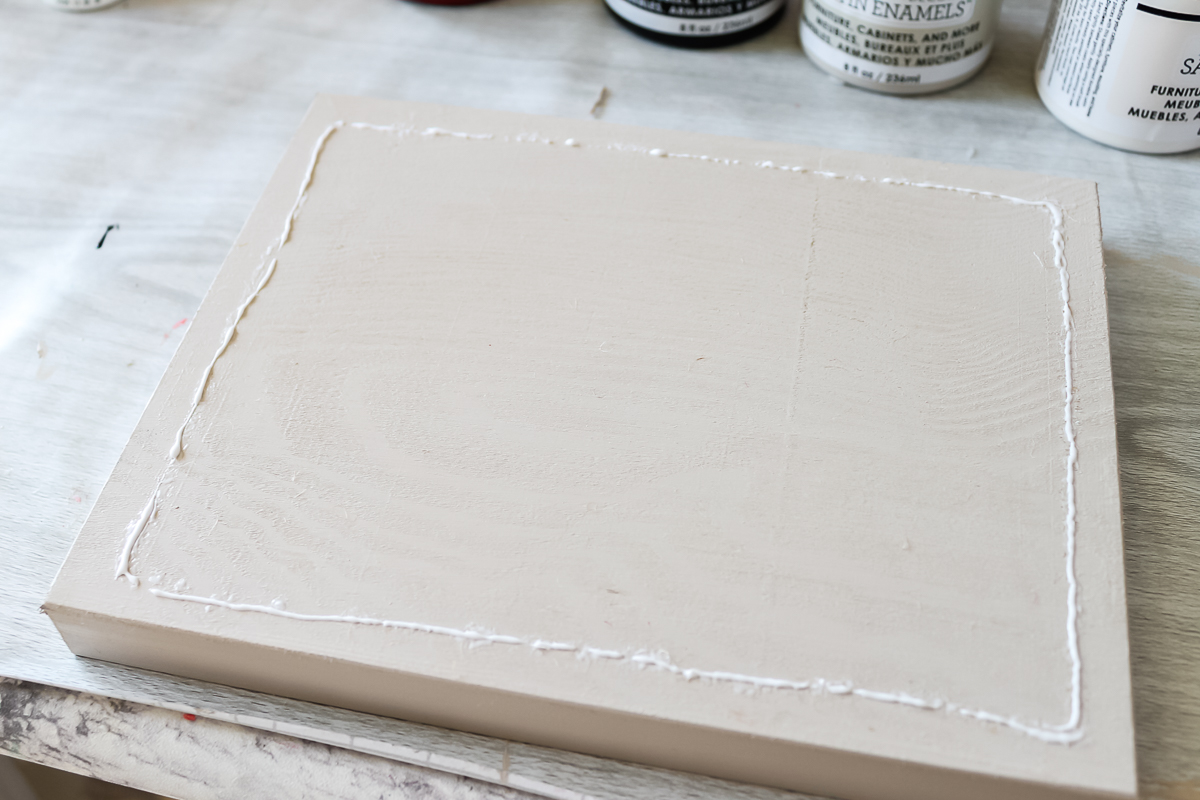
Step 1: Paint Wooden Panel
First, start by painting your wooden panel with a few coats of beige paint (really, any good neutral color works well for this step). When you finish painting, set the panel aside and allow it to dry completely.
Step 2: Arrange The Burlap
Next, cut your burlap to just a tad smaller than the size of the front of your wooden panel. Then lay the burlap over the printed winter snowman template you can get from the form above.
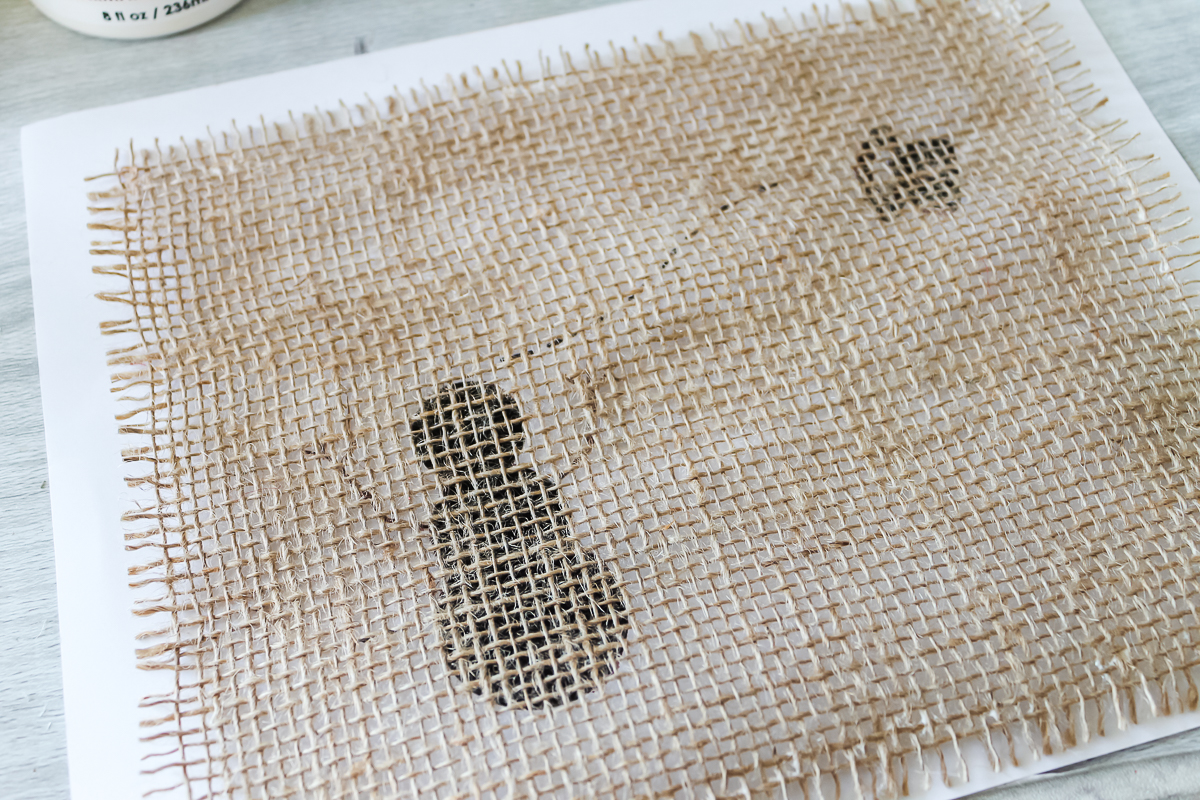
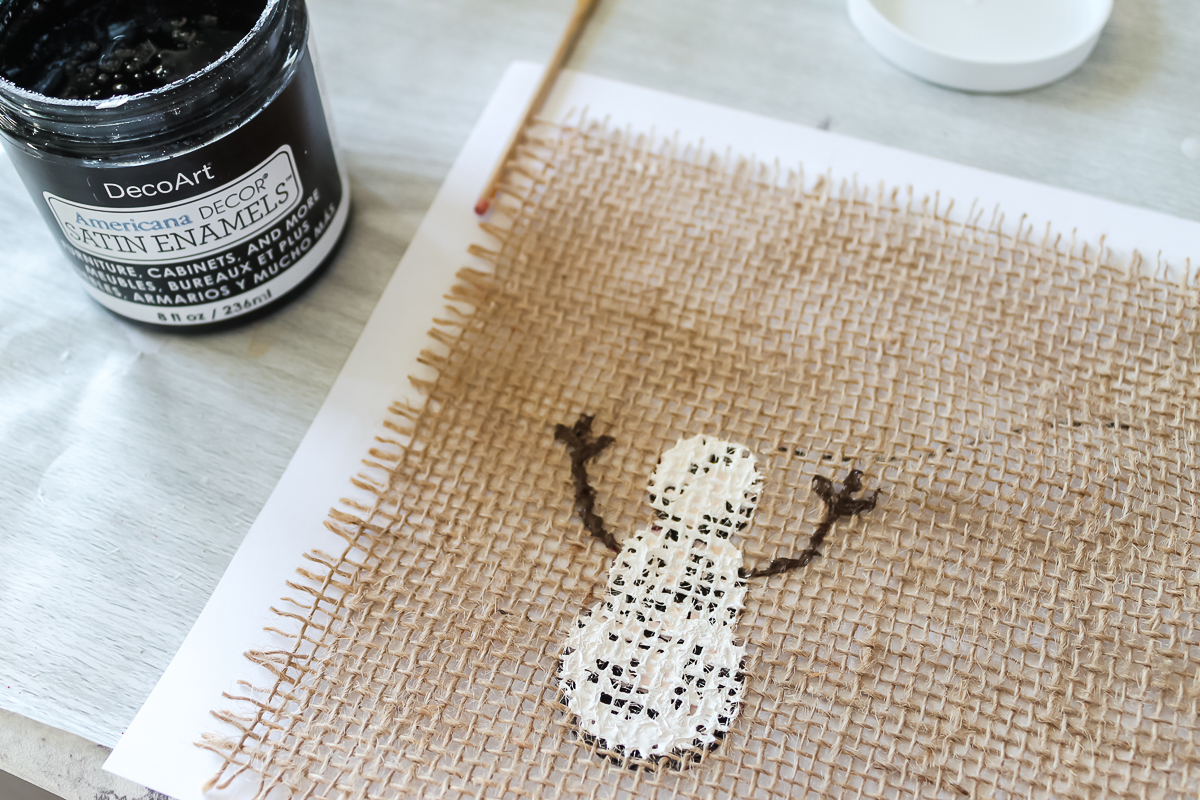
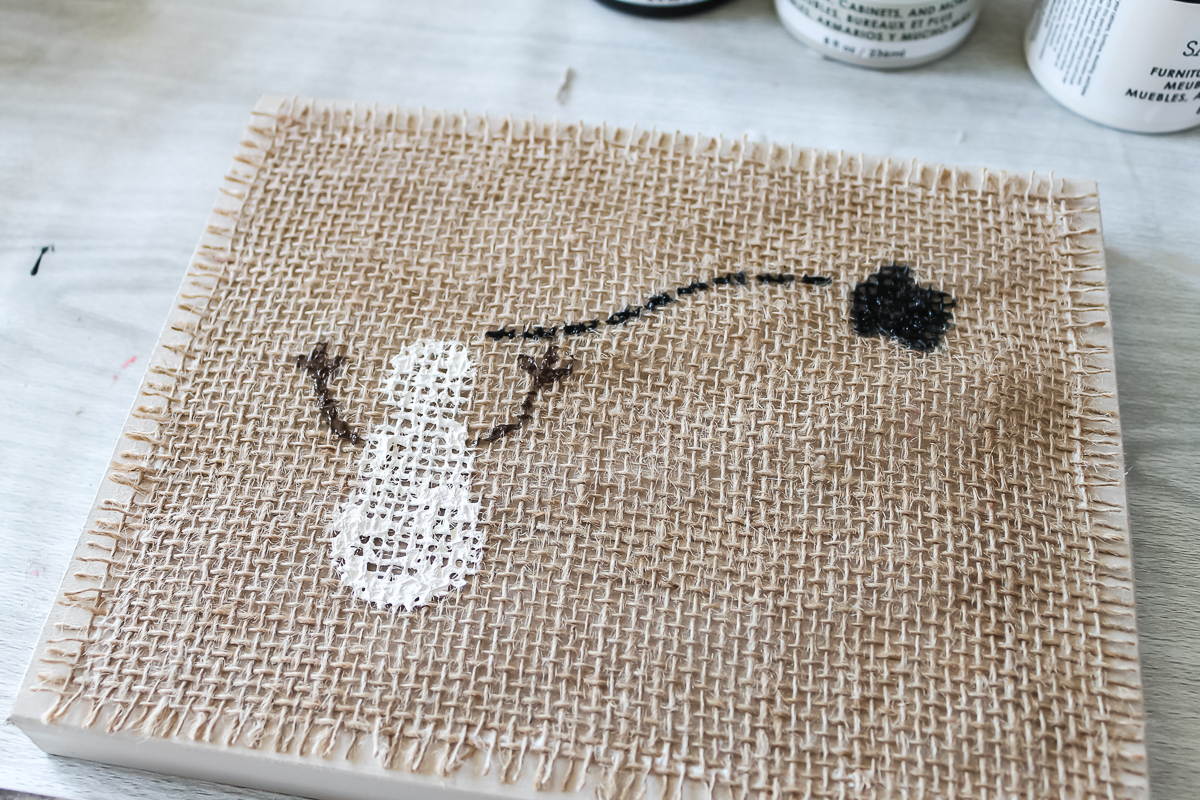
Step 3: Paint Your Winter Snowman
It’s finally time to paint your snowman! I always start by tracing the template, focusing on the arms, hat, and the dotted line that leads from the snowman to the hat.
Step 4: Glue Edges
Once I have my basic snowman painted on the burlap, I remove the paper print-out template and prepare to attach the burlap to the wooden panel. It’s important to ensure your wooden panel is fully dry before this step — when it is, you’ll simply add tacky glue around the edges.
Step 5: Attach Burlap To The Wooden Panel
Then lay your burlap on top! I always move my burlap around a bit to get it centered just right on the wooden panel.
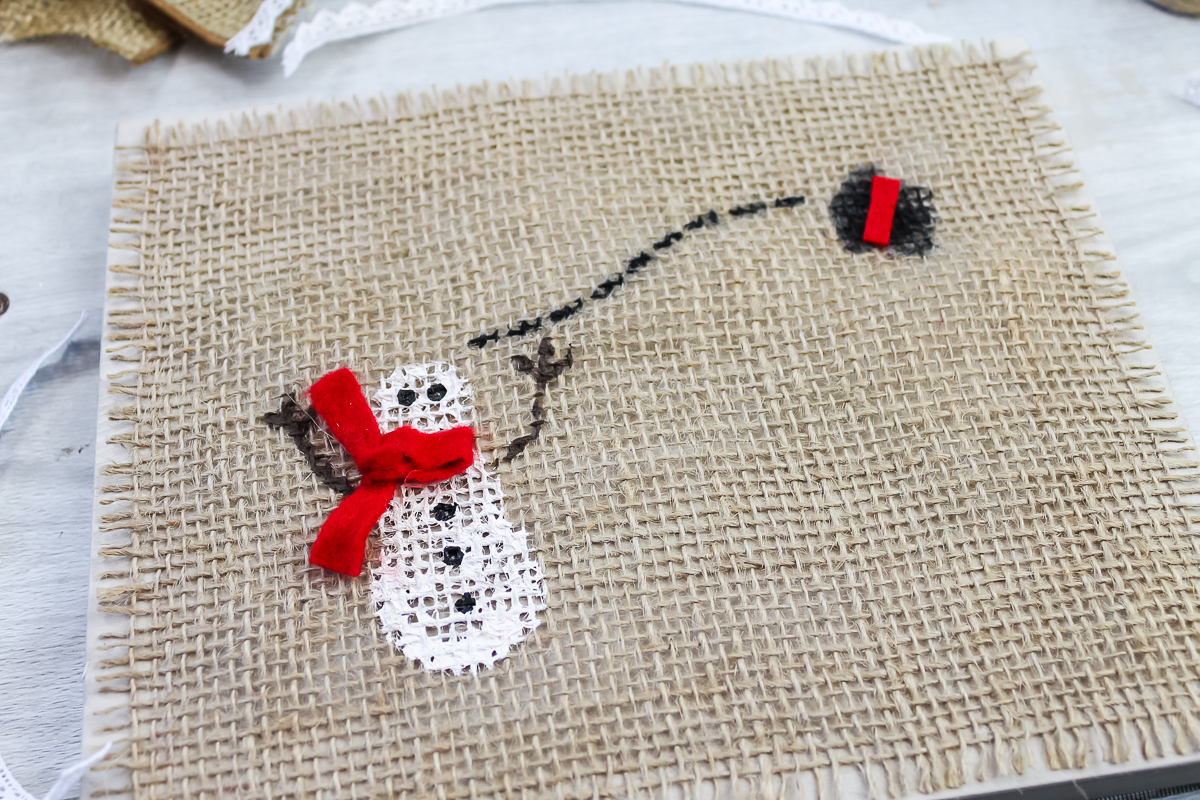
Step 6: Personalize Your Winter Snowman
Now it’s time to continue the painting fun! Continue to decorate and customize your winter snowman to your heart’s desire!
PRO TIPS:
- Use the “wrong end” of the paintbrush to add eyes and buttons to your winter snowman.
- Cut a scrap piece of felt into a scarf piece and hat band, then secure it into place with hot glue or tacky glue.
Step 7: Add A Border
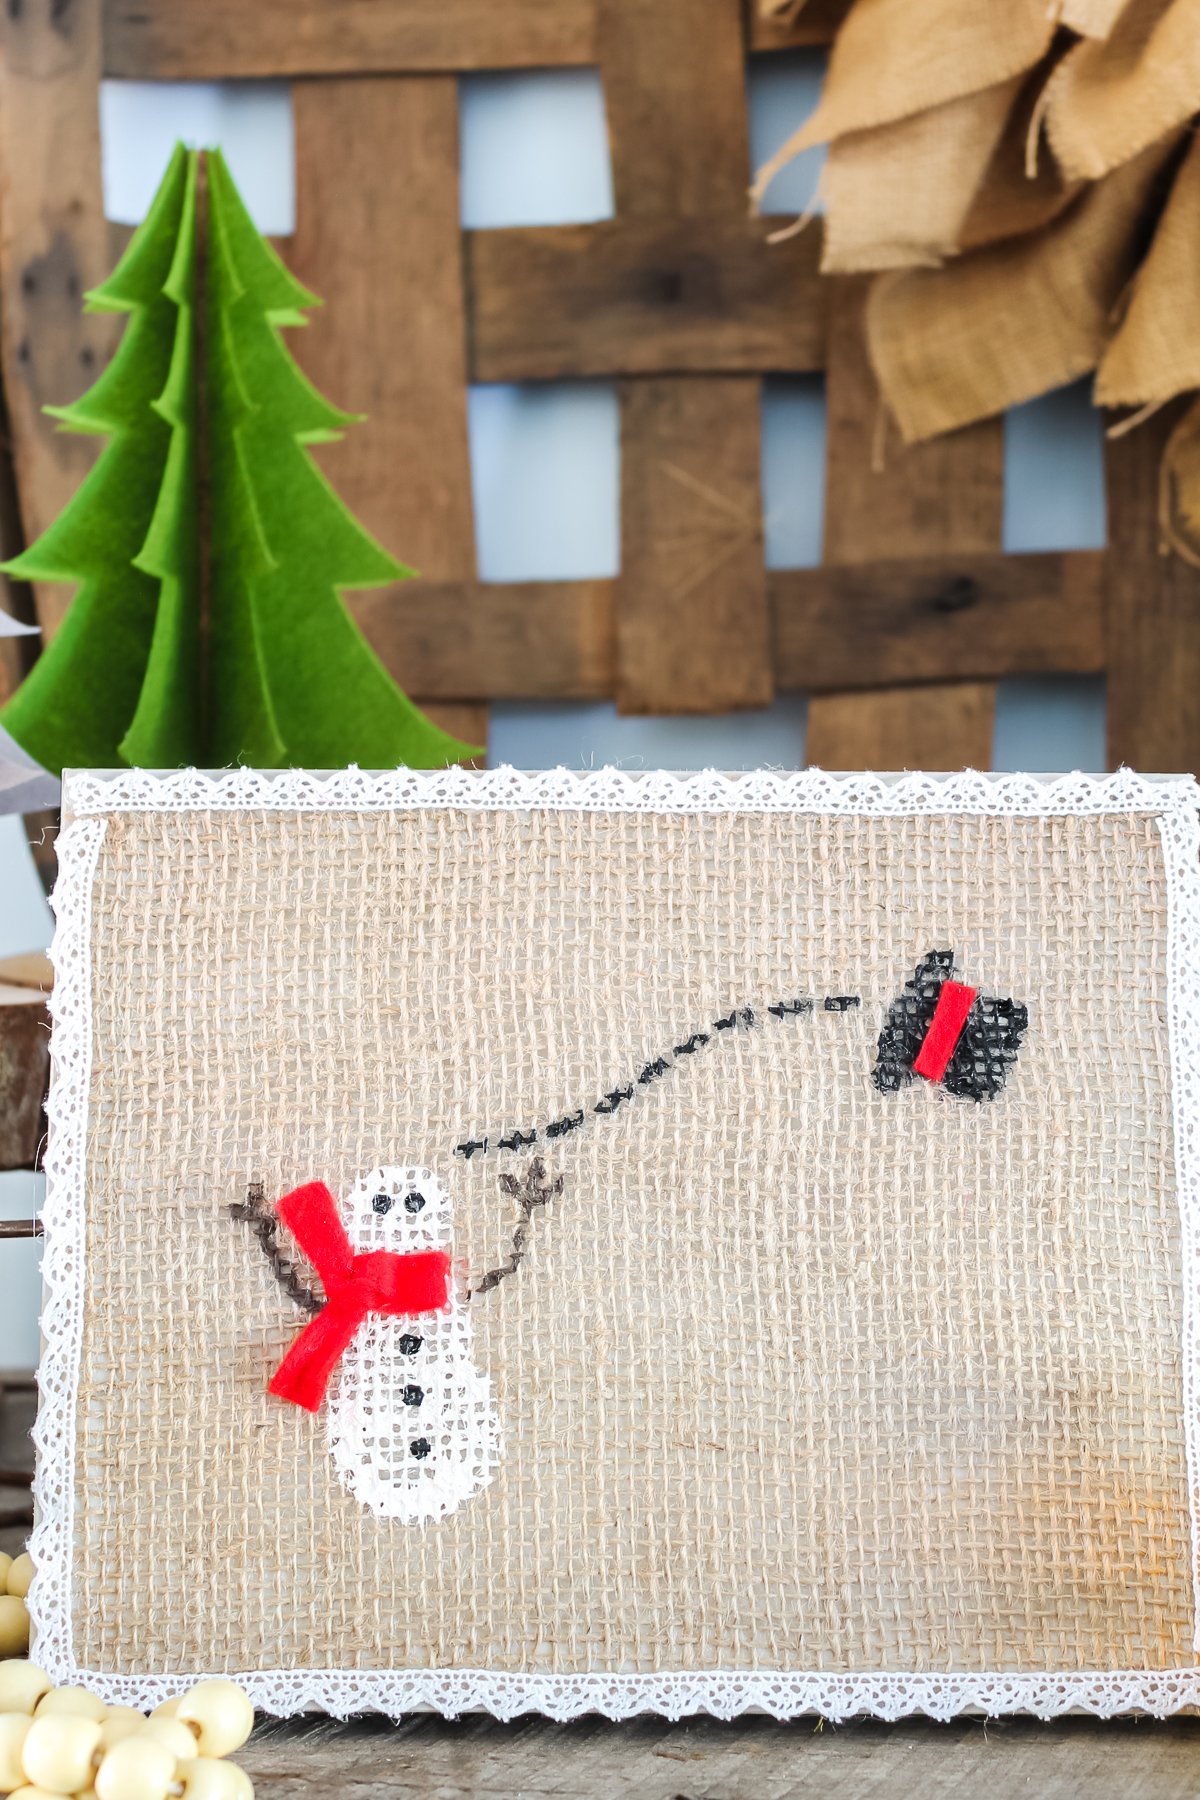
I still felt that this piece needed a little something, so I hot-glued a strip of lace around the outer edges. After that quick, simple addition, I felt this project was absolutely perfect!
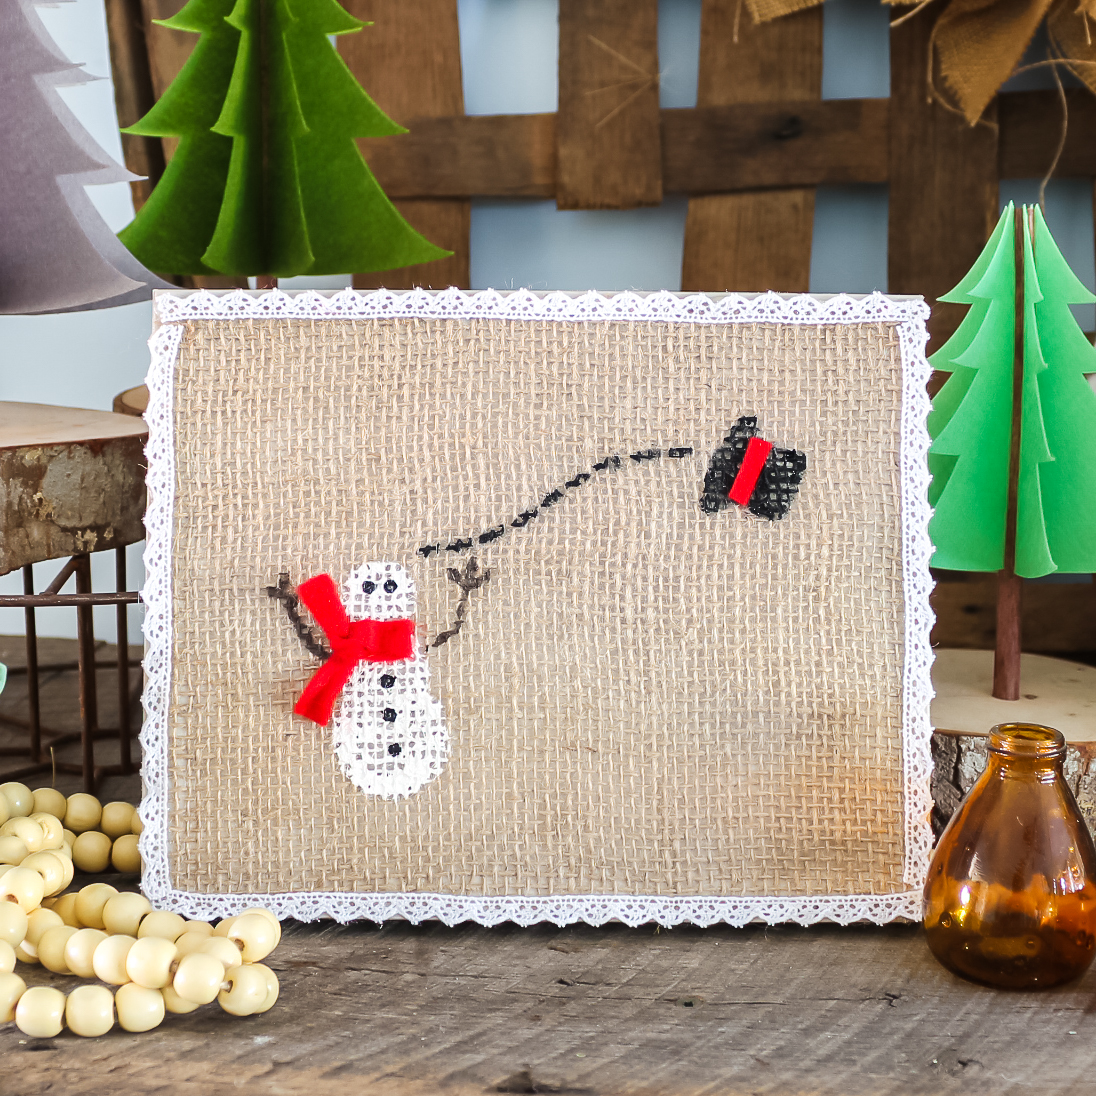
How cute is this snowman?! I just love how his hat looks like it’s really flying off!
What are you waiting for? Make an easy snowman painting of your very own by following the instructions above. I know that you will love the results!
Tips & Tricks for Easy Snowman Painting
Now that you’ve seen this easy snowman painting, are you ready to make your own? Here are a few tips and tricks to ensure your project goes as smoothly as possible!
- Plan Ahead – When I want to do this craft, I usually paint my panel (or panels for some group crafting fun) the night before so it can fully dry overnight.
- Print The Template – Print your snowman and hat image with black ink on white copy paper so you can easily see where to paint your snowman. Be sure to center your design before adding paint!
- Change It Up – This winter snowman burlap art is more well suited for the holiday months, but you can easily do this same craft with different designs and themes, like a spring flower garden or pet family photo! Find your favorite image or character, print it out, and follow the rest of the directions.
5 More Burlap Crafts
Did you love this easy snowman painting and want more burlap crafts? Then check out the projects below!
- Cross Decor with Burlap
- Burlap Doily Luminaries
- Burlap Garland: Snowflakes with Your Cricut Maker
- DIY Autumn Burlap Sign
- Flower Wreath from Burlap


Love it. Reminds me of Frosty, my favorite Christmas song as a child.
So cute! and what a great idea using the pattern under the burlap. Liz
You just keep amazing me more every day Angie, you have so much talent and creativity. Will make couple of these for gifts.
Have done all decorating in house so can keep answering that urge to create for gifts. This is so darned adorable and simple, love it. So glad you shared this. Have been going down the list of projects suggested, haven’t found one I didn’t love yet. So glad I found your blog years ago.
I can’t hear what you’re saying on your videos due to loss of hearing but can still understand what to do due to your excellent tutorials also.
Have wonderful weekend
Thanks as always Jane!
He is adorable! At first I thought it was a card but I love that it’s a reusable decoration. Pinned.
That is just too cute, what a lovely idea. Merry Christmas!
could a person use a 8X10 canvas art board? follow your directions and glue to the canvas white board?
Sure! That would work fine!
Love this! So pretty! Thank you for sharing!