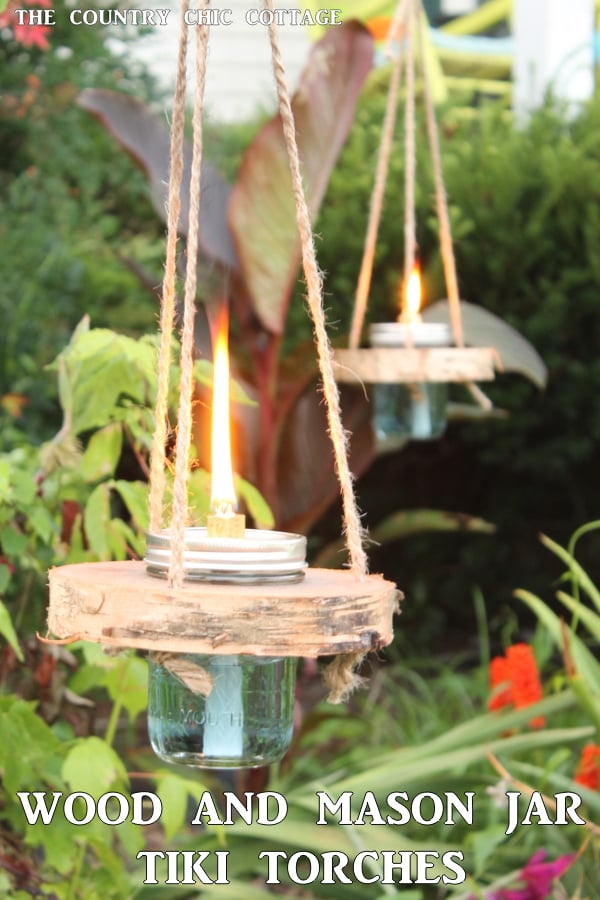
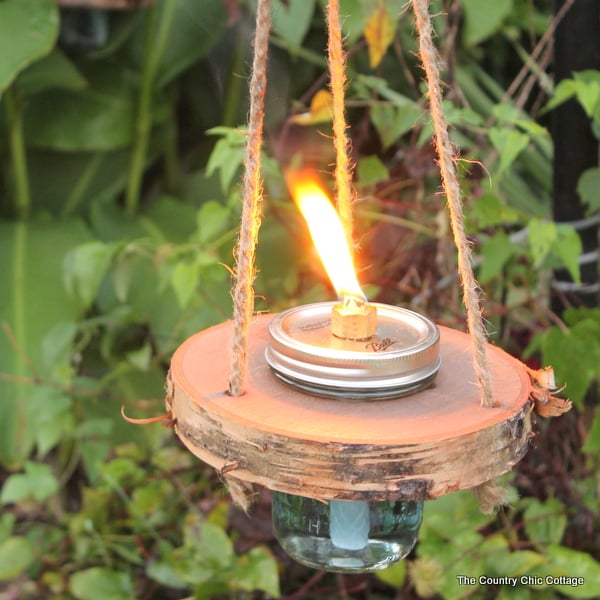
I have a really great outdoor project for y’all today. These wood and mason jar tiki torches are perfect for keeping bugs at bay outdoors. I wanted a tiki torch that would hang instead of the typical ones that you put in the ground.
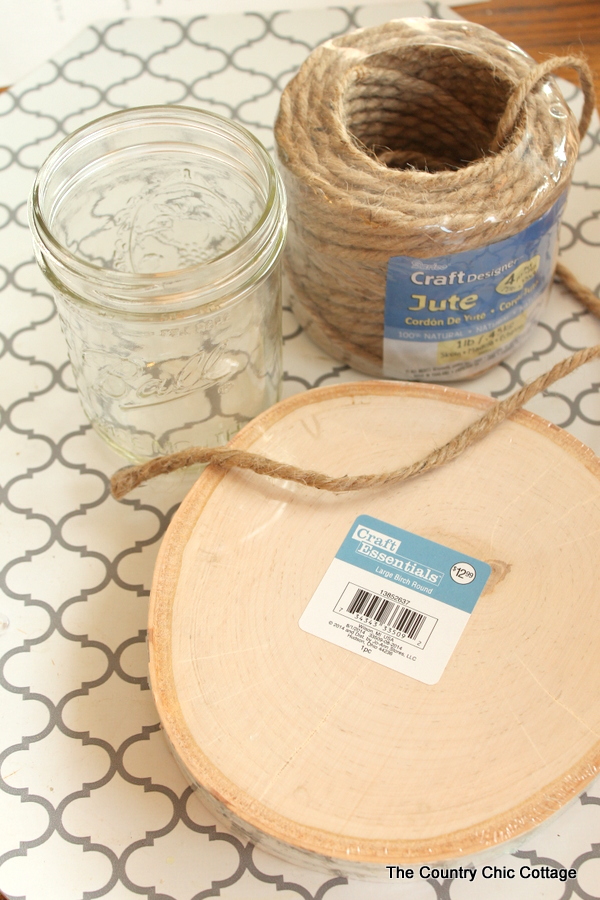
You will need some large round wood slices. I got mine from the craft store and they are a little over 7 inches in diameter. The wide mouth quart mason jars work great for this project. You can also use the jelly jars. Anything that is wider at the top then at the bottom and will sit in a hole.
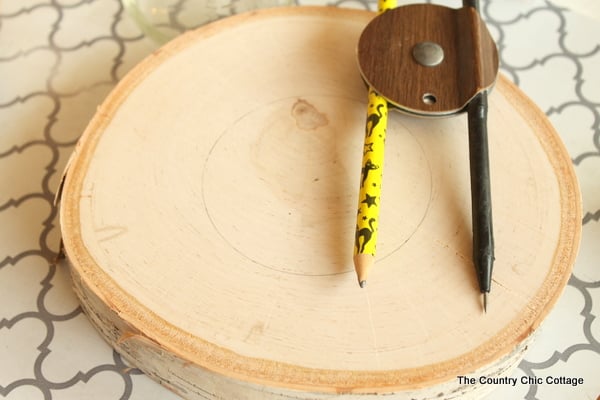
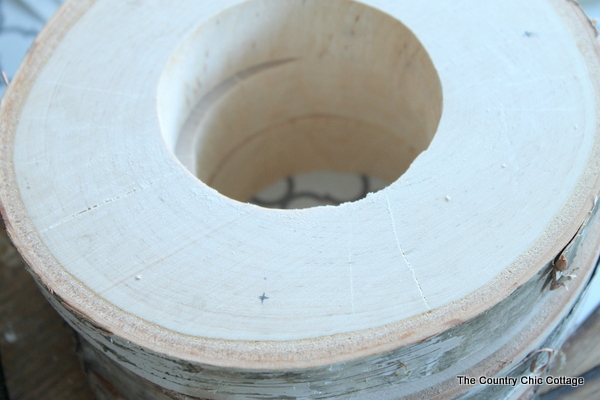
Start by finding the center of your wood round then use a compass or other method to make a circle. Your circle should be the size of the jar UNDER that little lip near the lid. Error on the side of being too small. You can always open it up slightly by sanding.
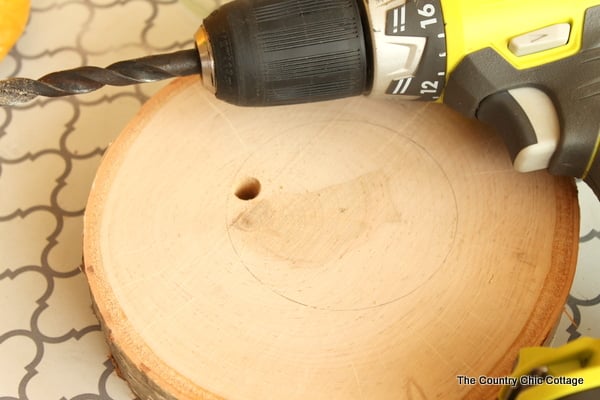
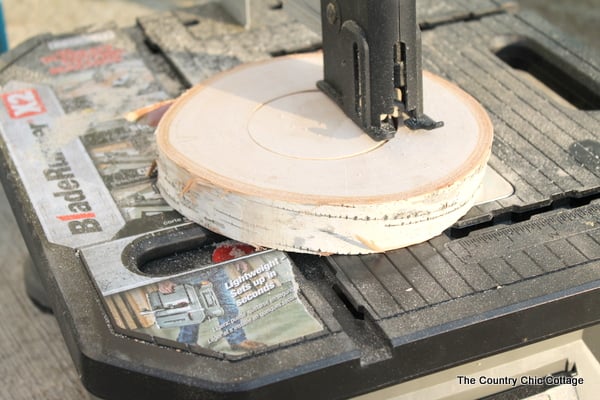
Drill a hole hear one edge of the circle.
You can use a jig saw or I used my handy BladeRunner from Rockwell to cut out the circle. The drilled hole above gives you a place to put your blade to start the cut.
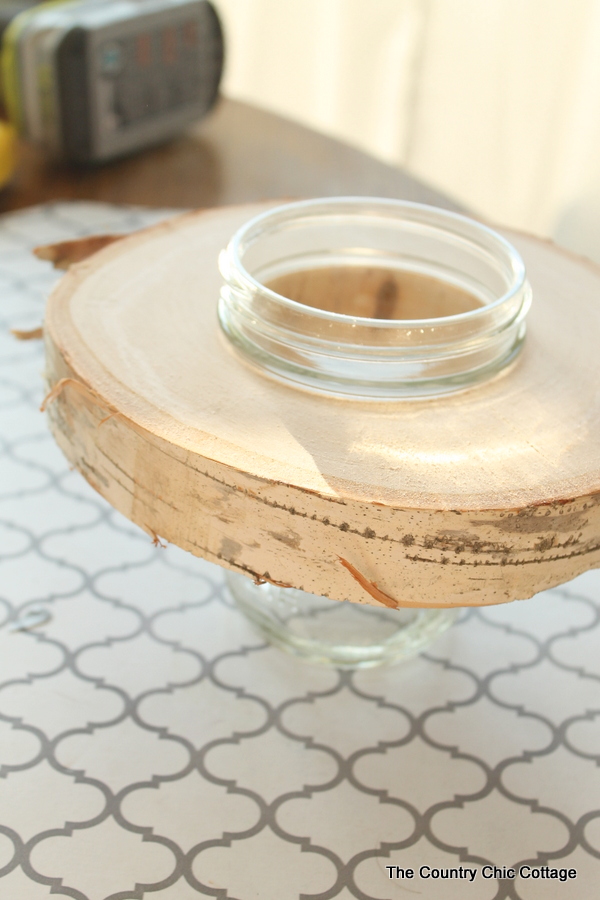
Put your mason jar in the hole. It should rest on the lip as shown in the picture below. If your circle is too tight, just open it up by sanding. I used my Dremel with a sanding attachment to open it up slowly and get a perfect fit.
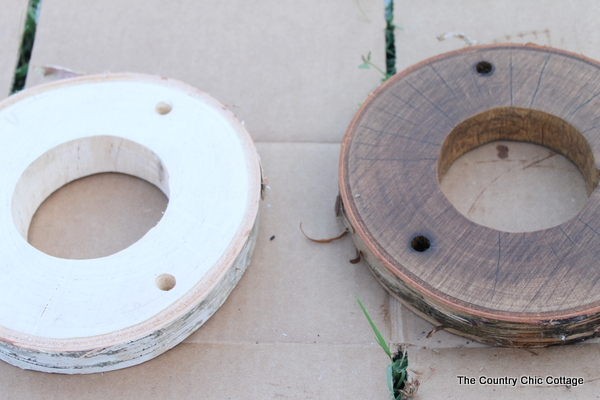
You will also need three holes to hang the tiki torch. I used a template divided roughly into thirds and marked each hole location. Use your drill to put holes in each of these marks.
Now our wood bases are complete but they need protection from the outdoor elements. I used a dark walnut stain and outdoor protector on my project. Look for a product that will withstand the outdoor elements. I applied just one coat according to the directions on the package. I made sure to apply the product to all of holes as well as the surface. I want these mason jar tiki torches to last a long time.
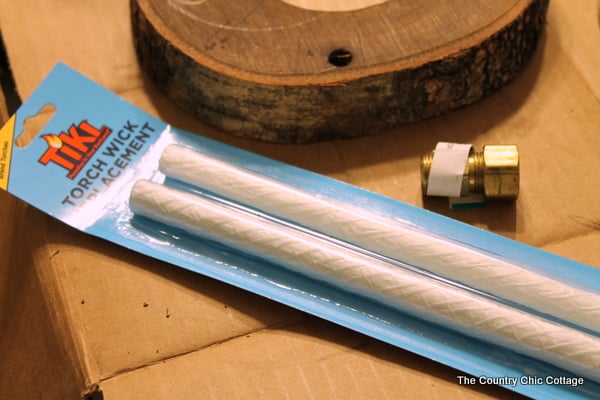
The wood rounds should dry for at least 8 hours so you have some time to complete the remaining parts of the project. You will need some wicks as well as something to stick those wicks through. I just went to the hardware store and started playing with things until something worked.
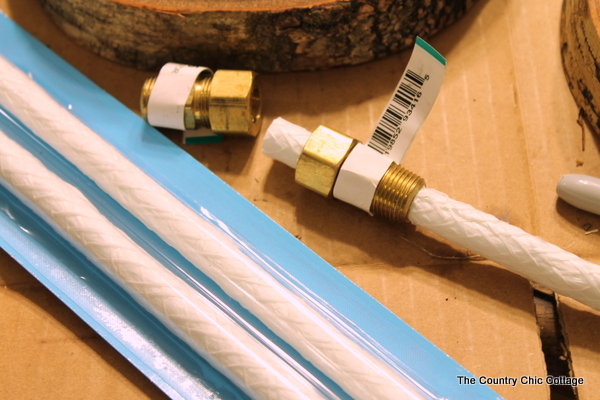
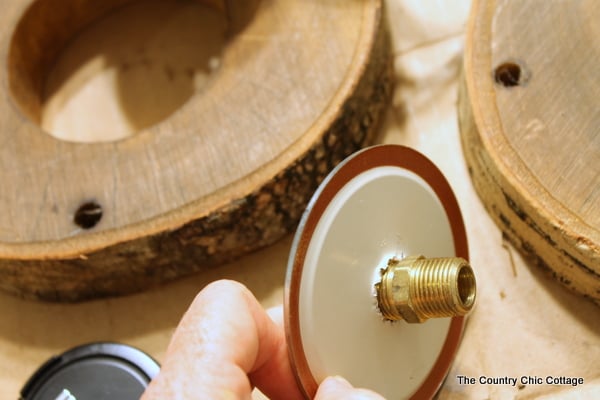
This is actually a fitting for a gas line but I think it looks amazing and will work great in my tiki torches.
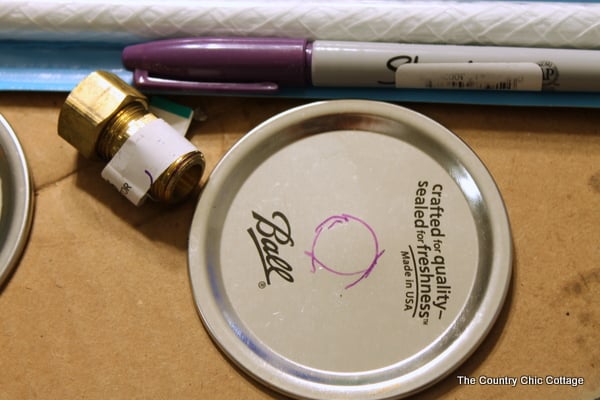
Next we need to make a hole in the lid portion of the mason jar lid. I traced roughly the end of the fitting onto the lid.
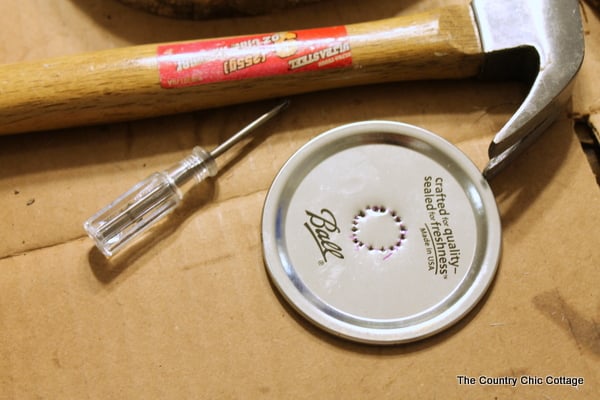
Then I just used a small screwdriver and a hammer to punch holes all around that marked circle. Flip your lid and punch holes from the other side in between these.
Eventually you will be able to use that fitting to push out the circle easily. CAUTION — EDGES WILL BE SHARP!!
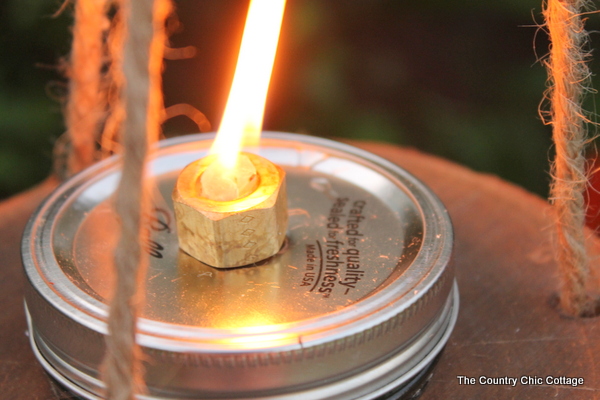
Add in your wick and trim to about even with the fitting as shown below. Tie up your tiki torch with rope or chain. Add in tiki torch fluid and you are ready to light up the night!
These gorgeous wood and mason jar tiki torches are perfect for any area outdoors. I love the fact that they hang and can be added to porches, flower beds, and more. Get your supplies to make your own today.
A Year of Jar Crafts

Sign up for our email list to get a FREE book with an entire year of jar crafts! 12 months, 12 crafts, tons of fun!



These are so unique, Angie. I love the overall look and they seem so easy to make (yay!).
Just when I think I’ve seen every craft you can do with mason jars, you astonish me with something new! this is such a fun project. Perfect for my backyard!
I’m obsessed with mason jars in my own home, I love love LOVE this idea for the backyard! Seriously going to have to use this for my own outdoor parties this year!
Those look fab! I’d love to have some for my backyard; thanks for the idea!
What a cool DIY! We could really use these.
LOVE this . . . going to share with my mom because I think these would be perfect for her backyard!
The flame won’t burn the rope they’re hung by?
Mine were fine but you can use chain instead!
I made these & they came out so cute & creative!! However, I’m having a problem with the fire burning the twine string…any suggestions?
Trim your wick shorter so the flame is not as large. I did mine even with the pipe fitting. Or you can replace the rope with chain!
This is another neat lighting project using the mason jars and something I could try out for the porch! What a neat way to add some nice outdoor lighting! Thanks Angie!
If the rope keeps burning try a wider log slice, and shorter wick.
You could also put 3 wick candles in the jars. Add citronella oil.