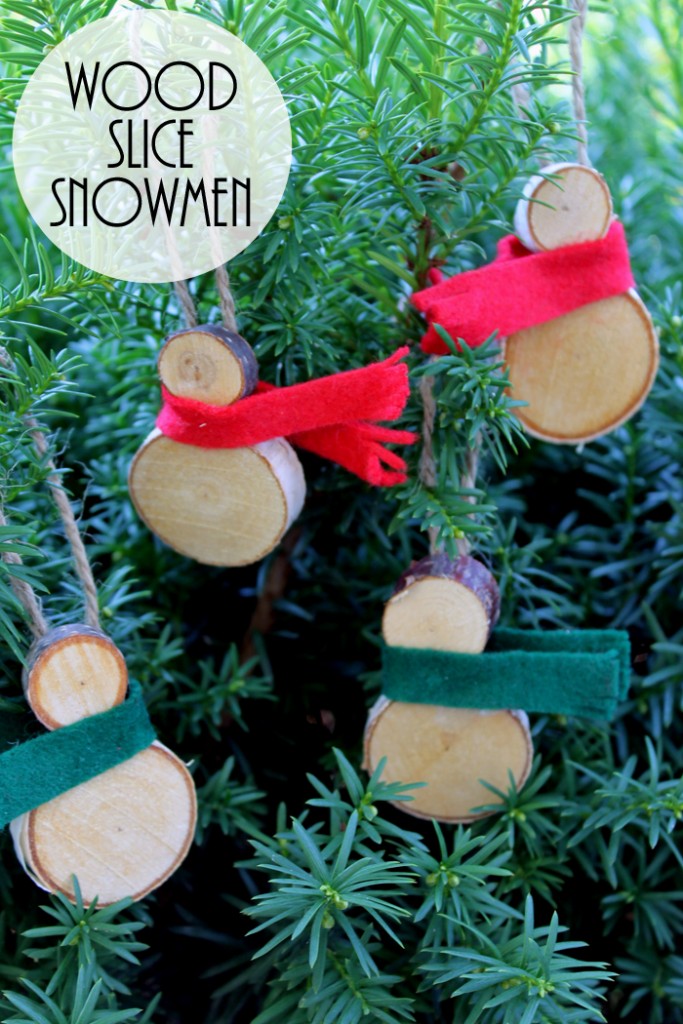
For Day 3 of Craft Lightning, I am sharing these DIY snowman wooden ornaments, perfect for a rustic Christmas tree!
I have been in love with wood slices lately and crafting with them as much as possible, and these adorable little ornaments are perfect for my farmhouse Christmas tree!
You can also catch up with the other craft ideas from our event here!
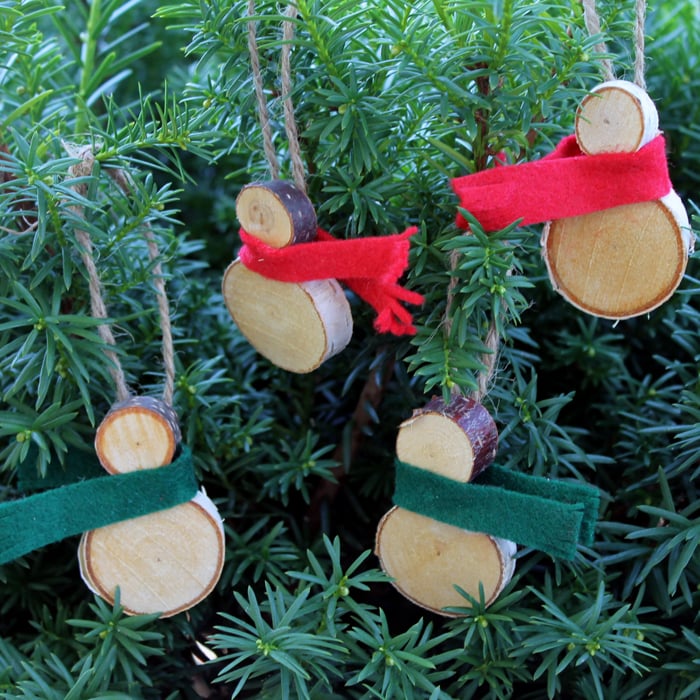
How To Make Snowman Wooden Ornaments
You can make these cute ornaments in minutes with just a few supplies. These are even easy enough for the kids to help make them.
Supplies Needed To Make Snowman Wooden Ornaments
- Wood slices (large and small)
- Twine
- Felt
- Elmer’s Craft Glue
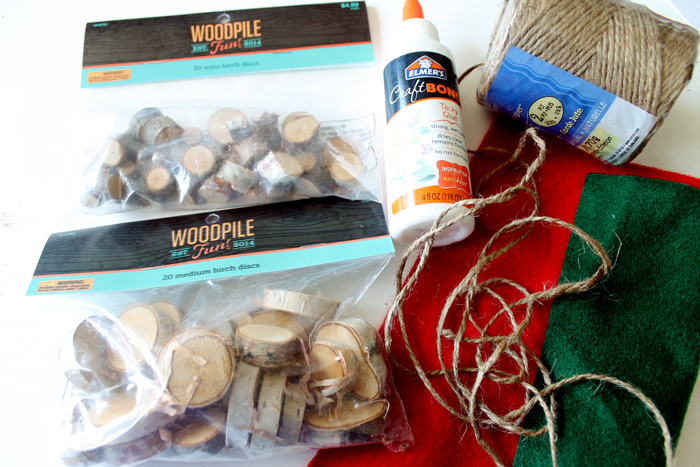
Step 1: Find Two Wood Slices
Begin by sorting your wood slices and finding two that look good together. I purchased my wood slices at the craft store, but you can also cut some wood in your yard. I have some tips below if you make your own slices. Remember that these ornaments are perfect for the kids to make, as no hot glue is required!
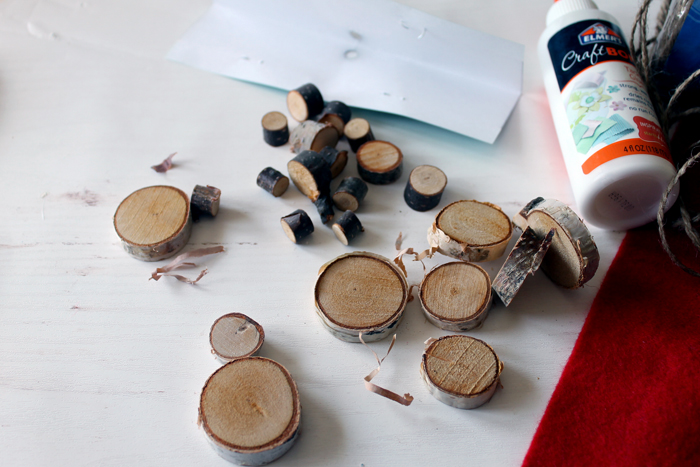
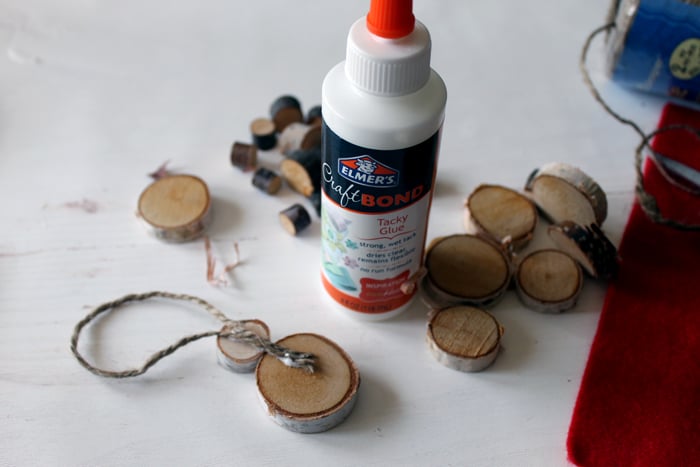
Step 2: Glue Together
Apply Elmer’s craft glue between the wood slices and on a piece of twine added to the back of the ornament on both wood slices. See below for placement.
Step 3: Add a Scarf
Cut felt in various colors into “scarves” for your little wood-slice snowman ornaments. I just cut a strip and then added a fringe with my scissors.
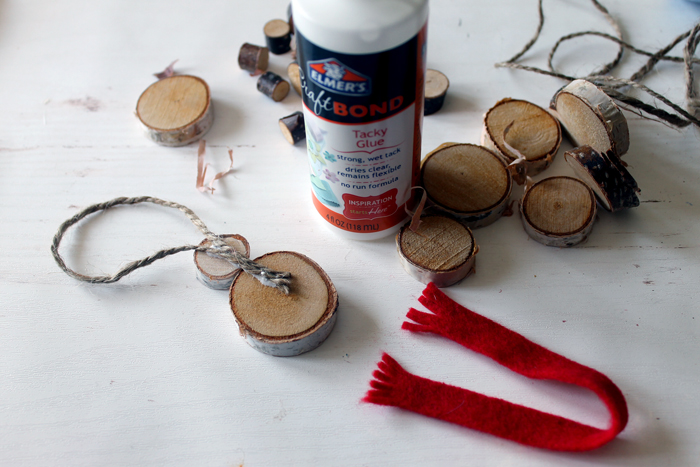
Add your scarf to your ornament using some more Elmer’s craft glue. Allow the entire thing to dry completely, then add to your tree.

I would love to fill my entire tree with wood-slice ornaments! These wood-slice snowmen ornaments are just the beginning, y’all!
How To Cut Wood Slices Yourself
You can easily purchase wood slices at craft stores, but you can also make them yourself. Cutting wood slices can save on supply costs and allow you to have more wood slices for different crafts.
Step 1: Gather the Materials You Need
Assemble the following supplies to get started cutting wood slices. Here’s what you’ll need:
- Tape measure
- Scrap block of wood
- Clamps
- Miter saw, or band saw
- Safety glasses
- Dust mask
- Wood to cut for slices
- Oven for curing wood
- Baking sheet(s)
Step 2: Get the Correct Wood
Before you begin cutting wood slices, you need to find a suitable wood to use. For this project, we’re going to cut small circular slices. You will want branches of various sizes that you can find from trees in your yard or even a neighboring yard.
Step 3: Use the Right Saw
We strongly recommend cutting your wood slices with either a miter or band saw. These are the best saw options to use when cutting log slices, as they can make more precise cuts with the uneven nature of a log. They can also cut thicker pieces of wood than other types of saws.
Step 4: Safety First
Before you start cutting, you must first take a few safety steps. It is always a good idea to wear safety glasses when cutting log slices. The logs are not uniform so the wood pieces will not lay flat on your saw tabletop.
Wear a good mask to keep sawdust particles out of your nose and mouth. You can cut down on the wood particles you breathe in by simply wearing a dust mask.
Step 5: Cut Your Wood Slices
Decide how thick you want your pieces to be and then begin cutting your branches into slices using your miter saw or band saw to make precise slices. Be sure to hold the piece steady as you work. Never take your hands off the piece of wood.
Cut your tree limb into as many wood slices as you can manage safely. The more, the better. You can use these wood slices for a variety of projects.
It is very important that you have a firm grip on your tree limb at all times. This will move around as you saw, and you need to maintain control of the wood to ensure an even cut.
Step 6: Bake Your Log Slices
Once you have cut your log slices, dry them in the oven to remove the high moisture content to prevent warping and bending over time.
Place the log slices on a baking sheet and allow them to cook for 1 hour and 15 minutes at 200 degrees. This will dry the wood out completely and prepare the surface for any additional finish treatments you have in mind. It will also kill any organisms in the wood so they don’t get into your home. Let your log slices cool until they are no longer hot to the touch before you use them.
You might want to sand down the slices to create a smoother surface. While they will be relatively smooth from the cutting, sanding them will make them softer and smoother.
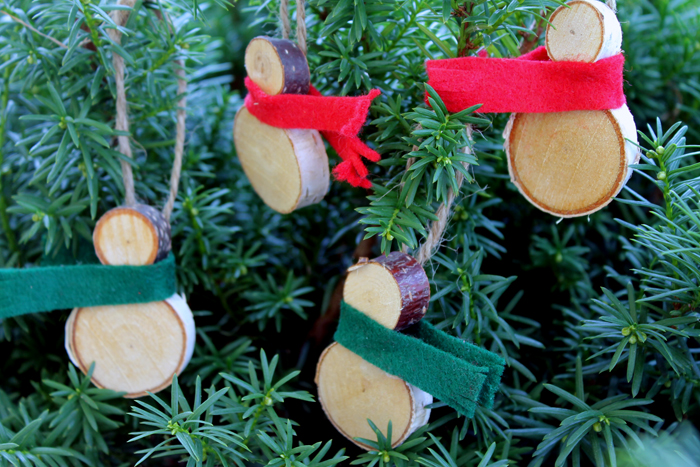
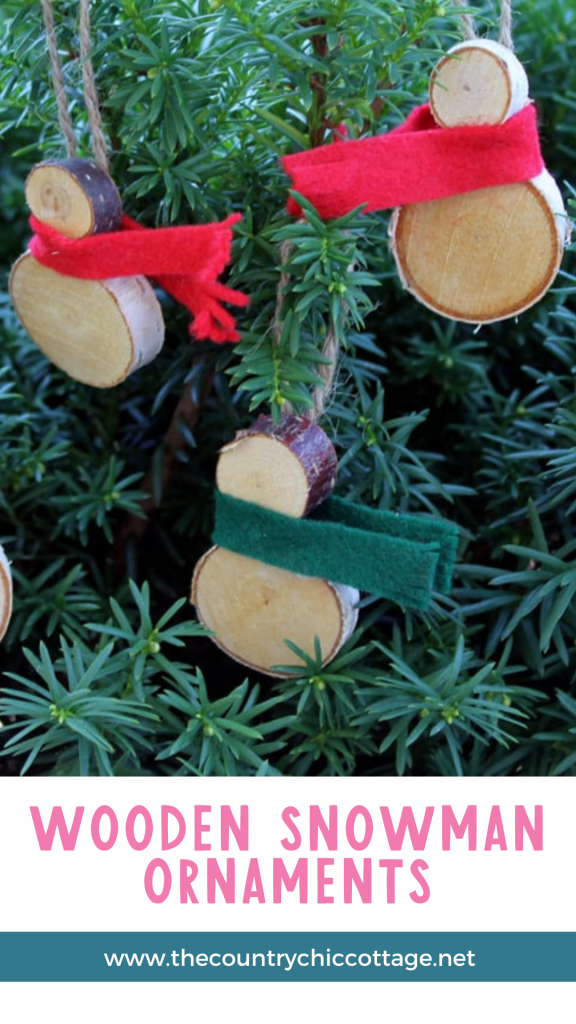
Enjoy making these wooden snowman ornaments from log slices, whether you buy them or make them. You will love how these look on your Christmas tree.
Tips and Tricks for Snowman Wooden Ornaments
Ready to make your own? Here are a few tips and tricks to help!
- Adjust The Size Of Your Snowman – You can adjust the size of this ornament by using bigger or smaller wood slices! However, this project requires two wood slices in different sizes.
- Paint Your Snowman White – If you want your snowman to look more traditional, you can paint the wood slices white before you glue them together!
- Add Details – I liked the look of a plain rustic snowman, but you can add details like a carrot nose, eyes, and buttons with paint or markers.
- Use Hot Glue – I know I said that you don’t need hot glue for this project. However, if an adult is making this project, you can use hot glue to make this an even quicker craft!
5 More Snowman Crafts
Did you love these snowman wooden ornaments and want more snowman crafts? Then check out the projects below!





These are adorable and so easy to make too!! Love them! #CreativeMuster
I like the look of your snowman! Thanks for the tutorial, looks like they are easy to make too.
Cheers,
Emese
These are super cute. Thanks for the tutorial!
These are SO pretty and CUTE!! 🙂
I would love for you to share this with my Facebook Group for recipes, crafts, tips, and tricks: https://www.facebook.com/groups/pluckyrecipescraftstips/
Thanks for joining Cooking and Crafting with J & J!
Those snowmen are so adorable! I want to make some! Pinning for later. Thanks for sharing and linking up at Dishing It & Digging It! Can’t wait to see your creativity next week! 🙂
I’ve been looking for some new snowman ideas, this is definitely on my to-do list. Thnx.