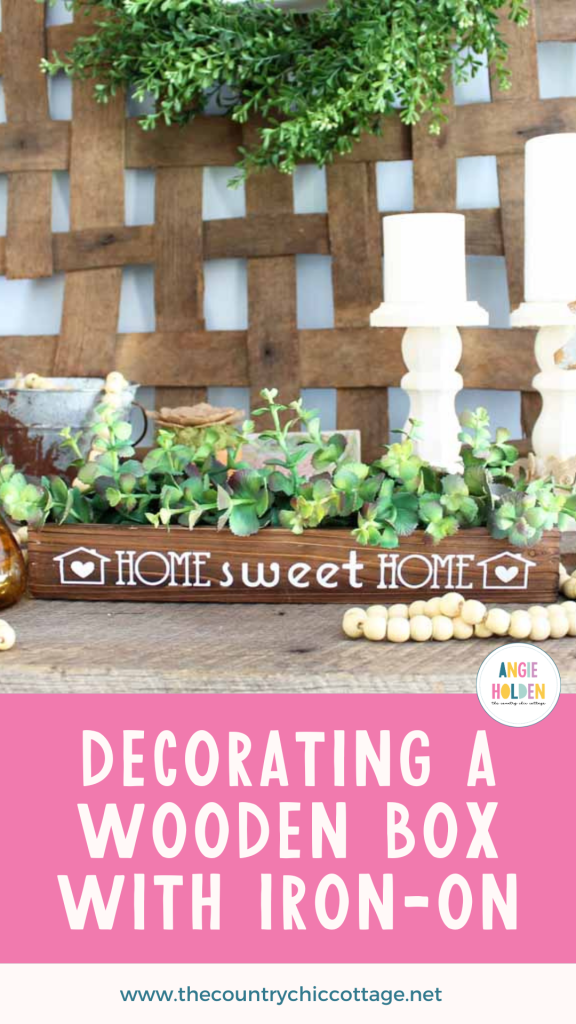
Iron-on week was last week, but I couldn’t resist decorating a wooden box centerpiece as a bonus project. Frankly, I am a bit obsessed with adding iron-on vinyl, or HTV, to wood. It is such an easy technique, and it turns out perfectly just about every single time. You’ve got to love a craft project like that!
Using Iron-on vinyl on wood
Create a stunning project using wood and iron on vinyl. Decorating a wooden box is easy with just a few supplies you may already have on hand.
Supplies needed for decorating a wooden box
- Cricut Iron On
- Cricut Machine (click here to see my favorite)
- Wood box
- Cricut EasyPress or Iron
- Home Sweet Home cut file
- Weeding Tools (optional)
- Teflon sheet or parchment paper
- Faux greenery (optional)
Step 1: Cut your vinyl
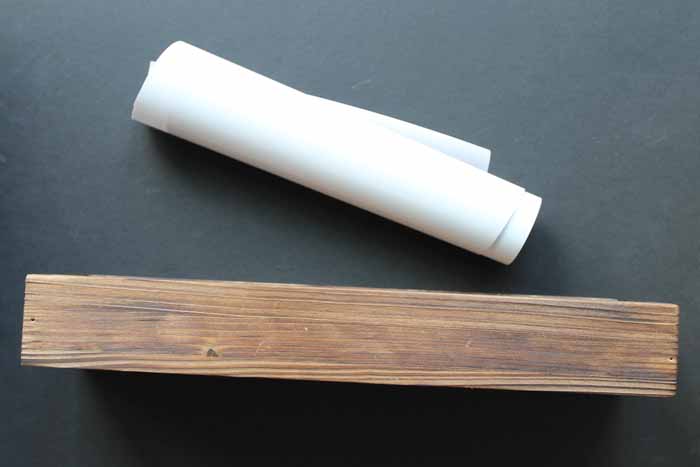
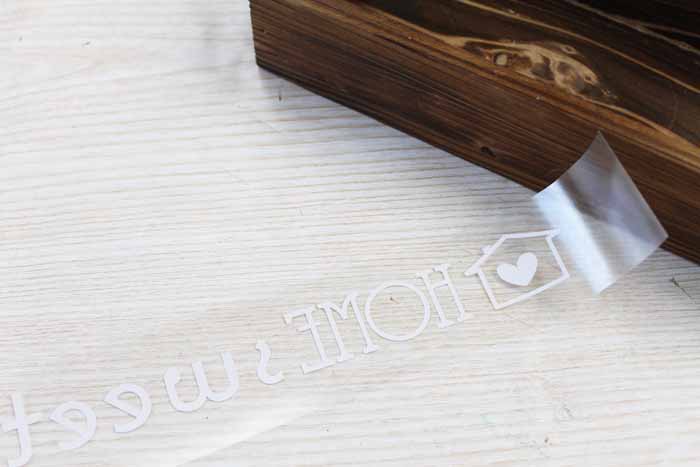
Start by cutting your iron-on (HTV) with the cut file and your Cricut machine. You’ll need to adjust the measurements of the cut file in Cricut Design Space to fit your wooden box. Be sure to mirror the image and cut it with the shiny side down. Then, weed all excess vinyl, including the centers of letters. Weeding tools make this a bit easier, but they are optional.
Step 2: Adhere vinyl to the wood
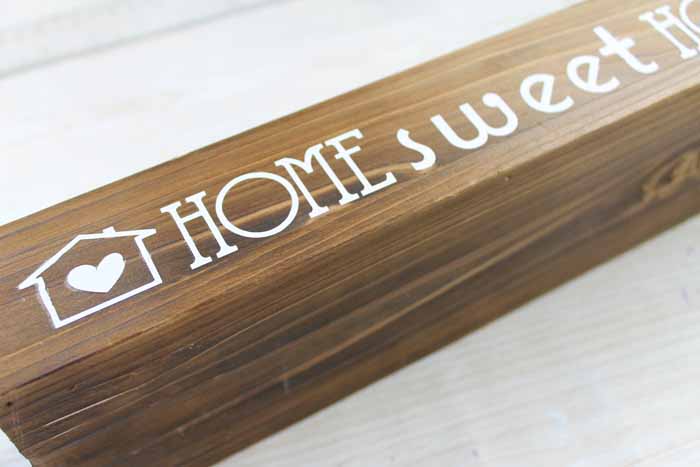
Lay your weeded iron-on down on the front of the box and lay a piece of parchment paper or Teflon sheet over the top. This will help to protect the wood from the heat while you press. Then, set your EasyPress or Iron to the recommended temperature. Once heated, press the vinyl for the recommended time, and then remove the carrier sheet from the iron-on vinyl.
Step 3: Decorate
All that is left is to decorate your wooden box. Here, we added a bit of faux greenery, but you could also add flowers or anything else you desire.
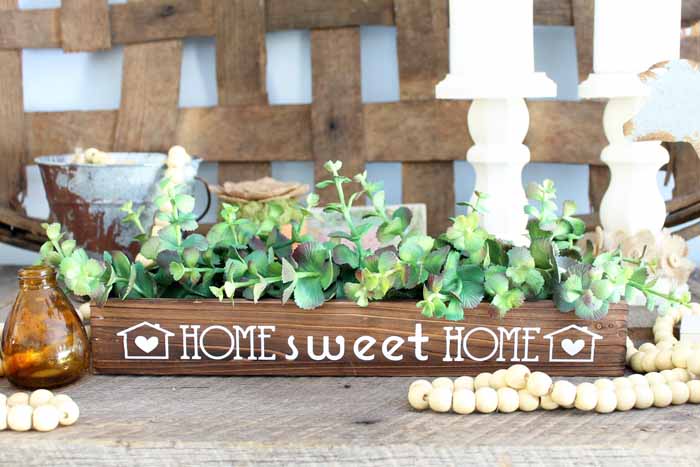
I love this design and how the iron-on looks on the wood surface.
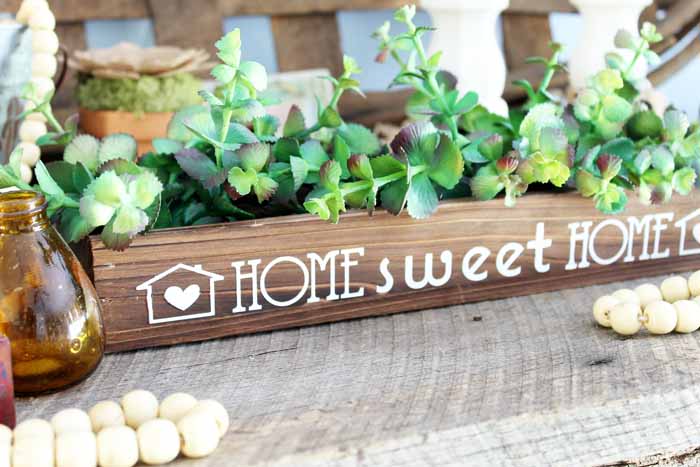
Try decorating a wooden box today! Trust me, you are going to love the results. Don’t want to make this box? Then, just try using iron-on directly on wood. You are going to love this technique.
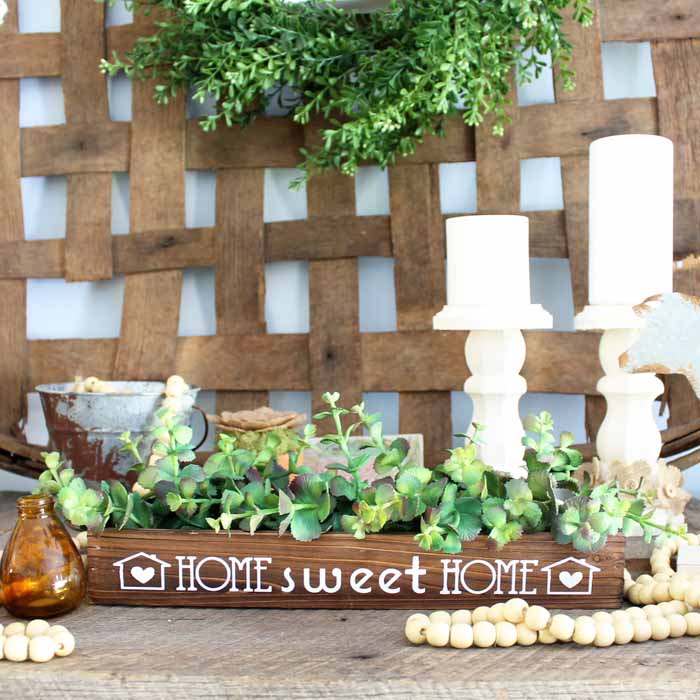
Tips and Tricks for Decorating a Wooden Box
Now that you’ve seen me decorating a wooden box, are you ready to make your own? Here are a few tips and tricks to ensure your project goes as smoothly as possible!
- Need more help? Watch me add Iron-On (HTV) to wood in this video.
- Not sure when to mirror your image? Sometimes, our mind plays tricks on us, and we’re not sure when to mirror an image before cutting it. Here is a post about when to mirror your cut.
- Should you use an EasyPress or Iron? When using HTV or Iron On vinyl, you’ll need to check the recommended temperature for heating the vinyl. Too hot, and it’ll scorch, and too cool, it won’t stick. If you’re wondering if you should use an EasyPress or an iron, I’ve tested them out on different types of vinyl.
- Change it up! You can change the greenery or flowers in this box seasonally or as you change your decor. Have fun adding different colors or floral picks to really make it fun.
Love this project and want more ideas? Try the links below
- Farmhouse Wreath with Iron-on
- DIY Leather Notebook
- How to Use Your Cricut Machine
- Tips for Using Iron-On on Wood
- Over 60 Cricut Iron-On Crafts
New to Cricut?

Sign up for our email list to download the Beginner's Guide to Cricut Design Space for FREE today!
Sign up to get the guide emailed to you!


I absolutely love how this turned out! So cute! Another great DIY we’d love to see on Wall to Wall DIY!
I have got to get me some of that iron on vinyl. That’s a game changer. Love how it turned out
This looks like a great product. It opens up so many possibilities.