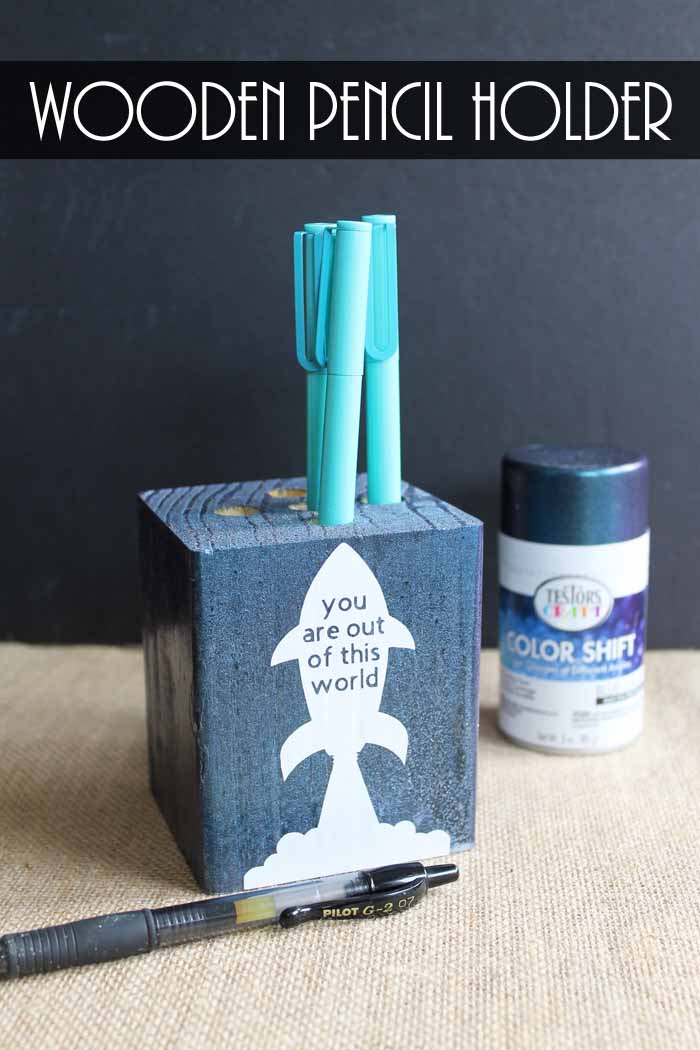
Make Father’s Day special this year by giving dad this unique handmade wooden pencil holder. It’s a quick and easy project that anyone can make to make dad feel extra special this year!
Dads can be so hard to shop for! This year, skip shopping for something he doesn’t want and give him something with a unique homemade touch that he can proudly display at home or at work.
Ready to make a fun project to give to dad for Father’s Day? We’re going to make a simple project that takes a 4×4 block of wood and transforms it into a wooden pencil holder.
All you need is a block of wood and some paint. Add an extra vinyl embellishment if you wish to personalize it even more! As a side note, you are going to love the paint I used, so read on to find out more about that down below.
Note: This post is sponsored by Testors however all projects and opinions are my own.
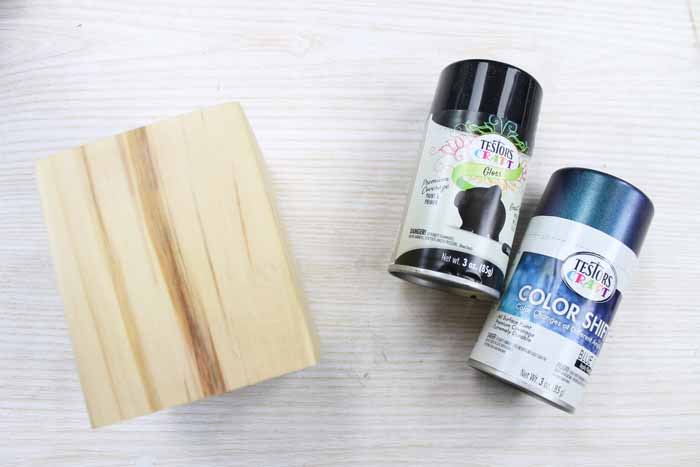
Wooden Pencil Holder Supplies Needed
- 4×4 wood piece cut 4 inches long
- Testors Color Shift Paint in Blue Galaxy
- Testors Craft Black Spray Paint
- Drill
- Drill bit
- Tape
- Ruler
- Pencil
- White Vinyl
- Cricut machine
- Rocket cut file
- Transfer tape
- Weeding tools (optional)
Video Tutorial
Want to see me in action as I make this wooden pencil holder for Father’s Day? Just watch the video below!
How to Make a Wooden Pencil Holder
If following along to a video isn’t your thing or you missed some of the steps, here are simple step-by-step instructions with pictures that you can use.
Step 1
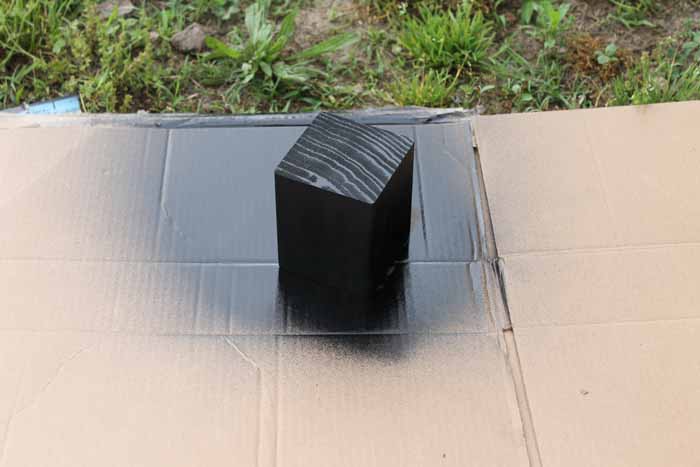
Start with a 4 inch long piece of 4×4 wood. Spray paint it black first as a base coat.
Step 2
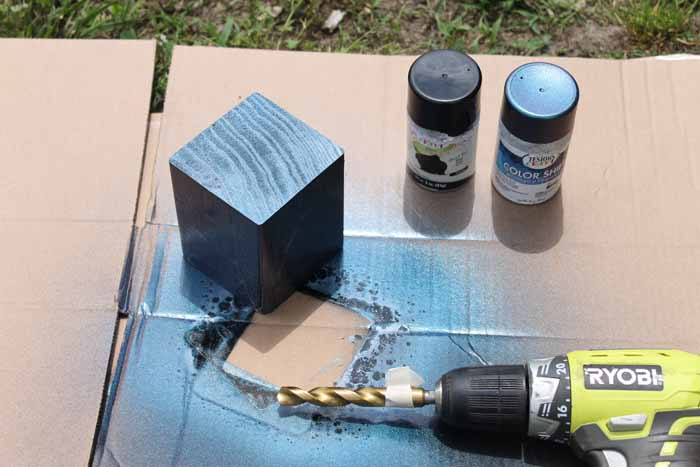
Once dry, then give the piece a couple of coats with the Testors Color Shift paint in Blue Galaxy. You will be amazed at how the color changes as you move your piece around or walk around it.
Step 3
Now it’s time to turn this painted block into a wooden pencil holder.
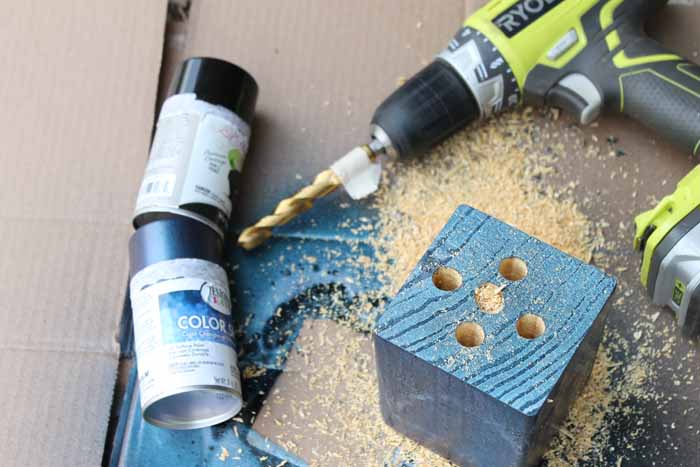
Start by adding a piece of tape to your drill bit at the depth you want. This is a handy trick to prevent your drill bit from going too deep!
Note: I used a 1/2 inch drill bit but be sure to measure the pens and pencils that you will be using to find what drill bit size you need.
Measure and mark the top of your block for as many holes as you want. Drill those with your drill bit using the tape as a depth guide.
Step 4
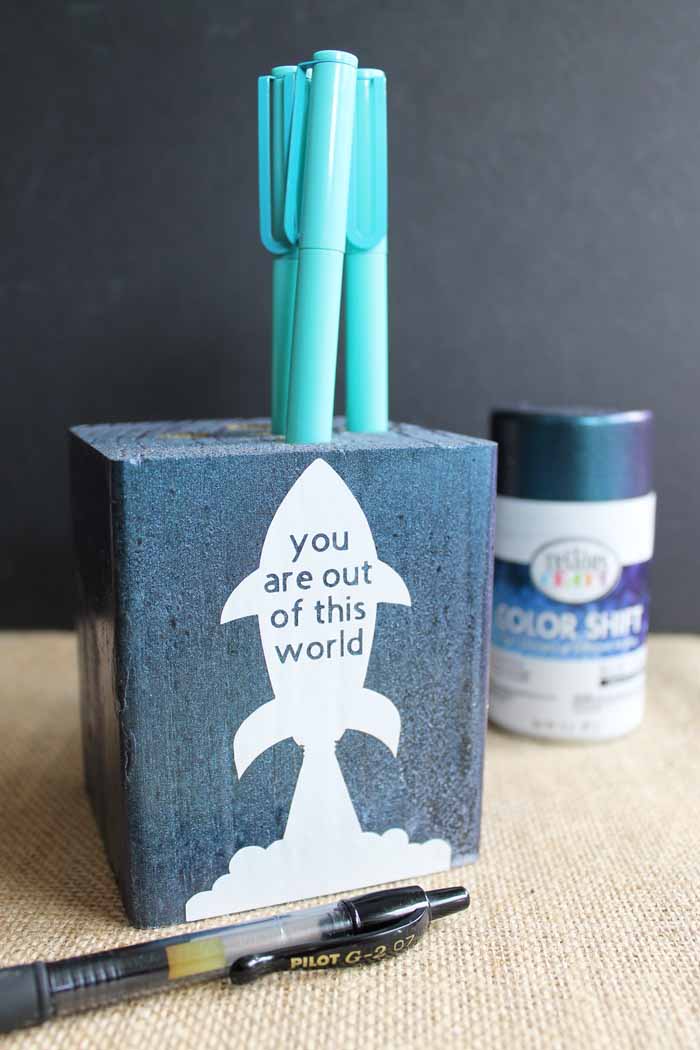
Remove any sawdust from the holes and you have a complete wooden pencil holder! I decided to add a little decoration to the front of mine but that is completely optional.
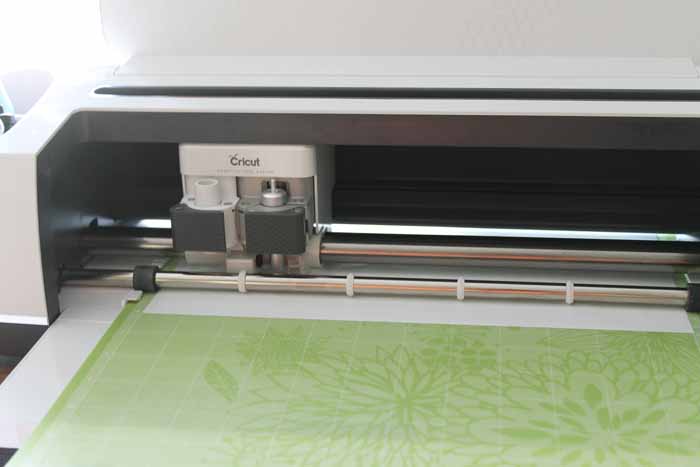
I used this cut file with my Cricut machine and cut it from white vinyl. Feel free to click the link and grab it yourself to use.
Step 5
Weed any excess vinyl then use the transfer tape to add it to the side of your wood block as shown below.
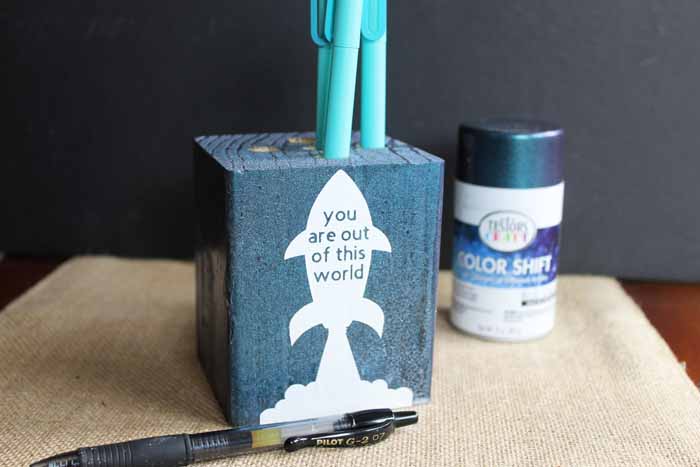
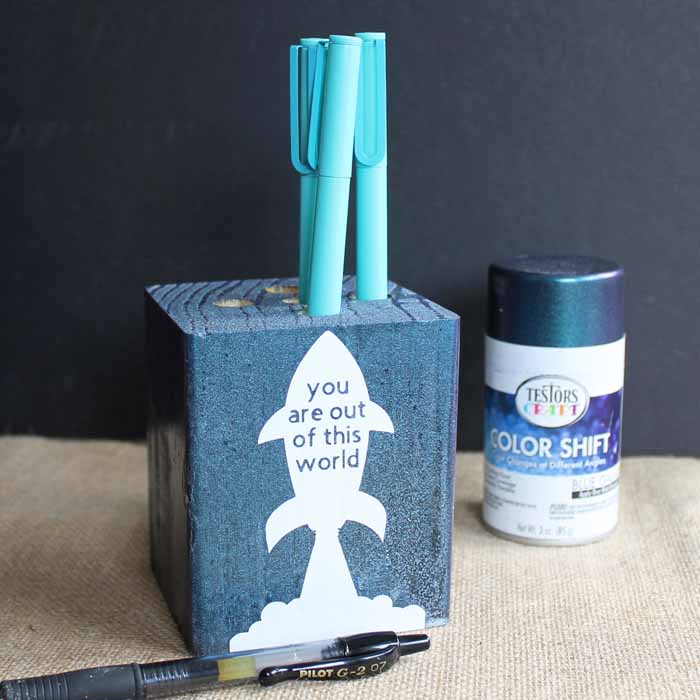
Your wooden pencil holder is now ready to perform the tough job of holding dad’s pens and pencils! Add it to dad’s desk as a special surprise present or wrap it up and give it to him.
Testors Color Shift Paint
I used Testors paint for this project, and the color shift quality of this paint is amazing! The pictures give you only a small idea of how fun this paint is.
If you want to see more detail about the paint, watch the video up above. Of course, another option is that you can always just pick some up and watch it change color right before your eyes! It literally makes your craft look out of this world!
Love this wooden pencil holder and want more ideas? Try some of these!
- Wood Crafts That Take 15 Minutes Or Less
- 40 DIY Scrap Wood Projects You Can Make
- Wood Blocks Puzzle Handmade Gift Idea
- Outdoor Lawn Games: Checkers and Tic Tac Toe Board
- Marbling Paint Technique Used on Wood
Make this wooden pencil holder or any of these other wood crafts in just 15 minutes or less! Y’all enjoy!
Supplies
- 4×4 wood piece cut 4 inches long
- Testors Color Shift Paint in Blue Galaxy
- Testors Craft Black Spray Paint
- Drill
- Drill bit
- Tape
- Ruler
- Pencil
- White Vinyl
- Cricut machine
- Rocket cut file
- Transfer tape
- Weeding tools optional
Instructions
- Start with a 4-inch long piece of 4×4 wood. Spray paint it black first as a base coat.
- Once dry, then give the piece a couple of coats with the Testors Color Shift paint in Blue Galaxy. Check out how the color changes as you move your piece around.
- Start making your pencil holder by adding a piece of tape to your drill bit at the depth you want. This will keep your drill bit from going deeper than you want it to!Measure and mark the top of your block for as many holes as you want. Drill those with your drill bit using the tape as a depth guide.
- Remove any sawdust from the holes. I used this cut file with my Cricut machine and cut it from white vinyl. Now you have a complete wooden pencil holder! I decided to add a little decoration to the front of mine but that is completely optional.
- Weed any excess vinyl then use the transfer tape to add it to the side of your wooden block as shown below.
New to Cricut?

Sign up for our email list to download the Beginner's Guide to Cricut Design Space for FREE today!
Sign up to get the guide emailed to you!


What a fabulous Dad gift! I need to check out that paint too!