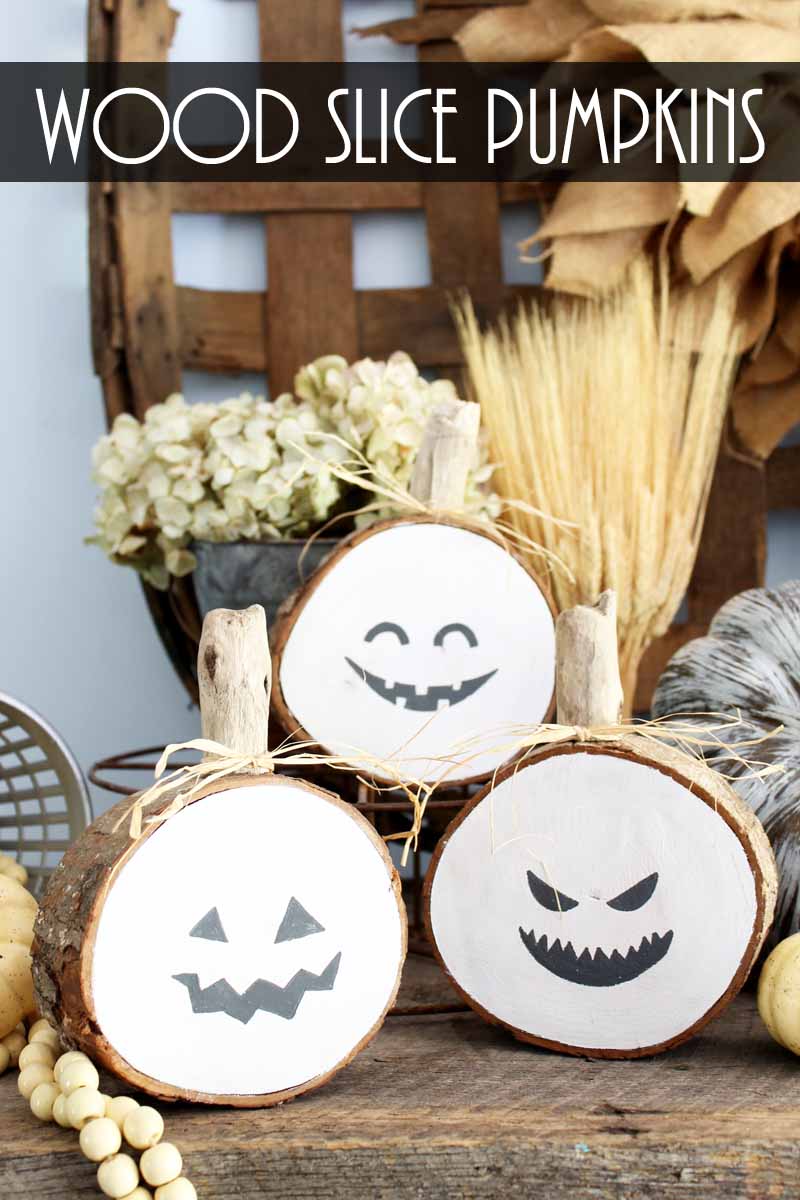
Rustic DIY wooden pumpkins are the perfect way to decorate your farmhouse-style home in the fall. I made a version from log slices that makes gorgeous decor for Halloween. Yes, you can have something pretty in your home that is also festive enough for Halloween! Follow along with the easy step-by-step instructions below. You can then add these to a fall mantel or even your porch on Halloween night.
DIY Wooden Pumpkins
I am using some thick wood slices so that they stand up better on my mantel. You can cut these yourself, find some for sale, or even ask in a local group for anyone with a chainsaw. You are just looking for a thick and rustic slice from any fallen tree.
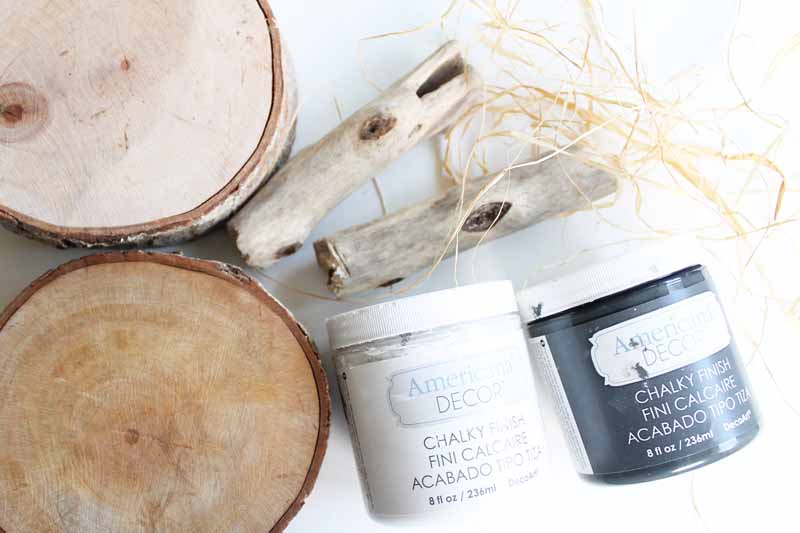
Supplies needed:
- Americana Decor Chalky Finish Paint in Relic and Everlasting
- Wood slices (thicker slices will stand better)
- Paint brush
- Driftwood pieces
- Raffia
- Hot glue and glue gun
- Pumpkin pattern (you can see how to download below)
Pumpkin Faces Template
Grab the face template for your DIY wood pumpkins by signing up for the newsletter below. Just add in your information and the file will be sent to your email. Look for a box below with a picture of the file you need. If you already get the newsletter, just add your information again as you will not be signed up for anything further. From your email, you can print as many copies as you would like.
Please note that this template is for personal use only. You can also contact me if you have any issues with getting the template.
How to Make Wood Slice Pumpkins
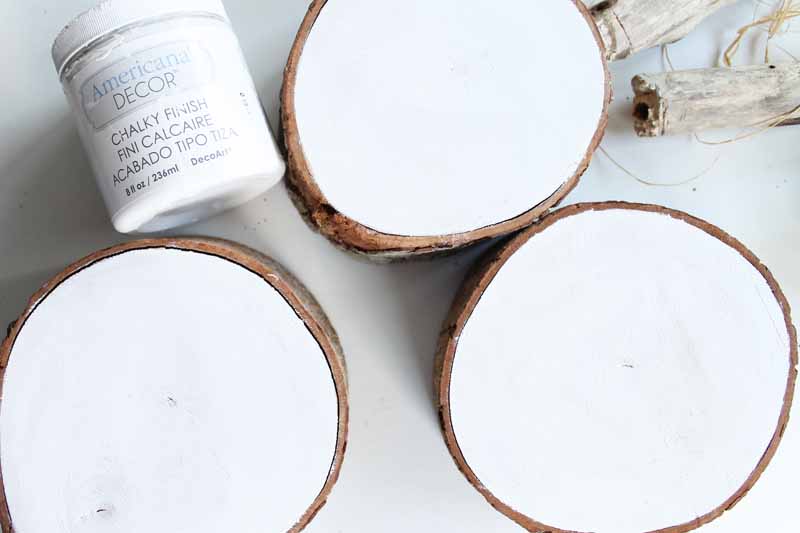
Paint one side of your rustic wood slices with white paint. Leave the bark around the edges unpainted. For a rustic look, only use one light coat of paint. Allow to dry completely before continuing.
Then get your pumpkin pattern using the form above and print.
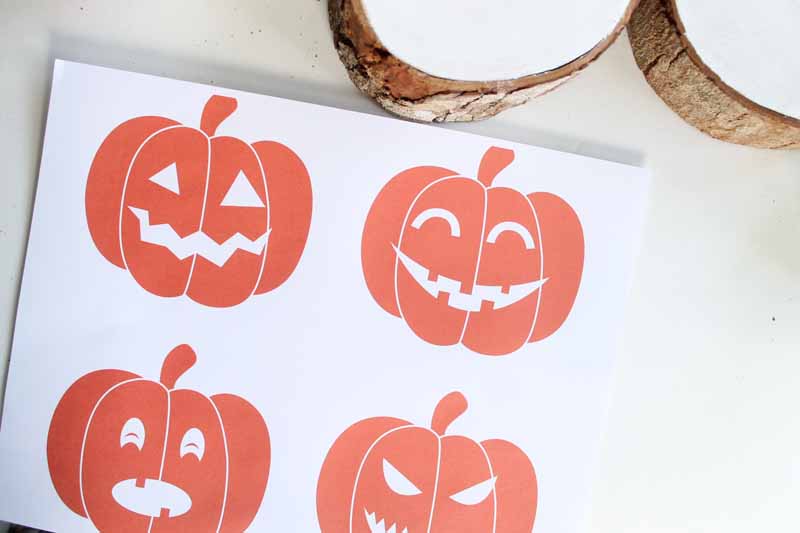
Place the pumpkin pattern on the white painted side of your wood slice. Tape or hold in place and use a pen to trace around all of the details pressing down well. Trace only the facial features.
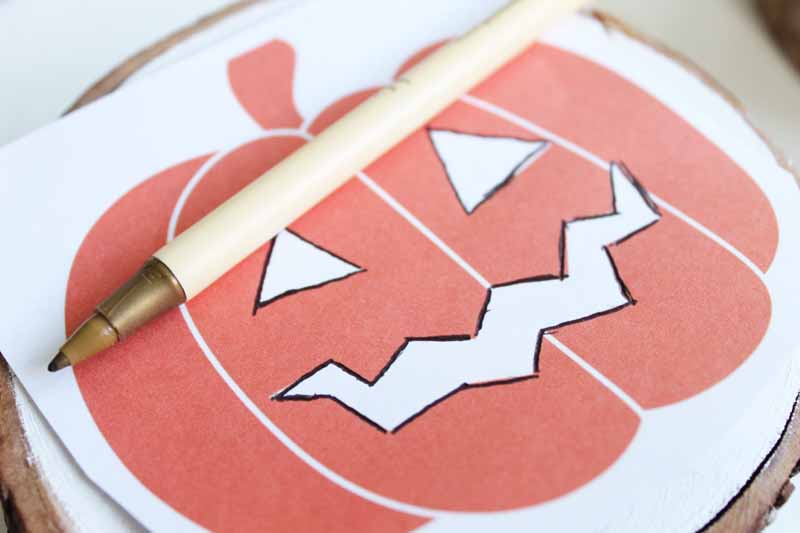
After tracing, lift up your paper and you will see a slight indent in your wood slice everywhere you traced the pattern. These make the perfect guides for painting.
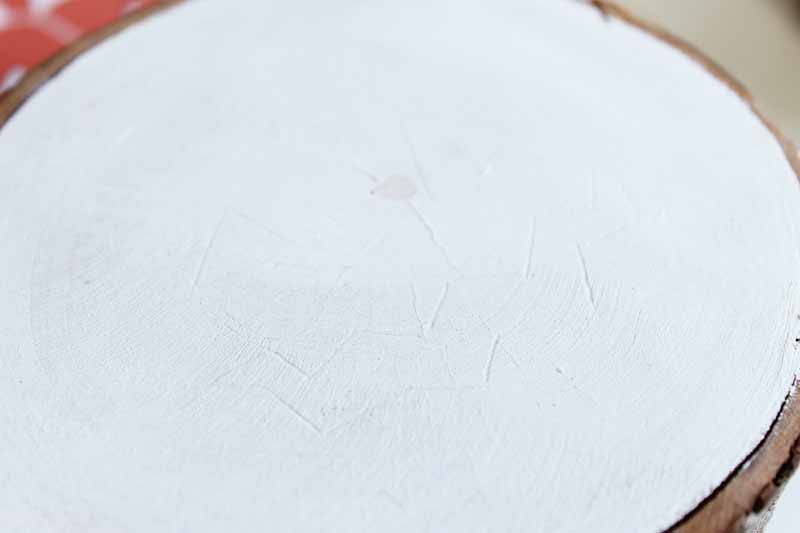
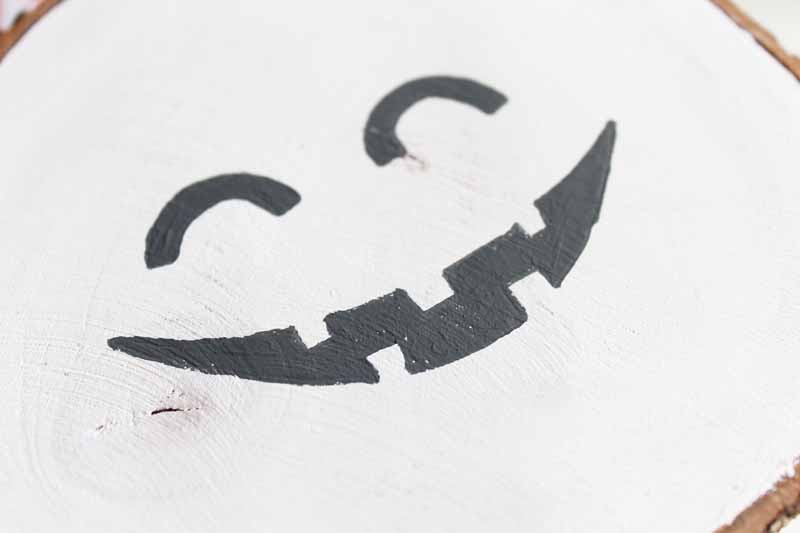
Add dark paint (in this case a dark grey) in the outline areas. Again, I only added one coat because I wanted rustic wooden pumpkins. You can add several coats of paint if you would like.
Allow your pumpkin faces to dry then use hot glue to add on a driftwood stem and tie on some raffia to complete the look.
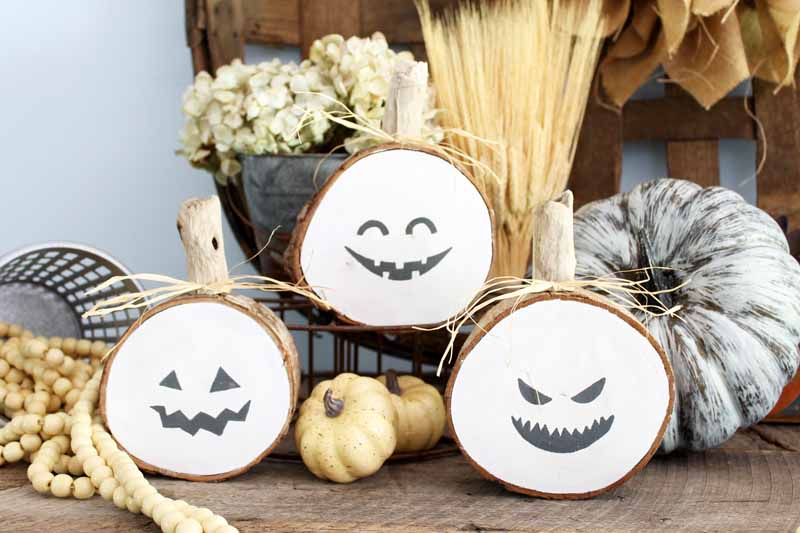
Add these DIY wooden pumpkins anywhere in your home that you want a festive look for fall and Halloween.
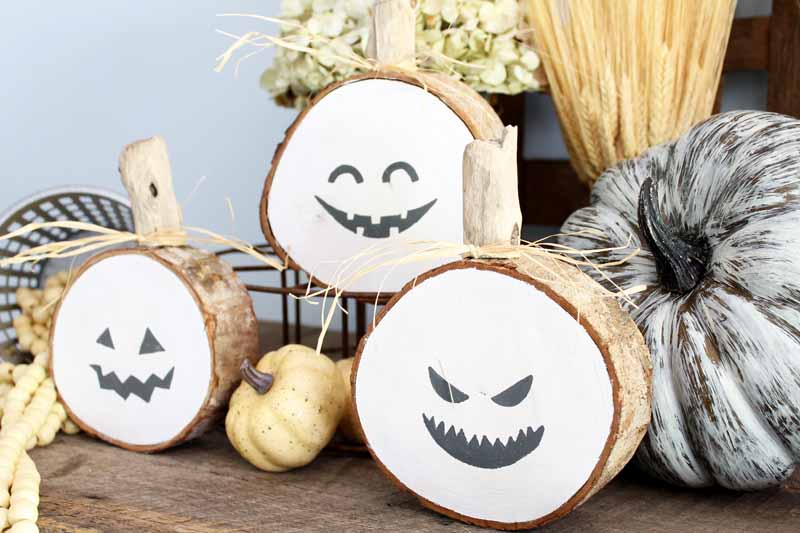
I love the way these turned out and just how great these wooden pumpkins look on my mantel. Will you be making some for your farmhouse this fall?
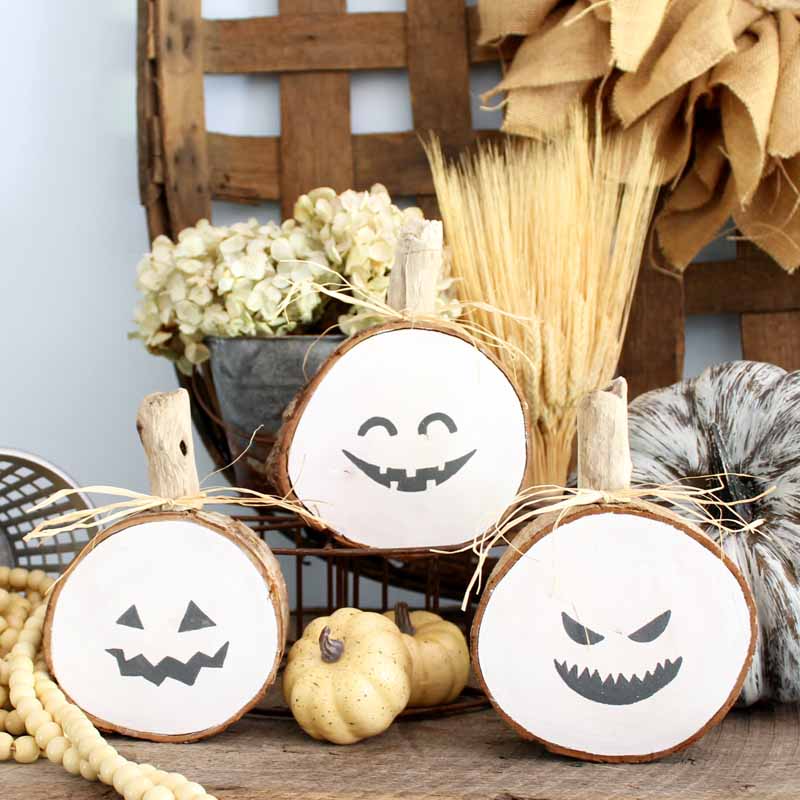
Love these DIY wooden pumpkins and want more ideas? Try the links below!
- Beaded Garland for Your Fall Decor
- Farmhouse Wreath with Iron-on
- Pumpkin Pillow from Burlap
- Burlap Fall Wreath in a Pumpkin Shape
- Painted Wood Slice Pumpkins
You can also print the instructions for making pumpkins from rustic wood slices using the card below!
Supplies
- Americana Decor Chalky Finish Paint in Relic and Everlasting
- Wood slices thicker slices will stand better
- Paintbrush
- Driftwood pieces
- Raffia
- Hot glue and glue gun
- Pumpkin pattern
Instructions
- Paint one side of your rustic wood slices with white paint. Leave the bark around the edges unpainted. For a rustic look, only use one light coat of paint. Allow to dry completely before continuing.
- Then get your pumpkin pattern using the form above and print.
- Place the pumpkin pattern on the white painted side of your wood slice. Tape or hold in place and use a pen to trace around all of the details pressing down well. Trace only the facial features.
- After tracing, lift up your paper and you will see a slight indent in your wood slice everywhere you traced the pattern. These make the perfect guides for painting.
- Add dark paint (in this case a dark grey) in the outline areas. Again, I only added one coat because I wanted rustic wooden pumpkins. You can add several coats of paint if you would like.
- Allow your pumpkin faces to dry then use hot glue to add on a driftwood stem and tie on some raffia to complete the look.


Thanks for great Halloween decoration idea 🙂
Thank you for the great ideas. I will try these at the upcoming Halloween.