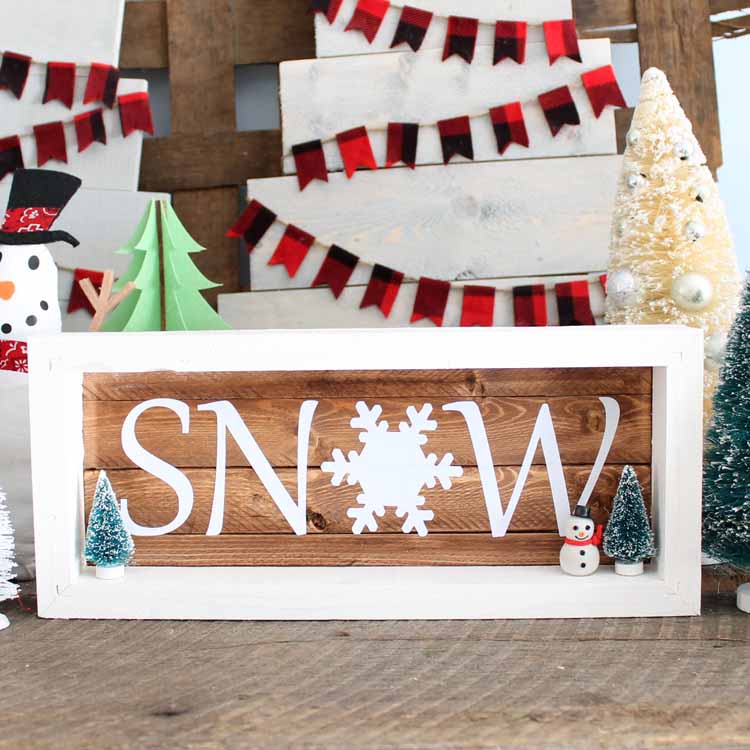
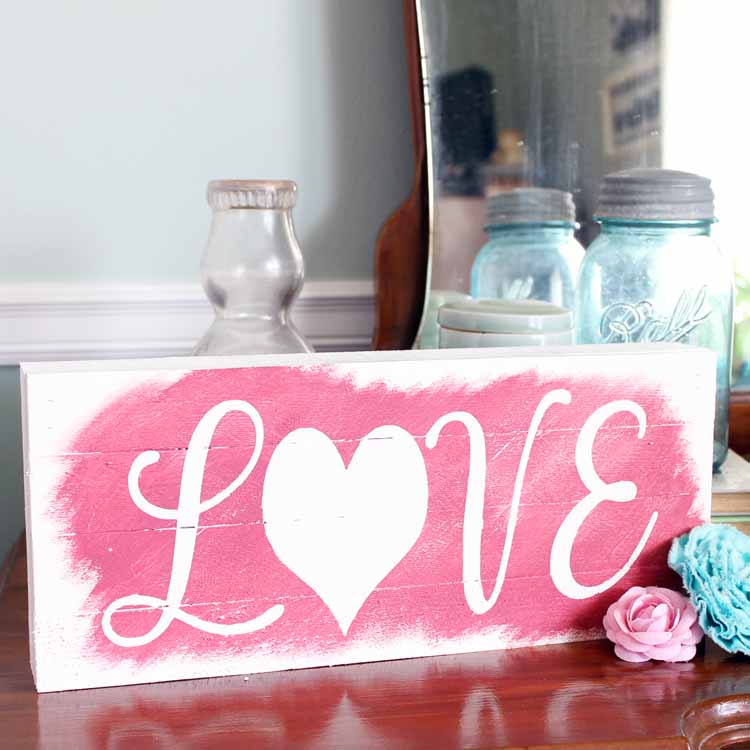
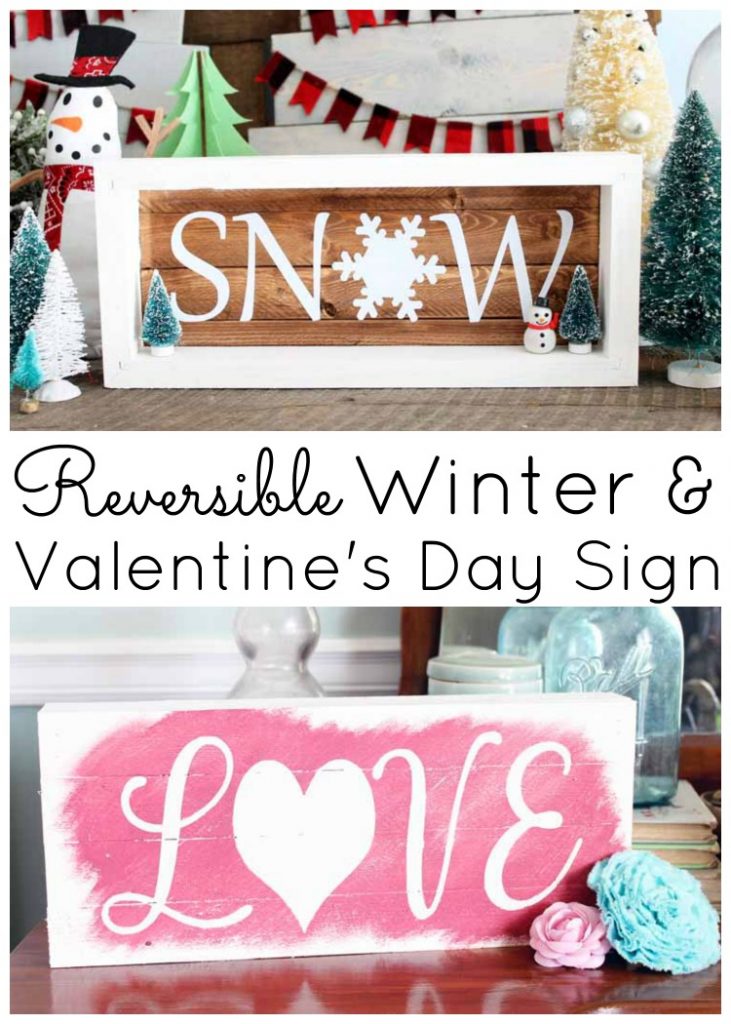
Using your Cricut machine, you can easily create wooden signs featuring holiday and seasonal sayings! Today, I will demonstrate two techniques on the same sign. We will design a reversible sign that is perfect for winter, and then we can flip it to celebrate Valentine’s Day. Gather your supplies and start working on your version soon! Feel free to modify the design to suit other occasions and seasons.
How To Make Wooden Signs With Sayings
I am going to create a sign that says snow on one side and love on the other. You can make the sign exactly as I have made it by following the directions below. You can also use these directions as a guide and make a sign that says whatever you want (even something farmhouse). Personalize this Cricut craft to make something that you’ll love for your home!
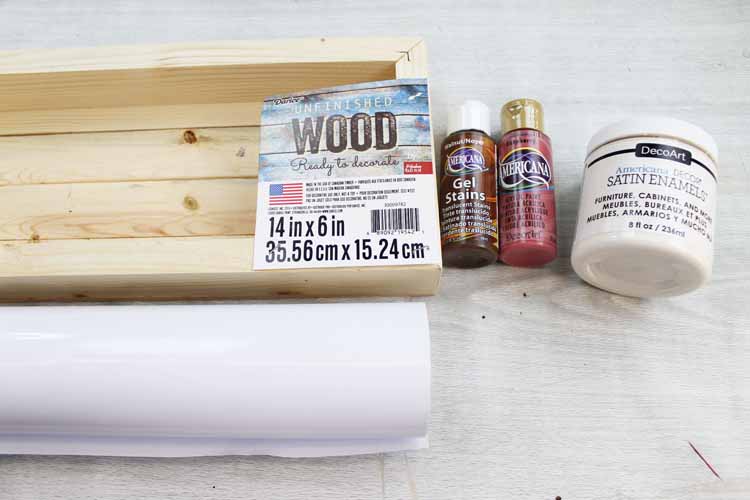
Supplies Needed To Make Wooden Signs With Sayings
- Wood Pallet Box – The wood pallet box I used in this project is no longer available. However, you can use any wood box or these unfinished wood canvas boards instead.
- White Vinyl
- Cricut machine (click here to see which I like)
- Wood Stain
- Pink Craft Paint
- White Craft Paint
- Paintbrushes
- Miniatures
- Hot Glue and Glue Gun
- Transfer Tape
- Snow and Love File (see how to download below)
Download Snow and Love Cut File For Wooden Signs With Sayings
You will need to use the cut file to create the same design as mine. To get it, please sign up for the newsletter below, and the file will be sent to your email address. Look for the sign-up form below, which includes a picture of the file you want to download. If you’re already subscribed to the newsletter, you can re-enter your information; you won’t be signed up for anything additional. The files will be sent as a ZIP file, so you’ll need to unzip it to access all the different file types.
Please note that this file is for personal use only. If you have any issues with your download, please get in touch with me.
Step 1: Stain One Side Of Wood Pallet
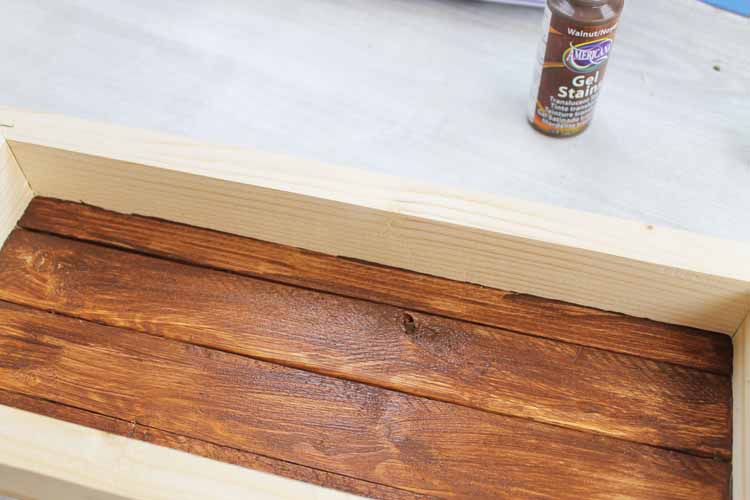
Now that you have your supplies and cut file, it is time to make your sign! Start by staining the bottom of your pallet box with wood stain. Brush on, allow to sit a few minutes, then wipe away any excess with a rag.
Step 2: Paint The Other Side Of Wood Pallet
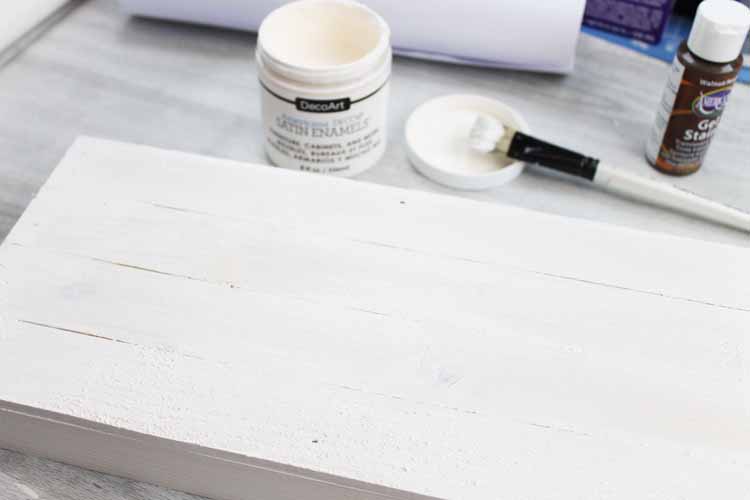
You can paint the back of the box while the stain is still wet. Flip the box over and apply a couple of coats of white paint to the entire back and sides. Make sure to allow the paint to dry between coats, and ensure the entire box is completely dry before continuing with your project.
Step 3: Cut & Weed Vinyl
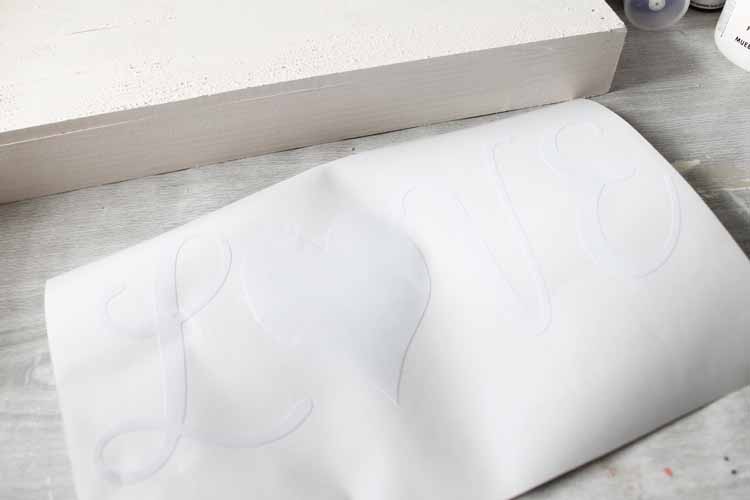
In the meantime, you can get your cut file above and upload it to your Cricut machine. Click here for a full tutorial on how to do so. Size it to fit your sign, and cut it from the white vinyl. Weed away all excess, including the centers of letters.
Step 4: Create Love Side Of Sign
So, for the love side, we will use vinyl as masking. I made a quick story below that shows the process of masking with vinyl when painting your sign.
Step 1: Apply Vinyl To Sign
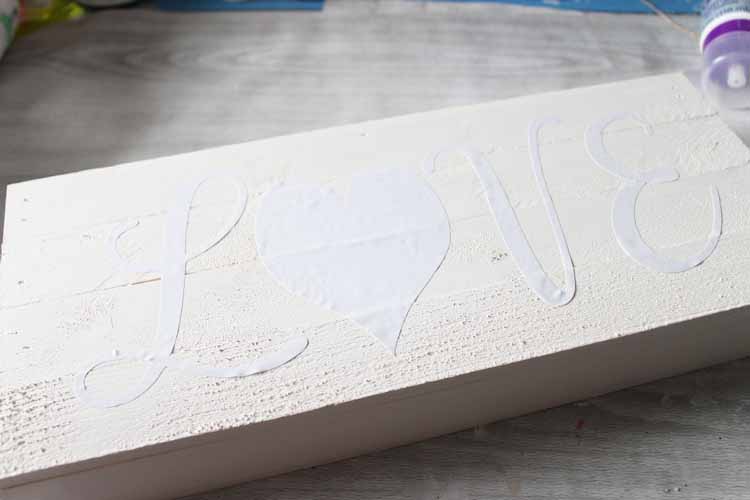
You can follow the instructions below to use your vinyl as a mask. Once the paint has dried, apply the vinyl with transfer tape and press it down firmly.
Step 2: Paint Over Vinyl With White Paint
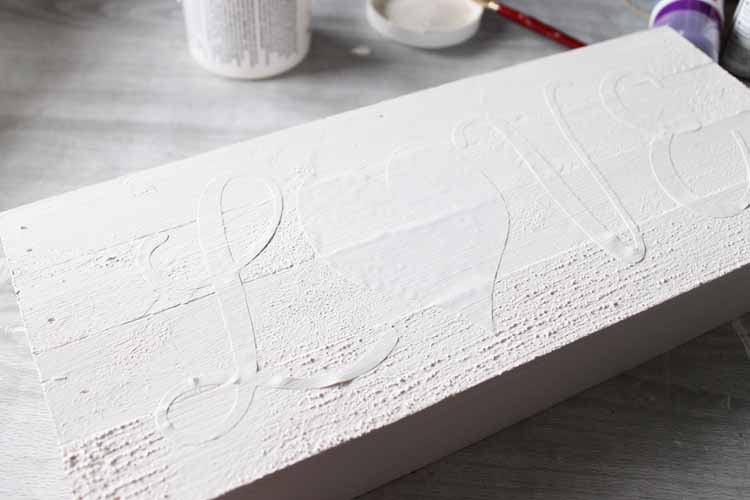
If you have used vinyl as masking, you may have been frustrated with the bleed under the sides. Have no fear! We have a solution for you! Just paint over your letter with the base coat (in our case, white) before continuing and allowing it to dry.
Step 3: Paint Over Vinyl With Pink Paint
Once dry, apply your pink color over the top. I wanted this to look rustic, so I used a relatively dry brush and stopped short of the edges, as shown below.
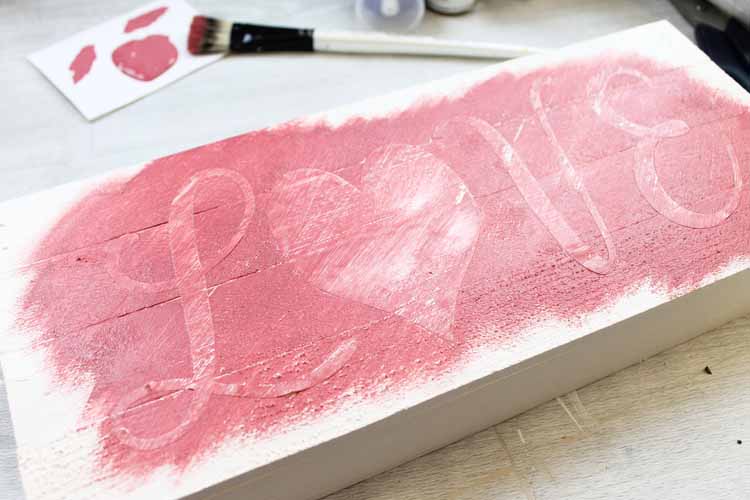
Step 4: Peel Off Vinyl
Allow this to dry, and then peel back your vinyl to reveal gorgeous lettering on your sign! Using vinyl as masking is a great way to make wooden signs with sayings.
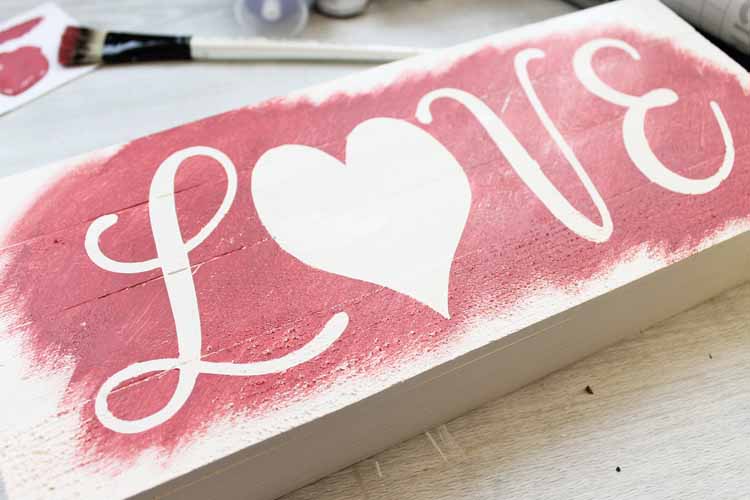
Step 5: Create Snow Side Of Sign
If you prefer not to use the paint technique mentioned above, apply the vinyl directly to the sign. We will use this method for the “SNOW” side of the project.
Step 1: Paint Wood Box Edges
Flip the dried sign over and paint the edges of your box white. Allow to dry completely before continuing.
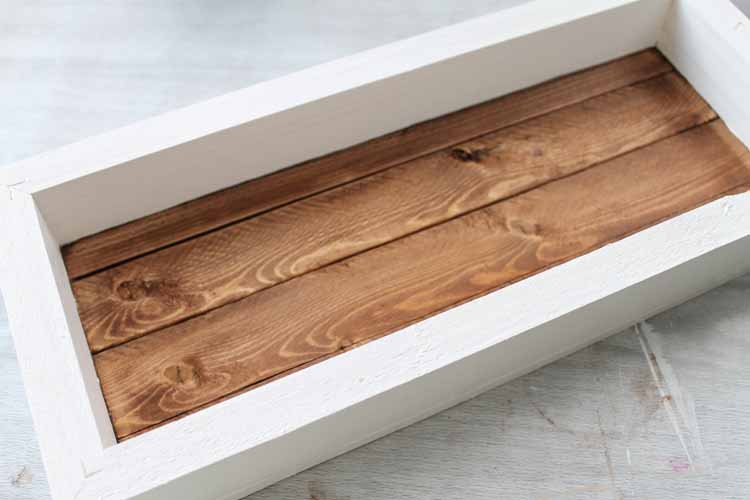
Step 2: Apply Vinyl To Sign
Use transfer tape to apply your weeded “SNOW” vinyl to the box. Press down well, then peel back your transfer tape.
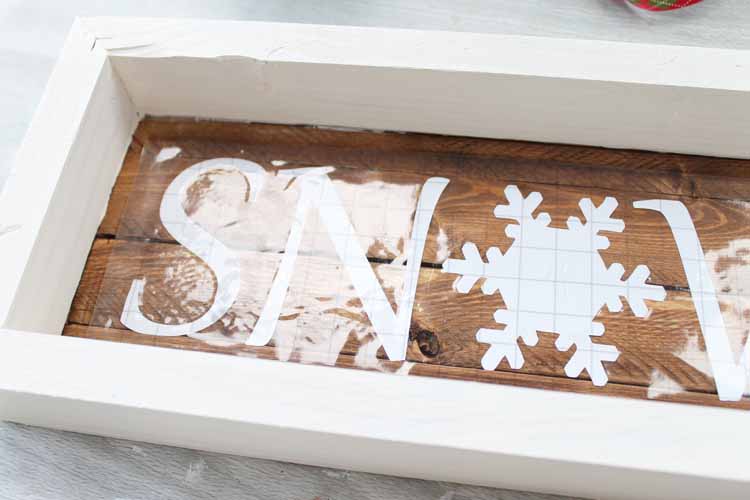
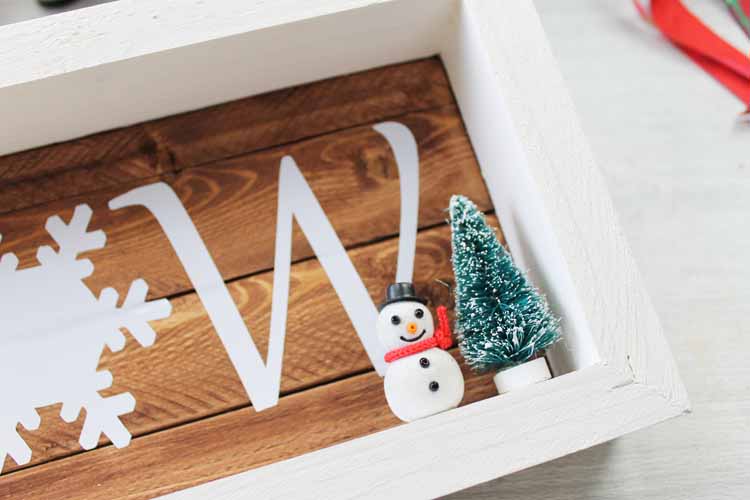
Step 3: Add Miniatures
Add a few miniatures to this side with hot glue to embellish the sign.
Step 6: Display Wooden Signs With Sayings
Then add the snow version to your home decor this winter!
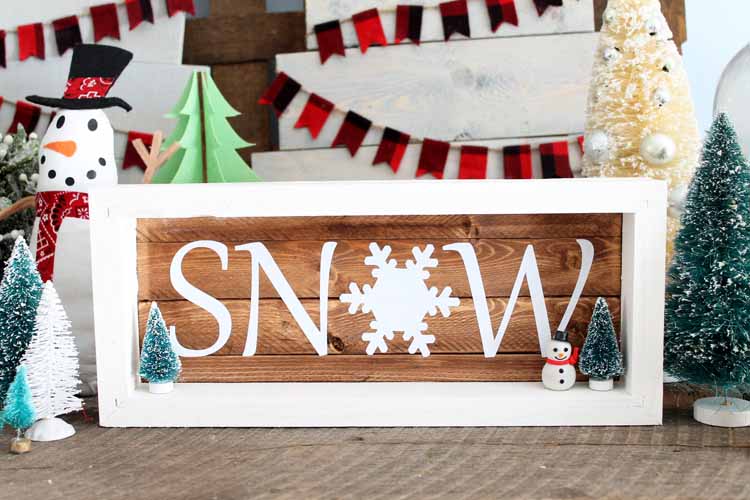
As Valentine’s Day approaches, you can flip the sign to be more festive.

Wooden signs with sayings can be easy to make with these two techniques. You can even combine the two to make a reversible version like this one.
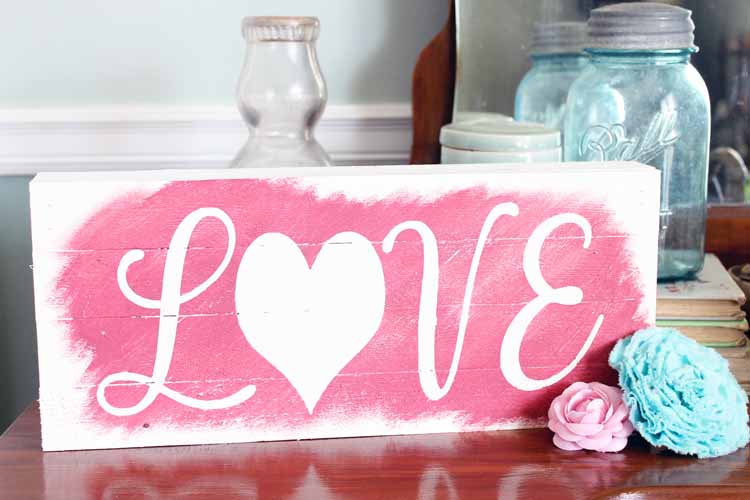
You will love only needing to store one sign and being able to use it for several months. I am sure you can think of even more reversible signs you can make with this technique!

FAQs About Wooden Signs With Sayings
Here are a few common questions that I often see readers asking about creating wooden signs with sayings. If you have a question, check if I’ve already addressed it below. If you don’t see your question listed, please leave it in the comments!
What Cricut Machine Can I Use For This Project?
All of them! The Cricut Maker, Cricut Explore series, Cricut Joy, Cricut Joy Xtra, and Cricut Venture can all cut vinyl!
The only thing to remember is that each Cricut machine is different regarding project size capabilities and the materials it can cut. So, depending on what project you have in mind, you might need to resize the design or cut it out using a different material.
Can I Change The Size Of This Project?
Yes, you can! I used a 14×6 wood pallet box for this project, but you can use any size. Remember you will need to adjust the designs in Cricut Design Space to fit the wood pallet box or wood sign you are using.
What Other Saying Could I Use For This Project?
Honestly, the sky is the limit regarding the sayings you can use for this project! However, if you are looking for more ideas, I have listed some other word combinations that you can use for your reversible sign below!
- Thanksgiving/Christmas
- Halloween/Christmas
- Easter/4th of July
- Spring/Summer
- Fall/Winter
- Love/Lucky – Celebrate Valentine’s Day and St. Patrick’s Day
- Boo/Joy – Celebrate Halloween and Christmas
- Thankful/Merry – Celebrate Thanksgiving and Christmas
- Ghost/Gingerbread
How Do I Play The Instagram Story Linked Above?
To play the Instagram Story linked above, click on the image (of the Instagram Story) to see each story.
5 More Reversible Decor Crafts
Did you love these wood signs with sayings and want more reversible decor crafts? Then check out the projects below!
- Make This Reversible Scarecrow and Snowman Sign
- Reversible Halloween & Thanksgiving Cricut Vinyl Sign
- Scrap Wood Projects: Reversible Pumpkins and Snowmen
- Easy Vertical Welcome Sign – Reversible for the Holidays!
- Reversible Sign for Spring and Summer



Very nice idea
suz
Great idea! I love that one sign can be two. Economical and this saves storage space when not being used.
Thank you for sharing at Celebrate It!
So smart! So cute! Love the double function, Angie!
This is so cute! Pinned! Thank you for sharing on Merry Monday! We hope you will join us again next week!
Kim
I love reversible anything since it serves double duty. This is such a cute idea. Thanks for sharing at the Snickerdoodle Create Bake Make Party.
What kind of stain did you use? And how long did you let it dry? We are finishing a sign for a wedding and want to stain it correctly so the letters stay on.
I like the Americana gel stains because they are water-based. I would just let it dry maybe an hour. Just be sure to wipe away the excess REALLY well.