
Birthday Girl Sign
Make a large sign with your Cricut machine and this easy technique.
What You Will Need
- Card stock in two colors
- Cut file (info below)
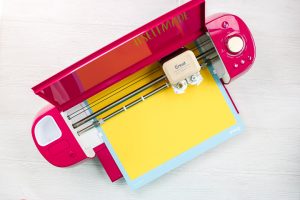
- Cricut machine
- Tape
- Glue
Instructions
- You can find the cut file by going to my Cricut Design Space profile and scrolling to "Cricut Birthday Girl Sign". Use the video instructions to slice your design into pieces that will work on the mat. Then cut each piece with your Cricut machine.
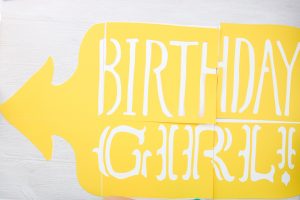
- You should be left with pieces that make a back and a front for this sign. I used 12x12 card stock so there are 6 pieces for each.
- Assemble the back first using tape. Be sure the pieces are aligned then tape across the seam.
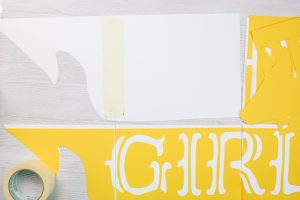
- Repeat for each piece and seam.

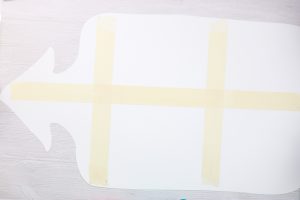
- Add additional tape to reinforce the seams.
- Then flip over the sign and start adding the other pieces to the front. Use glue to secure into place and allow to dry. Just make sure that the pieces are aligned before adding glue. You will also want to glue in place things like the centers of any letters.

- Once dry, your sign is complete and can be used to decorate or as a cute photo prop.