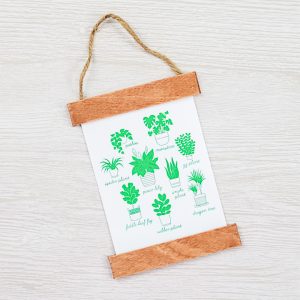
Foiled Plant Art with Cricut Print Then Cut
Learn how to use foil with Cricut print then cut and make gorgeous prints with metallic accents.
What You Will Need
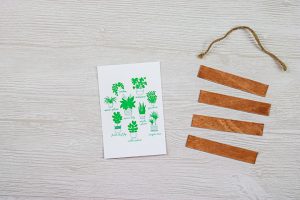
- White cardstock
- Cricut Foil Transfer Tool
- Green foil
- Cricut Design Space project
- Printer and ink
- Craft sticks
- Stain
- Twine
- Hot glue and a glue gun
- Cricut machine
Instructions
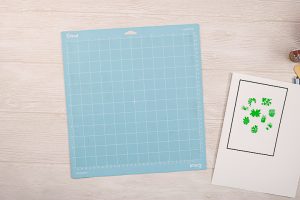
- From Cricut Design Space (scroll to "Foil Print Then Cut Plant Art"), print your project when prompted and add to the mat.
- The software will ask you to add the foil at the appropriate time. When adding the foil, you cannot cover any of the black box with tape. I like to cut my tape pieces in half lengthwise. Then cut your foil where it is slightly smaller than your box. Add the foil to the print with the tape be cautious not to cover any of the box.

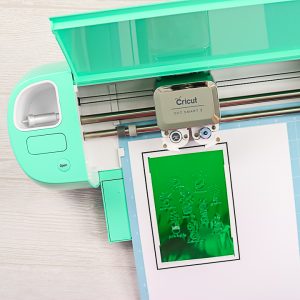
- The machine will then add the foil lines with the foil transfer tool. Be sure you have the tool in the machine and the correct tip installed before pressing go.

- Once the foiling is complete, the machine will eject the mat far enough so that you can remove the foil. Remove the foil and tape then add the blade to the clamp to cut your art.
- After the cut is complete, you can remove your mat from the machine to complete the project.

- Carefully peel the mat back from your project to avoid curling.

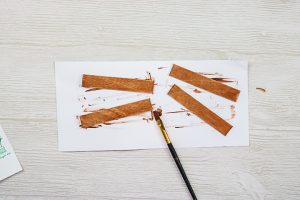
- Cut the ends of the craft sticks off square. Then should be slightly wider than your print.

- Stain each of the sticks on the front and sides. Wipe the stain on, allow to sit a few minutes, then wipe away the excess. Allow to dry.
- Cut a piece of twine to go at the top of your wall hanging.
- Sandwich the paper in between the craft sticks on both the top and the bottom using hot glue. At the top, add the twine in between the sticks as well. Your foiled plant art is ready to hang or to give as a gift!