If you have an xTool laser, this tutorial will help you understand xTool Creative Space. We’ll review several of the software’s functions to help you understand how best to use your xTool laser.
NOTE: This tutorial is applicable to any xTool laser as I am covering the basics of the software.
If you haven’t purchased a laser yet, check out my Laser Ready course to help you decide which laser is right for you.
If you’re new to xTool Creative Space, you’ll love how easy it is to use. Compared to other laser software I have used, this one is not complicated.
You can watch me walk through the entire process by pressing play on the video below.
xTool Creative Space
Creative Space is one of the better laser software options. I have found it’s further along and easier to use than a lot of the other software on the market.
I’m going to walk through the different buttons, show you how to use the software, and design a project.
The process for designing and getting images in Creative Space will be the same regardless of what xTool laser you have. You will pick whichever laser you have, there might be different functions or accessories but the basics for the software are the same.
xTool Creative Space Home Screen
When you open Creative Space you’ll see a variety of projects on that first screen.
Finding Designs
The top projects will be ones you’ve recently opened. Below that you’ll see trending projects and other projects that you can open, use the categories at the top of the screen to help you find the design you’re looking for.
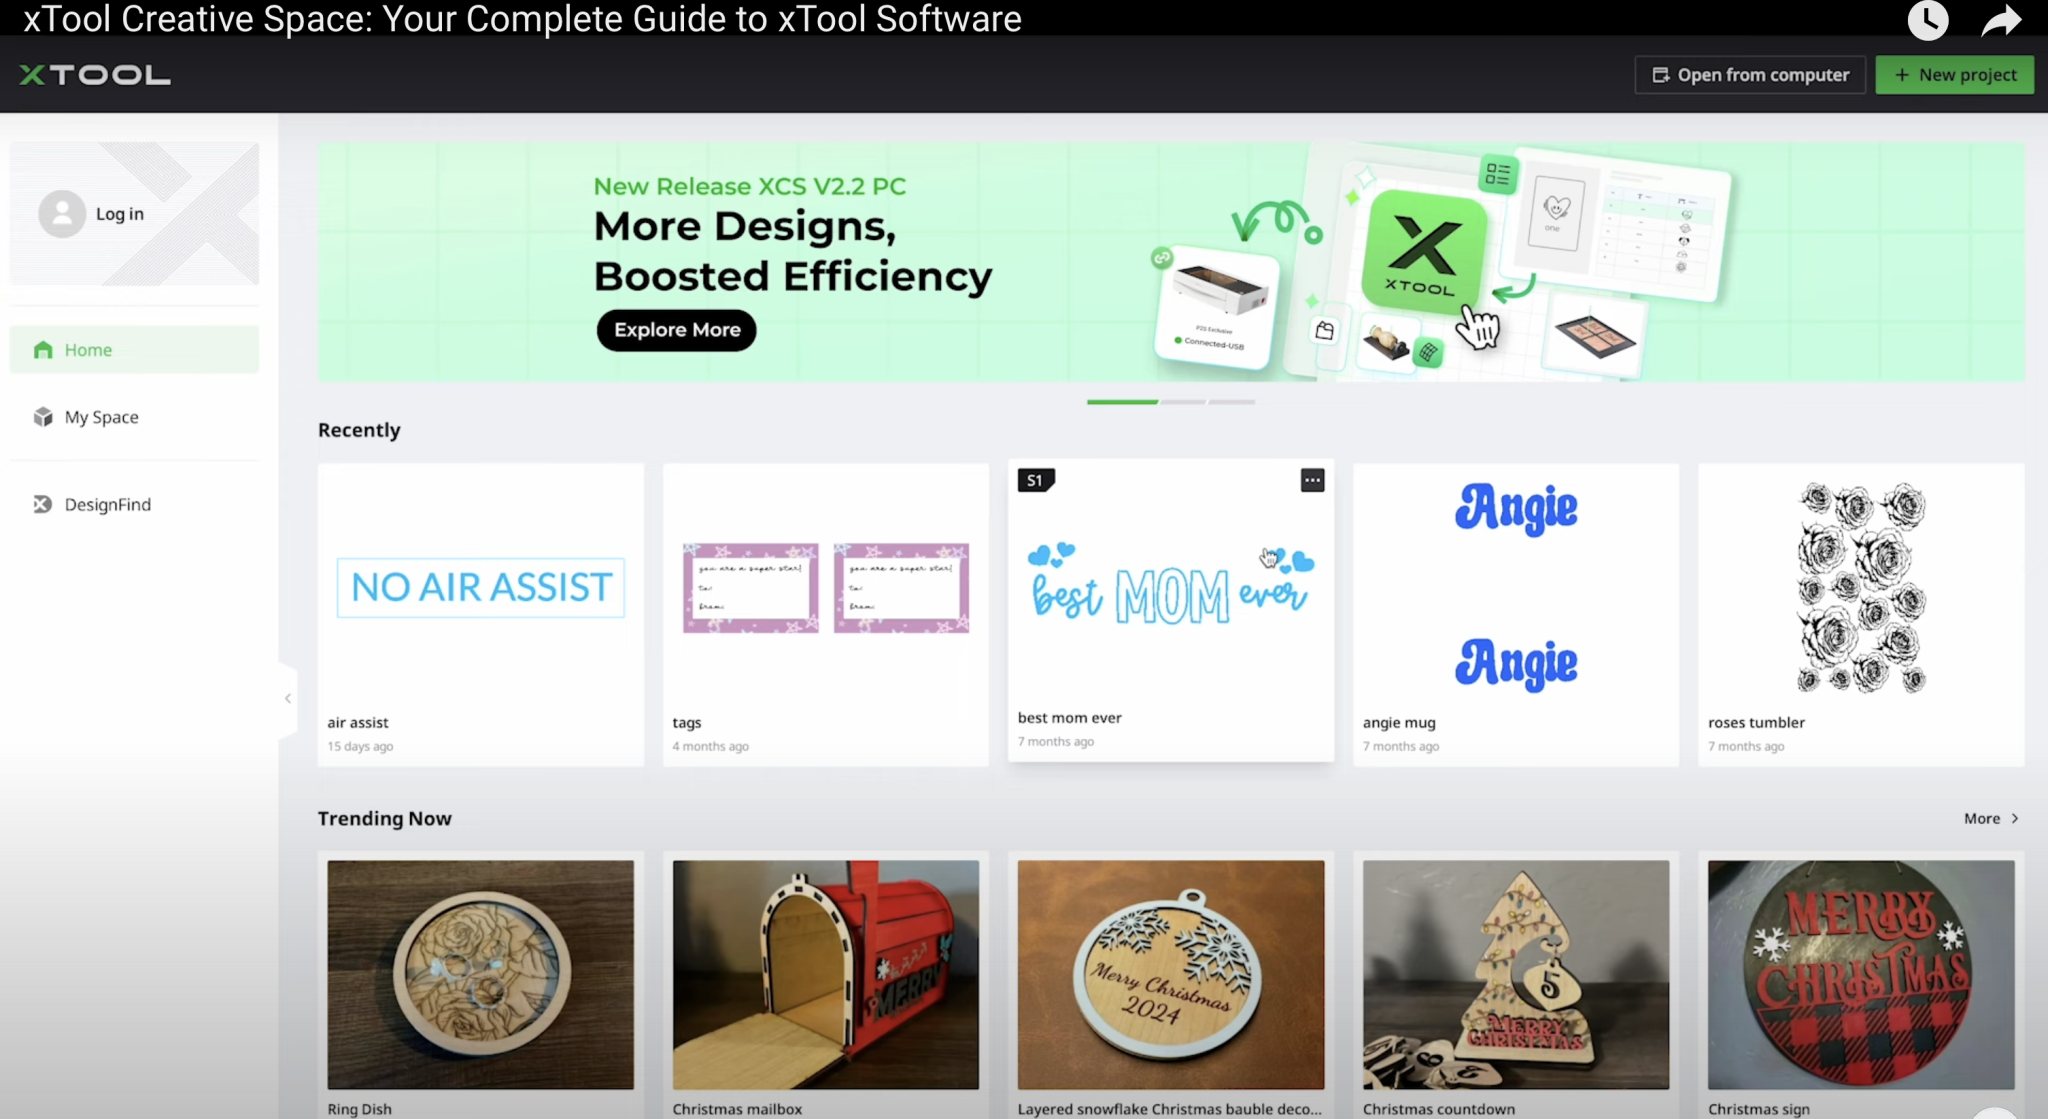
Depending on whether or not you have a subscription the projects may be free or may have a fee associated with them. Click on each project to find out if there is a cost.
On the left-hand side, you’ll find My Space, there you’ll see projects you’ve saved in the cloud. You’ll also find DesignFind. When you click on DesignFind, you’ll find assets that were created by the community.
AIMake for Custom Designs
AIMake is a resource that you can use to create projects using different prompts.
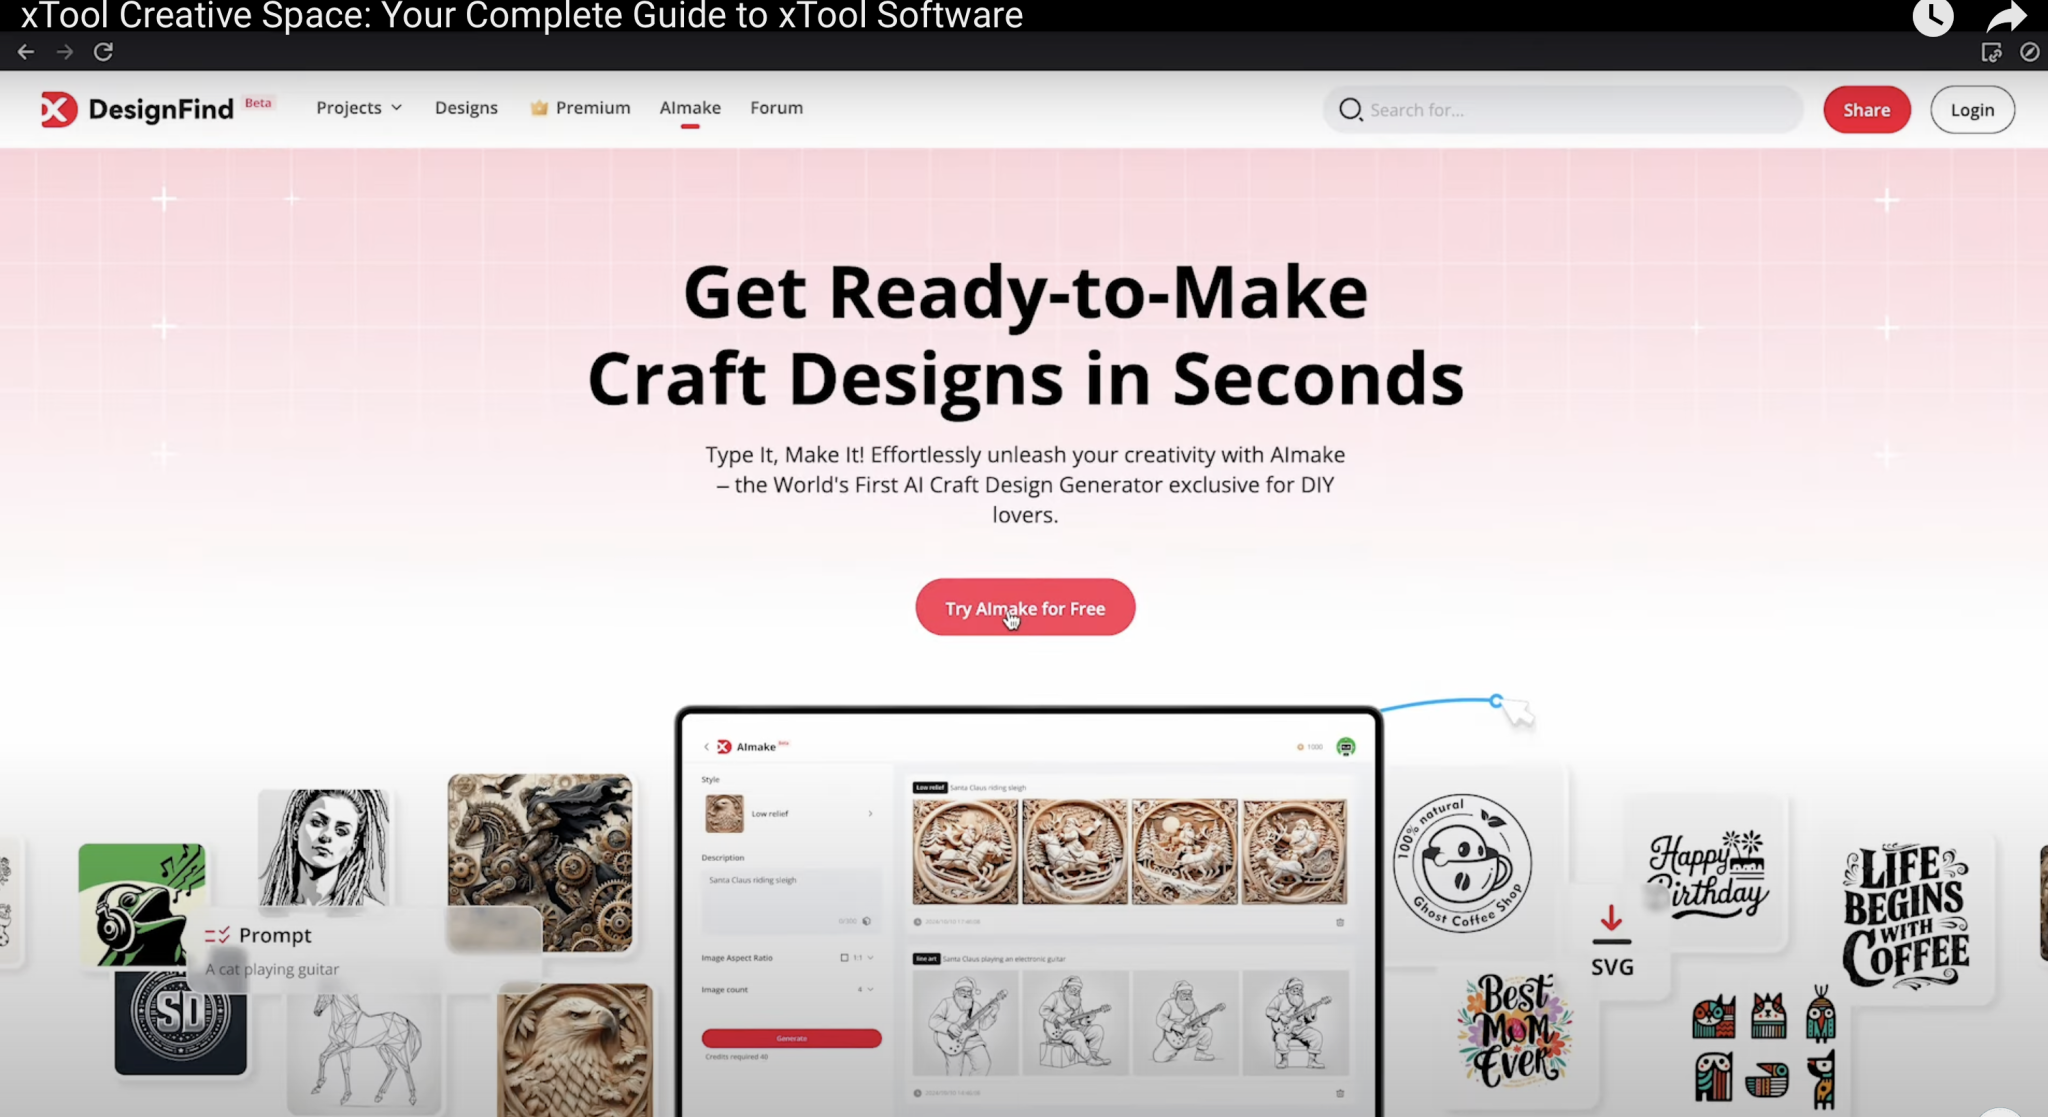
You can try AIMake for free. Login and you’ll see different options. You can make Vector designs for 2D-type graphics. You can also make 3D effect designs for engraving, logos, and more.
Any type of project you want to make with your xTool laser you can use this feature to design it.
At the top of the screen, click the Random Prompt box. Here you can choose the style you’re looking for.
There are 3D options within AIMake. I am going to click 3D Engraving and then Low Relief.
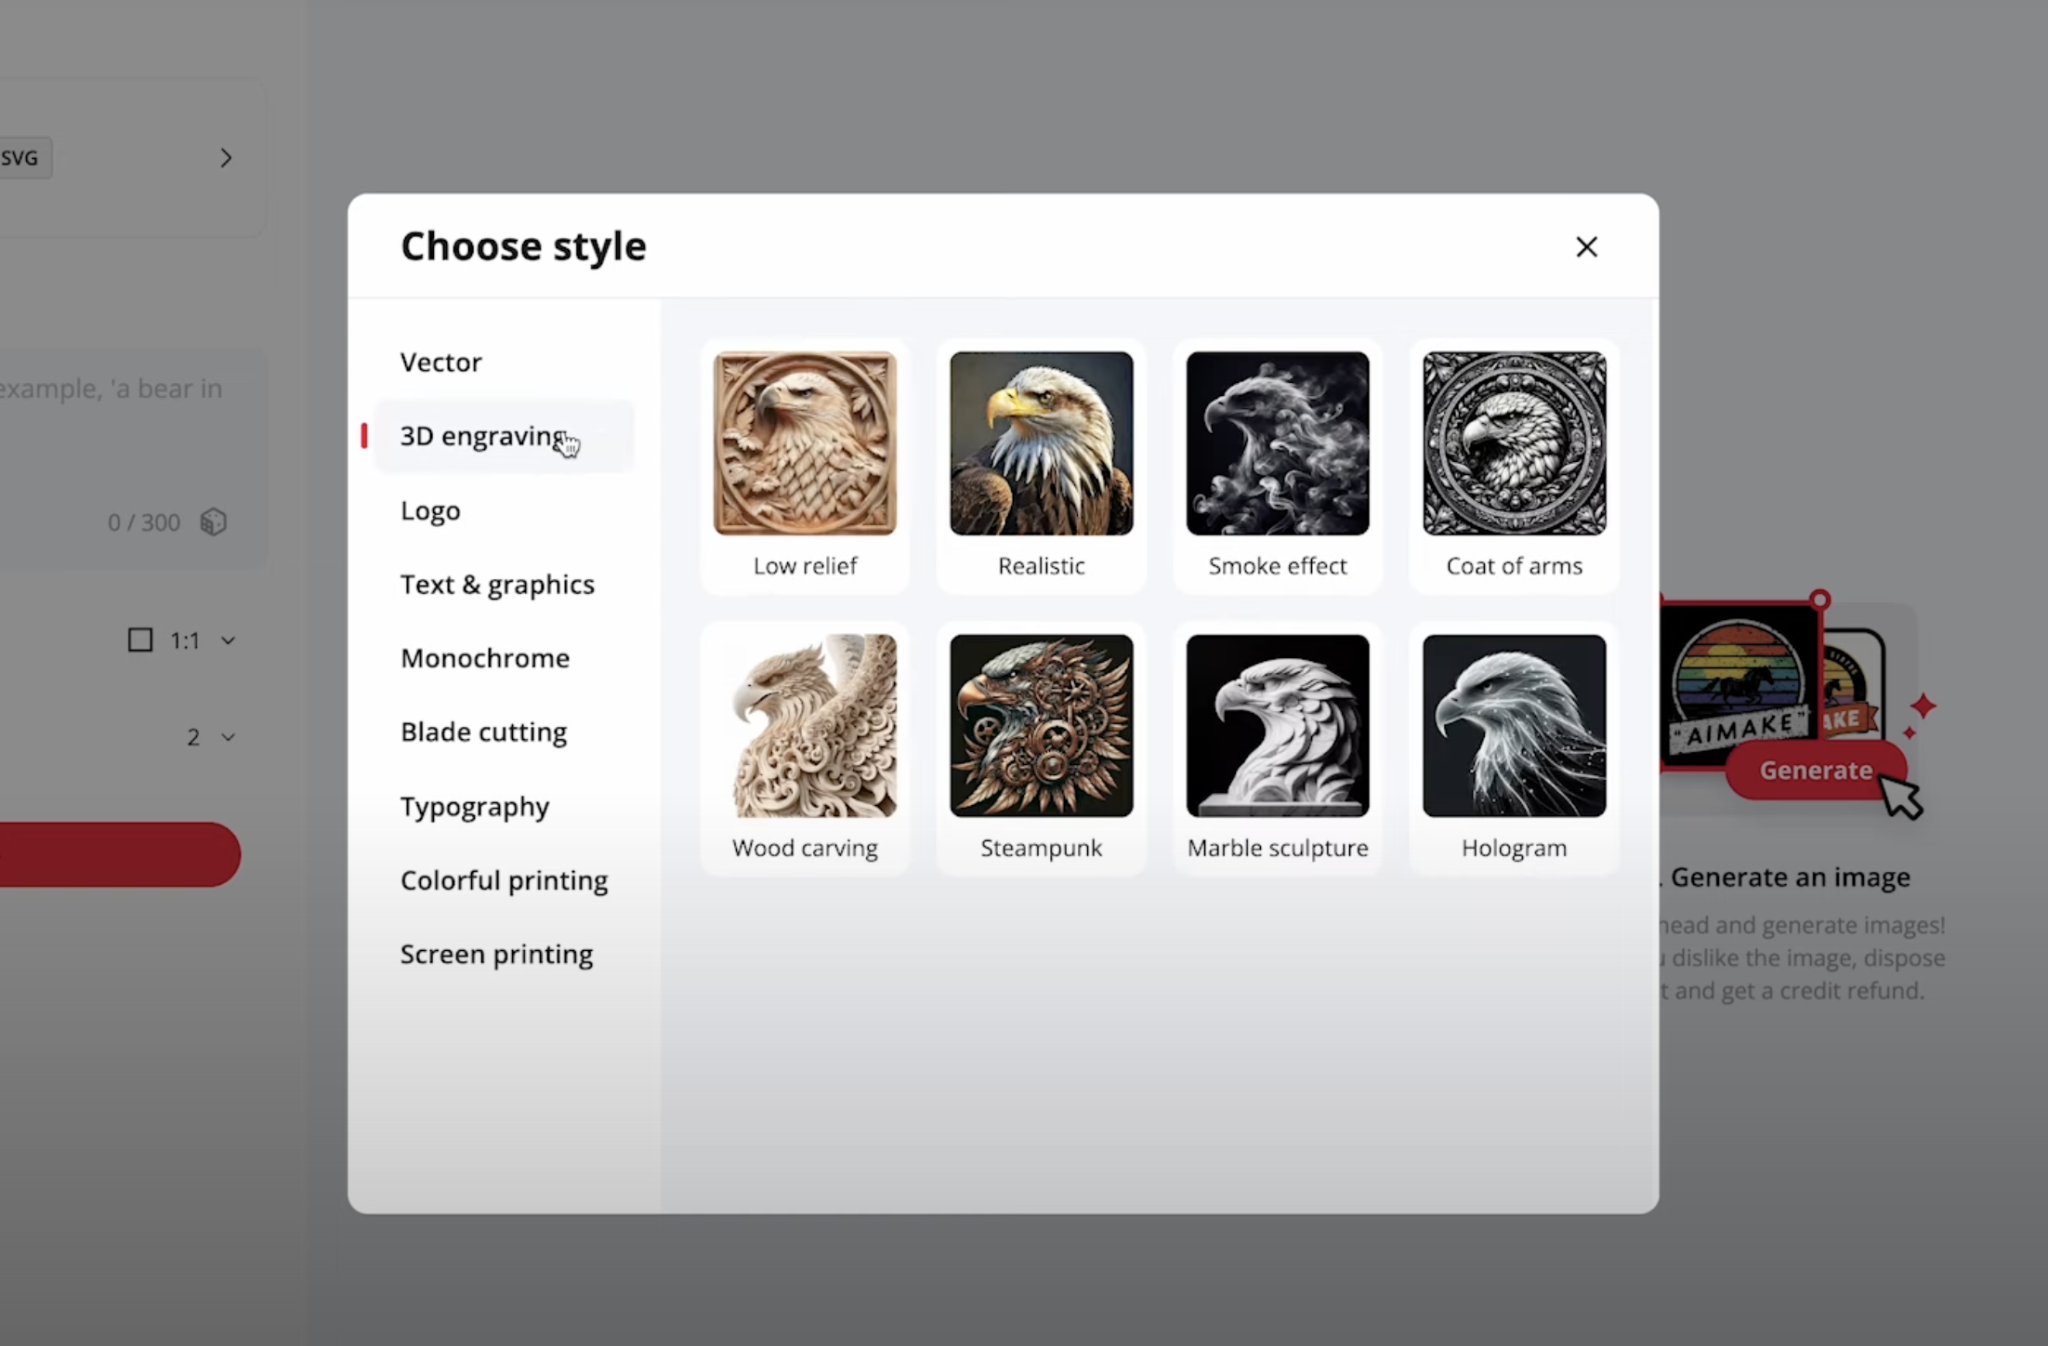
Next, I can describe what I want to make. I am going to type in Horse Head and click Generate.
When it’s done generating we’ll see all the different options and then we can pick whichever one we like best.
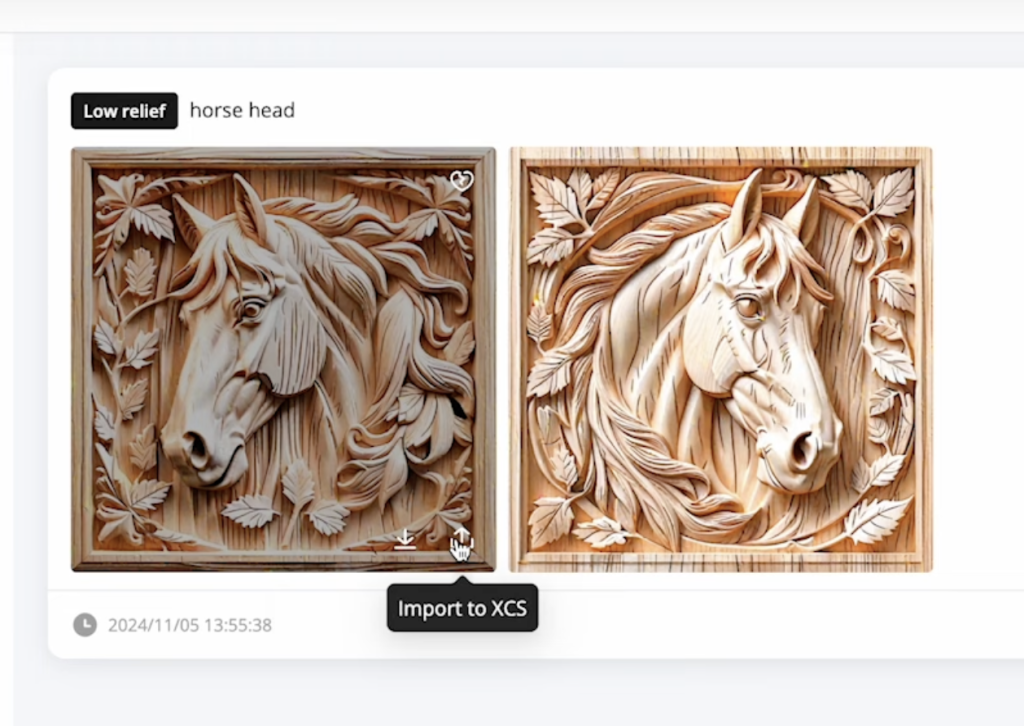
You can download it to Local or click the button to import it right into xTool Creative Space. This is a great way to use Creative Space to create your own designs.
You can use this process to create a Vector image or a Line Icon. Changing these will give you completely different results.
Shop Button
The only other option on the left side of the screen is the Shop button. Clicking that will take you to the xTool shop where you can buy equipment, supplies, etc.
Projects in xTool Creative Space
To start a project, you can click one of the projects from the home screen or click New Project in the upper right-hand corner. This will take you to your canvas.
Canvas Top Menu
Across the top of the screen, you’ll find the main menu which will allow you to do things like save the project, change the processing modes, etc.
If you’re using a rotary attachment or using a curved material, you can select those by changing the processing mode.

If you’re using the xTool app to get a photo of the bed of your laser, you can click the icon in the top toolbar.
You can also mark the processing area by clicking the flag button and then you’d input your distance.
I like to use the auto-measure feature which you can do by clicking the button that looks like a ruler.
Material Button
The last option on the top toolbar is User-Defined Materials. Click this to select the material you’re using.
The great thing about using xTool materials is that xTool Creative Space will show you the best settings for whatever you want to do.
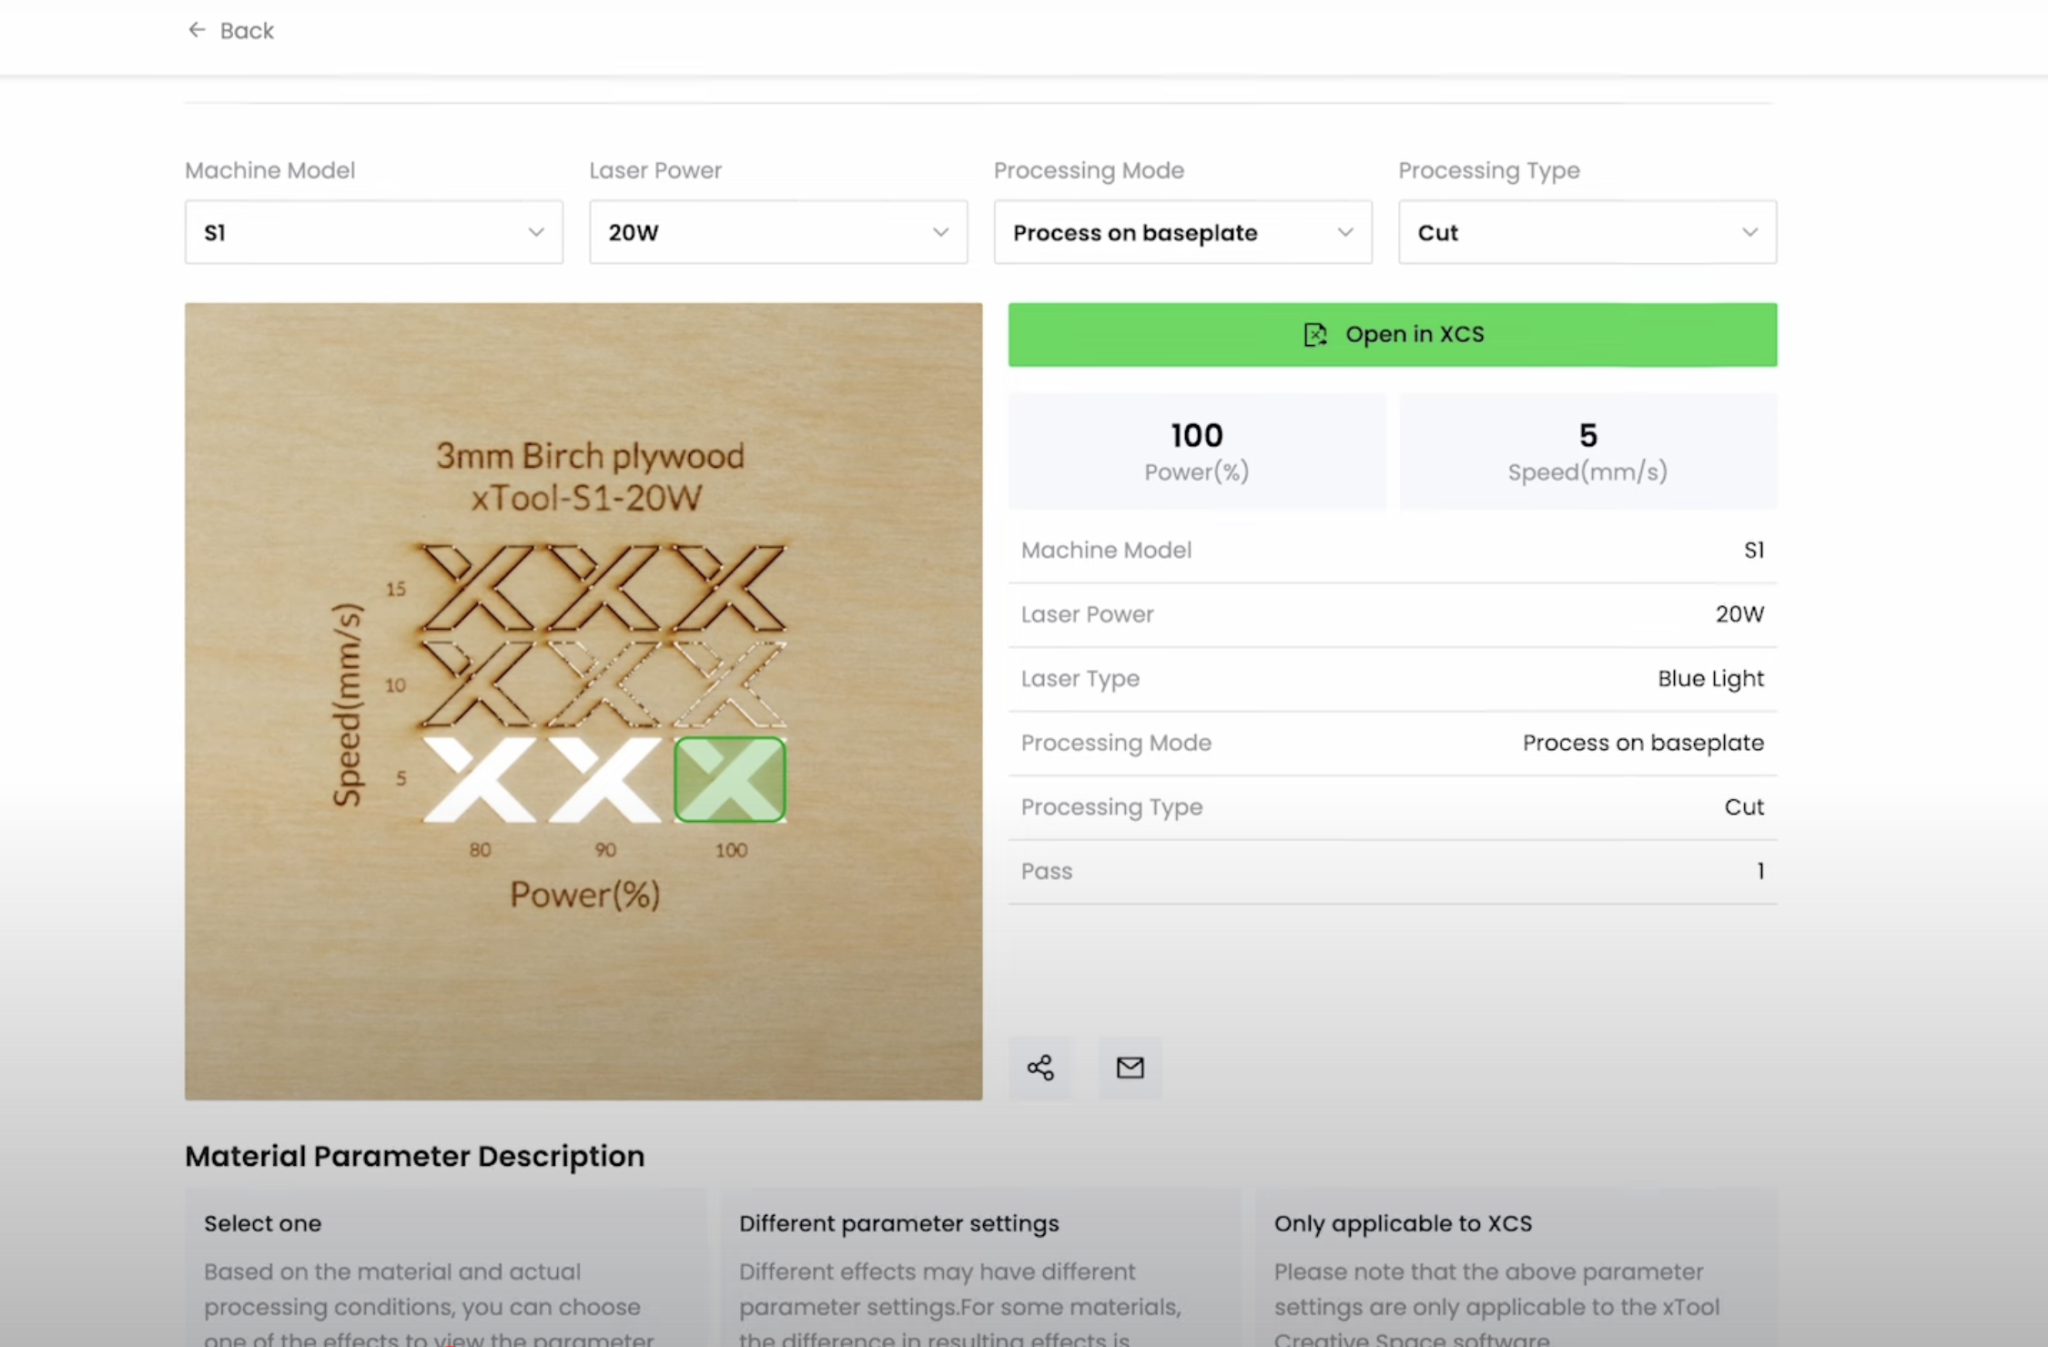
For example, if you choose three-millimeter birch plywood and you’re using a 20-watt laser to cut the plywood Creative Space will show you the recommended settings to use with examples of what other settings would look like if you wanted to try a different setting you could.
There are also recommendations for engraving and scoring.
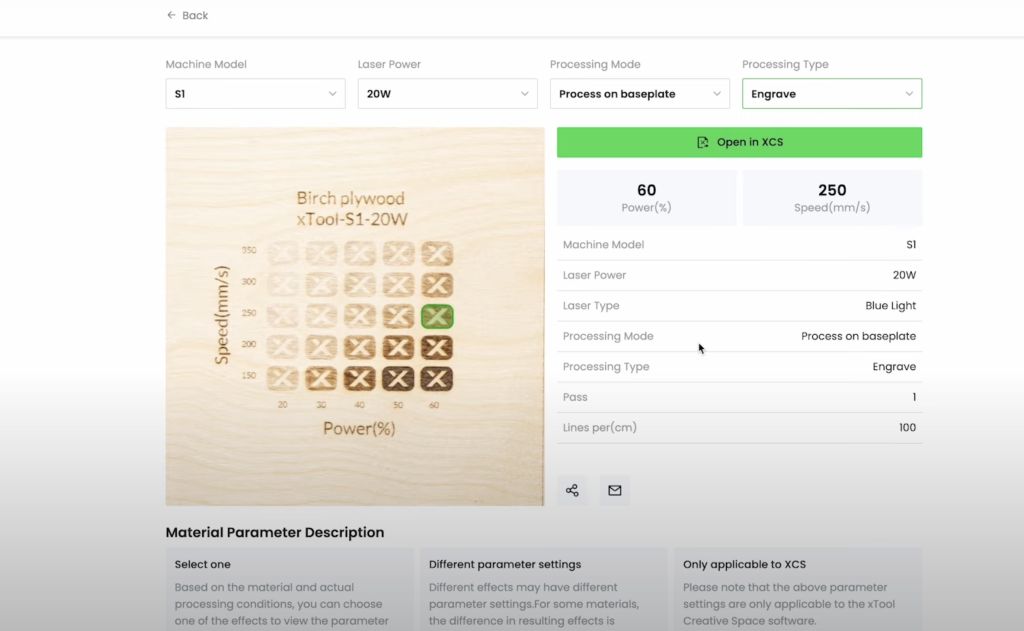
I really like the settings grid you get in xTool Creative Space. You don’t have to guess what settings you should use. xTool will give you their best recommendation and you can decide if you like that look or want to do something else.
Canvas Left Menu
Now let’s look at the different tools in Creative Space that you can use for designing.
On the left side, there is a variety of different buttons. We’re going to look at what each one of those does.
The first button is to import an image. When you click on it you can find an image or SVG on your computer and bring it into Creative Space. If you’re cutting or engraving, I think an SVG is the best option.
If you’re using the xTool M1 Ultra and want to print with your laser an image file would work well.
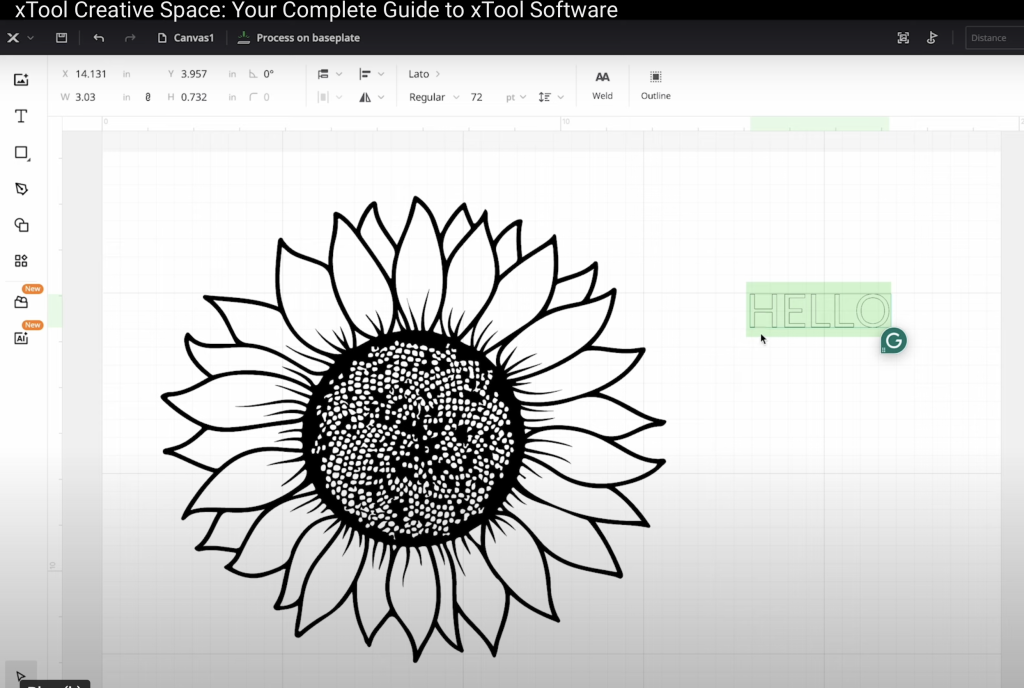
The second button allows you to add text. Click it to add text to your canvas. See more options in the text options section below.
The third button allows you to draw within Creative Space. You can draw lines, rectangles, or circles. Select what you want to draw and you can do that right on the canvas.
Next, is the Vector button. This button allows you to freehand design on the canvas. I am not going to get into the Vector tool today but there are a variety of tools within the Vector function that you can use if you want.
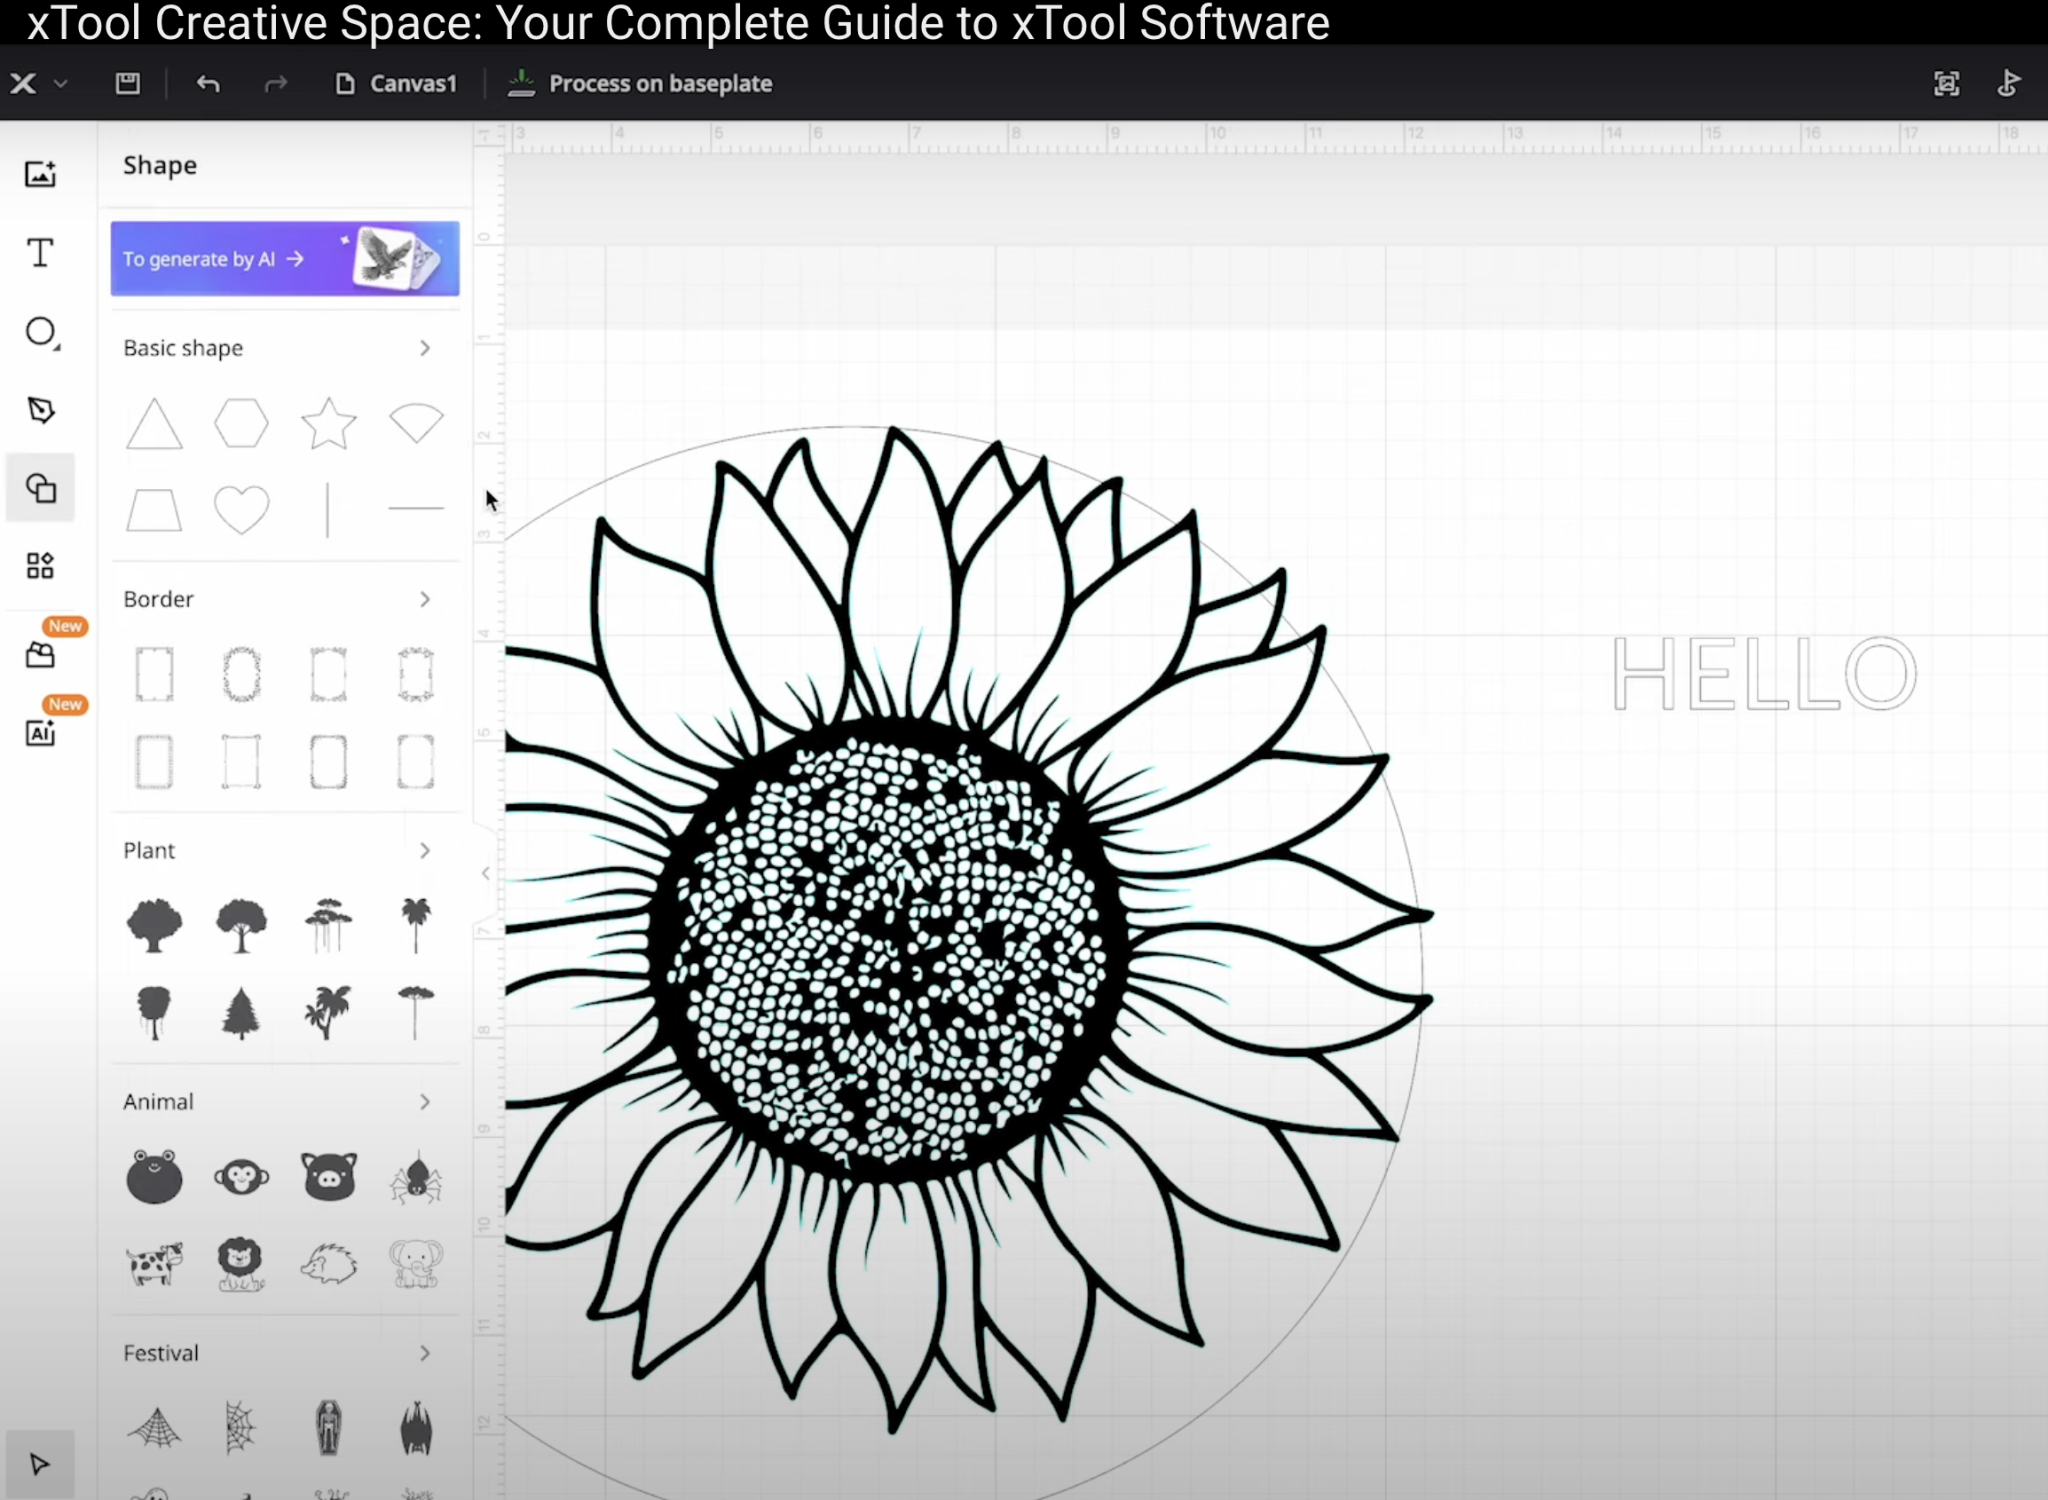
When you click the next button you’ll see the different shape options. If you don’t want the circle, square, or line options that were above you can click the shape button and get more options to use for your design. If you click More you’ll see even more designs.
Depending on the time of year you’re creating your design you may see Halloween, Christmas, or other holiday designs. There are a lot of options to choose from.
Canvas Right Hand Menu
To see the other options, we need to add a design to the canvas. With a design imported more options show up on the right-hand side of the canvas.
Switching Between Lasers
If you have more than one xTool laser, you can switch between them in Creative Space. All xTool lasers are compatible with Creative Space. Simply connect the laser you’re using and you’ll see the device settings and you can even view a user guide for each specific laser.
Adjusting Settings
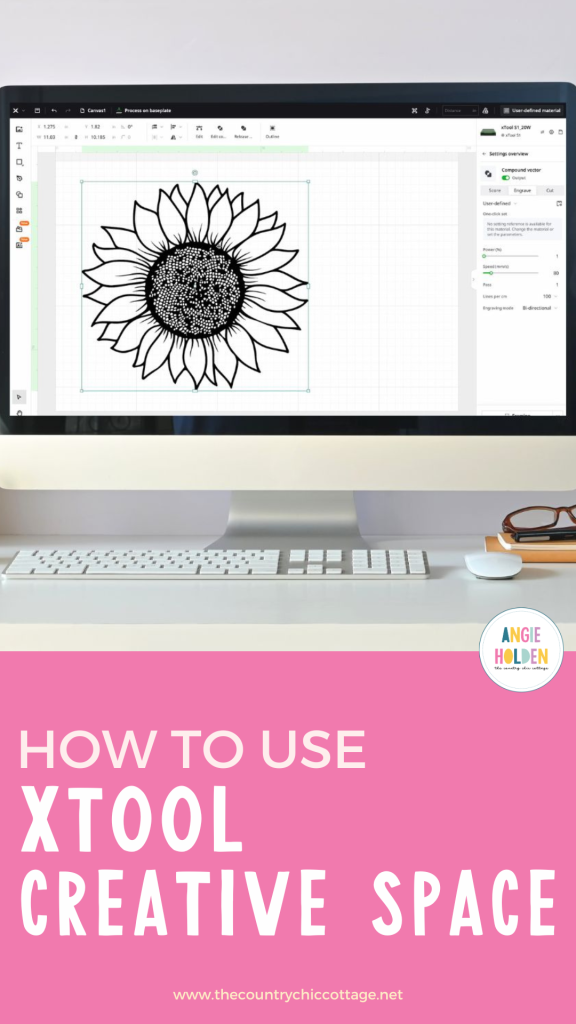
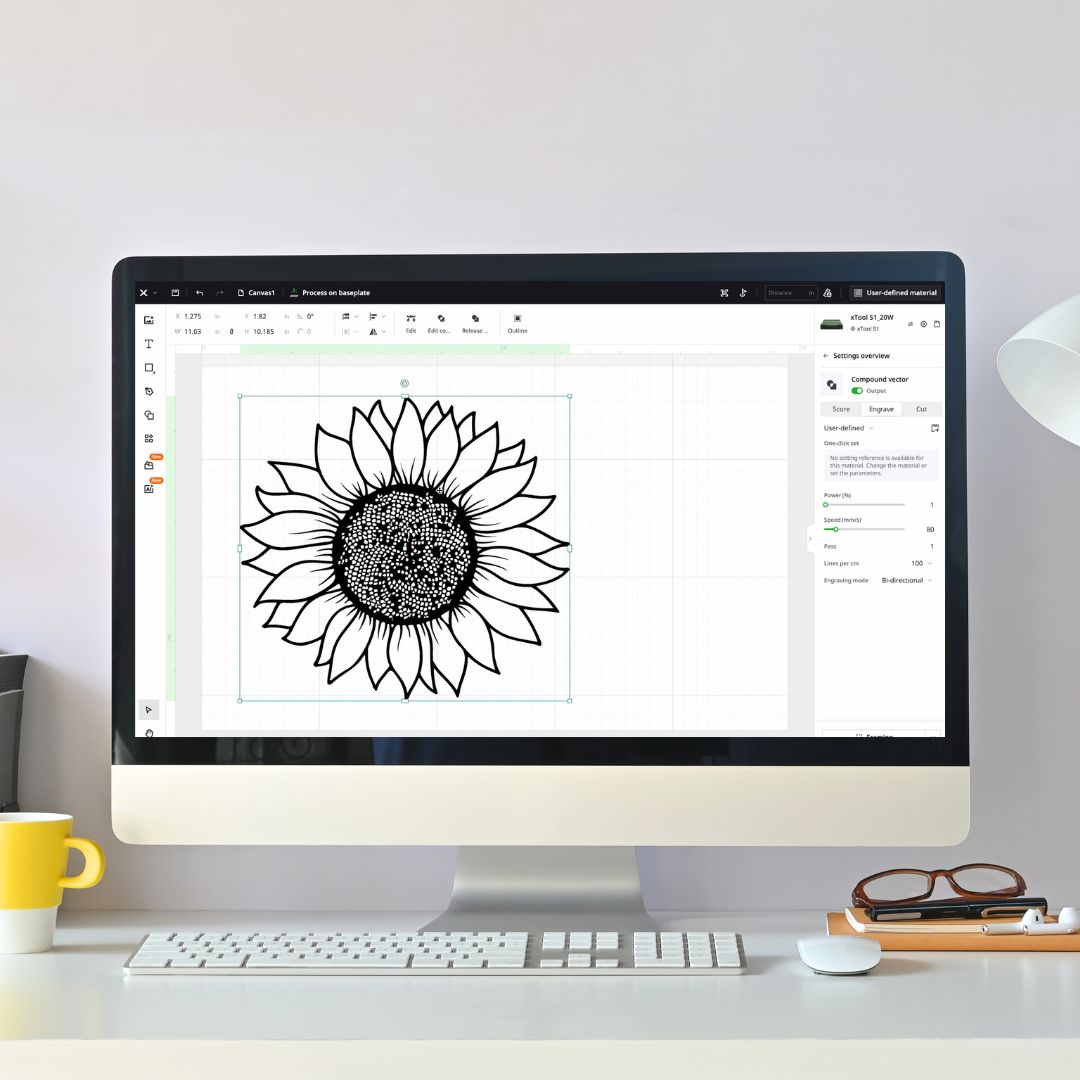
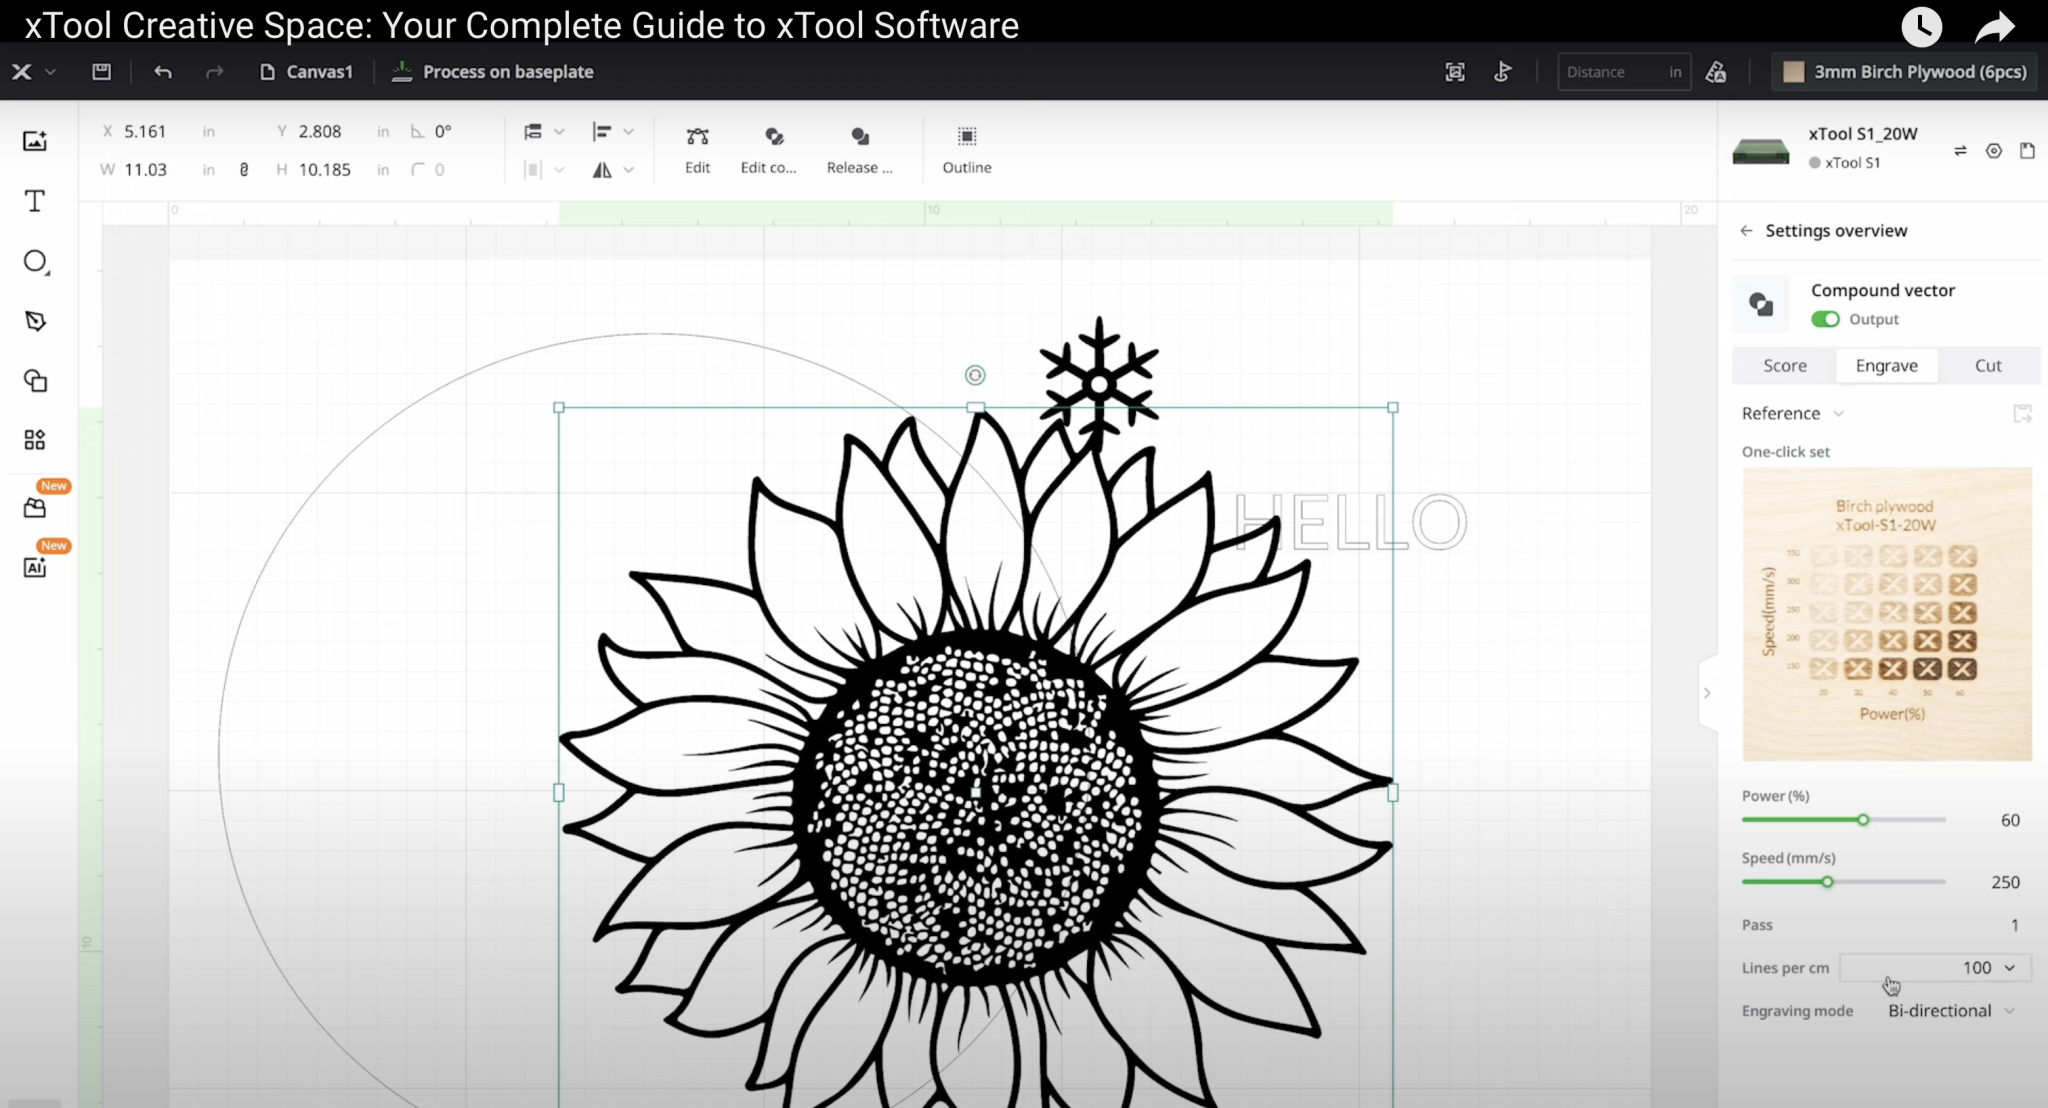
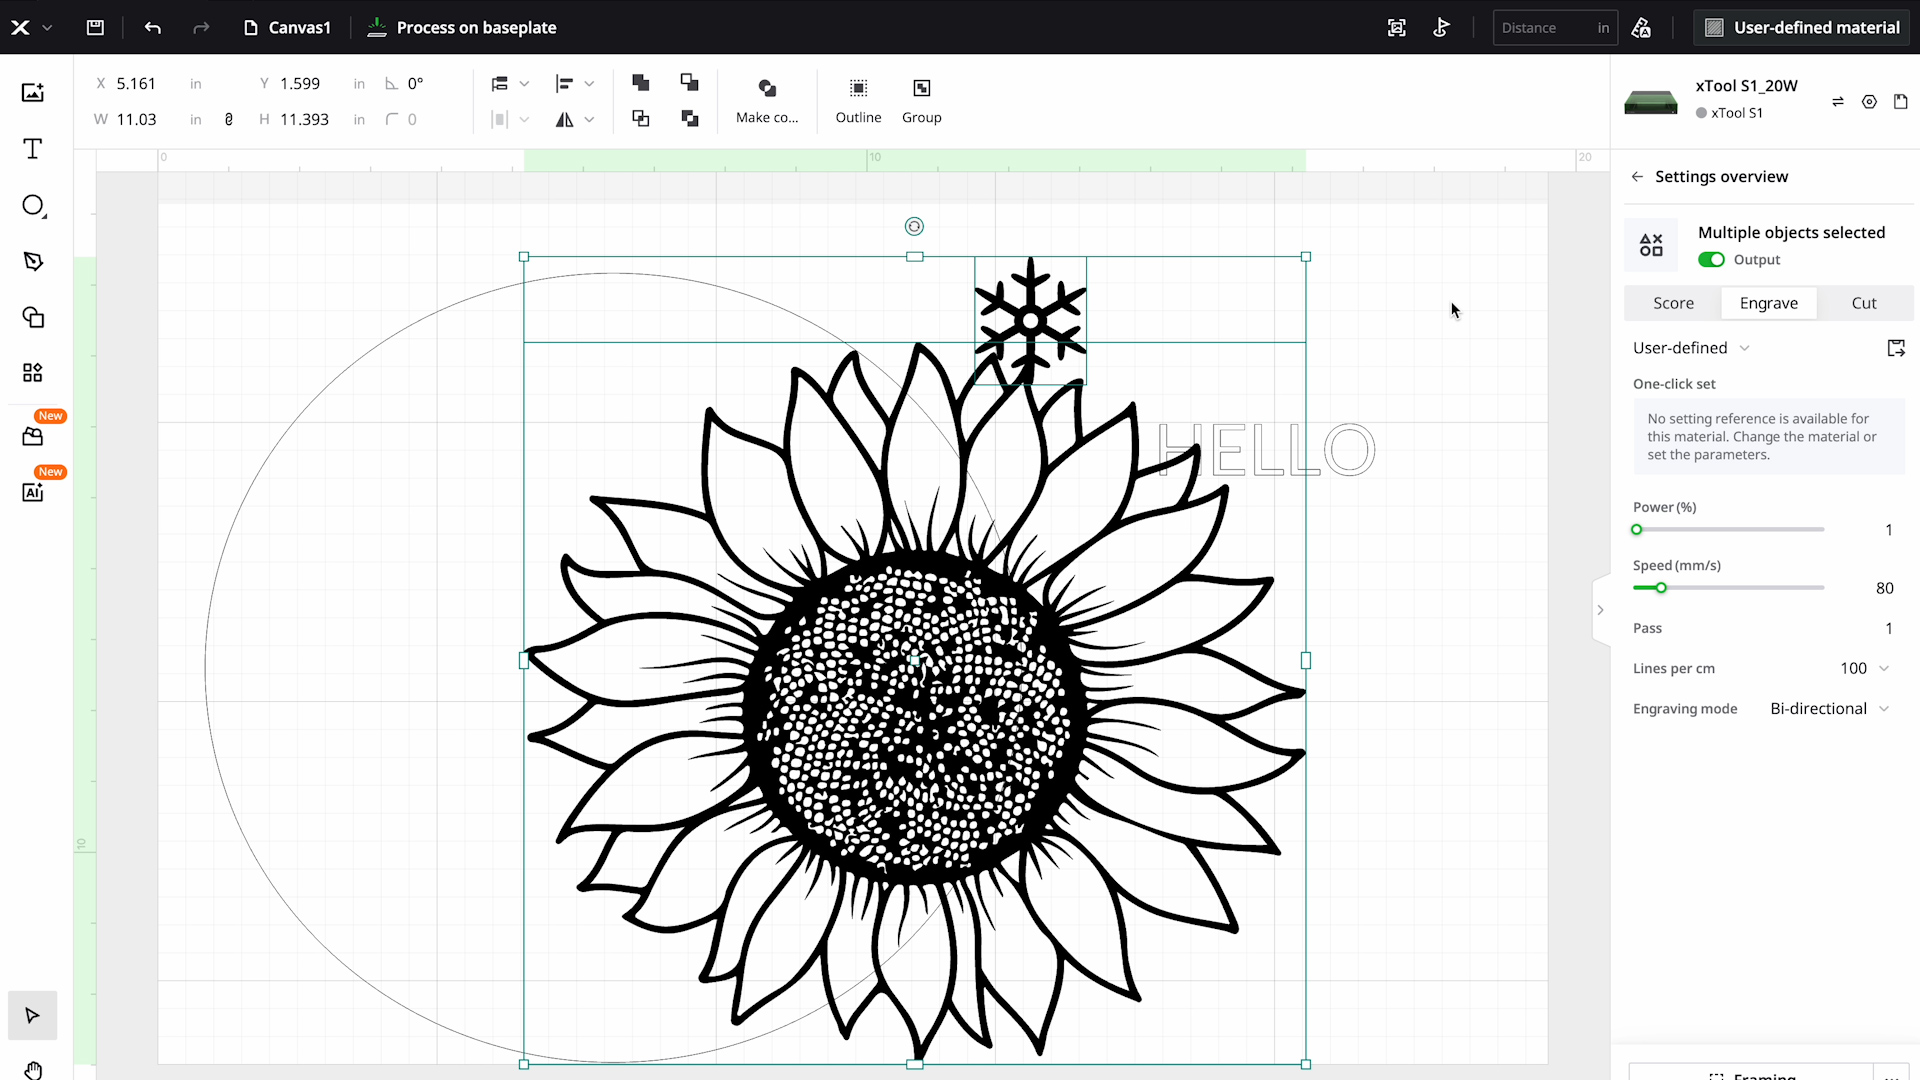
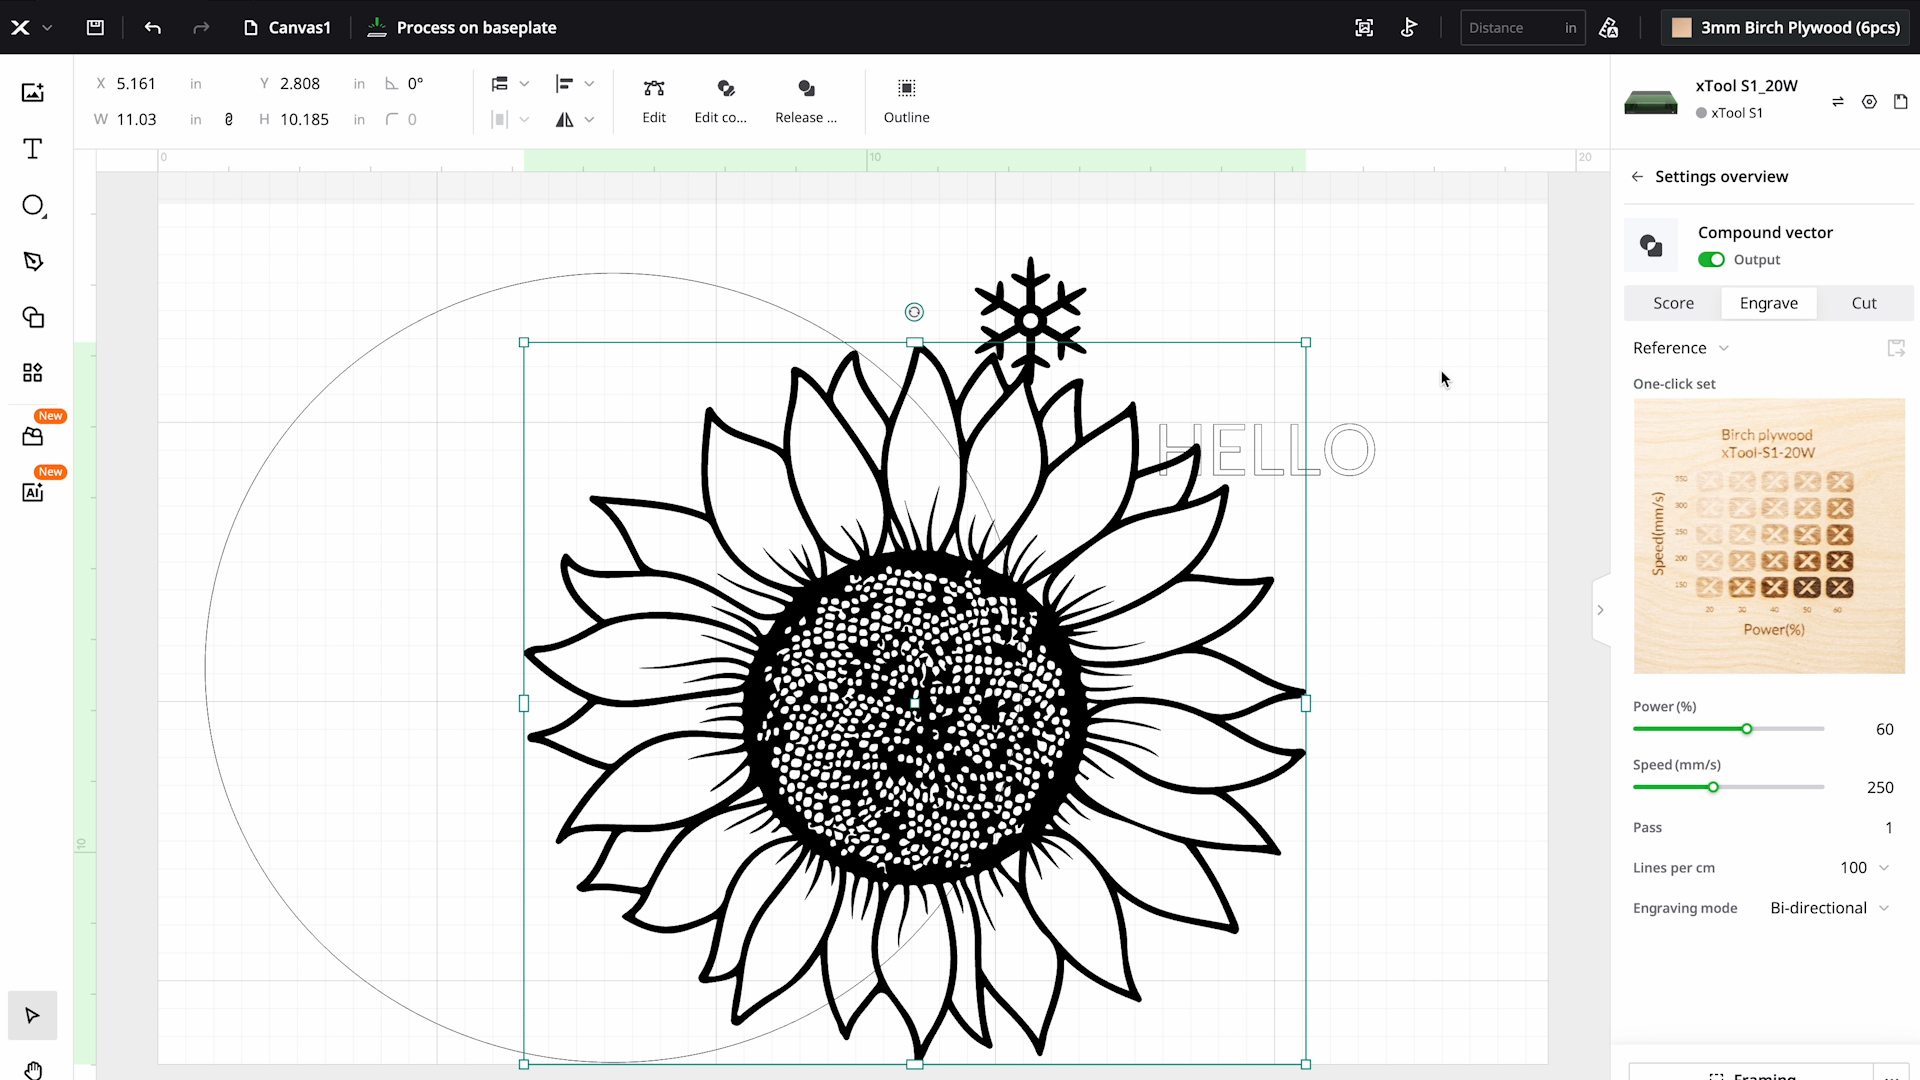
With designs on the canvas, you’ll see a settings overview. For example, currently, I have two objects that are together and there are settings associated with those objects.
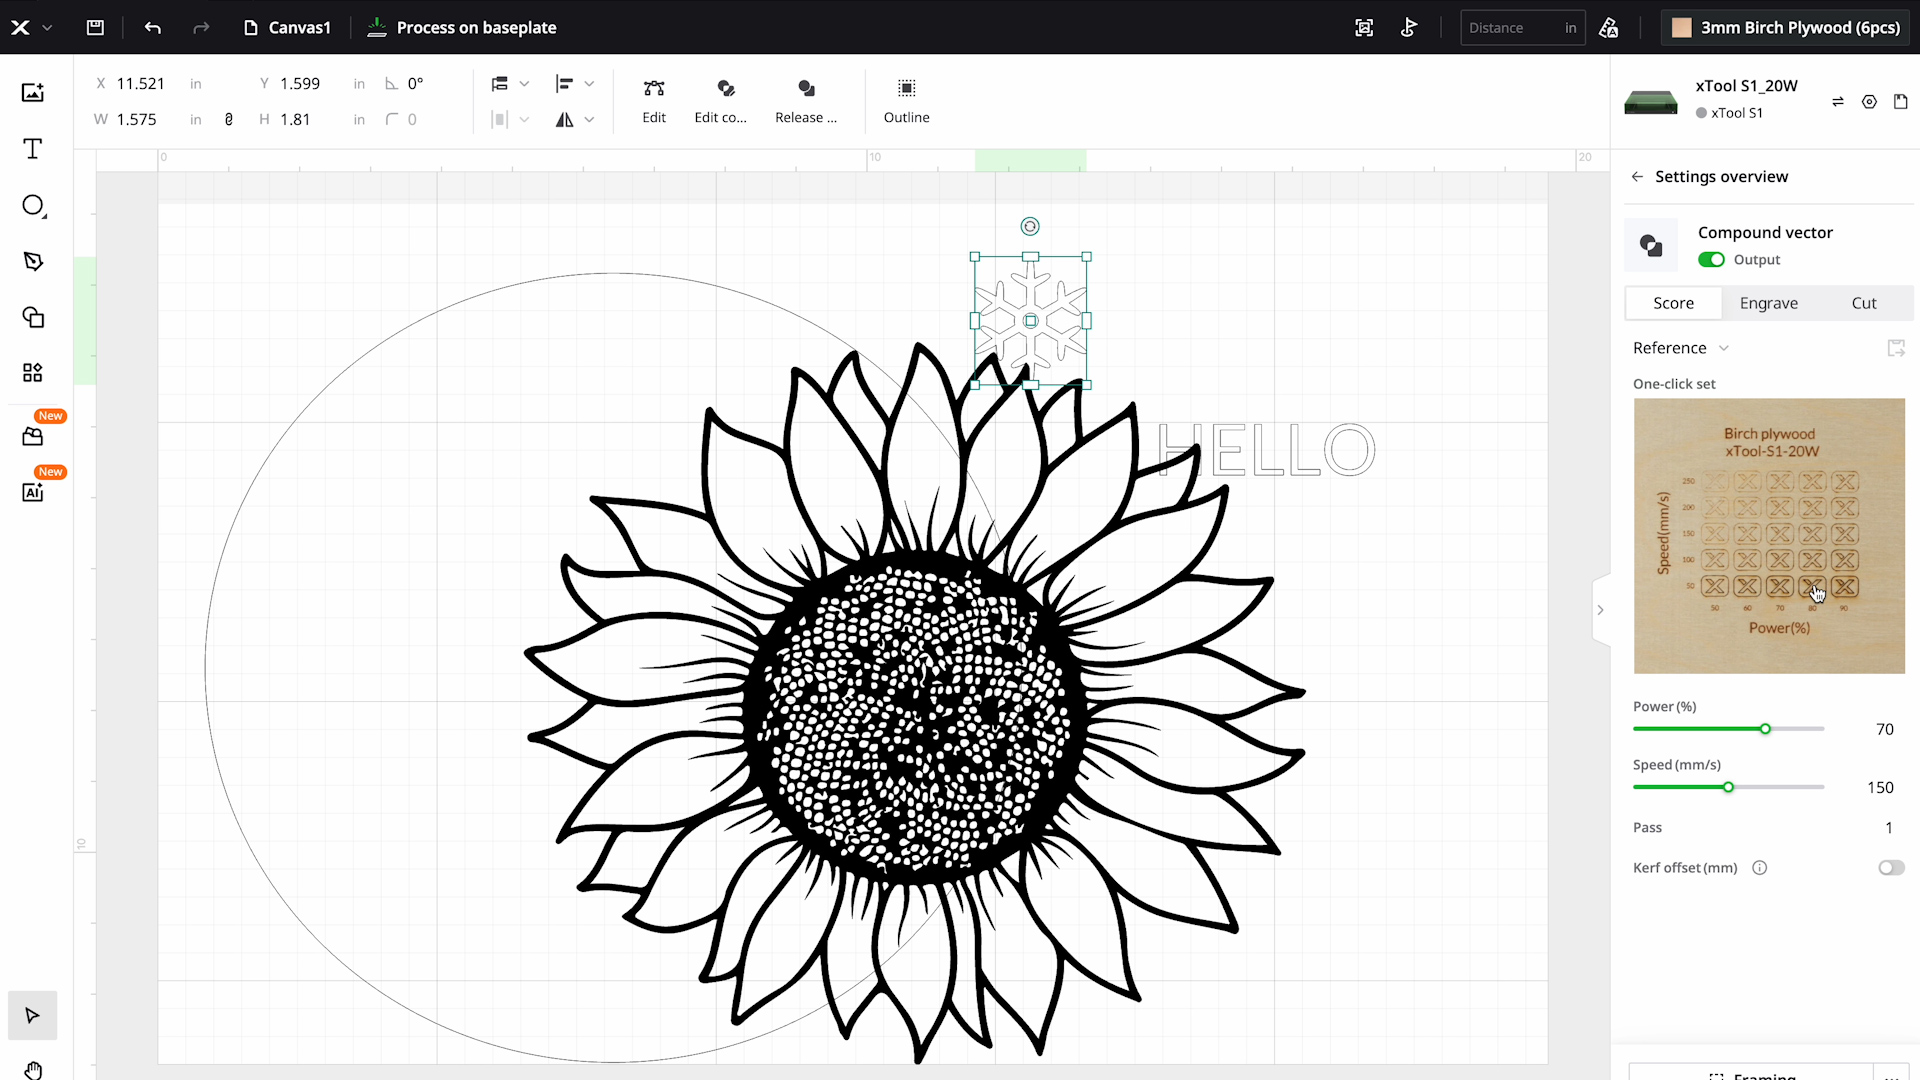
When I click the sunflower, it shows me that it is a compound vector set as an engraving. I can leave it as an engraving or I could change it to cut or score lines instead.
The design is imported with a setting of – power – 1 and speed – 80. When I select the material I’m actually using those settings will change.
I chose the three-millimeter birch plywood and the settings are now power – 60 and speed – 250 with one pass and 100 lines per centimeter. The engraving mode is bidirectional.
Those settings will change again if I choose to cut or score instead of engraving.
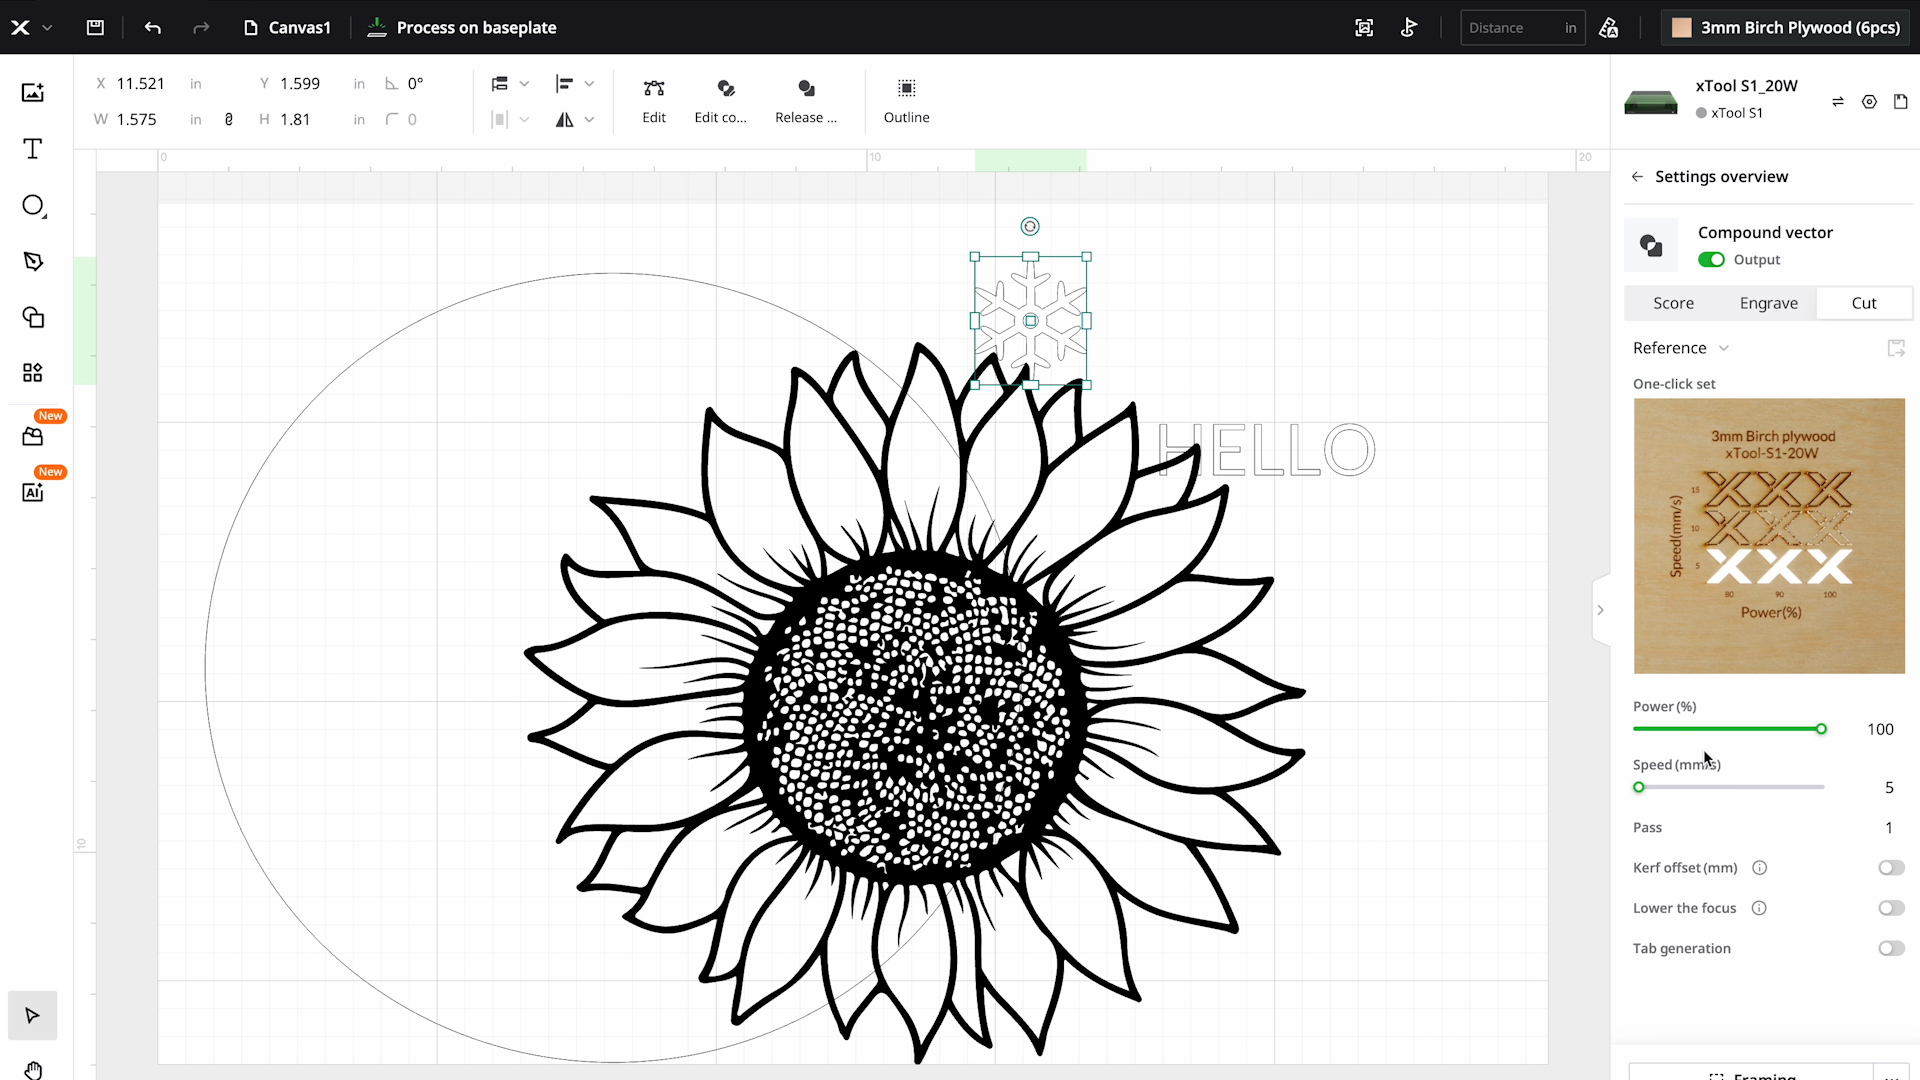
If I wanted to score the snowflake design but wanted to get a good dark scoring I can change the settings from what is recommended by xTool Creative Space.
Text Options
Anytime you want to make adjustments to the text double-click on the text layer and you can change it. A variety of options will appear across the top of the screen.
With the text layer selected, you can change the size and the font that you’re using. xTool Creative Space allows you to use the xTool fonts and fonts that are already installed on your computer so you have a lot of font options.
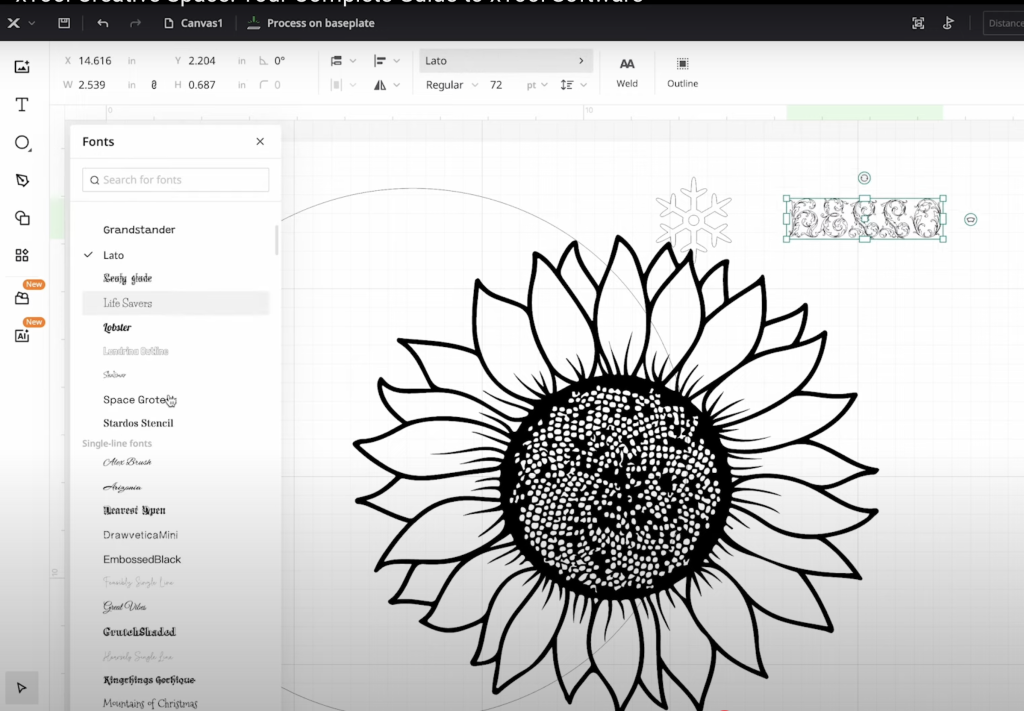
To add text, click on the Text tool on the left side of the screen and place the text box anywhere you want it on the canvas.
Resizing and Rotating Designs
To make changes to your design click on the object and you’ll see options on the top toolbar. You can relocate the design on the XY axis and you can also change the size.
If you want to ensure a shape is perfect make sure you set both the height and width to the exact same size.
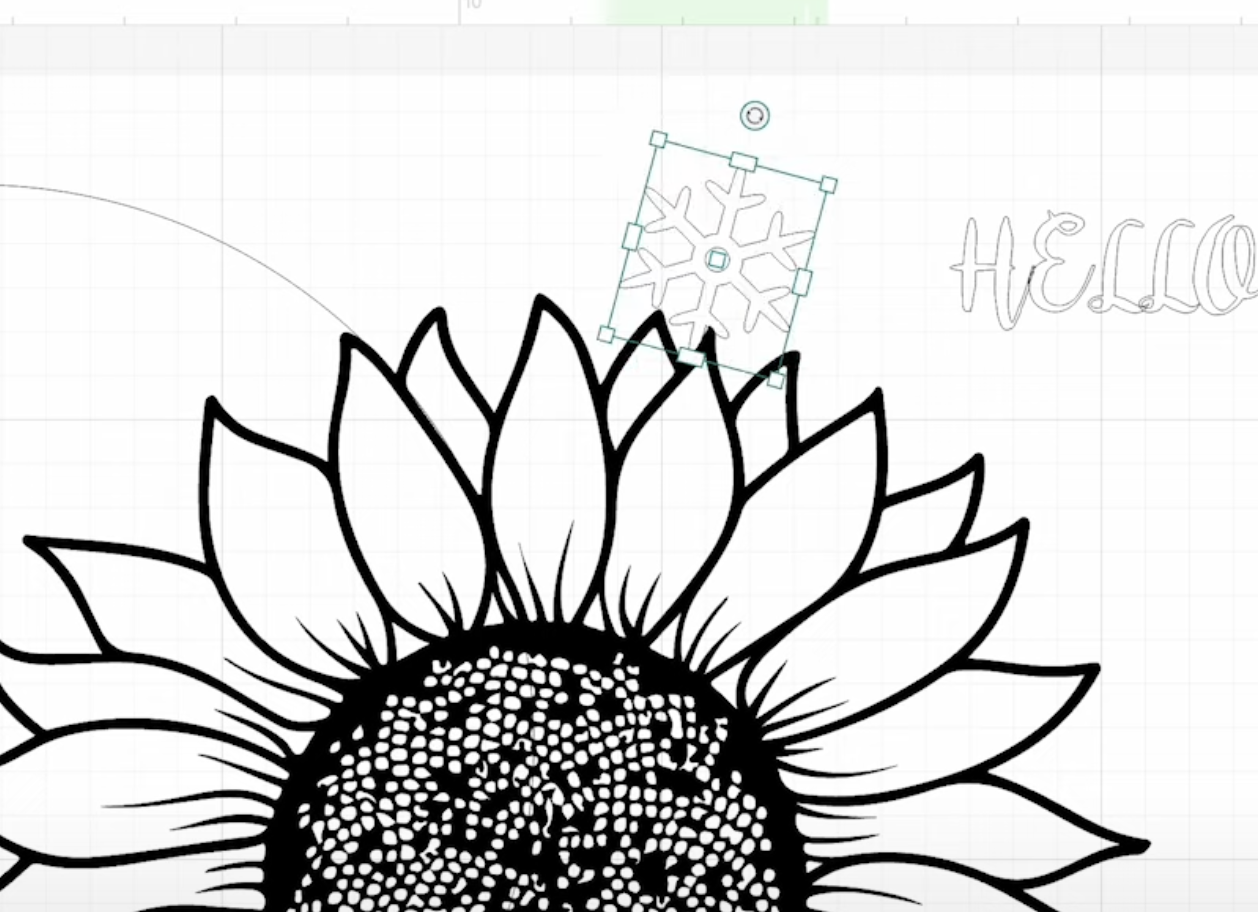
You can also rotate designs. For example, if I wanted my snowflake to be at more of an angle I could rotate it a little at a time or type in an exact rotation if I knew exactly how much I wanted to move it.
There are options to move parts of the design to the front or send them to the back and alignment tools.
Remember, these tools are going to apply the canvas so if I selected 3 items and aligned them all to the center they would be centered on the canvas and on top of each other.
Editing Points
There is also the option to edit the file itself. Editing points is a more advanced technique that we’re not going to get into today but if you know what they are you can edit or even remove points in your design right in xTool Creative Space.
Other Tools in Creative Space
We’ve already looked at designs and AIMake on the main screen but those can also be accessed from the canvas screen.
On the left side of the screen, the third button from the bottom is the Applications button. When you click on that button there is a wide variety of applications that pop up that you may want to use.
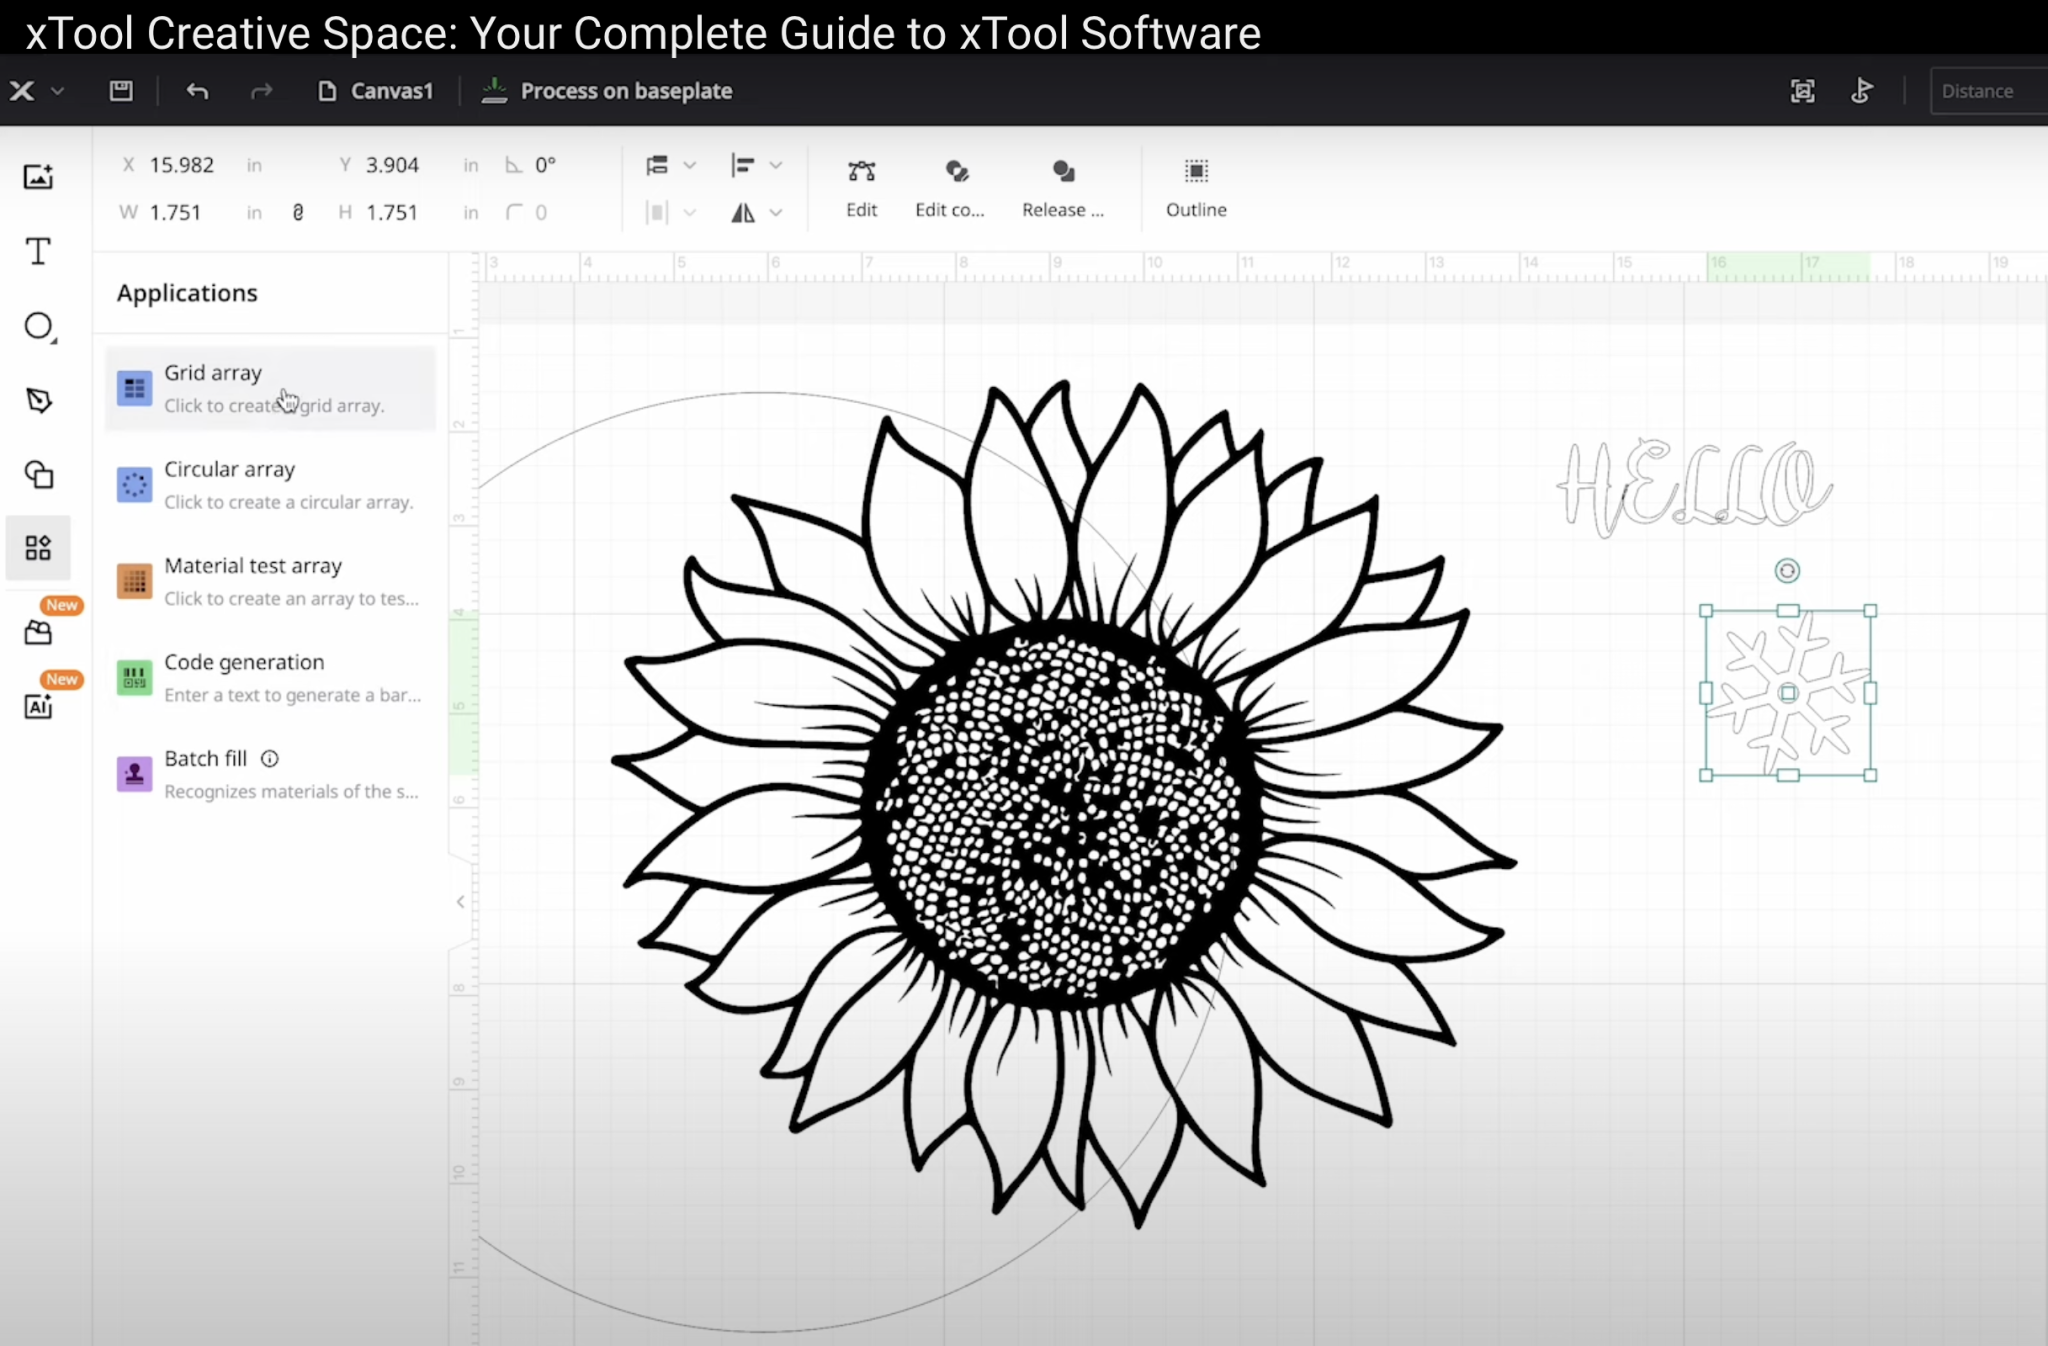
I’ve used the material test array to make laser test grids. You can find that tutorial here.
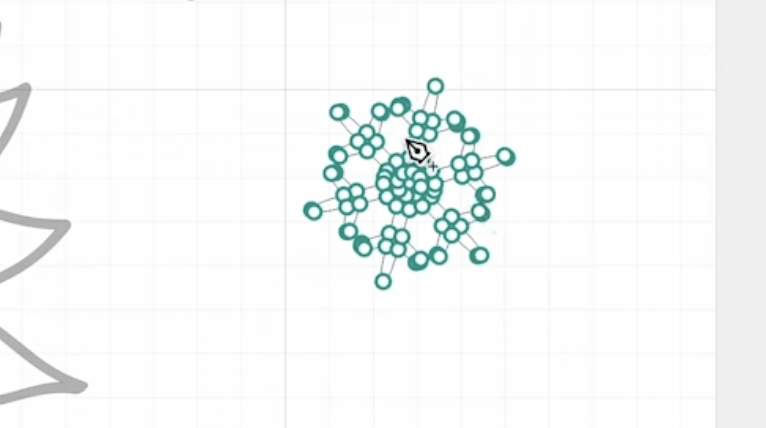
You can also create a grid array or circular array easily with these different applications.
The Code Generation application allows you to make a QR code or a barcode.
The last option is Batch Fill. If you have a lot of something, like a heart, and you wanted to put a snowflake on each one you could use the batch fill option to do that.
There is also an option to change your cursor from a pointer to a hand if you wanted to change that.
Layers Panel
The Layers Panel tool shows you each layer on your canvas. Click the button in the bottom left hand corner to see this panel.
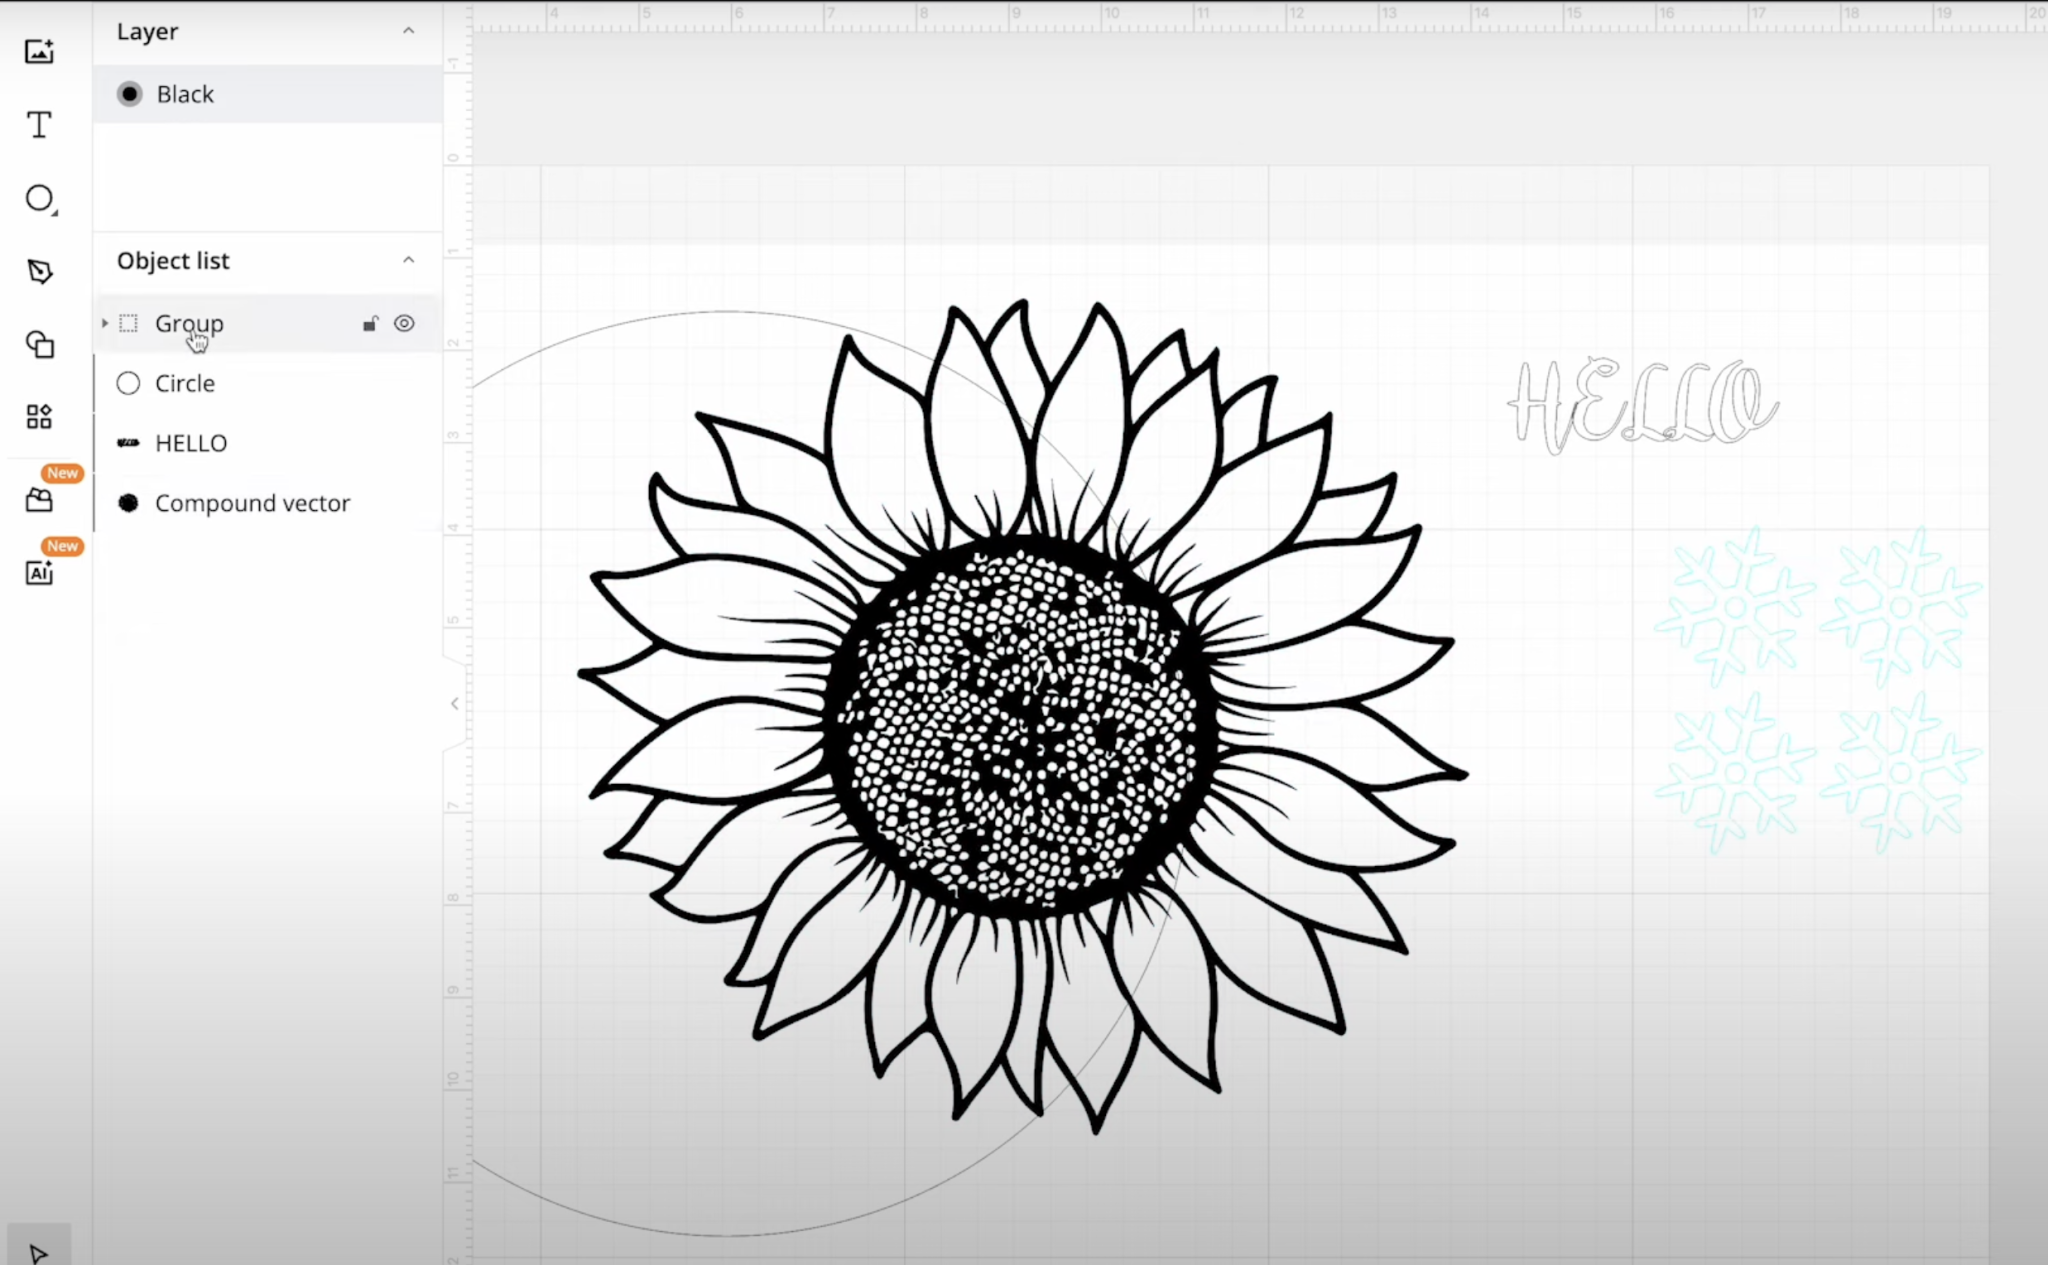
Here you can group items or hide them so they aren’t sent to the laser when you click Process.
This allows you to keep designs you’ve created without having to delete them or cut them.
Making a Project in Creative Space
Now that we’ve examined all the different tools, let’s send a design to our xTool laser.
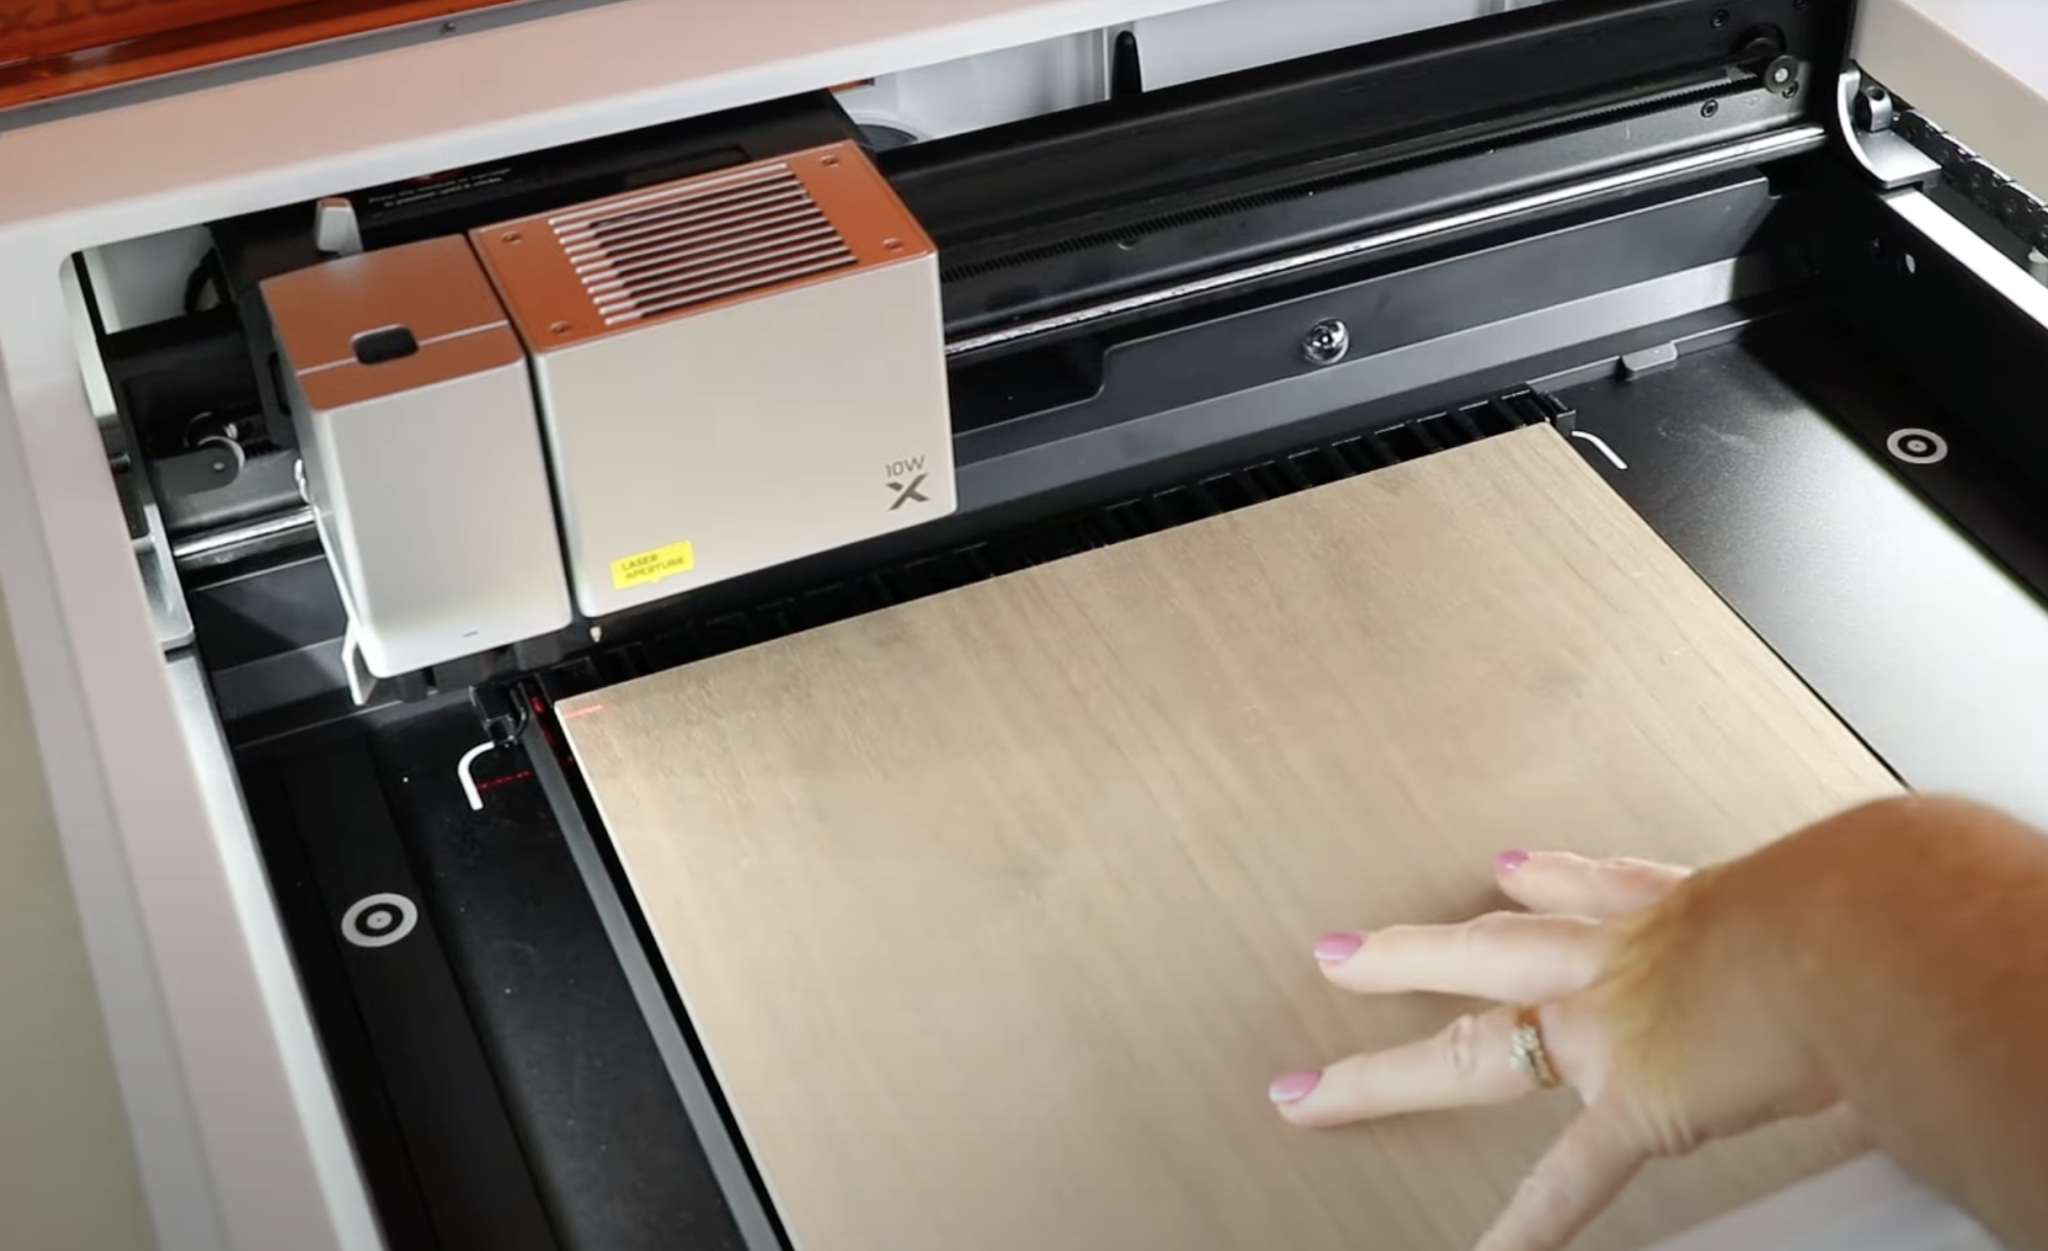
Step 1: Add Material
Open your machine and place the material inside. I am using the triangular prisms and prism holder.
Step 2: Measure Material Thickness
Move the laser head to the center of the material and click Auto-measure in xTool Creative Space. This will auto-measure the thickness of your material.
Step 3: Mark the Processing Area
Next, I’m going to mark the processing area. Click Mark, select Rectangle, and click Start Marking. For a rectangle, you will mark 2 points. Move the laser head to one corner and press the button on the front of the laser to mark the first point. Move the laser head to the diagonal corner and press the button again to mark the second point.
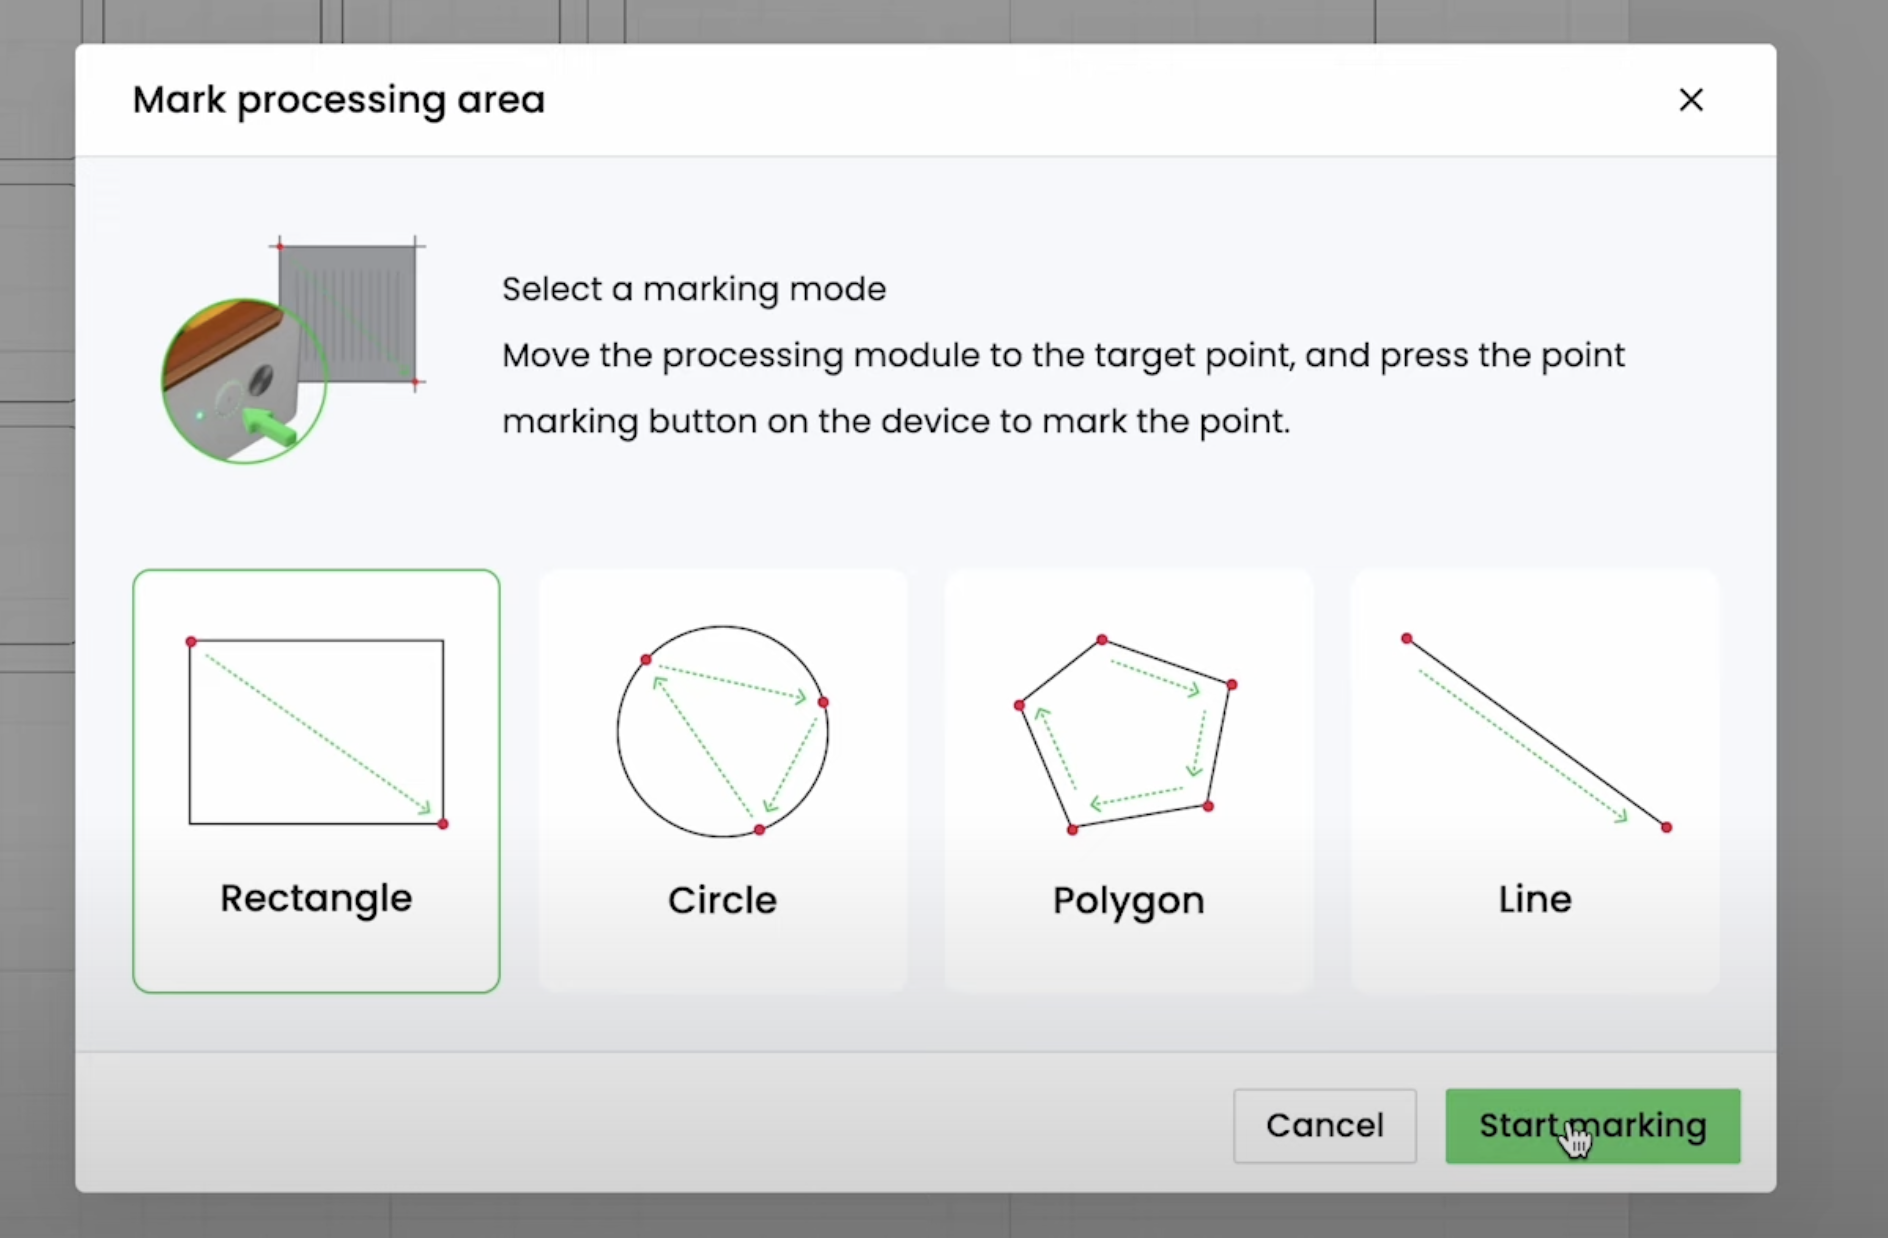
With both points marked click End Marking and then click Done. Now we can see an outline of the material on the screen.
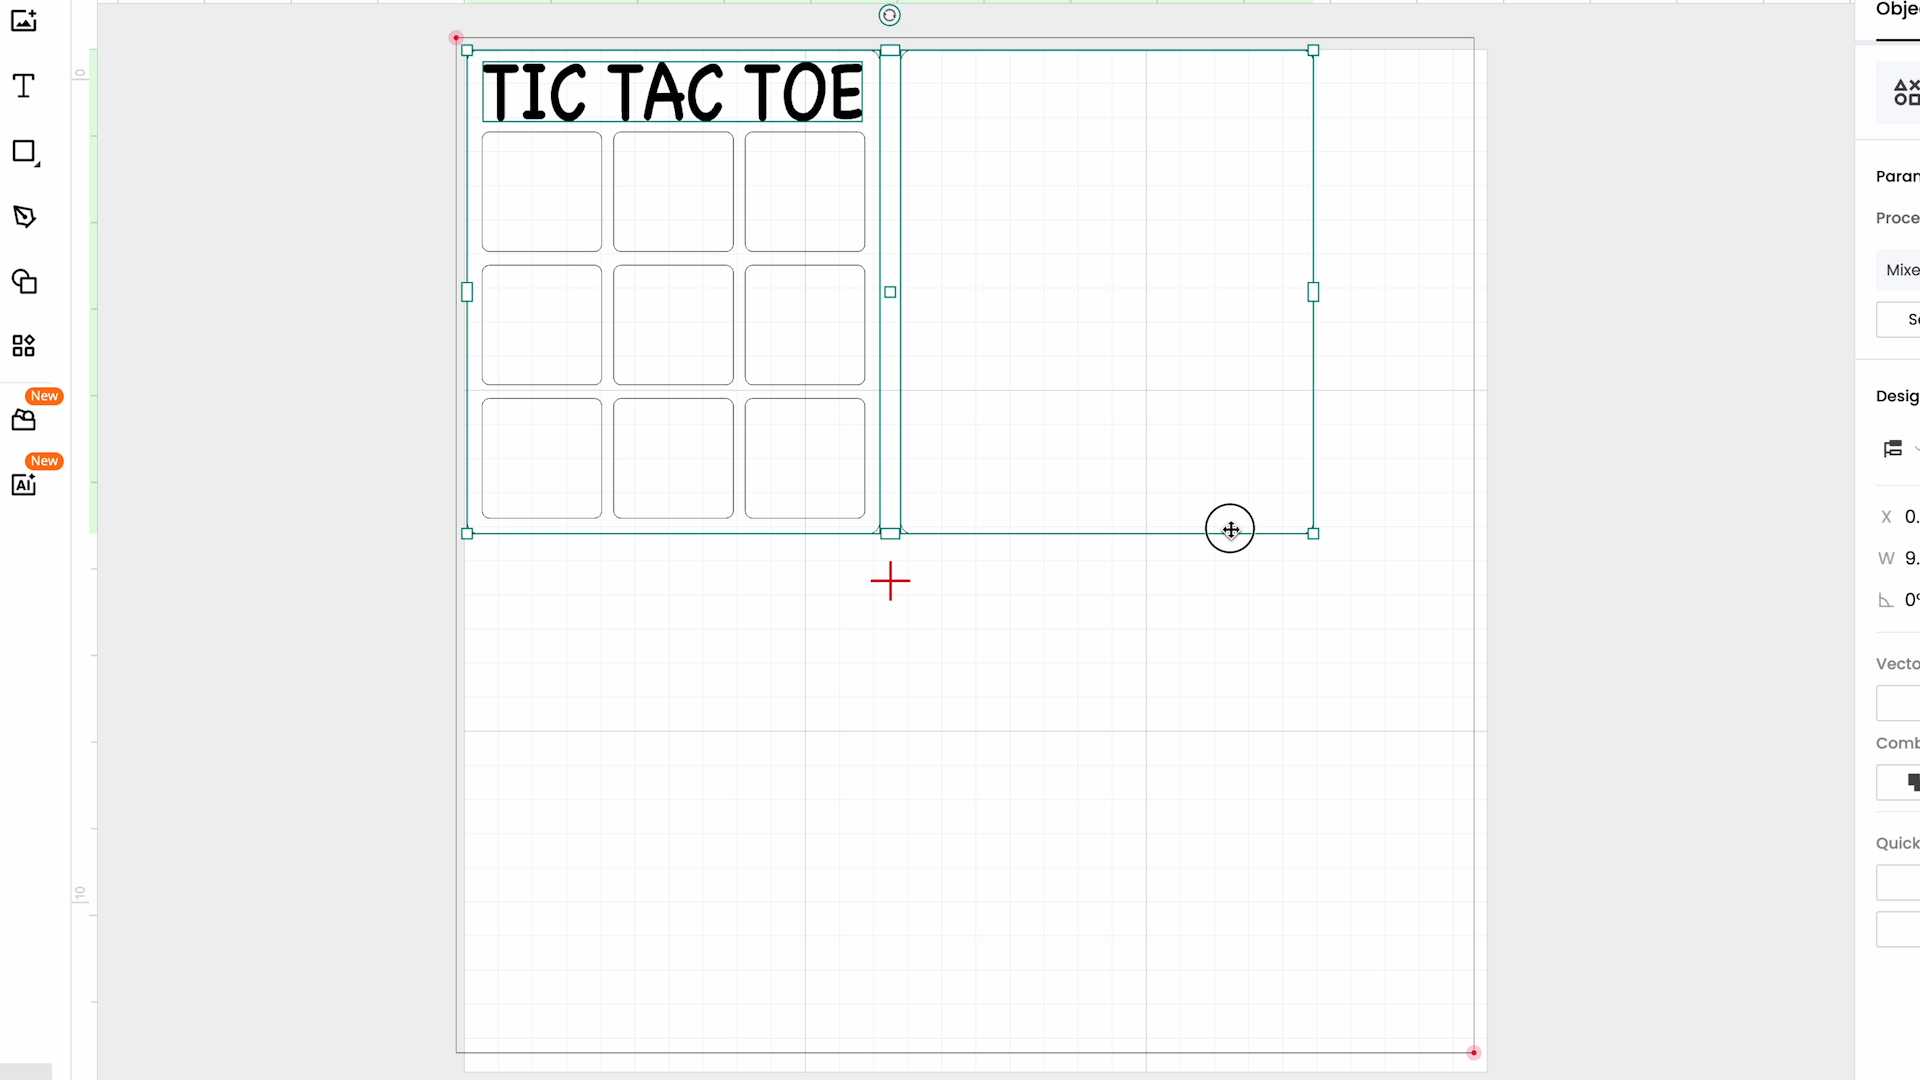
The red crosshairs on the screen are exactly where the laser head is. If you move the laser head, the crosshairs will also move.
Step 4: Send Project to Laser
Locate the project wherever you want it on the material. I like to put it close to the edge to waste as little material as possible.
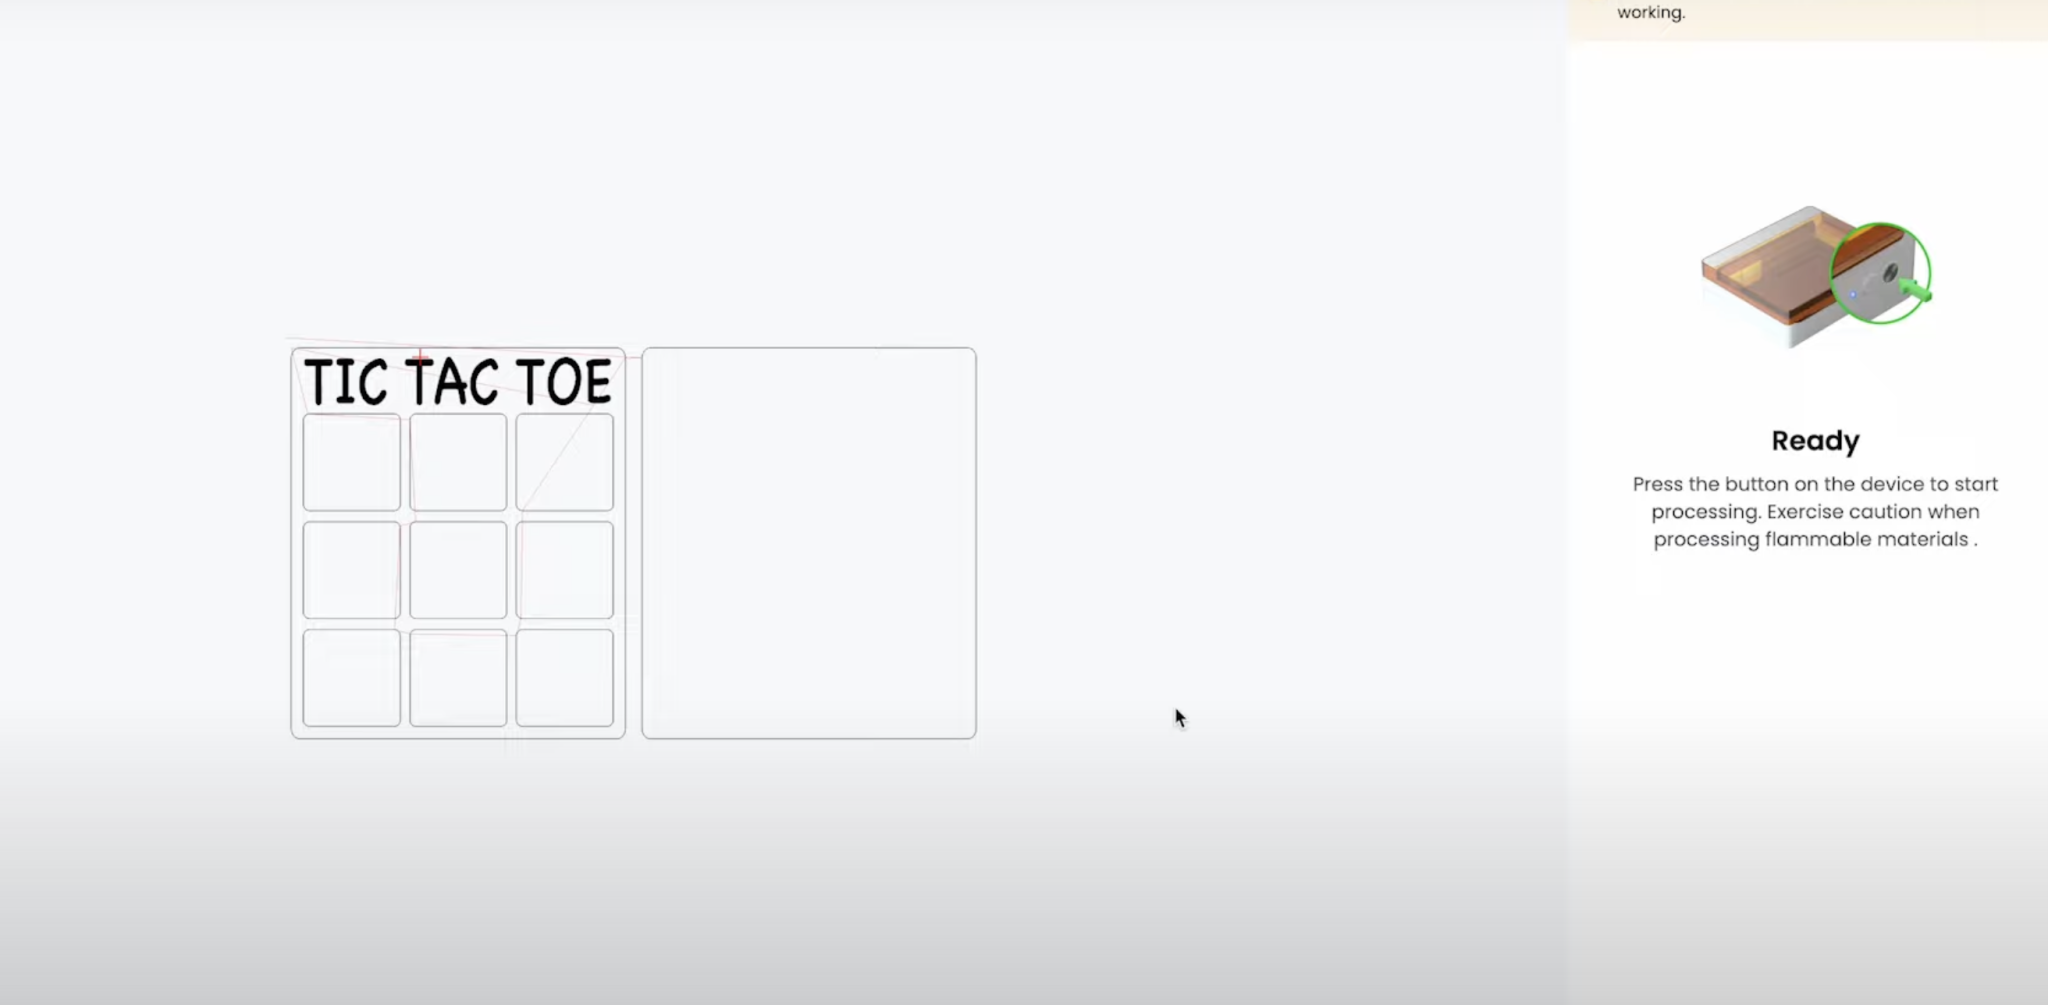
With all the settings selected for the project, we can now process the cut.
Click Process and you’ll see how long it will take to finish. Click Start and then press the button on the front of the laser to start the process.
Optional: Frame the Design
Before you send the design to be processed, you can use the framing function to see exactly where the laser is going to cut/engrave/score on your blank.
Click the Framing button in Creative Space and then click the button on the front of your machine.
Watch the crosshairs on the laser to see where the design will be. You can click the button as many times as needed. If you need to move your blank, you can and then do the framing again.
Click Framing Complete and then Process to send the design to the laser.
More on xTool Creative Space
Now that we’ve really looked at xTool Creative Space, I hope you feel comfortable using it to create the designs you want to use.
I feel like there are a lot of features in Creative Space that people are not aware of. Specifically the AI feature.
I think it’s really helpful, especially for engraving designs. I have not been able to get those results with other AI tools.
You can learn more about different xTool lasers and AImake at the links below:
I hope I’ve answered any questions you have about xTool Creative Space. If you have any additional questions, leave them in the comments and I’ll be happy to answer them for you.