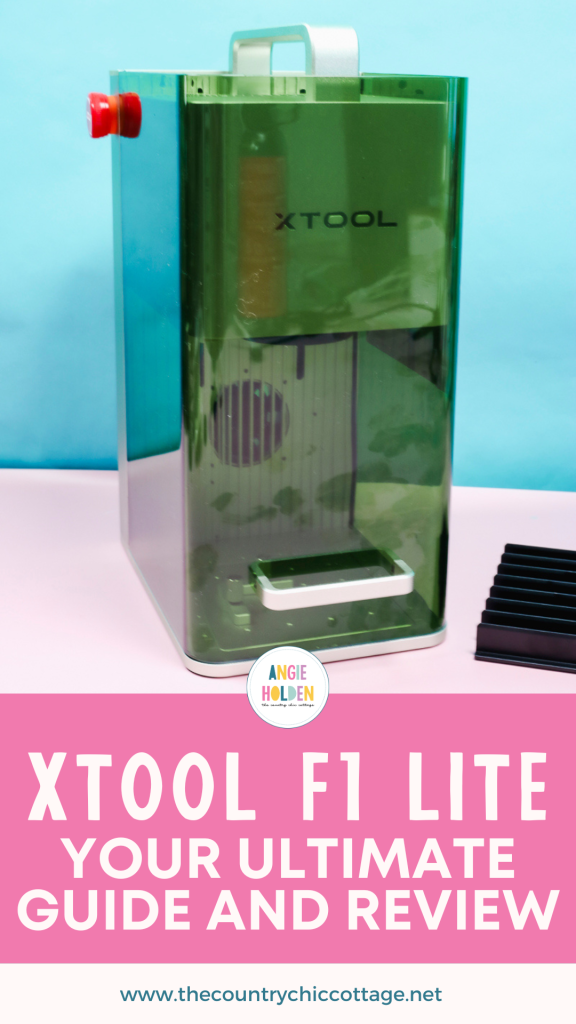
Have you seen the xTool F1 Lite? It is perfect for someone who needs to take their laser crafting on the go.
We’re going to look at everything you can do with the xTool F1 Lite and see how it compares to the other xTool F1 lasers.
If you’re new to laser crafting, make sure you check out Laser Ready to ensure you’re getting the right laser for your needs.
If you’re in the market for a laser that you can take to craft fairs or craft workshops, the xTool F1 Lite might be the right one for you.
Click play on the video below to see it in action now.
xTool F1 Lite Laser
First, let’s take a closer look at this laser and then walk through the setup process.
What Type of Laser is the xTool F1 Lite?
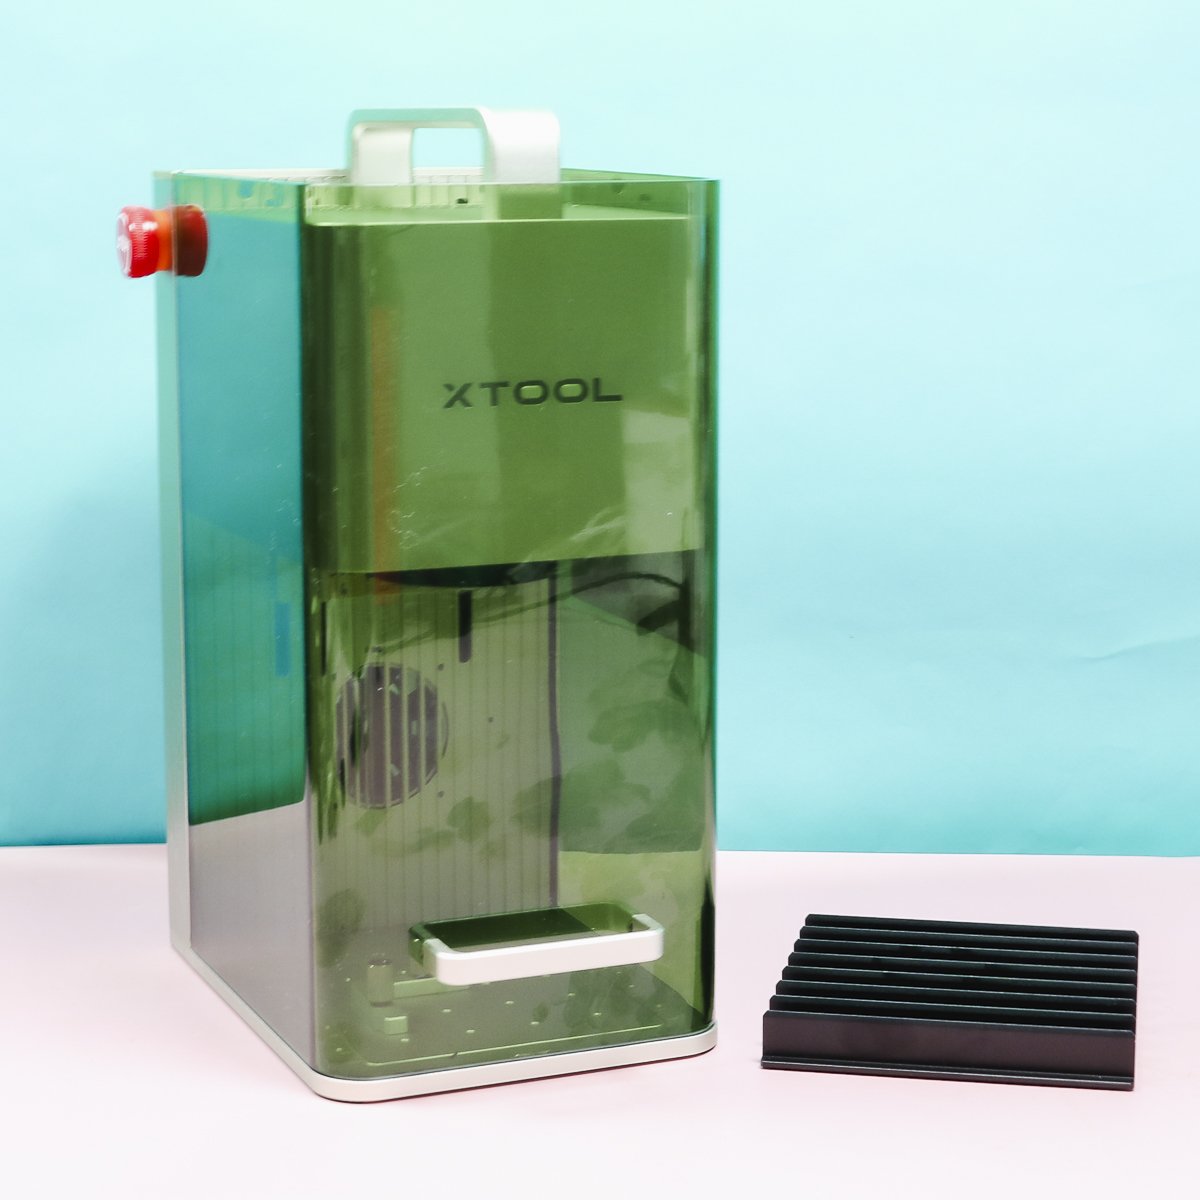
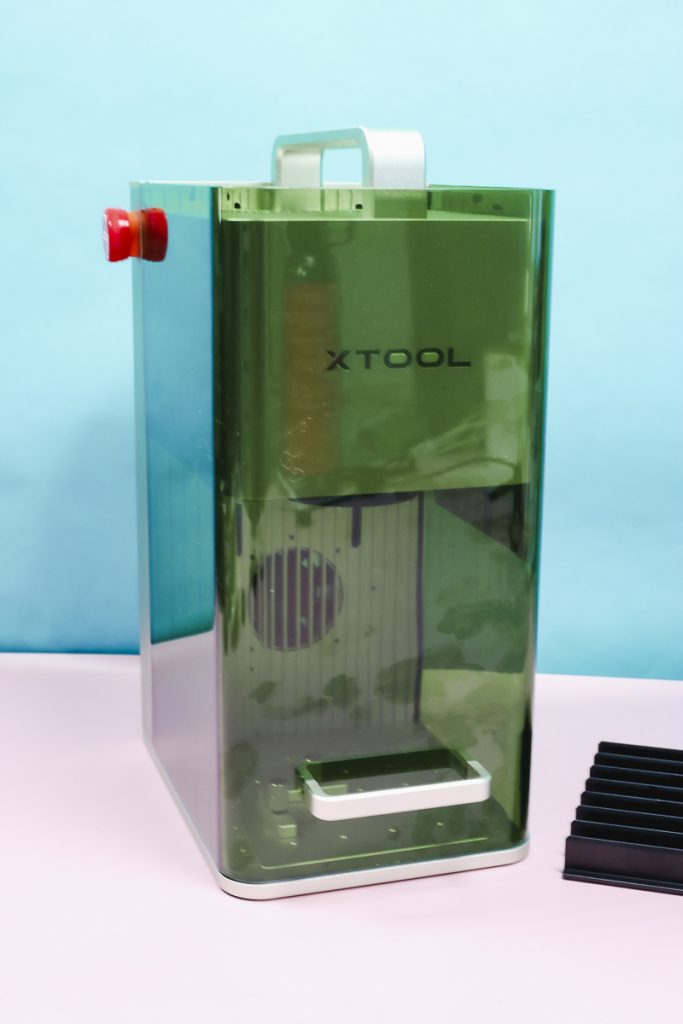
The xTool F1 Lite is a 10-watt diode laser, which is a blue light laser. There is no infrared laser which makes it less expensive than the other F1 models.
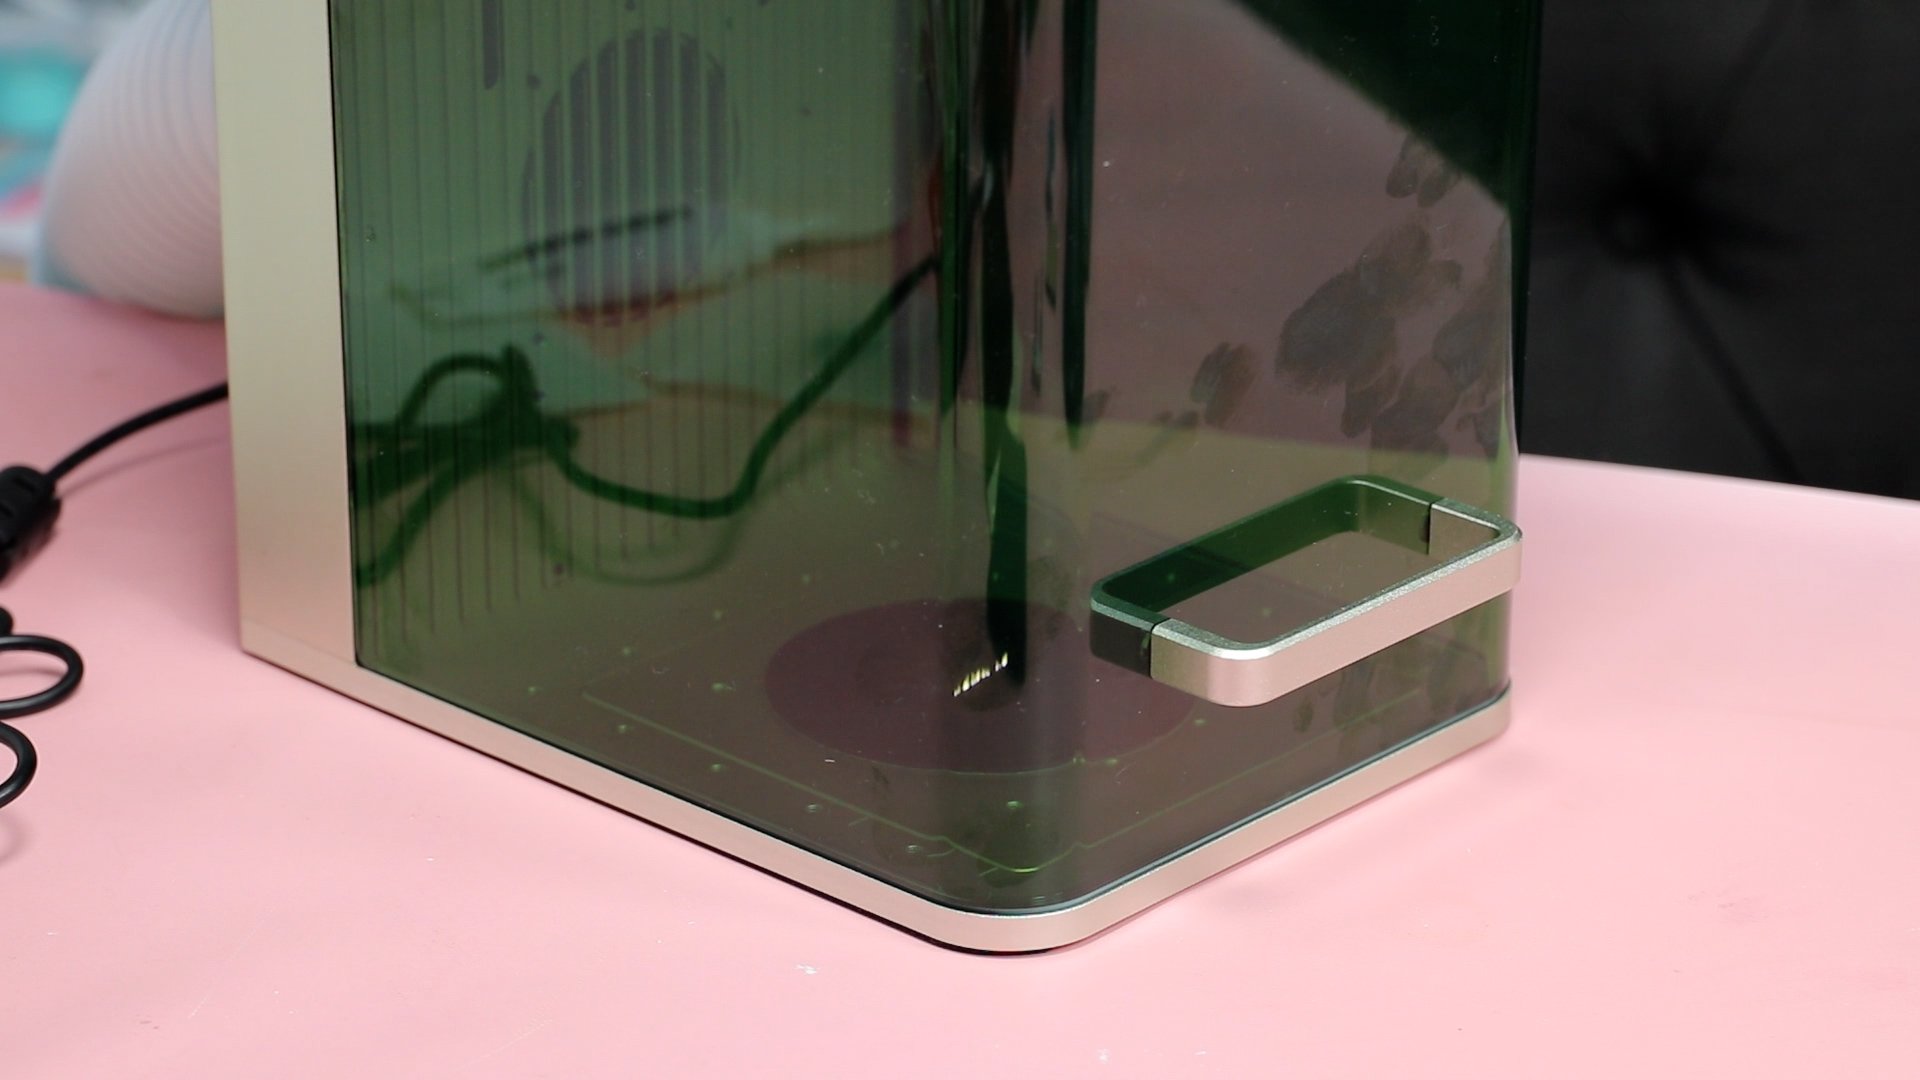
This laser is really small and has a handle on the top, making it very portable.
If you’ve been looking for a powerful laser to take with you to craft fairs to personalize things, this might just be the option for you.
Laser Safety
When it comes to using lasers, it’s very important to make sure you’re being safe.
- Every time you use a laser you need to watch out for fire hazards. Make sure you have a fire blanket and/or fire extinguisher on hand at all times. The F1 Lite has a sensor and it will stop if it detects any fire inside.
- Keep the laser closed when you’re operating it to protect your eyes. If for some reason you need to keep it open, make sure you’re wearing laser safety glasses.
- Only use laser safe materials. Some materials are hazardous when cut or engraved with a laser.
- Make sure you’re ventilating properly while cutting. You can either ventilate out a window or use an air filter.
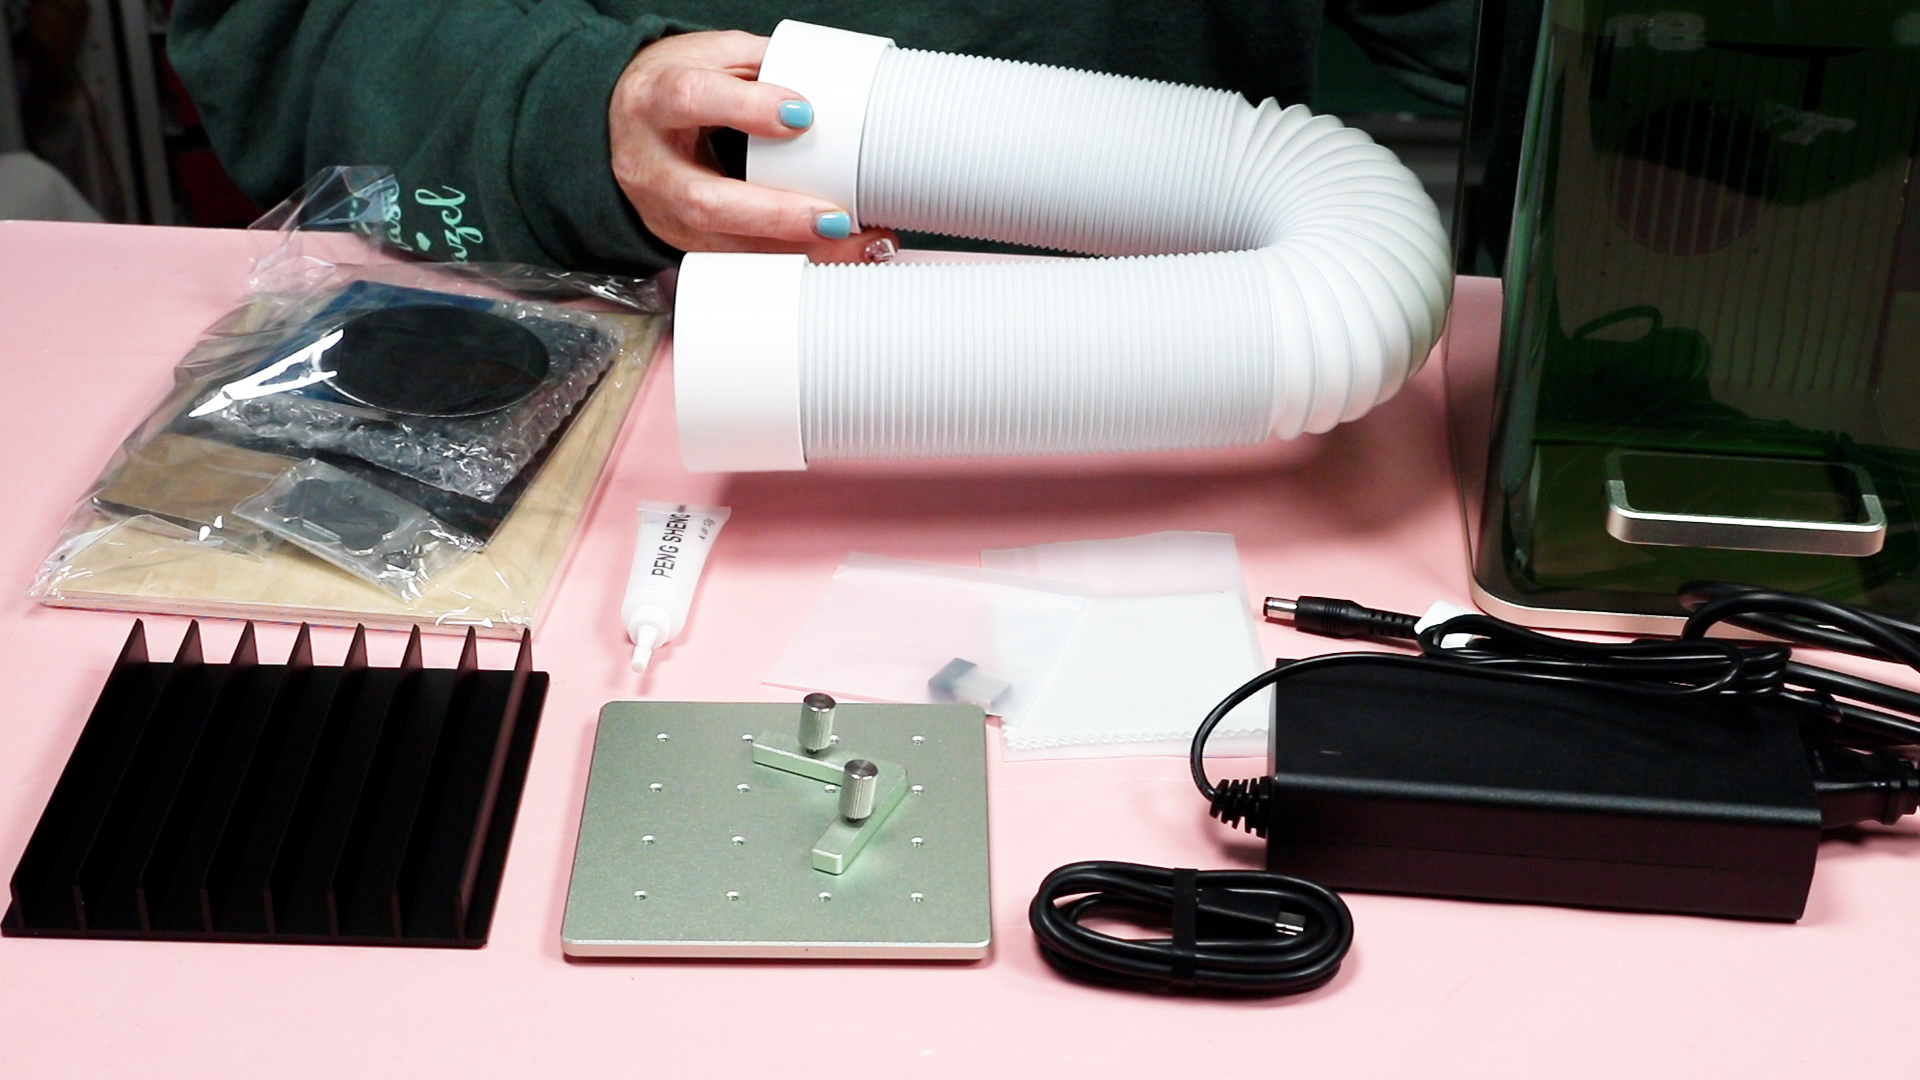
What Comes in the Box
Inside the box you’ll find the xTool F1 Lite and a user manual. There is a power cable, USB cable, and the prism working panel that you put inside.
You’ll also find a panel with holes that the L-shaped positioning piece fits into. There’s a ling-free cloth, a key, grease, and a tube so you can vent out the window or connect to the air filter accessory.
There is also a material pack included so you can try the laser right out of the box.
Set Up the xTool F1 Lite
First, remove all the packaging. As you’re opening everything up and removing the packaging, you’ll find there are some supplies inside the laser. Lift it up to remove everything.
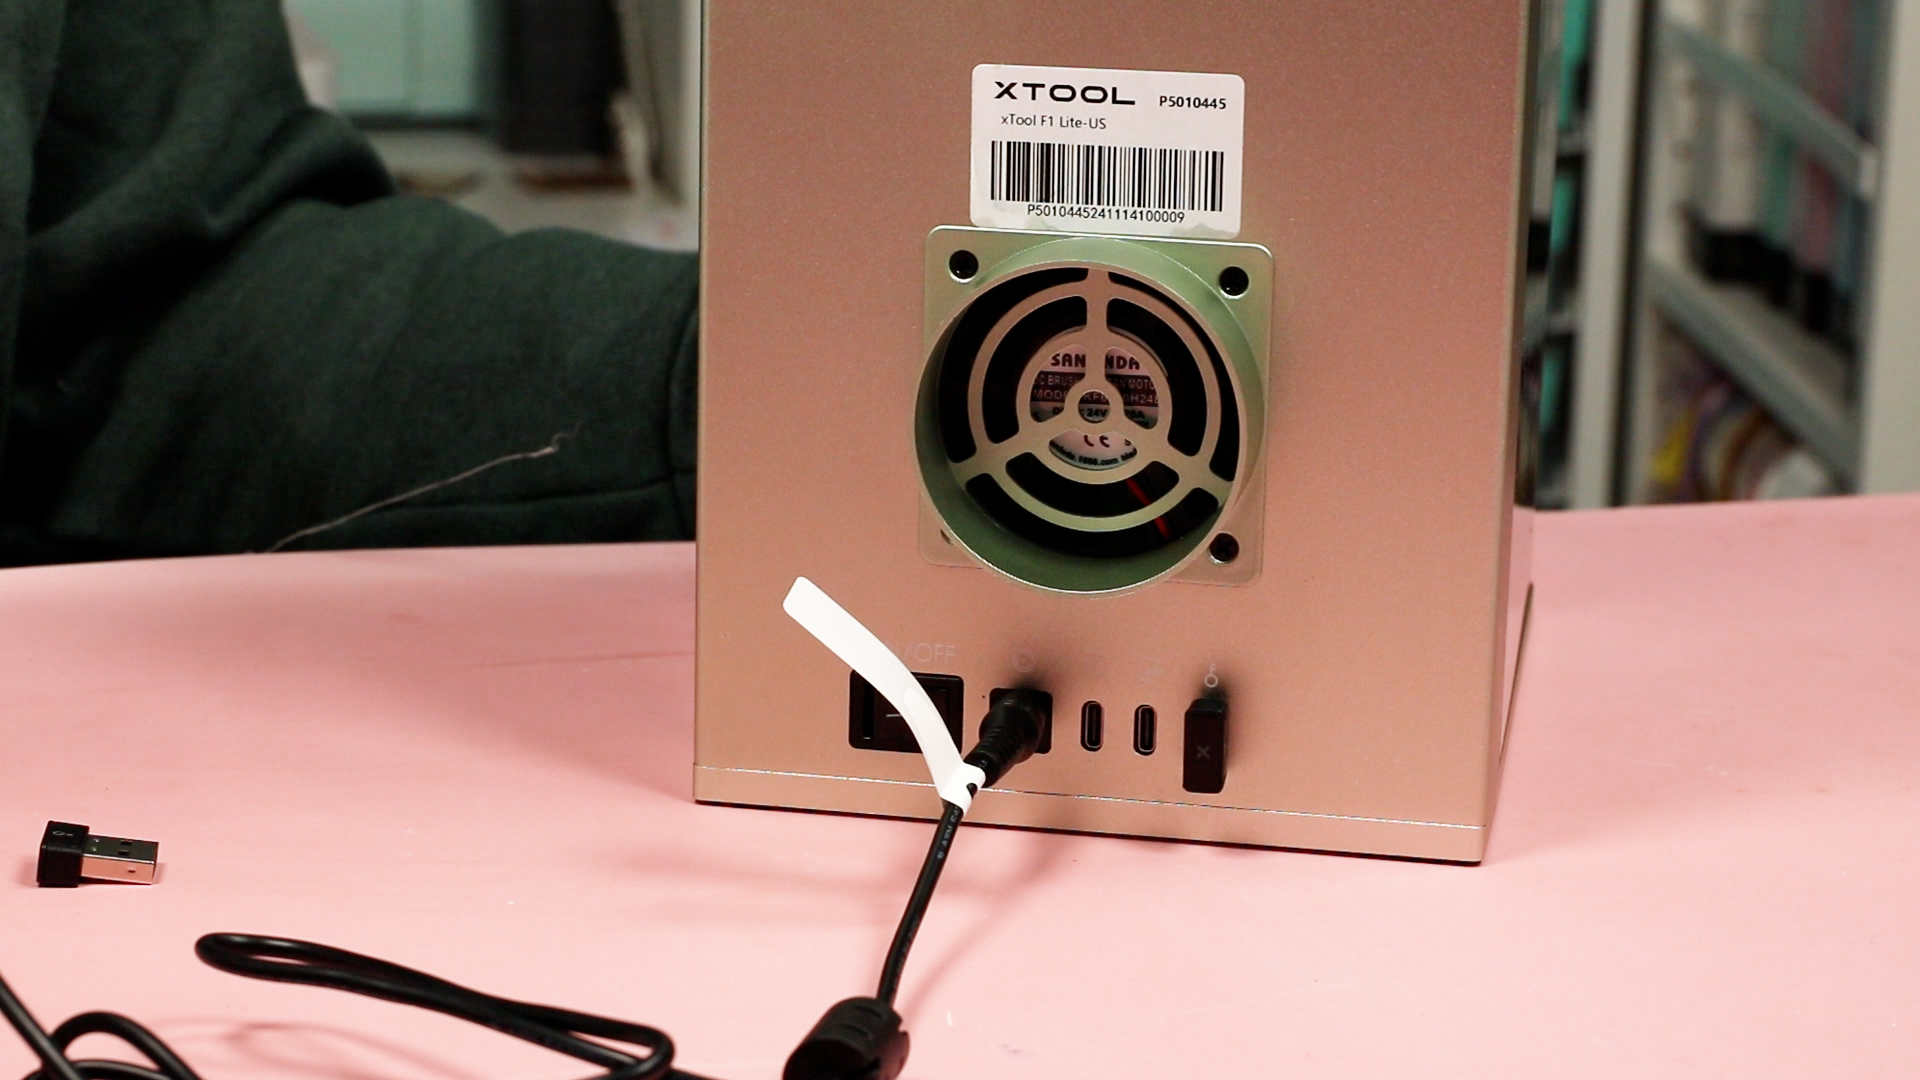
Next, install the key. The laser will come with two keys but you only need one.
Attach the power cable and connect the hose for venting.
When setting up your laser, make sure the Emergency Stop is pulled out. Twist the stop and ensure it’s all the way out. This way, when you’re operating the laser, if you need to stop it you can press the Emergency Stop button.
Remove the protector from the laser lens. You will need to connect the USB cable to the laser and use it to hook up to the WiFi. You only need to do this once.
You will also need to download xTool Creative Space to use with your machine.
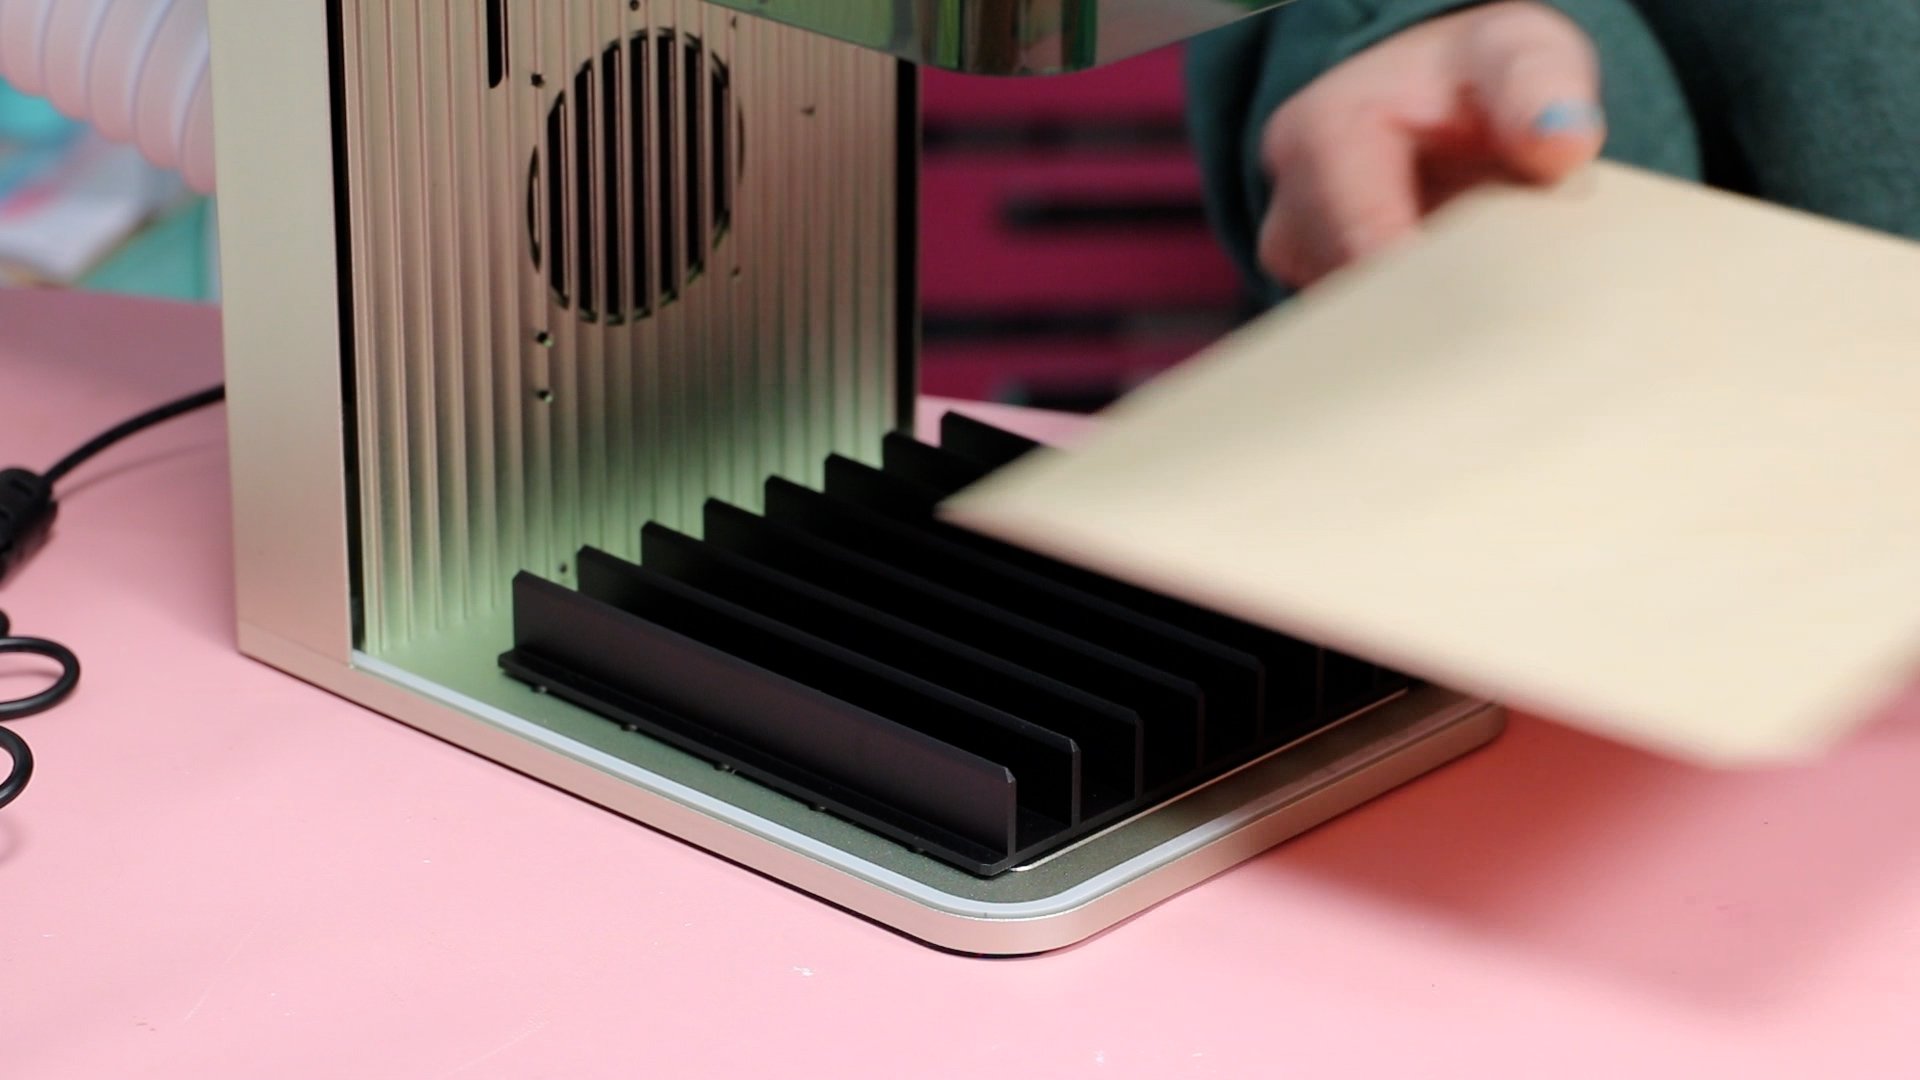
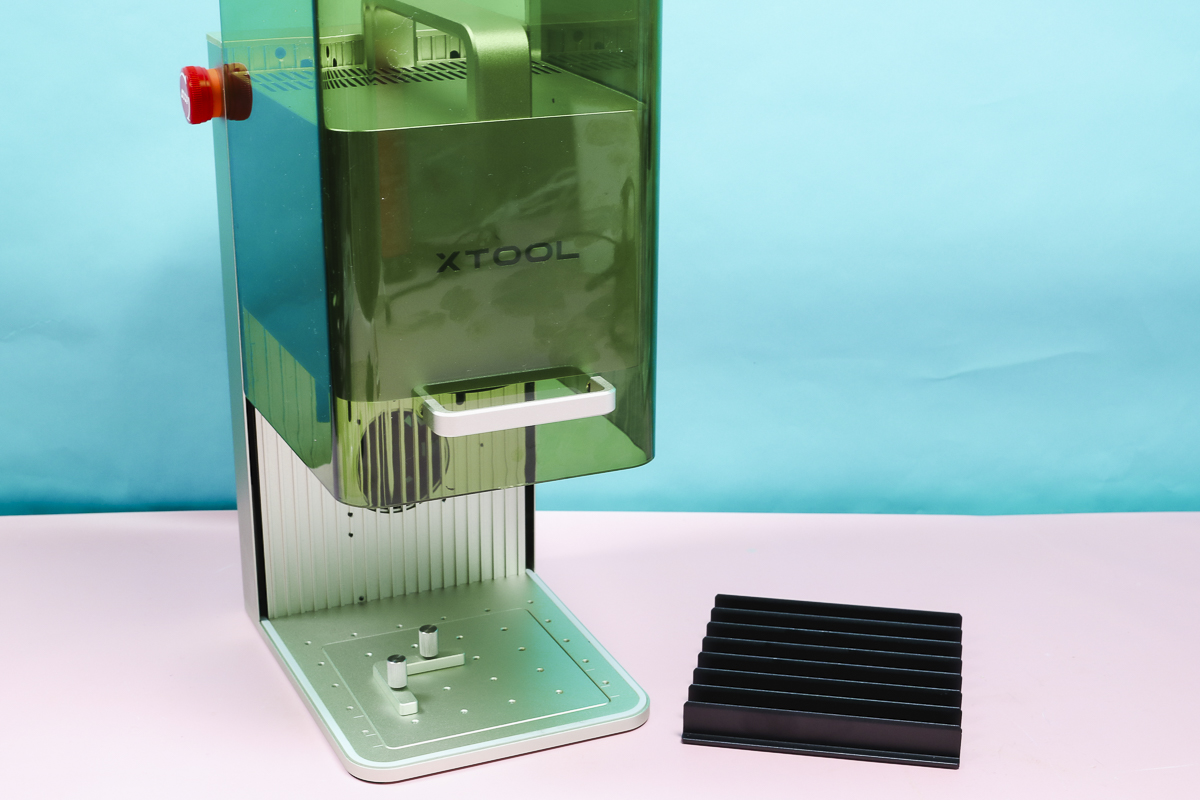
Install the Bottom Plate
When you open the laser there is nothing installed at the bottom of the laser. You can set the laser on top of surfaces and engrave them without a plate.
If you’re using a blank that isn’t flat or at an angle, you would also do it without anything installed in the bottom.
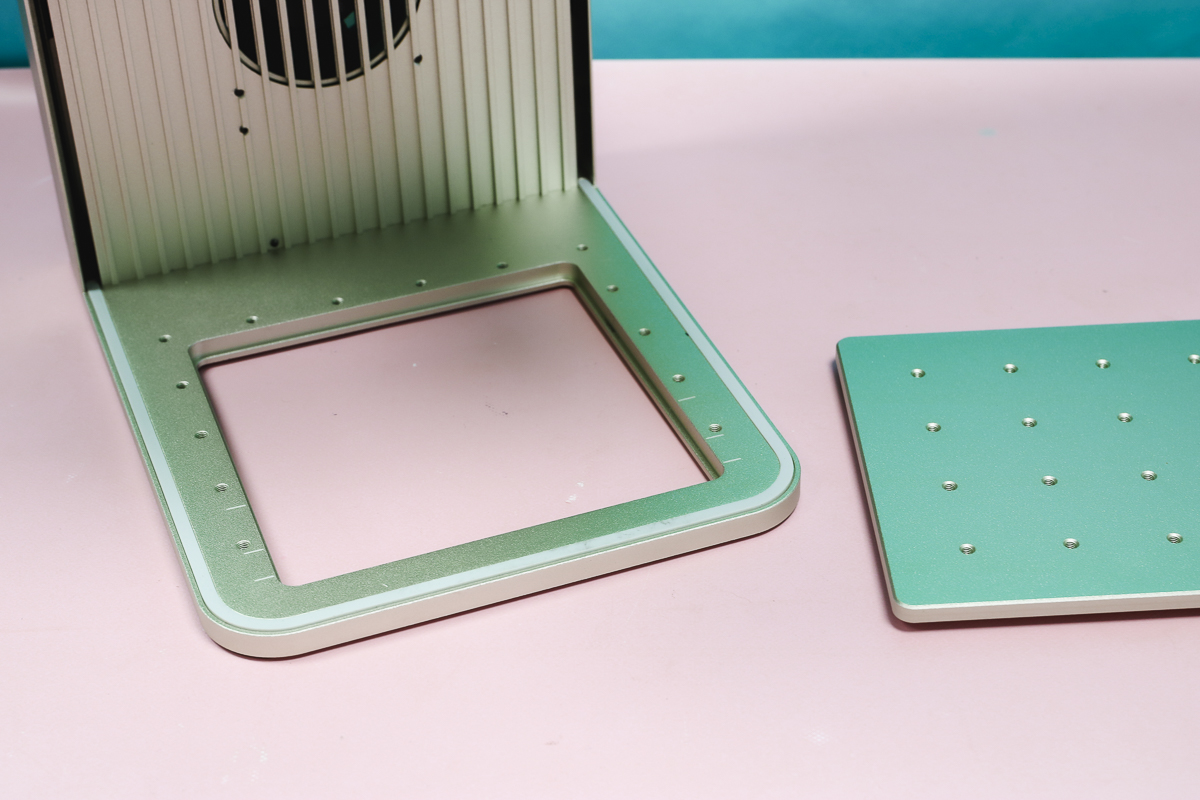
Most of the time you’re going to be engraving or cutting smaller items. When doing that, you would use either the plate with holes or the prism base.
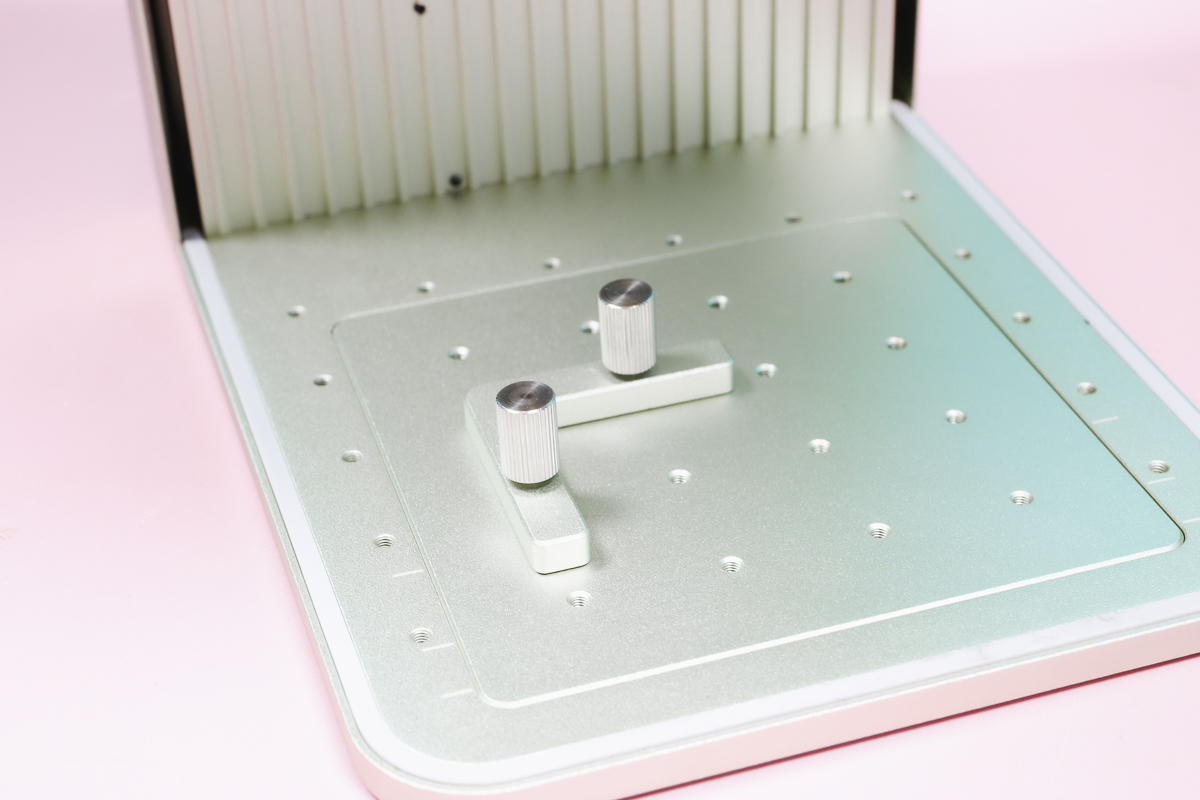
If you’re engraving, you’ll use the plate with holes, and you can use the L-shaped piece to locate blanks so each blank is the exact same.
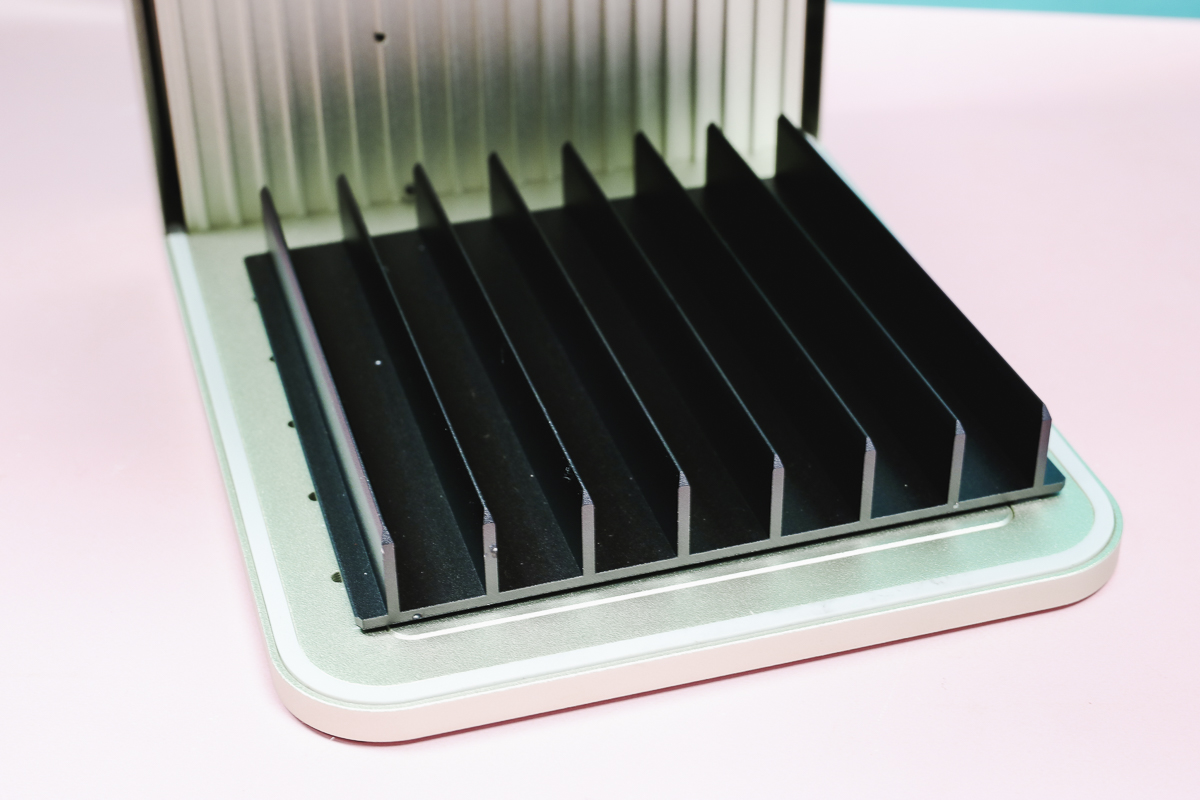
If you’re cutting, use the prism base. You’ll set the blank on top and with it lifted up you can cut through the blank.
Engraving Leather with the xTool F1 Lite
Now that we have the machine set up, it’s time to make a few projects.
If you want to see the F1 Lite in real time, make sure to watch the video above. I filmed all the projects in real time because it’s so fast.
Step 1. Focus the Laser
The first thing we need to do with each project is focus the laser.
To do this, we’ll open xTool Creative Space and with our blank on the base of the laser we can focus it. If you know the exact thickness of your blank, you can put that in the thickness box. If you don’t, you can manually focus the laser.
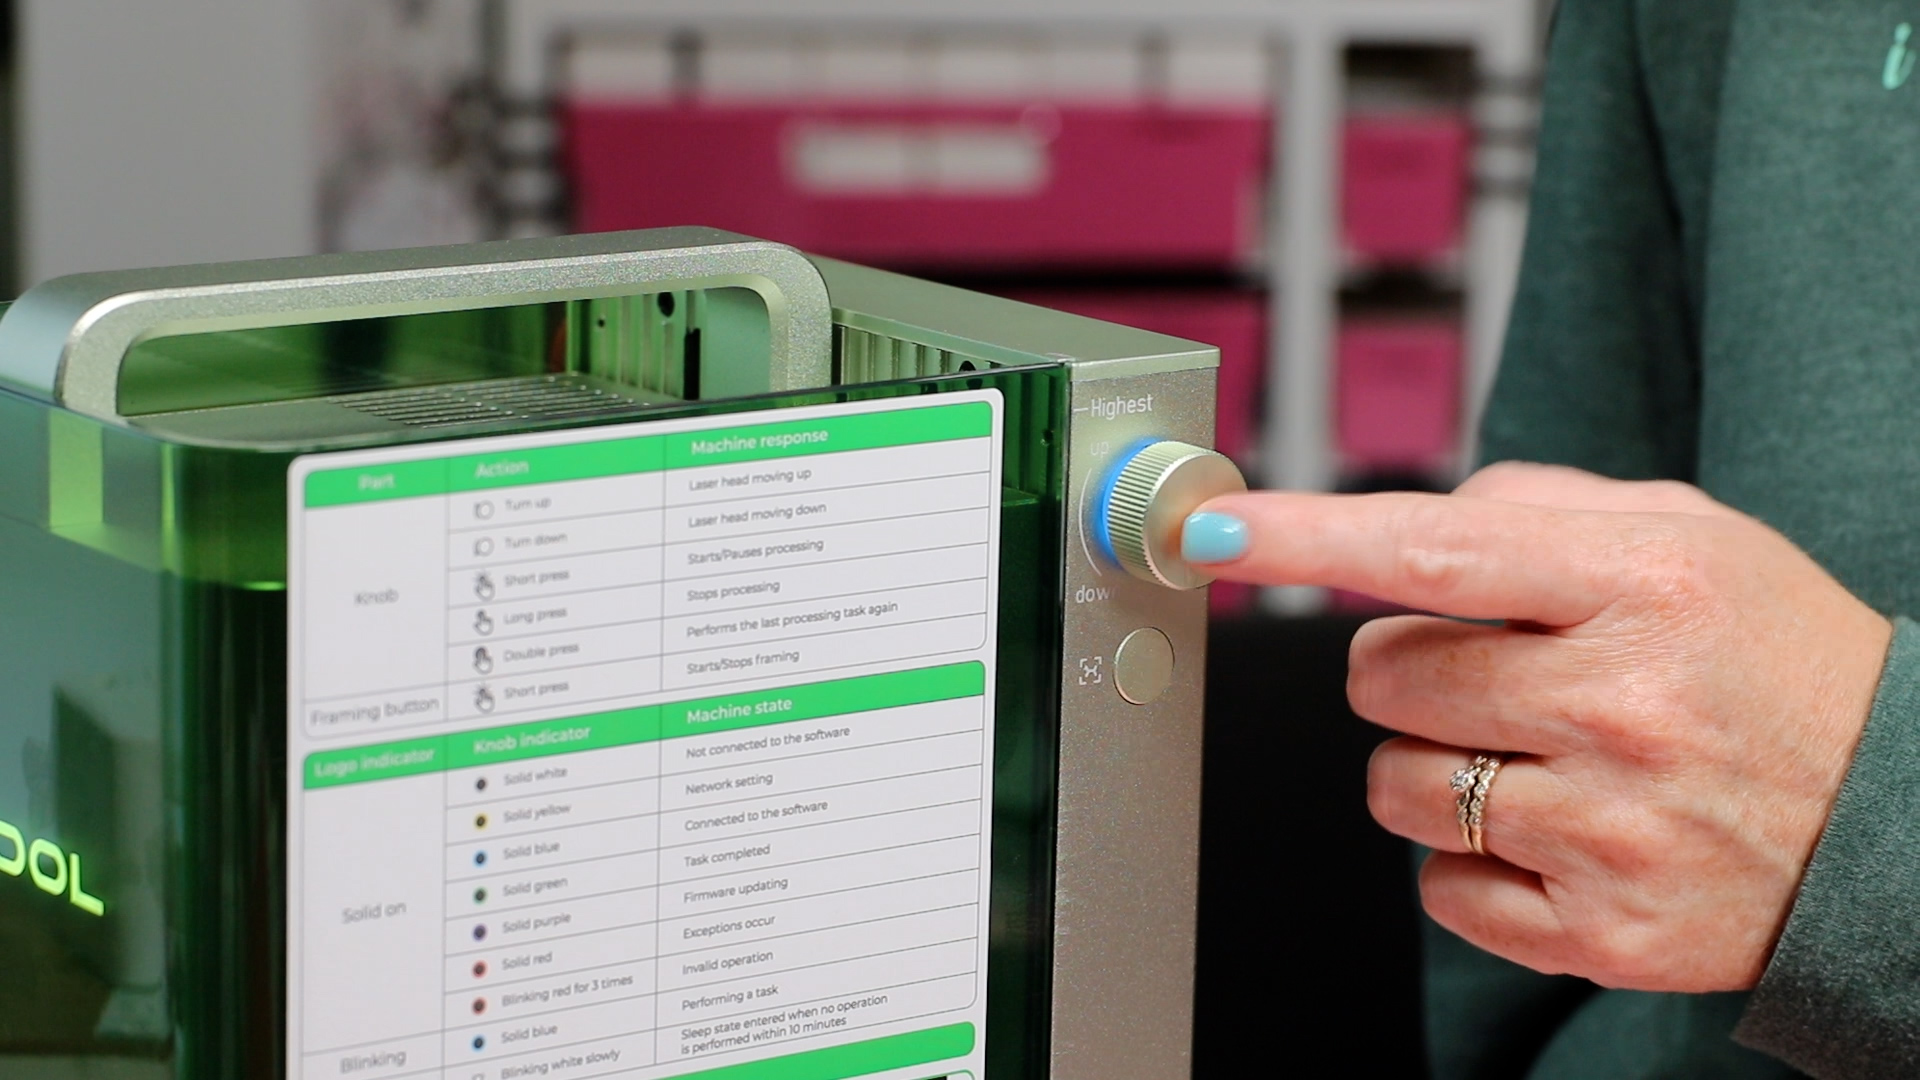
Using the knob on the side you can raise or lower the laser head.
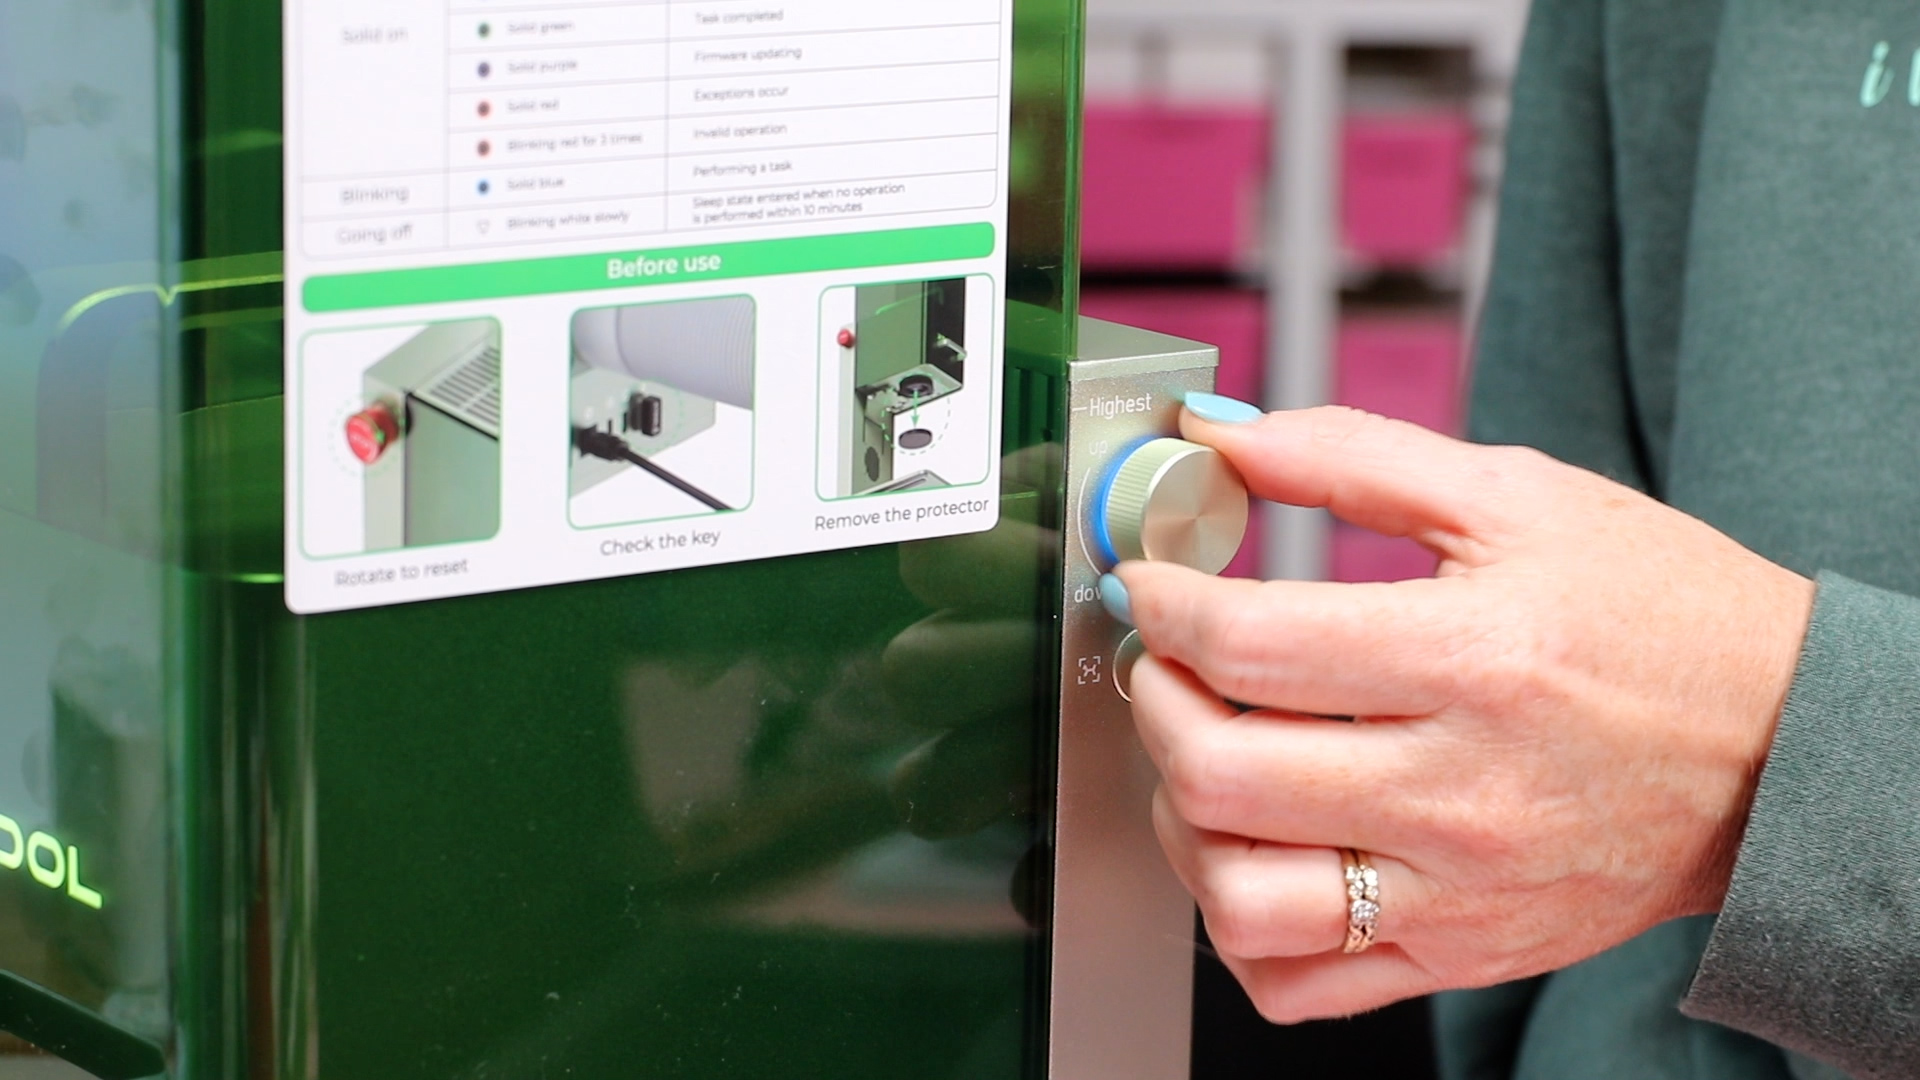
When the blue dot and red dot line up exactly, you’ll know the laser is focused.
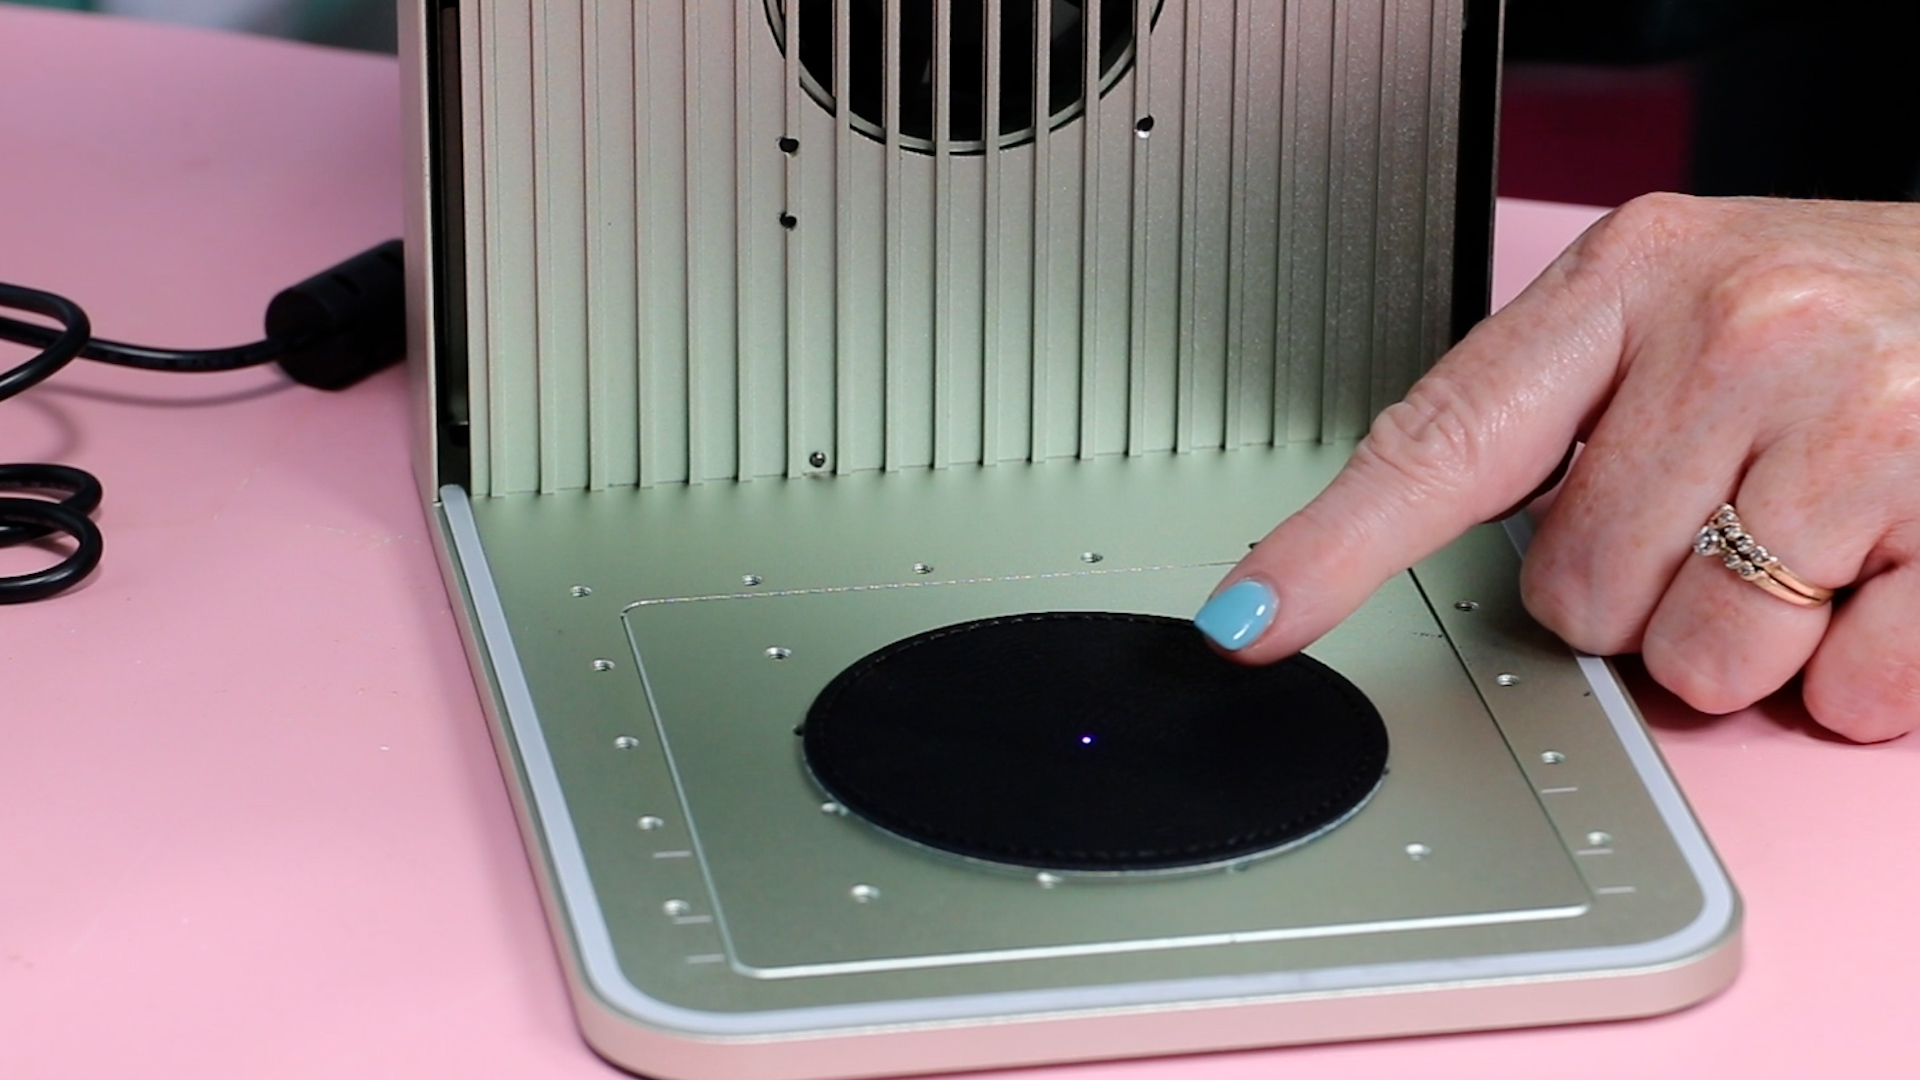
On the screen you’ll see what the measurement is and you’ll be able to tell pretty easily if it is correct. I have found that the manual process gives me a very accurate measurement for my blanks.
Step 2. Upload and Edit Design
I am going to use the same design for all the projects I make today. You can get the book with the flowers design here for free.
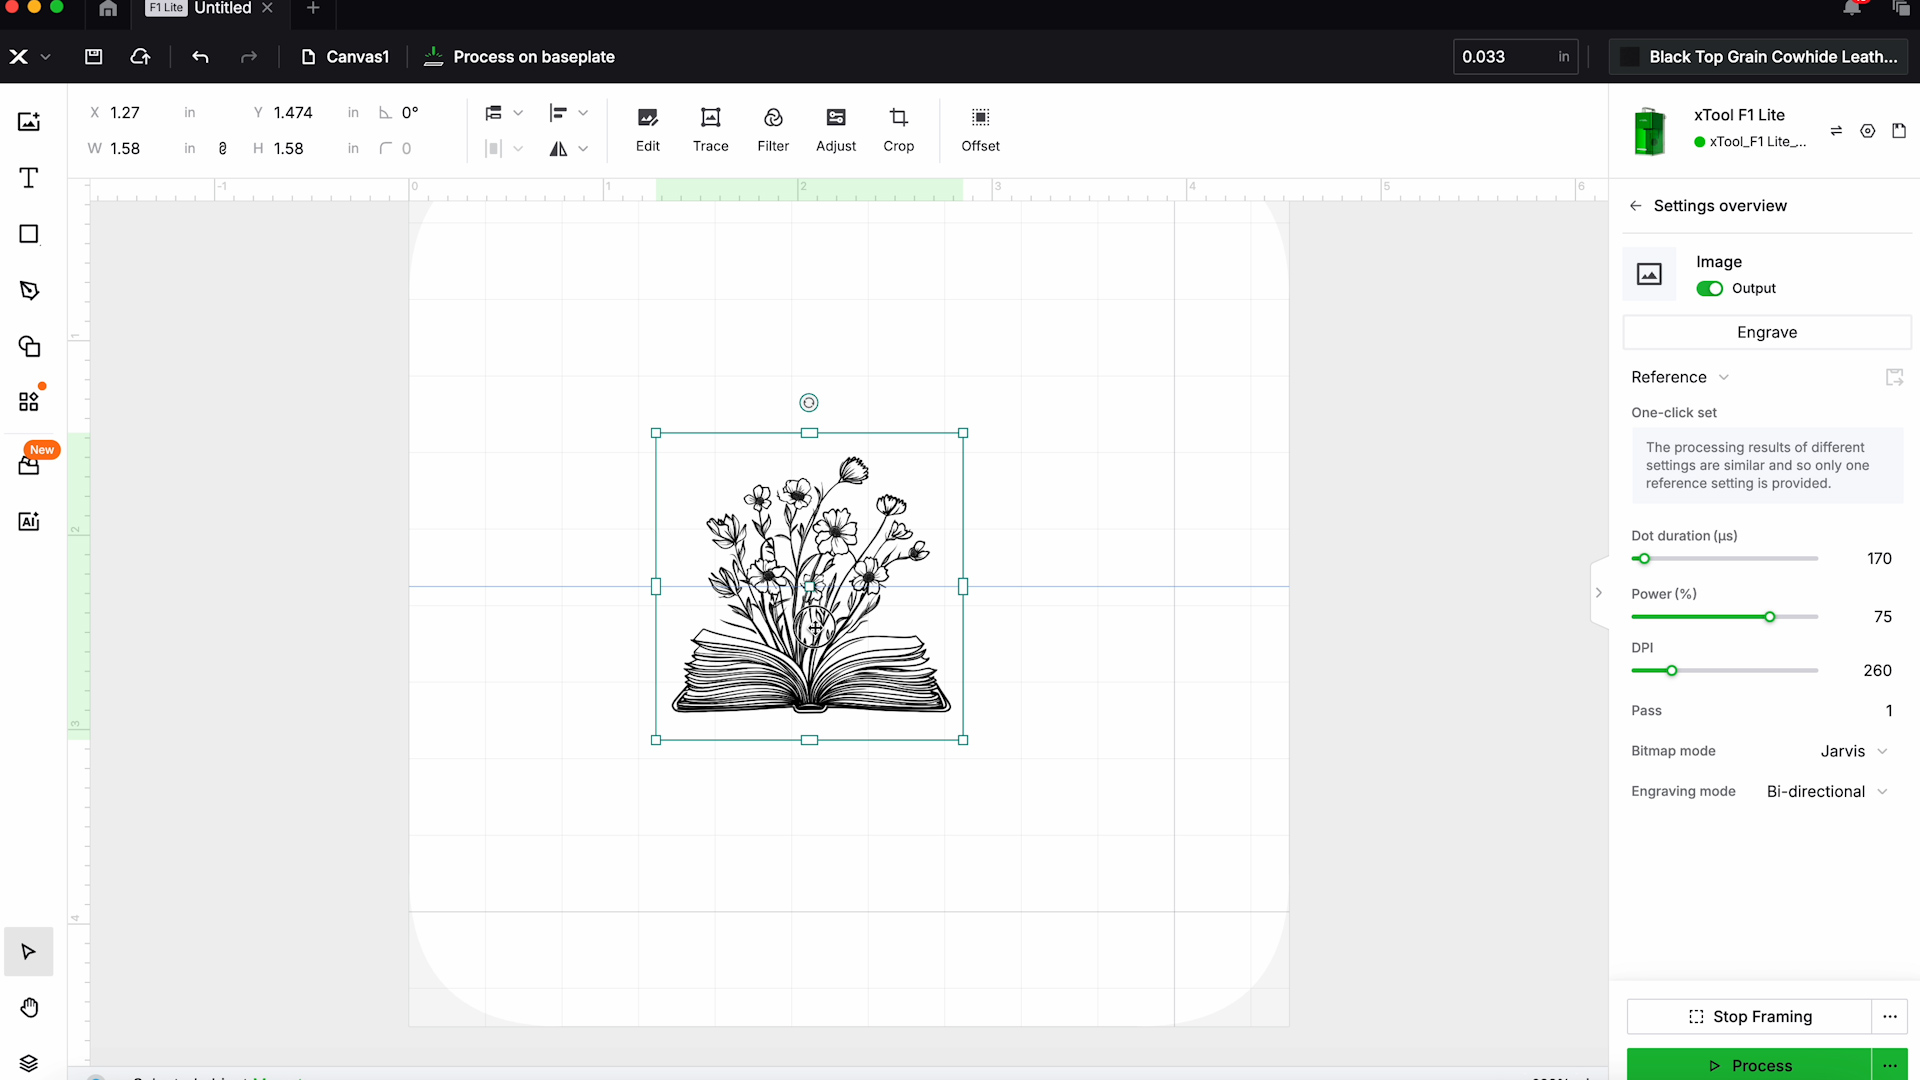
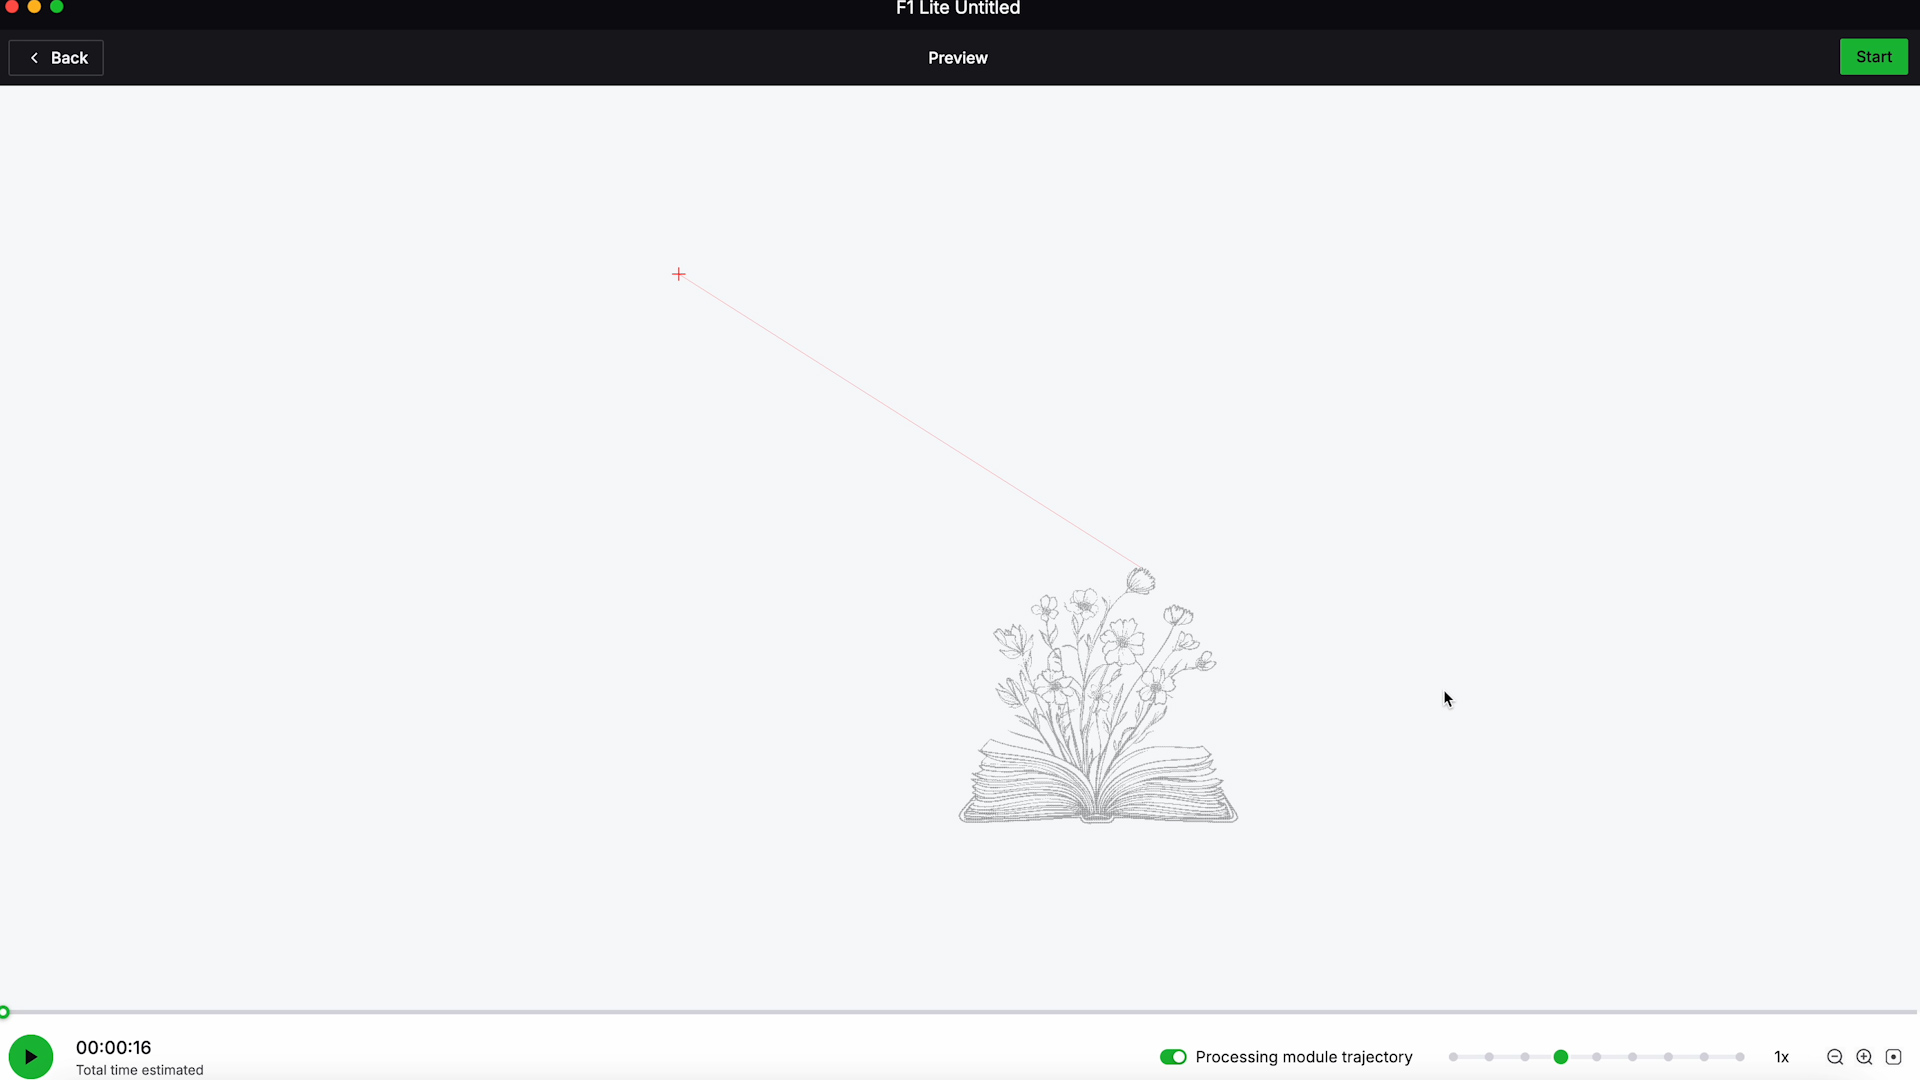
Click Upload in Creative Space and find the design on your device. You’ll see the design on your canvas and from here we can resize the design as needed.
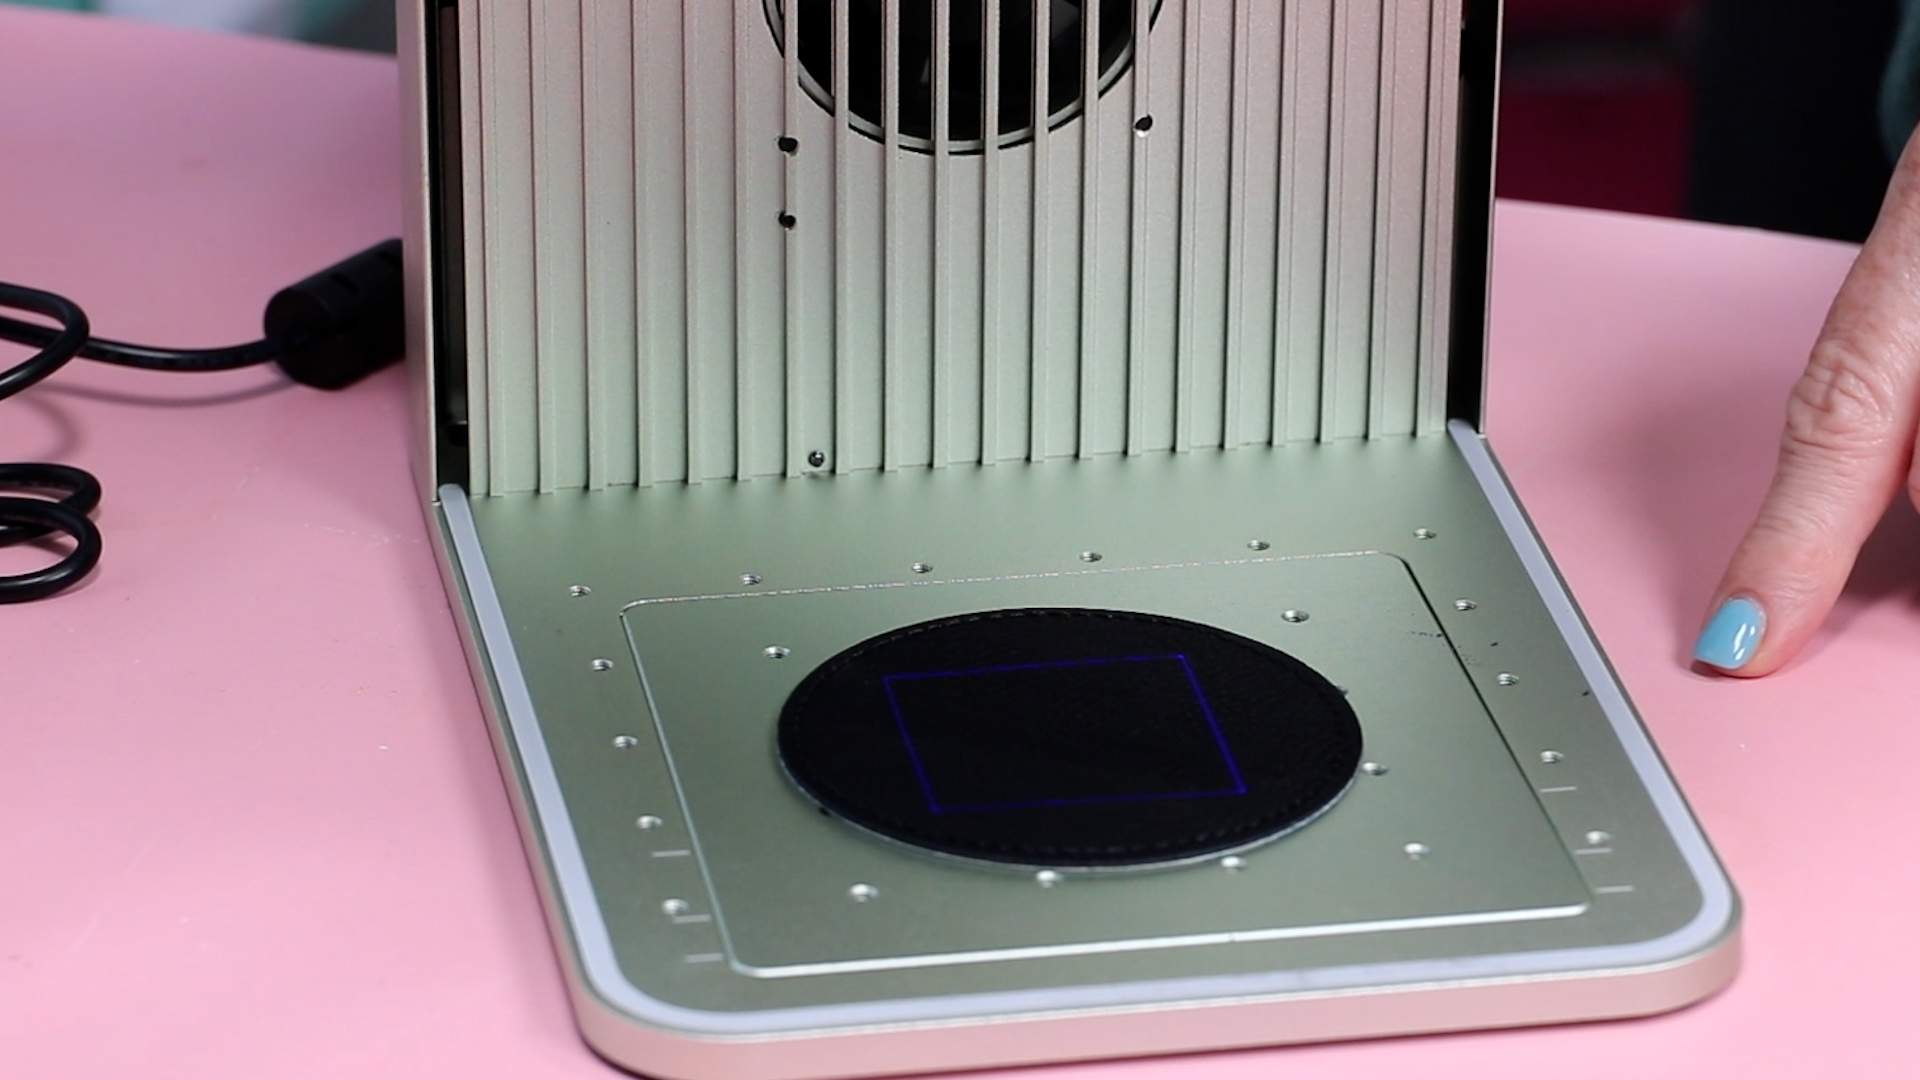
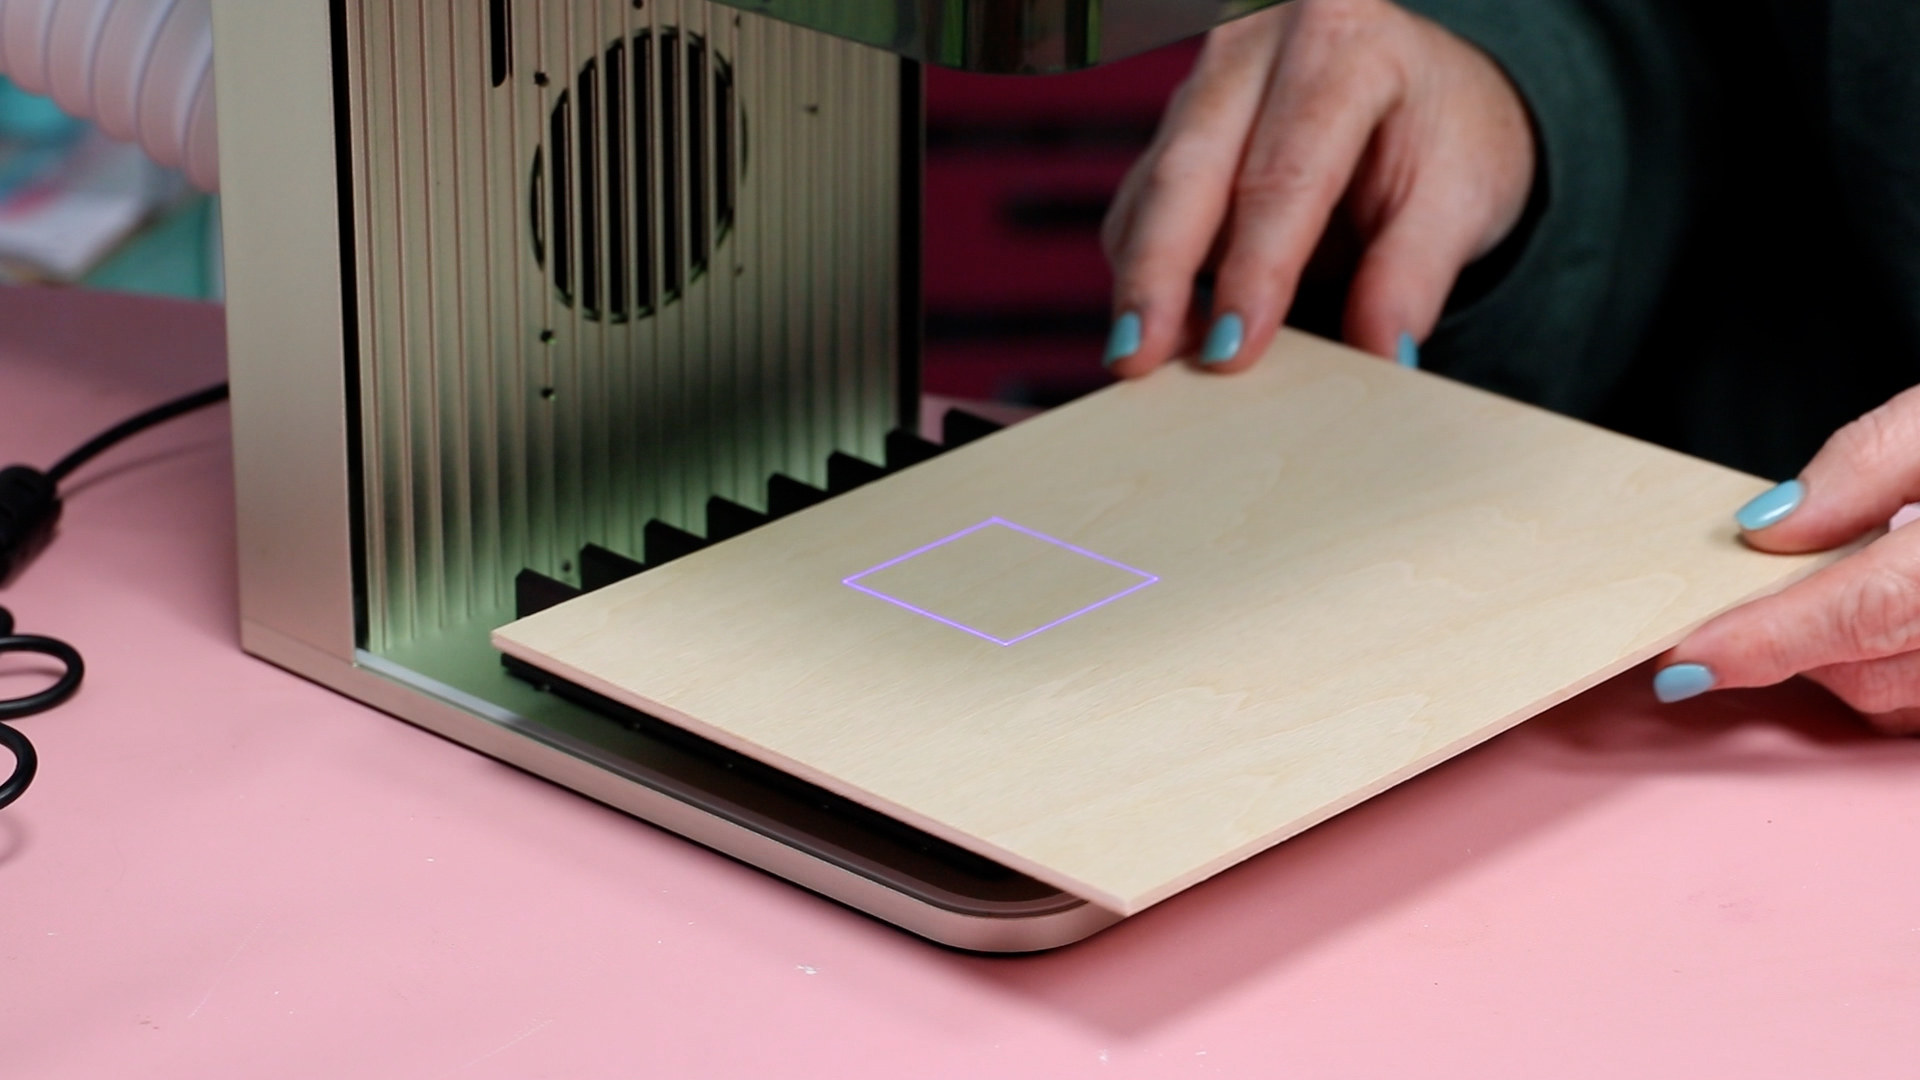
To make sure the design is the right size, click the Framing button, and you’ll see the design outlined on your material. Now, I can resize my design and move it where I want it on the blank.
If your design isn’t the right size or is in the wrong place, you can resize it in Creative Space. You can also move it on the canvas or move the blank itself.
There are two different framing options. You can select rectangular framing or outline framing. If you choose outline framing, it will show you exactly where it is going to engrave on the laser itself.
When everything is located correctly, you’re ready to process it.
Step 3. Engrave the Blank
Choose the material you’re using. From the recommended materials I selected Black Top Grain Leather. There are a lot of different materials you can choose from.
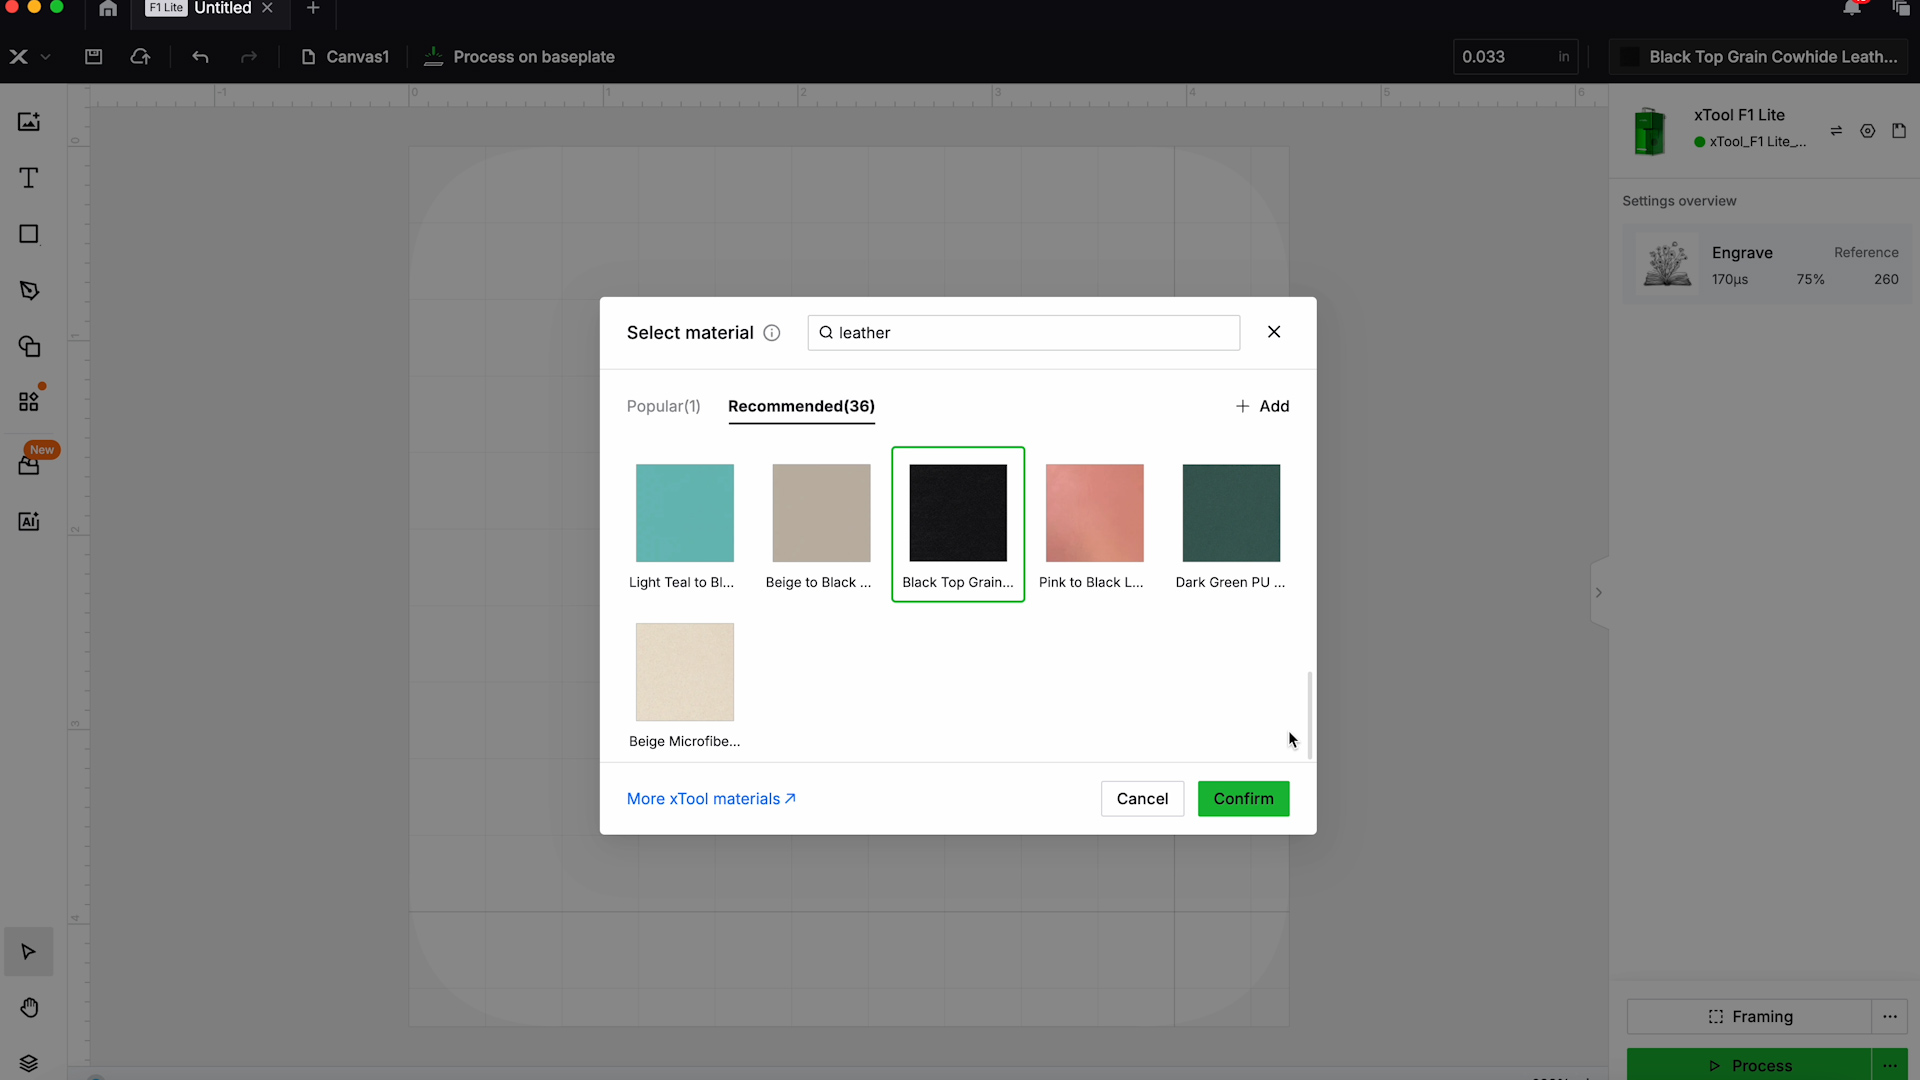
Within xTool Creative Space, after you choose the material, xTool will give you the recommended settings. You can change the settings if you want, I’ve found that the xTool recommendations usually work well.
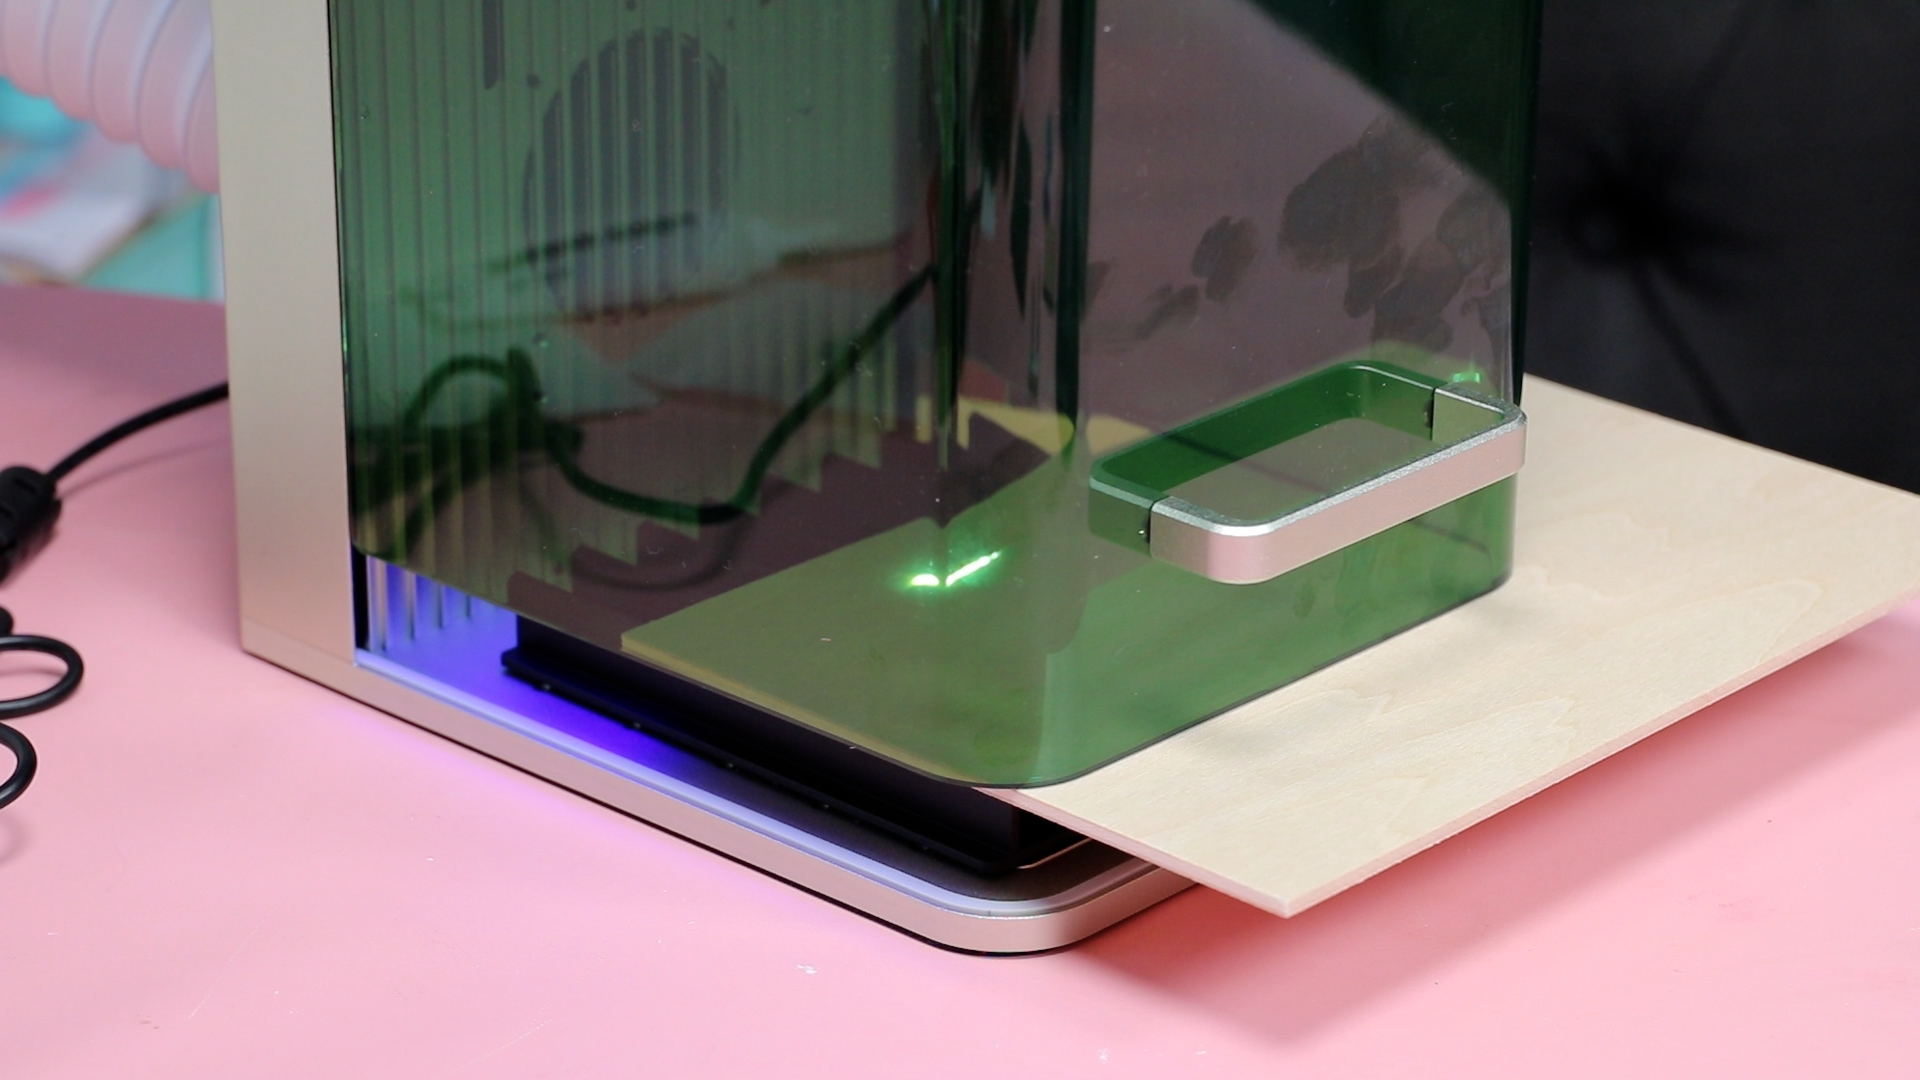
Close the shield on the laser, if you cannot close the shield, wear safety glasses.
Click Process and you’ll see that it will only take 16 seconds to engrave the design on the leather patch. That is so fast, I love it.
Press the button on the front of the machine to start the process. A long press on the same button will stop the process at any time.
Then just watch the laser work! It really is so fast when engraving things like this leather patch.
When the laser is done processing, lift the shield and the engraving is done.
How to Cut and Engrave Wood with the xTool F1 Lite
For this next project, I am going to test how the F1 Lite cuts and engraves on wood. The process is going to be similar to what we did before, except I’m going to add a cut layer.
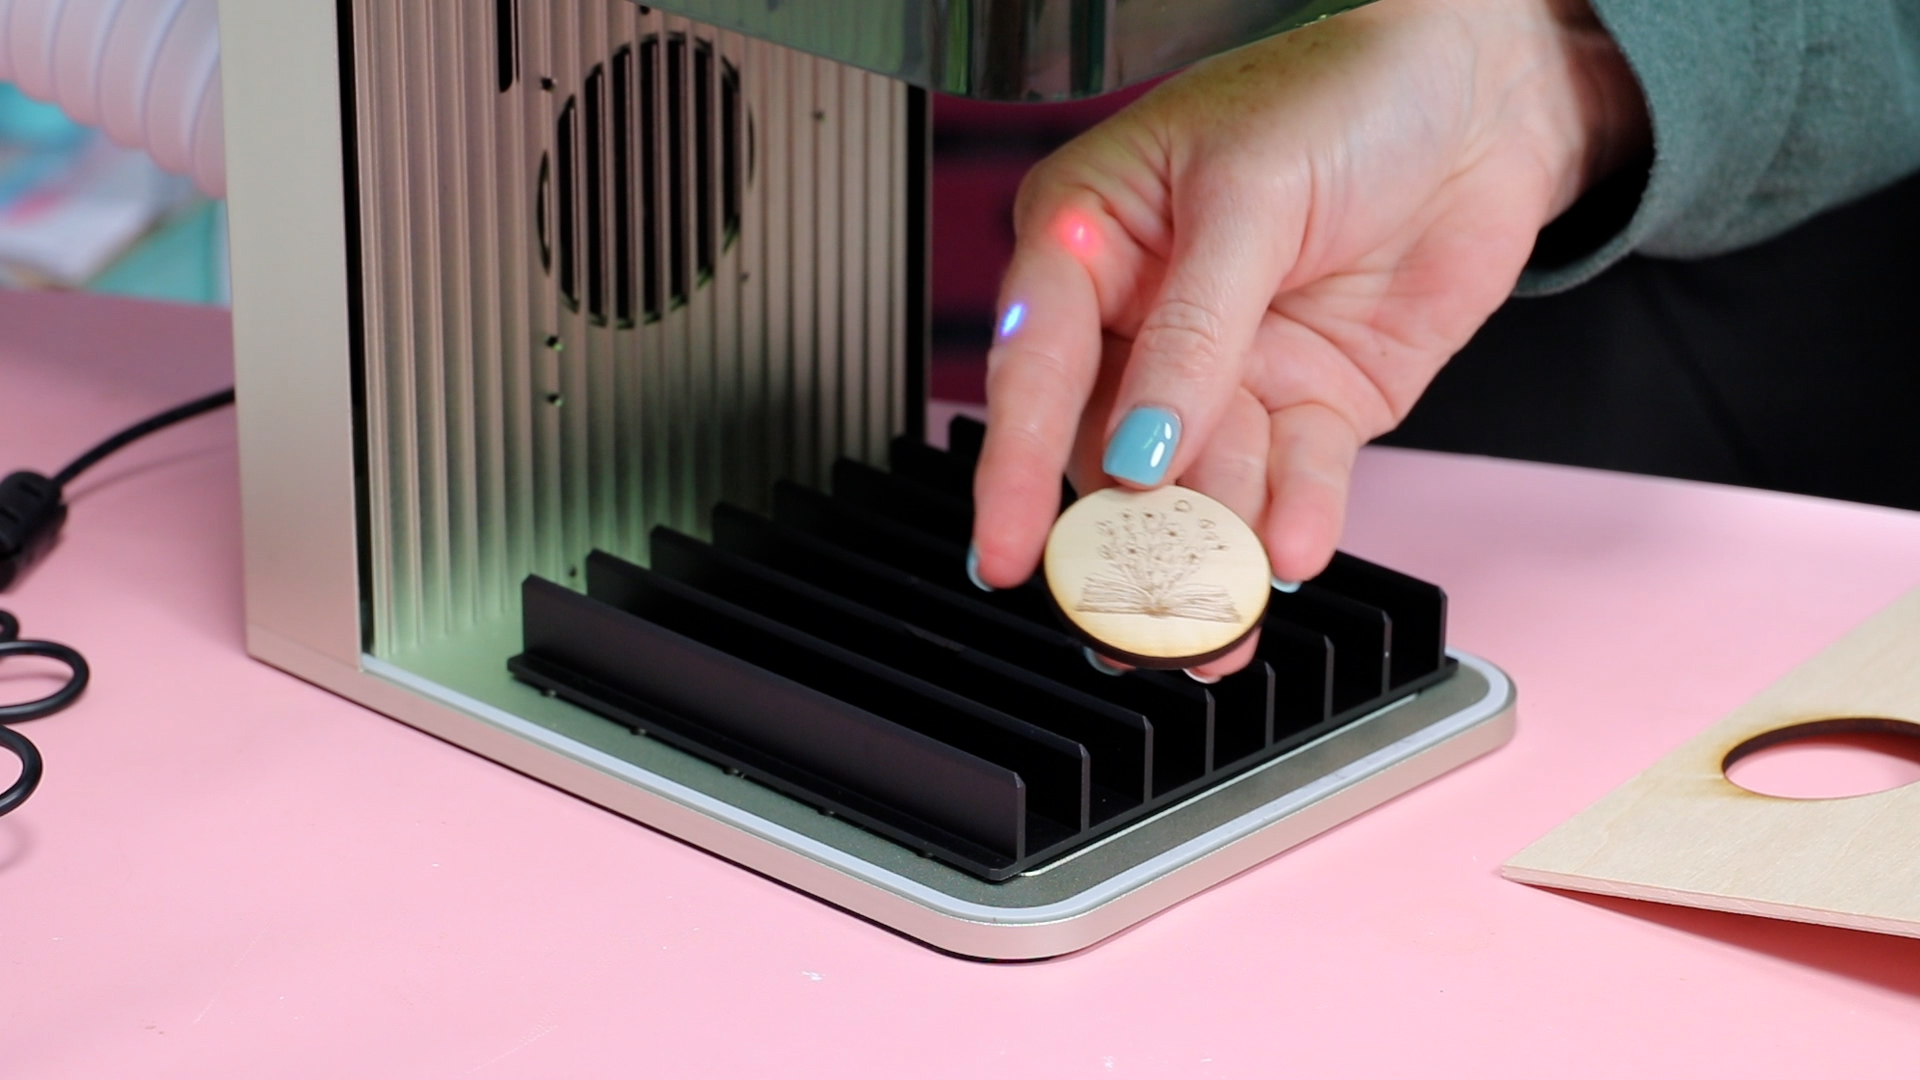
Step 1. Add Material to Laser
Remember you need to add the prism base as we will be using the machine to cut this time. So add it then the wood on top.
Step 2. Set Up Design
I added a circle to cut and the same design to engrave. I selected 3mm plywood as the material.
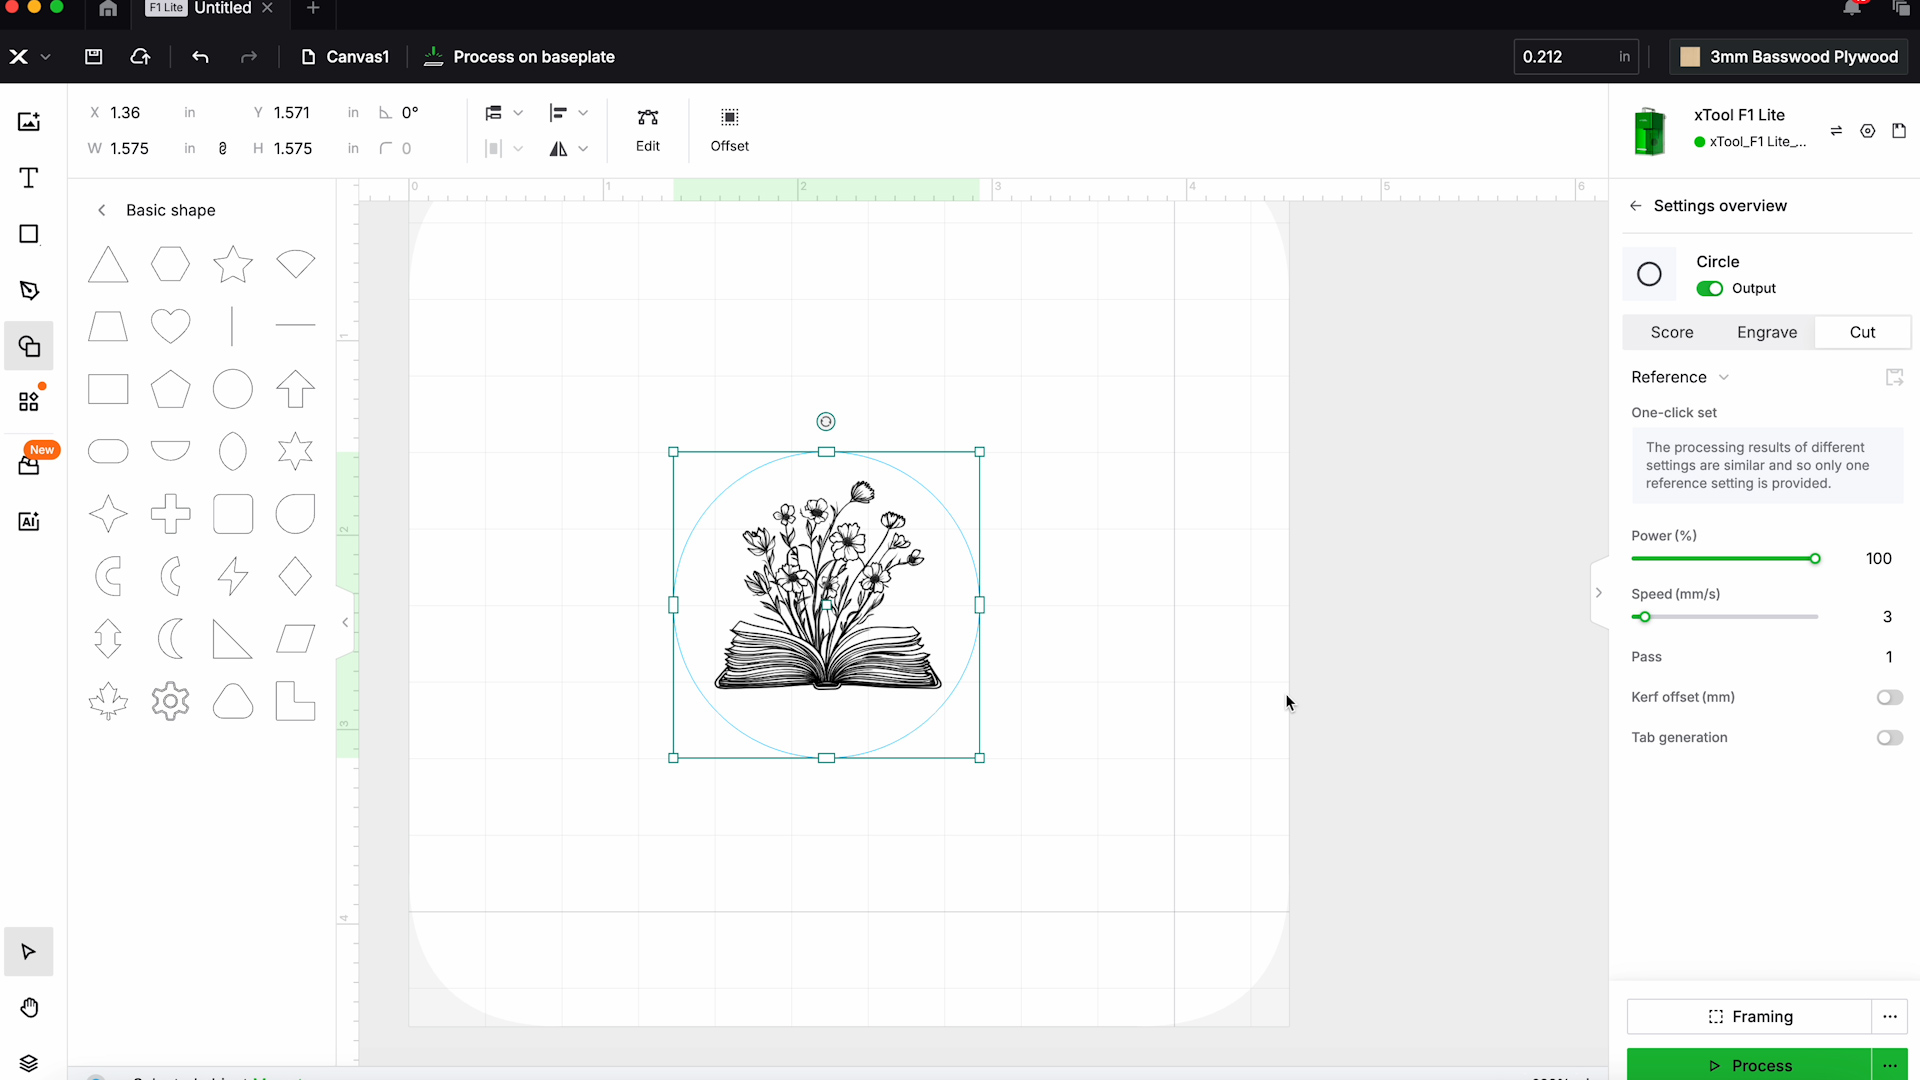
Step 3. Focus the Laser and Locate the Deisgn
Manually focus the laser and click Framing. Move the design or the material to locate the cut and engrave exactly where you want them.
Step 4. Cut and Engrave
With the cut and engrave settings set and the design located where we want on the material, it’s time to click Process. Be sure to close the shield on the laser for safety.
Creative Space says it will take 58 seconds to cut and engrave the plywood. This is incredibly fast for any laser. Start the laser by pressing the button on the side and let it go.
When it’s done, open the shield and you can see it has been cut and engraved.
Finished Project Examples
Now that I’ve made a lot of different projects with the xTool F1 Lite let’s look at how they turned out.
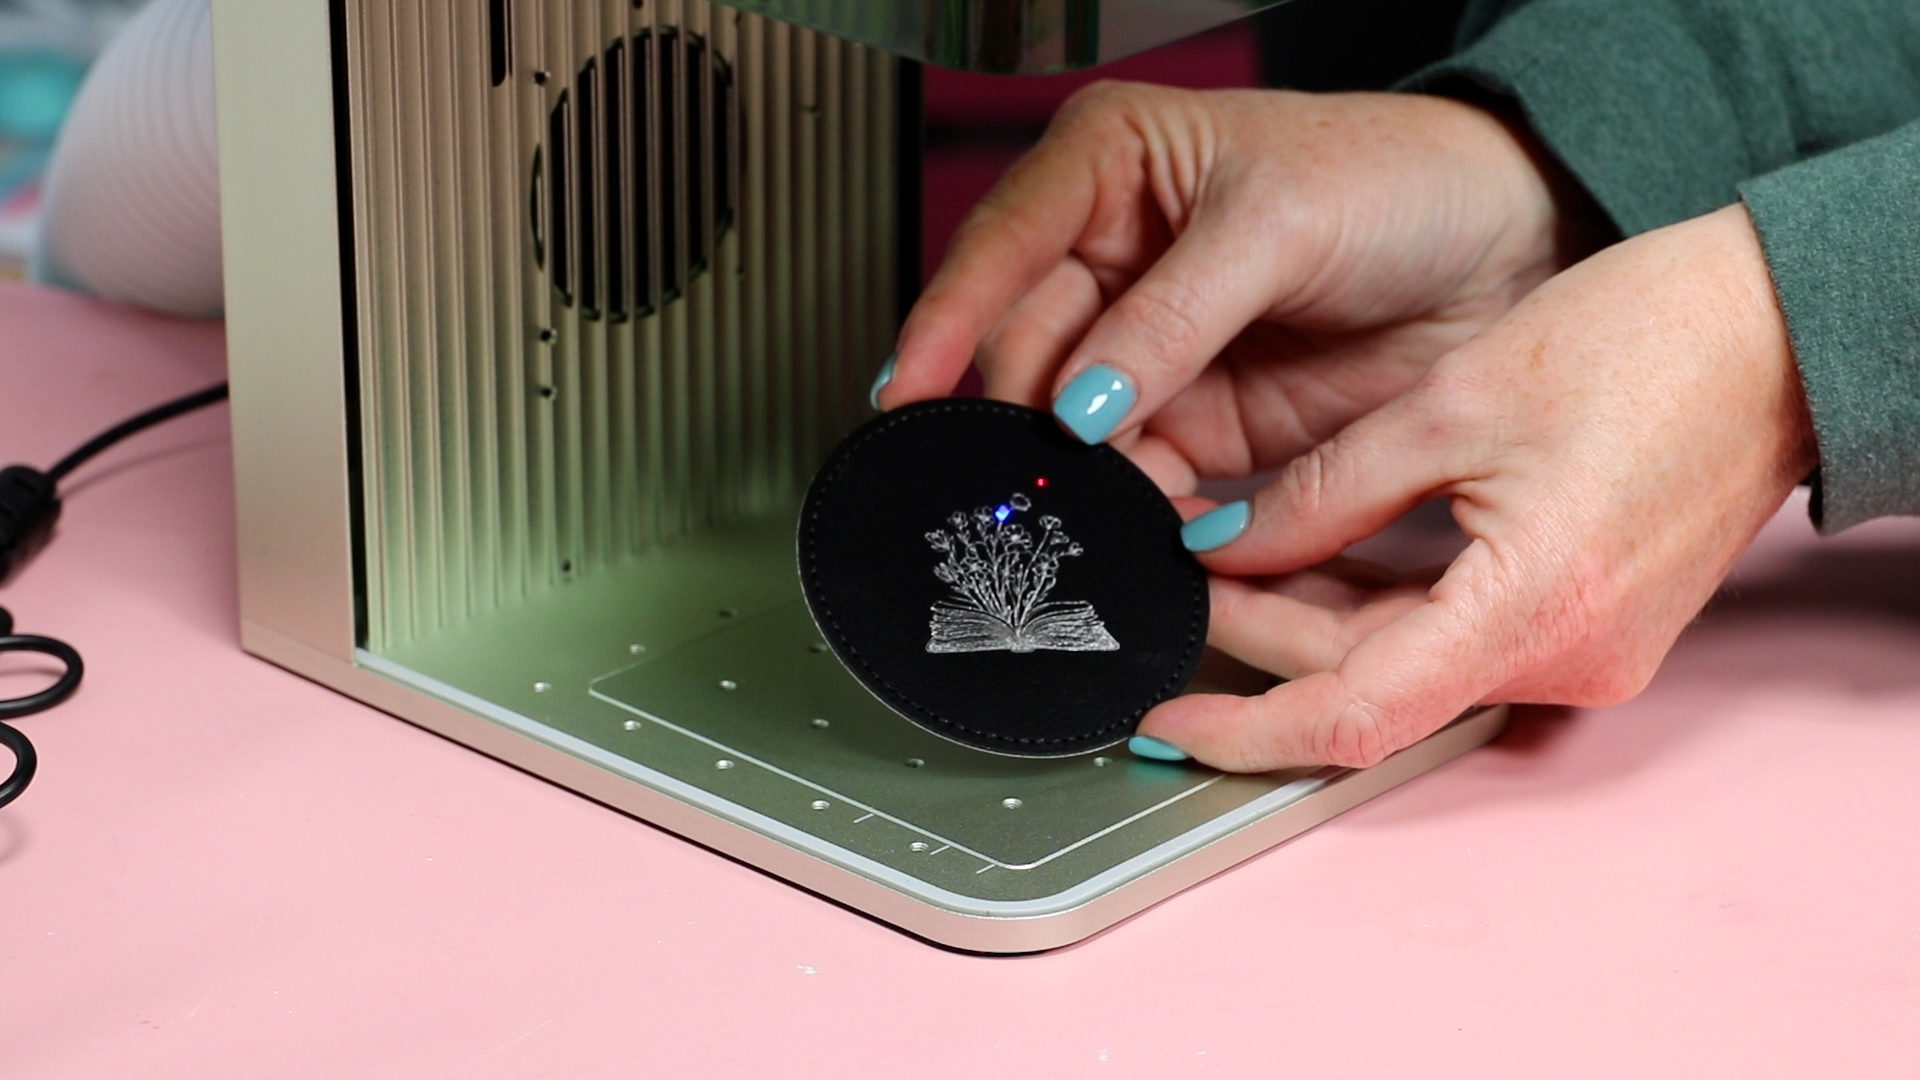
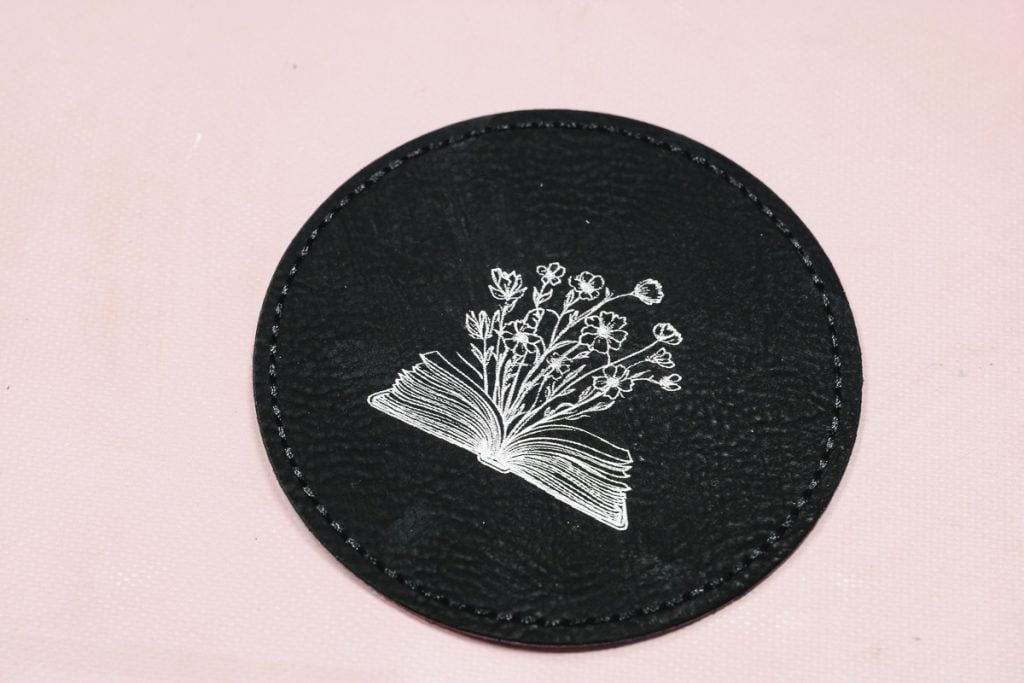
Engraving on Leather Patch
The first project I made was engraving on a leather patch and it turned out amazing. The design looks beautiful and the details are all very clear.
Cutting and Engraving on Wood
When it comes to cutting and engraving on wood, I feel like the settings could have been better.
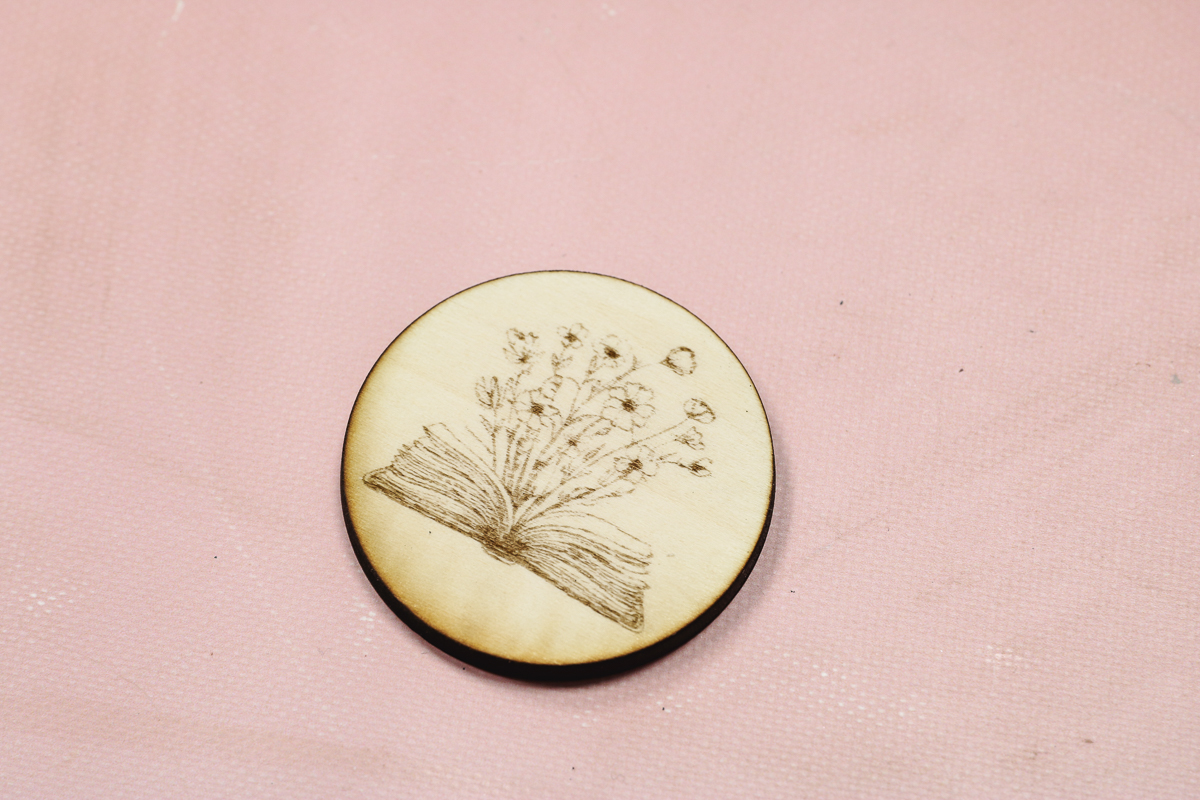
As you can see, there are char marks around the outer edge. I’ve had this happen each time I’ve tried cutting wood with the galvo-style lasers.
You can also see that the engraving is not nearly as detailed as it is on the leather. I will adjust the settings before attempting to engrave on wood again.
Engraving Coated Metals
Because this is a diode laser, if I want to engrave on metal it needs to be coated. You’ll need an infrared laser to engrave metals that aren’t coated.
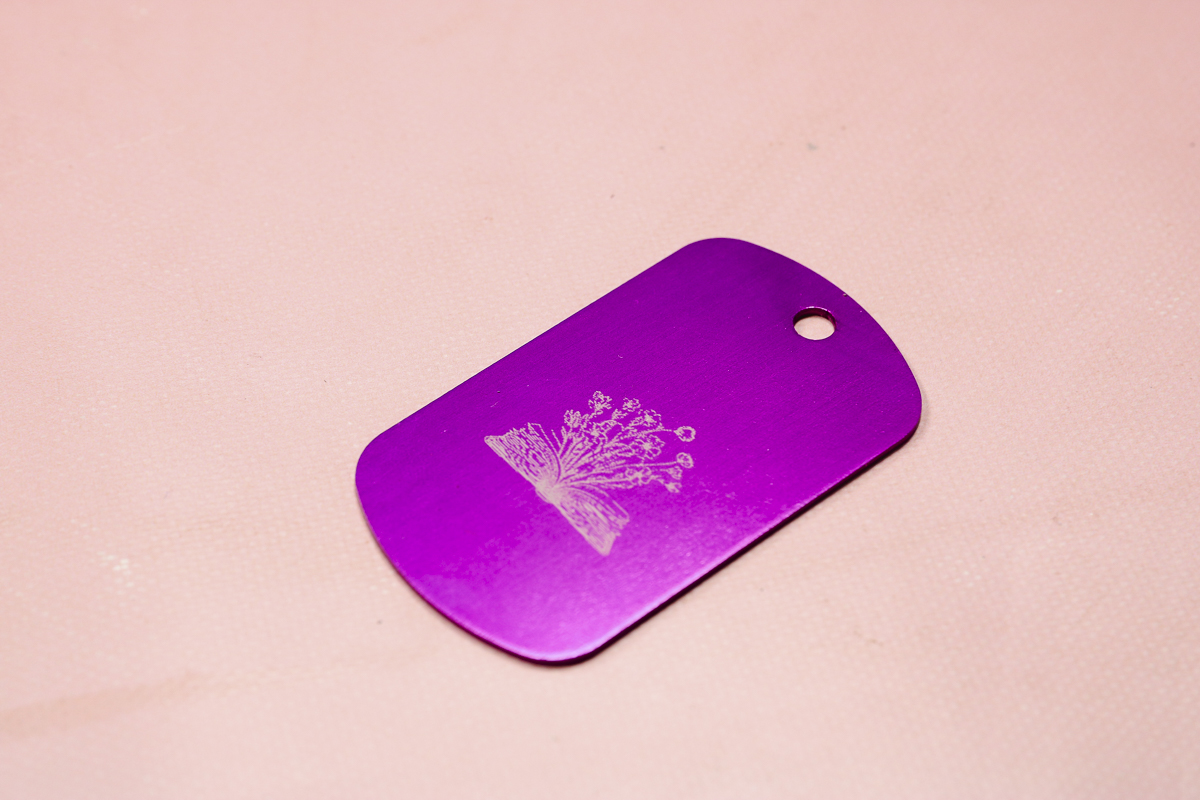
The engraving essentially removes the coating. This is similar to what you’d see when engraving a tumbler. You can also do that with this laser if you add a rotary accessory.
Engraving on Slate
You can engrave on slate with the xTool F1 Lite.
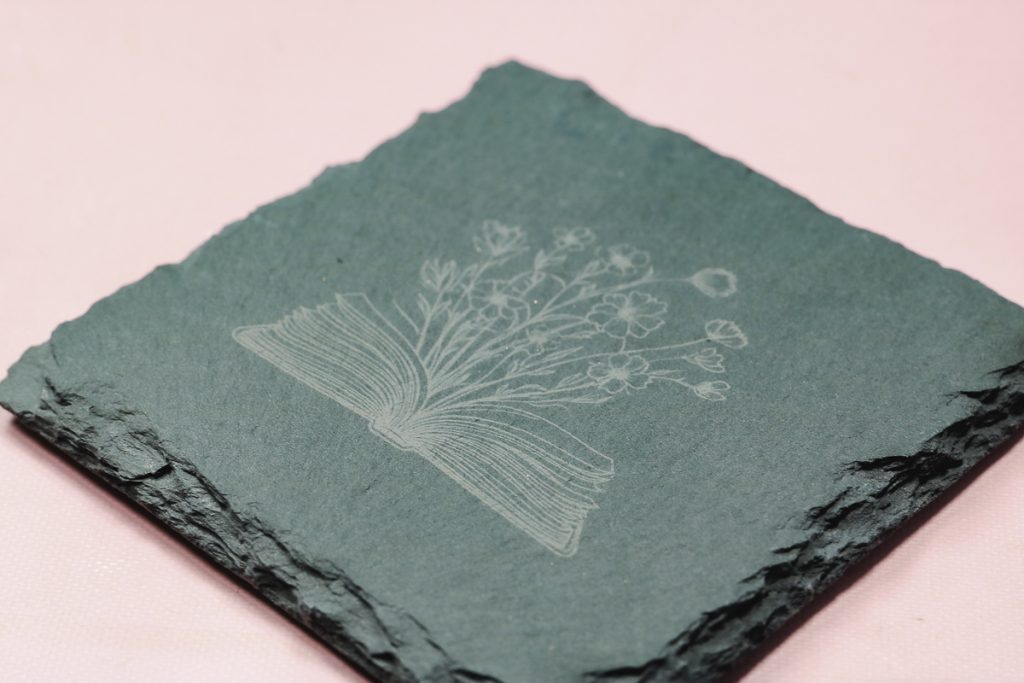
Engraving on slate with the F1 Lite is essentially removing the top coating. It isn’t a deep engraving but it looks really cool and makes a great gift.
Engraving Black Acrylic
Next, I tried engraving on black acrylic to see how well it works with acrylic.
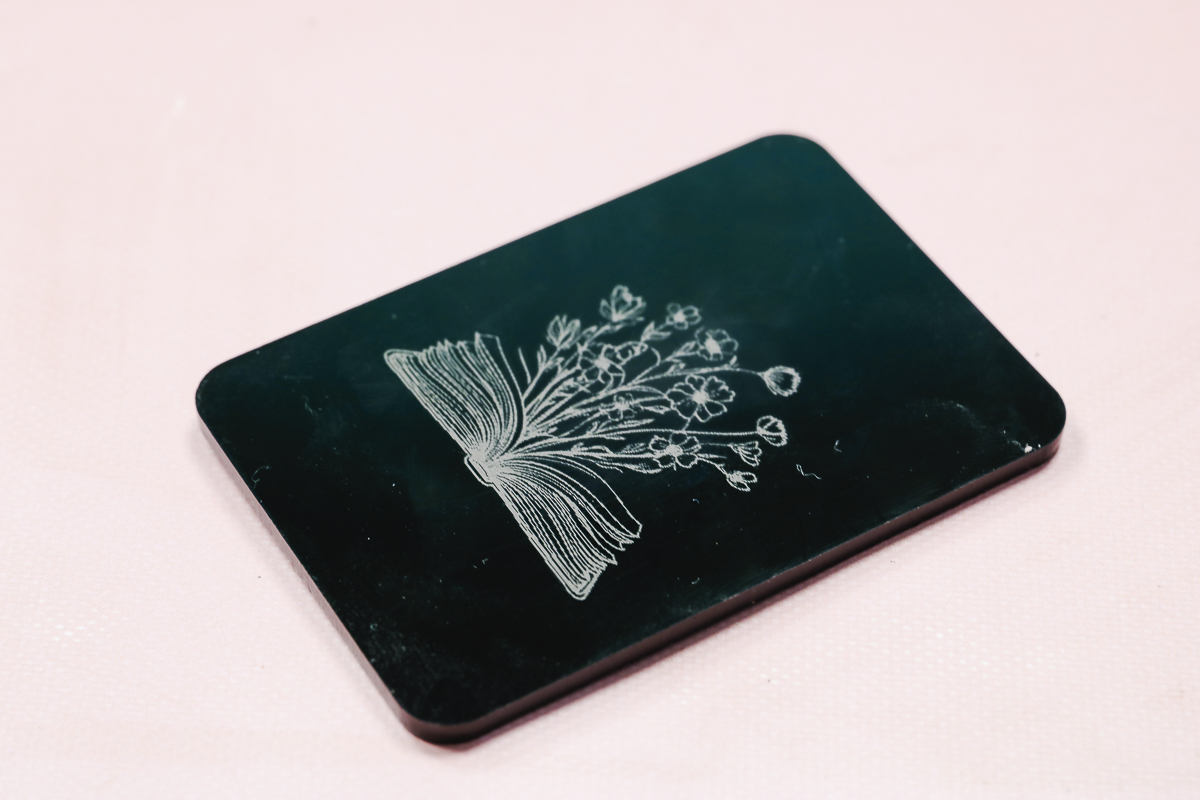
You can engrave acrylic and even cut certain acrylics. You need to be careful and make sure the acrylic is safe to use with a laser.
Because this is a diode laser, clear and light color acrylics may not work at all.
Engraving vs. Cut Projects
Out of all of those projects, my favorite is engraving. I think it does such a great job and is so easy to use for engraving.
You can cut with the xTool F1 Lite, I would test the settings before trying a large project.
What Other Materials Can You Cut and Engrave with this Laser?
I tested just a few materials today. There is an entire list of materials that work with this machine on the xTool site.
Make sure you head there to see everything it can do, and make sure it works for the type of projects you’re wanting to make.
xTool F1 Lite Pros and Cons
Now that we’ve looked at what the F1 Lite can do, let’s look at the pros and cons.
F1 Lite Pros
There are a lot of pros about the F1 Lite. Let’s talk about those.
- The Size. The small size is amazing and the handle on top makes it perfect for taking with you to personalize things on site.
- Removable Bottom Tray. Because the bottom tray can be removed, you can actually engrave onto much larger surfaces. You could even engrave on a tabletop. You can also engrave at an angle if you need to.
- Additional Accessories. You can purchase the air filter accessory or vent out a window. You can also purchase a rotary attachment so you can engrave things like tumblers. Another accessory is the conveyor system that will allow you to do multiple items or items that are larger.
- Optional Carrying Case. I saw that there is a carrying case that fits the laser and everything else you need, making it even more transportable.
- Very Powerful. This 10-watt diode laser allows you to cut wood up to 8mm thick. That’s very thick for such a small machine. I think you’ll be impressed with how much power you get with this laser.
- Easy to Use. This laser is really easy to use. There is also an xTool app that you can use, making it even easier to operate on the go.
- Safety Features. I like the safety features the F1 Lite has. It has an Emergency Stop and if it senses a fire it will automatically shut off.
- Galvo-Style Laser. A gantry-style laser head moves. With the galvo-style laser, the laser beams themselves move. This allows the laser to get into areas that others can’t.
F1 Lite Cons
There are cons with any laser, so let’s talk about the cons of the xTool F1 Lite.
- Diode Laser. Because this is a diode laser, you may have trouble with clear acrylic and light colors. This is true for any diode laser. This laser is very powerful but it still has limitations.
- Small Working Area. The working area inside is only 4.53 inches by 4.53 inches. There are ways to get around that size, but you’ll have to use those hacks to do that.
- No Infrared Head. There is only a diode laser in the F1 Lite. You don’t get an infrared laser head. This means you can’t engrave uncoated metals.
While there are some cons, I think this is an amazing laser.
Who is the F1 Lite Right For?
I think this laser is right good for someone who wants to engrave materials on the go. Because it’s small and has a handle, it’s perfect for transporting from place to place.
If you’re on a budget this is a great option. It allows you to work with a lot of blanks without breaking the bank.
If you have a small crafting space, this may also be the right laser for you. Because of how small this laser is, it can literally fit anywhere.
Where to Purchase the xTool F1 Lite
Make sure and check out the xTool website to see all the materials you can cut or engrave with it. If it aligns with what you’re looking to do, it may be the right laser for you.
Click here to purchase directly from xTool and learn more!
I hope I’ve answered any questions you have about the xTool F1 Lite. If you have any additional questions, leave them in the comments and I’ll be happy to answer them for you.