The xTool F1 Ultra is a game-changer in the world of laser engraving and cutting. It brings precision, speed, and versatility to makers, small business owners, and craft enthusiasts alike.
I’ll show you how it works on different materials so you can see what projects you can make with the F1 Ultra.
Whether you’re considering purchasing the xTool F1 Ultra or already have one and want to explore its full potential, we’ll walk you through everything you need to know.
You can watch me make these projects and set up the xTool F1 Ultra by pressing play on the video below.
What is the xTool F1 Ultra?
The xTool F1 Ultra is an upgraded version of the F1, designed with both a 20W diode (blue light) laser and a 20W infrared (fiber) laser built-in.
Unlike many lasers that require swapping laser heads, the F1 Ultra allows you to select the laser type directly from the software, making it incredibly convenient for multi-material projects.
This machine is a Galvo-style laser, meaning the laser head remains stationary while the beam moves across the material. This is different from Gantry-style lasers, where the laser head physically moves along an axis.
Galvo lasers are known for their speed and precision, making the xTool F1 Ultra an excellent choice for engraving detailed designs and cutting various materials.
Key Features and Benefits
Let’s take a look at some of the top features of the xTool F1 Ultra.
1. Portability and Build
Although the F1 Ultra is larger than its predecessor, it is still compact and portable, making it an excellent option for small business owners who attend craft fairs or markets.
It does not have a handle at the top, which makes it a little less portable than some smaller models, but it is not too large, making it perfect for personalizing items on site.
2. Dual-Laser System
One of the standout features of this machine is its dual-laser system:
- Blue Light Laser (Diode): Ideal for cutting and engraving materials like wood, acrylic, and leather.
- Infrared (Fiber) Laser: Perfect for engraving metals, stone, and plastics.
Since you can switch between the two laser types directly in xTool Creative Space, this machine eliminates the step of manually swapping laser heads, making it faster and easier to use than other lasers.
3. Safety Features
Safety is always a top priority when working with lasers. The xTool F1 Ultra includes several built-in safety features:
- Fire Detection and Auto-Stop: If a flame is detected, the machine automatically halts the engraving or cutting process.
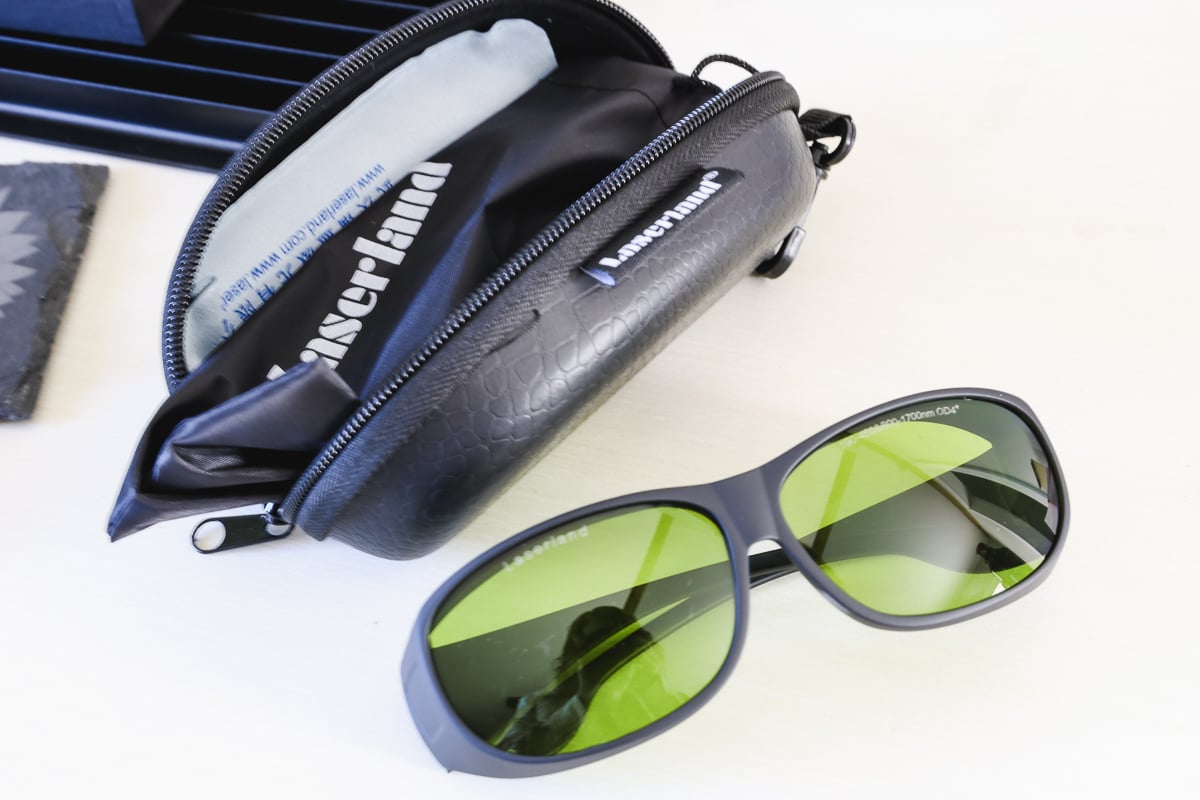
- Protective Cover: Keeps harmful laser light contained, protecting your eyes. If you need to operate with the cover open, be sure to wear safety glasses that block both blue and infrared light.
- Ventilation Support: The machine includes an exhaust hose for venting fumes out a window, and an optional air filter is available.
Always keep a fire blanket and/or fire extinguisher on hand. This laser flares up more than any of the other lasers I’ve used. Especially when cutting.
Any materials you put in the machine need to be laser-compatible. Some materials are toxic when cut with a laser. Make sure you review my article on laser safety before you begin your laser journey.
Laser Unboxing and Setup
Let’s get the xTool F1 Ultra out of the box and set it up.
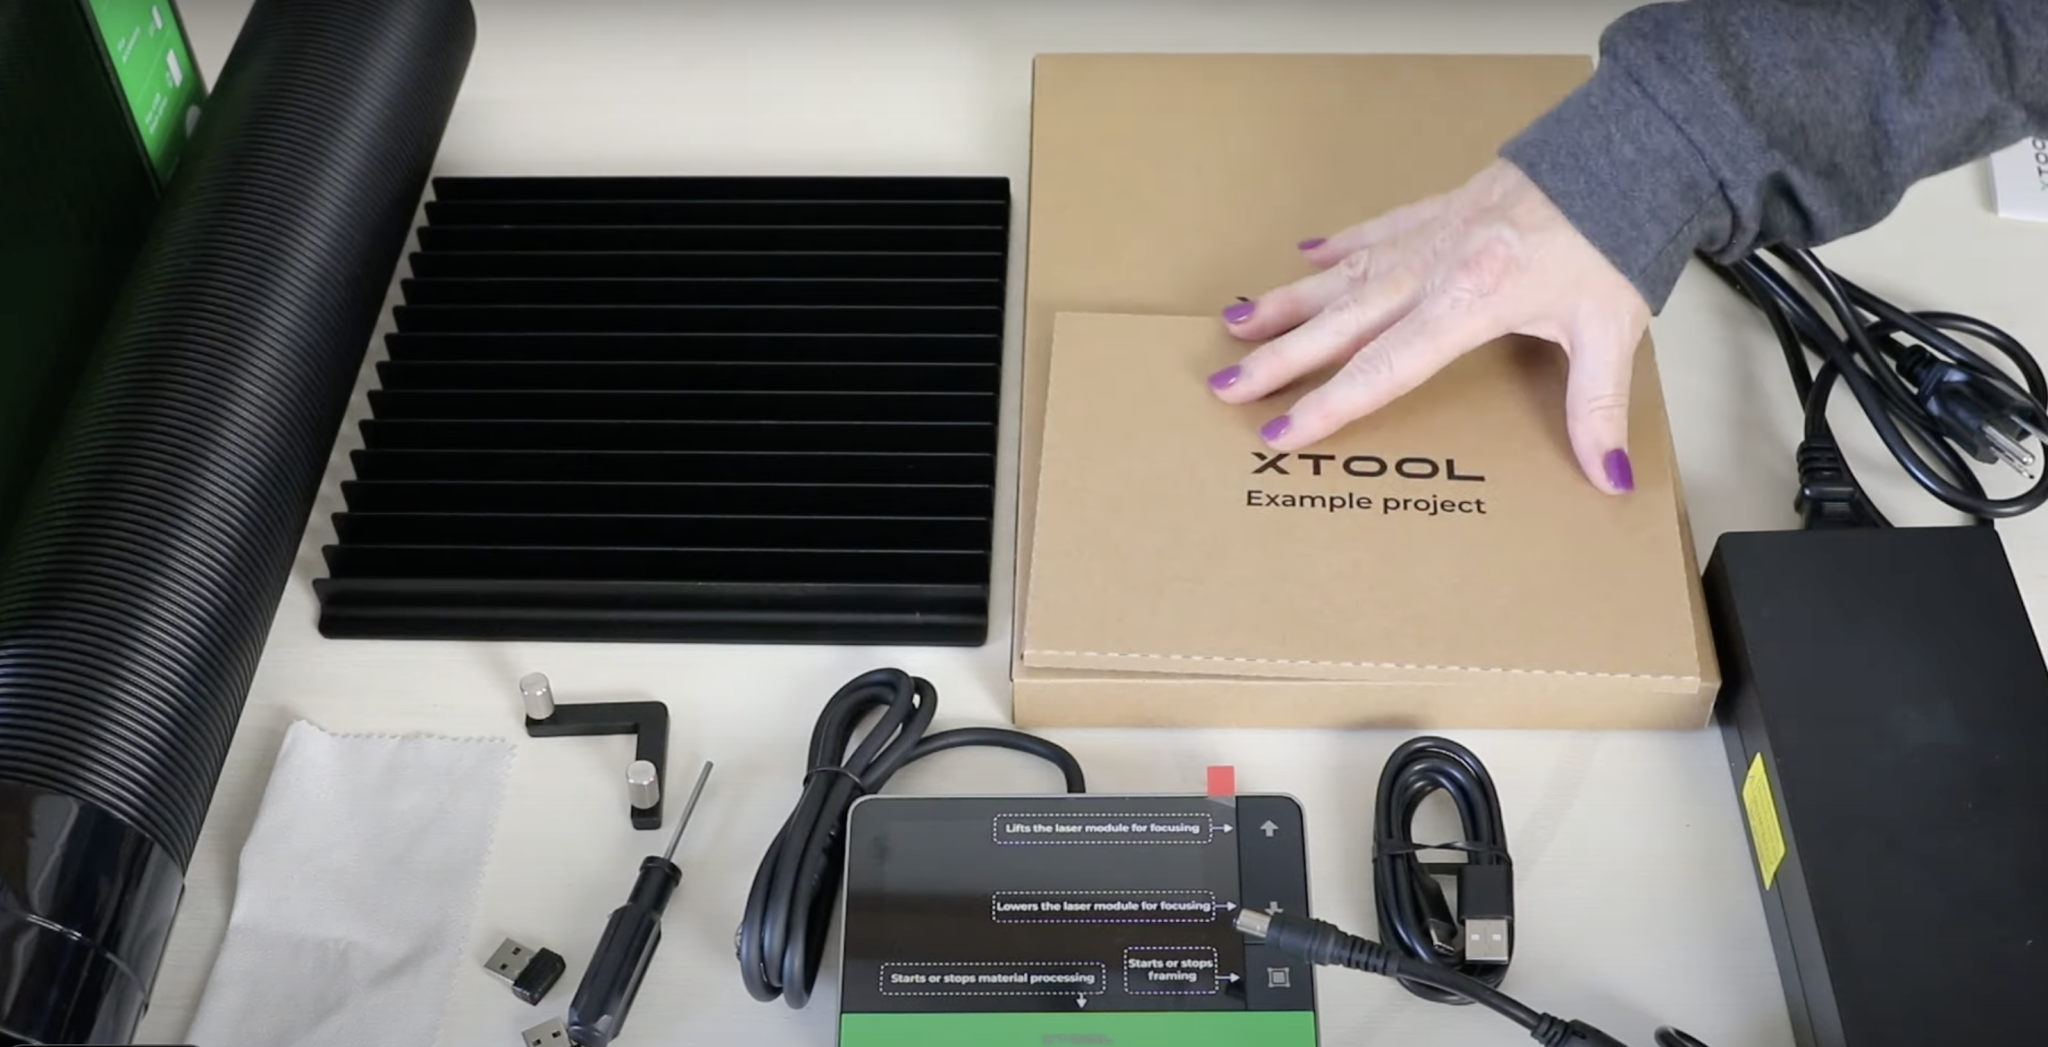
Box Contents
Setting up the xTool F1 Ultra is straightforward, with everything you need included in the box:
- Quick-start guide and safety instructions
- Exhaust pipe
- Touchscreen controller
- Slatted panel
- L-shaped positioning piece
- Key
- Screwdriver
- Lint-free cloth
- USB cable and power cord
- Material pack and sample project
Step-by-Step Setup:
- Unbox the machine and remove all packaging materials, including those inside the work area.
- Remove the lens cap by pulling it down.
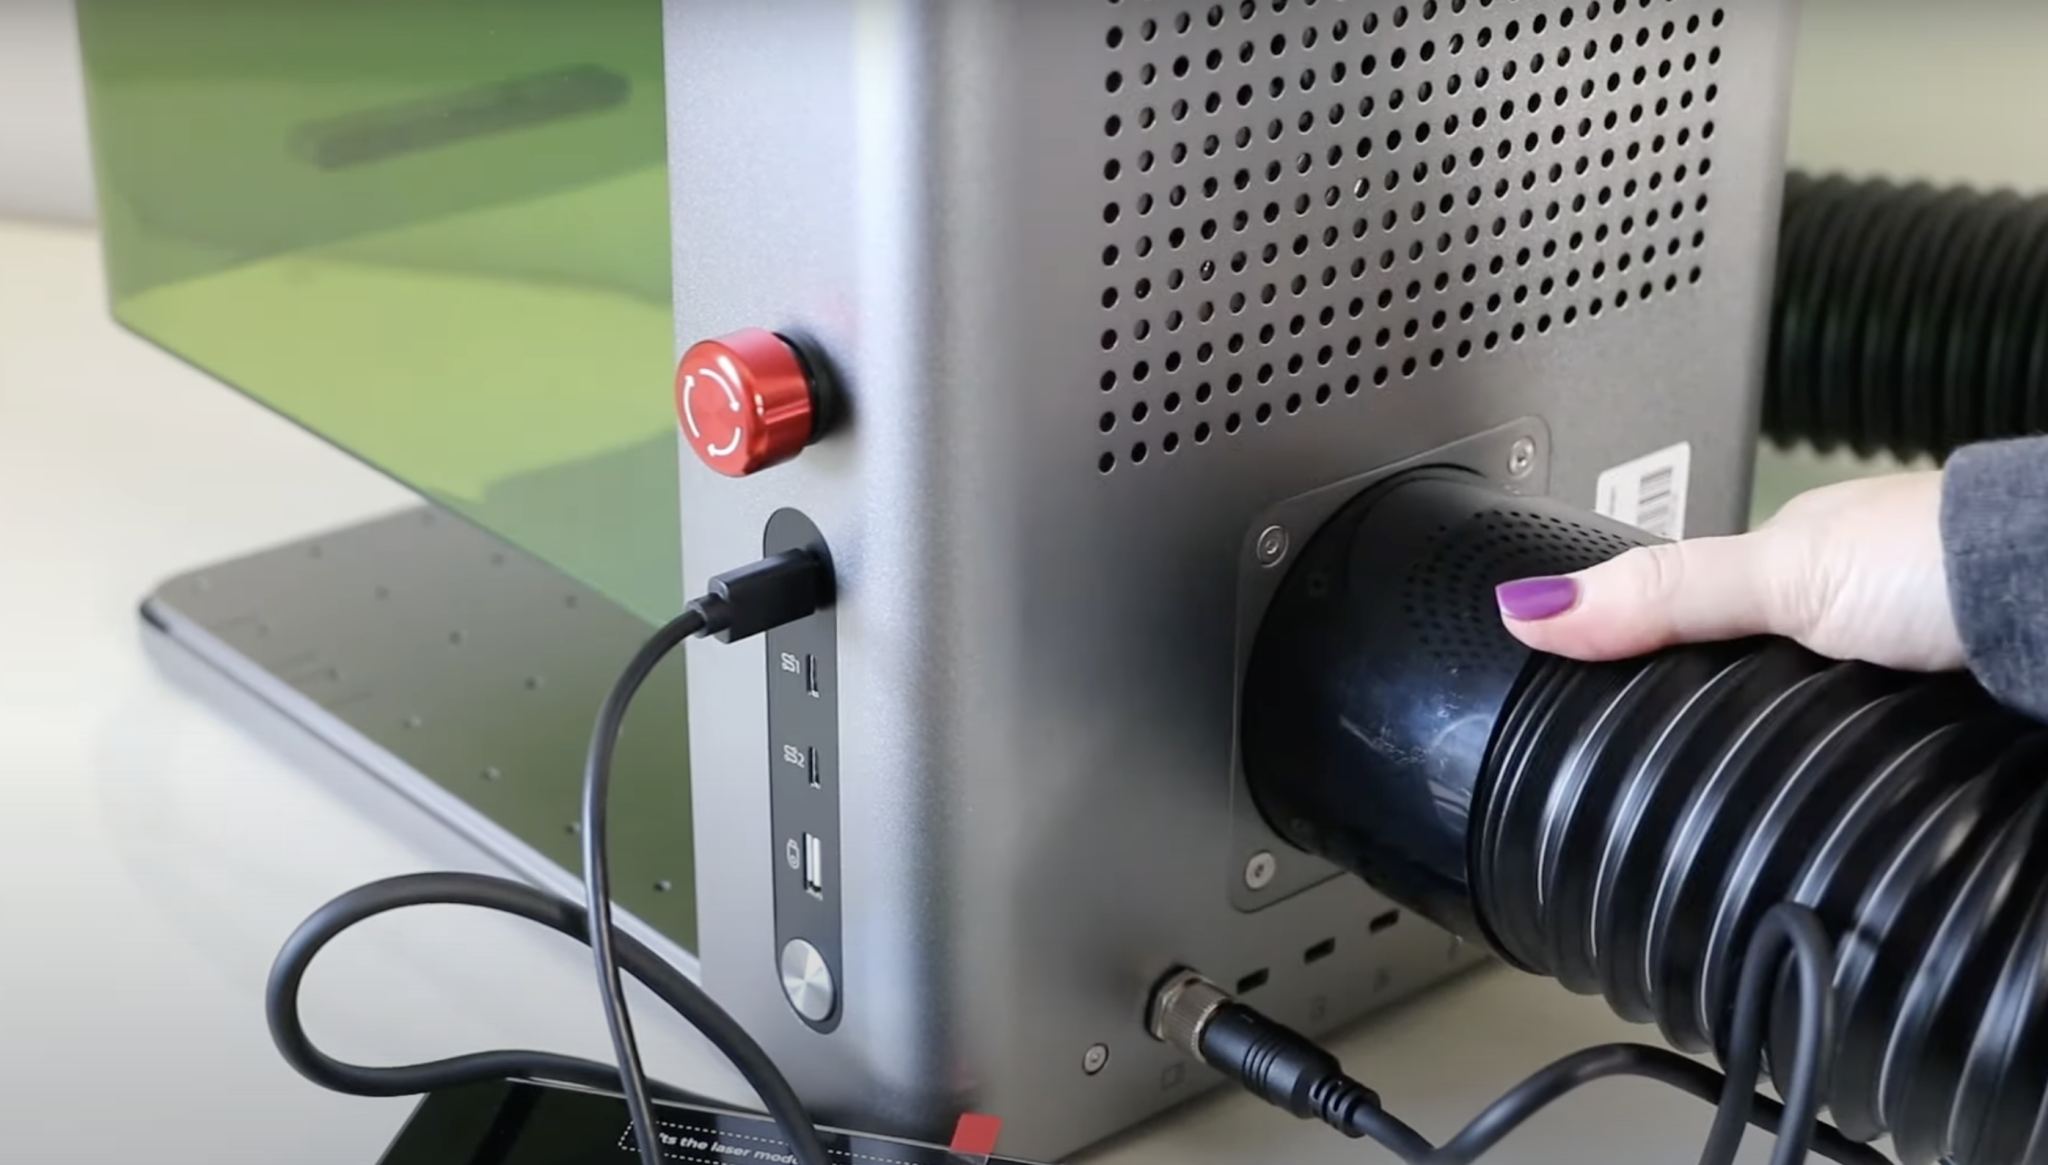
- Insert the key at the back of the machine.
- Connect the touchscreen controller and power cord.
- Ensure the emergency stop button is disengaged.
- Connect the USB cable (one-time setup) to link the machine to xTool Creative Space.
- Attach the exhaust hose and vent it outside or use an air filter accessory.
- Power on the machine and update the firmware if prompted.
You need to keep the cover closed if possible when operating to protect your eyes. If you need to have it open, you need to purchase a pair of laser safety glasses.
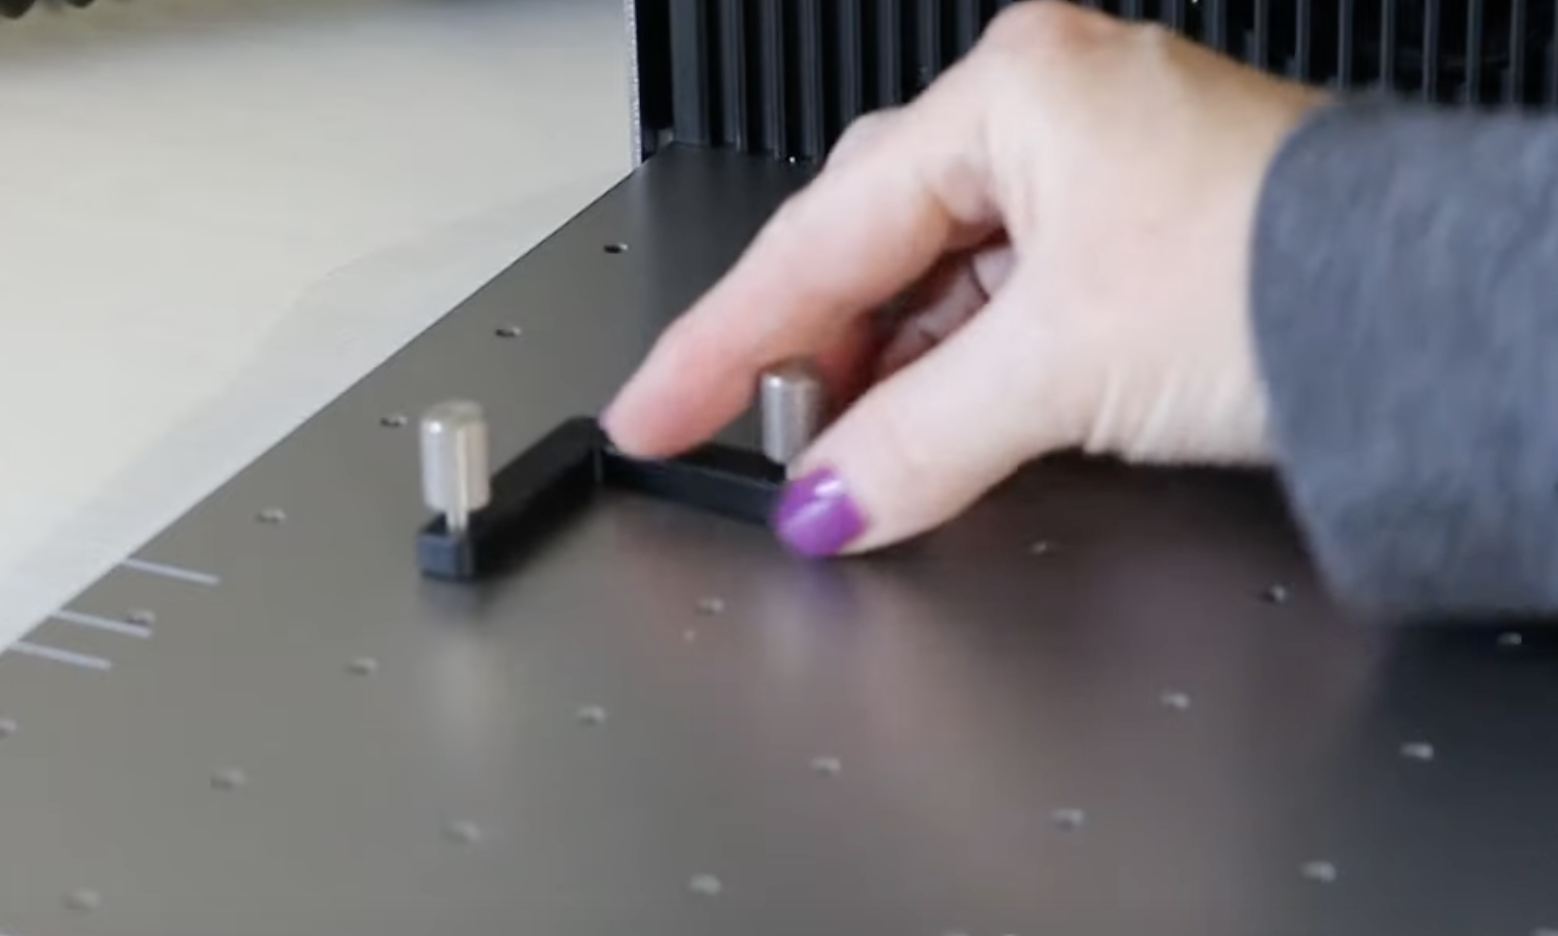
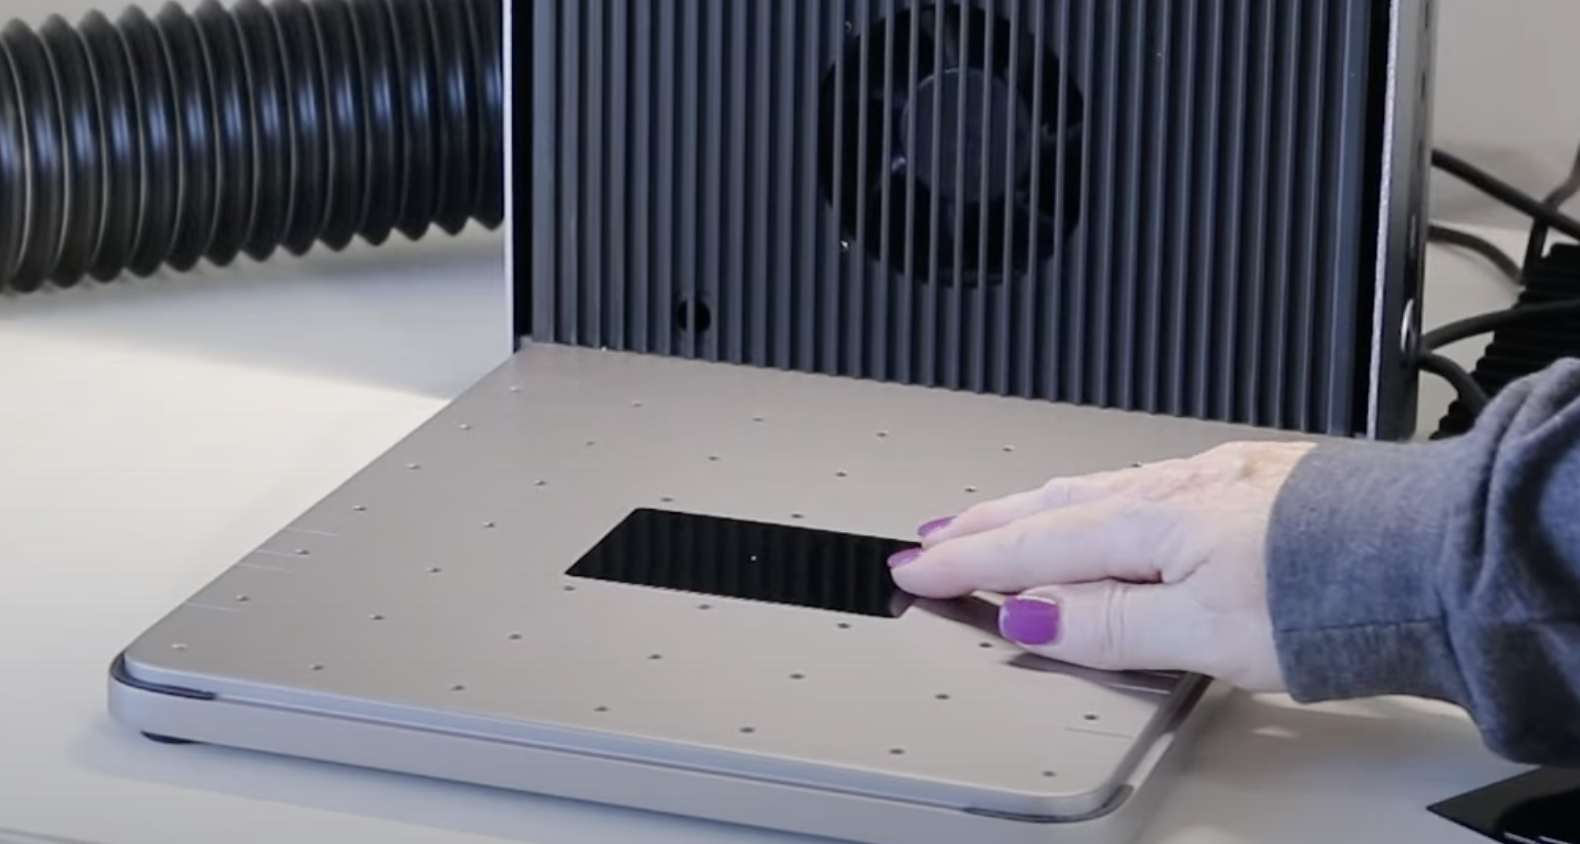
The holes in the base are for the L-shaped piece that you can use to position your blanks so that they are the same, one after another.
If you’re going to cut something with your xTool F1 Ultra, place the grid tray on the base.

Once set up, you’re ready to start engraving and cutting!
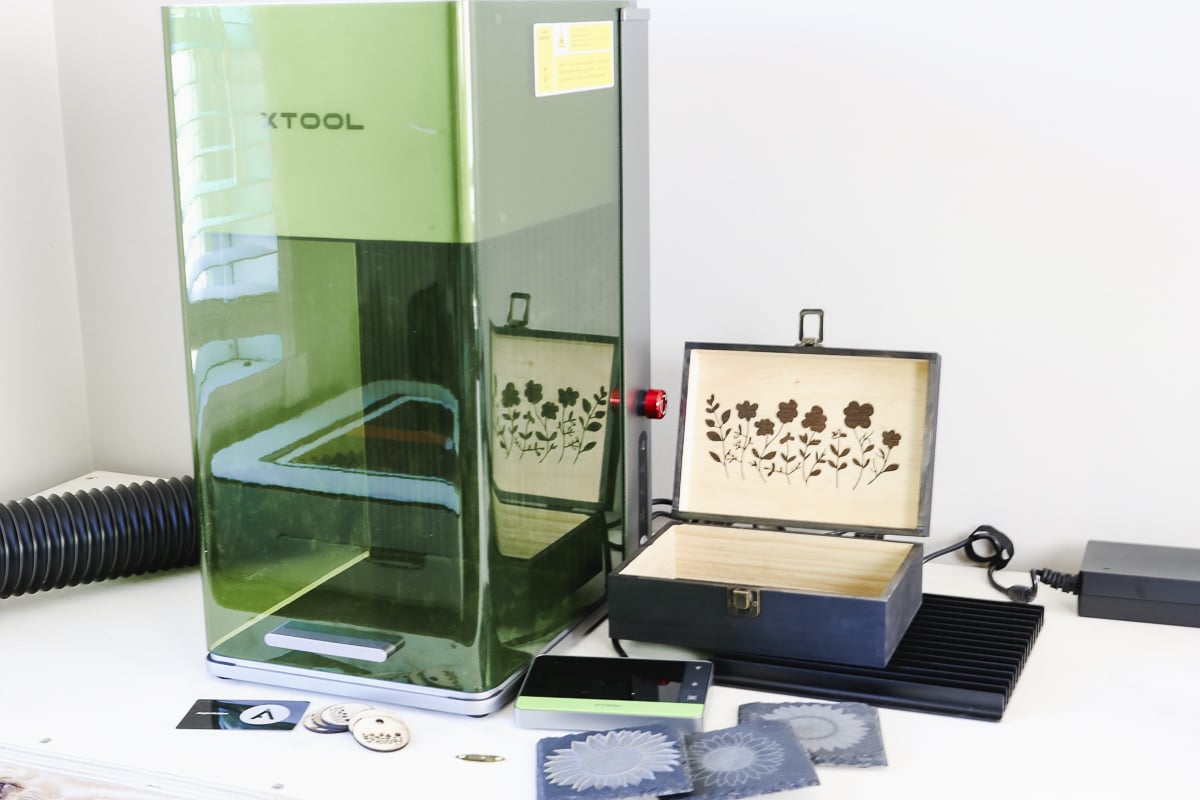
xTool F1 Ultra Projects and Performance Testing
Now that the machine is set up, it is time to put it to the test with a few projects. For most of these projects, I am using this free floral design as my example. For the slate, I did use this free sunflower design instead.
1. Metal Engraving: Business Cards
The machine comes with metal business cards as a sample project. The website that comes with the business card will actually walk you through the entire process.
The setup is simple:
- Place the metal card on the work surface using the red and blue lights to center the blank.
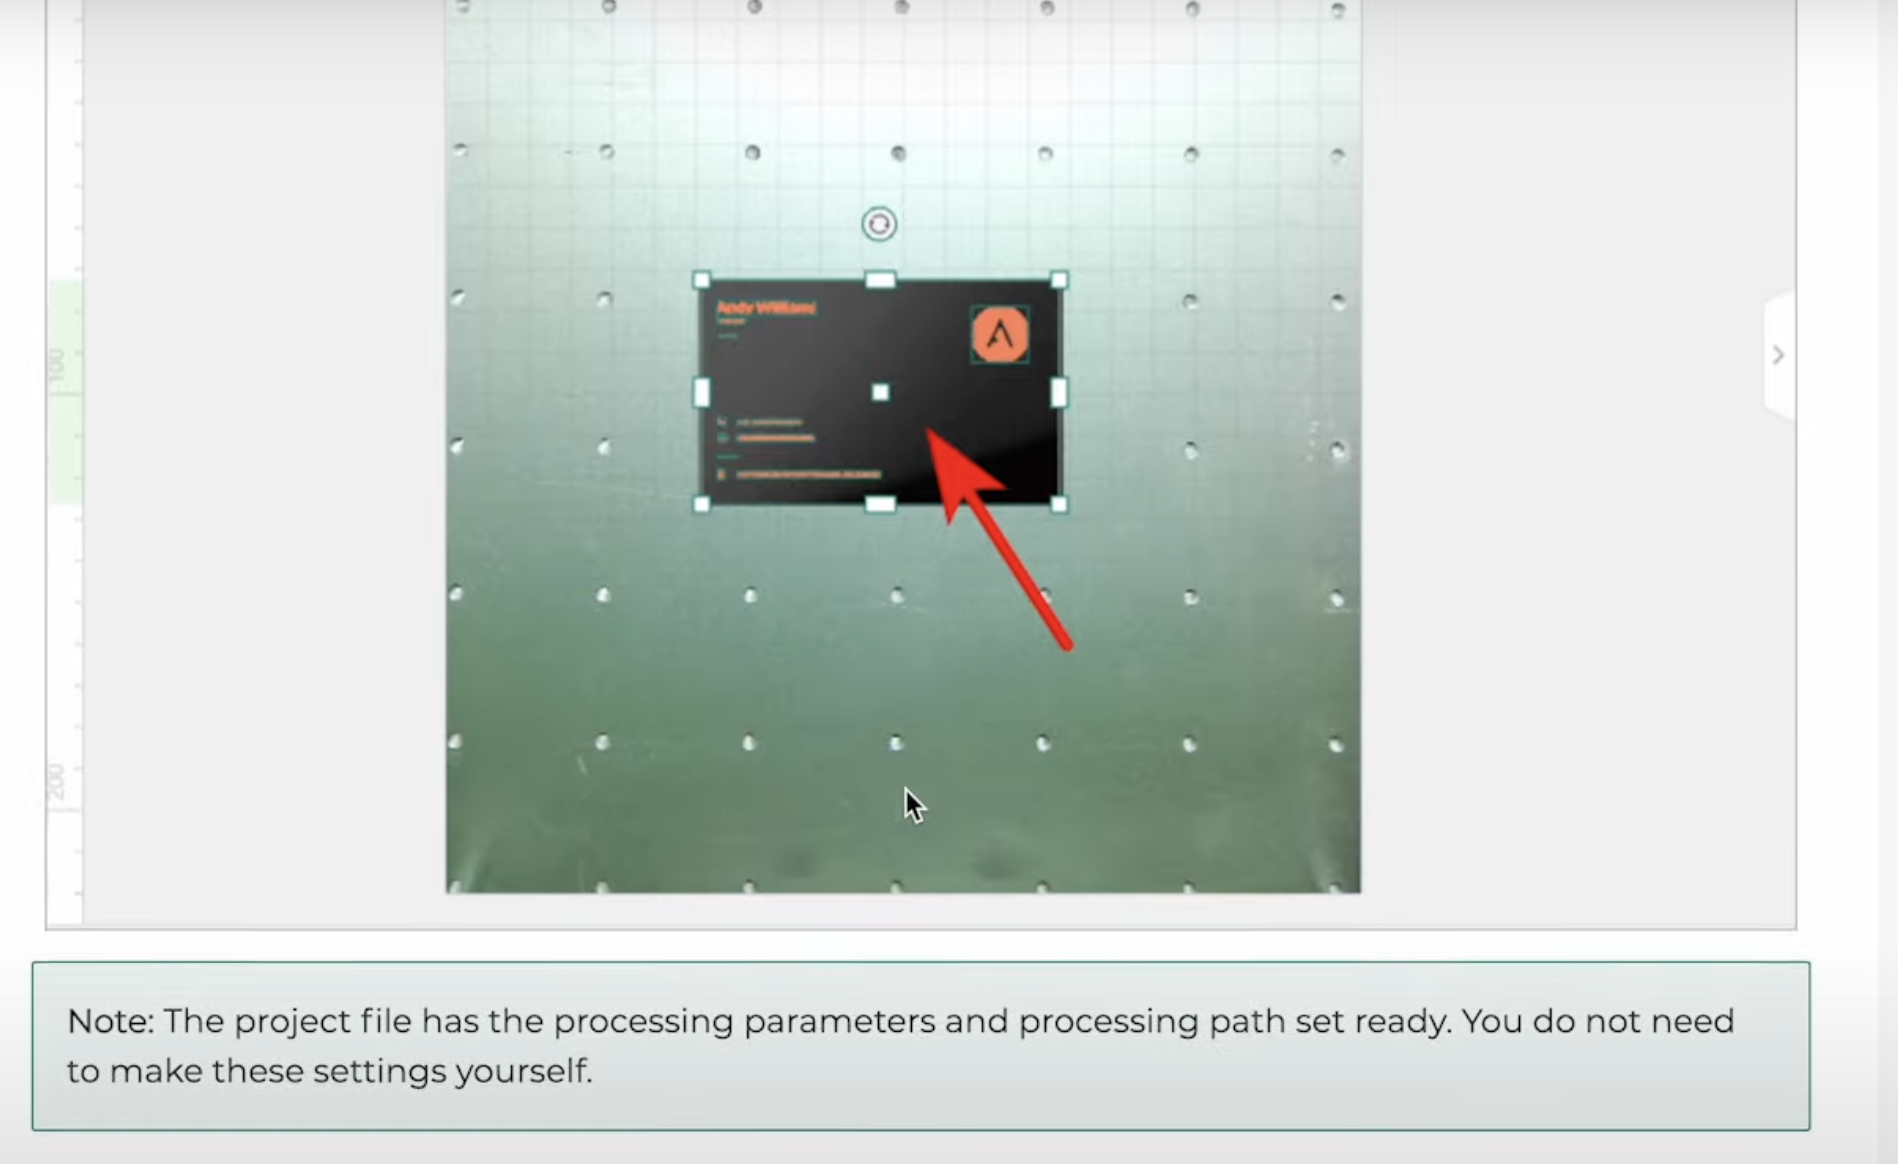
- Upload your design in xTool Creative Space. I used the design they had for this example and modified it to match my name.
- Click the auto-measure button to measure thickness.
- The F1 Ultra has a camera inside to help you locate your design.
- Click Refresh Background and you can see the business card in Creative Space. Locate the design over the business card.
- Click the three dots next to Framing and I am choosing the rectangular option.
- Click Framing and you can see a light that shows the area around where the laser will engrave.
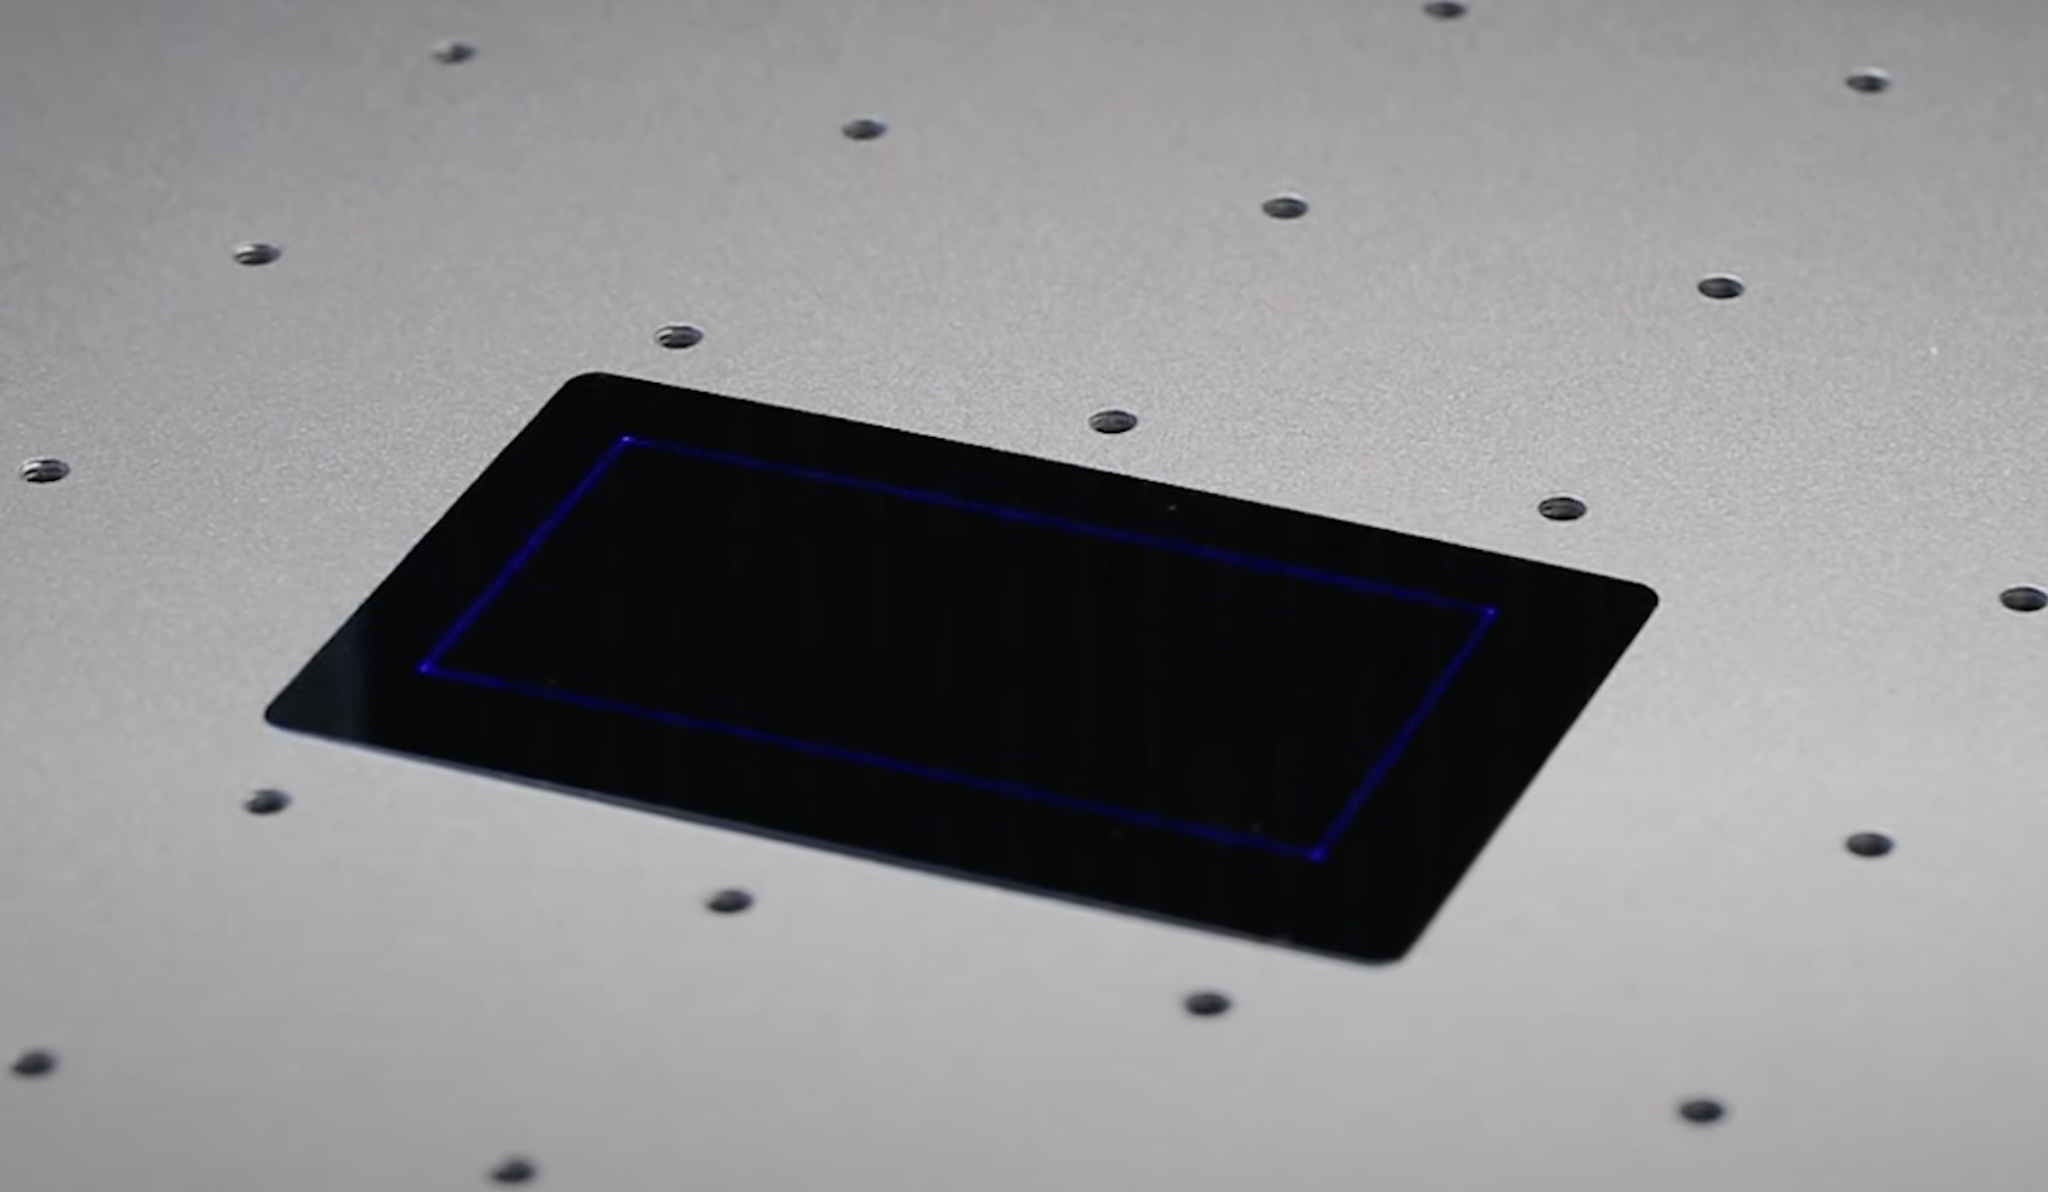
- You can also choose Outline and then click Framing and that will show you exactly where the engraving will be using light. You can use either option to make sure your blank is located correctly.

- Click Process and then click the green button on the external controller to start the engraving process.
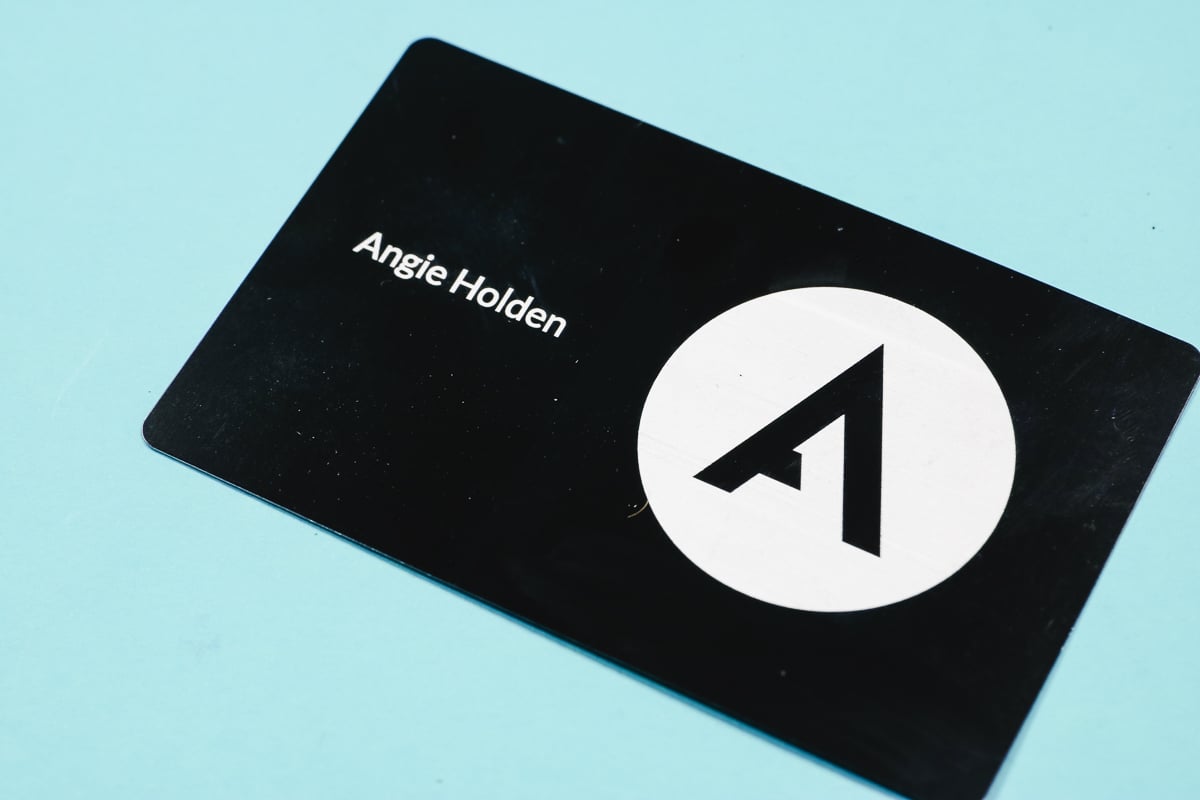
The results are crisp, clean, and professional-looking, making this a great option for creating custom business cards or metal tags.
2. Wood Cutting and Engraving
Wood is one of the most common materials for laser projects, but cutting with the xTool F1 Ultra requires some considerations:
- Flame Generation: This machine produces more flame than other lasers when cutting wood, so keep fire safety measures in place.
- Masking Tape Issues: While masking is typically used to reduce burn marks, it can catch fire in this laser, so testing different settings is essential.
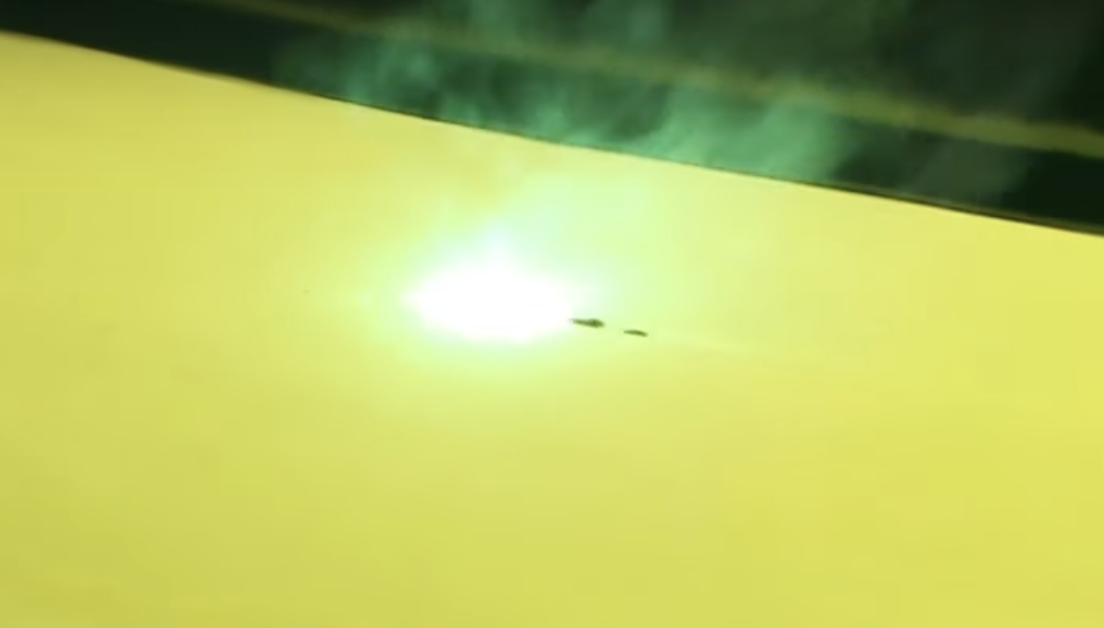
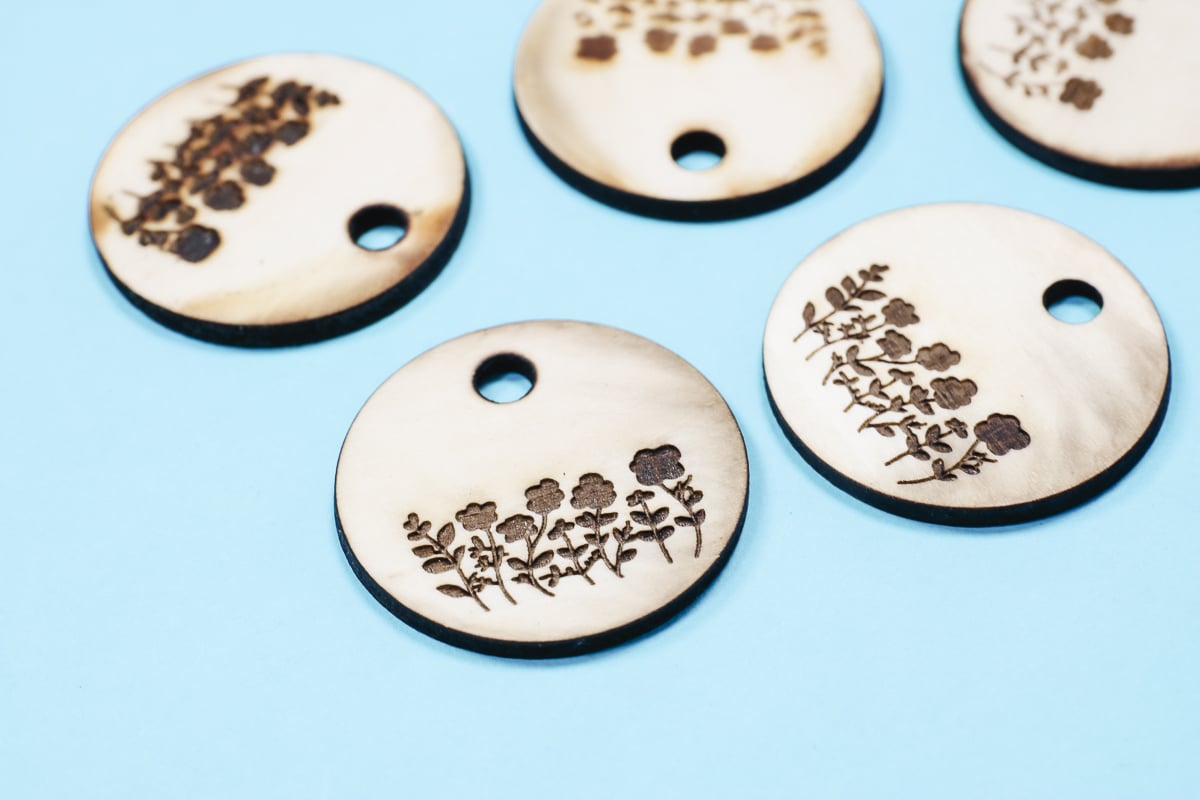
I am going to do a simple cut and engrave project with a floral design. I am making a small circular keychain/hang tag.
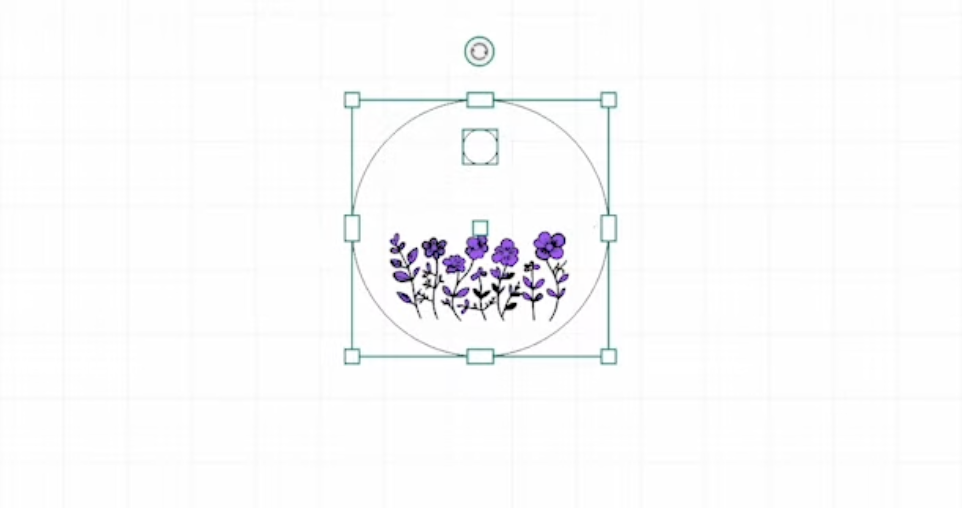
Click User-defined material and I am using three-millimeter basswood. Click Confirm and you can see the settings choose which look you like best. I wanted a fairly dark engraving and then I changed the outer part of the design to Cut. So the circle will be cut and the flowers will be engraved.
Which laser you choose will depend on your material. For materials like wood and acrylic, I will use the Blue light Diode laser.
Add the material rack to the bottom of the laser and place the material on top.
Click Auto-focus and I am using the framing tool to make sure the material is where it needs to be.
Click Process and you can see that this is very fast, it will only take about 37 seconds to finish.
This style of laser does flare up more than other lasers do and it almost looks like it’s on fire when it’s cutting. Engraving it did fine but when cutting it flared up.
Note – I do not recommend using masking when cutting. I tried it and it literally caught on fire. I am happy to report that the sensor does work. When the fire started, the laser shut off and when the laser stopped cutting the flame went out. When the flame stops you can start the project again and it will start where it stopped.
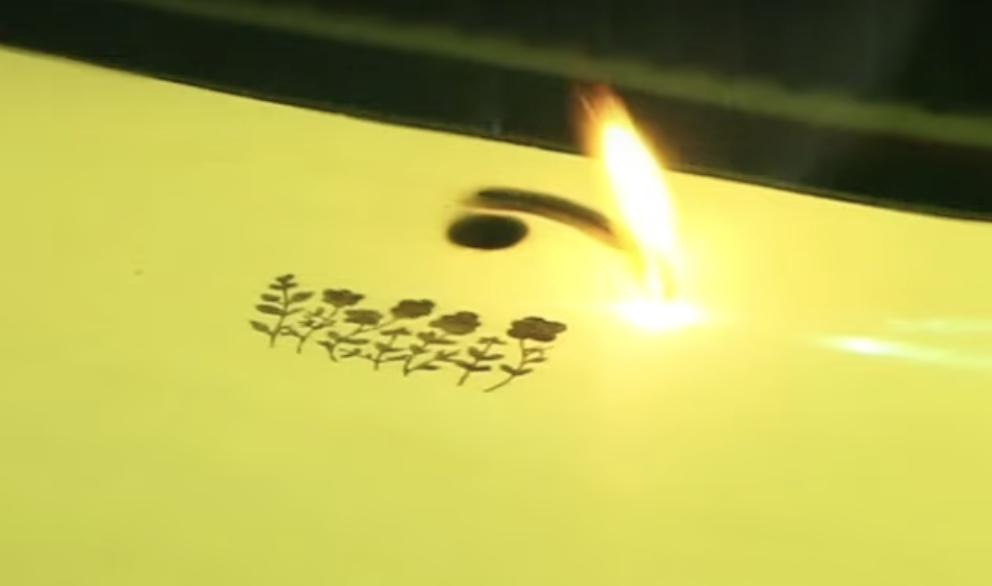
Engraving results were excellent, producing deep, detailed designs with precision. However, cutting led to charred edges, so additional finishing may be required.
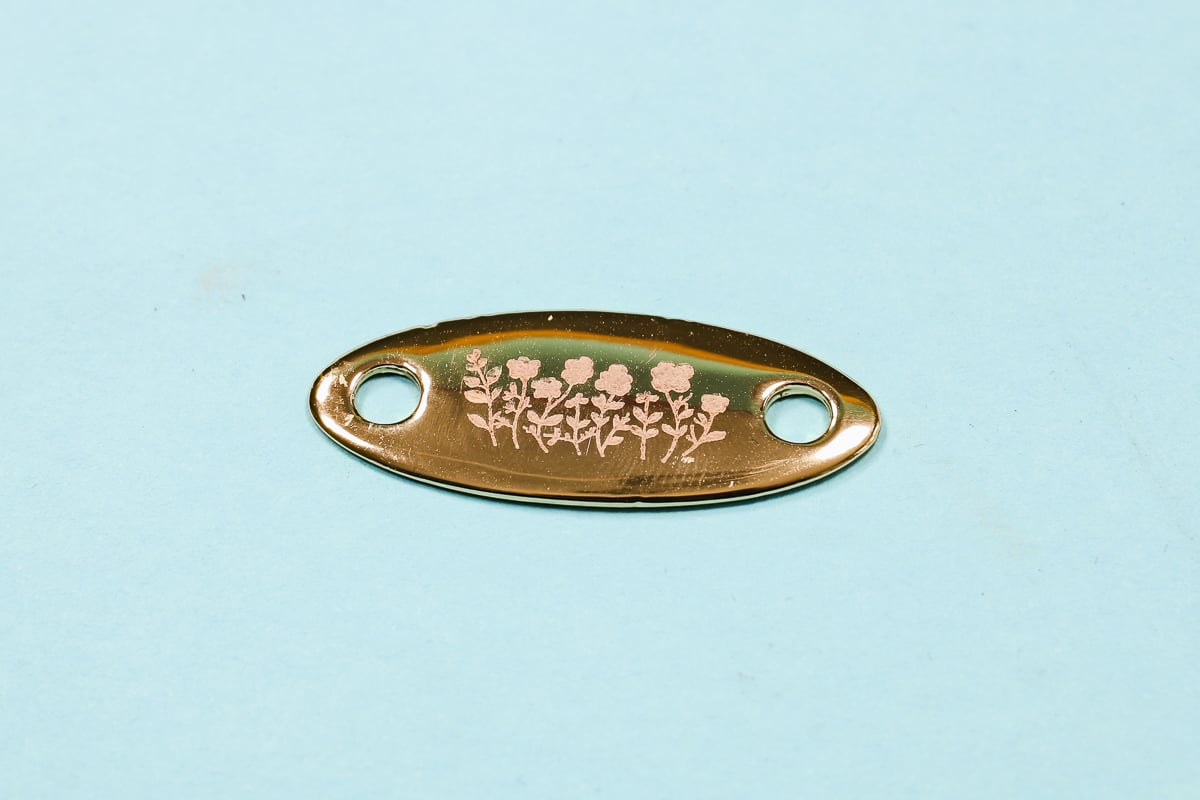
3. Jewelry Engraving
One of the most impressive applications of the F1 Ultra is jewelry engraving. Using the infrared laser, we engraved gold-plated pieces in just a few seconds with incredible detail.
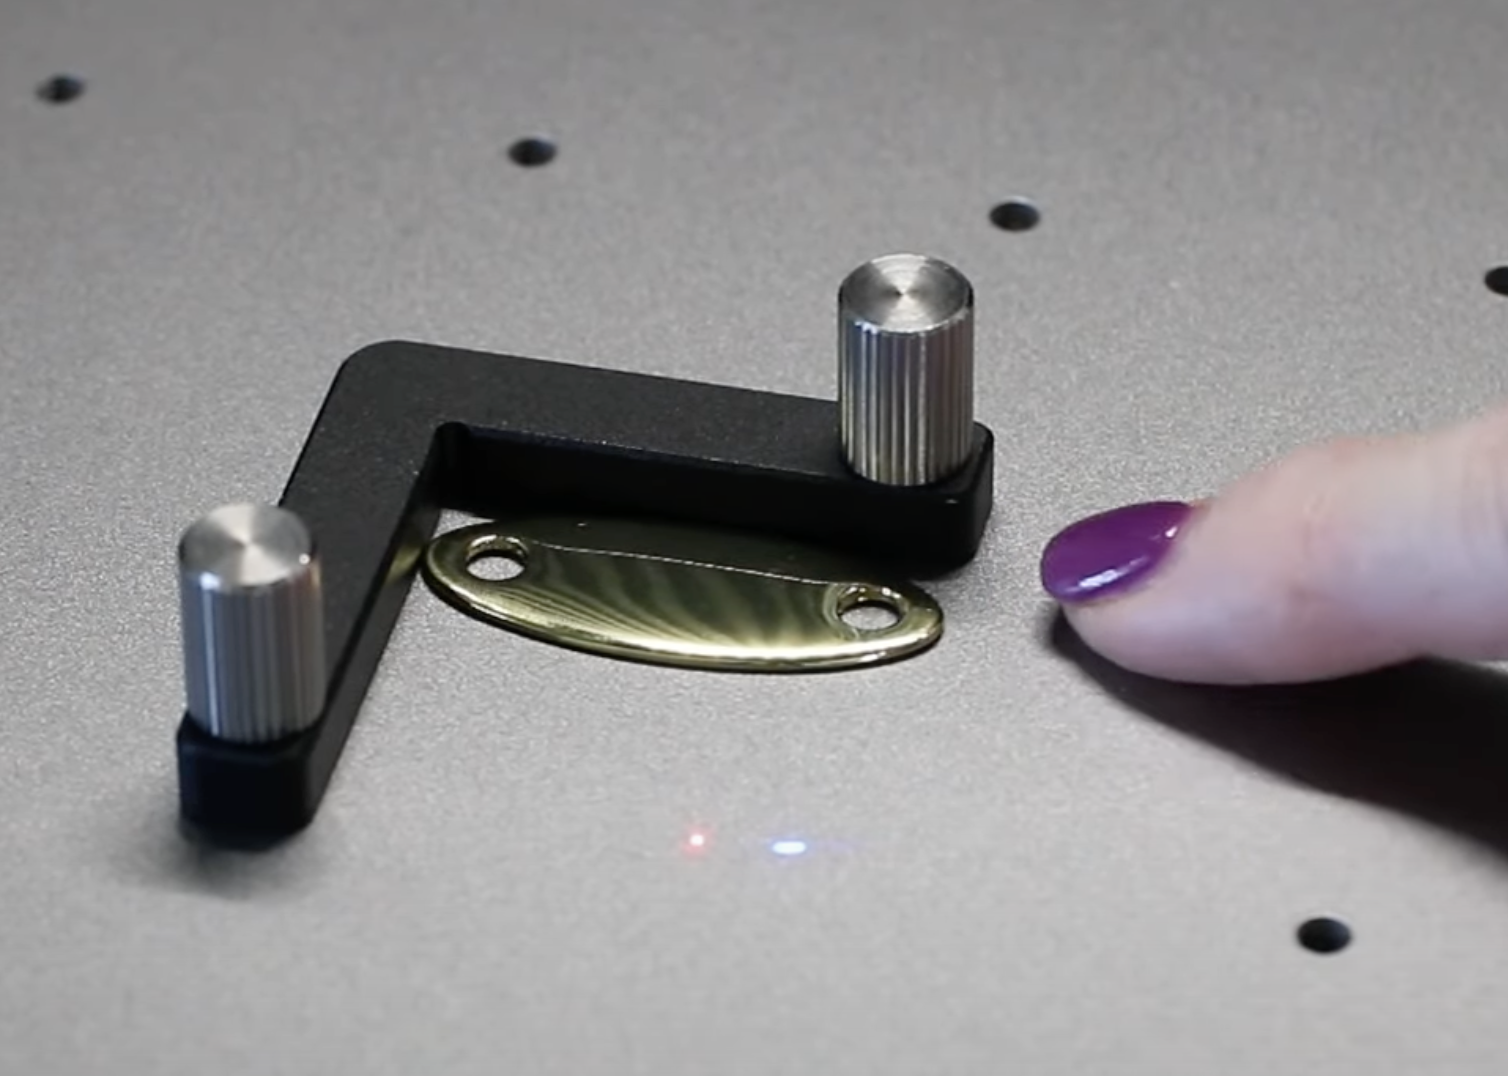
The L-shaped positioning piece helps maintain consistency when engraving multiple pieces.
The xTool F1 Ultra did an amazing job engraving this small metal jewelry piece. I set this one up in xTool Creative Space, similar to the engraving on the business card and on wood above.
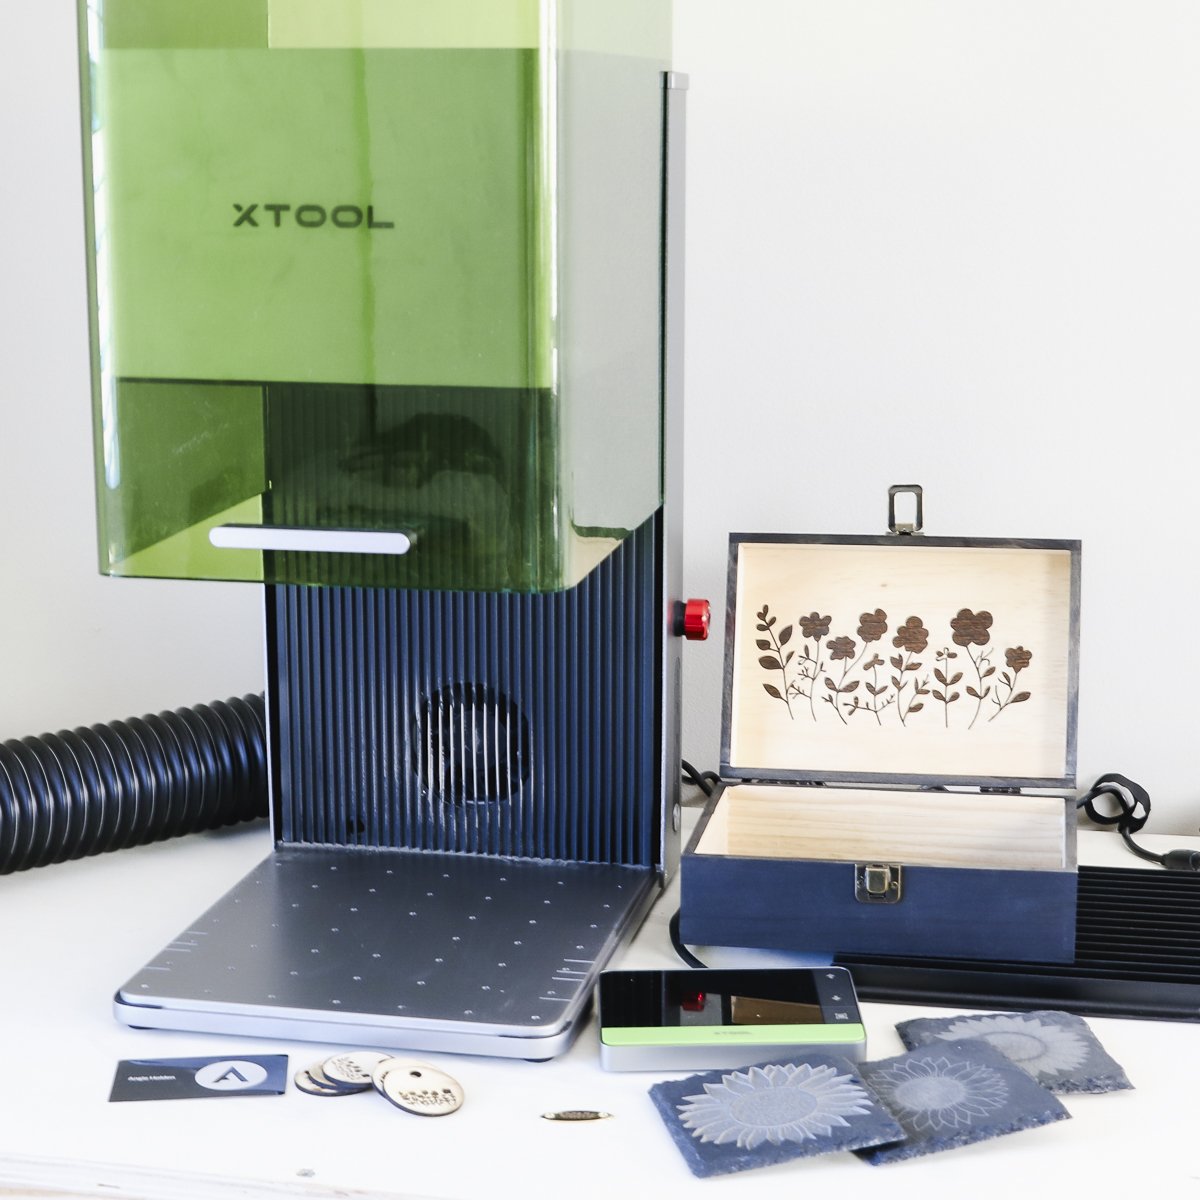
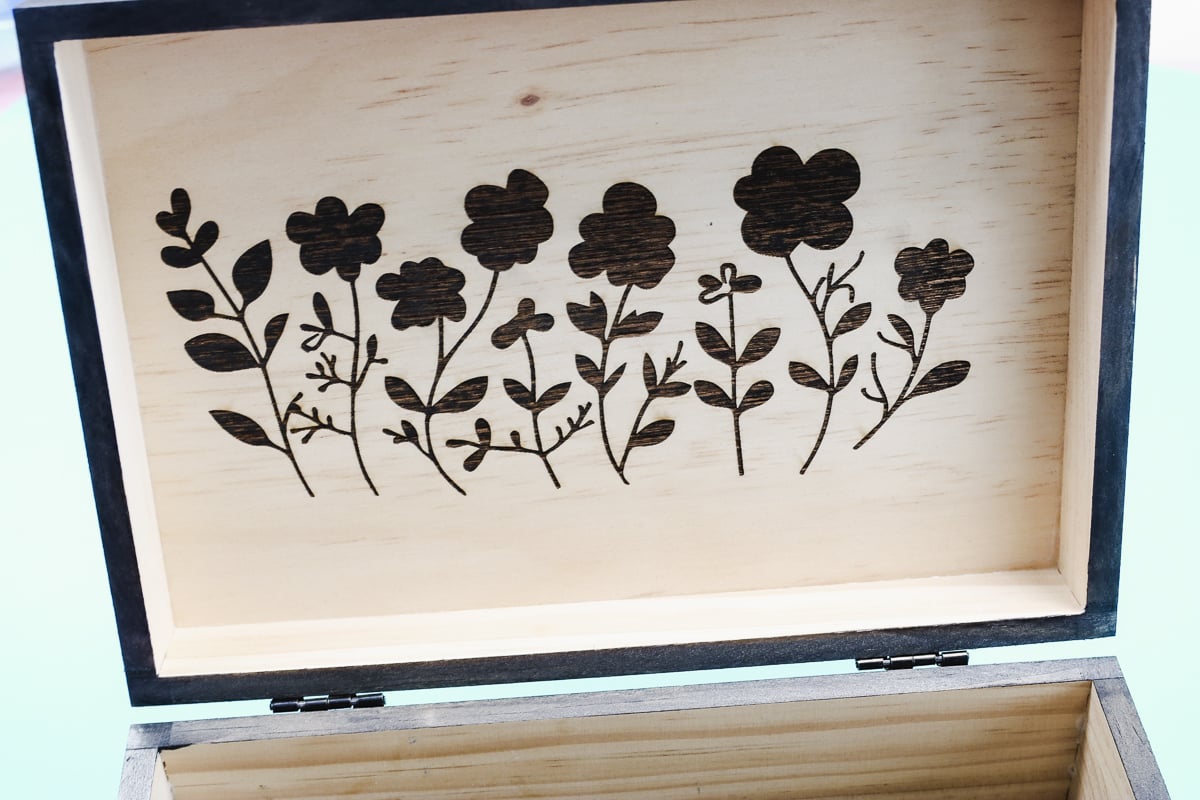
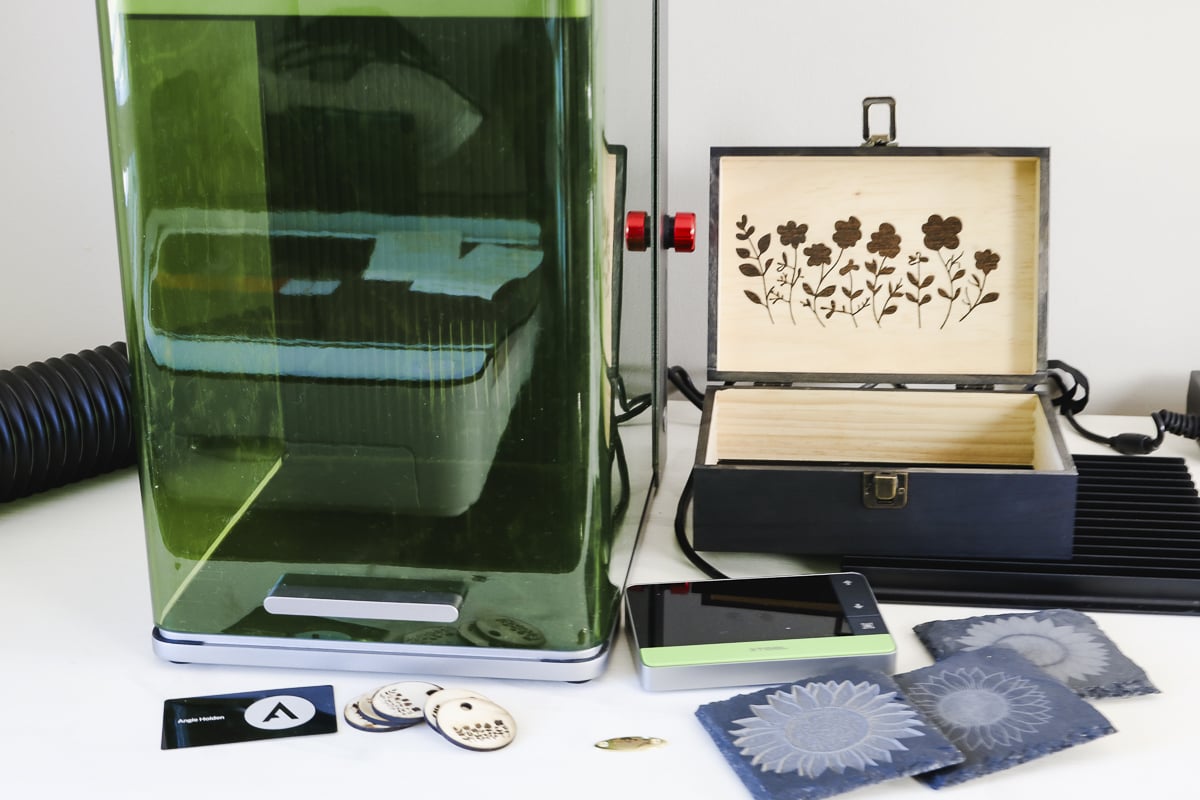
4. Engraving Inside Boxes
Another benefit of the Galvo-style laser is that because you don’t have a big laser head moving back and forth you can engrave inside things like boxes.
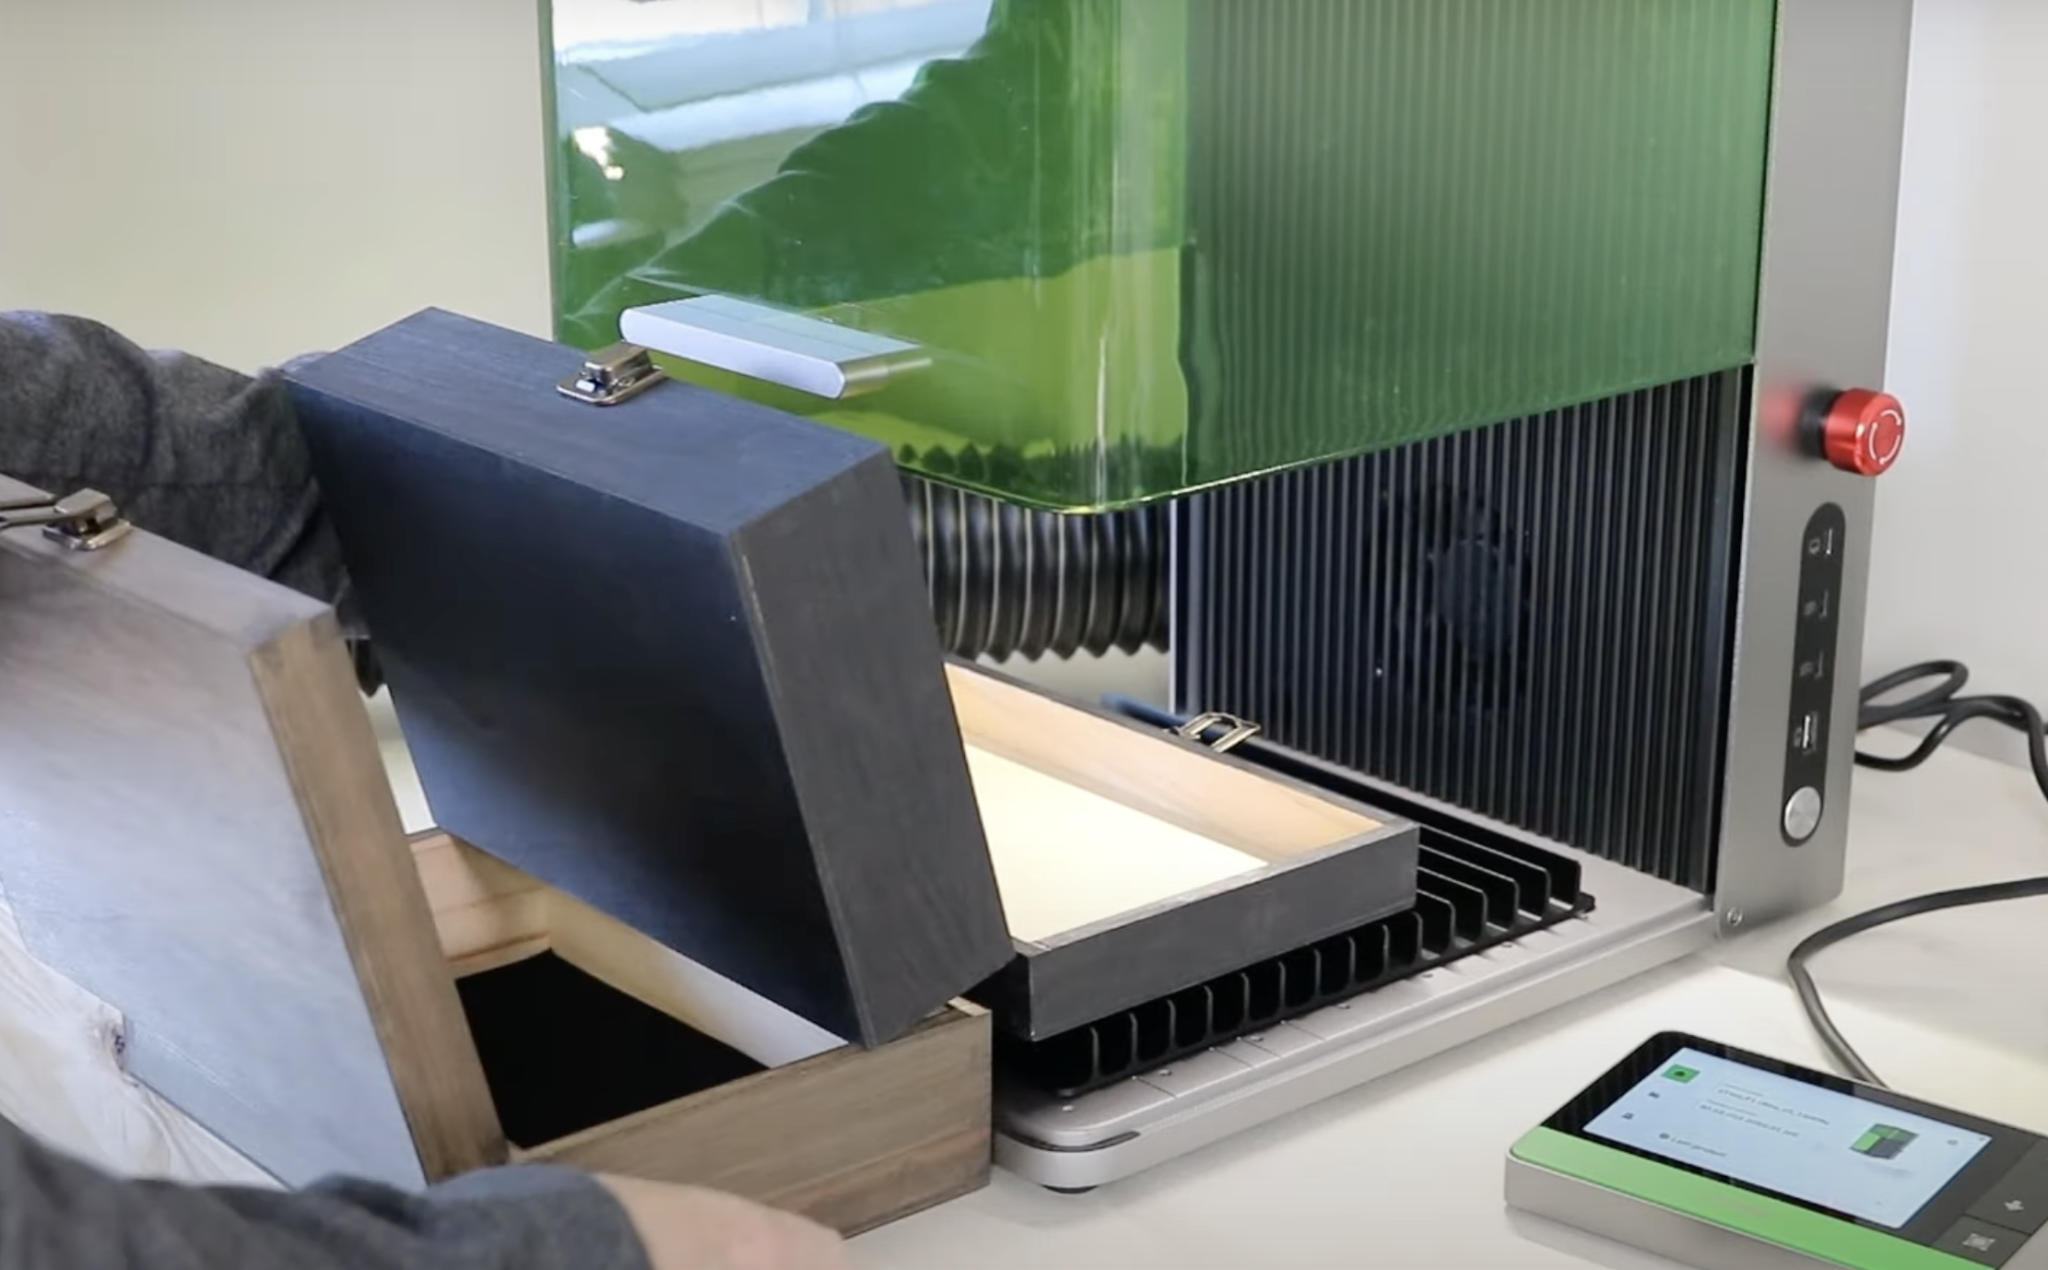
Make sure the surface is flat so it engraves correctly and as you can see this turned out beautifully.
I could even do deeper boxes if I wanted which is a lot of fun to think about.
5. Deep Engraving on Slate (Embossing Effect)
Slate coasters provide a fantastic surface for laser engraving, and we tested two methods:
- Standard Engraving: Creates a lightly etched surface.
- Embossing (Deep Engraving): Using the AI-powered depth map feature in xTool Creative Space, we generated a deep-engraved design that added impressive texture to the slate.
Standard Engraving
I added the slate coaster to the xTool F1 Ultra and I’m going to auto-measure the thickness.
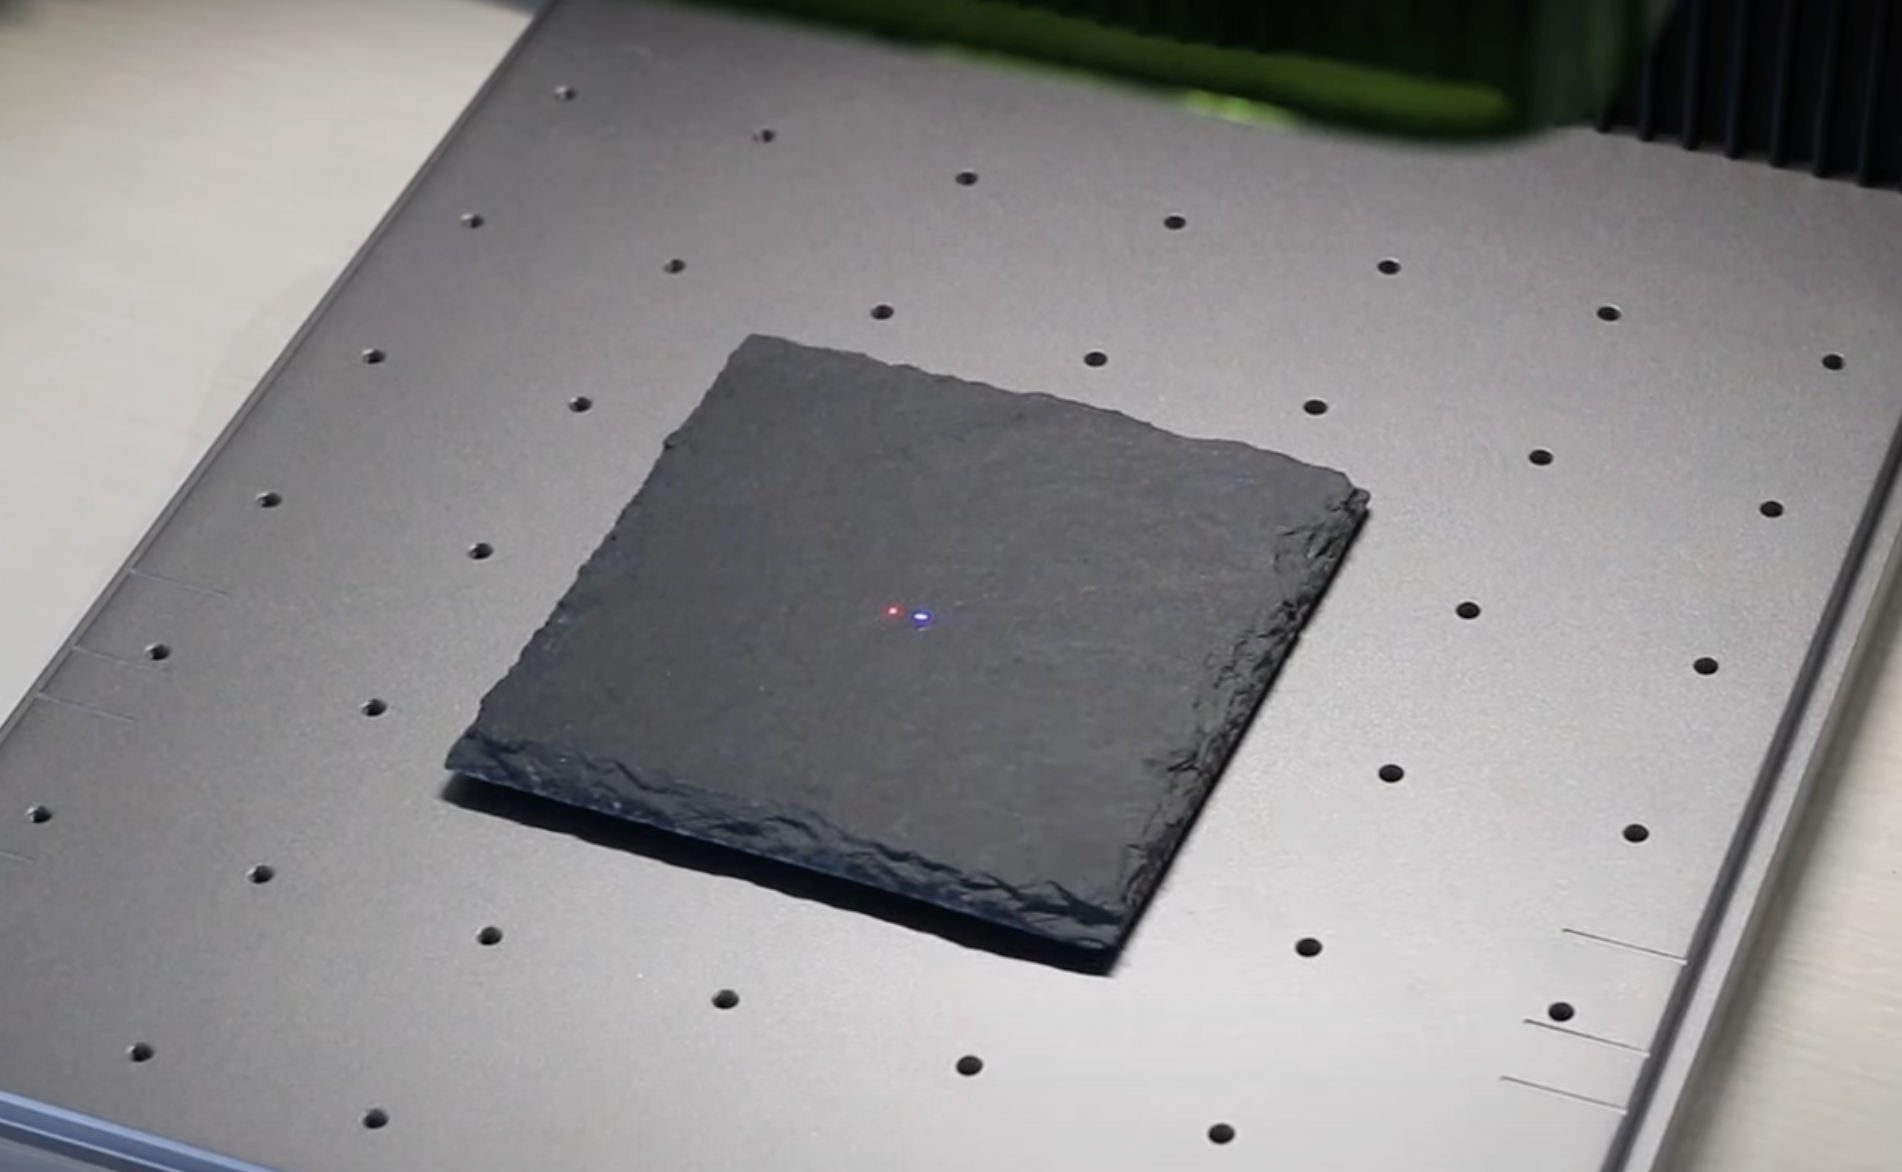
I want to frame the design like I did other projects so I can make any adjustments needed. For my material, I selected Rock Coaster and then clicked Confirm.
We’ll use the Fiber laser for this engraving and within the software I selected a flat SVG file and clicked Process.
This design was quick and it barely etches the surface.
Embossing (Deep Engraving)
For this coaster, I am using the AImake feature. Within AImake I can use the Convert Image to Depth Map feature that will give me a good 3D-looking design. You can play with the emboss and deboss to see what look you like best.
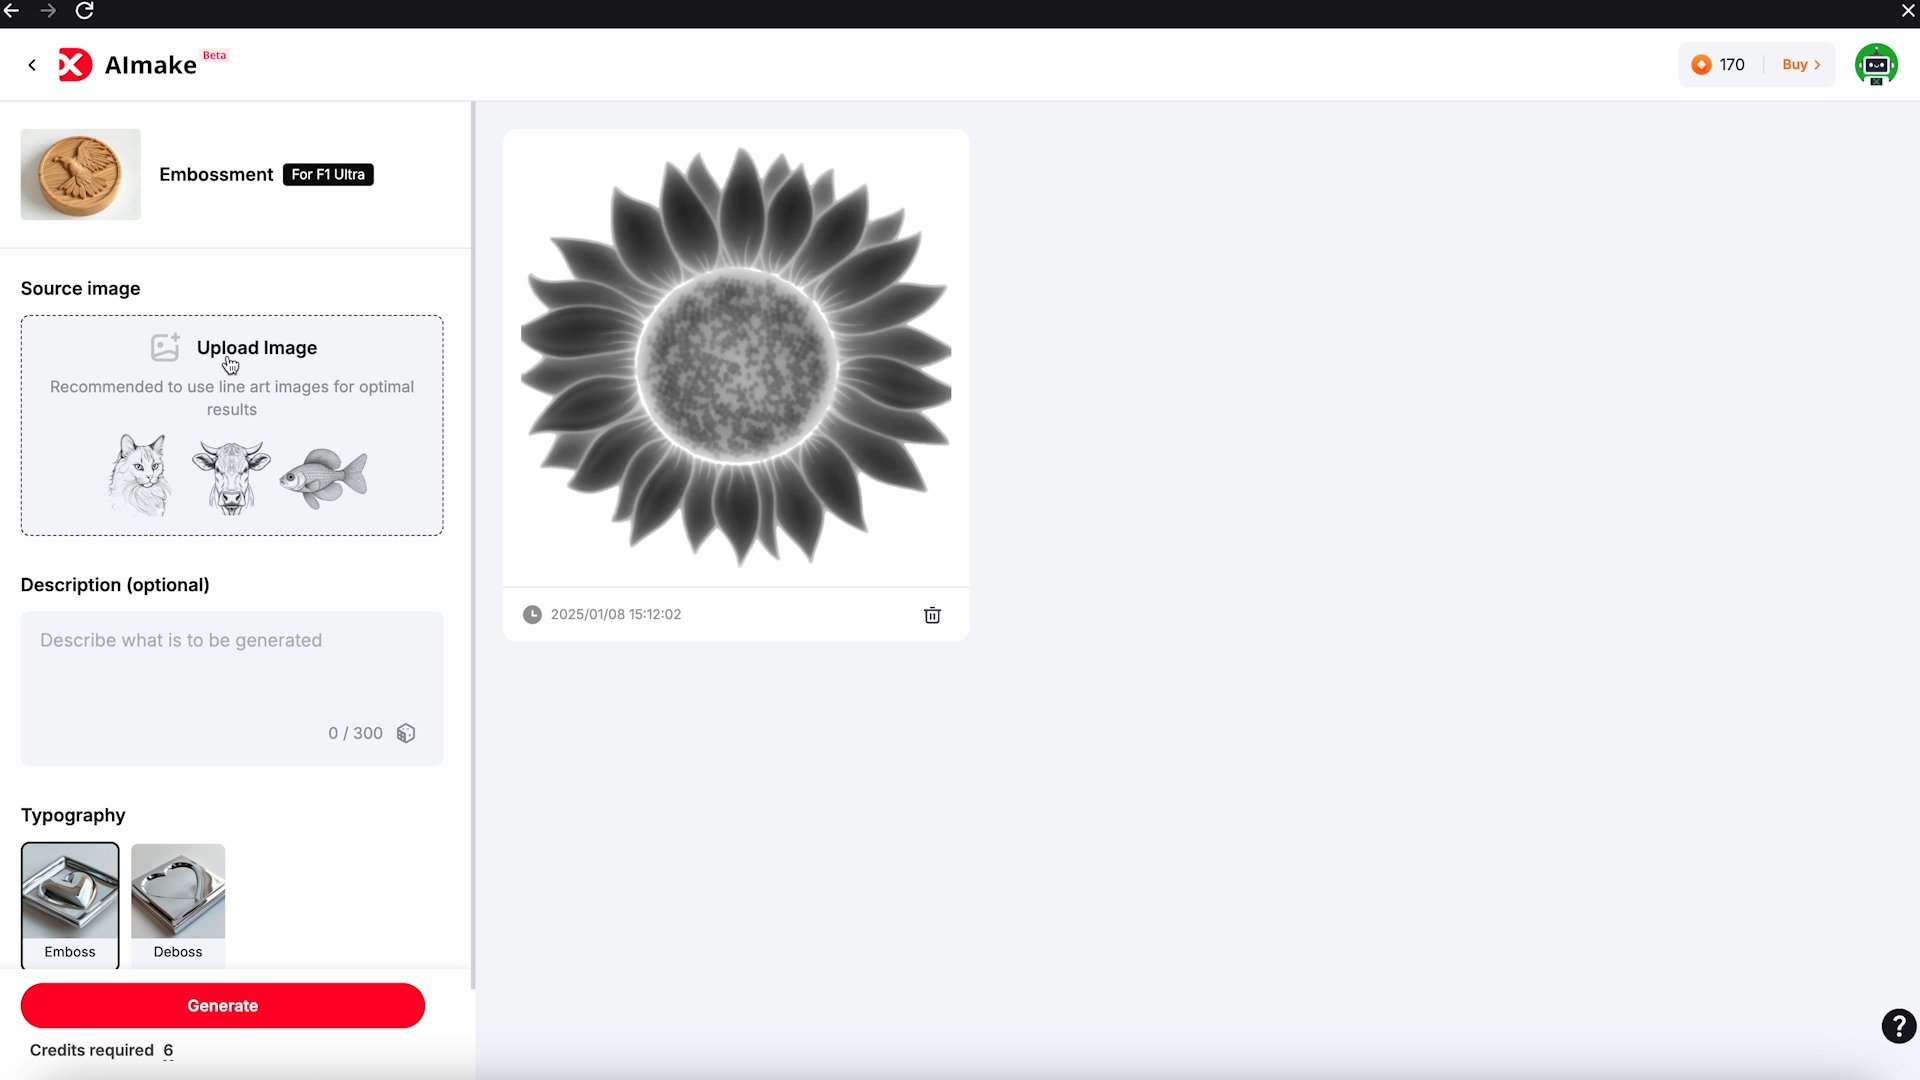
I chose the deboss option. You can click Embossment Preview to see exactly how deep it will go and now I can import the design into Creative Space and scale it to fit my canvas.
Frame the project and make sure the blank is in the right place.
Click Process Flat Surface and scroll to Embossment.
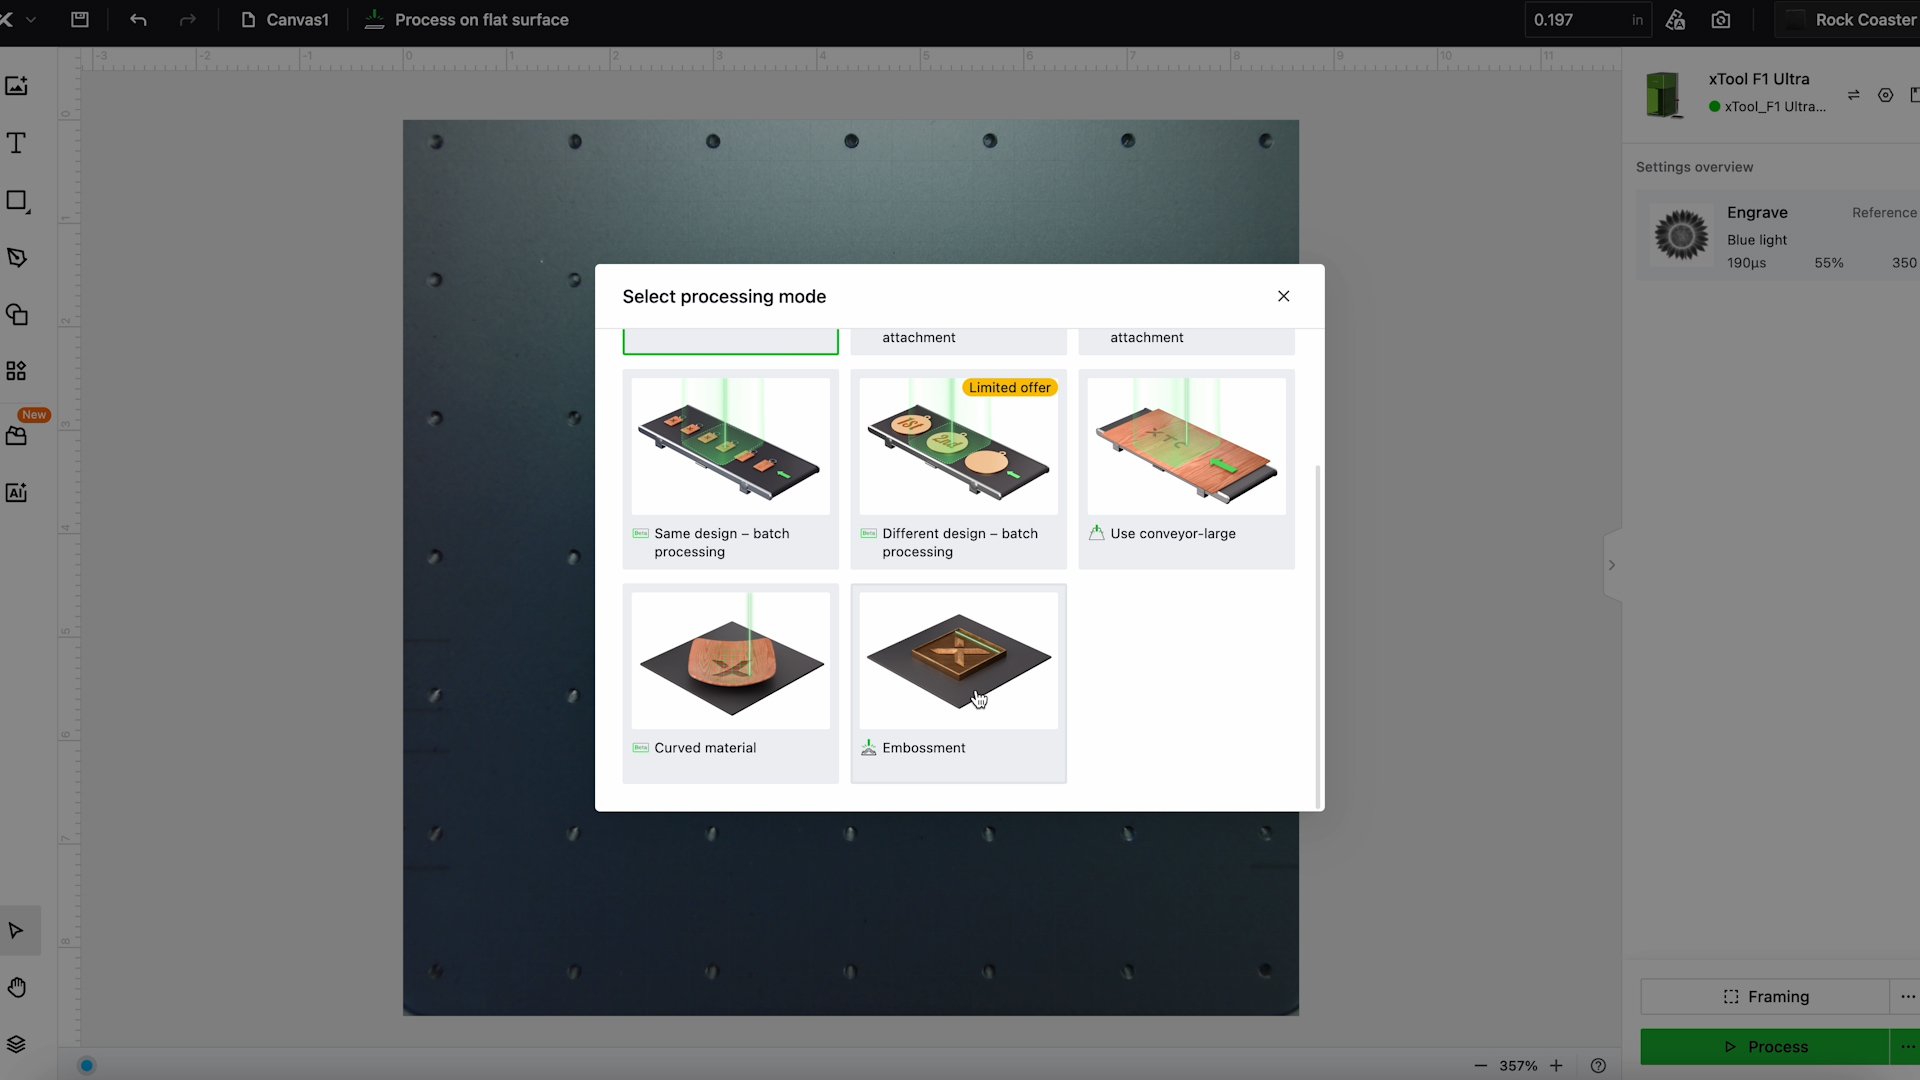
Select User-defined material and I am selecting Rock Coaster.
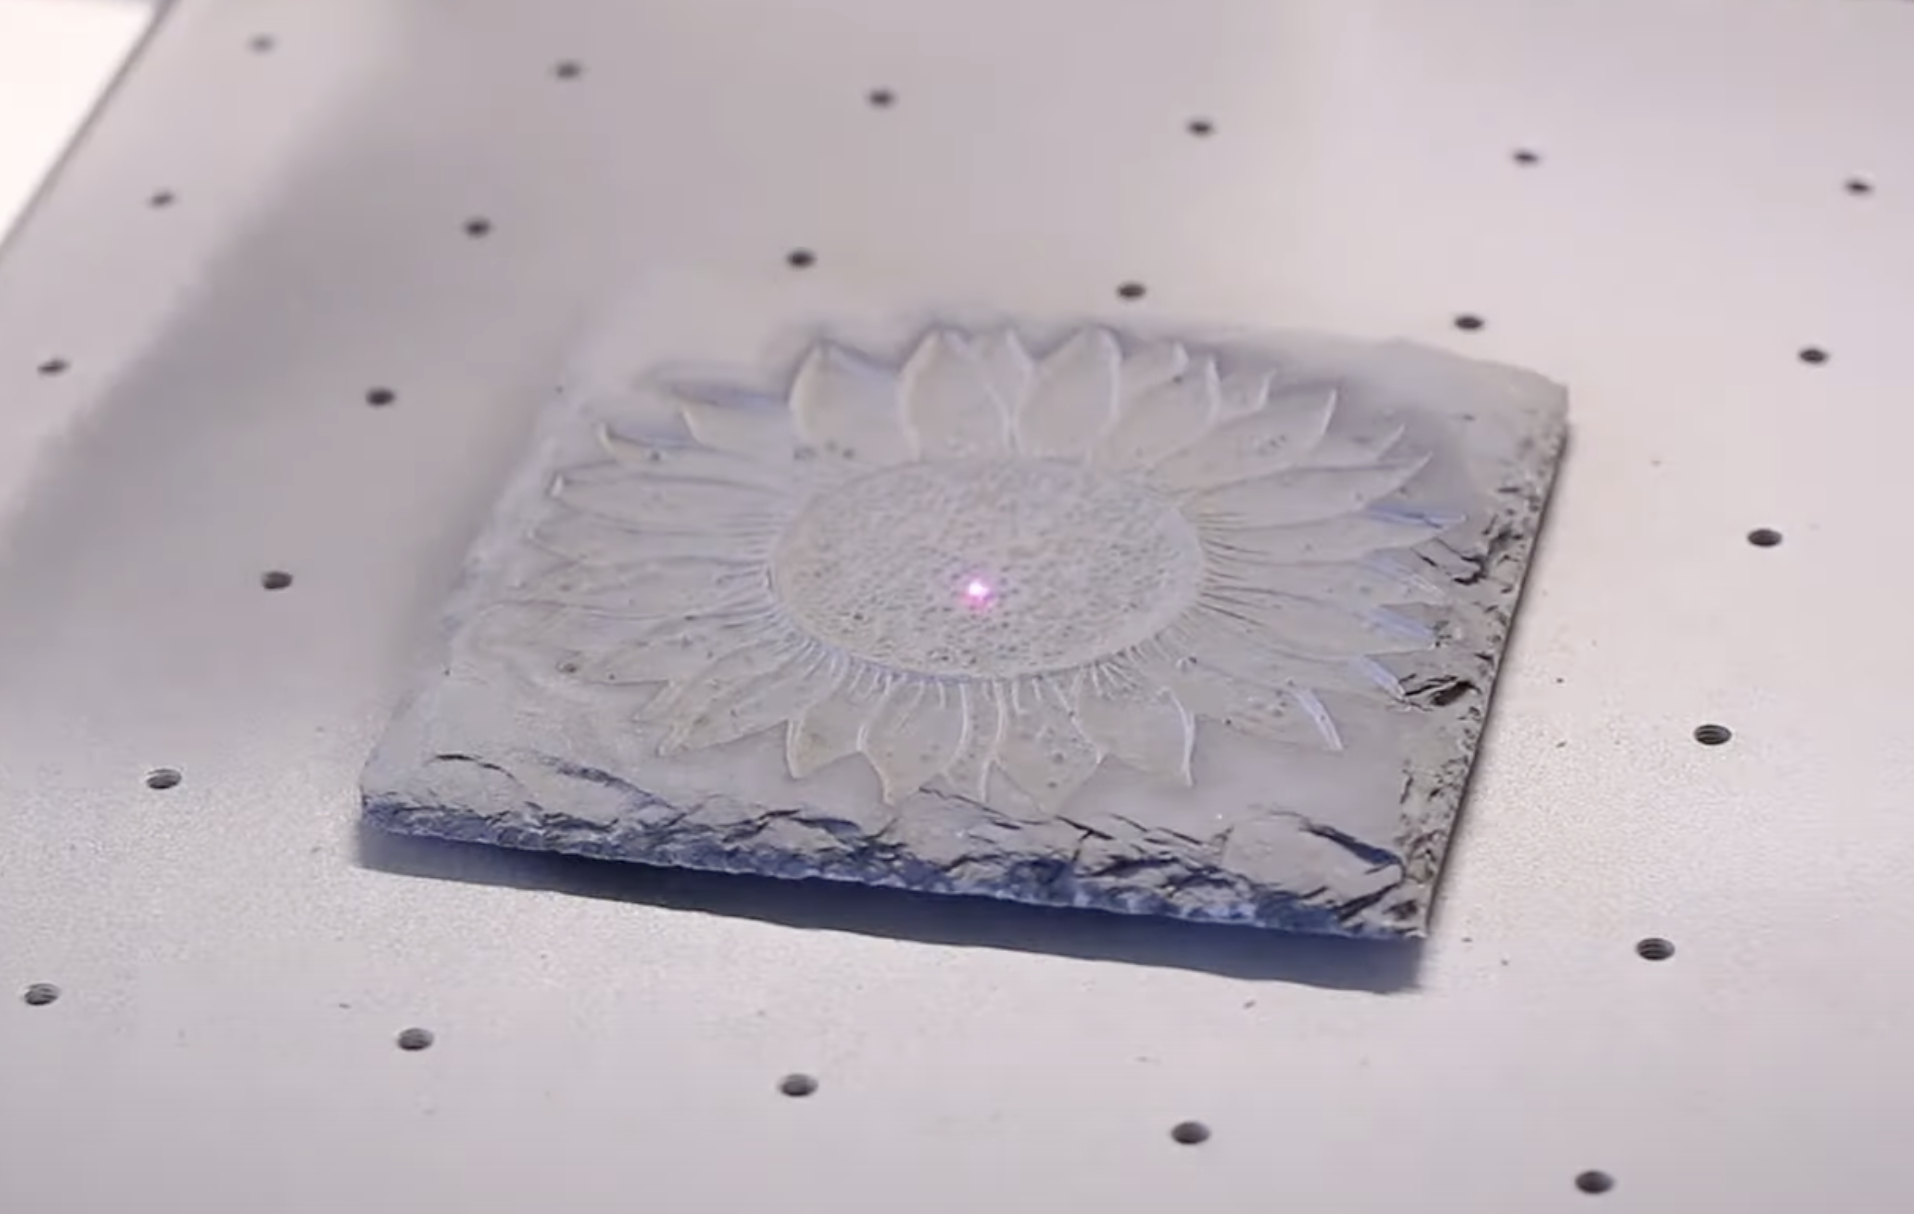
Shut the door on the laser and I am using the fiber laser for this project.
This is not a quick process, this is going to take an hour and 43 minutes. Click Start and then click the button to start the process.

I want to point out that the laser and coaster were very dirty when this project was done. Use a damp cloth to clean all the dust inside the laser and on the coaster itself.
It was not a quick process to get it all cleaned up so be prepared for that.
Comparing Slate Coasters
The engraved coaster is on the right and the embossed coaster is on the left. As you can see the embossing is really deep and creates a cool effect on the coaster.
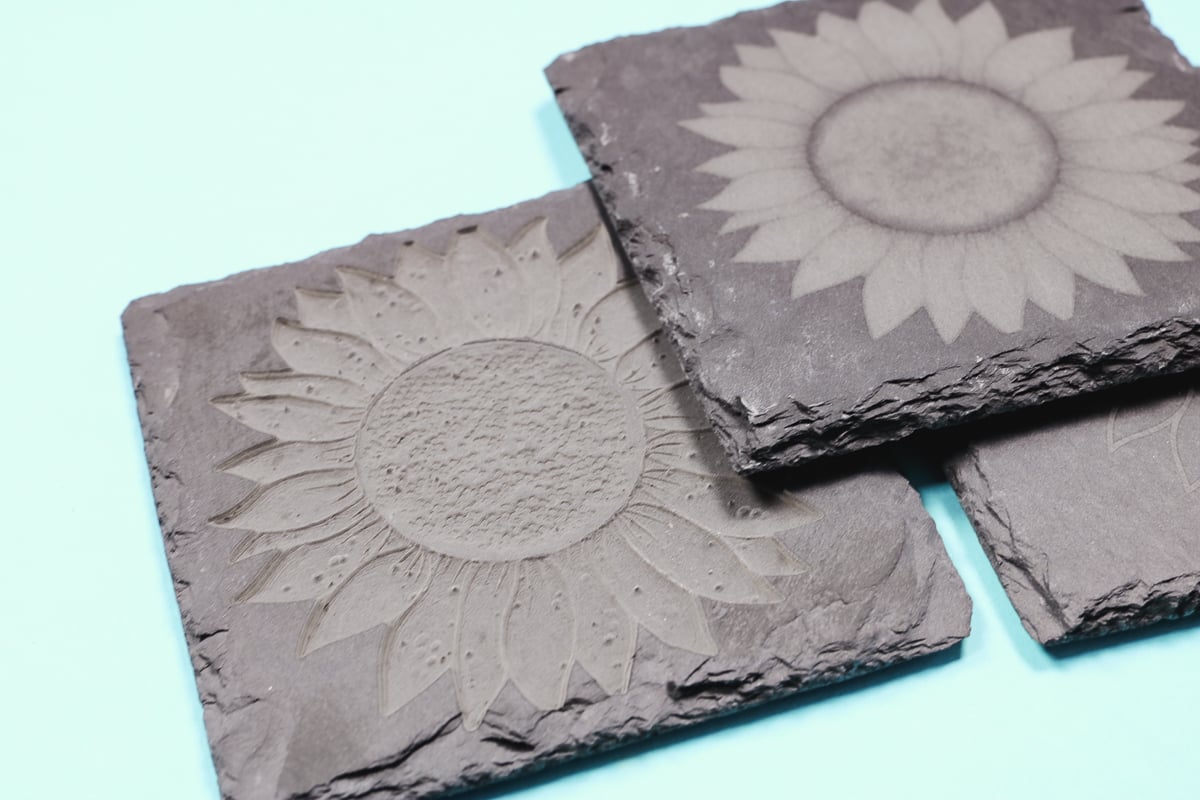
The same design set to engrave would give you the very flat look that you see on the right coaster. If you want that really cool look on the left, make sure you choose the deboss or emboss feature.
Pros and Cons of the xTool F1 Ultra
Now that we’ve made all these projects let’s look at the pros and cons of the xTool F1 Ultra.
Pros:
- Extremely Fast: The galvo-style system allows for rapid engraving.
- Dual-Laser Convenience: No need to swap heads manually.
- Highly Accurate Framing: The framing method is more precise than the camera preview.
- Great for Engraving Jewelry & Metal: Produces professional-quality results in seconds.
- Portable & Compact Design: Can be transported easily for craft fairs and markets.
- Engraving Inside Boxes: Because the laser head doesn’t move you can engrave blanks you can’t with other lasers.
Cons:
- Flame Issues with Wood Cutting: Produces more fire than other lasers, requiring careful monitoring.
- Camera Alignment Needs Improvement: Framing is more reliable than using the camera preview.
- Embossing Projects Take Time: Deep engraving on materials like slate requires patience and post-cleaning.
xTool F1 Ultra Accessories
The F1 Ultra itself has a working area of 8.66 by 8.66 inches square within the closer of the cover. You can get additional accessories that include a rotary attachment that allows you to engrave tumblers and other round objects.
There is an air filter that allows you to use the laser even in places that don’t have a window. Even if I was at an outdoor craft fair I would probably use the air filter to reduce the smell and fumes that your laser may put out.
There is a conveyor that allows you to do larger projects or multiples of the same project. I have watched videos and it looks like the software does a really good job lining up the designs to match the blank.
I wouldn’t use the conveyor system on the go but it would be great if you’re making multiple projects at home.
Is the xTool F1 Ultra Right for You?
If you’re looking for a powerful, versatile, and fast laser engraver, the xTool F1 Ultra is an excellent investment. It excels at engraving metals, jewelry, and deep etching on stone while still offering decent wood-cutting capabilities.
For small business owners, crafters, and DIY enthusiasts who need a portable and efficient laser with dual-laser capabilities, this machine is a fantastic choice. However, if you primarily want a machine for cutting wood and acrylic, you may need to consider other options due to the flame and charring issues.
The xTool F1 Ultra is amazing at laser engraving, making it ideal for a variety of applications. Whether personalizing gifts, creating jewelry, or producing detailed engravings, this machine delivers impressive results. It is definitely my go-to machine for engraving.
Purchase the laser here and shop for accessories here!
I hope I’ve answered any questions you have about the xTool F1 Ultra. If you have any additional questions, leave them in the comments and I’ll be happy to answer them for you.